
|
|
#1
 12-11-2015, 11:42 AM
|
|||
|
|||
|
I have a Yamaha F335 and recently noticed the bridge is separating on the bottom.
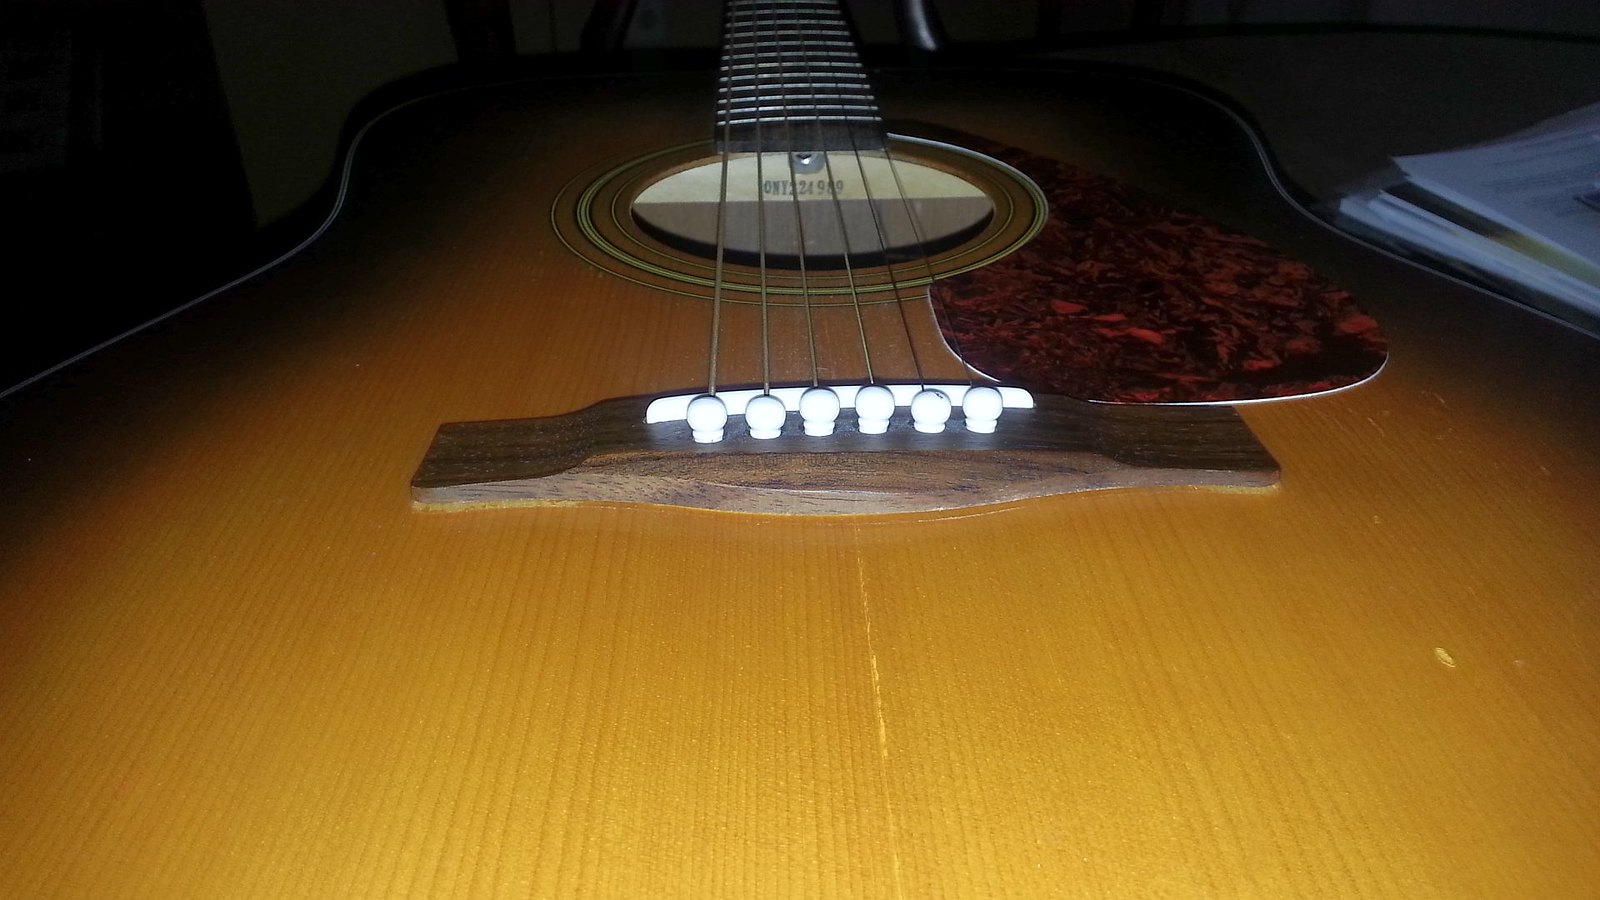 I removed the strings and applied some tite bond. Pressed it overnight with some weights but the tite bond only bonded with bridge but not to the guitar body. Looks like I need to take it out completely and sand it. Also need some clamps that work in there. It's a hundred dollar guitar so what say you? Fix or buy another for the money to spend on fixing? Thanks 
|
|
#2
12-11-2015, 12:04 PM
|
|||
|
|||
|
Quote:
take your time and fix it. it's not that hard. i would suggest that you score the outline of the bridge into the top very lightly before you remove it. working from within this contour, you will have an outline from which to remove the finish and old glue for the best possible glue contact. but first if you can, check the scale length in case the bridge has shifted significantly. you don't want to glue the bridge back in the wrong place. judging by your picture it looks pretty much ok but i like to be sure and it's quick and easy to do. you don't necessarily need specialty clamps, you can make a conformal caul for the bridge and then using a flat piece of material (i suggest firm metal) against the bridge plate from the inside, glue up and sandwich it all together with 8-32 screws, nuts, and washers through the bridge pin holes. wrap the portion of the screws that contact wood with wax paper to prevent them from getting glued to the guitar. i would suggest tite bond original glue. getting the bridge to conform to the top is imo pretty important. i have radius dishes for this work but a lot of people just lay sandpaper upon the top and work the bridge in situ. do what you can to prevent scratching the top with the sandpaper and loose grit if you go this route. imo, sand down through the grades to 220. you may have to do some intonation work to your saddle when you are done and if so, it's maybe a good time to upgrade it. Last edited by arie; 12-11-2015 at 12:17 PM.
|
|
#3
12-11-2015, 12:19 PM
|
|||
|
|||
|
Quote:
screws and nuts... hmm... okay that gives me some idea. If I see cheap C-clamps, I'll get those as well. This will be my beater guitar if I fix it so just want to get it playing without too much work.
|
|
#4
12-11-2015, 01:10 PM
|
||||
|
||||
|
If you are thinking of just replacing it, then do that and you have nothing to lose in trying to fix it yourself. Easy experience and you will likely have a good second guitar.
That said, I'd be much more concerned about the soundboard seam-split that's starting than a simple bridge lift.
__________________
Fazool "The wand chooses the wizard, Mr. Potter" Taylor GC7, GA3-12, SB2-C, SB2-Cp...... Ibanez AVC-11MHx , AC-240
|
|
#5
12-11-2015, 05:18 PM
|
|||
|
|||
|
I use two 3/16" diameter x 3" long machine screws through the two outside bridge holes to clamp the bridge while gluing. No additional clamps are required. You do need a caul on the inside against the bridge plate - I usually use plywood or MDF - and you do need a caul to go on top of the bridge on the outside - I usually use a piece of spruce 1/2 cut to match the contour of the perimeter of the bridge, allowing easy access to glue cleanup. This creates a sandwich through which the bolts pass: the exterior caul, the bridge, the guitar top, the bridge plate and the interior caul. You'll need to drill holes in the two cauls to match the two outside holes of the bridge.
Use wax paper on the interior caul, or a light layer of paraffin wax. Between the wings on the bridge and the outer caul, insert two small wedges - made from scrap wood - on each wing. Any glue and/or finish must be removed from the gluing surfaces of the top and bridge. I do not contour the bridge to match any arch in the top, but it must be a good fit between the underside of the bridge and the exterior surface of the top. Leave glued and clamped overnight. You will need to ream the bridge pin holes after re-gluing the bridge.
|
|
#6
12-11-2015, 07:06 PM
|
|||
|
|||
|
Quote:
Everyone above has answered the question for you on how to repair it now, I am going to approach it more in a why it did not work when you tried a repair. When the bridge has lifted from the top on the edges, the soundboard and braces develop a larger arch when under tension, this is because the wings of the bridge sit over the top of our x brace and bridge plate. Without this stabilizer (the bridge) there, we get some deformation of the soundboard happening between the x brace and bridge plate When you applied glue to the edges and then simply put some weight on top of the guitar all it did was move the soundboard down and fill the gap. Titebond glue is not a gap filler, epoxy is used for gap filling You need to make sure its clean underneath and bring the soundboard and bridge together with clamps when using titebond Good luck with your project, its worth doing Steve
__________________
Cole Clark Fat Lady Gretsch Electromatic Martin CEO7 Maton Messiah Taylor 814CE
|
|
#7
01-26-2016, 12:12 PM
|
|||
|
|||
|
Thanks for all the comments.
I passed it on to someone else cheap instead of fixing.
__________________
Acoustic-Electric: Yamaha FGX800C, Jim Dandy. Seagull S6. Electric: Schecter C1+, Aria Pro II Fullerton.
|
|
#8
01-26-2016, 12:40 PM
|
||||
|
||||
|
A buddy gave me one with the bridge pulled off. The area under the bridge had separated laminate so I had to dremel out to flat and put in a patch. After you get it off check the integrity of the glue area.
|


