
 |
|
#31
|
||||
|
||||
|
Quote:
One other thing I'm particularly enjoying about this guitar build is, tone and playability are of foremost importance, and then whatever energy is left over can be devoted to making it look nice too. Every indication so far is, that mission will be successfully accomplished. The combo of primo Indian RW and a very resonant Adirondack top gives us an almost unfair tonal advantage. Here are some photos of the inner architecture, before we button this box up: Here, the X and Upper Cross are in, and the "lucky 7's" are being laid out. These are remnants from a Tunnel 13 Redwood top I used awhile back. The soundhole "donut" brace is flamed Black Limba- also left over from another build. The X Brace is very old Sitka. The bridge plate is Carbon fiber, laminated onto a piece of Wenge. It is glued up in the radius dish, so it conforms perfectly to the doming of the top.  This bridge plate that I make is a mere 1/16" thick, but the lamination of carbon fiber and Wenge makes it very stiff and strong- and also acoustically active. And the ball ends of the strings will NEVER pull through that Carbon fiber.  And here is the top with all braces in. Hide glue for everything, except the bridge plate, which was laminated with epoxy. The bracing pattern is slightly modified from standard, in order to accommodate the installation of an L.R. Baggs iBeam pickup. The three fan braces are ancient red cedar. So we have a combination of Sitka (X and upper cross braces), Redwood (Lucky 7's) and Cedar (fan braces). Can you sort of get my logic in doing it this way? Here's the Go-deck, doing its think with the secondary braces: 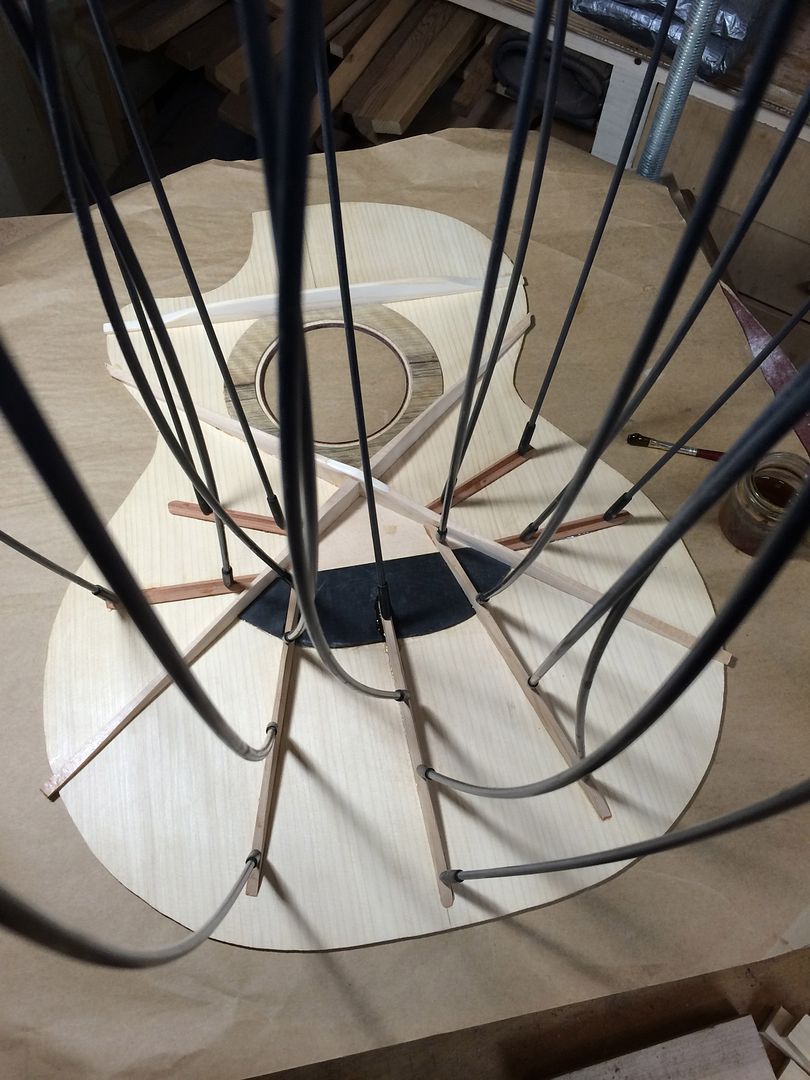 
__________________
Edwinson |
|
#32
|
||||
|
||||
|
Now that the top and back are done, time to put the whole thing together.
 First rule of lutherie: THE CENTER LINE IS SACRED, AND MUST BE GIVEN PROPER HONOR! Here's how I get the top lined up on center in the body mold: 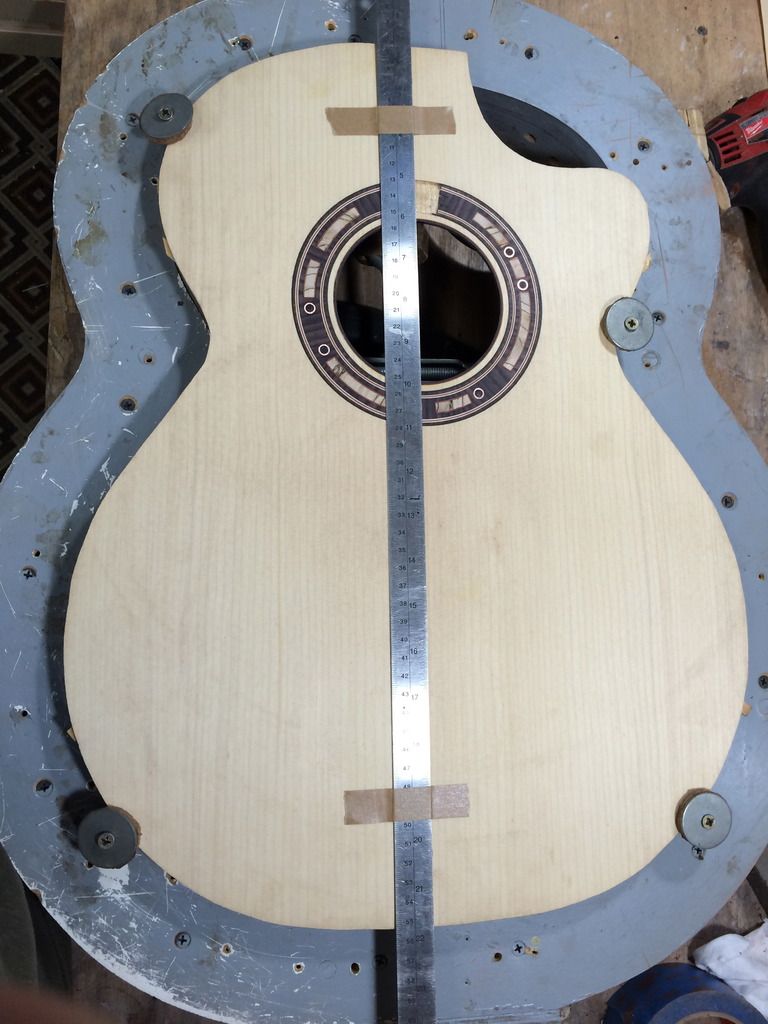 ...And the back:  Before the top goes on, I wanted to show you the interior, after it has been sealed with a thin coat of Shellac. I spray the shellac, instead of brushing. Also- TRADE SECRET ALERT!- I put about a level teaspoon of Talcum powder into 2 oz. of 2-pound cut shellac. What that does is, it cuts the gloss of the shellac, instead yielding a nice, subtle satin finish, that almost looks like no finish at all. This gives you the advantage of a sealed interior, which still looks very clean and neat.  ...And the top goes on! It's a built box! I like to glue the back and top to the rims in the Go-deck, rather than using a big pile of clamps. This way is quick and easy, and you can make an unobstructed visual inspection all the way around, to be sure there are no gaps.  And here is the sound box, all together, ready for the binding work. 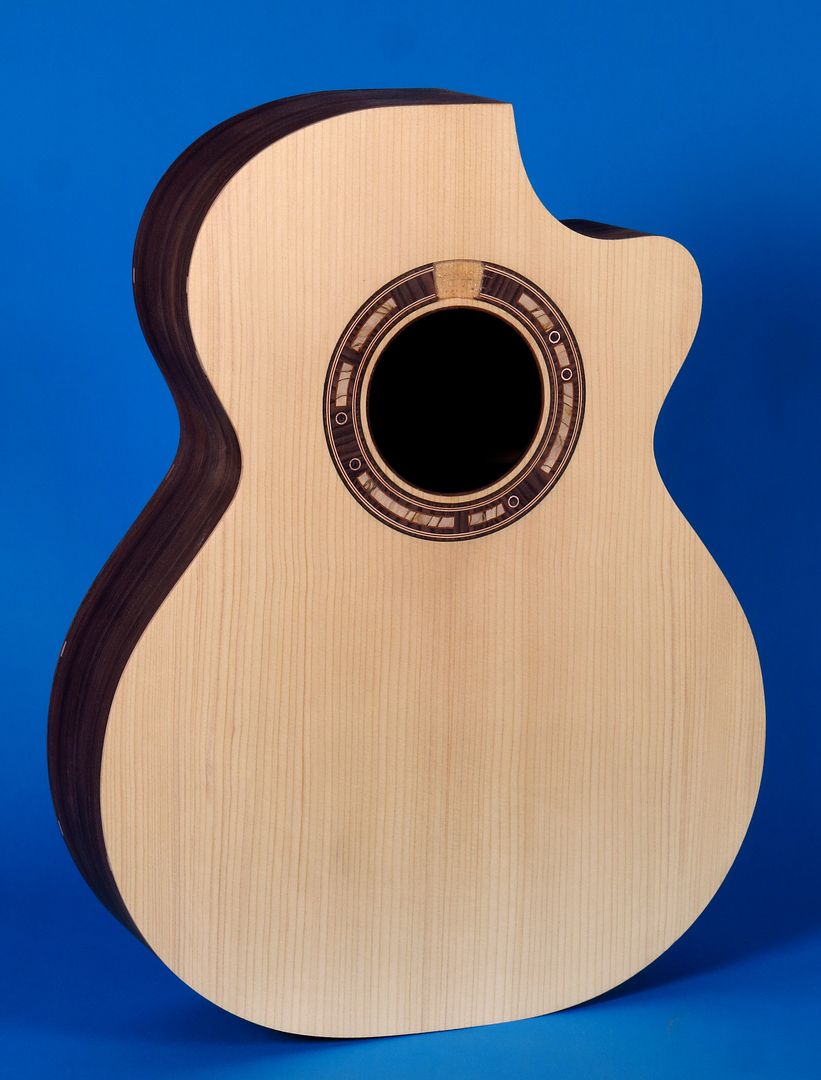 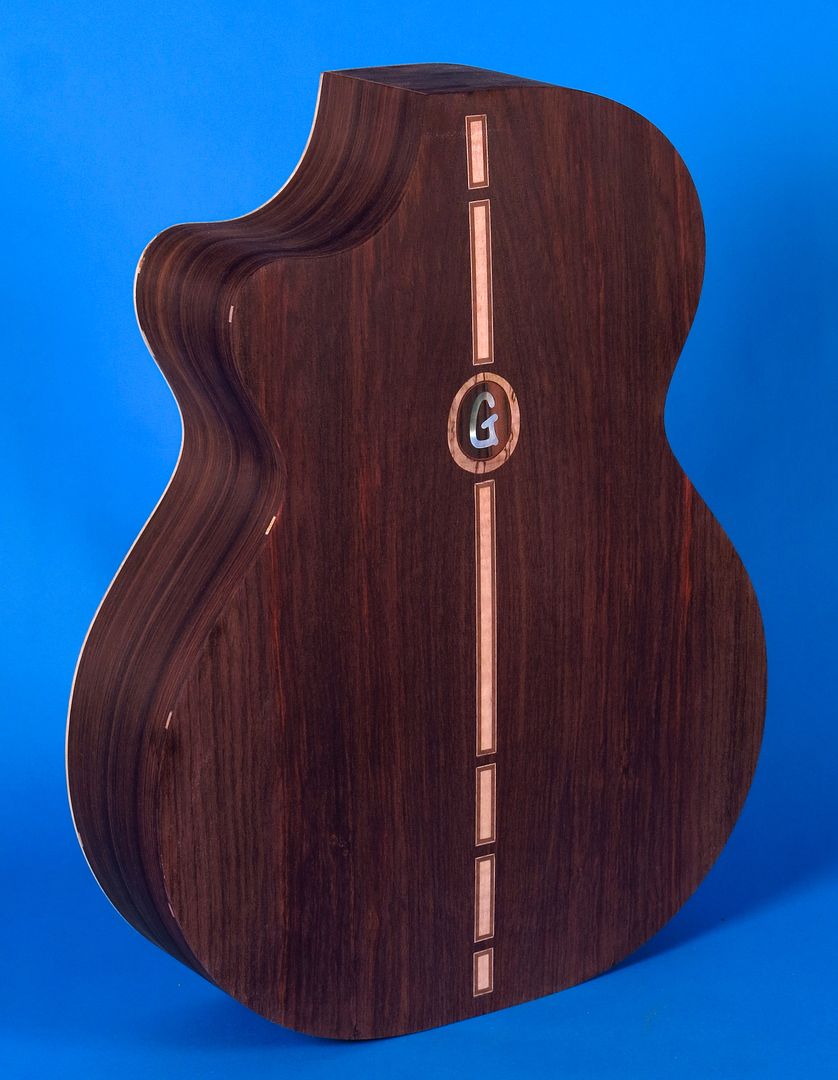 We decided to bind this guitar with black ebony, with .040" thick flamed white Maple purflings. I glued up a binding billet of the Ebony and Maple...  ...cut the binding strips on the table saw...  And got a handful of elegant B&W binding strips. 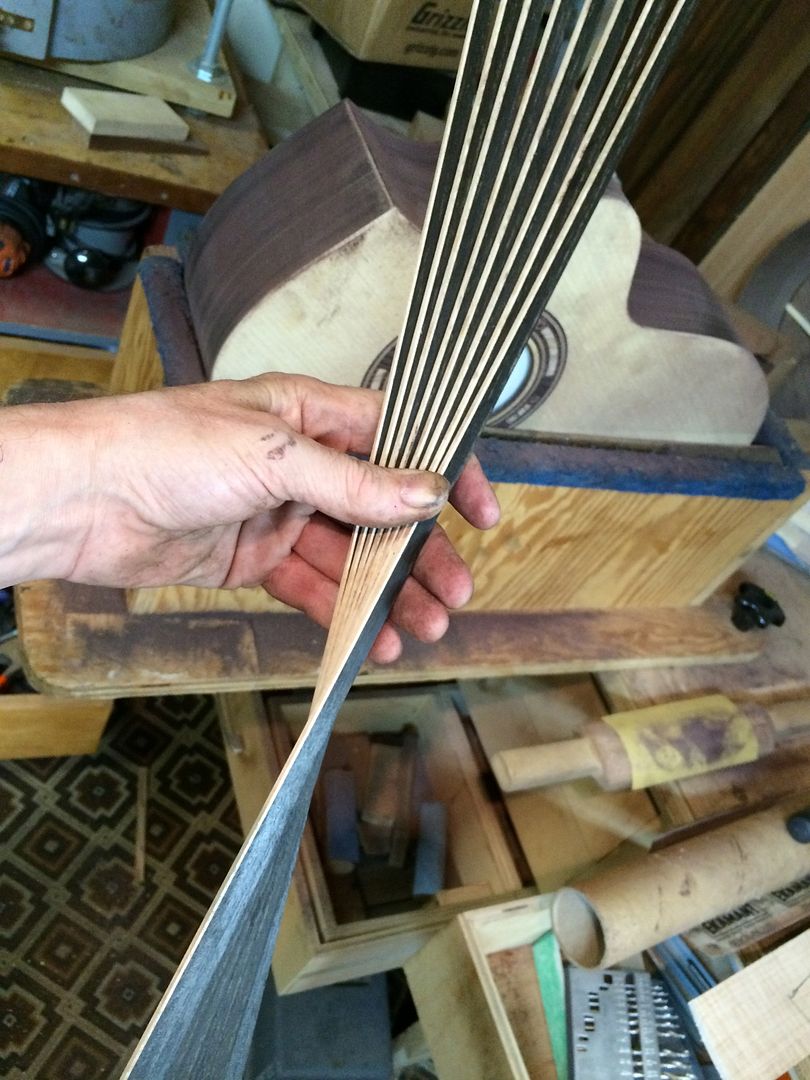 I also decided to use some cross-grain Indian rosewood for top purflings, which I cut to 1/16" wide on the table saw.  Before cutting the binding rabbets with the router, I score the edge of the sound board with my Schneider gramil. I love this little tool. Scoring it first prevents tear-out on the cross-grain of the tops, assuring very neat, clean work. 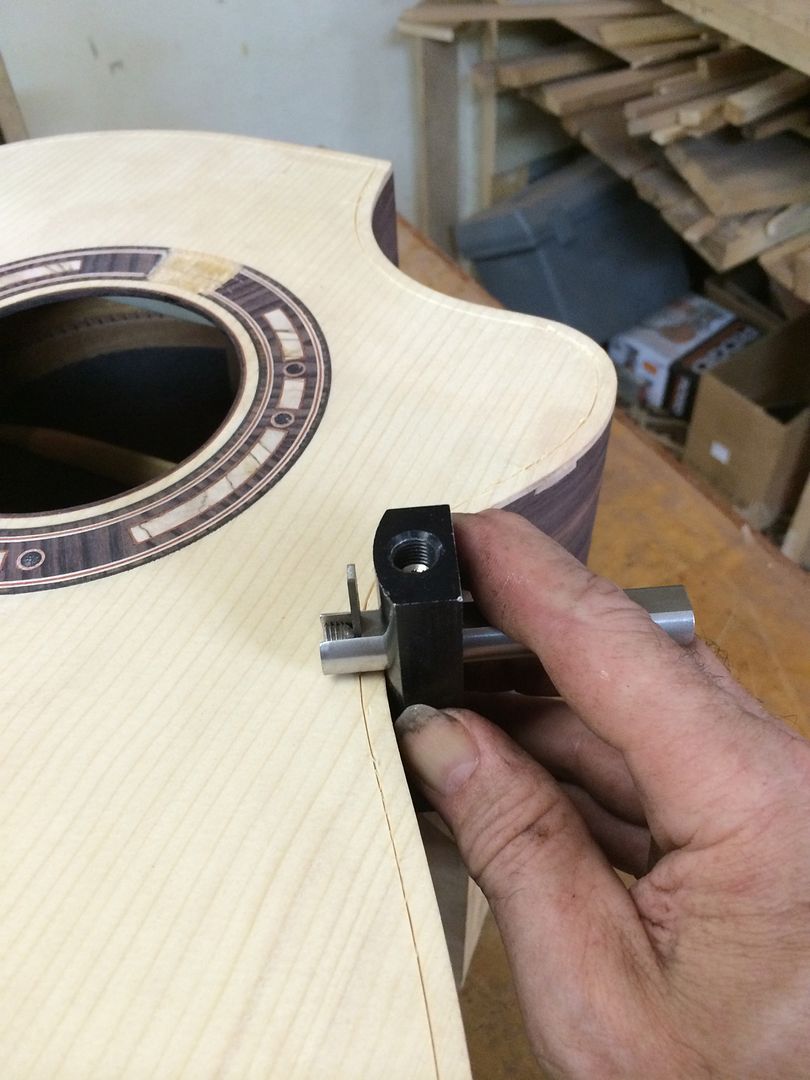 And now, the binding rabbets are cut with my binding jig, which consists of a fully adjustable cradle for the sound box, and a router mounted to a "tower", which keeps the cutter perfectly vertical, with up and down movement provided by ball-bearing drawer glides. 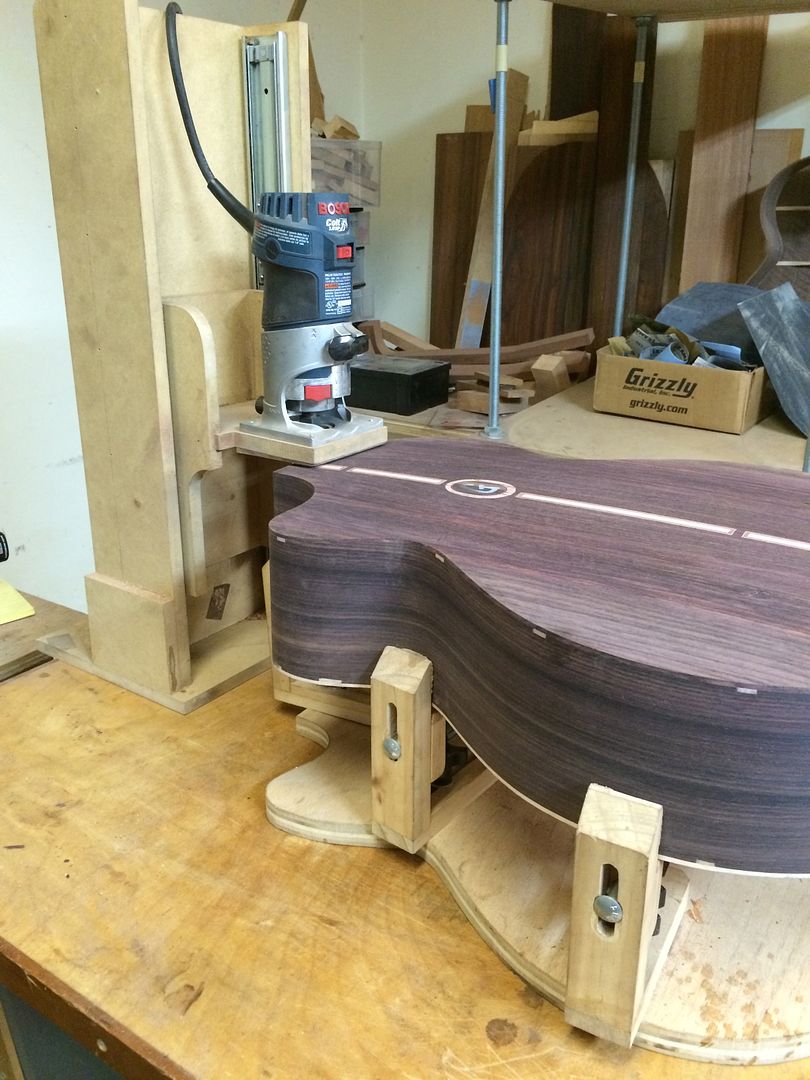 More soon- I just got called to dinner...
__________________
Edwinson |
|
#33
|
||||
|
||||
|
OK, the drawer guides for vertical adjustments of the router is pretty darned ingenious there young man!!!
|
|
#34
|
||||
|
||||
|
Umm...trade secret alert: you're giving me too many good ideas, I'm going to have to starting reading this thread with a notebook handy. Good stuff Steve. This is looking fantastic! I'm convinved that each new build your game steps up.
Chili cheese dogs are calling me. I just have to wait till tomorrow. |
|
#35
|
|||
|
|||
|
Steve this build looks great!
__________________
Collings OM2H Adi / Braz Doerr Legacy Swiss / Braz Franklin OM German / Braz Franklin OM Carpathian / Braz Goodall GC Italian / Honduran Goodall GC Italian / Braz Goodall CJC Italian / Braz Goodall CJC Italian / Afr. Blackwood McPherson 5.0 Full Koa McPherson 5.0XP Adi / Braz Martin D-28GE Adi / Braz |
|
#36
|
||||
|
||||
|
I like to start the binding work by doing the top purfling first. The purflings here are Black, White, Rosewood, White. And that will be topped off by the ebony bindings... A very elegant and straightforward theme.
 Some other binding elements, waiting their turn on the guitar... 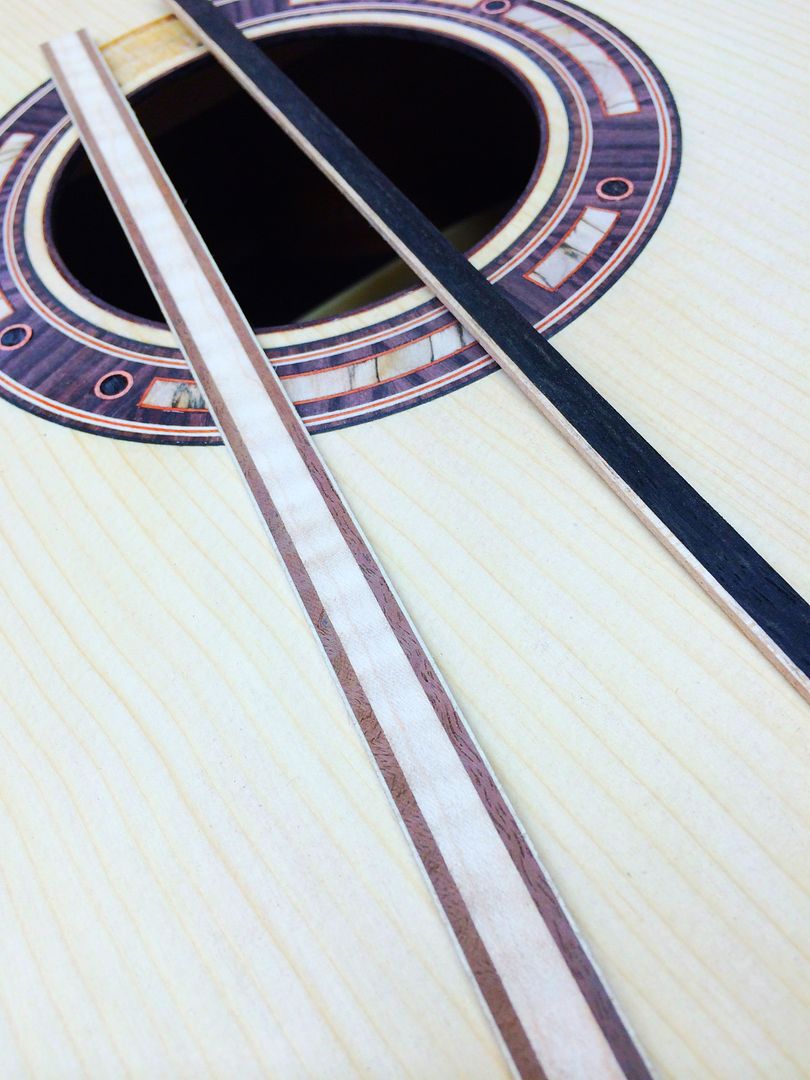 Good prep work is essential. (I learned that from a chef.)  Good follow-through also helps. And don't over-complicate things!   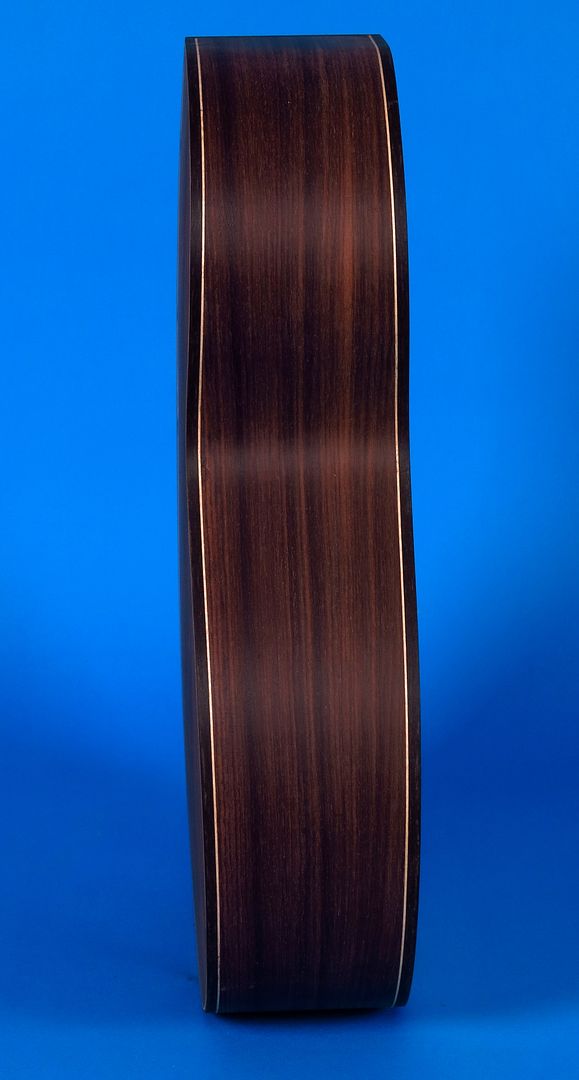 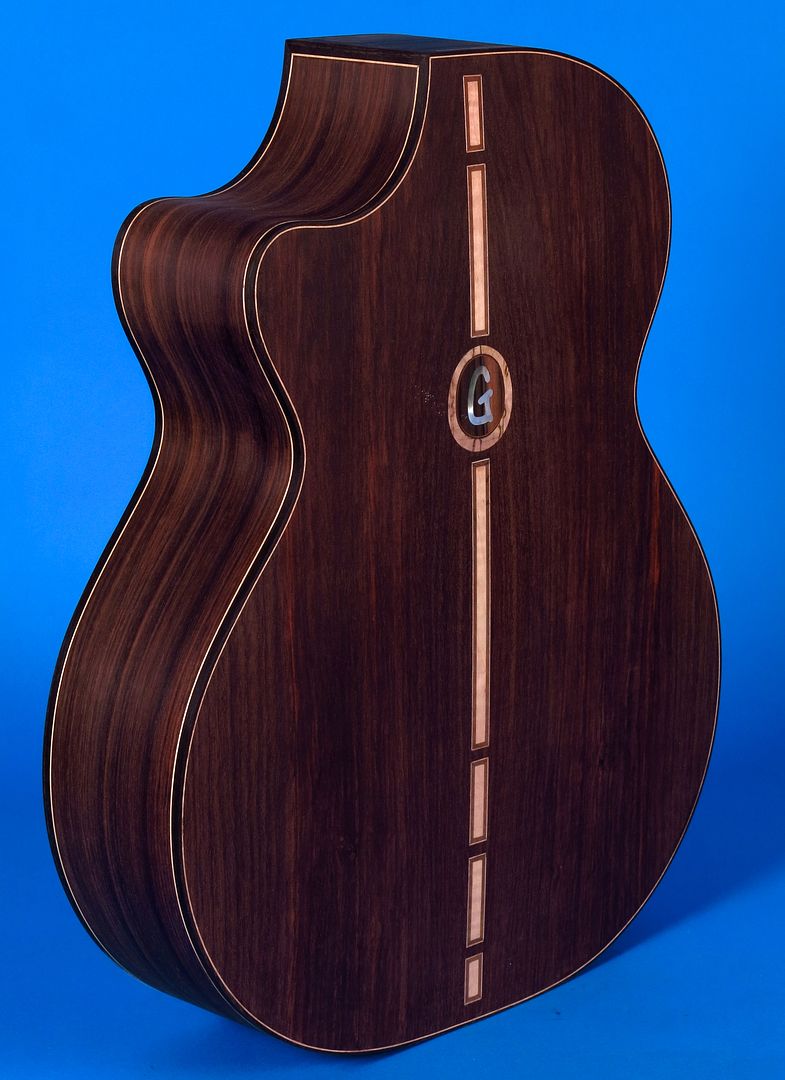 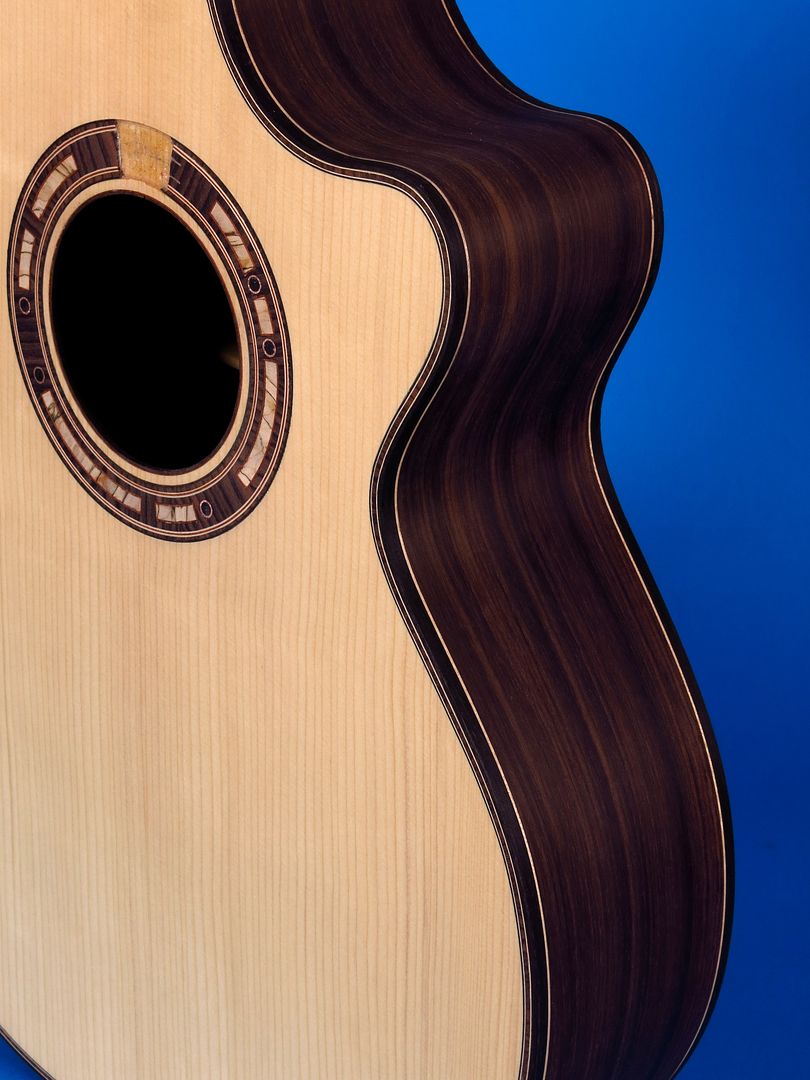 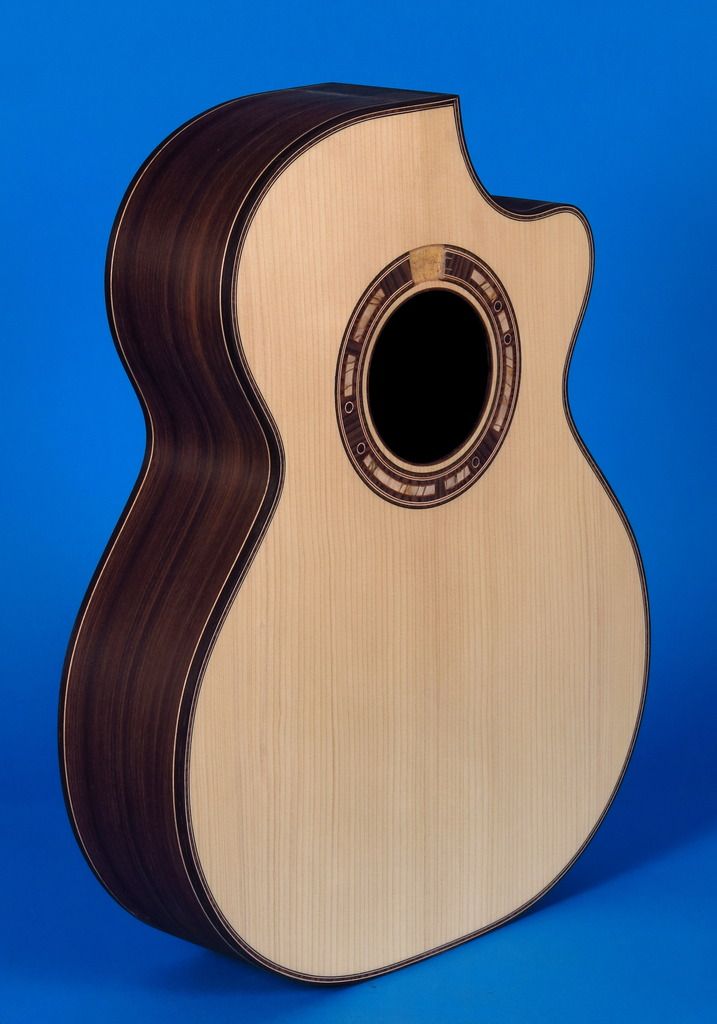 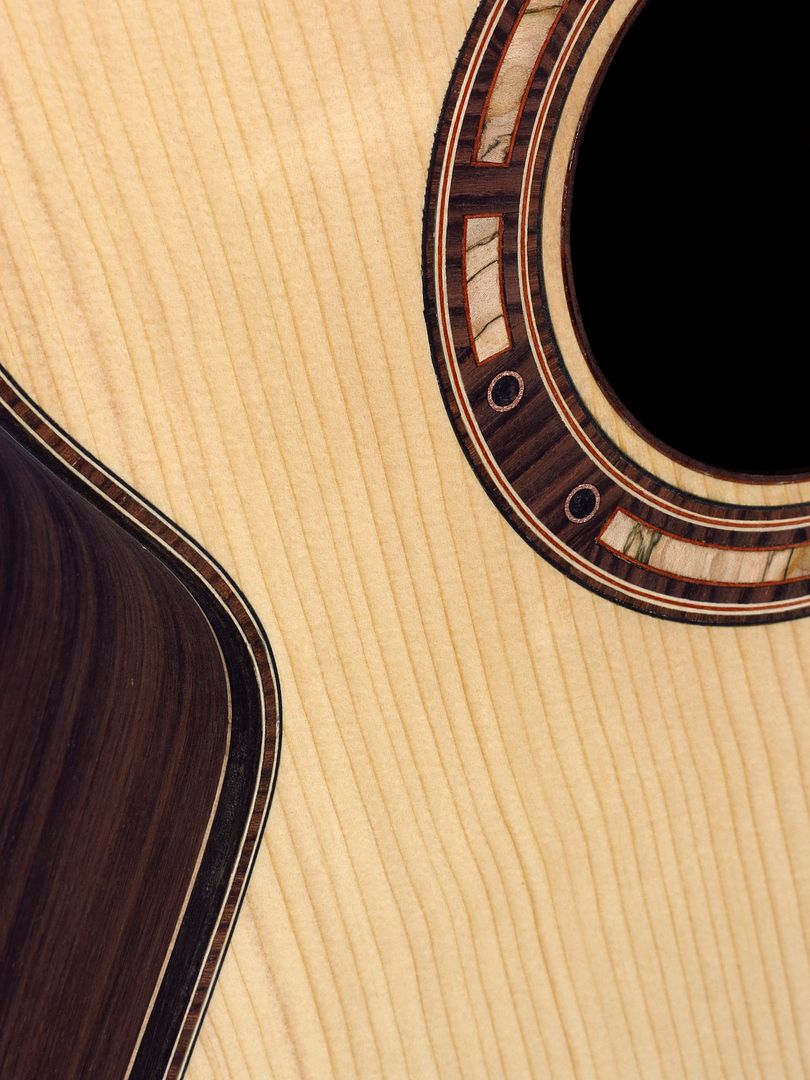
__________________
Edwinson |
|
#37
|
|||
|
|||
|
Future owner here again.
All I can say is: I don't have a good enough command of the English language (and I'm a natural born American and went through 17 grades of schooling) to express what fun I'm having watching this build. Jim |
|
#38
|
|||
|
|||
|
Fantastic!!!
|
|
#39
|
||||
|
||||
|
Steve, This is just a fantastic work of art you're producing here. I'm certain that Jim will LOVE it. I guess about everyone here is becoming more impressed with your work by the day. Amazing stuff!
__________________
"A good name is to be chosen rather than great riches, and favor is better than silver or gold." Woody (aka: Mike) FOR SALE: Kinnaird Brazilian!! |
|
#40
|
|||
|
|||
|
Steve, That is going to be a fine instrument. Very nice work and photos. Mike
|
|
#41
|
|||
|
|||
|
__________________
"Dreams are the answers to questions that we haven't figured out how to ask." - Mulder |
|
#42
|
||||
|
||||
|
Well, here it is, Sunday, July 19, and Jim's guitar is built, and the lacquer process is underway. Time to back up a bit, and update the thread with the neck construction. But first... I like to take a short break in between the major parts of a guitar build. Time to take a ten minute walk down to Lake Heather and see if the fish are on the prowl.
Jim and I are both avid fishermen, and we've swapped some photos of our outings. So here's a new one: 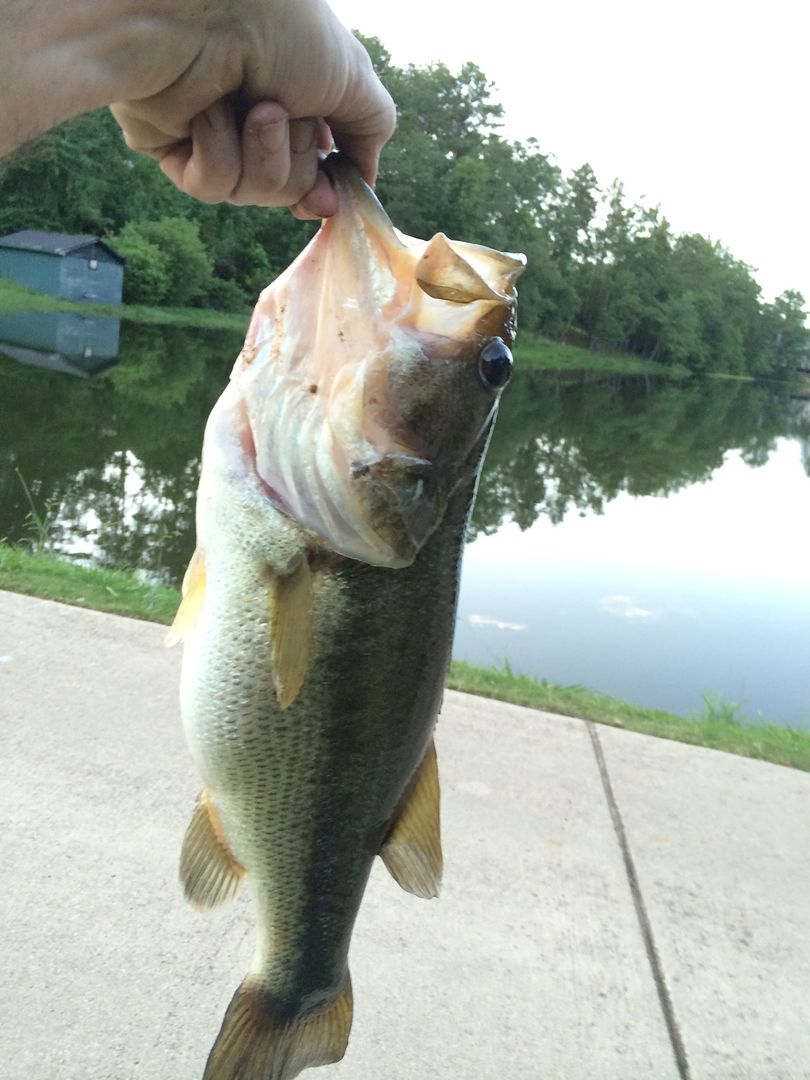 This largemouth is about 4 pounds; only kept him out of the water long enough to snap a quick photo, then I sent him home so he could grow bigger. And then, back to work. The neck is African Mahogany, with flamed Maple, flamed Walnut, and maple veneer lines, matching the theme on the back of the guitar. In this photo, the neck blank is already glued up, and the truss rod channel cut; Time to glue on the front headstock plate- the same ebony as used in the fingerboard. That's typical for my guitars- using the same wood for front headstock, fingerboard, and bridge. Nice design continuity, I think.   Since I use the fingerboard as a routing template to trim the neck shaft to final width, the fingerboard is built before any of the major neck shaping is done.
__________________
Edwinson |
|
#43
|
||||
|
||||
|
Here, the neck shaft and headstock have been routed to profile; now I put the neck into this holding jig so I can use the Saf-T-Planer on the drill press to trim the neck shaft down to within 1/16" of final thickness. I built this jig to cut the neck shaft taper precisely. It makes final dimensioning of the neck easy and accurate.
  Once that step is done, the headstock is thickness sanded, and the backstrap (rear headstock plate) is glued on. In this case, it's the same Indian Rosewood as the guitar back, with a white Maple veneer underneath.  ...Then it's time to drill out the tuner post holes in the side of the headstock. I made this drilling jig, which keeps everything lined up accurately. This is going to be a Pogoda slotted headstock, and we are using Gotoh gold, vintage style open-gear tuners.   I made another routing jig that enables cutting in the slots with a flush trim router bit. In this photo, the slots are cut, and now it's time to bind the headstock. We are using flamed Maple purflings on the fingerboard and headstock, and Ebony bindings. Here, the binding rabbets are cut on the headstock.  Here's the bound and purfled headstock. 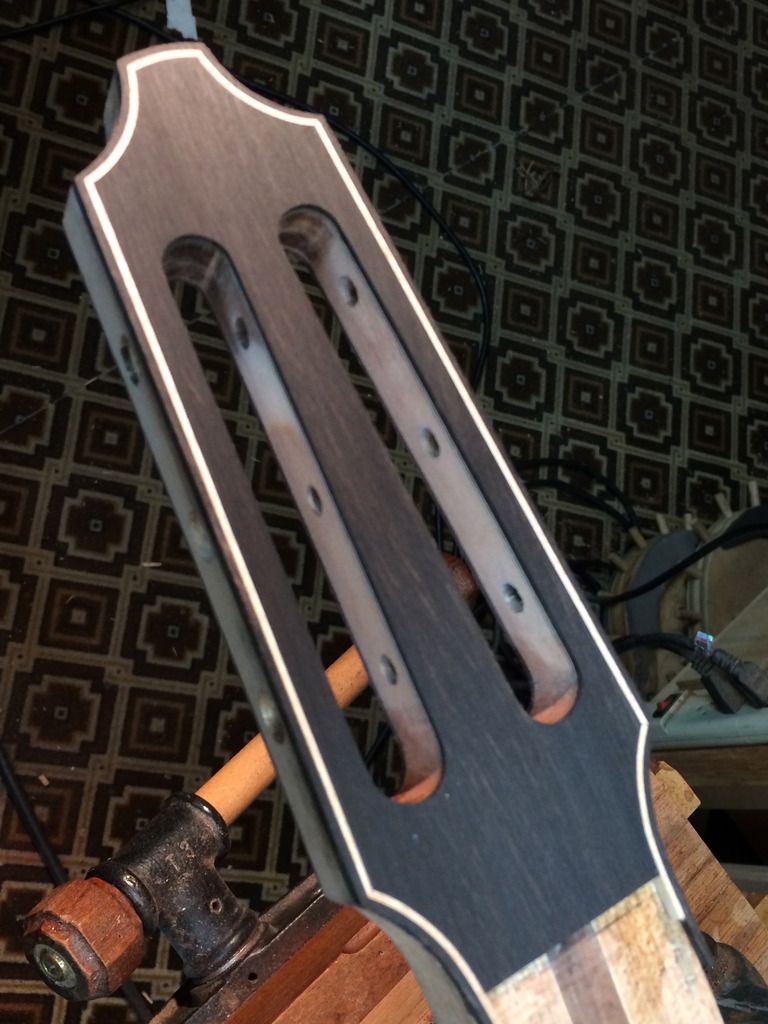 Time to go shoot a coat of lacquer. I'll be back soon to continue the narrative. Thanks for looking...
__________________
Edwinson |
|
#44
|
||||
|
||||
|
Here, I have installed the logo at the headstock crest, and I'm carving in the ramps. I use a rat-tail rasp, and sandpaper rolled into a spindle for this. You have to be very careful not to mess up the inside of the slots while you are doing this. You only get one chance to get it right. Fortunately, I've been through this procedure enough times to know how to avoid the booby-traps.
Slotted headstocks are a lot more involved and tricky than solid headstocks; but I really enjoy making them.  Now it's time to radius the fingerboard. I do this the old-fashioned way, with a 16" radius sanding block, and steel bar (ground flat on two sides) faced with sand paper. The fingerboard is stuck onto the workbench top with double-sided adhesive to hold it in place. The white pencil marks on the fingerboard are useful to keep track of your progress, and make sure everything is even and straight. 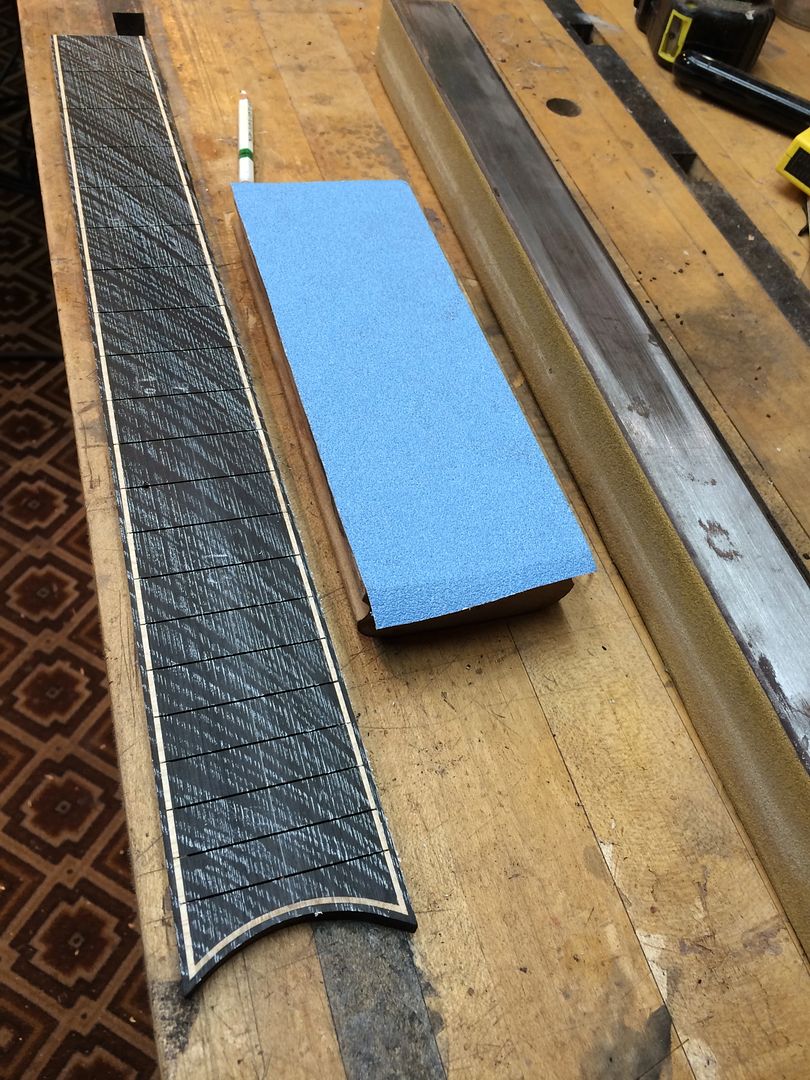  And here's the neck, ready for the mortise-and-tenon neck joint to be cut and fitted. This procedure has to be dead-on accurate, and it's much easier to do this BEFORE the fingerboard is glued on. 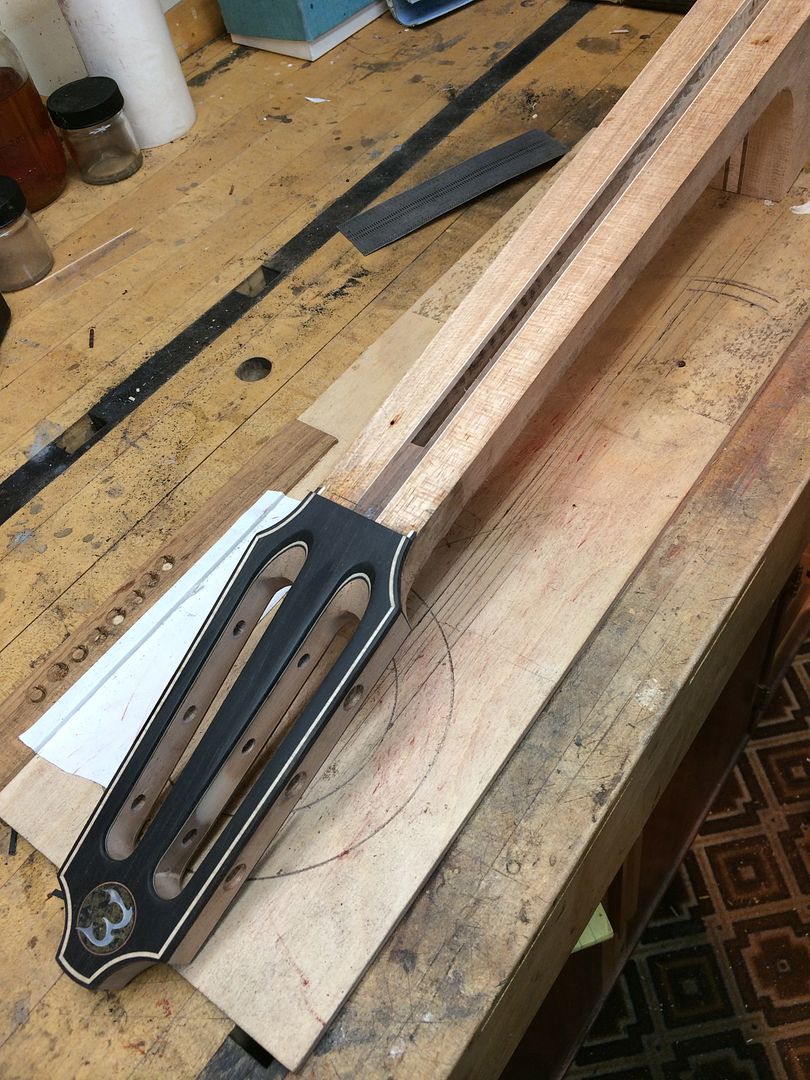 Here, I'm routing the mortise into the neck block, using a very simple plexiglass template and a flush-trim bit in the router.  After the neck joint is well-fitted, glue on the heel cap...  ...and then I make a tapered ramp for the fingerboard extension. In this photo, the truss rod has been installed in the neck, and a spline glued in.  And finally, it's time to glue on the fingerboard. 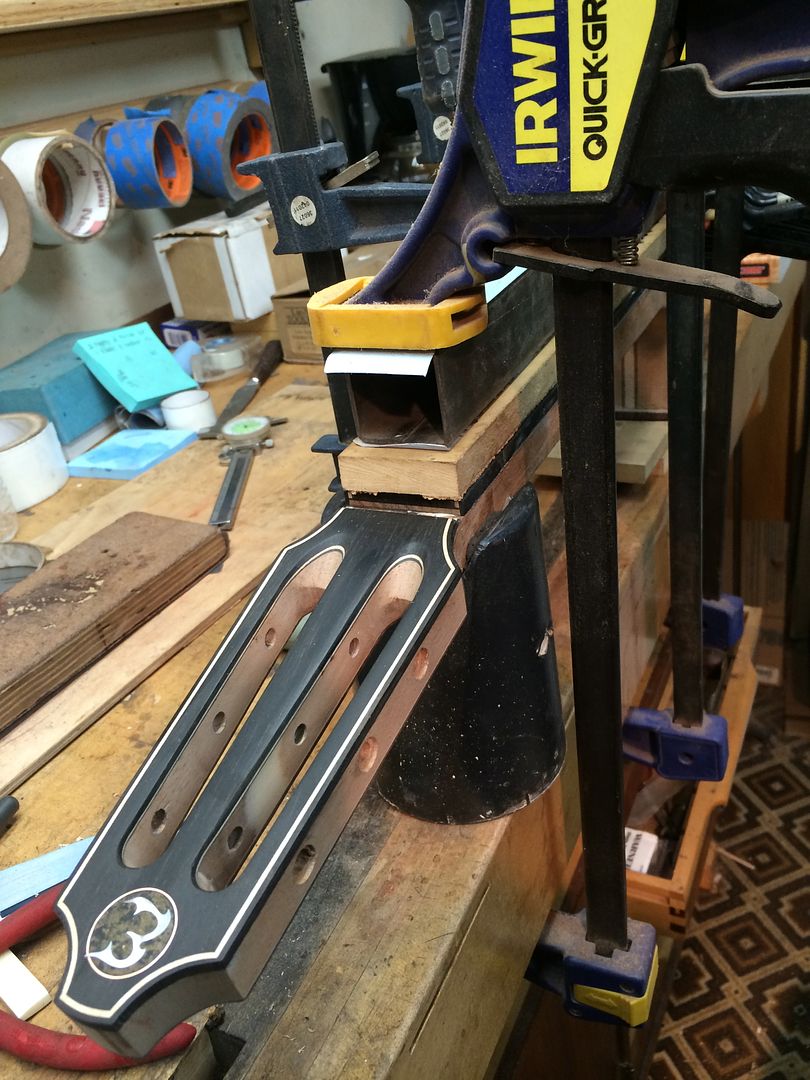 Sometimes, the moisture in the hide glue can cause thefingerboard to warp, leaving gaps along the edges. That can be a lot of trouble; so I take precautions by clamping it very securely with a fingerboard gluing jig, and a steel bar on top to keep it straight.  Success! Now it's time to install the frets. In this case, Evo Gold frets are used. Evo fret wire is harder than nickel/silver, but not as hard as stainless steel. It holds up well over time, and I think the subtle gold gleam of the polished frets looks really classy. 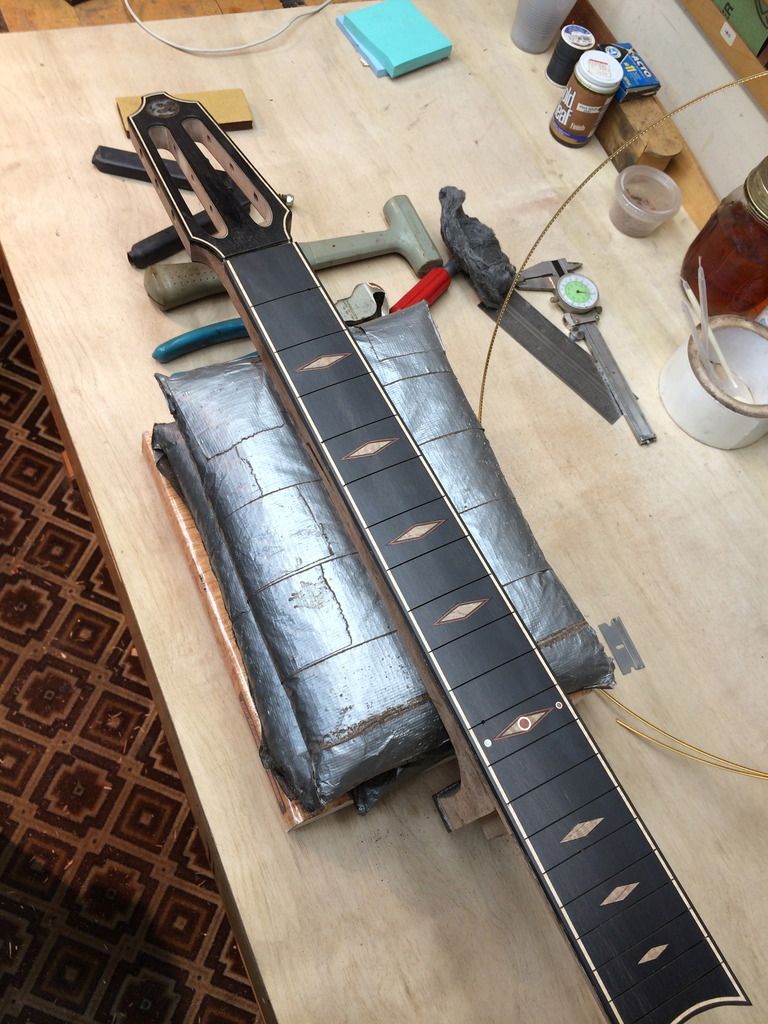 Oh, yeah... the fingerboard inlay... Jim requested that I use the bordered diamonds used on another recent build. The diamonds are flamed Pyinma wood, bordered with black/rust veneer lines. We'll get to the actual neck carving shortly. Time for Sunday chores...
__________________
Edwinson |
|
#45
|
||||
|
||||
|
Looking great again Steve. I really like how you describe the work in such detail. That fingerboard looks great! The largemouth was pretty nice too!
|