
|
|
#31
 09-08-2018, 09:13 PM
|
|||
|
|||
|
Quote:
Hmmm...how about we start from scratch on a super colorful guitar? I could go for that.
__________________
Ryan Gerber 
|
|
#32
09-08-2018, 09:36 PM
|
|||
|
|||
|
Continuing with the Walnut guitar, here are some pics of the process of getting the neck together.
This jig is set up to carve the back of the headstock and the volute. Do half, then flip it to the other side and do the other half. Not the safest thing to do on a router table with a straight edge router bit, especially when cutting the rising grain, but I take it slow and easy. [IMG]  IMG_5513 by ryan gerber, on Flickr[/IMG] IMG_5513 by ryan gerber, on Flickr[/IMG]Getting the neck angle and the neck to body transition just right before gluing the fretboard to the neck. [IMG]  IMG_5511 by ryan gerber, on Flickr[/IMG] IMG_5511 by ryan gerber, on Flickr[/IMG]Sorry for the StewMac advertisement! [IMG]  IMG_5512 by ryan gerber, on Flickr[/IMG] IMG_5512 by ryan gerber, on Flickr[/IMG]Gluing all of the parts and pieces together at once. I use epoxy for all of these glue joints so as to not add any moisture to the neck. Everything comes out just as flat as it was before. [IMG]  IMG_5517 by ryan gerber, on Flickr[/IMG] IMG_5517 by ryan gerber, on Flickr[/IMG]After a few hours of rough carving the neck by hand, it's on to finish sanding with this simple tool. I got the idea from Michael Greenfield, who showed a similar method for flattening the sides of the body. But in this case the idea is to shoe-shine the shaft of the neck. The spring steel flattens any deviations along the neck, and makes it super easy to get a really nice profile. I hope these pics aren't a bore to most of you, but when I find an idea that saves a tone of time, I think it's worth sharing. If another young builder out there try's it, and it benefits them, then great! [IMG] 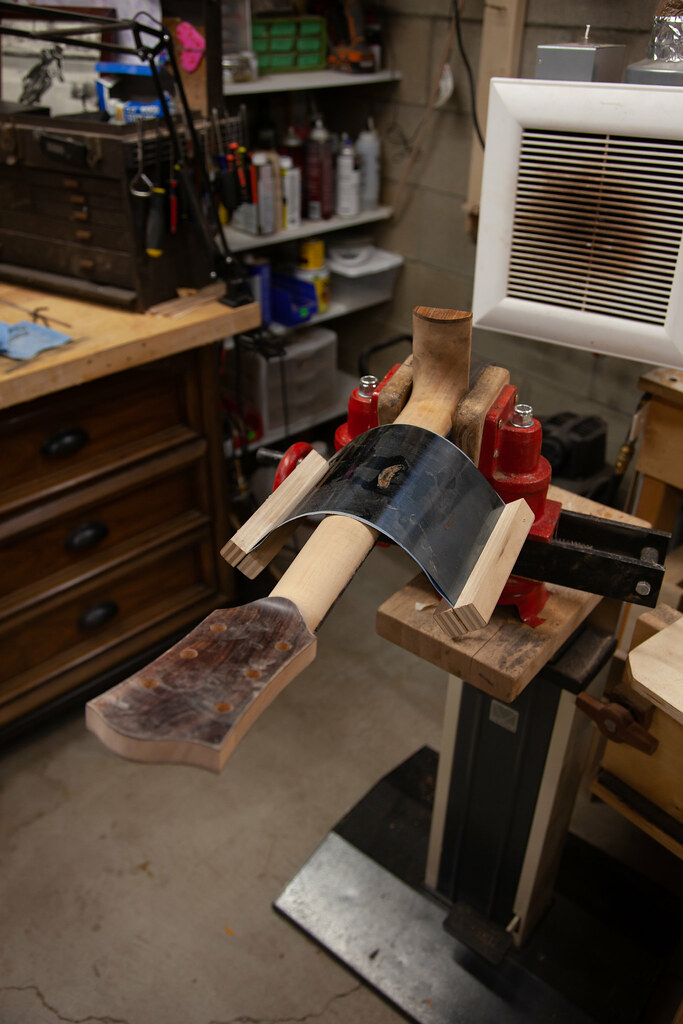 IMG_5528 by ryan gerber, on Flickr[/IMG] IMG_5528 by ryan gerber, on Flickr[/IMG][IMG][IMG]  IMG_5497 by ryan gerber, on Flickr[/IMG][/IMG] IMG_5497 by ryan gerber, on Flickr[/IMG][/IMG][IMG]  IMG_5498 by ryan gerber, on Flickr[/IMG] IMG_5498 by ryan gerber, on Flickr[/IMG]
__________________
Ryan Gerber
|
|
#33
09-08-2018, 10:54 PM
|
||||
|
||||
|
Quote:
__________________
Circa OM-30/34 (Adi/Mad) | 000-12 (Ger/Maple) | OM-28 (Adi/Brz) | OM-18/21 (Adi/Hog) | OM-42 (Adi/Braz) Fairbanks SJ (Adi/Hog) | Schoenberg/Klepper 000-12c (Adi/Hog) | LeGeyt CLM (Swiss/Amzn) | LeGeyt CLM (Carp/Koa) Brondel A-2 (Carp/Mad)
|
|
#34
09-11-2018, 03:05 PM
|
|||
|
|||
|
This week I will hopefully wrap up to the two remaining guitars in this batch - the Koa and the Mahogany.
Today the Koa guitar was completed. [IMG] 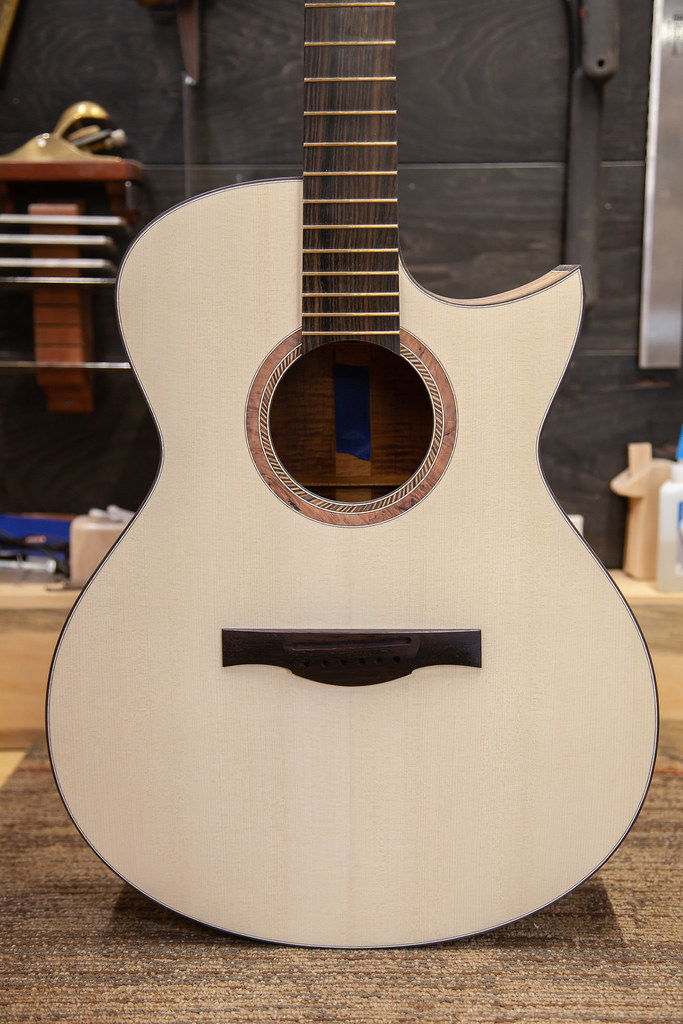 IMG_5548 by ryan gerber, on Flickr[/IMG] IMG_5548 by ryan gerber, on Flickr[/IMG][IMG] 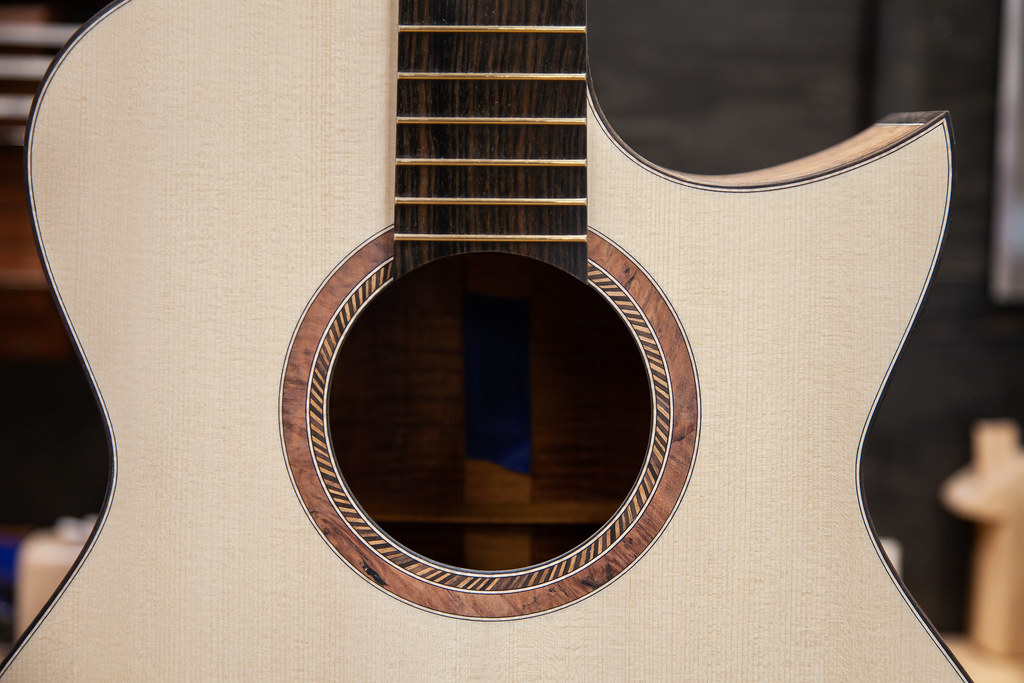 IMG_5550 by ryan gerber, on Flickr[/IMG] IMG_5550 by ryan gerber, on Flickr[/IMG][IMG] 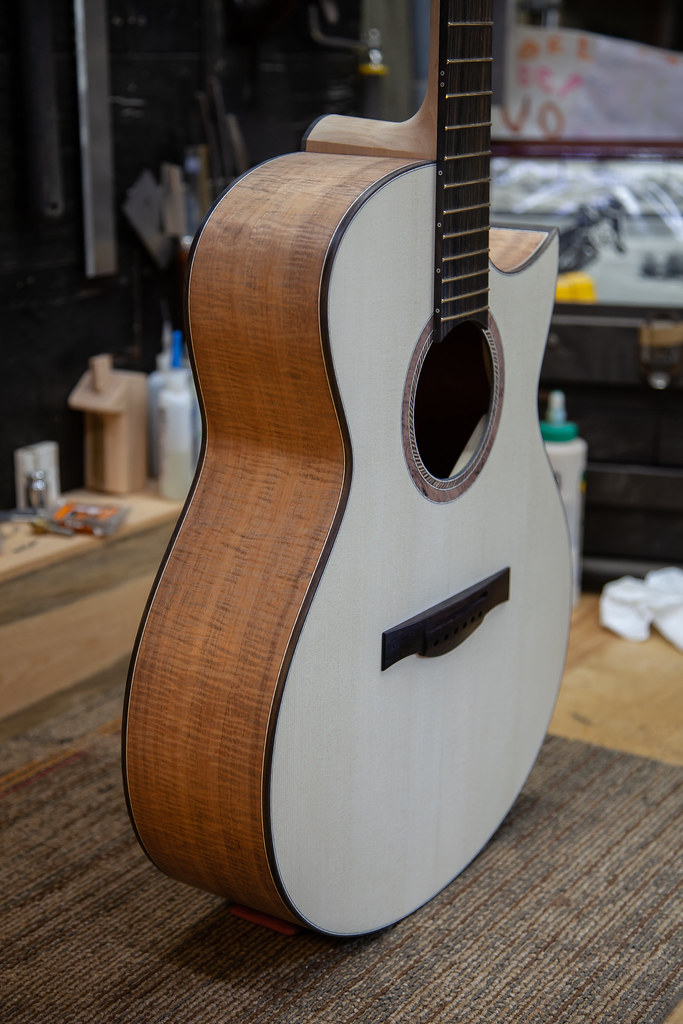 IMG_5552 by ryan gerber, on Flickr[/IMG] IMG_5552 by ryan gerber, on Flickr[/IMG][IMG] 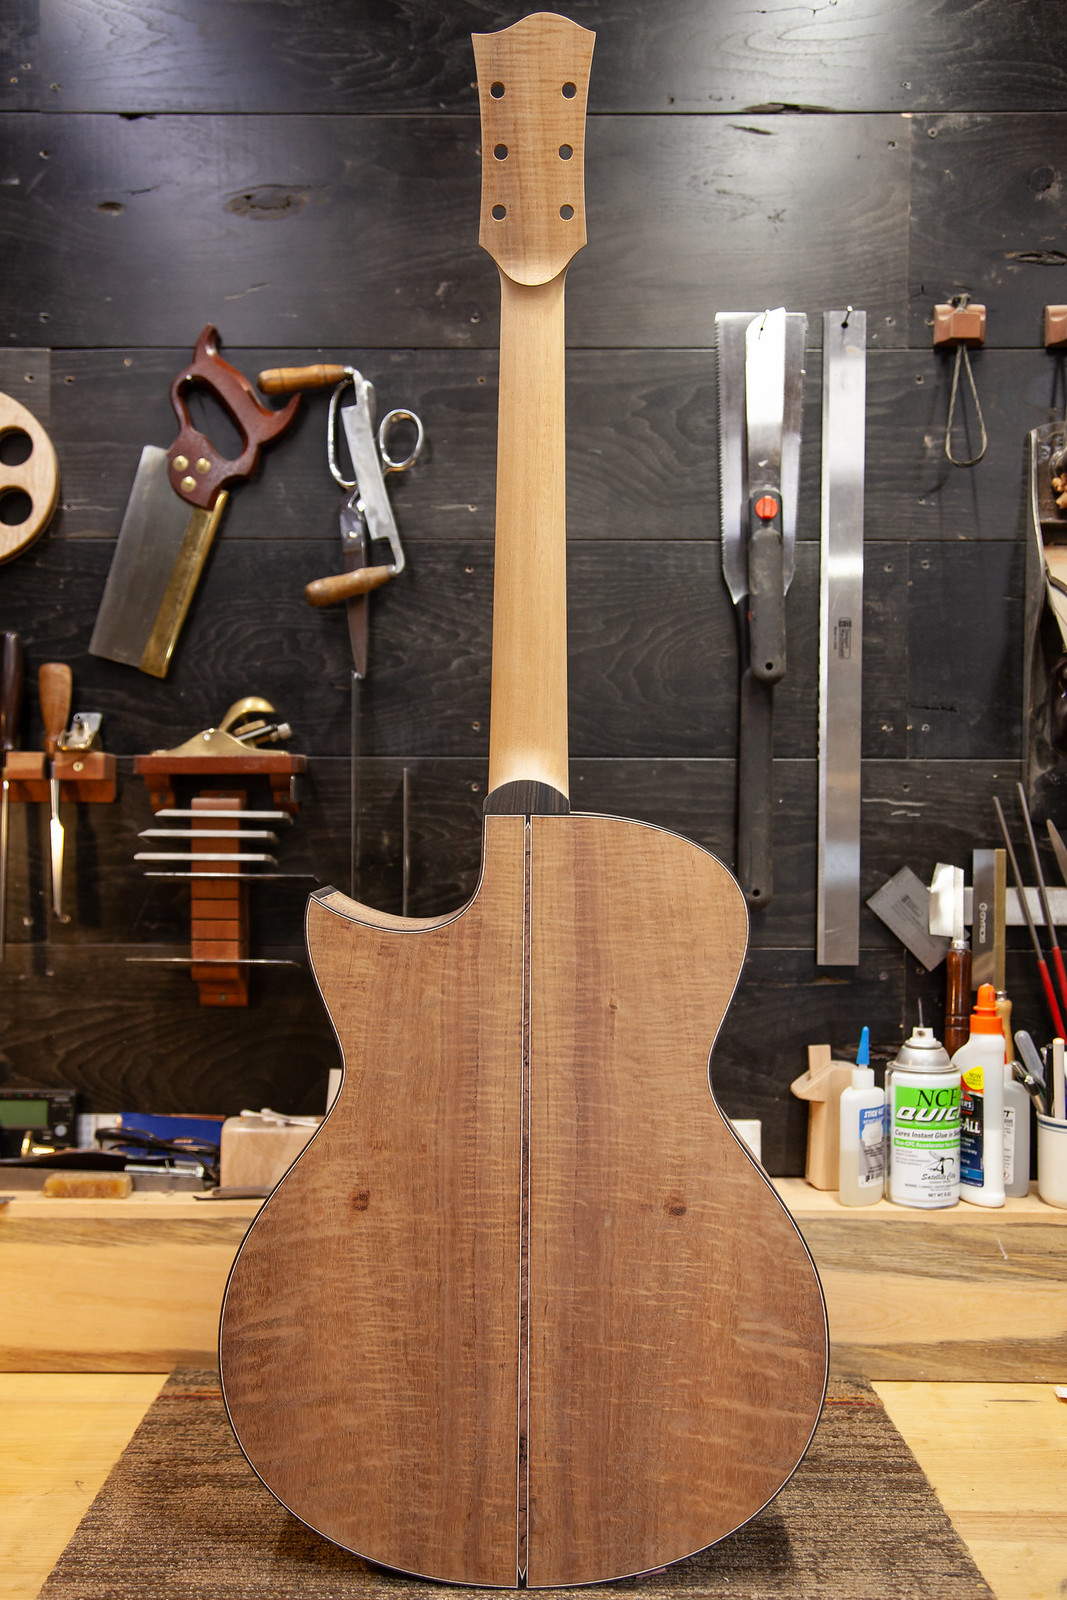 IMG_5555 by ryan gerber, on Flickr[/IMG] IMG_5555 by ryan gerber, on Flickr[/IMG][IMG]  IMG_5557 by ryan gerber, on Flickr[/IMG] IMG_5557 by ryan gerber, on Flickr[/IMG]
__________________
Ryan Gerber
|
|
#35
09-14-2018, 09:14 PM
|
|||
|
|||
|
I wrapped up the beeswing mahogany guitar today and now all three are at the finishers shop.
Here are a few pictures from today. Making a bridge. [IMG]  IMG_5563 by ryan gerber, on Flickr[/IMG] IMG_5563 by ryan gerber, on Flickr[/IMG]Pressing frets with my recycled drill press. [IMG]  IMG_5560 by ryan gerber, on Flickr[/IMG] IMG_5560 by ryan gerber, on Flickr[/IMG]Beeswing Honduran mahogany back and sides. There sure is a lot of figure in this set. I"m excited to see it with finish. [IMG] 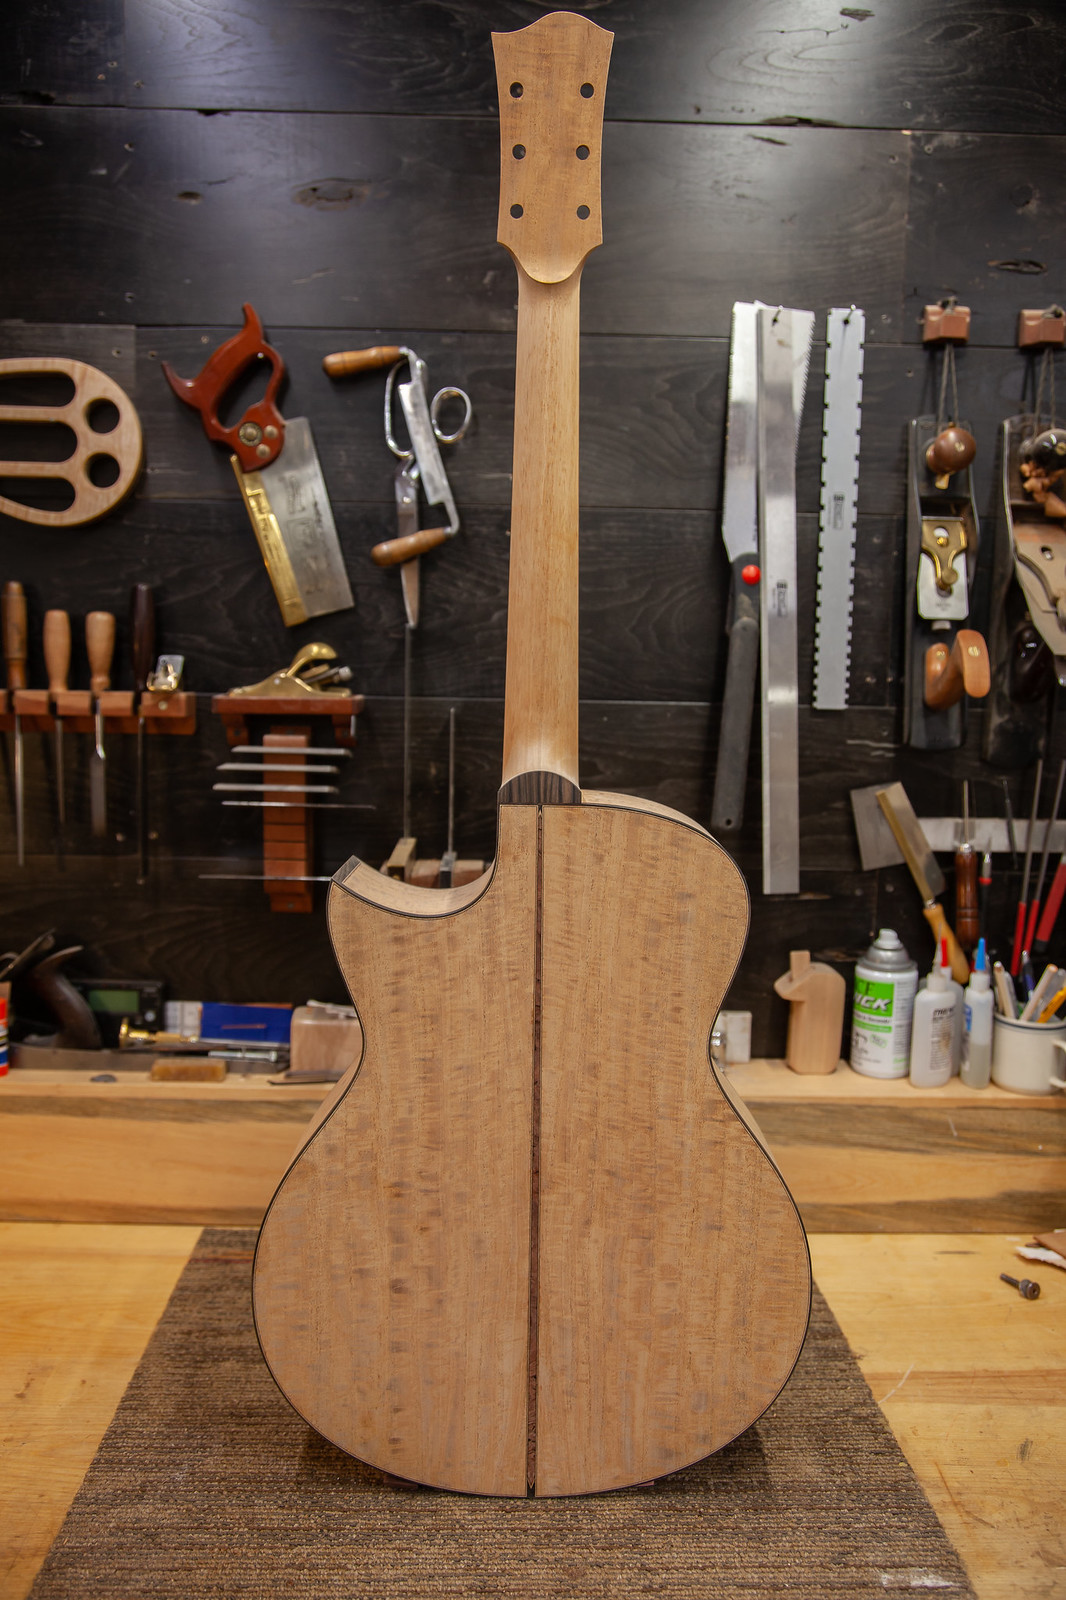 IMG_5569 by ryan gerber, on Flickr[/IMG] IMG_5569 by ryan gerber, on Flickr[/IMG][IMG]  IMG_5570 by ryan gerber, on Flickr[/IMG] IMG_5570 by ryan gerber, on Flickr[/IMG][IMG]  IMG_5564 by ryan gerber, on Flickr[/IMG] IMG_5564 by ryan gerber, on Flickr[/IMG]And the headstock. I second-guessed myself quite a bit on this, but in the end decided to go with the Amboyna burl headstock veneer to match the rosette and center strip on the back. It darkens up nicely when wet. [IMG] 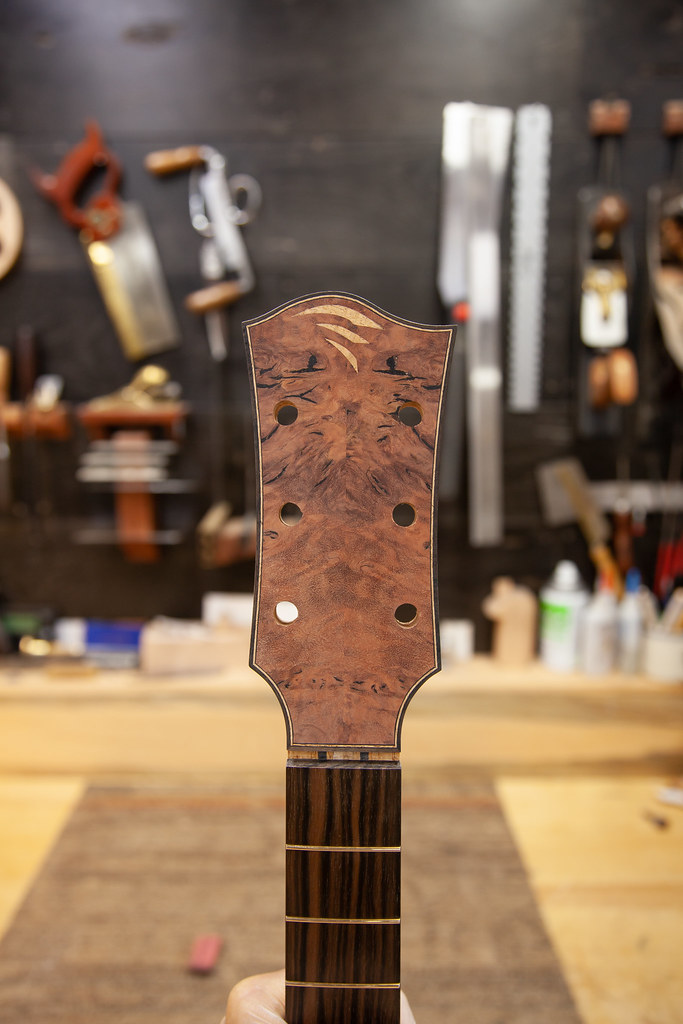 IMG_5571 by ryan gerber, on Flickr[/IMG] IMG_5571 by ryan gerber, on Flickr[/IMG]
__________________
Ryan Gerber
|
|
#36
09-14-2018, 09:18 PM
|
||||
|
||||
|
Really like the headstock Ryan.
|
|
#37
09-15-2018, 09:28 AM
|
|||
|
|||
|
Quote:
The guitars are looking fantastic!
|
|
#38
09-15-2018, 09:29 PM
|
|||
|
|||
|
Quote:
That's great to hear that you want to give it a try. I measured the spring steel that I use and it is .005" thick. It seems to provide just the right amount of flex to easily shape the neck the way you want. You'll quickly figure out how much to "wrap" the steel around the neck to remove material where you want. Good luck and let me know how you like it!
__________________
Ryan Gerber
|
|
#39
10-23-2018, 08:58 PM
|
|||
|
|||
|
A few weeks ago the first guitar in this batch to be finished arrived back at my shop ready for assembly. It has had strings on it for a week or so, and I'm super happy with the result. From the first strums on this guitar, it immediately had an extra spark to it....something beautiful right out of the gate.
I'm looking forward to being at Woodstock this weekend as a guest. I presented last year and it was great (minus the terribly timed bout with pneumonia). This time I'll just be there to take in all the glory and inspiration. Really looking forward to making some new friends. Here are a few pics that I took tonight. [IMG] 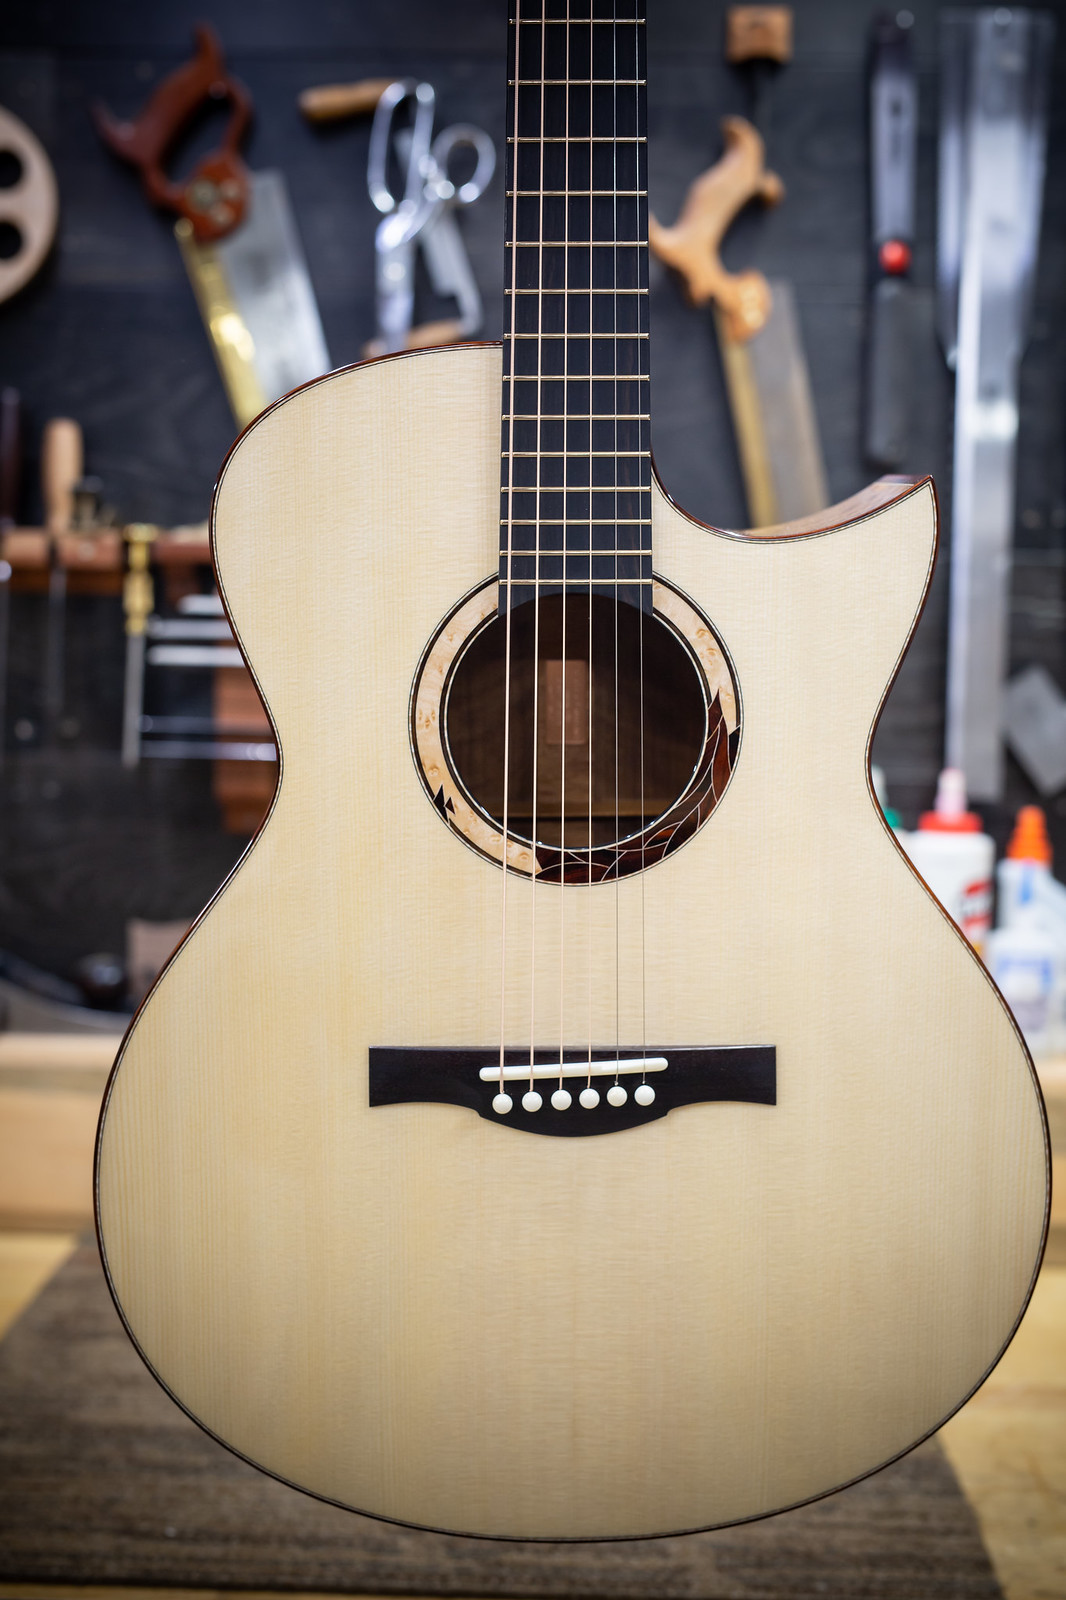 9E5B9645 by ryan gerber, on Flickr[/IMG] 9E5B9645 by ryan gerber, on Flickr[/IMG][IMG] 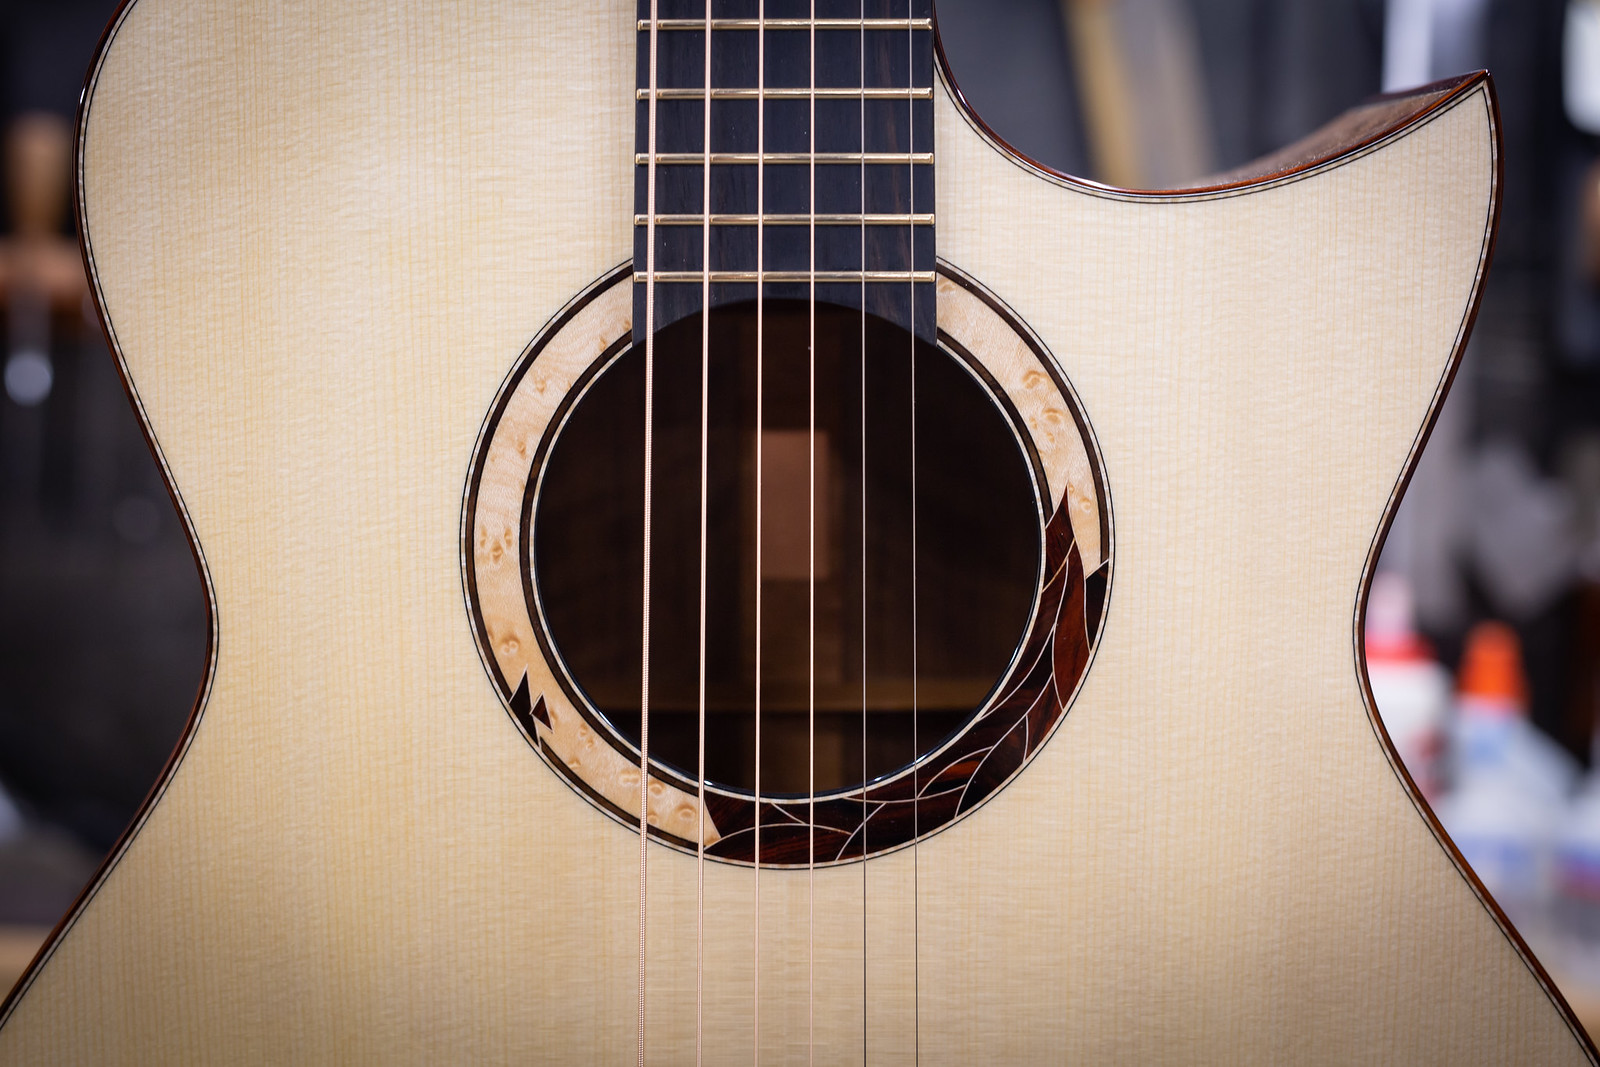 9E5B9647 by ryan gerber, on Flickr[/IMG] 9E5B9647 by ryan gerber, on Flickr[/IMG][IMG] 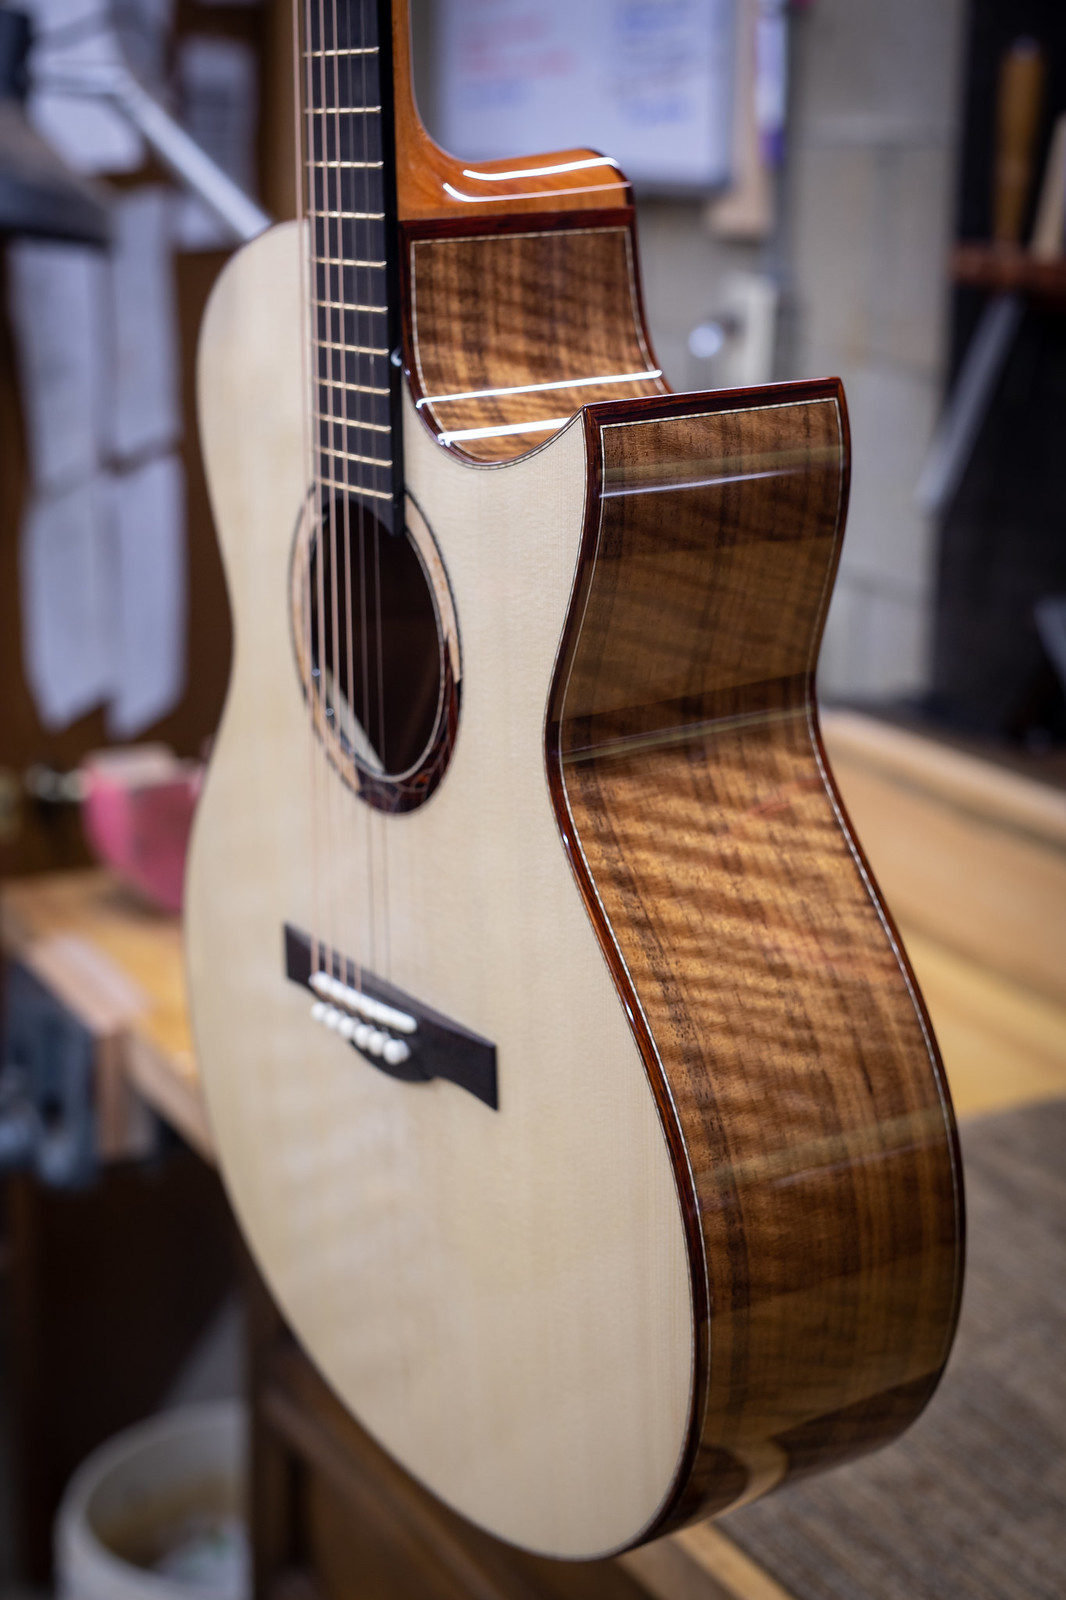 9E5B9649 by ryan gerber, on Flickr[/IMG] 9E5B9649 by ryan gerber, on Flickr[/IMG][IMG] 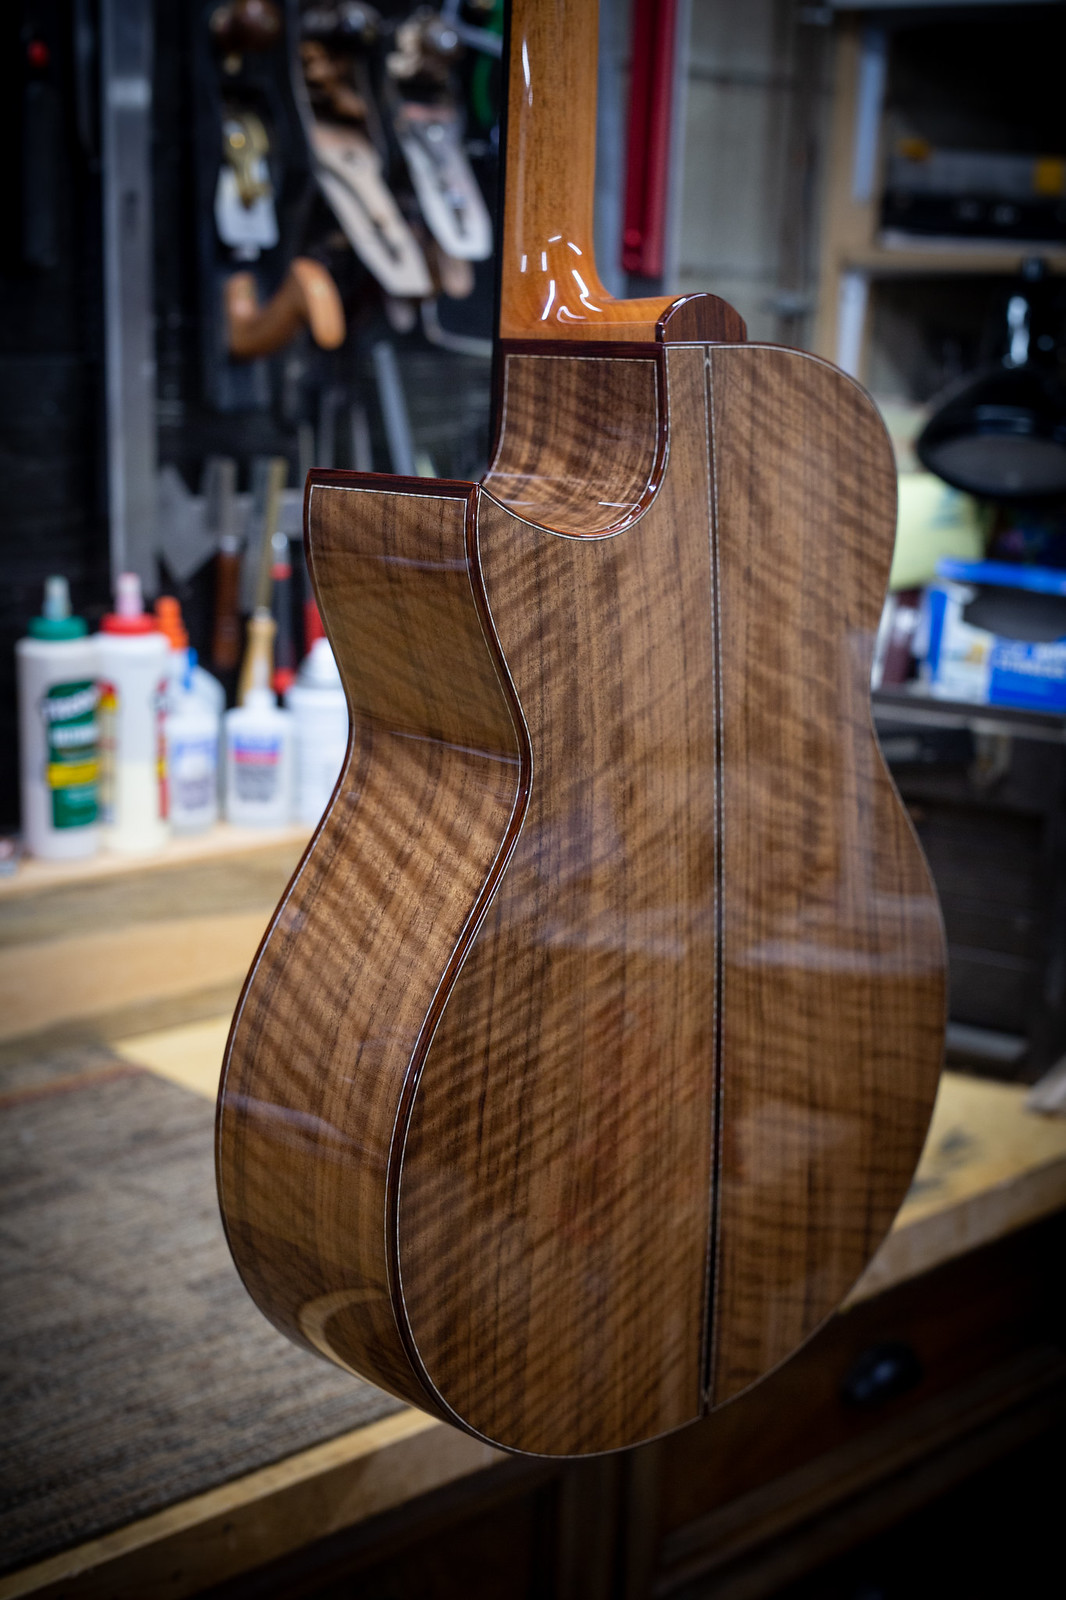 9E5B9652 by ryan gerber, on Flickr[/IMG] 9E5B9652 by ryan gerber, on Flickr[/IMG][IMG] 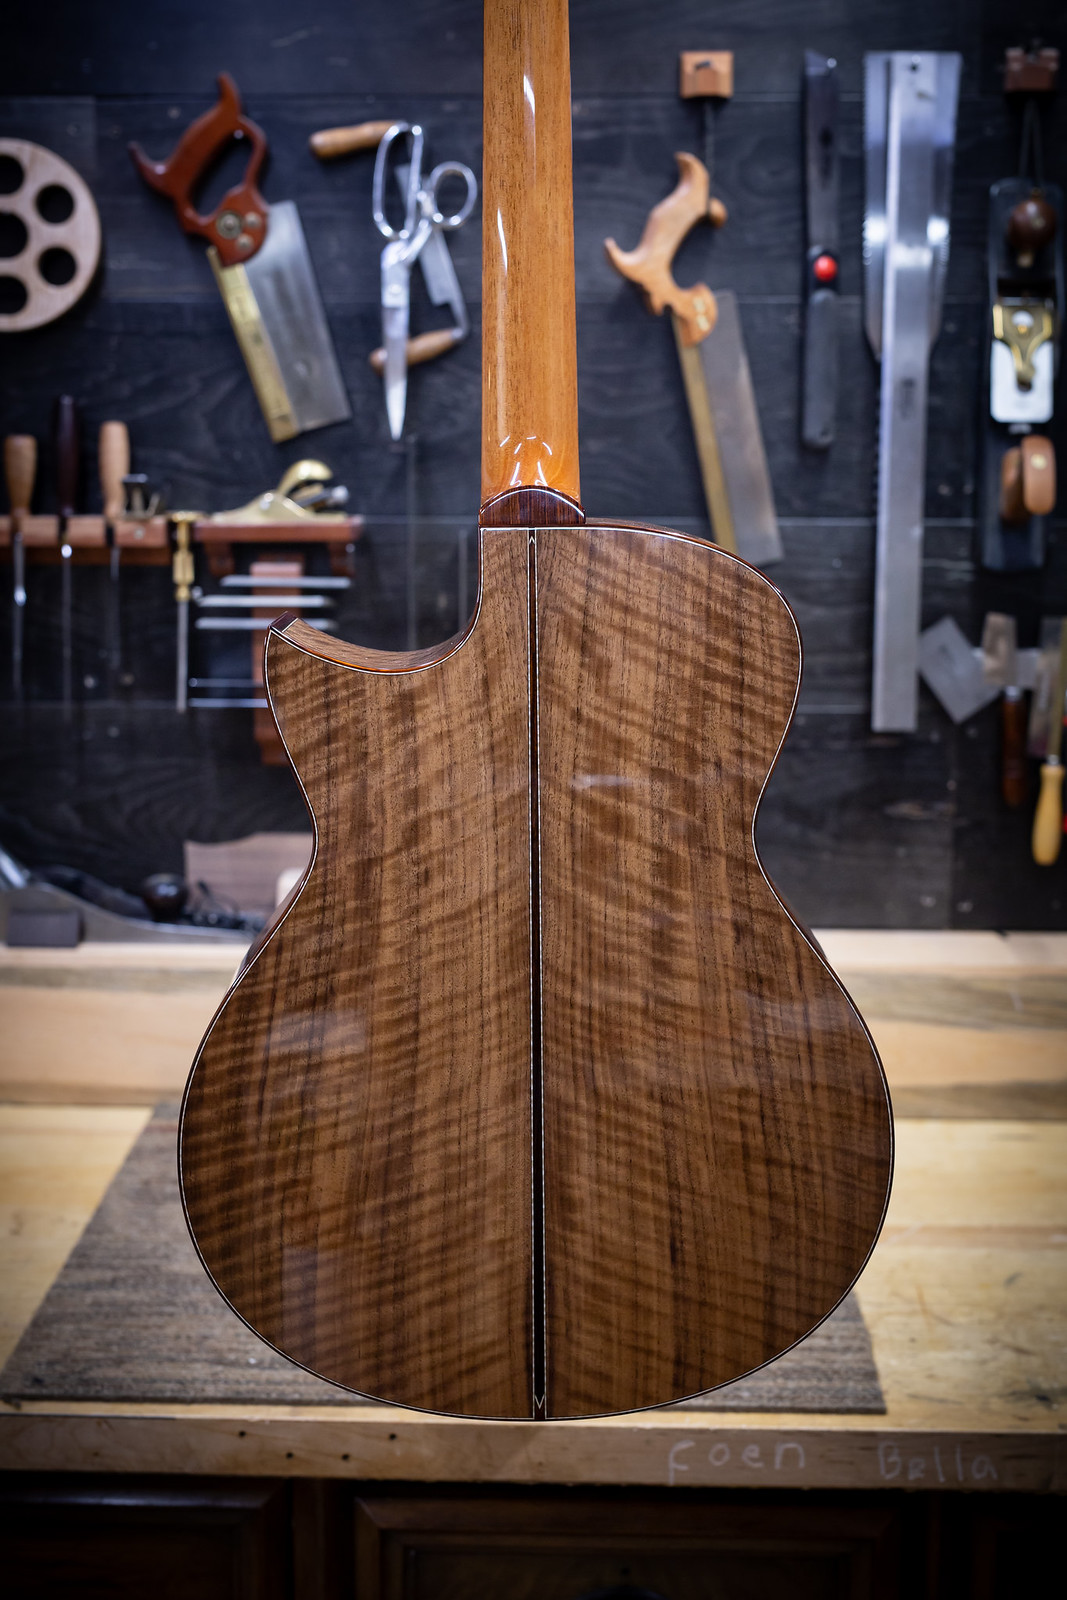 9E5B9654 by ryan gerber, on Flickr[/IMG] 9E5B9654 by ryan gerber, on Flickr[/IMG][IMG] 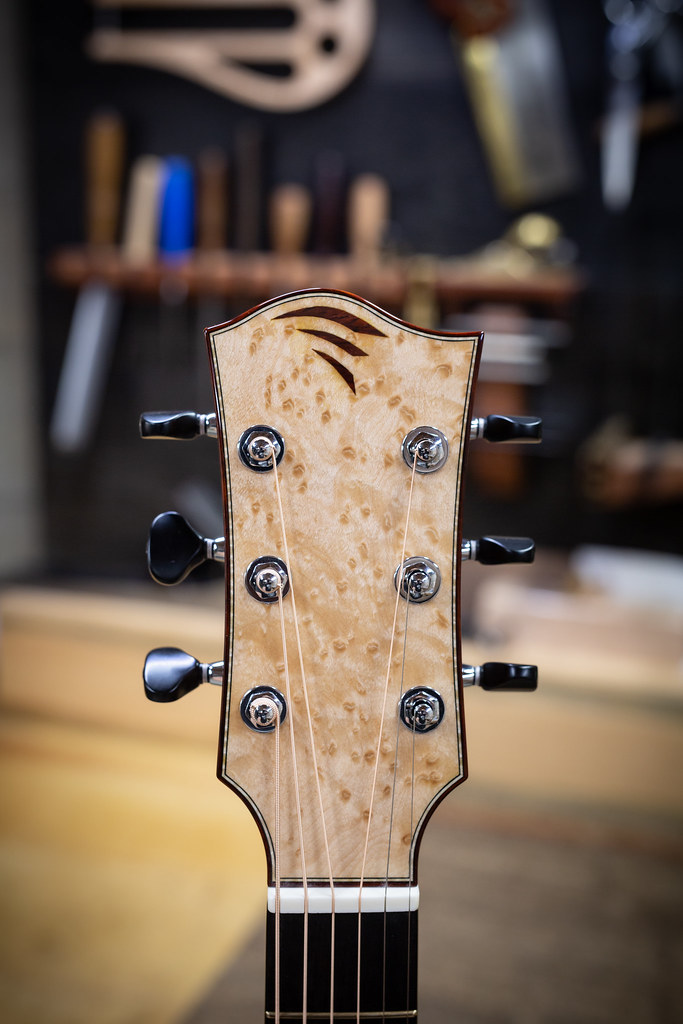 9E5B9656 by ryan gerber, on Flickr[/IMG] 9E5B9656 by ryan gerber, on Flickr[/IMG]
__________________
Ryan Gerber Last edited by gerberguitars; 10-23-2018 at 09:05 PM.
|
|
#40
10-24-2018, 06:42 AM
|
||||
|
||||
|
Wow, that's pretty!!
__________________
--------------------------------------- 2013 Joel Stehr Dreadnought - Carpathian/Malaysian BW 2014 RainSong H-OM1000N2 2017 Rainsong BI-WS1000N2 2013 Chris Ensor Concert - Port Orford Cedar/Wenge 1980ish Takamine EF363 complete with irreplaceable memories A bunch of electrics (too many!!)
|
|
#42
11-12-2018, 10:40 PM
|
|||
|
|||
|
The wait is always a little difficult. From the time that I complete the woodworking to the time that the guitar is painted and assembled, can seem to drag on forever. But finally the first of this batch, the Walnut guitar is done! It's made its way across the Atlantic to the cozy showroom at TNAG. Here are a few video clips that the crew at TNAG produced. Many thanks to everyone involved in the recording, and to Stuart Ryan for offering his wonderful playing.
The other two guitars should be ready in the next week or so.
__________________
Ryan Gerber
|
|
#44
11-12-2018, 10:49 PM
|
|||
|
|||
|
Quote:
Seriously though, that sounded great!
|
|
#45
11-12-2018, 11:32 PM
|
|||
|
|||
|
Might I ask who does your finishing, and what it is?
|


