
 |
|
#1
|
|||
|
|||
|
Hi folks,
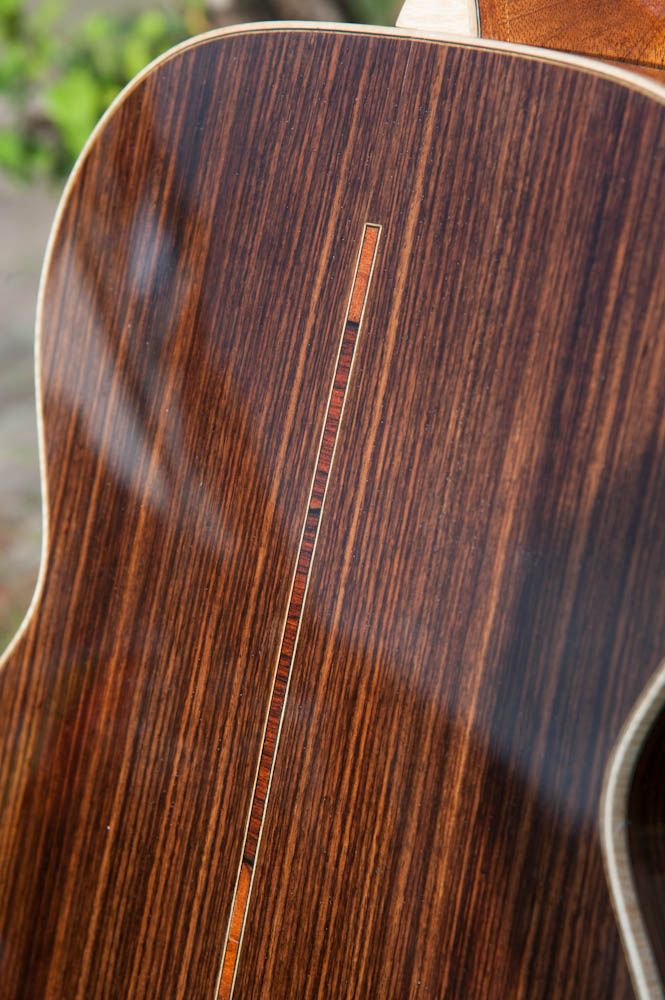
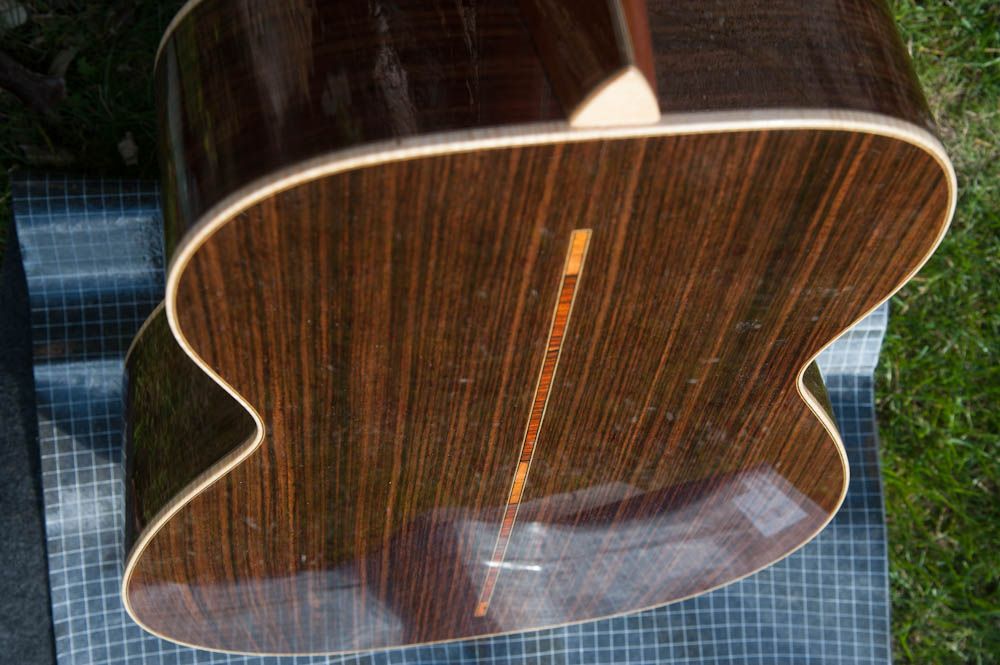
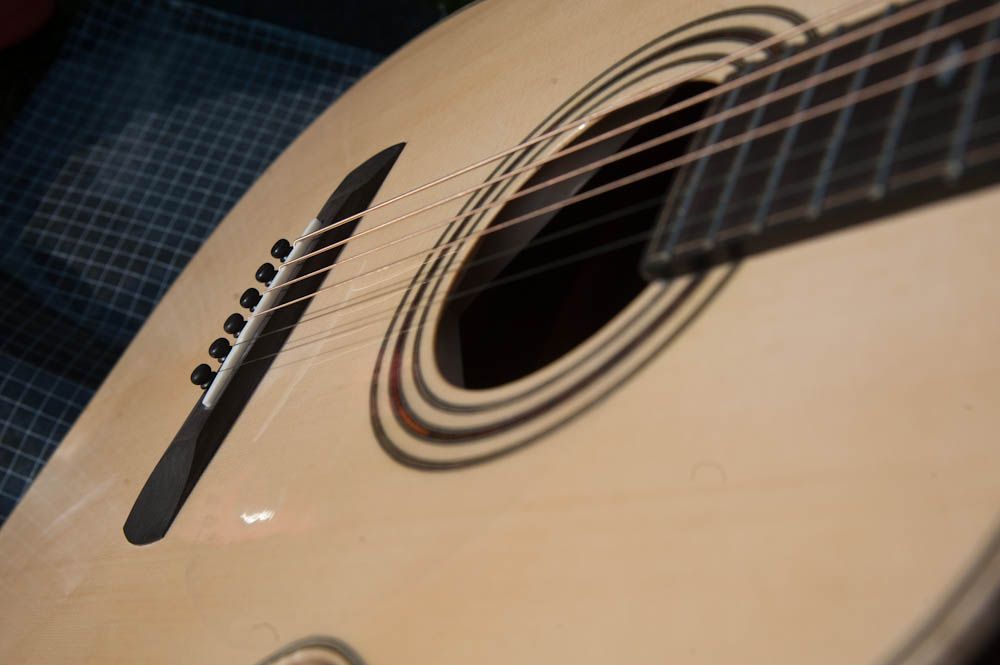
Here is a build thread about my 7th guitar, an OM size with deep body. Top: Austrian spruce from J.Berkmann Back/sides: EIR from RC Tonewoods Neck: Mahogany Bindings: curly maple Purflings: BRW, radial cut After my recent discovery of a BRW blank, I decided to let the sets dry for a long time, but use some wood to make the purflings on this guitar. I really like the result. After 6 guitars bent by hand on a bending iron, I finally invested in the silicone heating blanket, and wow.. I couldn't live without it anymore! This is so perfect! My shape really improved and the sides are much more stable and have less springback compared to when I was bending by hand. The linings are cedar linings. Very nice smell, as Mark Hatcher often says! 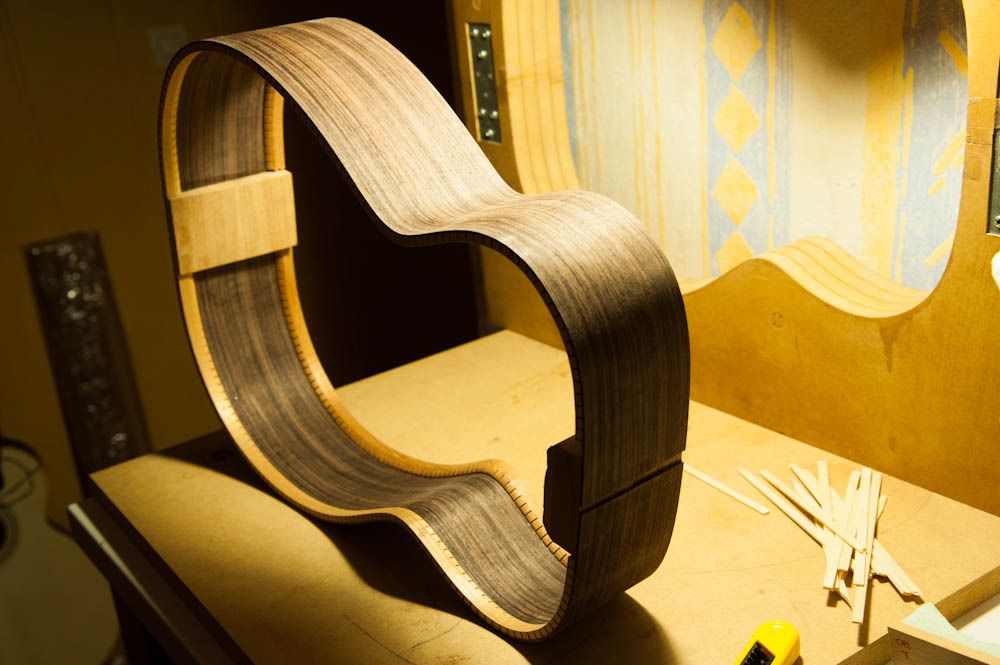 Very nice spruce from Austria: 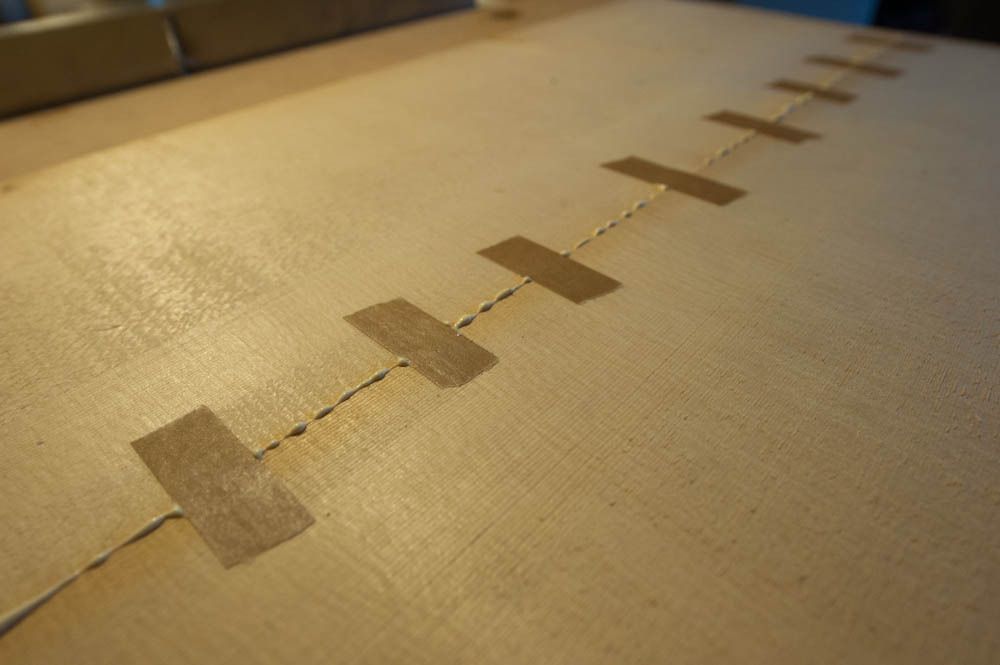 Nice inlay of a BRW leftover in the back graft: 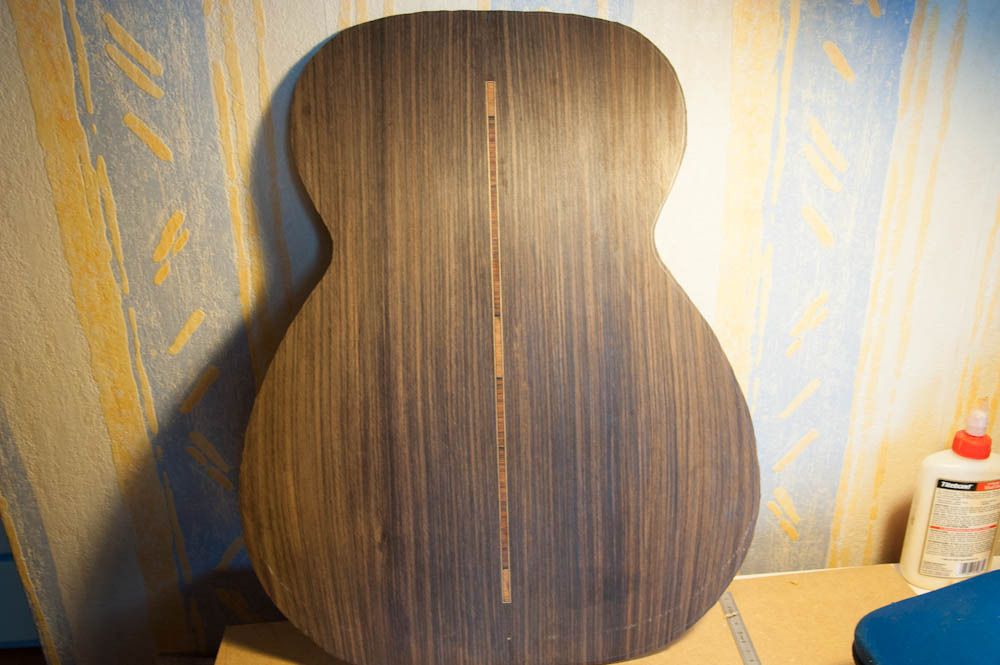 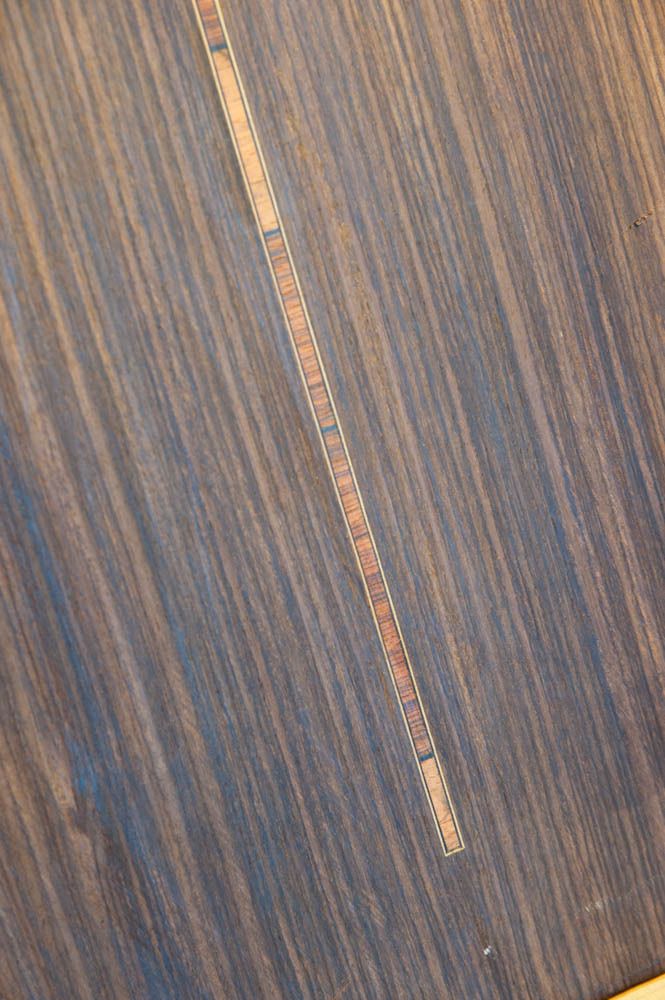 and rosette with BRW radial purfling, and natural sycomore and gold sycomore with black rings: 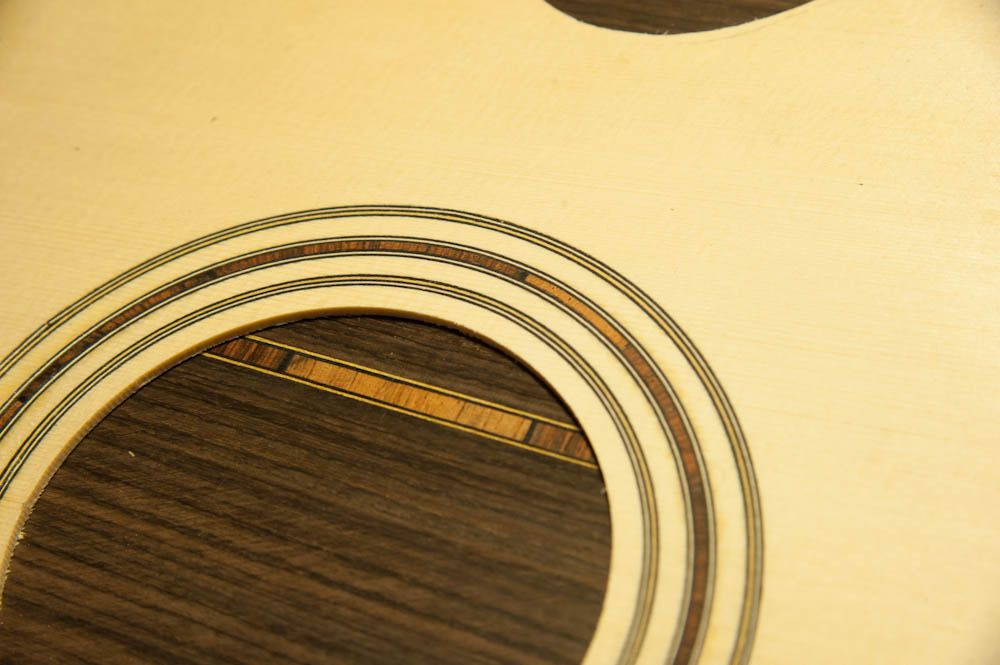 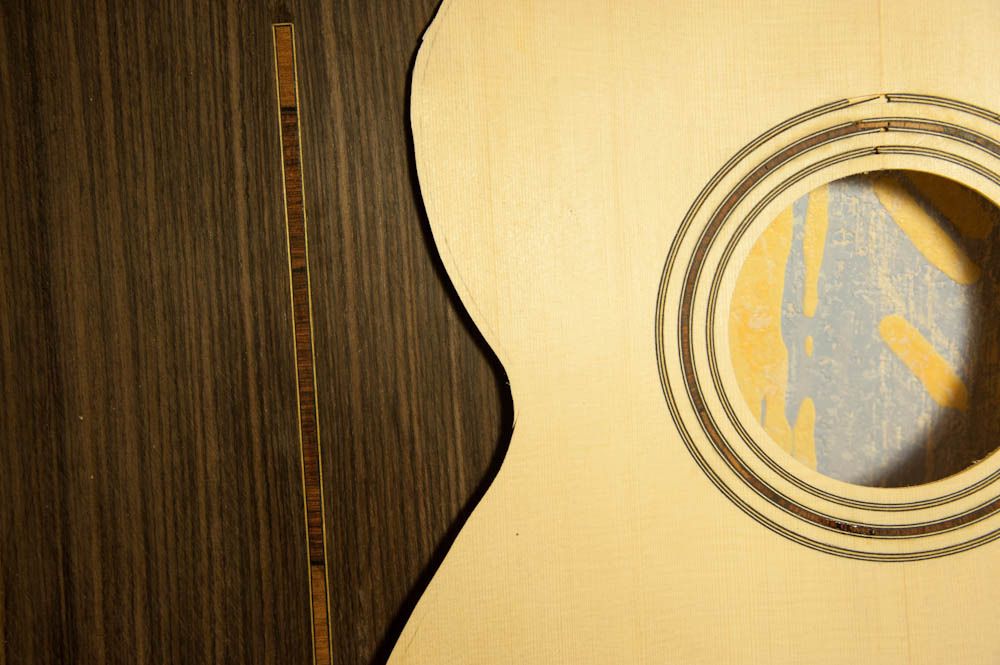 The braces on the back and top are glued, and I discovered a little surprise on a tonebar.. 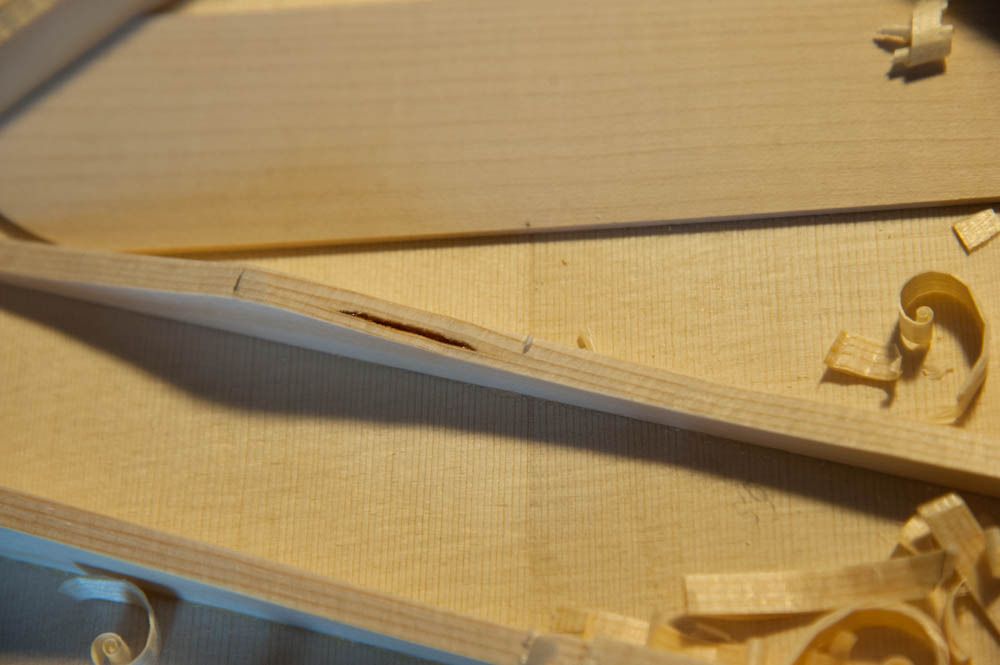 The bracing is tucked in the X, so I decided to remove the sap pocket and see how much wood there is under the pocket. Finally there was 2mm after all the sap was removed, I decided to make a transplant of bracing, I cut my bracings from the same billet so it should be nice in the end. I didn't want to remove the bar as it was tucked under the X, very complicated.. If nothing was tucked under the X, I would have removed the brace and glue a new one.. Did it happen to you? Would you do the same? Bye Q. Last edited by quentinjazz; 10-09-2016 at 08:10 AM. |
|
#2
|
|||
|
|||
|
|
|
#3
|
|||
|
|||
|
Great repair Buddy! What a bad surprise

__________________
Benjamin Paldacci Guitars: "I strive to build my instruments with the finest Tone, Ergonomics & Aesthetics" https://www.benjaminpaldacciguitars.com/ |
|
#4
|
|||
|
|||
|
The repair looks good except that you made two straight cuts along the endgrain and glued your piece in. There's good strength in your patch being glued to the long grain fibres along the bottom of the brace but very little at the end grain there. It might not matter as the patched in piece will be also held in by compression once the guitar is finished and the strings pull up the top (and bend the brace a bit).
A better fix would have been to shave the entire brace down to the level where it tucks under your X leg and glue a piece on top running out to the perimeter. Once the glue is dry, shape your brace again. Looking good so far otherwise.
__________________
Rod True, aspiring luthier My current project A guitar I built for my Father in Law The Celtic Beauty - The Epic Journey True SJ - #9 Last edited by Rod True; 01-27-2016 at 11:35 PM. |
|
#5
|
|||
|
|||
|
Hi Rod,
Thanks, I think I understand! If this sap pocket happens again someday, I'll do it this way  Q. |
|
#6
|
|||
|
|||
|
|
|
#7
|
|||
|
|||
|
When you say deep body, how deep are we talking about?
Thanks, Hikari
__________________
Hikari. |
|
#8
|
|||
|
|||
|
Hi Hikari,
it is 10mm more than the standard OM, I've done this on my guitar #2 (in EIR and sitka) and my #5 (in Ovangkol and Engelmann), and I was very pleased with the extra volume, I want to test it with european spruce top. |
|
#9
|
|||
|
|||
|
Hi friends,
It was time to make the bindings and I am really happy with the final result, I improved my technique a lot on this guitar, took my time to do it, and it pays in the end! 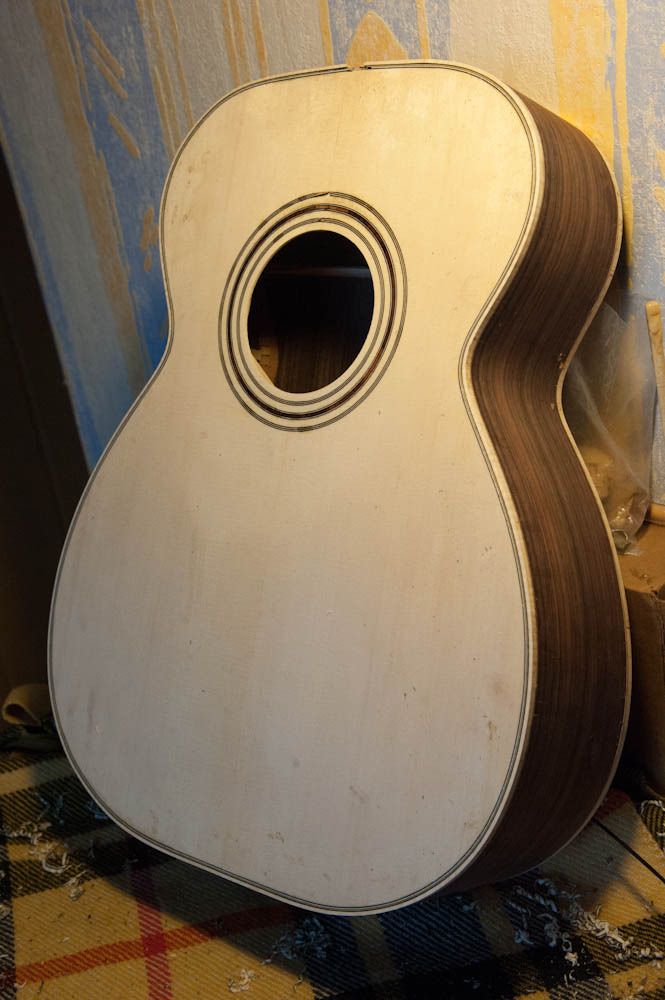 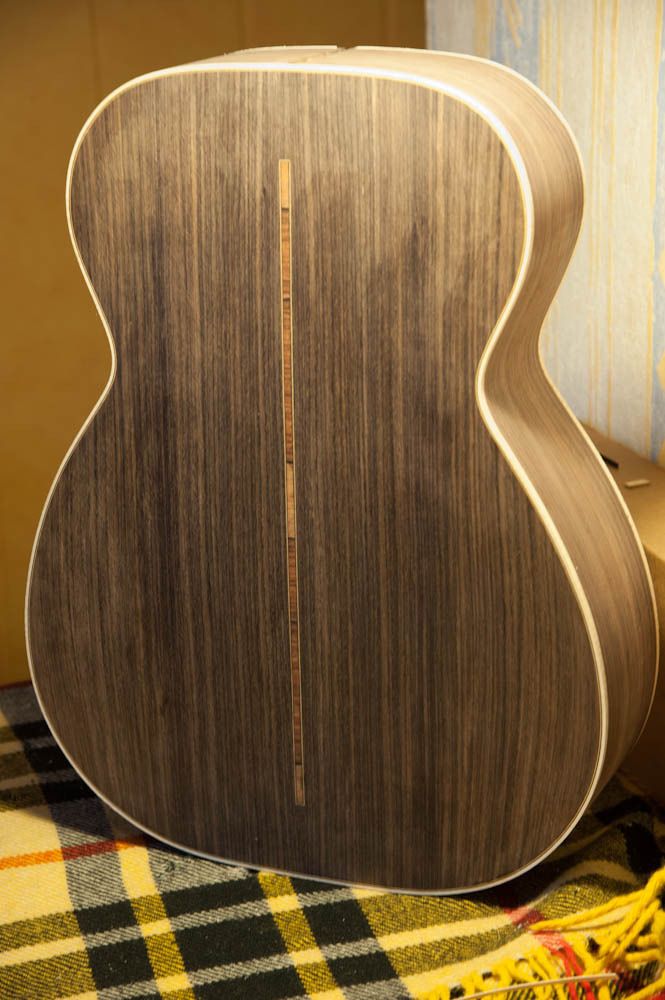 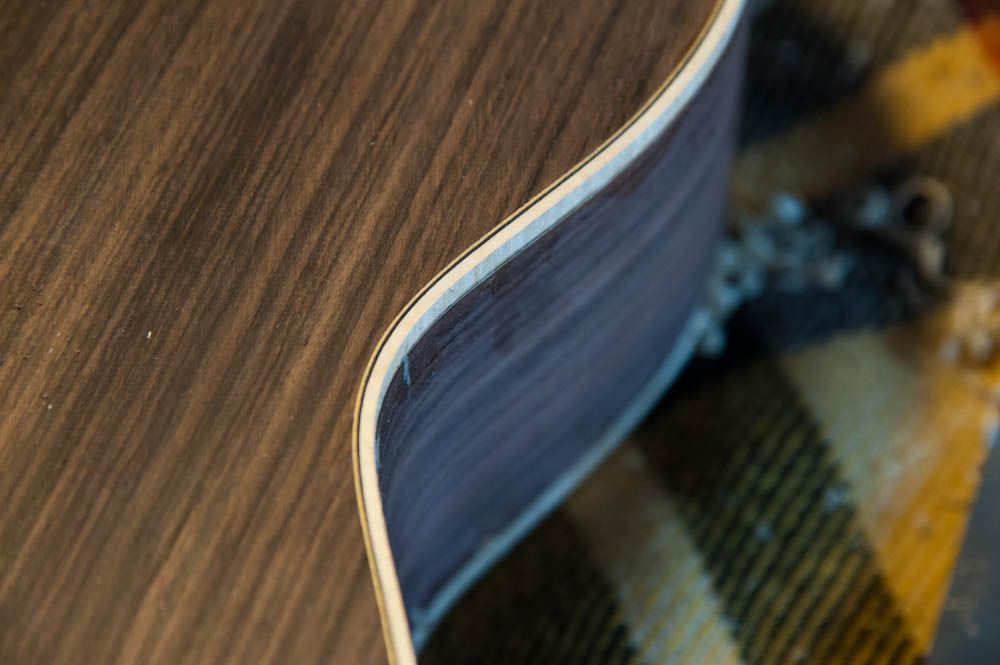 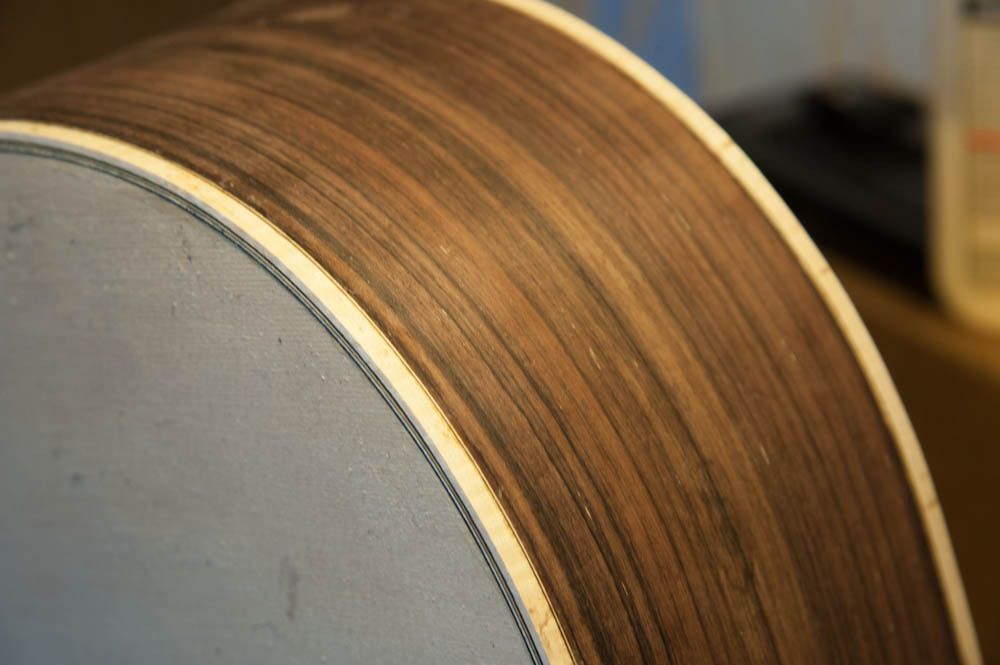 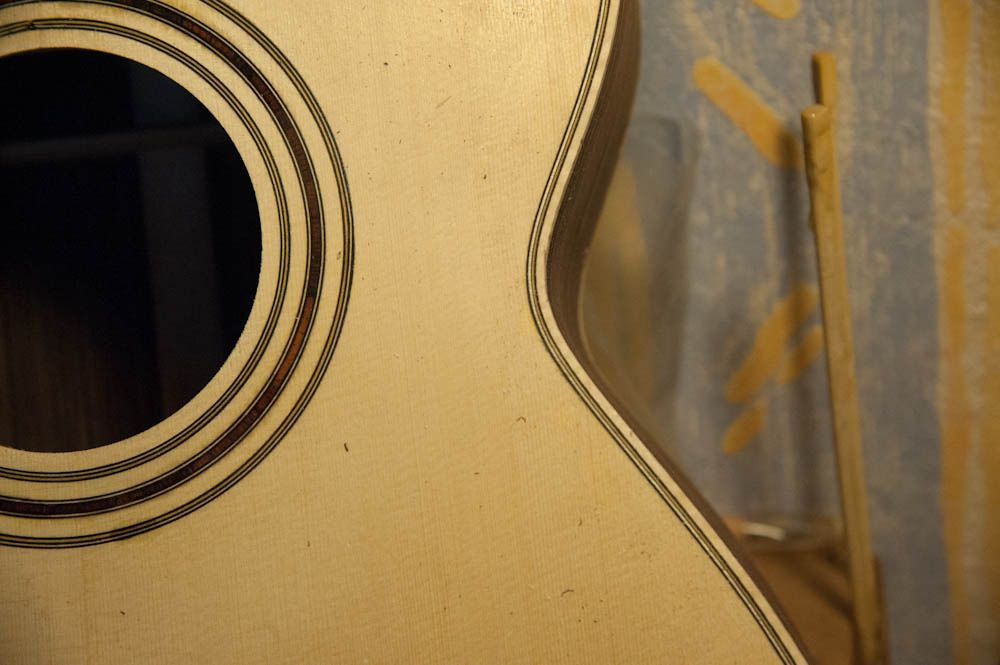 Still some little imprefections on the sides, I think that at some spots some binding channels were wider at the bottom than at the top of the channel, so, when I glued them, the binding was a bit lower than the surface of the sides, and it will be difficult to hide this mistake. I still have some things to improve.. everywhere!  Thanks for reading and watching Q. |
|
#10
|
|||
|
|||
|
Looks great! This binding job seems nice. Rosewood is forgiving when joints aren't perfect. Keep up the good work!
__________________
Maxime Baron |
|
#11
|
|||
|
|||
|
|
|
#12
|
|||
|
|||
|
Really happy with how the colors and binding schemes went out:
   And my happy friend/customer went yesdterday night to check it:  And after a one night sleep, he was still amazed by the sound! 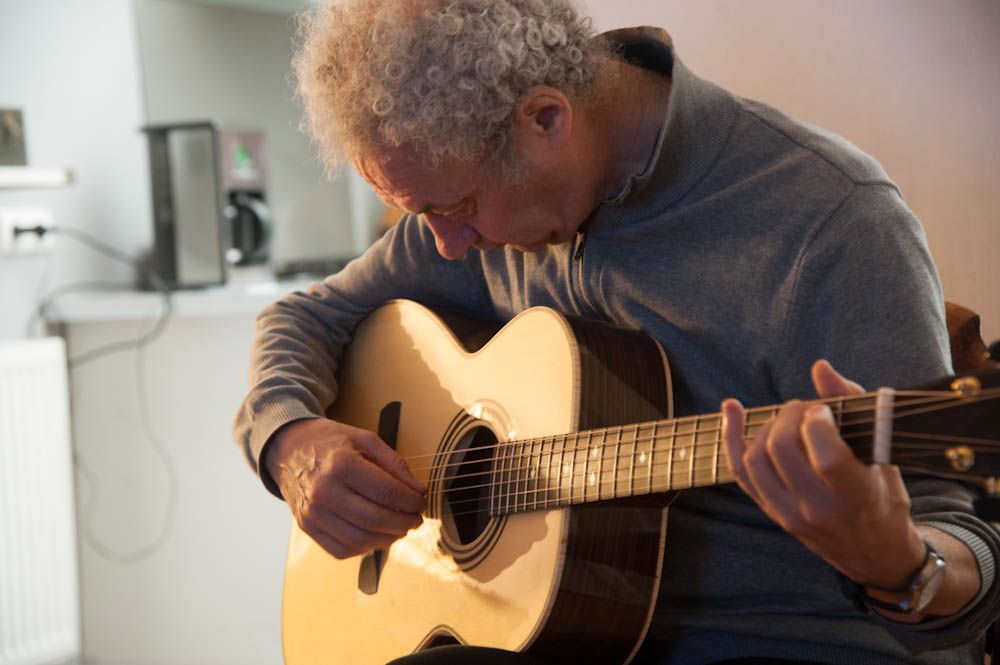 Nice ending for a nice project. I took some videos, and I will share it here when I can. Thank you for watching, and thank you for the big community here which is very inspiring!! Q. Last edited by quentinjazz; 10-09-2016 at 07:04 AM. |
|
#13
|
|||
|
|||
|
Looks really great! Love the braz on the back... Can hardly wait to hear her

|
|
#14
|
|||
|
|||
|
Thank you, copain!

|
|
#15
|
|||
|
|||
|
Nice job! That's a beautiful guitar...
__________________
=================================== '07 Gibson J-45 '68 Reissue (Fuller's) '18 Martin 00-18 '18 Martin GP-28E '65 Epiphone Zenith archtop |