|
|
#61
 08-15-2017, 08:37 PM
|
|||
|
|||
|
Quote:
Quote:

|
|
#62
08-20-2017, 02:09 PM
|
|||
|
|||
|
Ok so I got a little more done.
Do you all glue the kerfing flush with the top of the sides or let it sit above by a little bit? I'll post more pictures after while if I can get time.
|
|
#63
08-20-2017, 03:52 PM
|
|||
|
|||
|
The latter. The profile of the kerfing should reflect the radius. By gluing the kerfing proud of the sides, that means that potentially you have less material to sand away - and ideally as little of the sides themselves as possible.
Also, I don't know if this is but when I used my homemade contraption I found that less material comes off the waist and that I really had to sand away a LOT of material from the ends of the bouts and the opposite ends of the body; the waist ended up almost being "higher" in profile than the ends. PS: I also found that it's best to start off with the block plane (in order to take off more material quickly) with that in mind before scribbling graphite on the surface (to identify the "high points") and switching to sanding.
__________________
(2006) Larrivee OM-03R, (2009) Martin D-16GT, (1998) Fender Am Std Ash Stratocaster, (2013) McKnight McUke, (1989) Kramer Striker ST600, a couple of DIY builds (2013, 2023)
|
|
#64
08-20-2017, 07:40 PM
|
|||
|
|||
|
Quote:
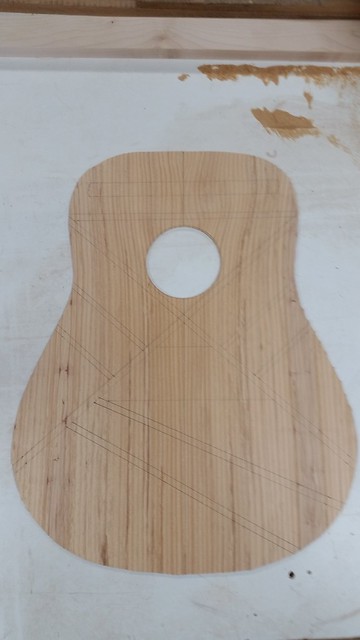
So I have made my kerfing. Made reverse kerfing out of poplar. Cut it to proper size then rounded it over on the router table. Heated it on the iron and got it bent to shape.( I had made extra, when I tried fitting it to the sides without heating I found it broke if I turned it in reverse fashion but not if turned " traditionally". I have NOT glued it in yet just have it sitting in the sides so it will hold its form. Had a good friend that had a block of spruce that he gave me and I got my top braces rough cut. I'm STILL debating on weather or not to radius that top or just leave it flat and follow along with the plans. ????????????????????????????????? I first thought I'd get away without having to worry about the neck angle if I followed the plans but I'm beginning to see that's not turning out to be the case. Again thanks for all the replies and the help. 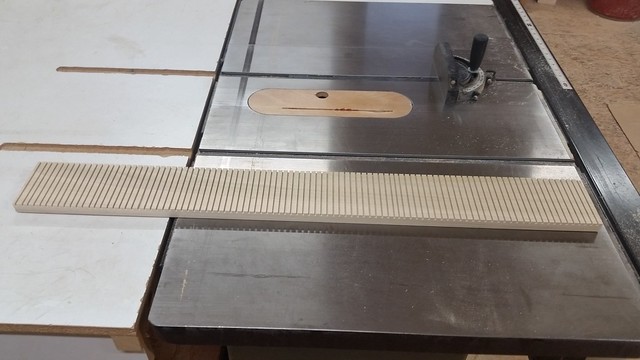 20170816_163327 by Cabinet Man, on Flickr 20170816_163327 by Cabinet Man, on Flickr 20170816_165306 by Cabinet Man, on Flickr 20170816_165306 by Cabinet Man, on Flickr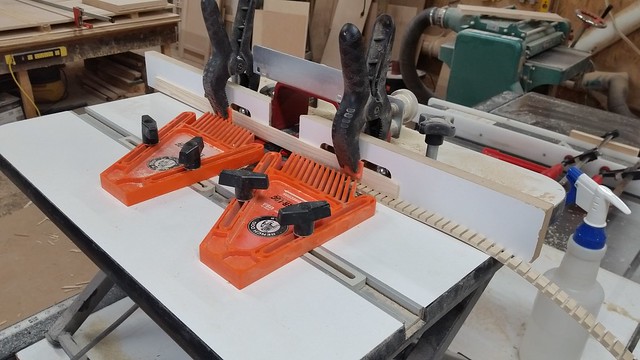 20170820_153708 by Cabinet Man, on Flickr 20170820_153708 by Cabinet Man, on Flickr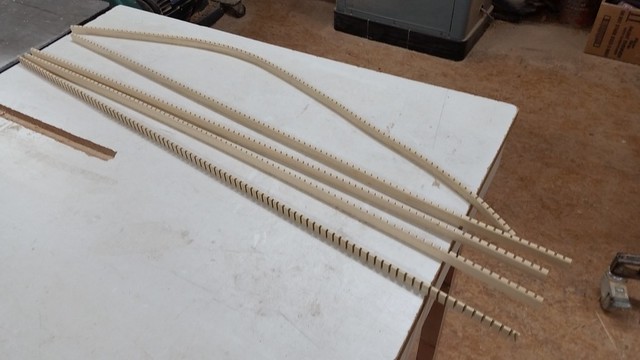 20170820_154019 by Cabinet Man, on Flickr 20170820_154019 by Cabinet Man, on Flickr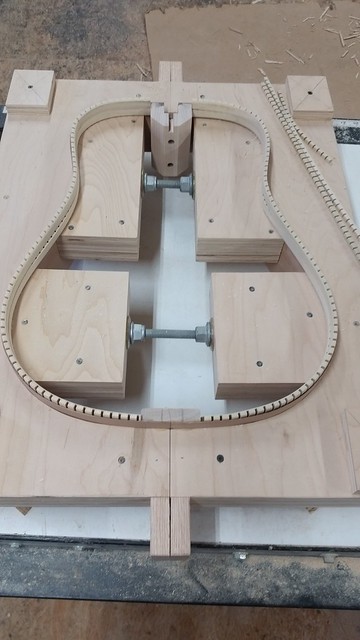 20170820_160538 by Cabinet Man, on Flickr 20170820_160538 by Cabinet Man, on Flickr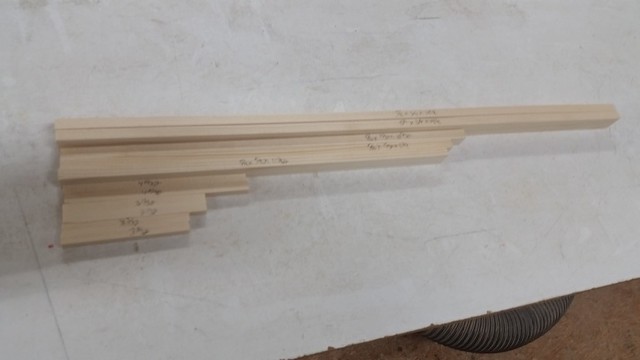 20170820_144436 by Cabinet Man, on Flickr 20170820_144436 by Cabinet Man, on Flickr
|
|
#65
08-21-2017, 07:40 PM
|
|||
|
|||
|
Today I got my Kerfed Lining Glued in and didn't end up making too much of a mess of it. Overall happy with the way it turned out. Also Sanded the insides with some 220 grit .
Do you all recommend that I glue in the side braces or leave it be as is? I read somewhere that the reverse kerfed linings adds much more support to the sides than the traditional style. But I'm not sure and would appreciate some input on this. 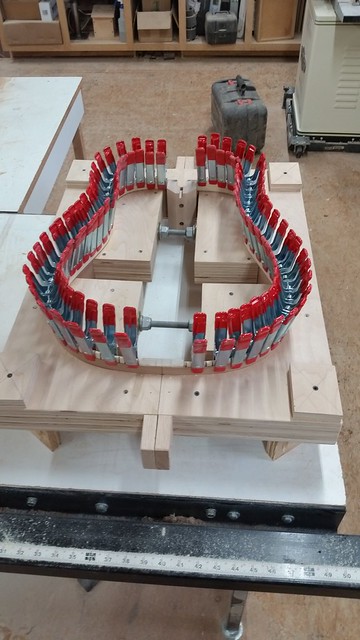 20170820_163612 by Cabinet Man, on Flickr 20170820_163612 by Cabinet Man, on Flickr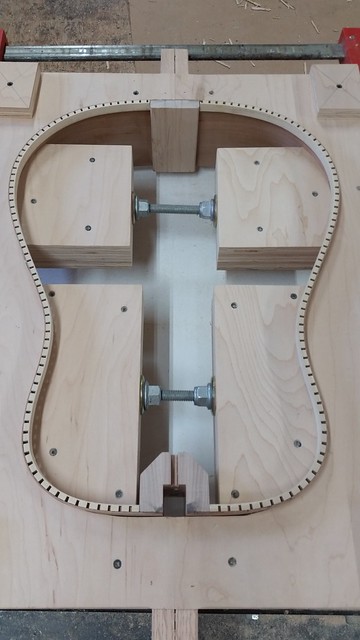 20170821_104341 by Cabinet Man, on Flickr 20170821_104341 by Cabinet Man, on Flickr 20170821_153952 by Cabinet Man, on Flickr 20170821_153952 by Cabinet Man, on Flickr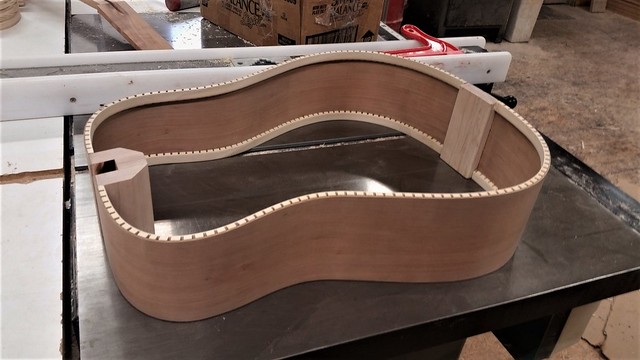 20170821_155401 by Cabinet Man, on Flickr 20170821_155401 by Cabinet Man, on FlickrLaid the back on just to see how it was going to look. Pretty happy with it! 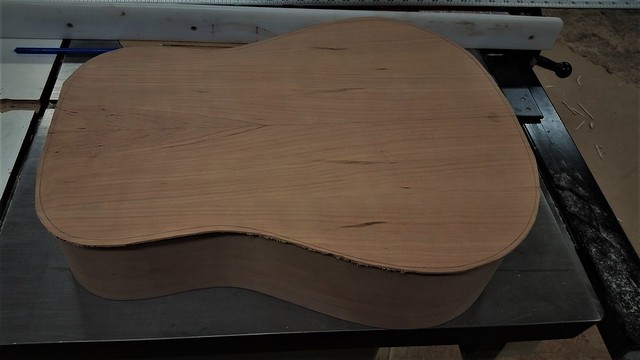 20170821_160033 by Cabinet Man, on Flickr 20170821_160033 by Cabinet Man, on FlickrI also rough cut out my fret board and bridge. I already know some of you will disagree with my choice of wood for this but I saw where Gibson was using some Black Walnut for one of the fret boards on one of their acoustics so that's what I decided to go with. I have plenty so that saves me some money. 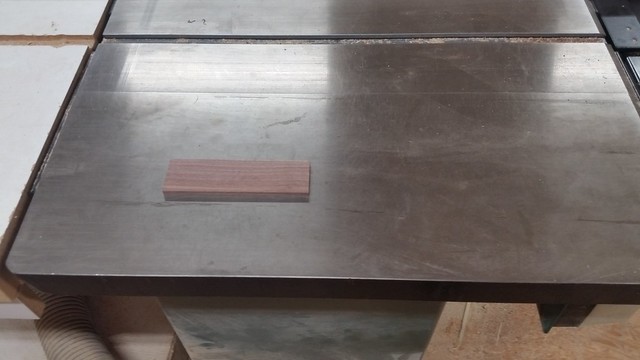 20170821_163444 by Cabinet Man, on Flickr 20170821_163444 by Cabinet Man, on Flickr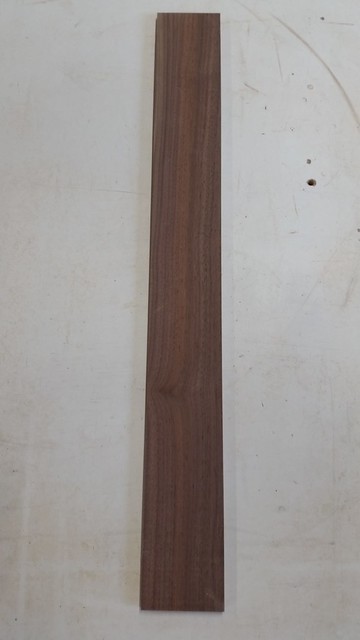 20170821_103754 by Cabinet Man, on Flickr 20170821_103754 by Cabinet Man, on FlickrWill probably be a couple days before I get to do anymore. Got to get back to work on some cabinets Got ALOT of spraying to do while the weather is good.
|
|
#66
08-22-2017, 12:07 PM
|
|||
|
|||
|
Quote:
|
|
#67
08-22-2017, 12:36 PM
|
|||
|
|||
|
Quote:
|
|
#68
08-22-2017, 03:25 PM
|
|||
|
|||
|
Quote:
 Looking forward to seeing the end result of this guitar in due course ... I am guessing it is going to sound great... 
|
|
#69
08-22-2017, 03:57 PM
|
|||
|
|||
|
Quote:
IMO, side braces glued between the linings are more of a liability than a benefit. Still a lot of work, and they leave a vulnerable grain line right at the edge of the linings, and concentrate stress onto that line so it's probably more likely to split than a bare side. They do stop splits spreading if they get started somewhere other than the lining edge, though. And in practice I don't know if they actually increase the likelihood of an impact causing a split. Maybe some of the repair guys would have enough data to say. Cloth strips (especially if full height, with linings glued over them) stop splits, and don't concentrate stress. Also easy. And since there are sonic benefits to making the sides as thick and heavy as possible, the stiffening effect of full height side braces is generally not necessary. But since you have the linings glued already, I'd probably just leave this one bare.
|
|
#70
08-22-2017, 07:43 PM
|
|||
|
|||
|
[QUOTE=murrmac123;5452775]Your kerfed linings look just great, CM....
Looking forward to seeing the end result of this guitar in due course ... I am guessing it is going to sound great... [/QUOTThanks for the compliment. I appreciate that. I'm looking forward to seeing and hearing it myself. I hope it turns out good, If it does I'm going to give it to my 14 year old son for Christmas. He's truly the one that loves to play guitar in the family. I have truly enjoyed building this so far. Hard to work on my cabinets when I look up and see that guitar on the bench just waiting to be finished!
|
|
#71
08-22-2017, 07:50 PM
|
|||
|
|||
|
Quote:
I understand what you are saying. When you think about it I see what you are saying that they could actually press against the "already installed" Kerfed Linings and cause a split. Thanks for the heads up. I now believe I will leave it bare and as is. Thanks again.
|
|
#72
08-22-2017, 08:18 PM
|
|||
|
|||
|
LOL. Congratulations! You're about to pass the point where I'm stalled on my second build! I'm actually about to put wood side braces on my sides. They're made from scrap spruce from bracing cut offs and I measured them so that they butt up against the reversed basswood kerfing the sides are EIR which I have found to be very resilient to changes in temperature. I figure if they expand, then it should be that big of an issue. I did it with my first build (actually, I used walnut scrap on mahogany sides with Spanish cedar kerfing) and 4 years later there's no issues.
Long story short, I say put in whatever you want but don't overthink it. Most luthiers who post over at the Official Luthier's Forum have said that they first 12 guitars or so are "drafts" - or woodworking experiments that are shaped like guitars but don't sound as good as factory guitars or even their own later builds. Still...that first build is special so it's supposed to be a keeper. I'm told its real function is to get you hooked on the process so that you want to go through it all over and over again, tweaking the process and getting more elaborate with each subsequent build.
__________________
(2006) Larrivee OM-03R, (2009) Martin D-16GT, (1998) Fender Am Std Ash Stratocaster, (2013) McKnight McUke, (1989) Kramer Striker ST600, a couple of DIY builds (2013, 2023)
|
|
#73
08-23-2017, 07:44 AM
|
|||
|
|||
|
Quote:
It's raining here today, so I cant spray humidity too high, so I decided to make myself a radius block for the frett board and cut out the pattern for the bridge. Then cut out the bridge. Gotta quit on the guitar in a bit and make some crown molding.
|
|
#74
08-23-2017, 08:16 AM
|
|||
|
|||
|
Quote:
|
|
#75
08-23-2017, 10:22 AM
|
|||
|
|||
|
Quote:
There was a huge Hemlock that had fallen on my property and I cut the log up in 24" long sections then split it into quarters. It has been drying for a Looooong time. I have more that has tighter grain but I just like the looks of this piece. Honestly I mainly used this because its my first acoustic build and I didn't want to loose any money if I screwed up on it. Plus it will be pretty cool to have my first build to use a piece of wood that came from my property. Actually the Wormy Chestnut that I made the Rosette out of came from a board that I took off of my barn several years ago and had kiln dried.
|