|
|
#1
 05-19-2011, 07:32 PM
|
|||
|
|||
|
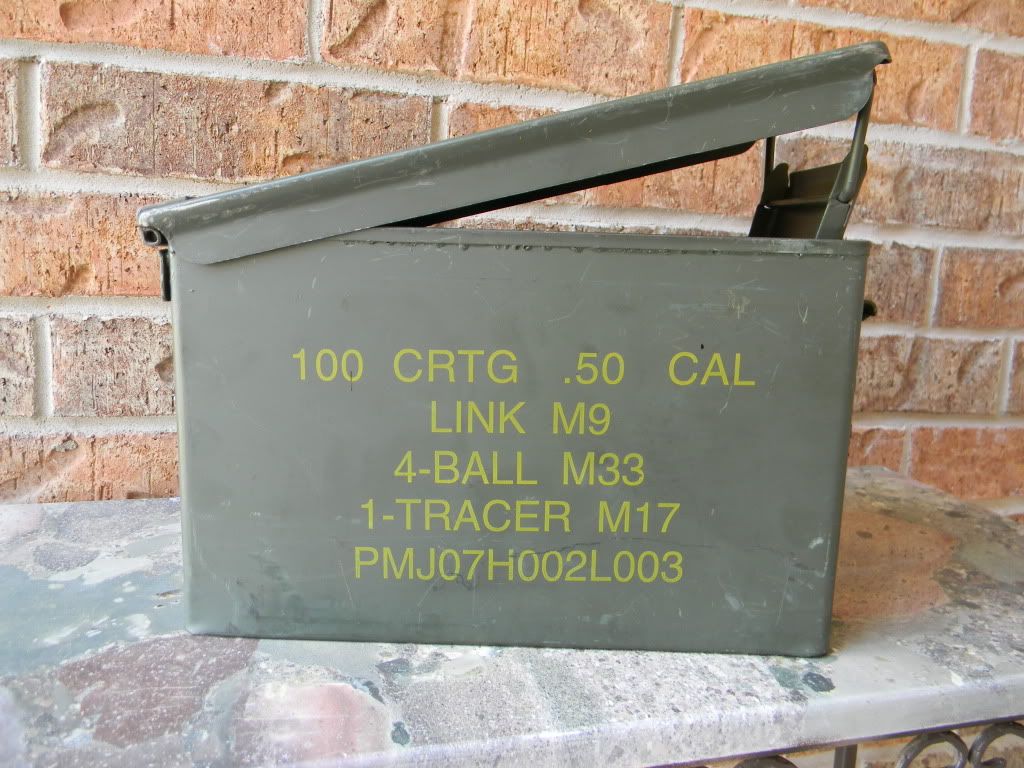
The idea started a few months ago when I found some WWII general purpose straps in a military surplus store. I had them sewn together to make myself a guitar strap
 Well, one thing led to another and I figured I needed an appropriate guitar to pair it with. I've been wanting to build myself a guitar for a while, and I've also been wanting a telecaster for a while as well. I figured with my lack of experience, a tele would be the logical thing to build, so next thing you know, I'm sourcing parts to build one. And by the way, my plan is to build it for under $100, so my sourcing has consisted of begging/borrowing/trading for tools and parts. I've got a guitar-playing friend with a nice wood shop, so I talked him into building one with me. I bought a plank of douglas fir to make the body from (I'll actually get 3 bodies from one $6 plank), and a neighbor gave me a piece of cherry that I'll use for the neck.  Someone from another forum suggested using an ammo box for different parts, and I found one for $6. I plan on making the bridge, jack plate, neck plate and control plate all from the ammo box. I'll follow up with pics of that later. As it sits right now, I've sourced all the parts I need and have a total of $80 in the build. We'll see how that goes as we start cutting and gluing. Hardware-building pics coming up... 
|
|
#2
05-19-2011, 07:38 PM
|
|||
|
|||
|
To make the bridge, I started with this
 Using my massive muscles and sheer determination (Ok, it was really a hacksaw and lots of determination)... 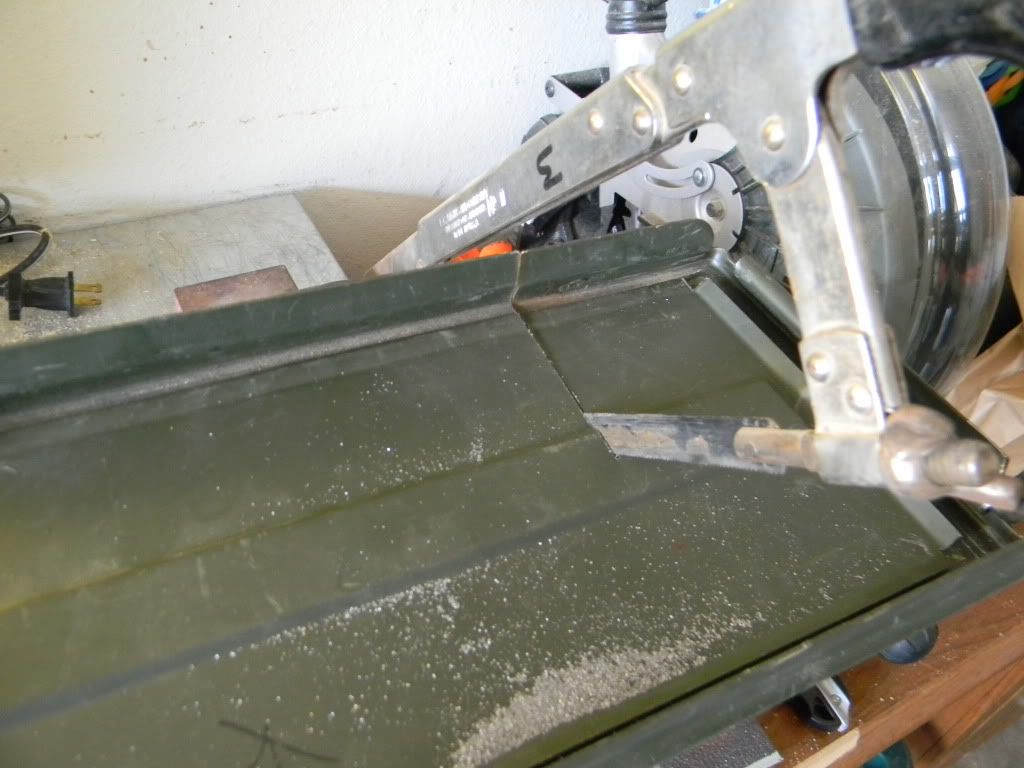 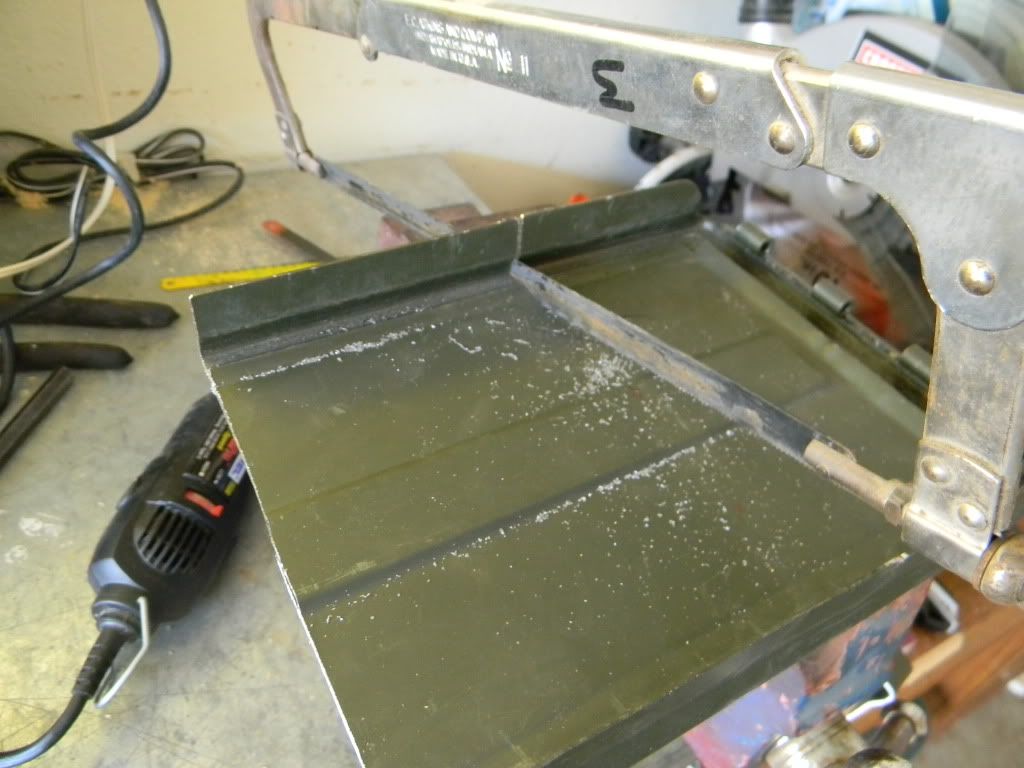 I ended up with this  Using a vice and hammer, I folded over the outside flange. I think the design will work fine. My building friend has a friend who works at a metal fab shop. He said he'd help to finish the finer points in fabricating the bridge. 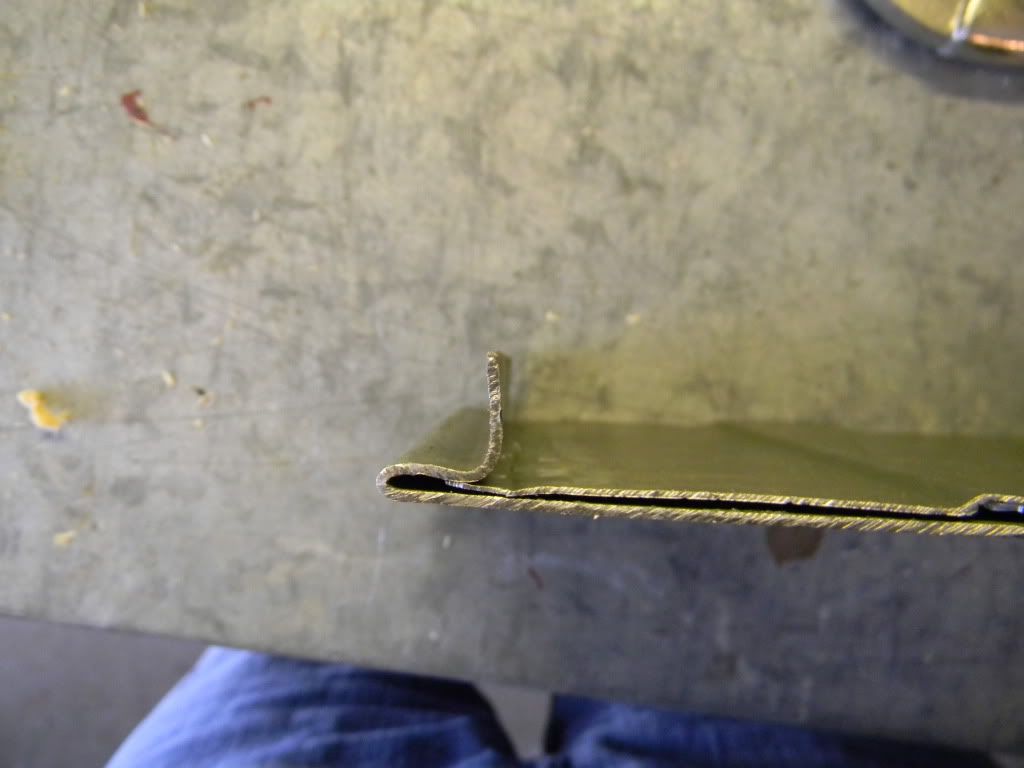 Neck plate fabrication on the way... Last edited by RogerC; 05-19-2011 at 07:53 PM.
|
|
#3
05-19-2011, 07:42 PM
|
|||
|
|||
|
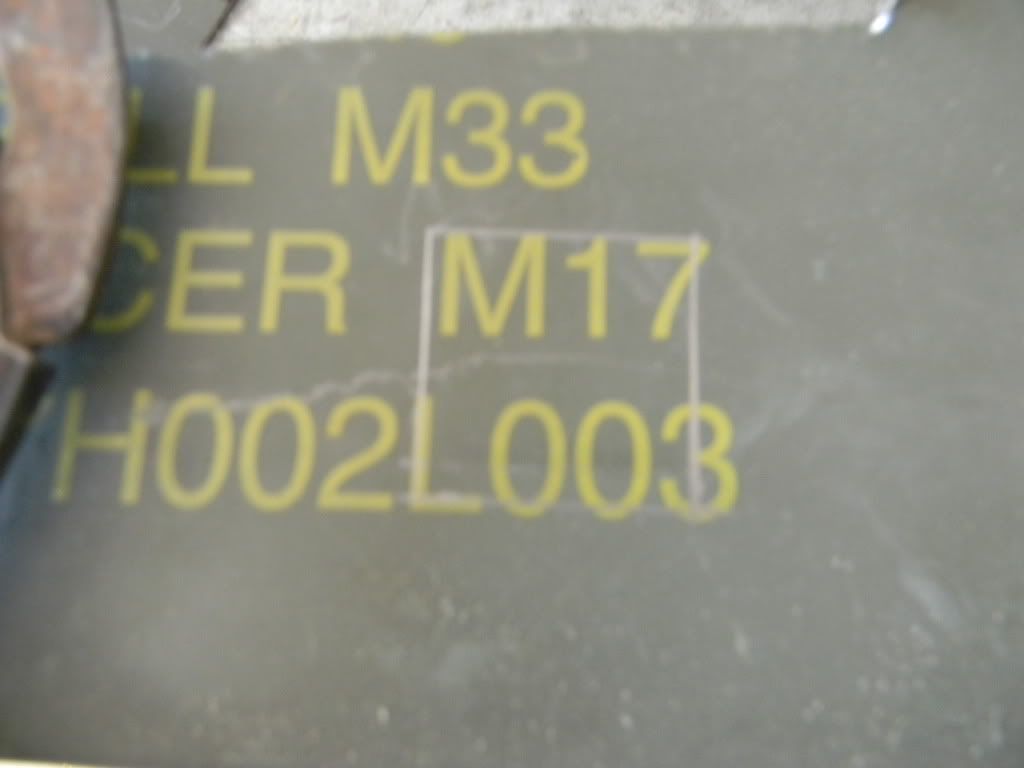
I'll be using the flap (for lack of a better term) from the front of the box to make the neck plate.
Here I am tracing my template 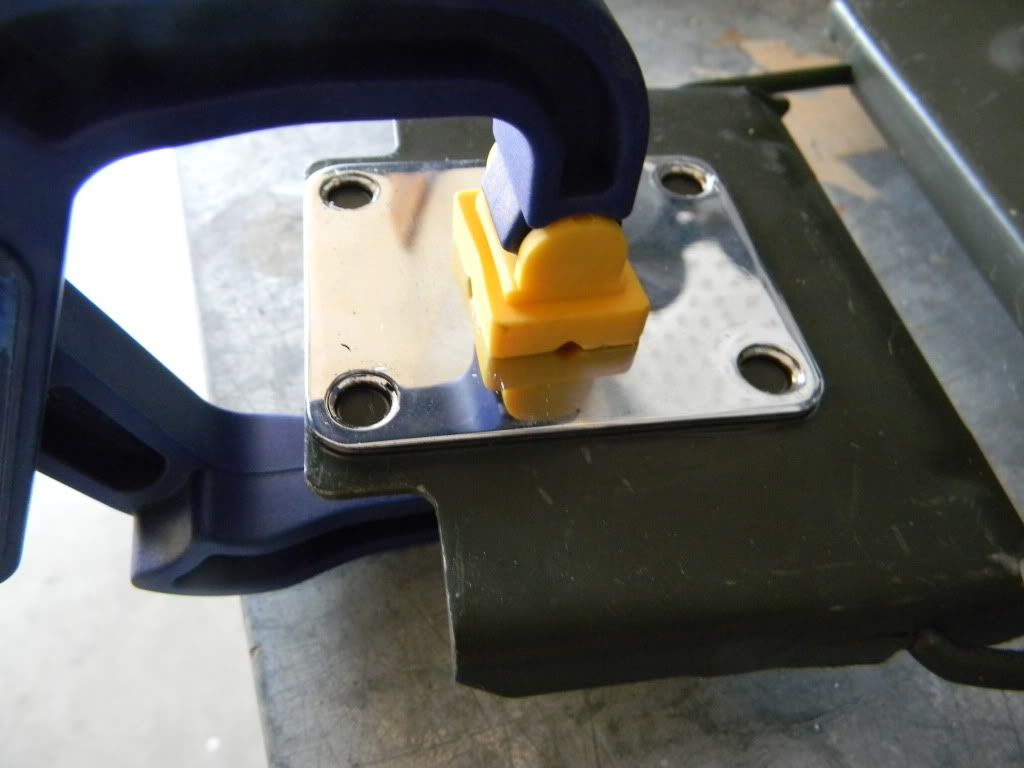 I use an angle grinder with a cutting wheel to get it close, so it goes from this 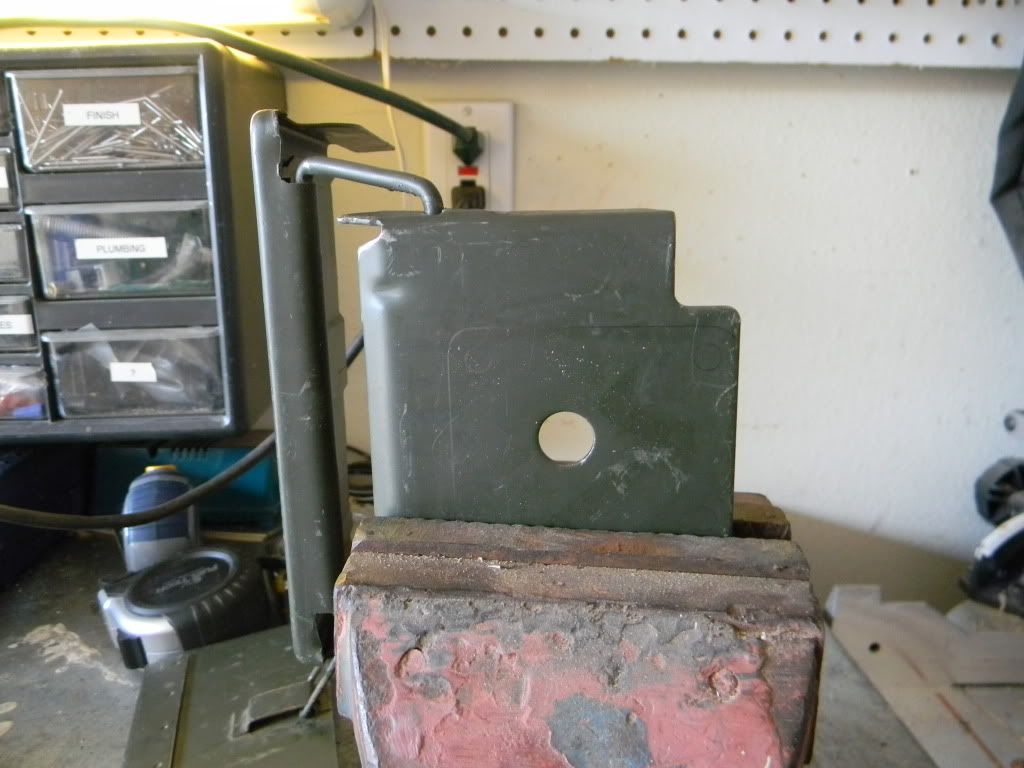 To this 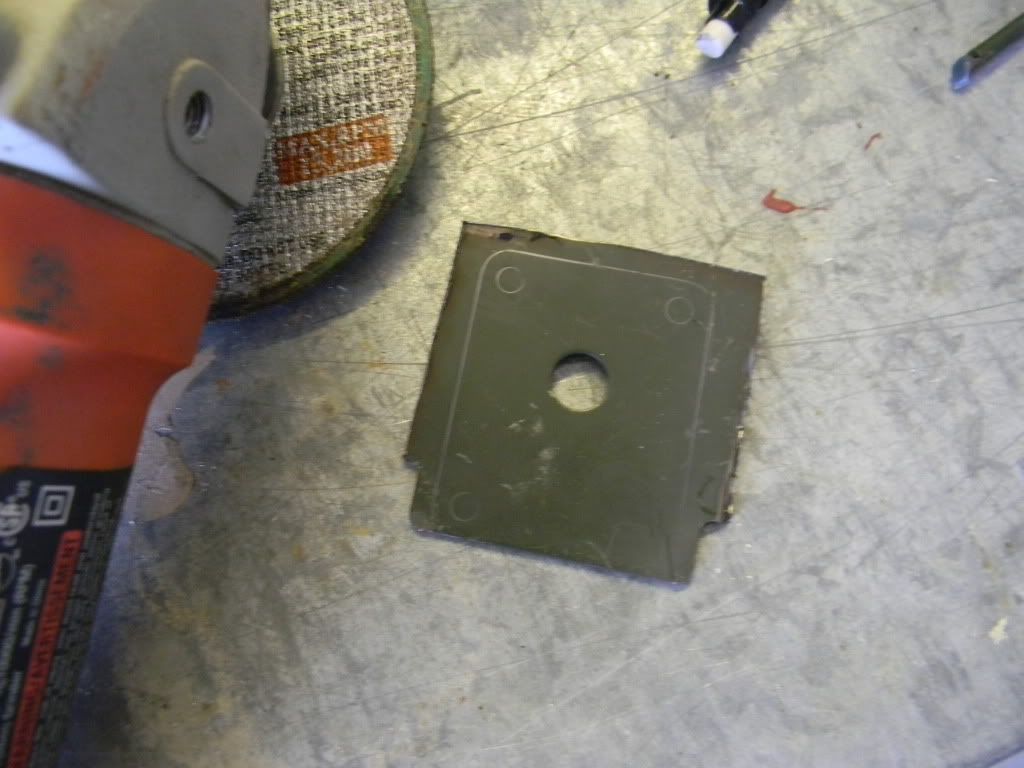 Next comes the bench grinder 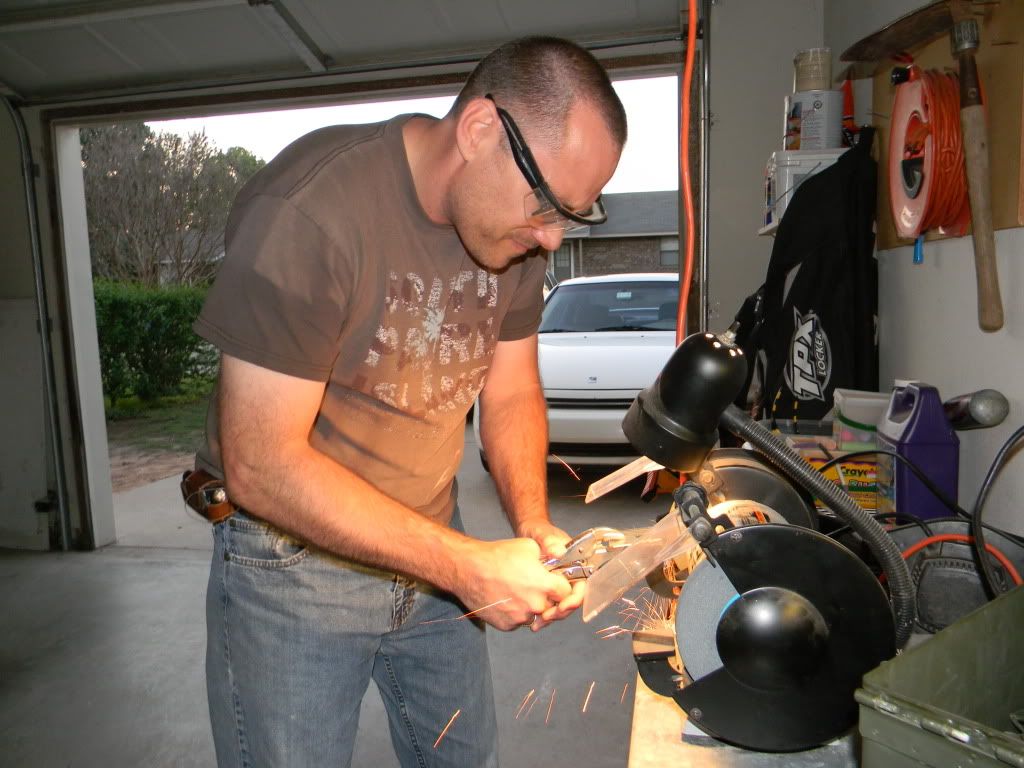 All I have to do is drill some holes, and It's done.  Next up: control plate
|
|
#4
05-19-2011, 07:51 PM
|
|||
|
|||
|
Template tracing
 Select an appropriate tool (at least the most appropriate from what I have available) 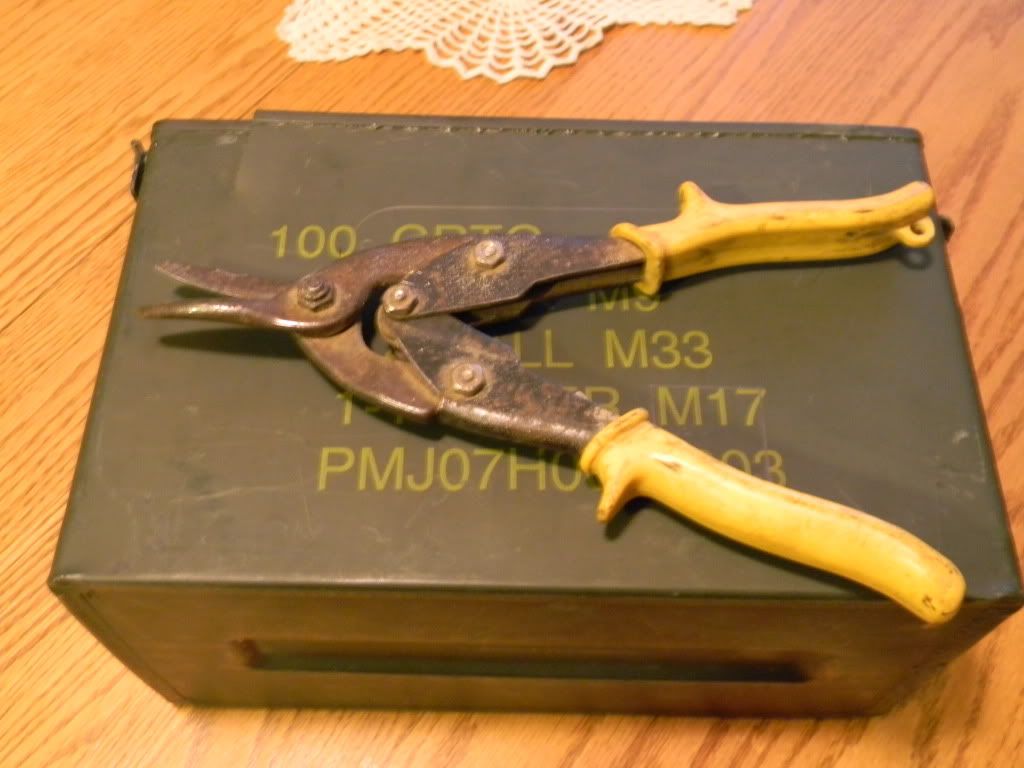 And get to work 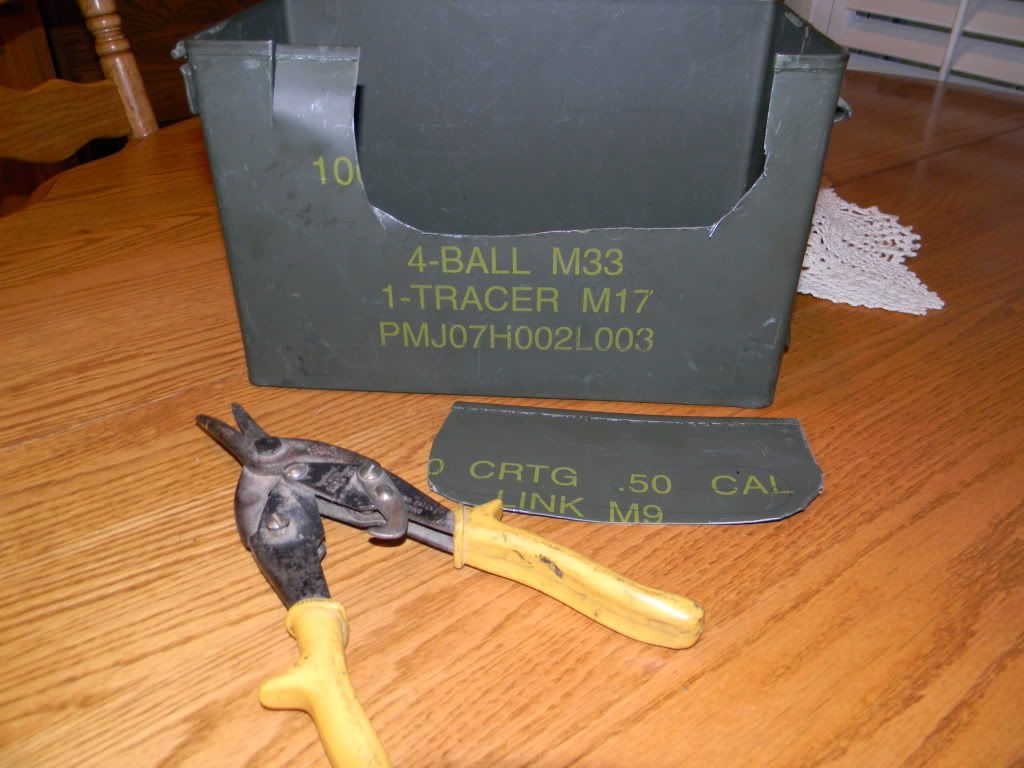 After having it's turn with the bench grinder, it looks like a control plate 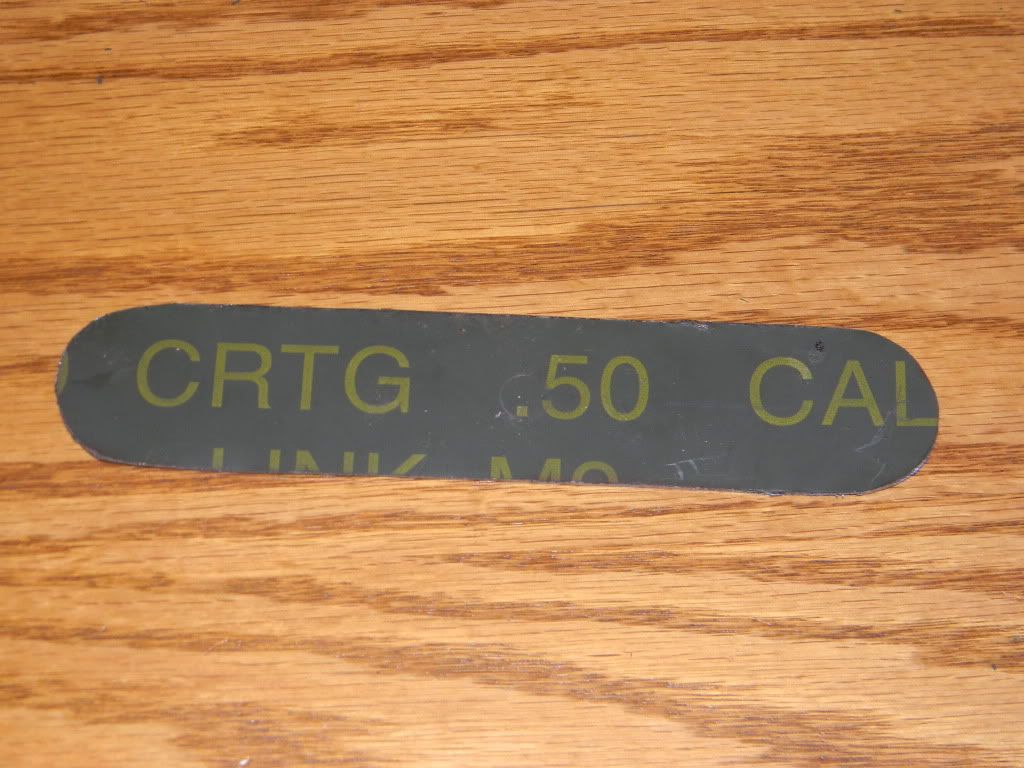 My point in using this kind of material is two fold. First, I've never served in the military (I've been diabetic since I was 7), but I have family and friends who have served or are still serving. I've always had a tremendous respect for our troops and wanted to do something to show my support. Second, I want this thing to look like it's had a long, hard life, and has had several "field fixes" performed on it. I know I may be getting rather ambitious for my first build, but I've got a vision dang it 
|
|
#6
05-20-2011, 02:34 PM
|
|||
|
|||
|
I didn't get many pics today, sorry. I left my camera at home, so all I had was my cell phone.
Anyway, I picked out my boards and got them jointed and glued together. I've changed from the douglas fir to the reclaimed red pine I found. These boards are gonna be sweet with the relic'd look. Jointing the edges 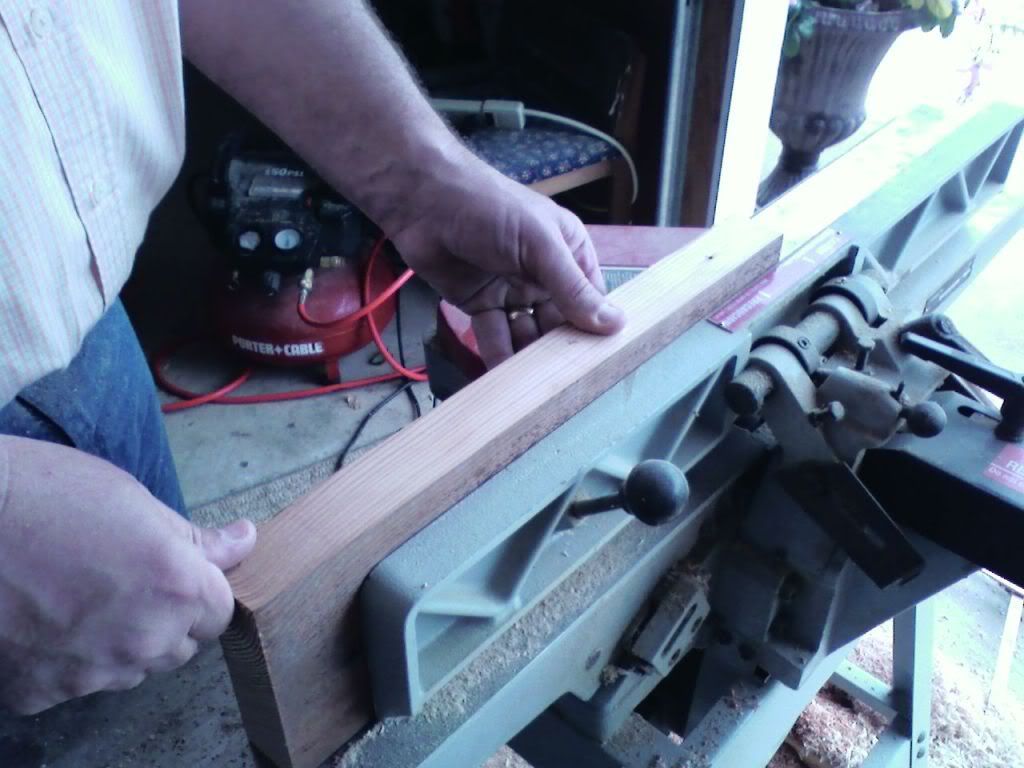 All glued up  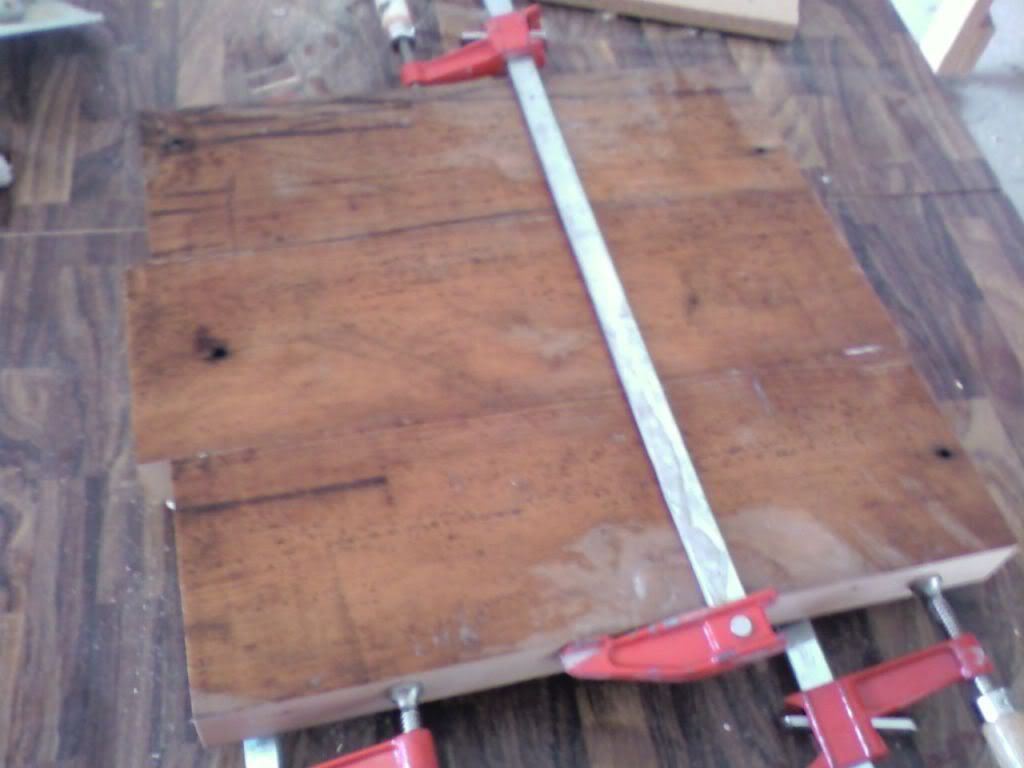 And we got the pattern glued onto our template material. He's got a friend with a really nice saw, so he'll have them cut out for next weekend. Then we can start cutting out the bodies 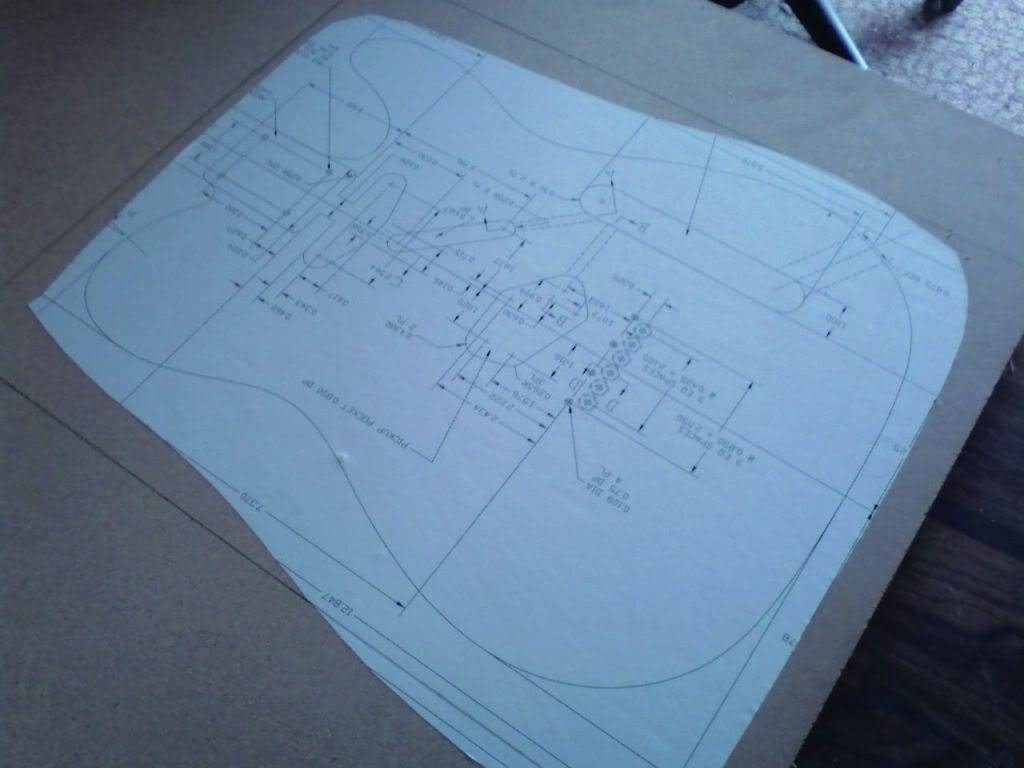 Not as much progress as I'd hoped, but we're getting there 
|
|
#8
05-21-2011, 07:57 PM
|
||||
|
||||
|
Very cool! I look forward to the next installment!
Bob
__________________
"It is said, 'Go not to the elves for counsel for they will say both no and yes.' " Frodo Baggins to Gildor Inglorion, The Fellowship of the Ring THE MUSICIAN'S ROOM (my website)
|
|
#10
05-22-2011, 06:15 PM
|
|||
|
|||
|
I got a little more work done today. First up was the jack plate
 Got it laid out and then to work with the tin snips  Then after the bench grinder, it looks like this. Just needs holes drilled, and it's done 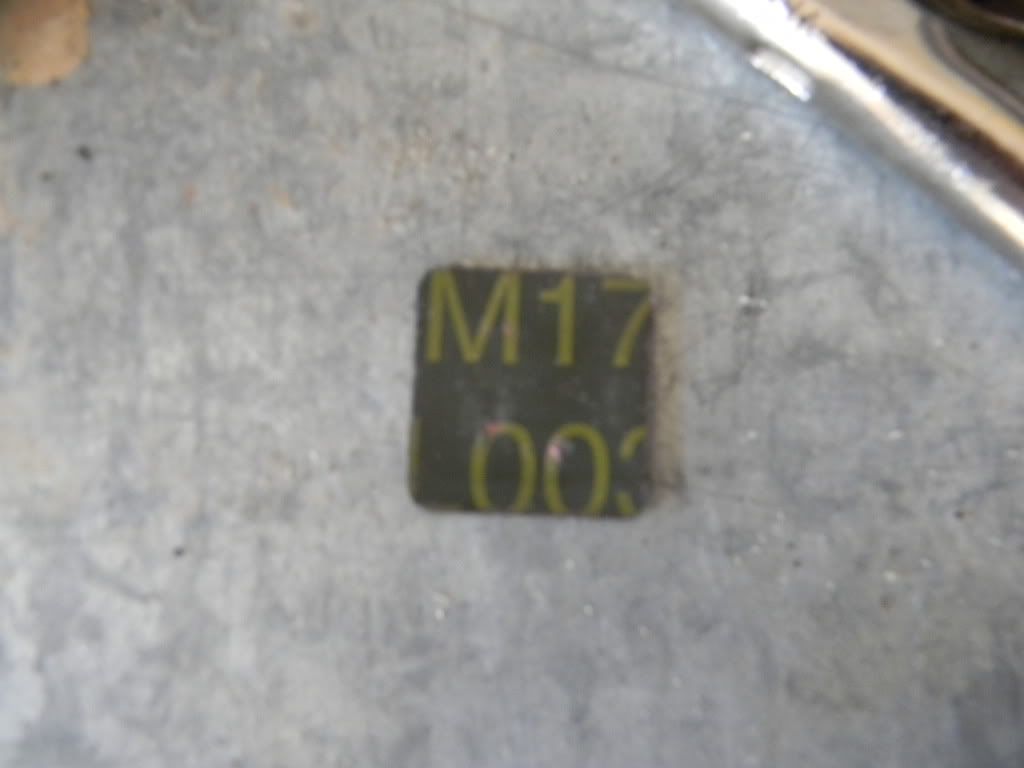 After that, I wanted to work a little more on the bridge. First I needed to cut the flange off the second side 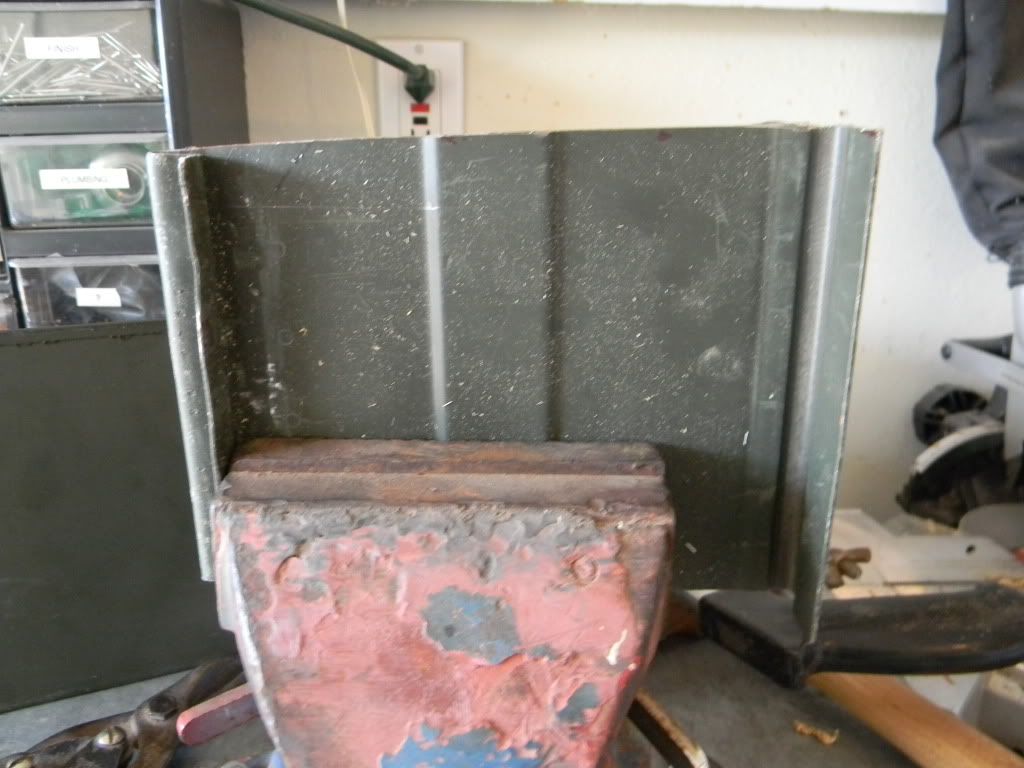 Next, the secondary piece of metal was worrying me, so I got rid of it. I didn't realize there would be no paint underneath it, but that's ok. It's done now 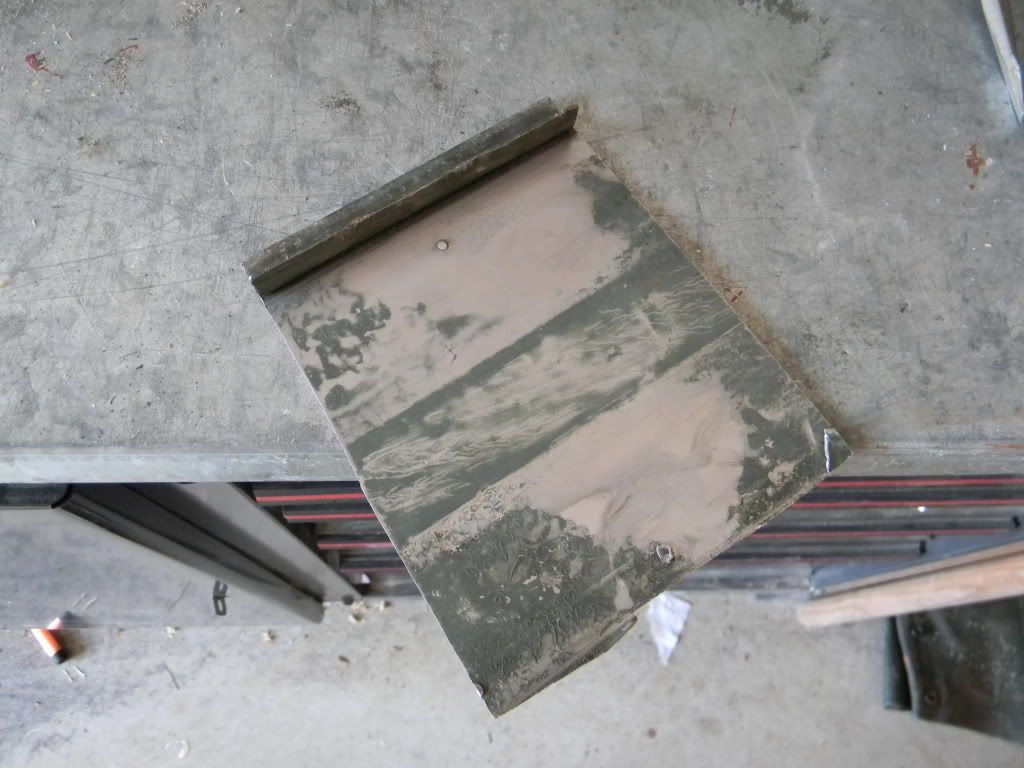 Then I worked on making sure the back side was flat and as square as I could get it.  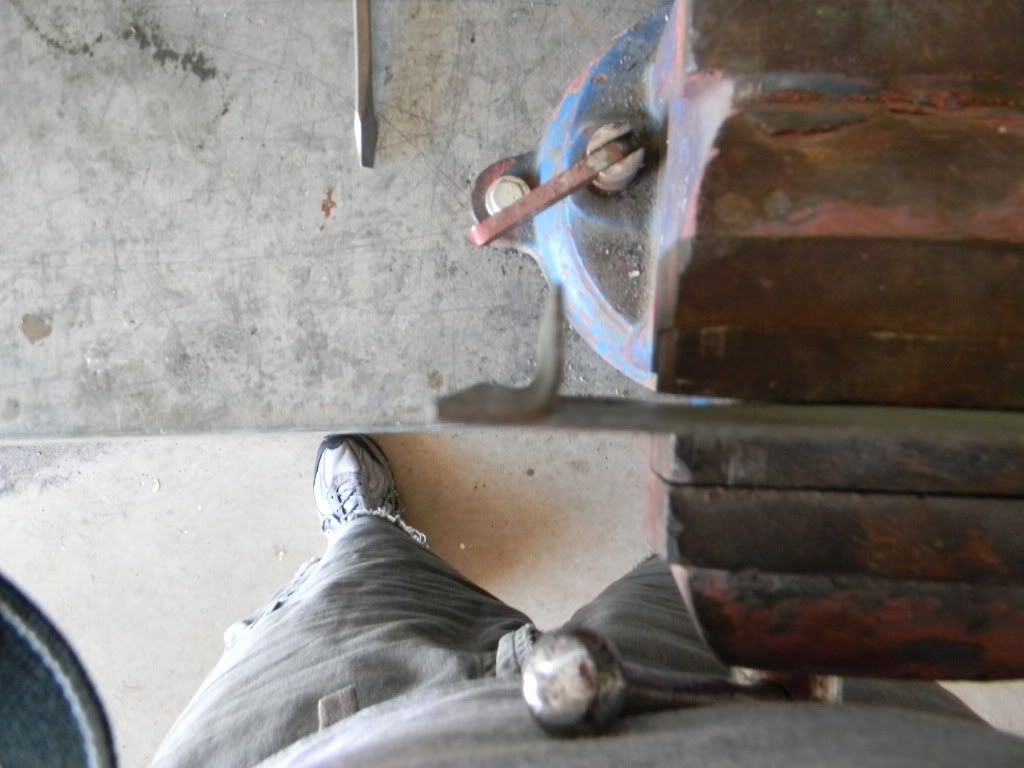 The bridge still needs a lot of shaping (cut to size, drill holes, cut out area for pickup, etc), but it's getting there.
|
|
#11
05-24-2011, 07:11 AM
|
|||
|
|||
|
Keep the pics coming! Very cool project.
|
|
#14
05-26-2011, 11:00 AM
|
|||
|
|||
|
Quote:
 ) )I thought of doing a rough burst of OD green around the outside edge, but I think I'll skip that
|
|
#15
05-26-2011, 01:08 PM
|
|||
|
|||
|
Just a quick note to say I'm really enjoying this thread! Thanks for the frequent updates and keep up the good work Roger.
__________________
Eastman AJ816CE Electra Omega X220 Epiphone FT-130 Fender American Prof II Telecaster Martin Backpacker
|