|
|
#1
 09-26-2014, 09:25 AM
|
|||
|
|||
|
http://www.acousticguitarforum.com/f...335992&page=27
This thread is a continuation of the link above, as the previous thread was approaching 400 posts. It's great to see so much interest in Bruce's work! Thanks to all,  Glenn
__________________
My You Tube Channel 
|
|
#2
09-26-2014, 03:43 PM
|
||||
|
||||
|
Bruce routes a trapezoidal pocket for to accept the end graft.
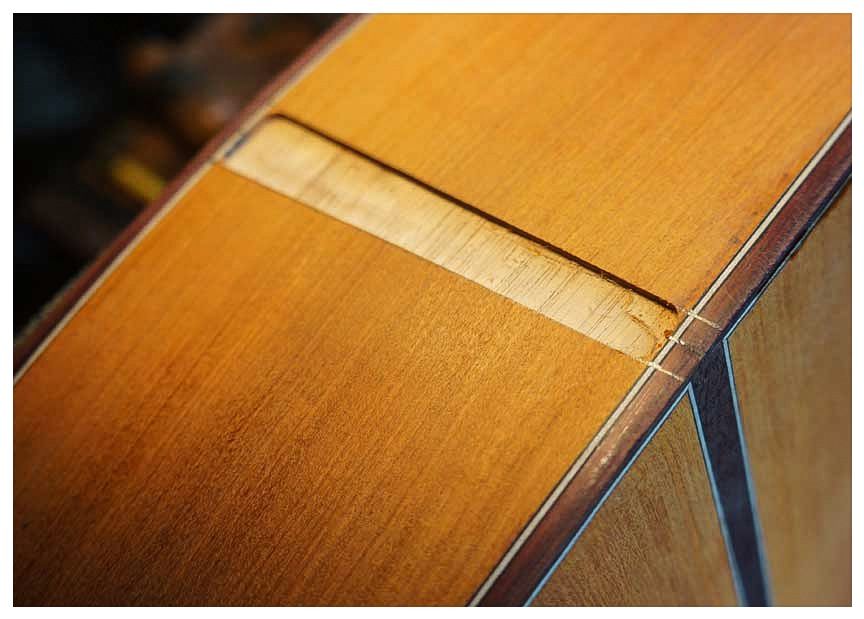 Next, sharp corners are established (I am guessing with a chisel). 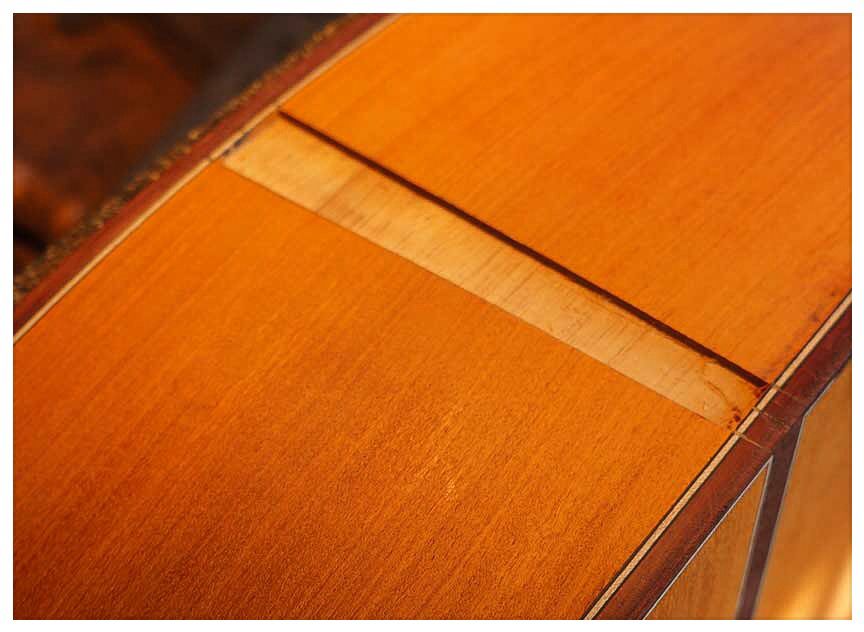 Now, create the miters on the binding purflings, cut the end graft purflings and miter them (again, I am guessing a sharp chisel) and glue them in place. 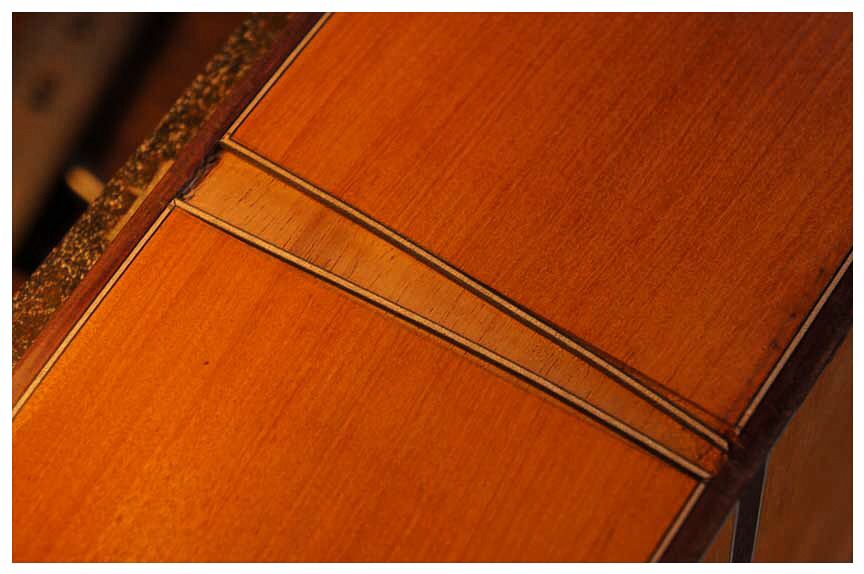 A trapezoidal piece of Camatillo is cut to size. 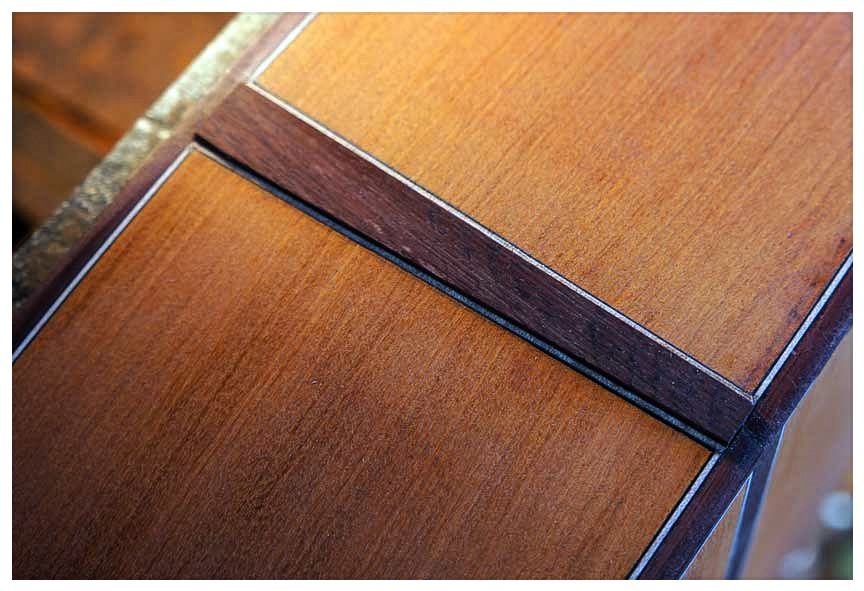 The end graft is glued in place and clamped. Bruce will wait for the glue to fully dry before leveling the end graft to the body. 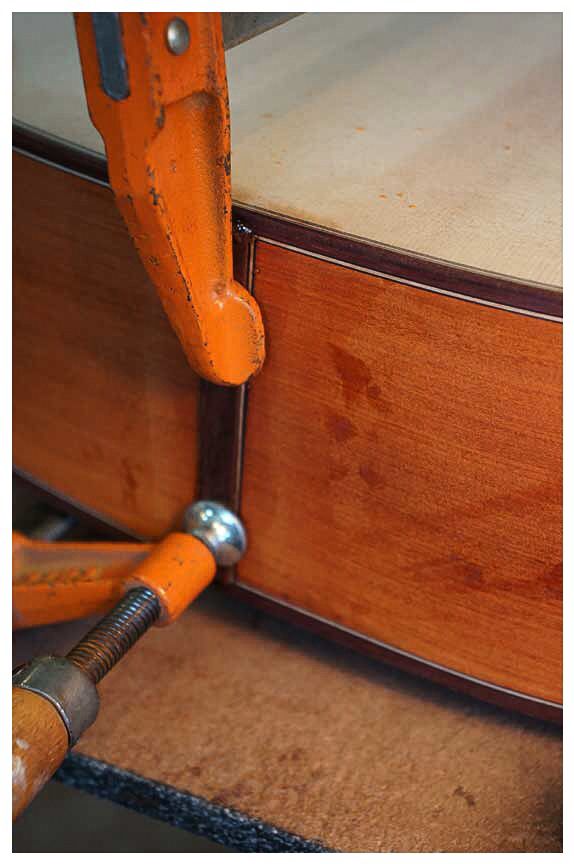
__________________
A bunch of nice archtops, flattops, a gypsy & nylon strings Last edited by iim7V7IM7; 09-26-2014 at 04:46 PM.
|
|
#3
09-26-2014, 06:25 PM
|
||||
|
||||
|
I admit that I did not see this new thread coming. I suppose there are technical reasons for it beyond my grasp, but it seems like my browser loads one page at a time, so I wouldn't have thought the thread would become unwieldy for running unusually long. Not complaining, just musing.
Here's the graft complete: 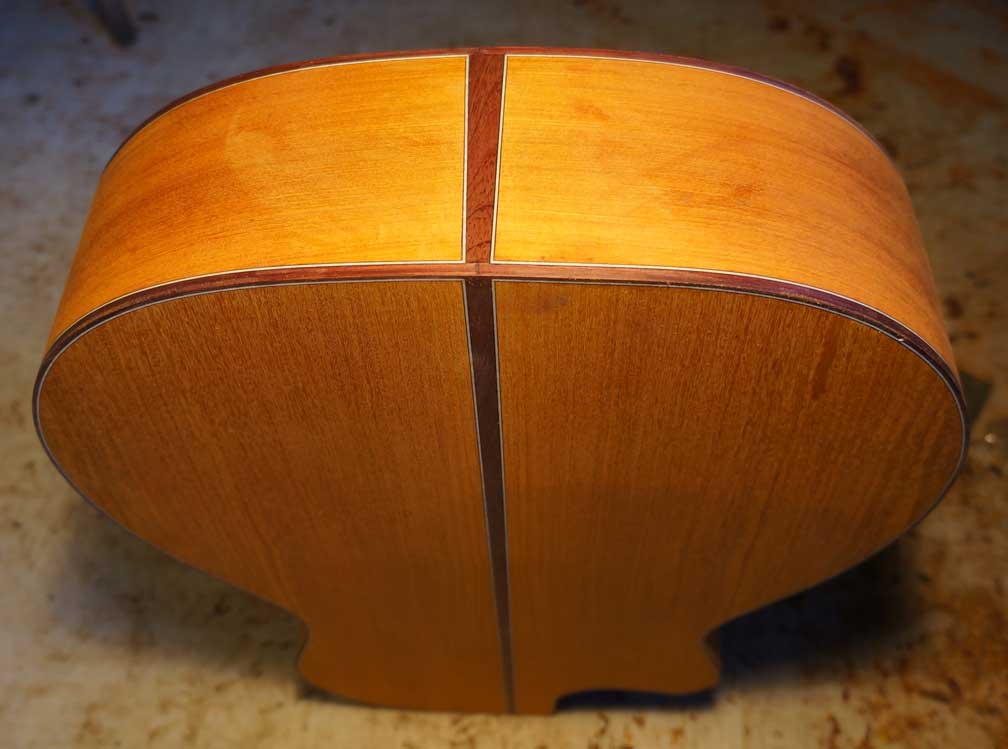 The miters came out well, so I give you a close up of the beautiful Camatillo:  Now I am into the neck: 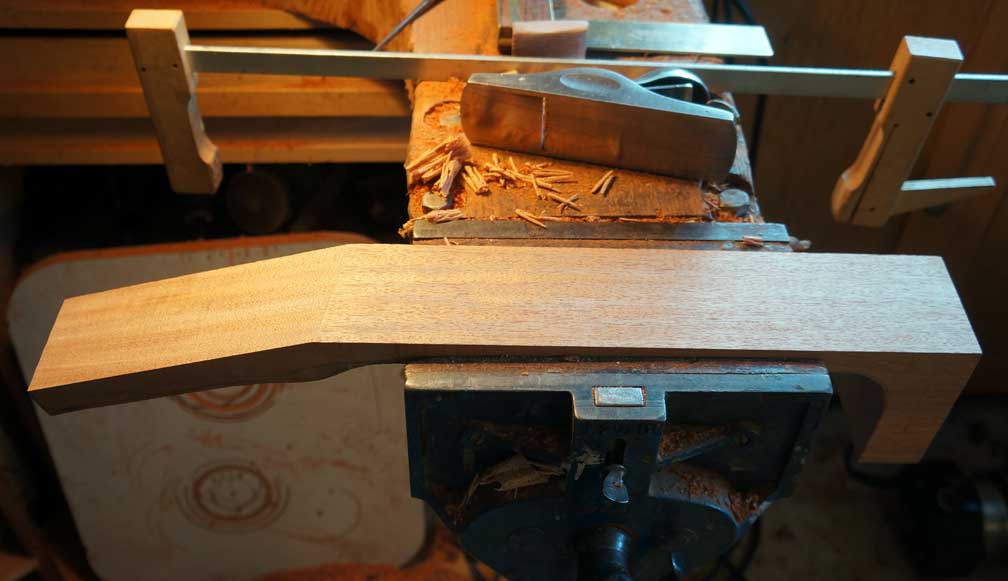 Here is the truss rod slot as well as the head face plate (also Camatillo) being glued along with Maple and black fiber underlayments: 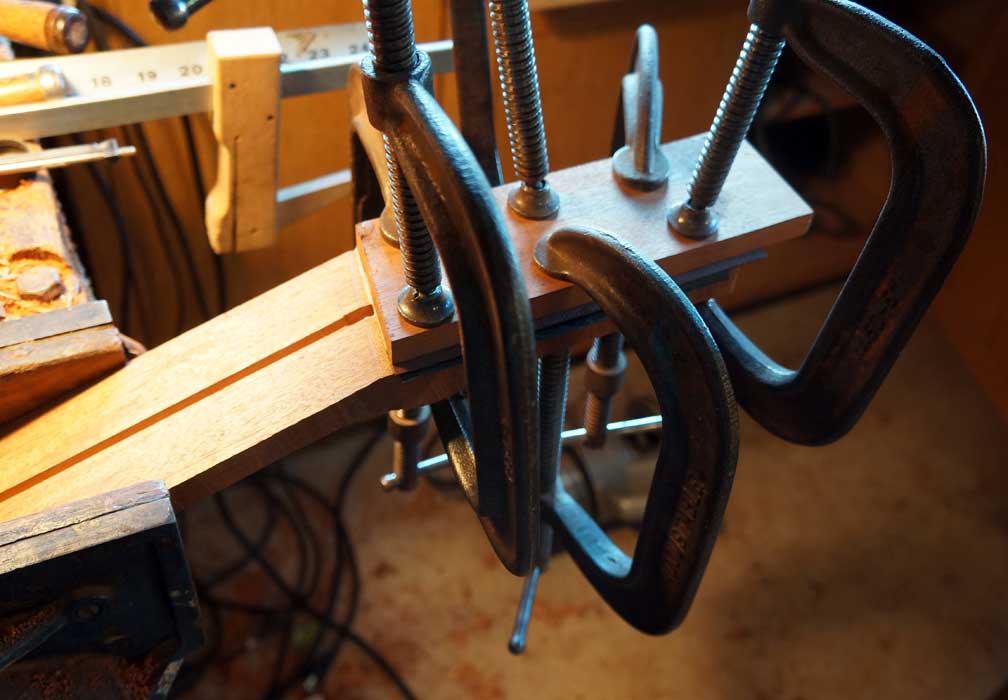
|
|
#4
09-27-2014, 05:11 AM
|
||||
|
||||
|
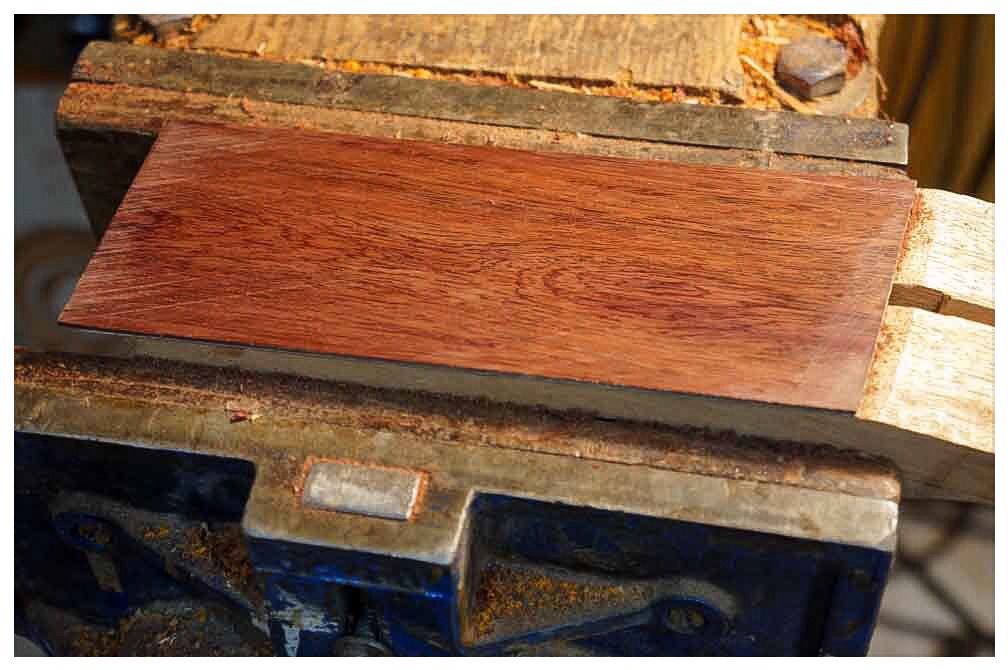
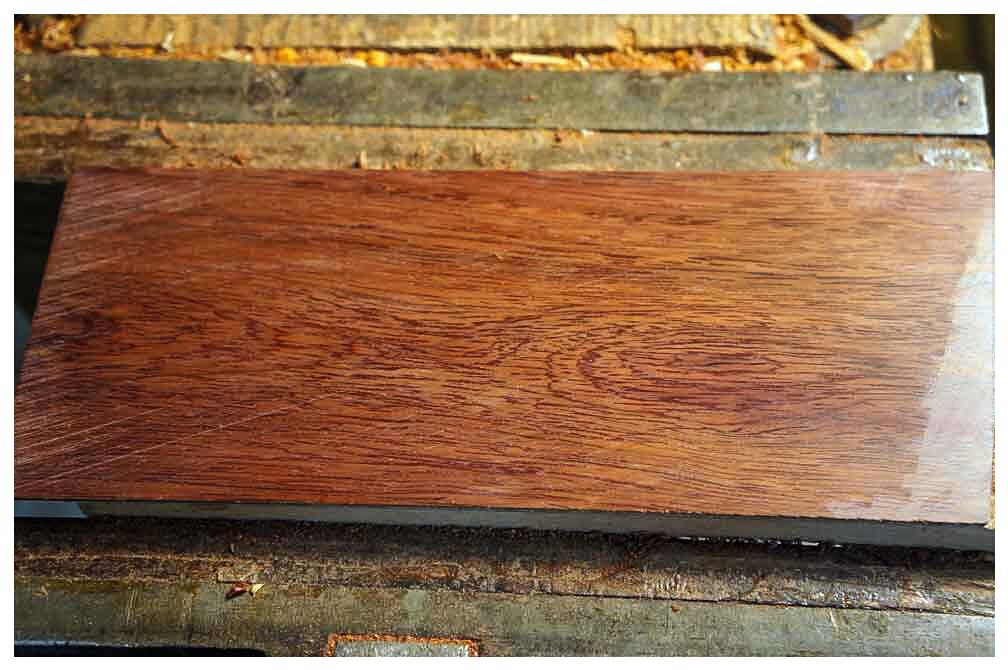
This the piece of Mexican Kingwood (Camatillo) used for the headplate veneer atop the maple and black fiber underlays.
__________________
A bunch of nice archtops, flattops, a gypsy & nylon strings Last edited by iim7V7IM7; 09-28-2014 at 02:27 AM. Reason: duplicate
|
|
#5
09-27-2014, 09:46 AM
|
|||
|
|||
|
Quote:
cheers, SteveG
|
|
#6
09-27-2014, 10:28 PM
|
|||
|
|||
|
I got a chance to stop by Bruce's shop today and see the pernambuco guitar in person. Wow!! That one's going to be gorgeous! I love the color. As always, Bruce warmly invited me in to to the shop to show me his current work and chat about guitars, cars, motorcycles and life in general. I also saw a couple of his other recent builds and I am always amazed at how clean his work is. His perfect miters on the purfling, flawless finish work and overall attention to detail are inspiring!
|
|
#7
09-28-2014, 12:20 PM
|
|||
|
|||
|
The new guitar is looking great!
I guess I'm being a bit dense on the fretboard jig and was wondering if the backer board was 2 pieces with the fretboard attached to a 2nd piece that moves independent of the upper backer board? I'd love to see more pics of this and a YouTube video would be very cool. Best wishes, Buck
__________________
-Buck
|
|
#8
09-28-2014, 07:15 PM
|
||||
|
||||
|
I will make an effort to illustrate the fret slotting jig when I get back to work in the next couple of days.
Yesterday I did make some progress with the neck, and I have a half hour till Linda will call me in for dinner, so I took a few pics and will share that now. This is the fingerboard being glued on following the completion of the headstock veneers' attachment. Mostly a lotta clamps, I'd say:  Here I have bandsawn the template and cleaned up the edges of the fingerboard as well as the sides of the headstock: 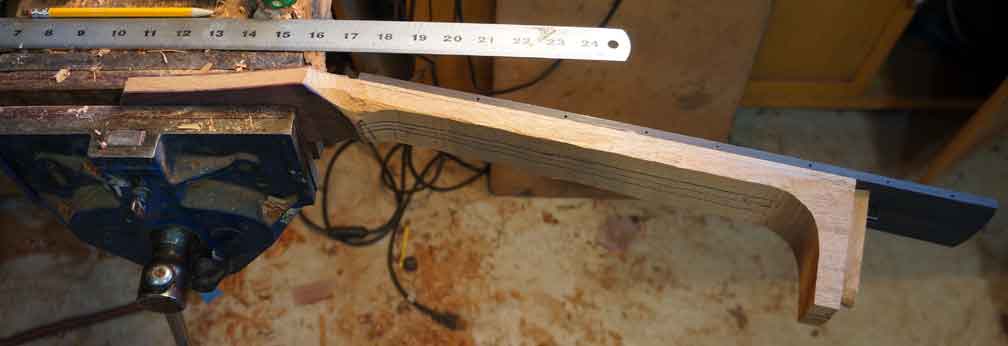 A little closer:  Here you see the headstock template and some of the layout lines for the neck carve I expect to do tomorrow: 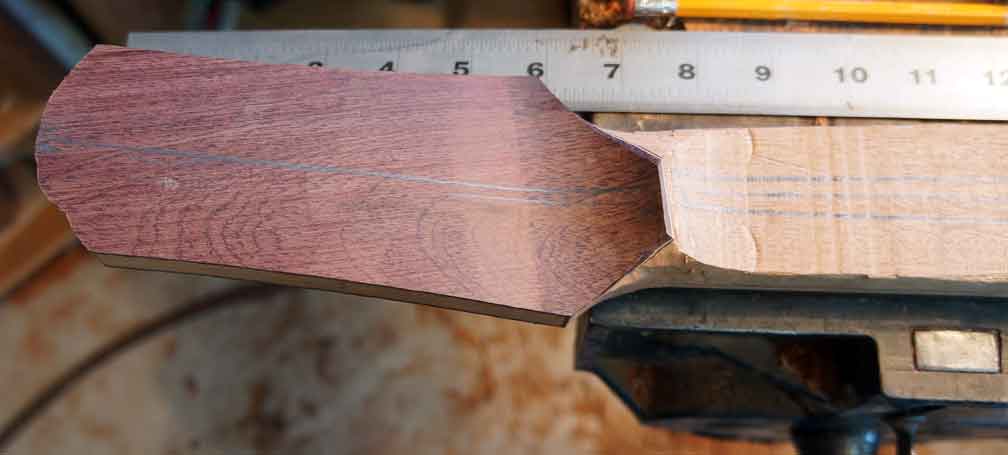
|
|
#9
09-29-2014, 02:22 PM
|
||||
|
||||
|
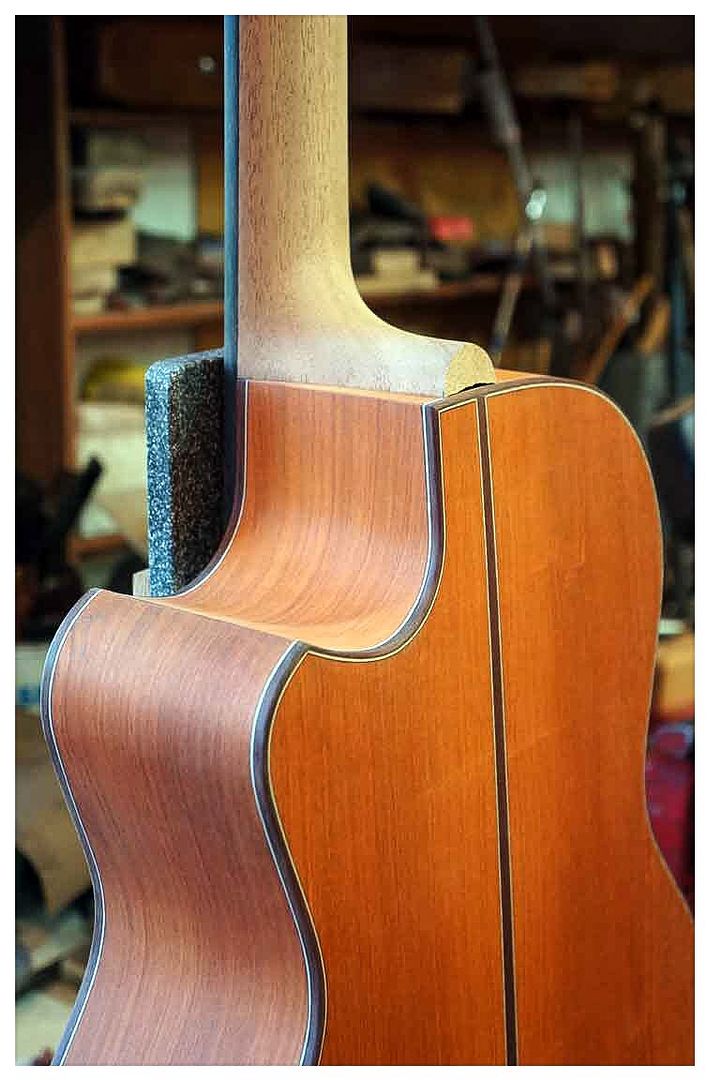
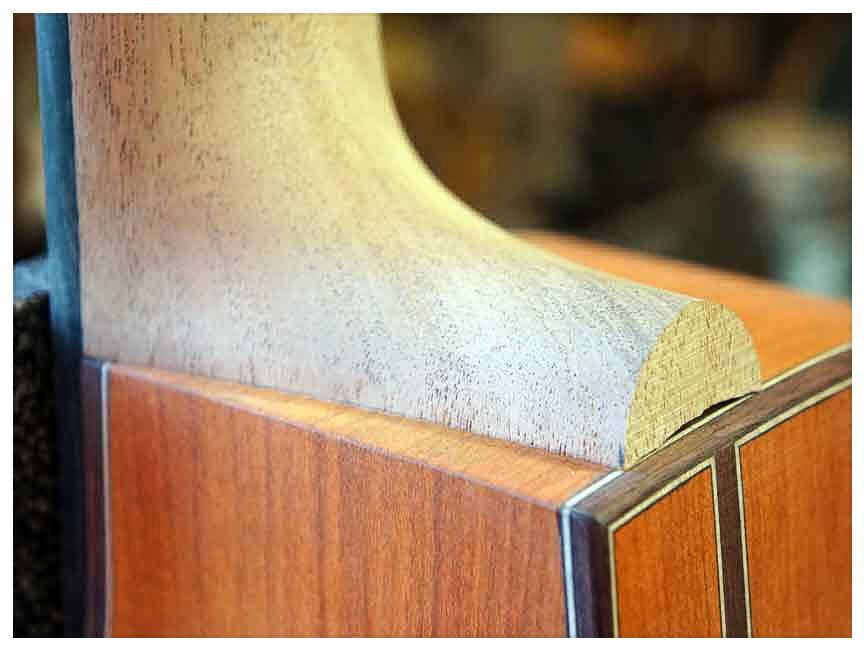
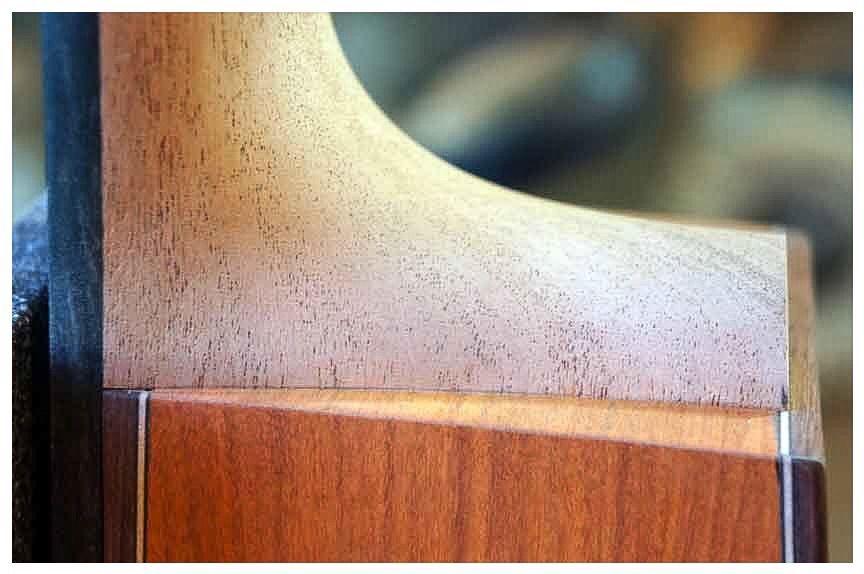
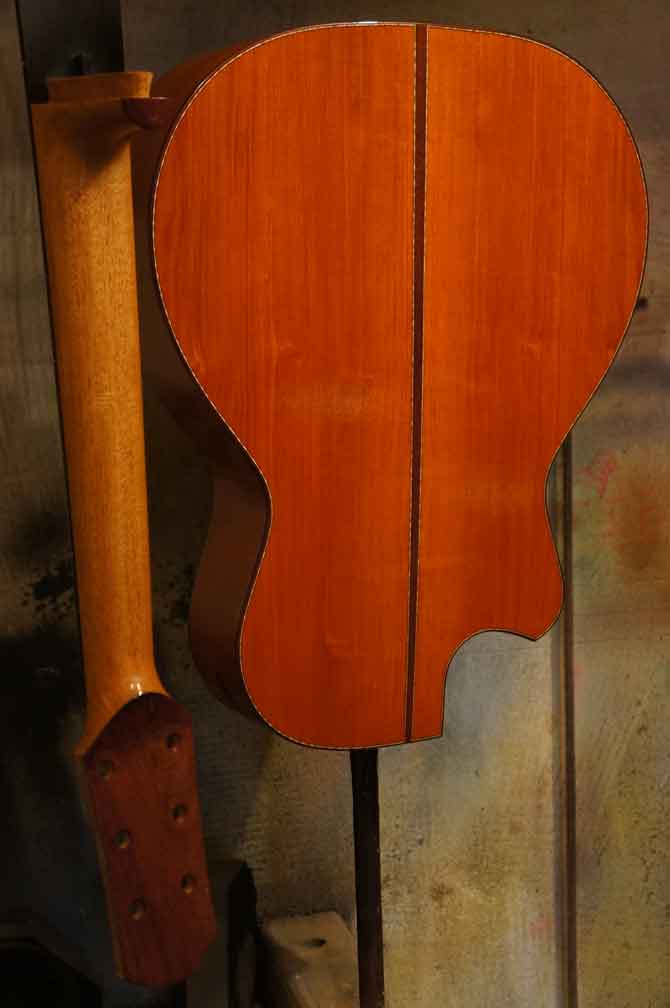
Some neck carving has taken place in Bruce's shop today. He shaped the neck profile slightly on the C side of his double ellipse.
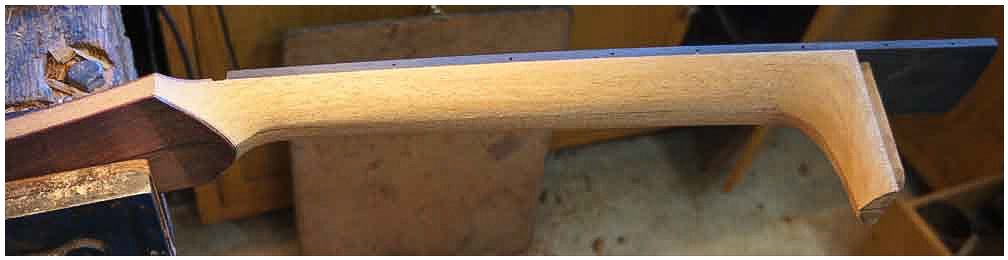 The Camatillo headplate and backstrap veneers can be seen here. The thin maple and black fiber underlayments can be seen beneath both. 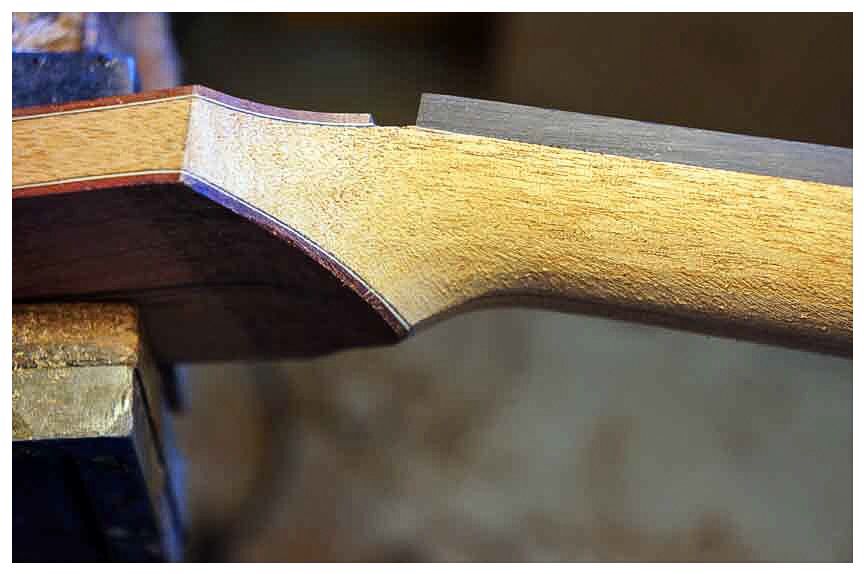
__________________
A bunch of nice archtops, flattops, a gypsy & nylon strings
|
|
#11
09-30-2014, 06:29 PM
|
||||
|
||||
|
We have decided to go with simple dots for finger board inly, and so I chose white pearl material for the logo. Not actually pearl, but some sort of snail I believe, essentially white but with a lot of extra character on closer inspection (none of which can I see in this photo). The tuner holes are a little larger than typical as we are using Robson tuners.
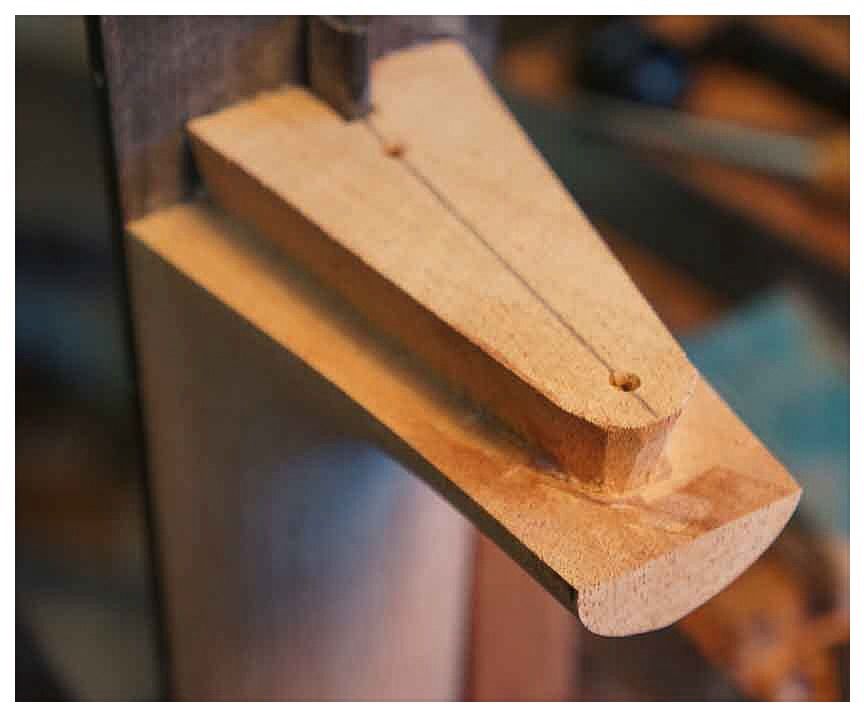
I have used the Camatillo for the heel cap: 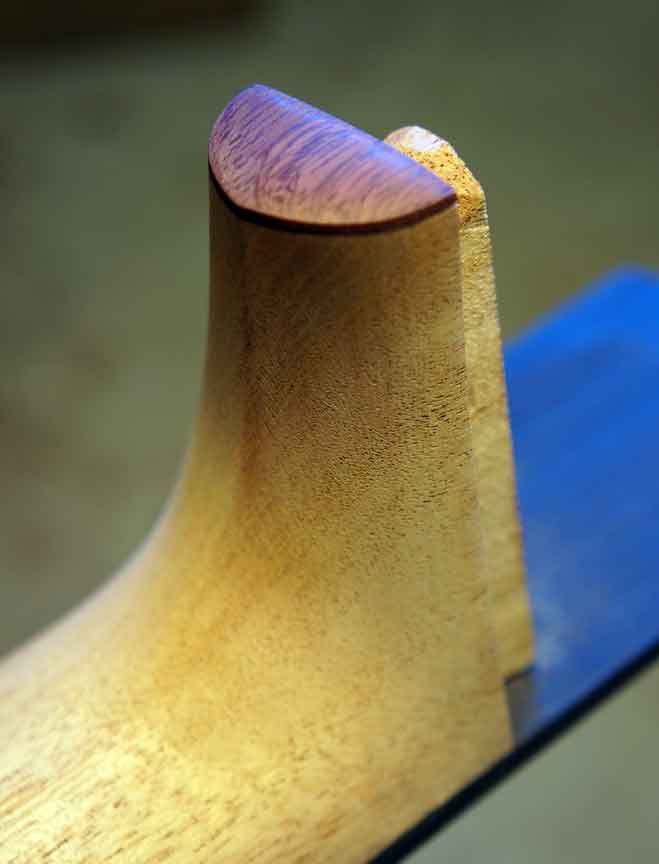
|
|
#12
09-30-2014, 07:11 PM
|
||||
|
||||
|
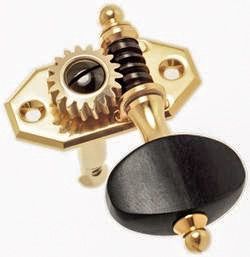
These are the brass Robson tuners with ebony buttons that Bruce is using.
 Here is the peghead next to the body. 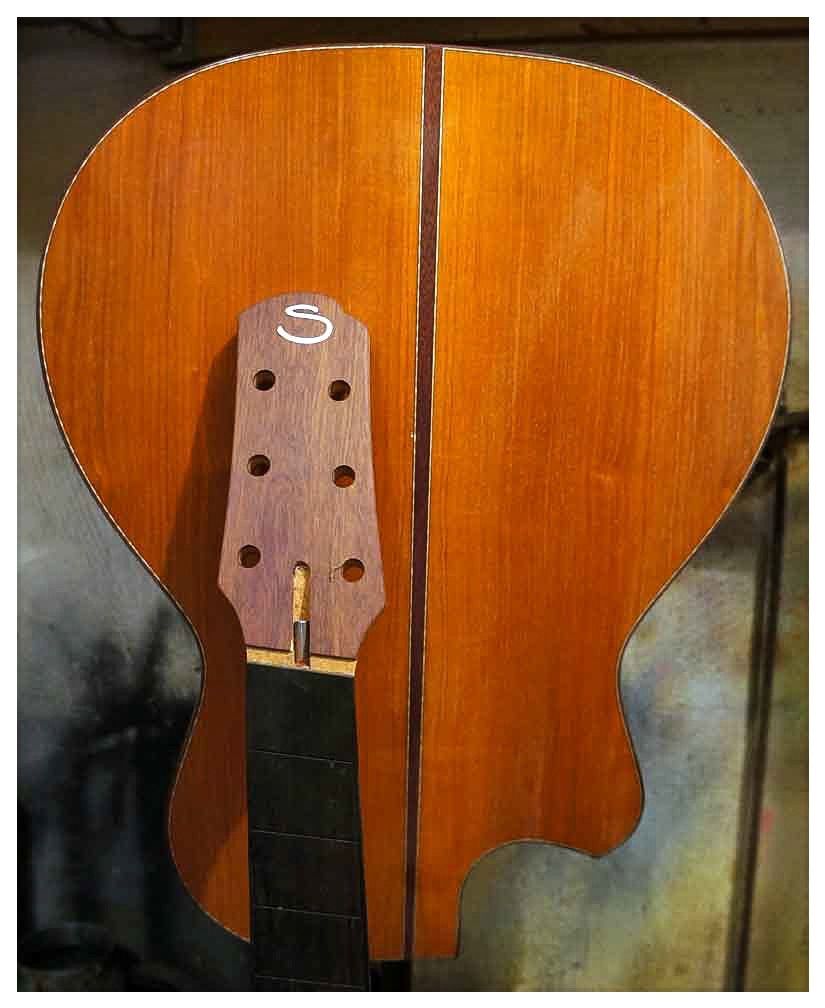 The German spruce top... 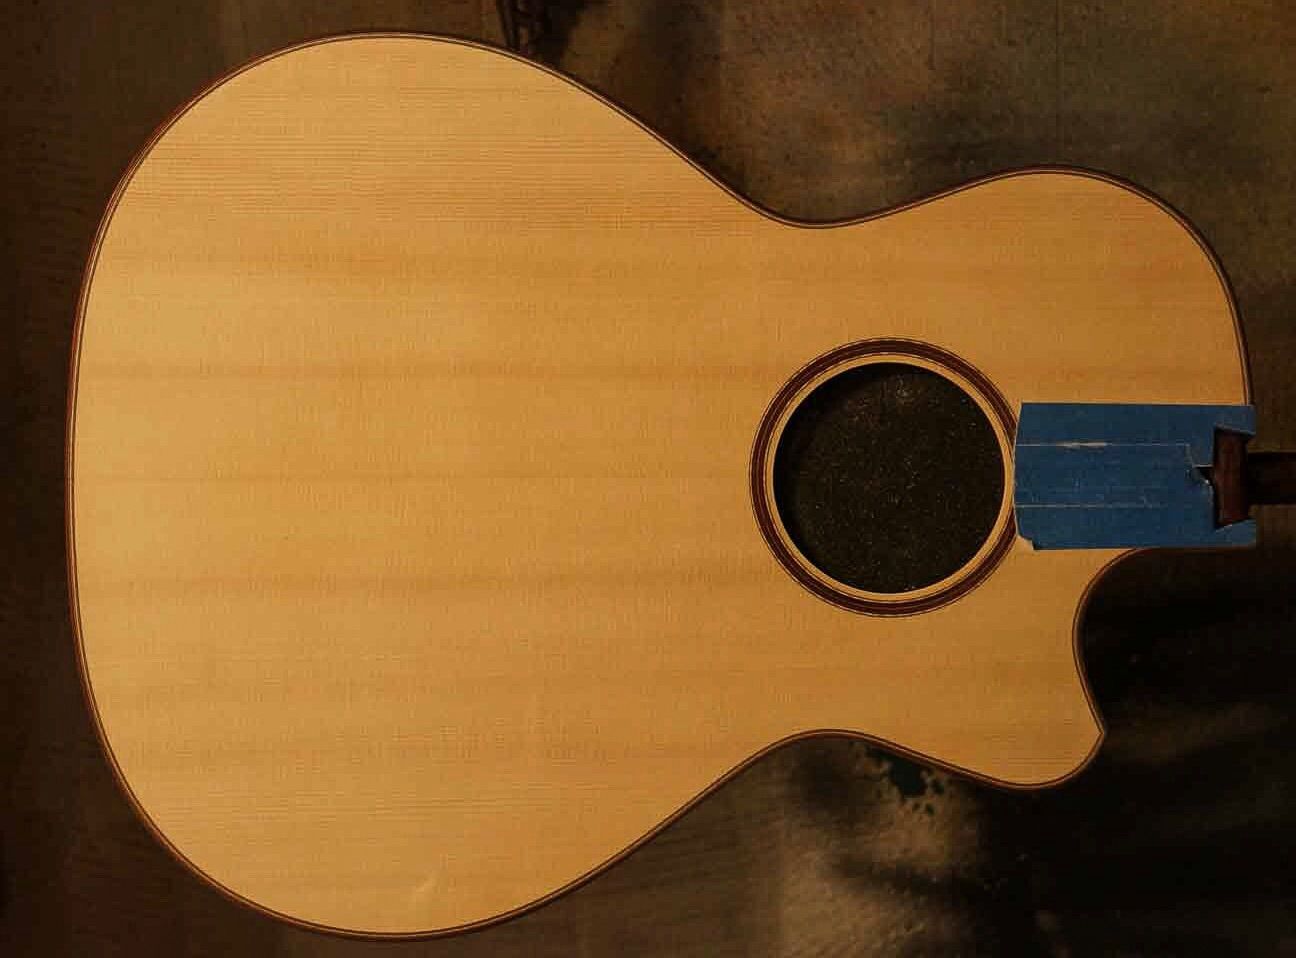
__________________
A bunch of nice archtops, flattops, a gypsy & nylon strings Last edited by iim7V7IM7; 09-30-2014 at 07:41 PM. Reason: Added some pics
|
|
#13
10-01-2014, 02:42 PM
|
||||
|
||||
|
I put the first coat of oil varnish onto the L00 this morning, and now it's time to turn some of my thoughts toward other things. Here's the Varnish (no longer looking so "Pumpkin"):
 Other subjects on my mind include: Woodstock, for which I leave 3 weeks from today. That Beautiful Claro Walnut I acquired, resawed, and stickered earlier this year. There are a few pictures earlier in this thread, I believe. I have joined a back, thicknessed it, and even put in a backstrip. Another L00 . . . maybe. And, I am waiting for the new aluminum Ford truck and an EPA rating for the 2.7 EcoBoost. If it hit 30 MPG I'll probably get one, otherwise the RAM which is actually getting over 28 mpg looks pretty good, though the Ford seems more comfortable to me, possibly because I bought the 1999 version I have been wearing out new off the lot.
|
|
#14
10-01-2014, 03:06 PM
|
|||
|
|||
|
That looks classy! I find a ton of inspiration in the way you approach the craft, Bruce.
Can't wait to see that Claro. Good Claro just looks so chocolaty good. FWIW, I love my Chevy 1500 (2014 vintage). 22 mpg on the highway, 350 HP, hauls my 6000 lb trailer easily, but it's real strength is that it's crazy comfortable to drive. I hear rumblings about a smaller Duramax for the 1500 next year....should approach 30 mpg.
|