
|
|
#76
 08-24-2010, 05:18 AM
|
||||
|
||||
|
I admired the third picture, too.
Fact be told, what I really admire is that you knew to walk away when you felt the need to walk. Frustration times will come and go. Being the wife, I hope you took hold of Mary's hand and asked the kids to walk with you.
__________________
... make a joyful noise ... http://www.mcknightguitars.com AGF MCKNIGHT GUITAR SNIPPETS https://www.acousticguitarforum.com/...d.php?t=663228 I'll continue "Doin' Life ... As a Luthier's Wife" McJam = Guitar private event June 21-22, 2024 [email protected] Pre-sign is required and begins now. 
|
|
#77
08-24-2010, 06:25 AM
|
||||
|
||||
|
Quote:

|
|
#78
08-25-2010, 02:23 PM
|
||||
|
||||
|
I got the back side of the rim radius sanded to 20'. Working on a 28 radius for the topside, then the top gets glued in
Neil came by last night and I helped him along a bit.
|
|
#79
08-25-2010, 08:01 PM
|
|||
|
|||
|
Quote:

|
|
#80
08-26-2010, 02:51 PM
|
||||
|
||||
|
Most of the Band saw
problems are a loose nut pushing the switch. Me. LOTS OF PICTURES!!! I got a new card reader! I have gotten a lot done fast, even with setbacks. The last of the bracing and support 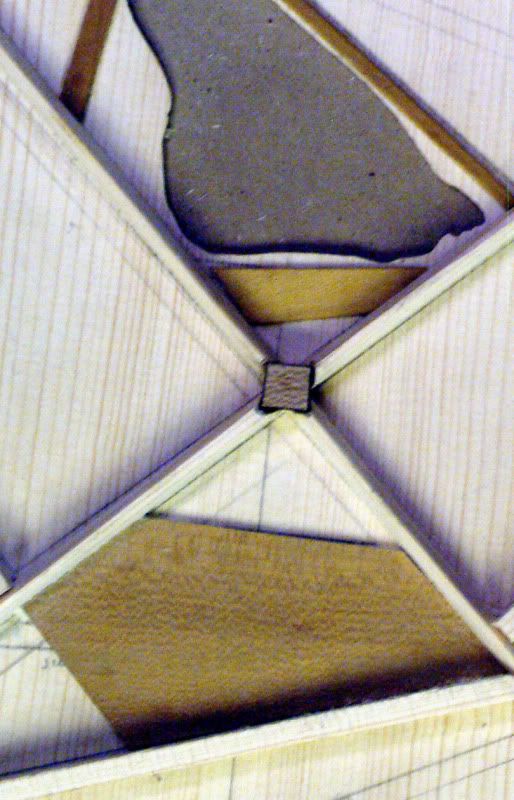 Here is the making of the Bridge and fretboard fret slots;  Hey!!! The big Blue Bug of Justice!    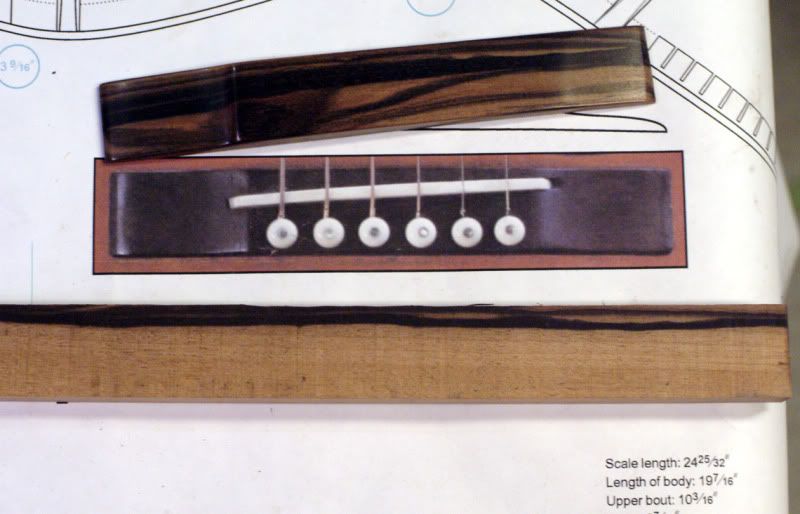 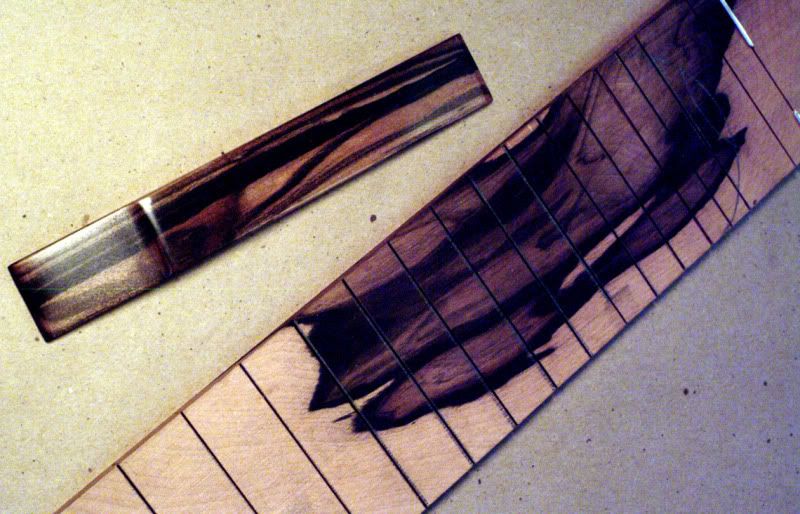
|
|
#81
08-26-2010, 03:20 PM
|
||||
|
||||
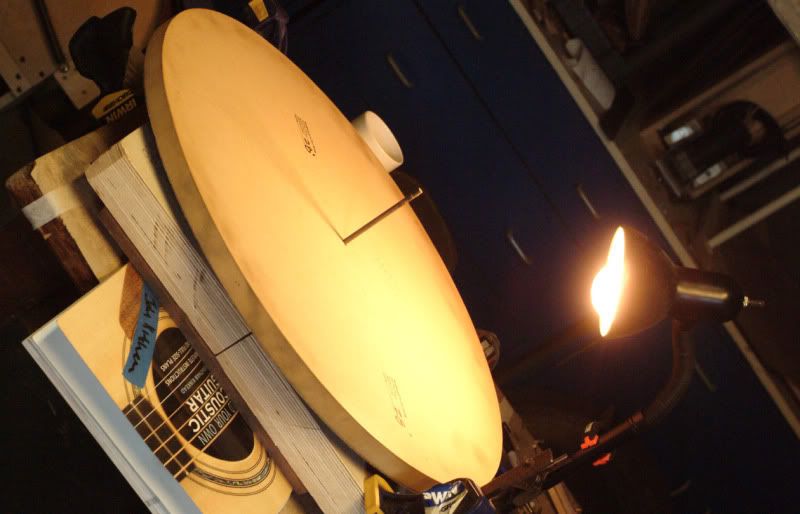 The first neck block; The first neck block;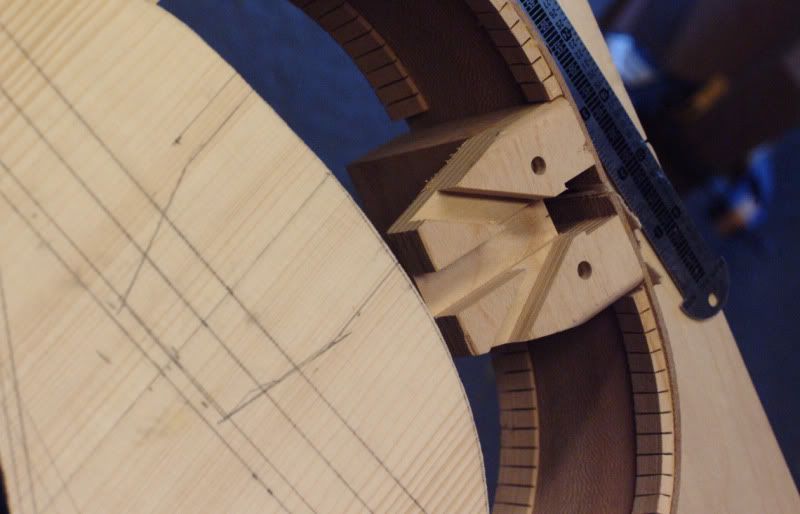 Ripping out the first neck block because it was upside down!!! 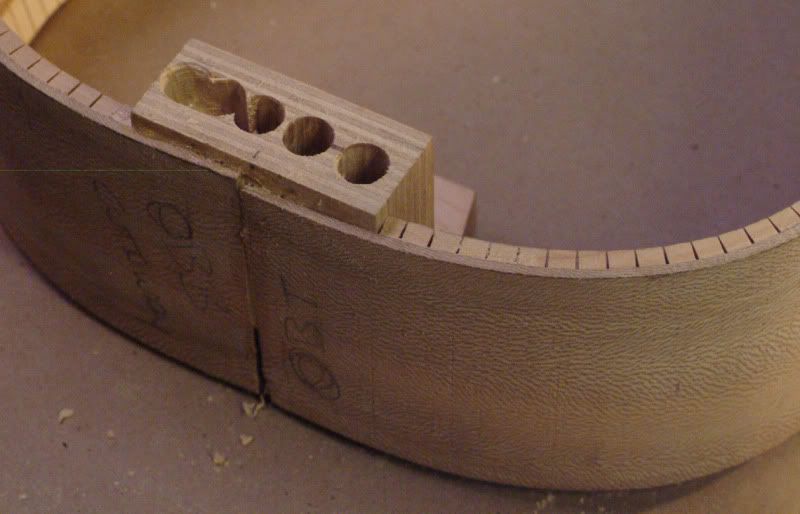 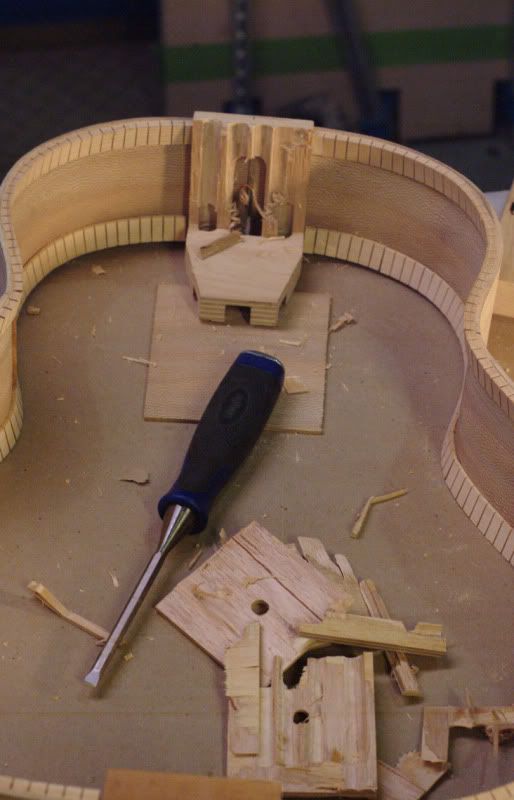 Removing the second neck block, Crooked!!! 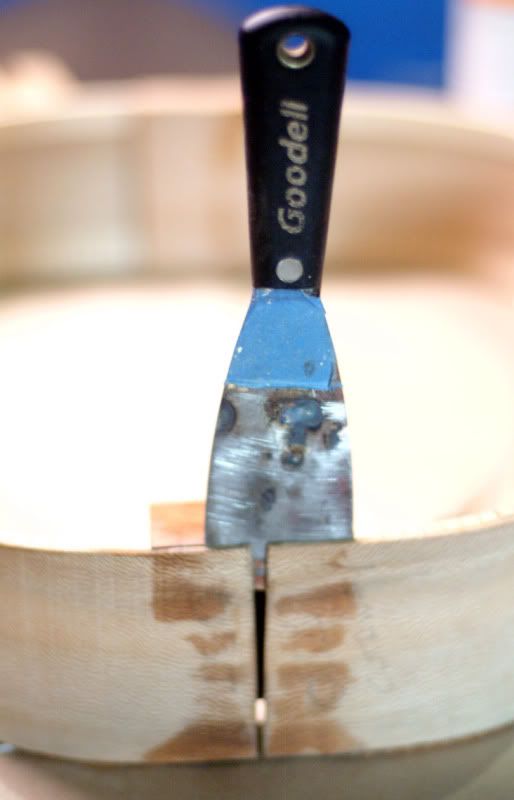 3rd times a charm! 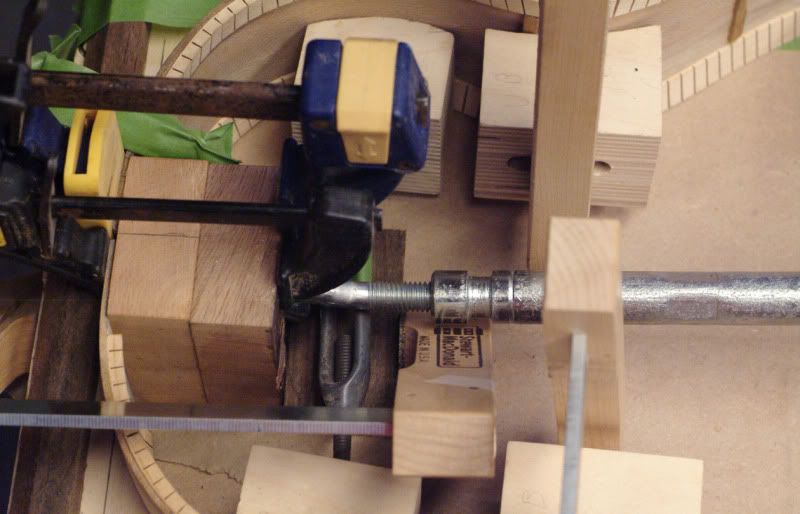 The Kerfing goes in 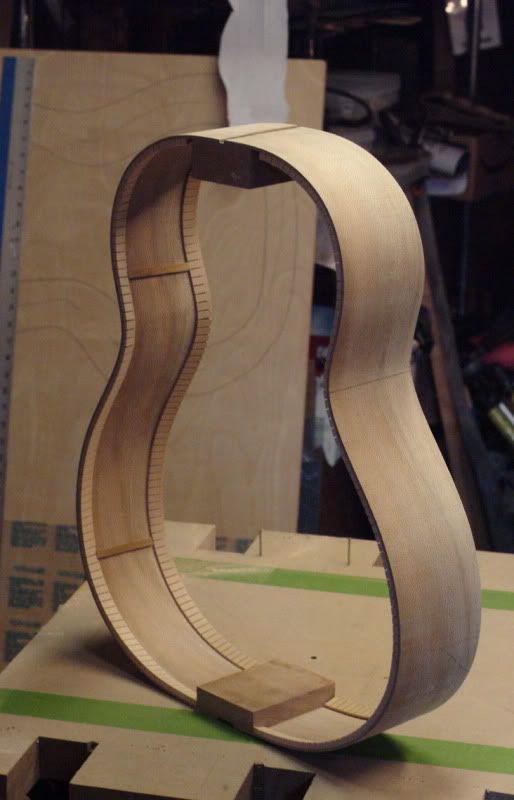 Time to install the top 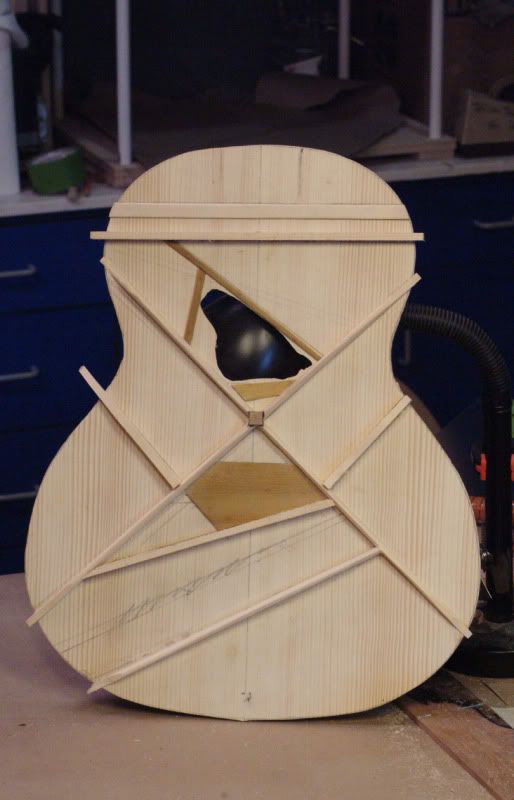 Either contacting ET or radius sanding dish. I drill a long drill bit directly into my work table, then leave it stuck in the table. This is my center post for the disc. Slide the disc on and as John Hall says; "Play wheels on the bus" Sand down the body frame till even. Use pencil to see where you are are high. 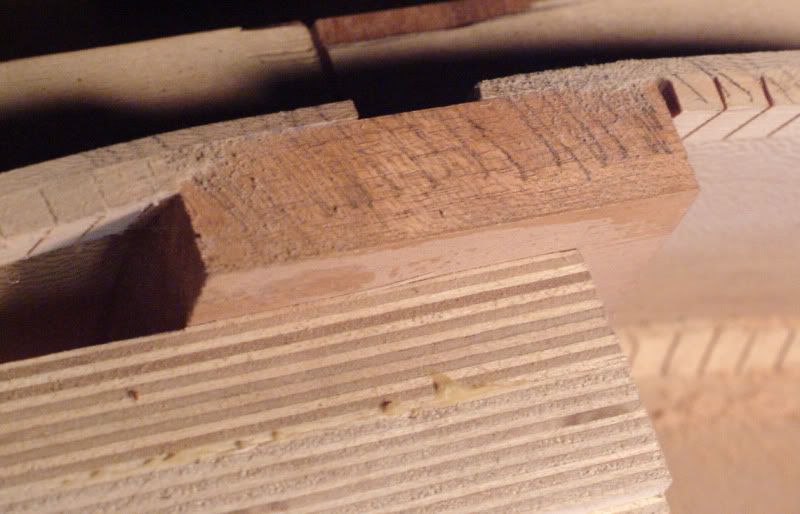 A Sigh moment! 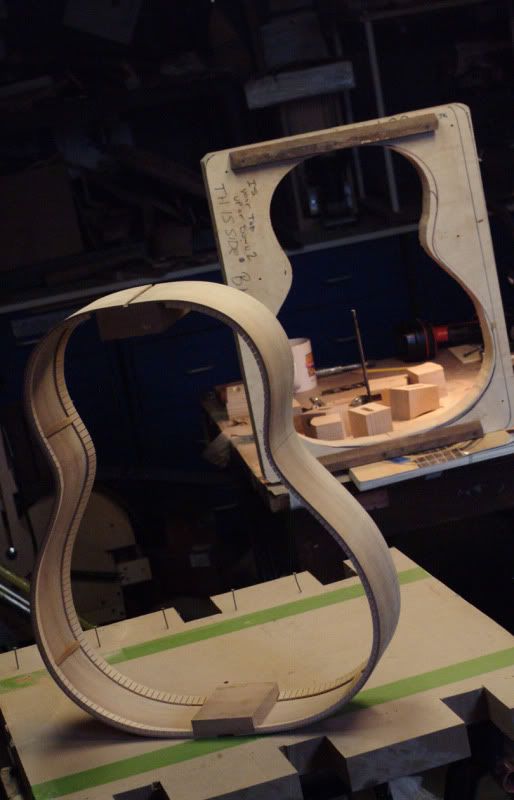
Last edited by Kitchen Guitars; 08-26-2010 at 03:43 PM.
|
|
#82
08-26-2010, 03:37 PM
|
||||
|
||||
 The sawdust 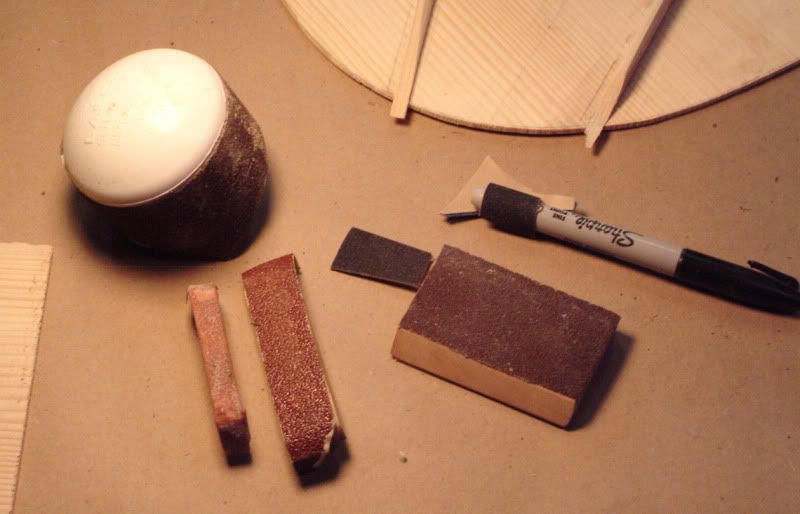 The homemade sanding pads I used on the final brace touches. A Sharpie and self adhesive sandpaper is winning combo. 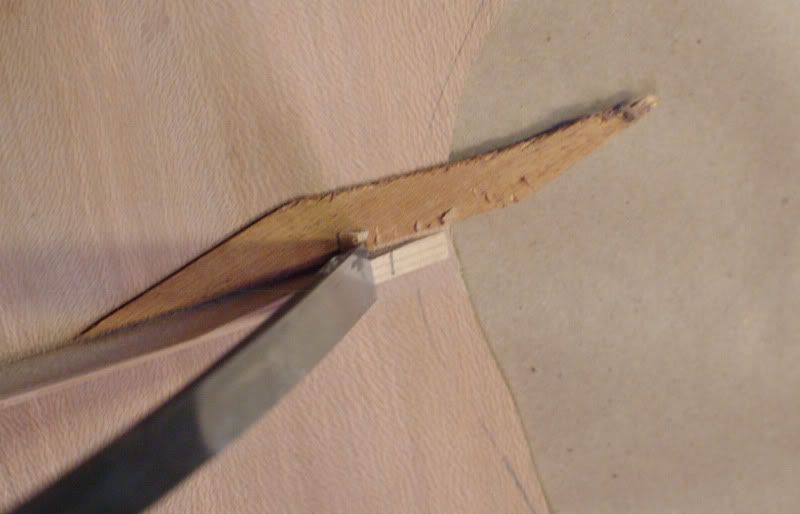 I used a thin scrap piece of Mahogany to keep the parts of the braces and tone bars that go into the Kerfing trenches at a consistent height.  Then I set the blade hieght with the same peice of scrap to make the trenches in the sides and Kerfing. 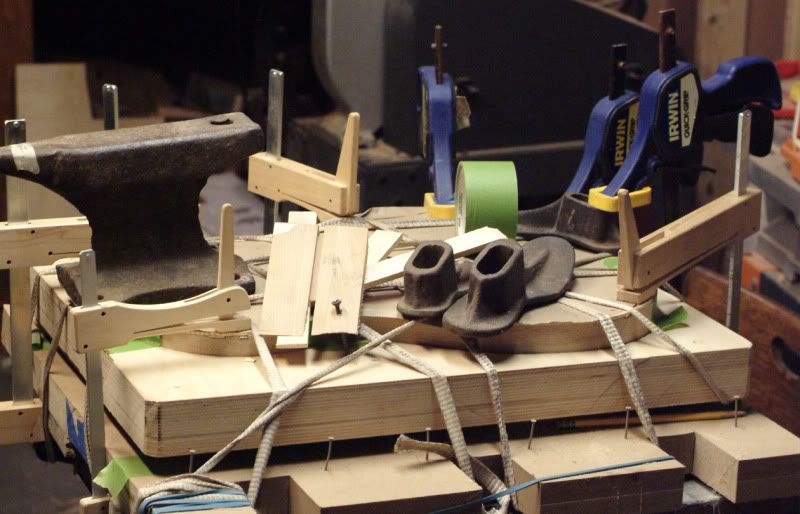 I clamped down the top, then used cord, weights, even drilled in a wedge then wedged it!!! Another Sigh moment 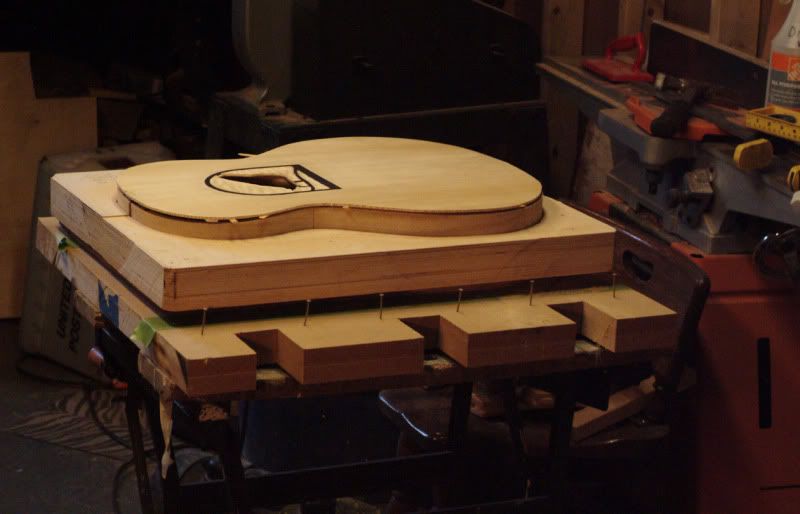 And another 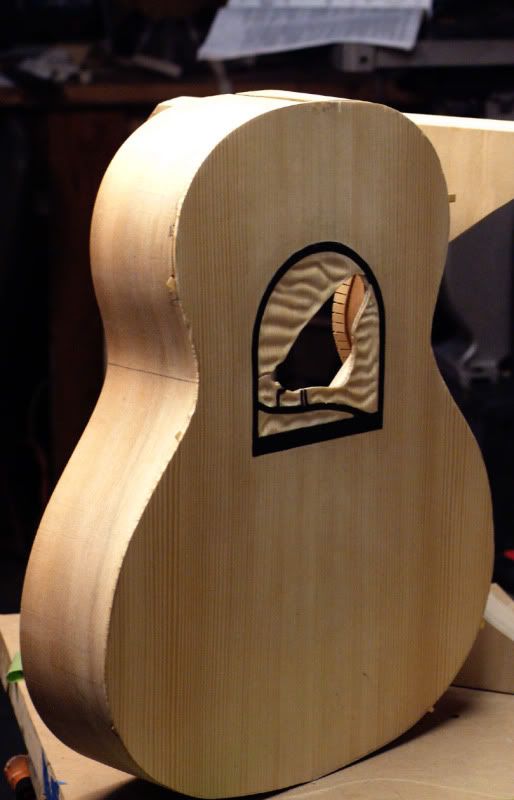
|
|
#83
08-26-2010, 04:49 PM
|
|||
|
|||
|
Invigorating! Inspiring! Wait - ?!?!?
Uhhhh....what going on with the popsicle sticks jutting out where your binding should be? 
|
|
#84
08-27-2010, 05:04 AM
|
||||
|
||||
|
Quote:
|
|
#85
08-28-2010, 07:26 AM
|
||||
|
||||
|
Well the body is closed. I'll get pictures resized and posted soon. I used a table router to reduce the top and back down to the side body, even the All of the sticks sanded off. Paying attention to cut down into the grain. Up and out will cause chatter (hunks of wood flying you don't want to). Back is sanded to 220. Sides are sanded level, installed and leveled the lower bout Strip (what's it called?), top is sanded to 220.
I have the band saw working. I guess cutting MDF boards dulls the blade as I kinda burned my way through the rest of the neck cut. BUT! I have got the band saw figured out....again lol I got the binding channel cutter screwed to the work table. The body is in the adjustable Solara type thingy. Looks like the binding channel today, bend the maple binding. Maybe get it in. And start re-watching John Mayes video's on making necks!
|
|
#86
08-28-2010, 08:20 AM
|
|||
|
|||
|
What was the reason for the braces coming out? I thought you were either supposed to taper the edges of the braces down to nothing or at least to a point where they fit neatly into a cut away in the kurfing?
As for the band saw, don't let him BS you folks. He's been cutting marine-grade plywood and maple with it. That stuff's like cutting through rocks. Apart from a blatant n00b (namely ME) using it and not having a clue what he's doing the blade was getting bent as I rounded the curves on my mold. FWIW I'm amazed at your progress. Any plans for a #3 yet? BTW, I think my first build is going to take me about as long as yours did though - if not longer.
|
|
#87
08-28-2010, 12:30 PM
|
||||
|
||||
|
I explained it up above. The one picture was from when I was drawing my marks for my notch line. I used a piece of Mahogany scrap to get an even height on the tapered ends of the braces and tone bars. I then used a inlay bit set to the height of the mahogany to "notch" the side and Kerfing. The top and back then kinda "click" into place. 1 no wiggling when gluing and a brace that will be much less likely to lift, ever.
No problem on the Band saw. Like I said, looks like I got it figured out. I had the kids watch me bend the Maple binding today. They thought it was cool. Did 2, have 2 to go. Found out the Green tape does not goo or burn on the bender!
|
|
#88
08-28-2010, 05:23 PM
|
||||
|
||||
|
You're being creative and experimenting in some pretty neat ways. I'm anxious to hear the final results.
__________________
... make a joyful noise ... http://www.mcknightguitars.com AGF MCKNIGHT GUITAR SNIPPETS https://www.acousticguitarforum.com/...d.php?t=663228 I'll continue "Doin' Life ... As a Luthier's Wife" McJam = Guitar private event June 21-22, 2024 [email protected] Pre-sign is required and begins now.
|
|
#89
08-29-2010, 06:50 AM
|
||||
|
||||
|
Hi Mary, Standard Loose Nut in the shop
I got the work table cleared off, tools put away.... I screwed the binding trench cutter to the work table. I used scraps of binding to set my blade height and depth. This time I did the back trench first, then the side trench. On my first build I did opposite and ended up with some great spots for inlay. I put the body in the "solara" to keep it level to the blade. 3 sweeps to do the top, 3 to do the back. Changed blade height and depth bearing and did the sides, 3 sweeps each. Upon inspection, the back went deep in a few spots. I never even felt it? Darn. Without a pause I found the set up to trench the back deeper. I figured cut it and then figure out what to do with it. I put 4 maple strips in to fill and it looked nice, I ran with it. When I got to the other side I didn't have enough maple strips!!!!! I searched though my binding stuff. Erika! I had more. I got the other side in. The edges trimmed up, taped in. Lights out. Today I pulled off the tape. 2 spots I would like snugger. So I glued them in. Tonight I will glue in the top. Off to the mountains for a Pellet gun shoot
|
|
#90
08-30-2010, 05:05 AM
|
||||
|
||||
|
Back binding is sanded and level. The Top binding is in! I am running out of things to do avoiding working on the neck!
|


