
|
|
#121
 08-02-2016, 05:15 PM
|
||||
|
||||
|
Jeez Steve and Ryan, I have to apologize for all the consumers out there, I can't believe what a pain this Jim guy has been over a simple rosette. Remember ours, nothing to it, first take I think....
 , you must miss me for sure! , you must miss me for sure!
__________________
PS. I love guitars! |
|
#122
08-02-2016, 05:26 PM
|
||||
|
||||
|
Quote:

|
|
#123
08-02-2016, 05:28 PM
|
||||
|
||||
|
Quote:

__________________
PS. I love guitars! |
|
#125
08-02-2016, 06:35 PM
|
||||
|
||||
|
I dunno...this guy was a bit pickier than you guys have been!

|
|
#128
08-03-2016, 09:40 AM
|
||||
|
||||
|
I wish Steve would stop giving y'all ideas for your next projects.
Well to take a slight aside from the rosette building (though still a part of it), I thought I would show a couple of pics first about how we make a custom purfling scheme. I already showed the three veneers of rosewood, koa, and padauk. We first clean them and glue them into appropriate laminates. The rosewood veneer on a piece of wax paper. Steve is wiping it free of oils and residue to ensure the best gluing conditions. 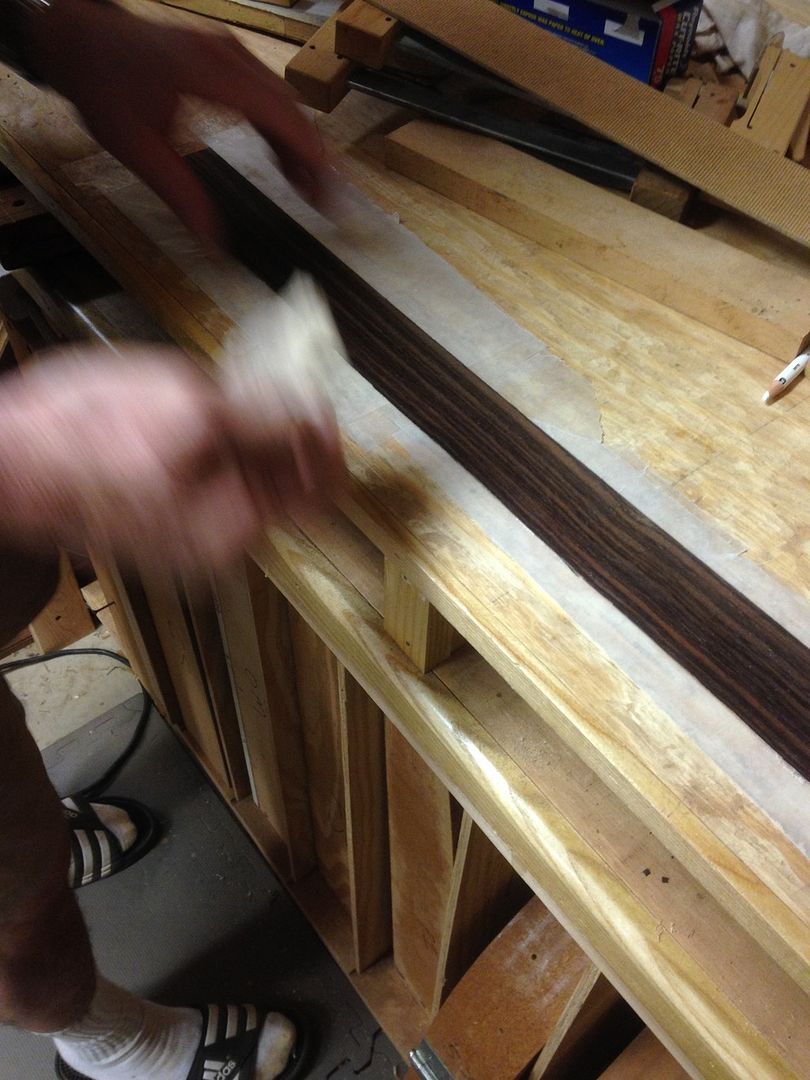 We use a thick steel beam to get maximum clamping pressure to get a consistent thickness to the veneer laminate (not pictured). After the glue sets up, we clamp another steel beam down on top of the sandwich and use this pretty veneer saw to cut the thin purling strips. 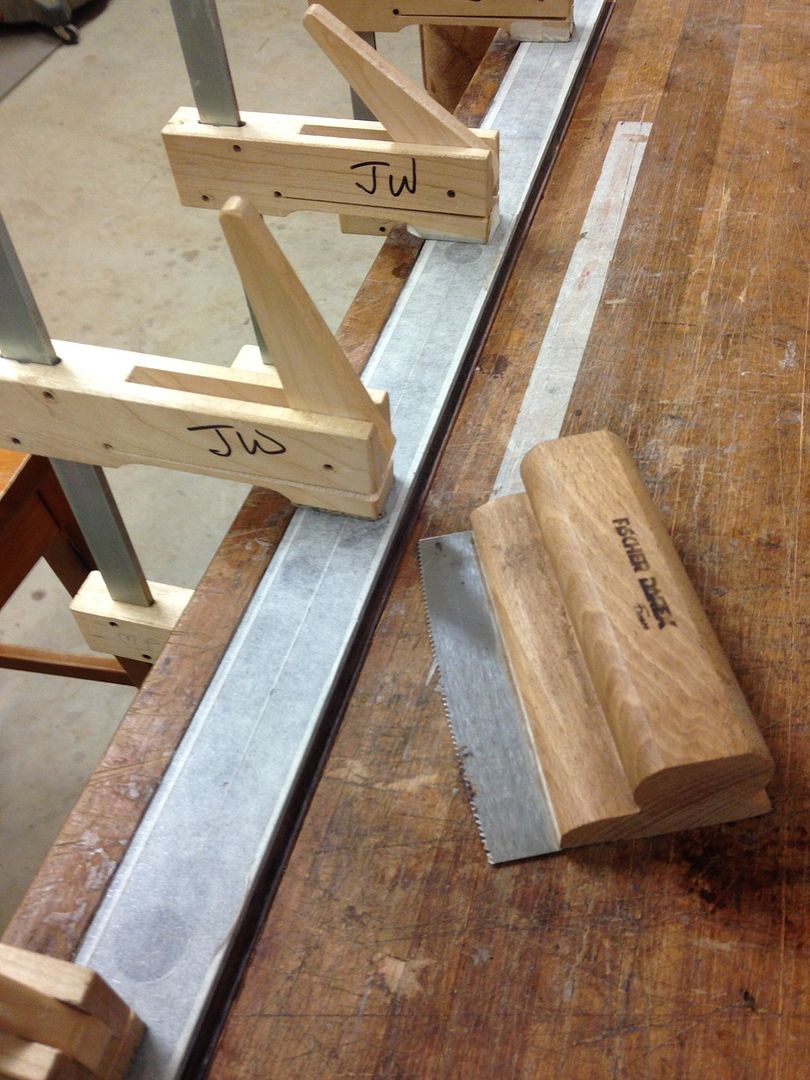 We then take the veneer strips - in this case two rosewood/koa laminates and a single padauk strip - and glue them on our handy dandy rosette ring maker. One ring will have the diameter for an inner ring, the next for an outer ring. 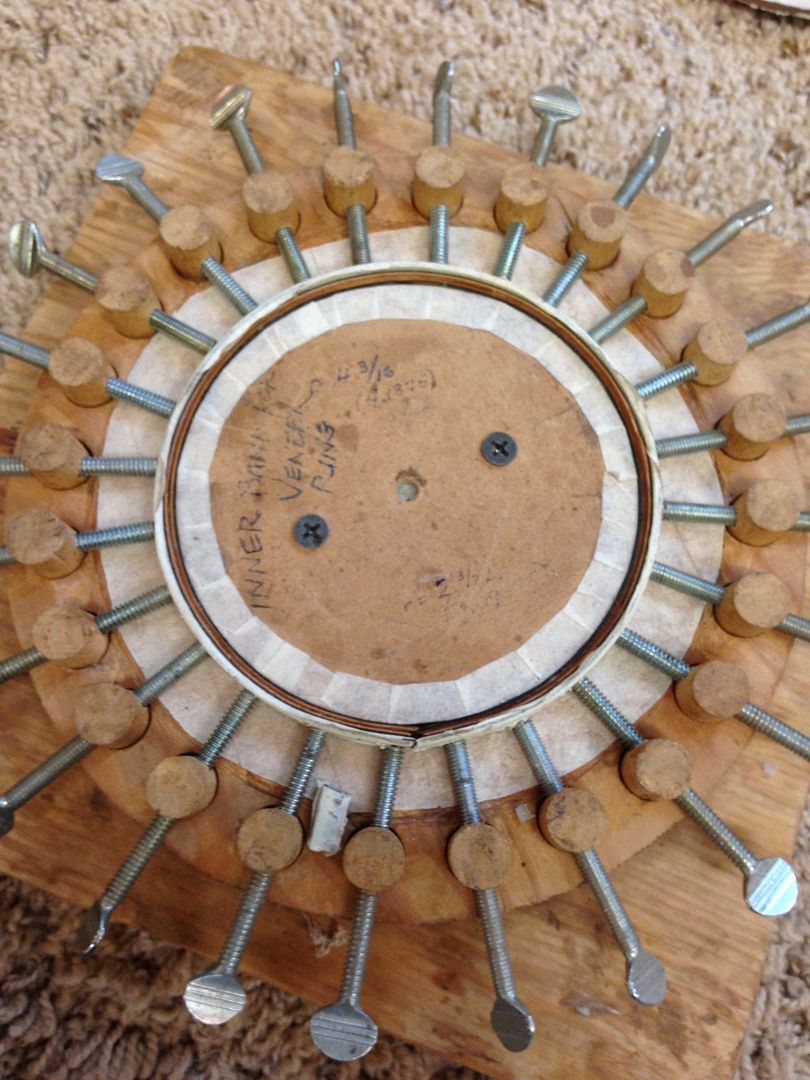 Then we start to see what the combinations of woods are going to look like. 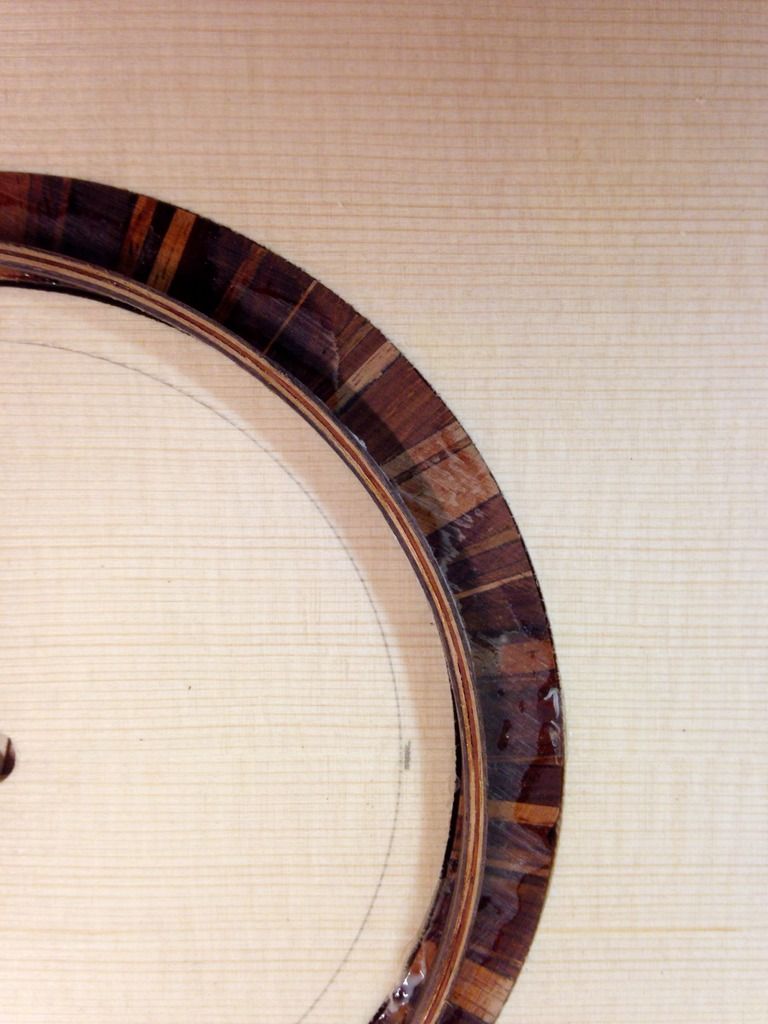 Anyone who has made their own custom purfling will know how time intensive it is. There are so many good ready made purflings that it is rarely worth the time expenditure to do (unless you make large runs). However, some projects need the special touch, and we felt like it helped put this rosette where it belonged. More to come. |
|
#129
08-04-2016, 09:57 AM
|
||||
|
||||
|
Ok. Finishing up the rosette. It really wasn't so bad to put a thousand little pieces in a radial rosette. Once I inlaid most of the koa pieces into the rosette ring, I trued them up with a rosette jig and dremel.
 Then we cut the channel into the top.  Next, we glue in the rosette. After it was glued in, I gave a little super glue coat on top just to remind the koa pieces where to stay. 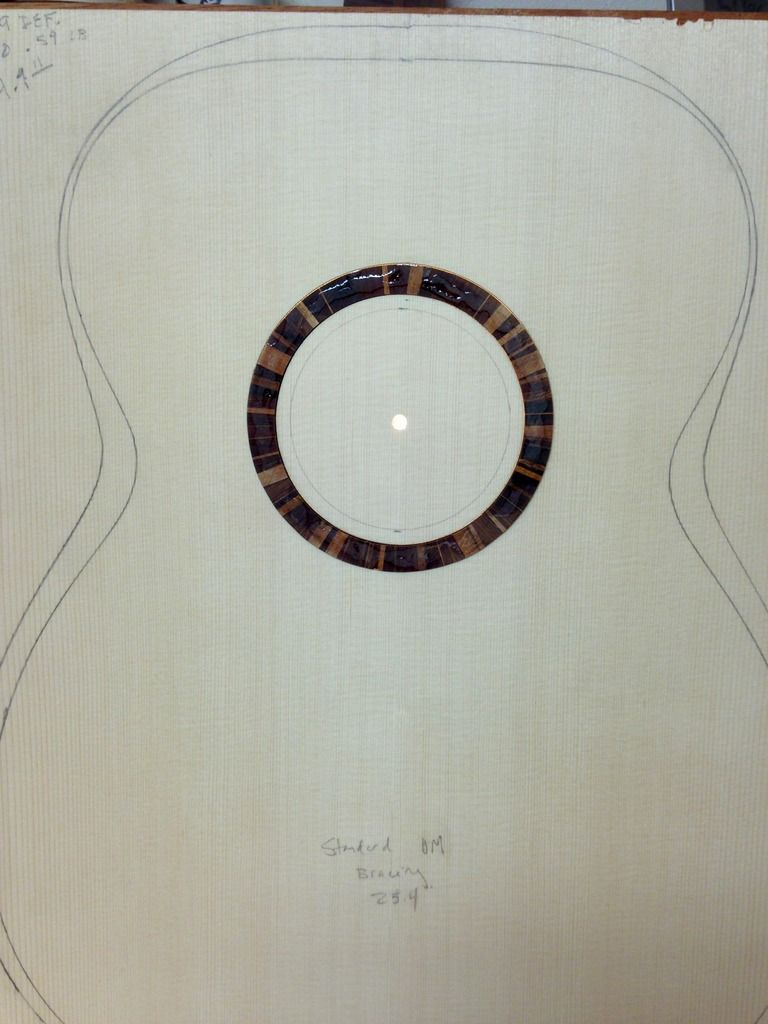 Then we install our custom purfling rings that we made yesterday. 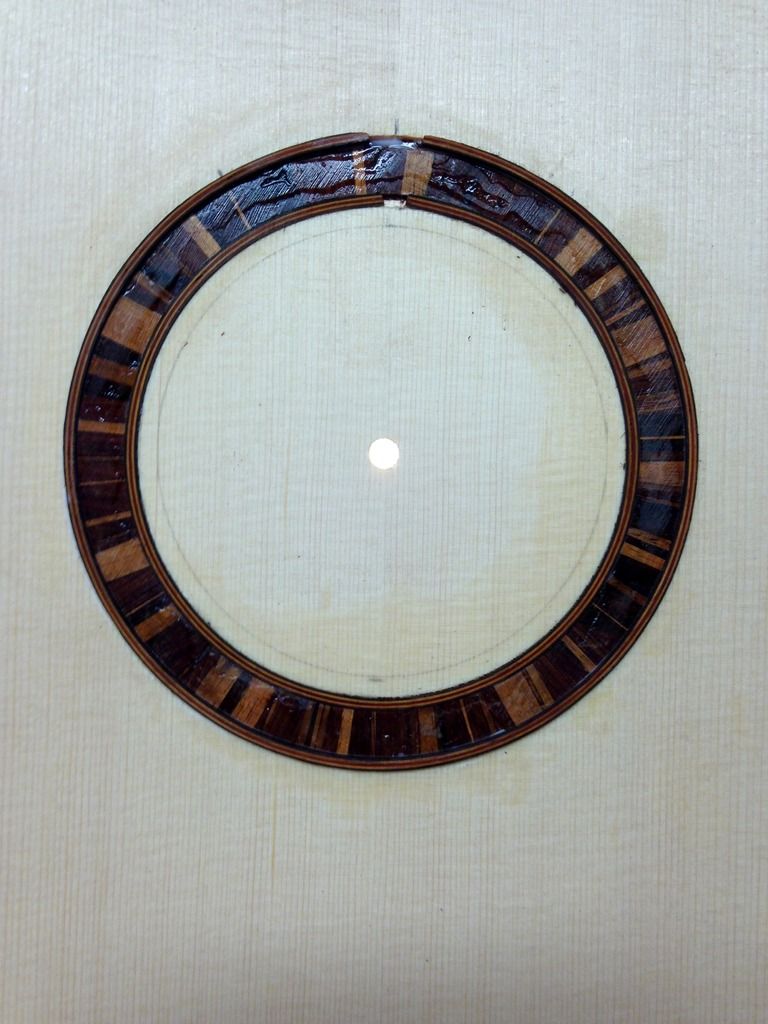 And...we've got a rosette after we punched out the soundhole. 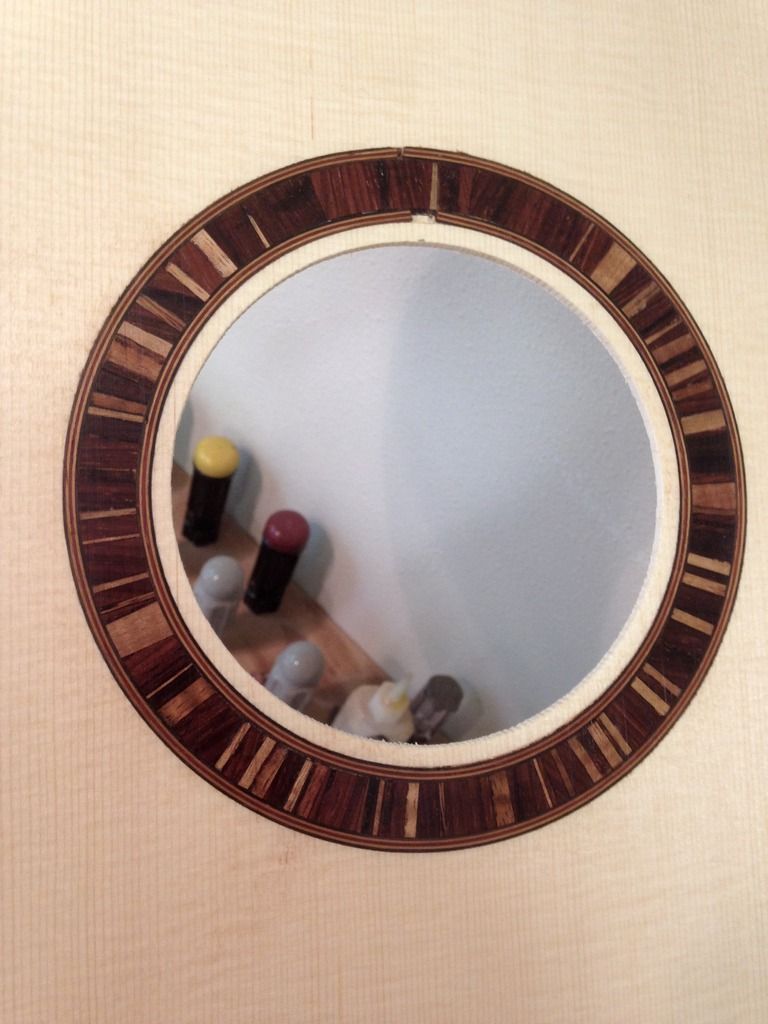 A look at the whole composition. 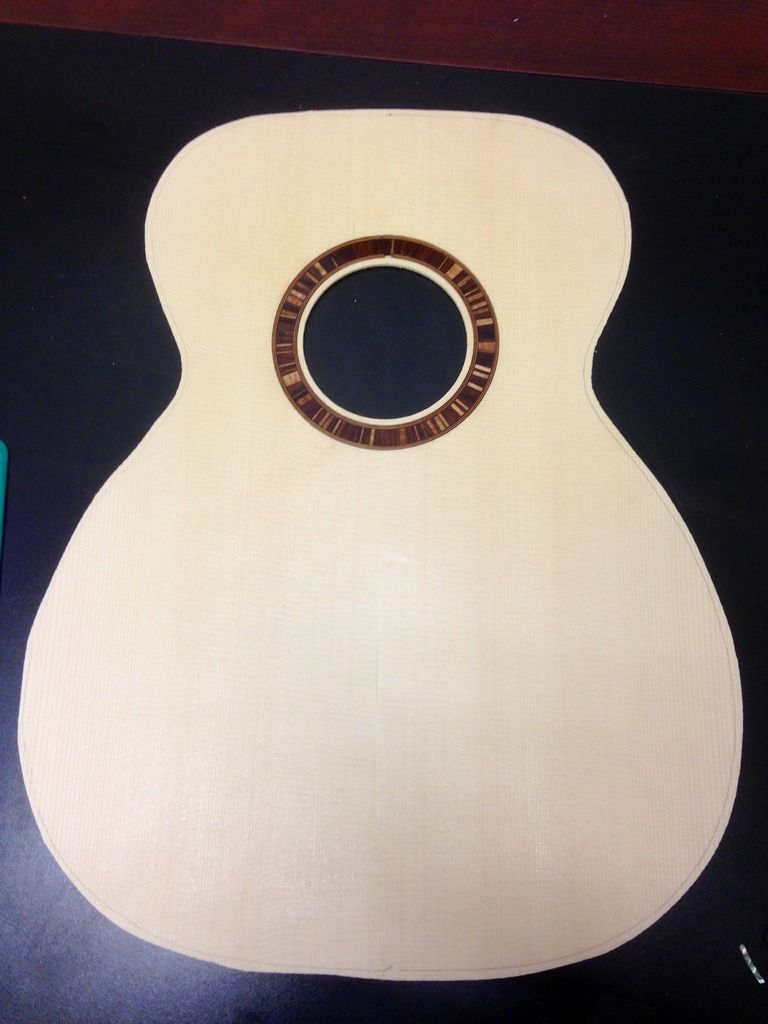 More building to come. |
|
#130
08-04-2016, 10:55 AM
|
||||
|
||||
|
Looking good Ryan. I remember that rosette well.
__________________
Kinnaird Guitars |
|
#131
08-05-2016, 09:40 AM
|
||||
|
||||
|
Thanks John! Now, let's get on to the rest of the build. Take a look at these rosewood sides.
Something about bending rosewood makes this luthier happy.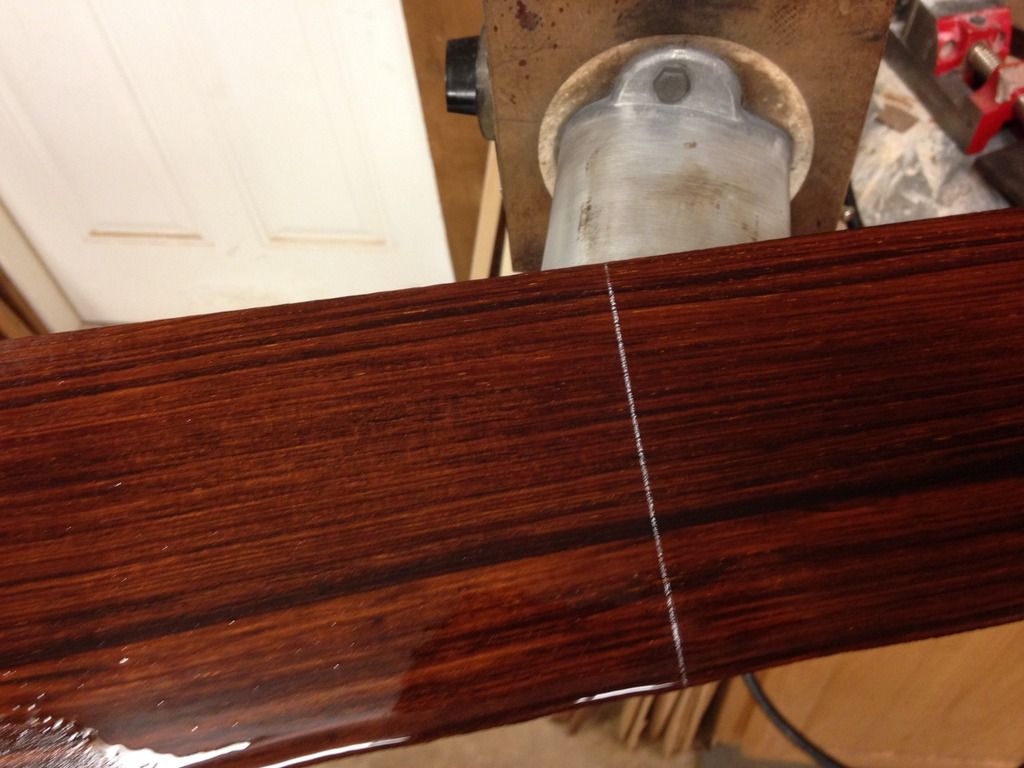 Here we're cooking the hand bent sides on our OM mold to help set the shape. 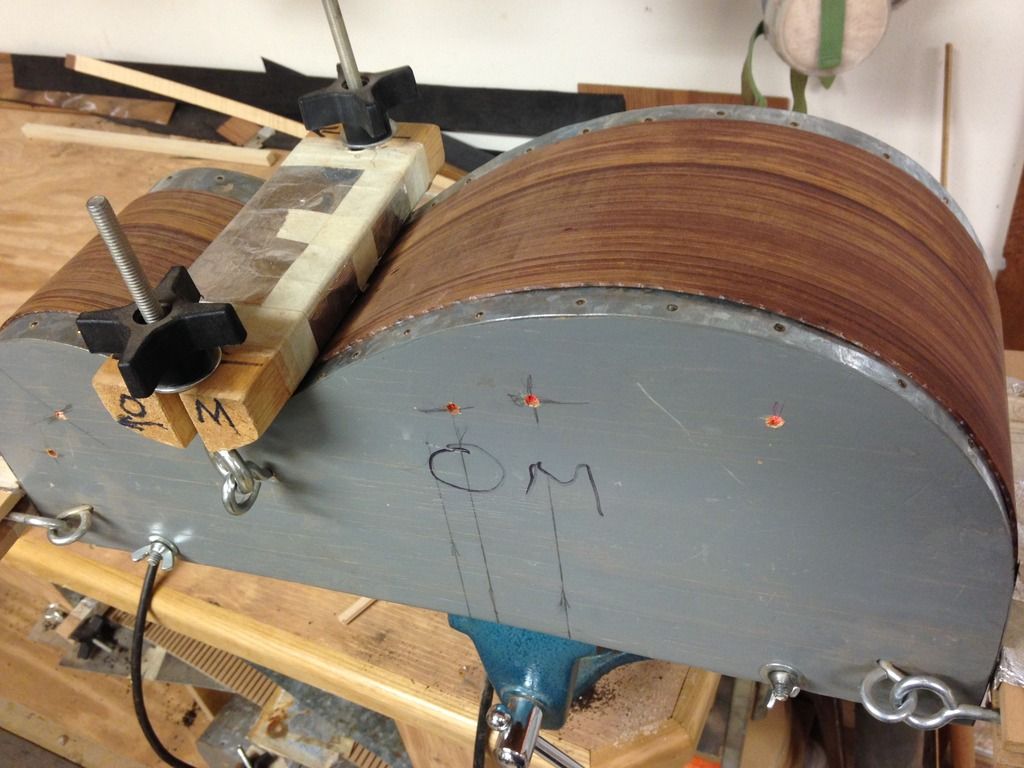 Putting the top lining in to the rim assembly. I could use some more clamps for Christmas. 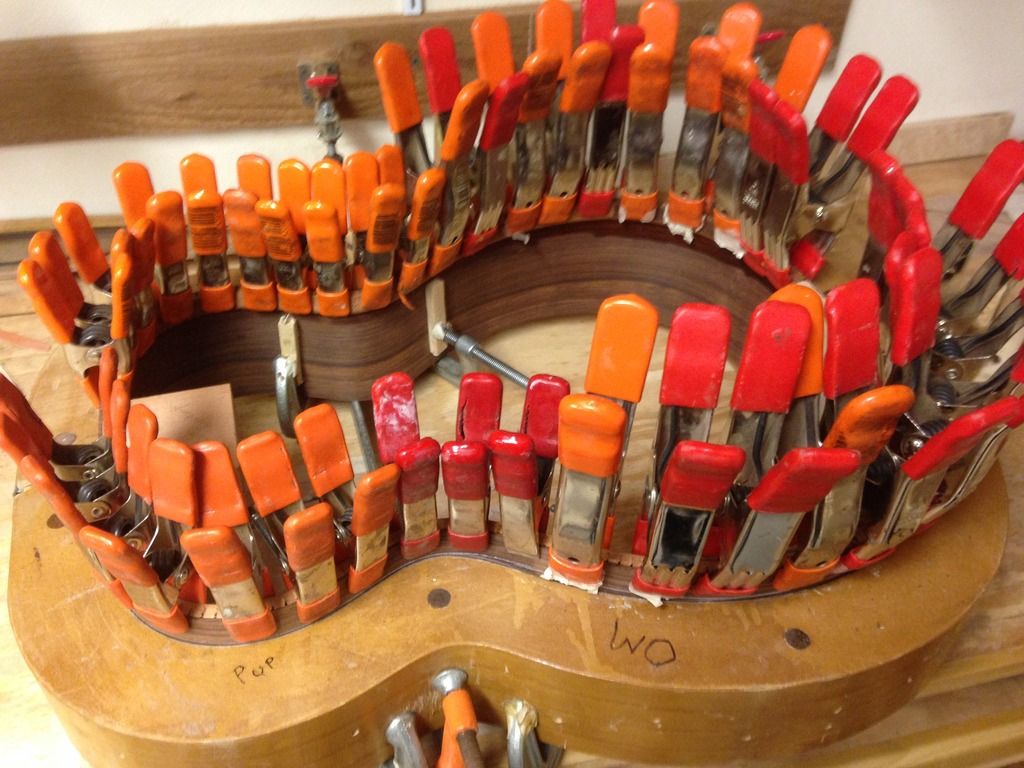 Here's our jig for "radius-ing" the sides to the profile we want for a deep body OM. 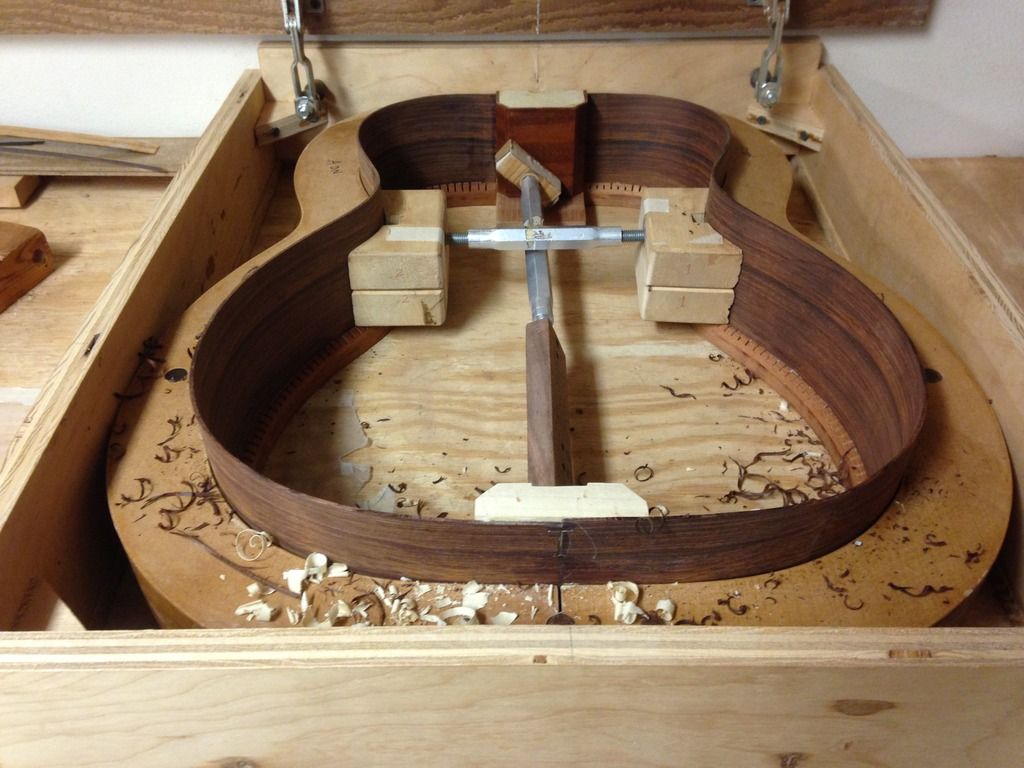 Starting to look like a guitar rim... 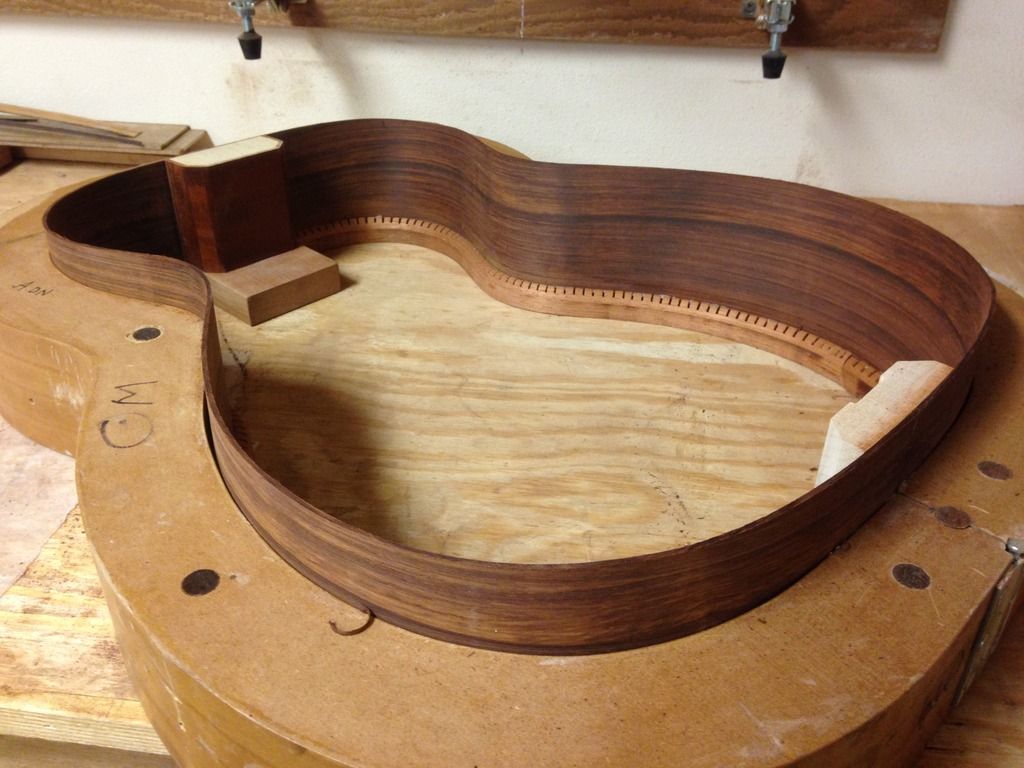
|
|
#133
08-05-2016, 11:29 AM
|
||||
|
||||
|
Quote:
Good eye. Thanks for the question. |
|
#134
08-05-2016, 11:39 AM
|
||||
|
||||
|
Quote:
|
|
#135
08-05-2016, 11:57 AM
|
||||
|
||||
|
Quote:
The veneer is Santo Domingo mahogany, the real deal. Garnered from a furniture maker, who used such sawn veneers (1/8" thick) to overlay his drawer fronts. It's a treasure we value highly. Steve |


