
|
|
#91
 09-26-2009, 09:51 AM
|
||||
|
||||
|
Quote:
Here's one of my tops for an idea.  The bass side is a bit shorter to accommodate the bevel but look at the height and size on the treble side. Sorry if it sounds like I am criticizing, just trying to help out.
__________________
_______________________ Peter M. Cornerstone Guitars www.cornerstoneguitar.com Ukuleles... www.cornerstoneukes.com 
|
|
#92
09-26-2009, 03:23 PM
|
||||
|
||||
|
By the way, John...
I want to congratulate you on such a fine display of photos in the Fall 2009issue of Guitarmaker. I recognized your work immediately.  Most impressive.
__________________
... make a joyful noise ... http://www.mcknightguitars.com AGF MCKNIGHT GUITAR SNIPPETS https://www.acousticguitarforum.com/...d.php?t=663228 I'll continue "Doin' Life ... As a Luthier's Wife" McJam = Guitar private event June 21-22, 2024 [email protected] Pre-sign is required and begins now.
|
|
#93
09-27-2009, 05:15 AM
|
||||
|
||||
|
Quote:
Watching Ervin S's "Air Pump" video's has me thinking air bounces around like a ball on a pool table, I was just trying to give it more area's to bounce off of. My attempt is to keep contact from 1 brace to another, to the body. Like viens with blood flow. I will trim to fit on the ends. Unless someone has tried it and has reasons not to, lets see what happens. Maybe I am onto something .
Last edited by Kitchen Guitars; 09-27-2009 at 05:31 AM.
|
|
#94
09-27-2009, 05:17 AM
|
||||
|
||||
|
Quote:
|
|
#95
09-27-2009, 05:19 AM
|
||||
|
||||
|
Quote:
|
|
#96
12-26-2009, 06:48 AM
|
||||
|
||||
|
Wow I feel like such a Sloth in movement compared to Oct1's 24 day build....
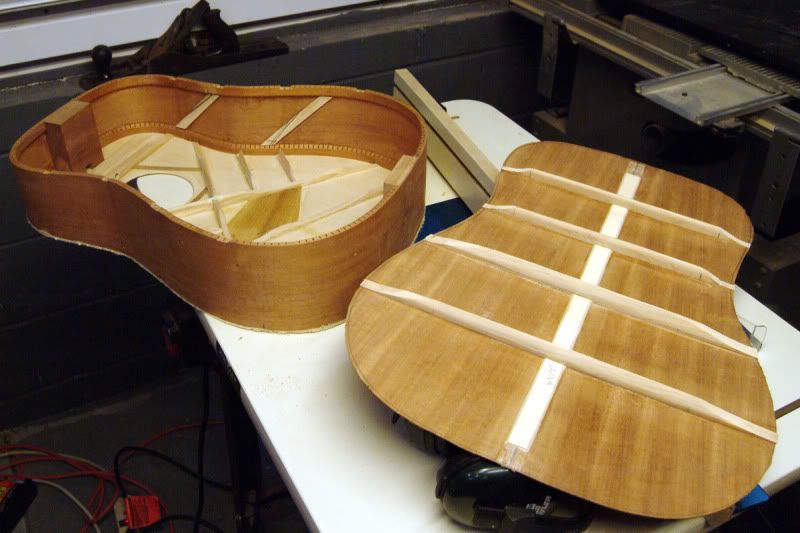
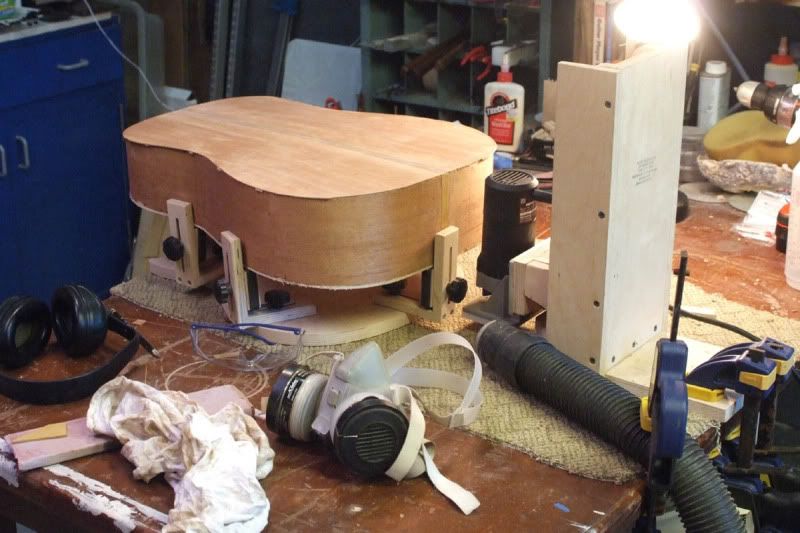
Maybe mine will be the 324 day build lol. I got so busy with work. I just could not find the time or brain matter to build. Now I have a few week breather. Where was I? I bought a book on "How to Bandsaw", so I can fix the Bandsaw. I printed a PDF on How to correct the pitch of the thickness sander. If I get serious about building the thickness sander will be upgraded quickly. I have also bought the plans for a 37' LOO. I have decided on Sycamore (Local harvest) and a nice Adi top. I have started to make the forms  and I bought a big hunk of Mahogany to make the neck. Back to the build at hand; I posted pictures of my top bracing here and on the OLF. I got everything from wow that things a Titanic to go for it.  To join the top I did have to chop out a pile of the sides to the braces. I have gotten very good with sharpening and using a Chisel. I hardly ever stick them in my hand any more. 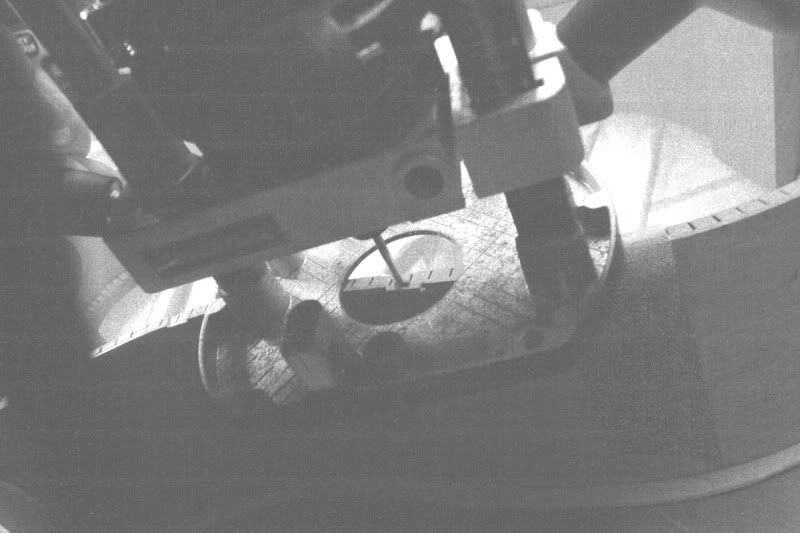 Then I used a Dremel to trim out the brace extensions through the sides. I was a little sloppy on brace height so some fitting took a while. 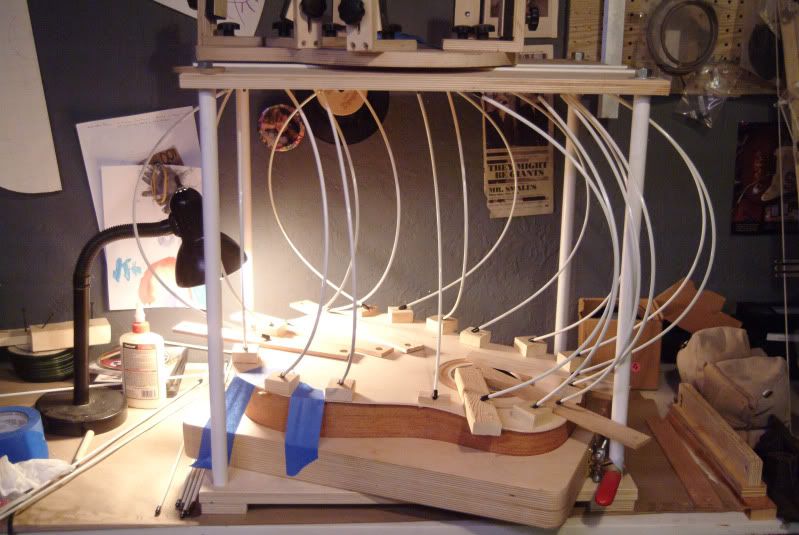 I apparently abused my fiberglass rods attaching the Top. 4 of them shattered. It was a slow, musical happening. Almost beautiful in tone lol. But boy the top was pressed in place. 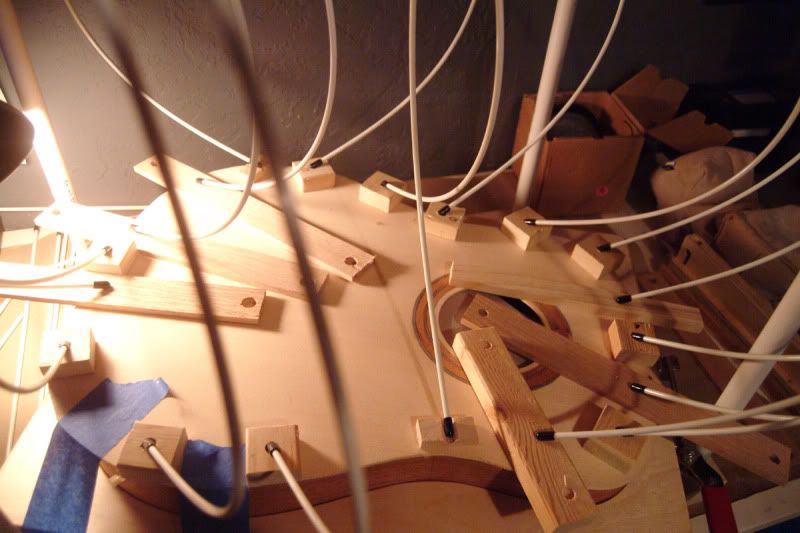 In the mean time I have dragged out my Router table to make a proper "Press" to mount tops in the future. I also used the Router table to trim the excess top down to where I can cut for the Binding Channel. 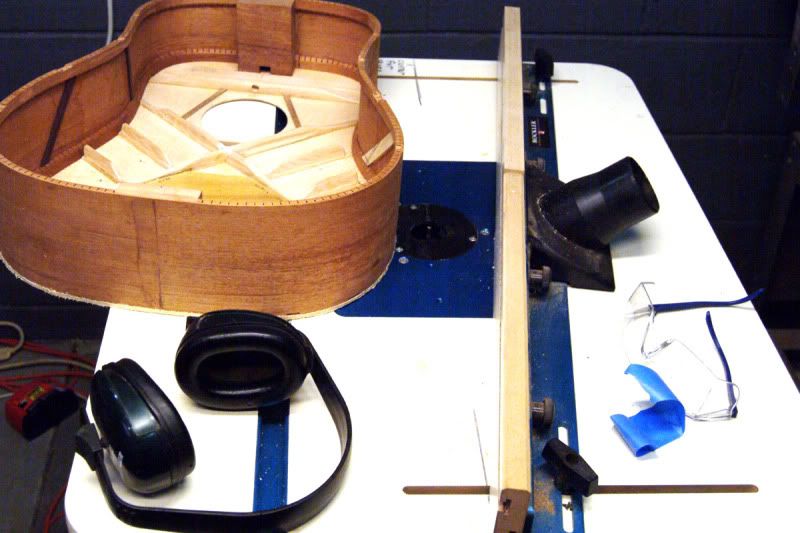 I trimmed the heck out of the back braces. 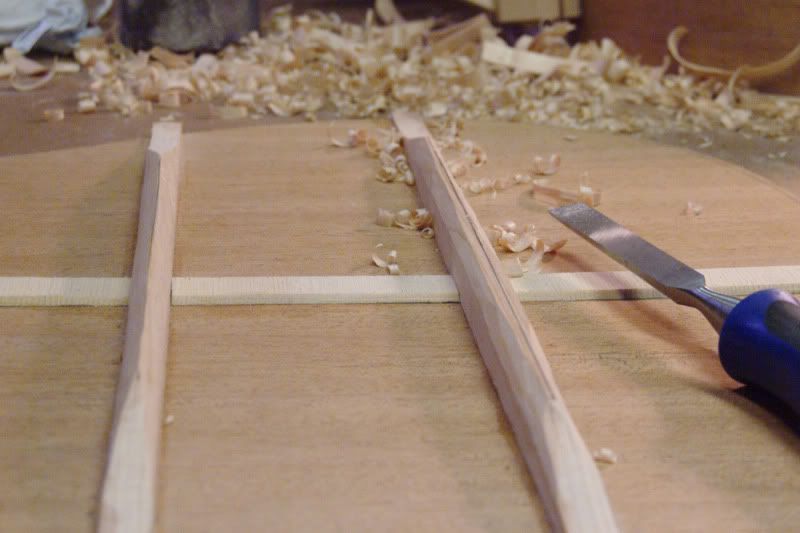 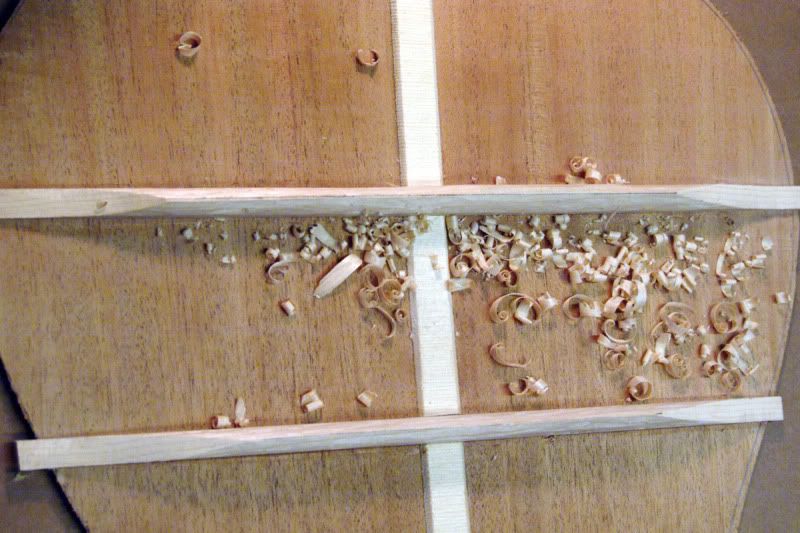 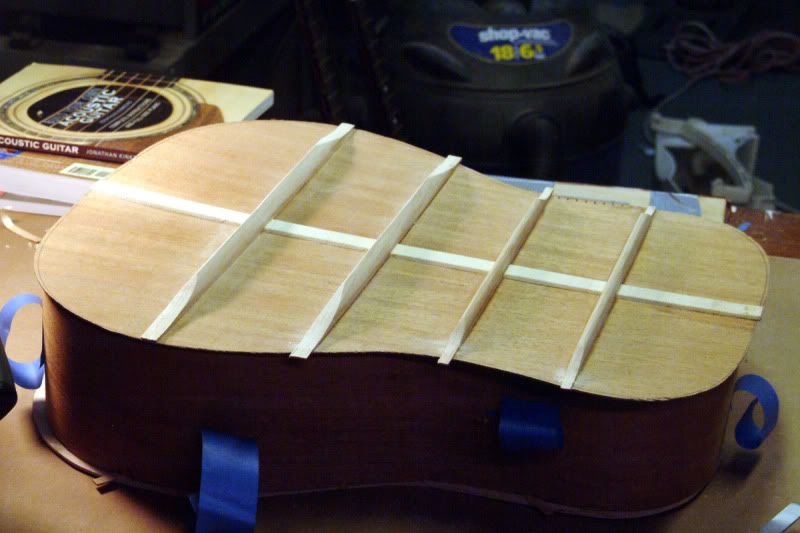 I made a much more uniform ending height to the the braces. Mounting the back was much cleaner/quicker. Last look inside. The kind of feeling you get finishing a 5000 piece puzzle 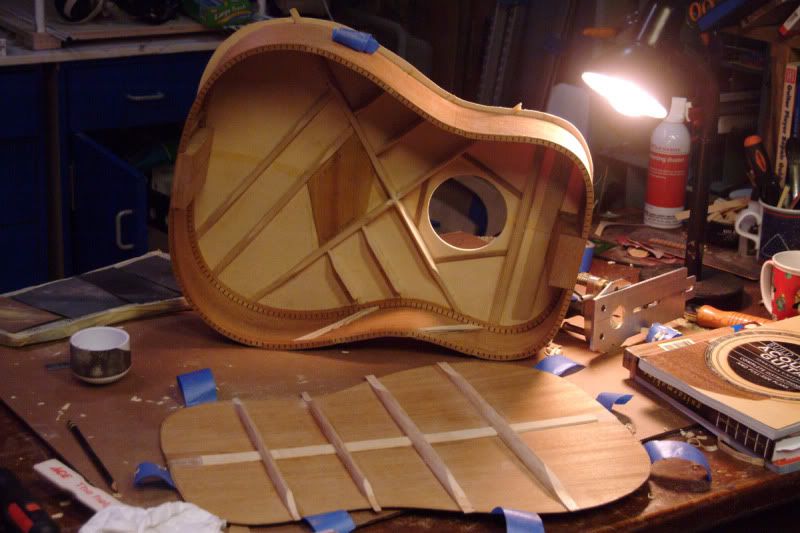
Last edited by Kitchen Guitars; 12-26-2009 at 06:56 AM.
|
|
#97
12-26-2009, 06:58 AM
|
||||
|
||||
  Next is to learn how to cut a binding channel, YIKES. Cut the end decoration trench. Cut out the neck channel. Mount the Binding. I think I will use Tortoise plastic for the binding on this one. I have a bunch from the buy out and I don't think I plan on using it much in the future
|
|
#98
12-26-2009, 09:20 AM
|
|||
|
|||
|
Yammie:
When you get ready to mount the tortise binding material be sure to put some full width white purfling behind it. Without the white, the binding will be so dark as to be unnoticeable. Boxwood or maple will both brighten things up a little..... Mikey
|
|
#99
12-26-2009, 11:46 AM
|
|||
|
|||
|
I'm glad to see you back at this, YJ. I was worrying that you were spreading yourself too thin with other things.
__________________
(2006) Larrivee OM-03R, (2009) Martin D-16GT, (1998) Fender Am Std Ash Stratocaster, (2013) McKnight McUke, (1989) Kramer Striker ST600, a couple of DIY builds (2013, 2023)
|
|
#100
12-26-2009, 05:56 PM
|
||||
|
||||
|
I do find it hard to get in there when work is flying.
I got the end done. I used a hunk of Osage that Tim McKnight had given me. Along with a White Black strip. 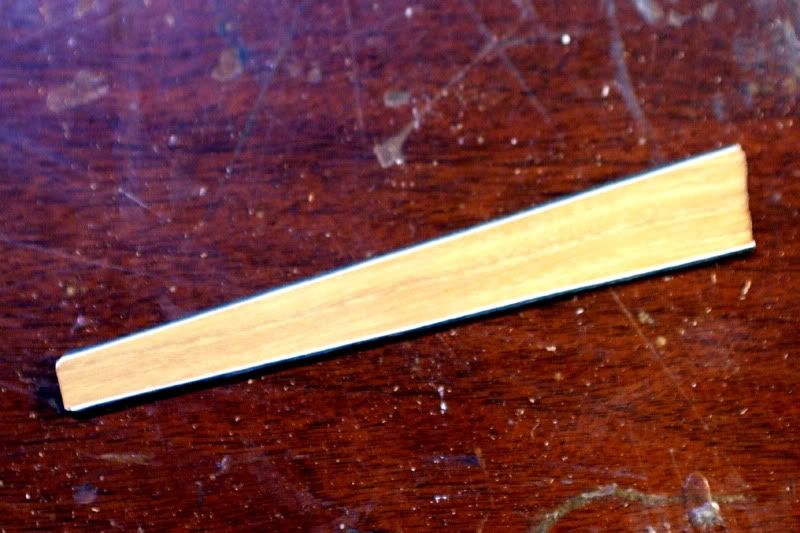 Because the advise mhammond gave me about seeing the Tortoise made sense and I don't have the white strip (I guess I could use paper) Well, anyway I am going with a Walnut Binding.
|
|
#101
12-26-2009, 05:58 PM
|
||||
|
||||
|
I do find it hard to get in there when work is flying.
I got the end done. I used a hunk of Osage that Tim McKnight had given me. Along with a White Black strip. I channeled with my Dremel mounted in the circle cutter frame. It worked perfect against the guide. 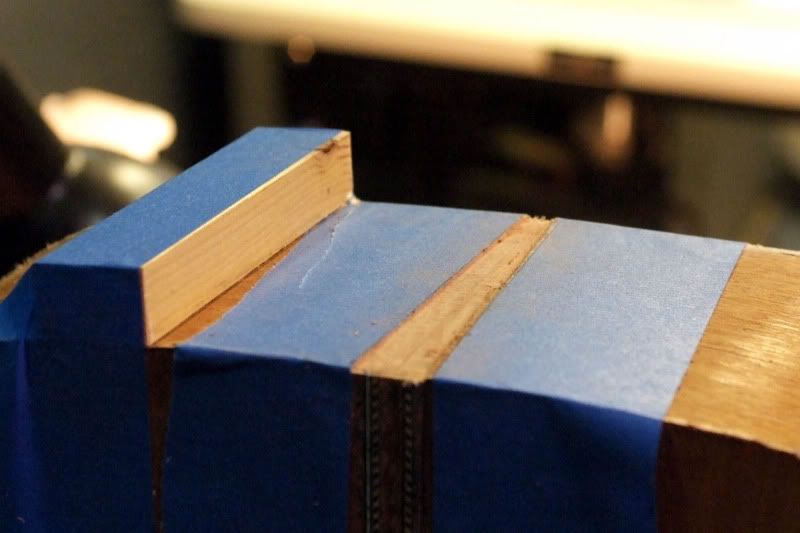 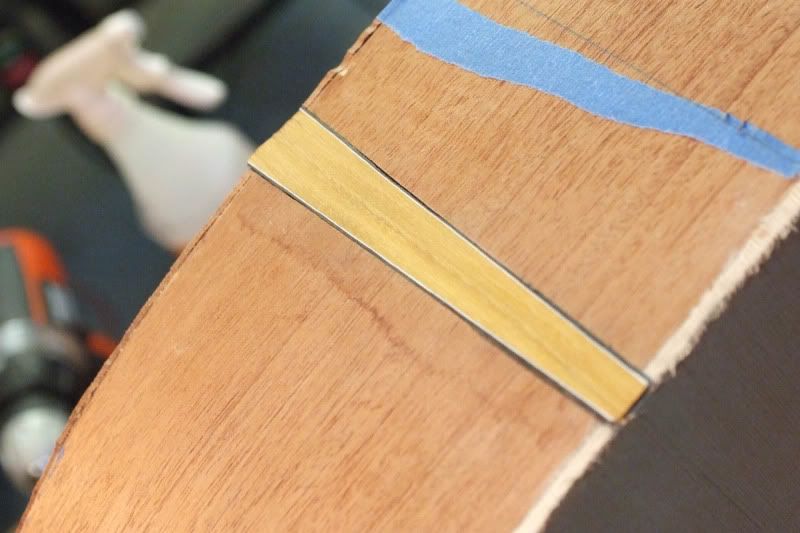 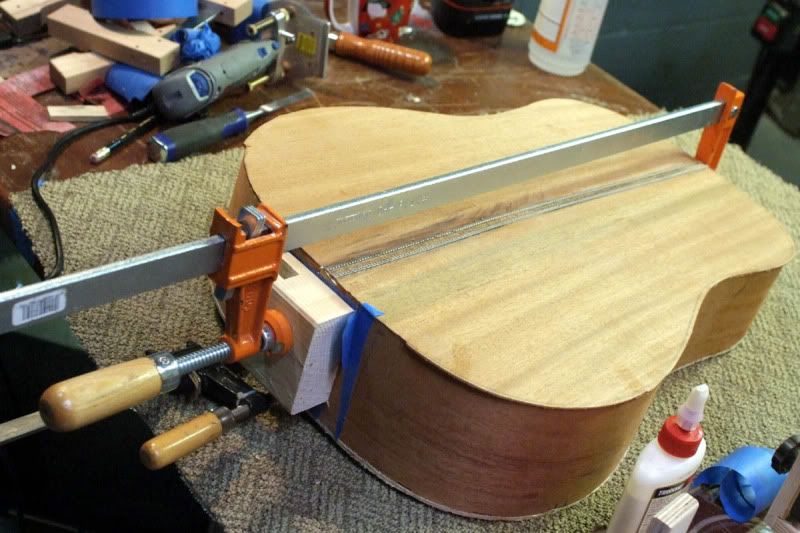 Because the advise mhammond gave me about seeing the Tortoise made sense and I don't have the white strip (I guess I could use paper) Well, anyway I am going with a Walnut Binding.
|
|
#102
12-27-2009, 03:48 PM
|
||||
|
||||
|
That's one colorful guitar!
__________________
... make a joyful noise ... http://www.mcknightguitars.com AGF MCKNIGHT GUITAR SNIPPETS https://www.acousticguitarforum.com/...d.php?t=663228 I'll continue "Doin' Life ... As a Luthier's Wife" McJam = Guitar private event June 21-22, 2024 [email protected] Pre-sign is required and begins now.
|
|
#103
12-27-2009, 07:08 PM
|
||||
|
||||
|
I spent a few hours figuring out the Binding cutter. Neat how it works, once the unknowns are peeled away.
I got the binding trenches cut, Front and back. It was a feeling like learning to bend wood! I'll get some pictures posted tomorrow.
|
|
#104
12-28-2009, 08:45 AM
|
||||
|
||||
|
The Binding Channel was messy but easy to cut. I used this Porter Cable Laminate cutter mounted into a custom frame on a rail created by John Hall of Blues Creek. He has a fancier version he uses on a GREAT tutorial on Youtube.
 The channel on the Mahogany was easier to cut than the Spruce/Mahogany cut on the top. The Mahogany being a harder wood the blade stayed in steadier control. With the spruce it tended to want to "race". Back to an hour of figuring out how to change the set up to do a Purfling channel at half the height and a depth of the first channel + the Purfling depth. I eyeballed it, picked a Bearing from my little collection of bearing wheels. Did a test on a hunk of scrap. Then started where the neck mounts in case I screwed up. It was a perfect fit. 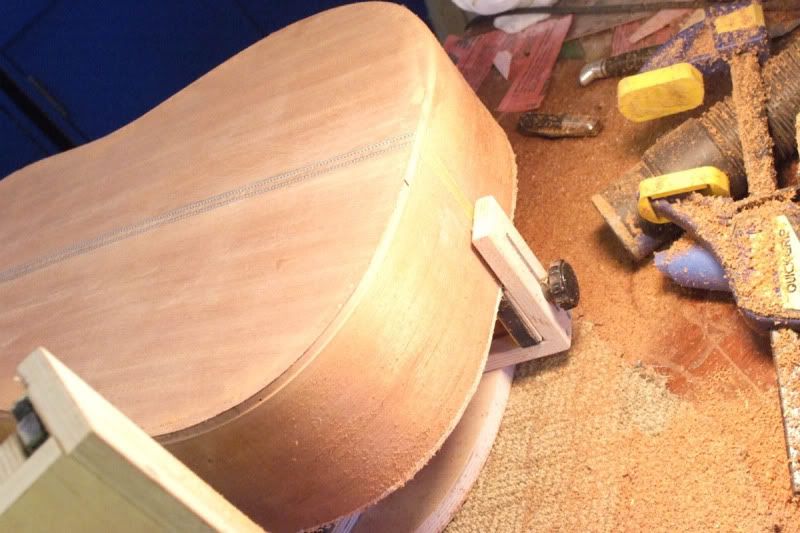 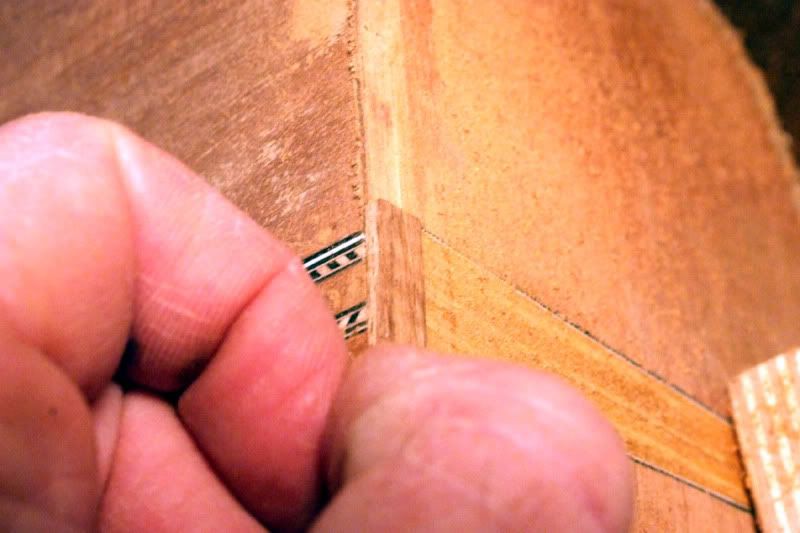 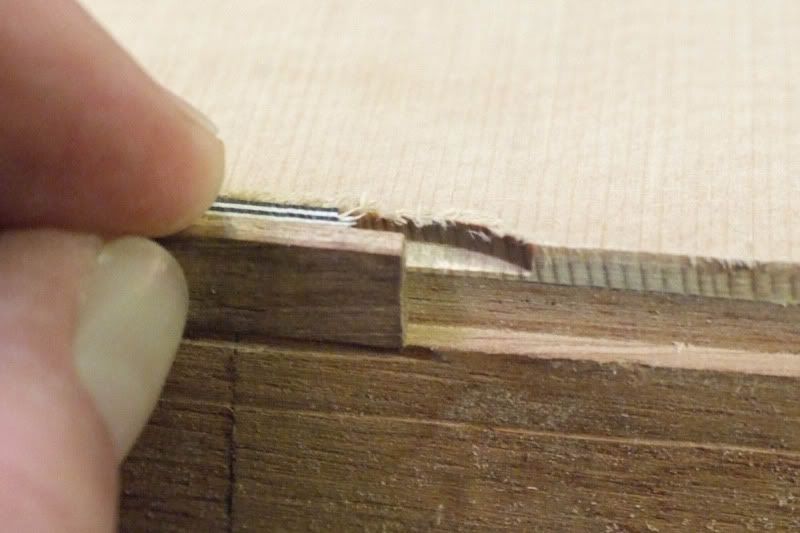 The Purfling Channel test cut 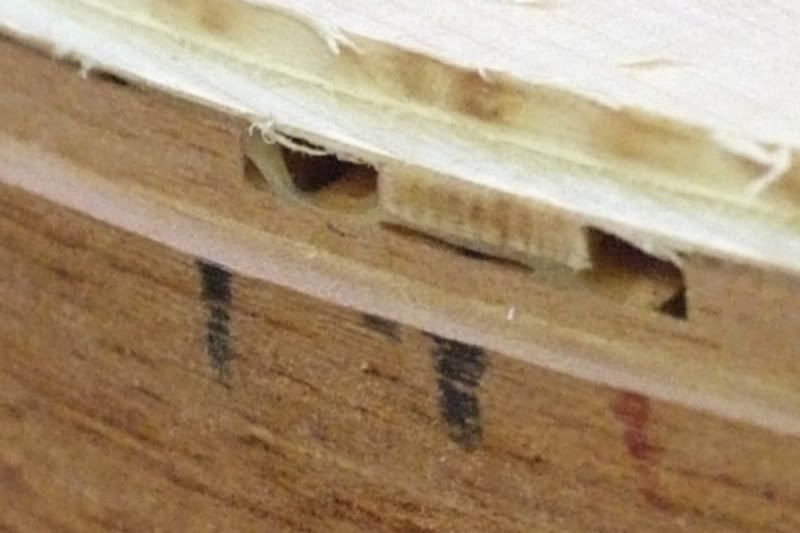 Now thats pretty! While cutting the top Purfling channel it did get away on me twice. Both times on outer corners. Coincidentally it happened right where I had planned on doing some eccentric Inlay! 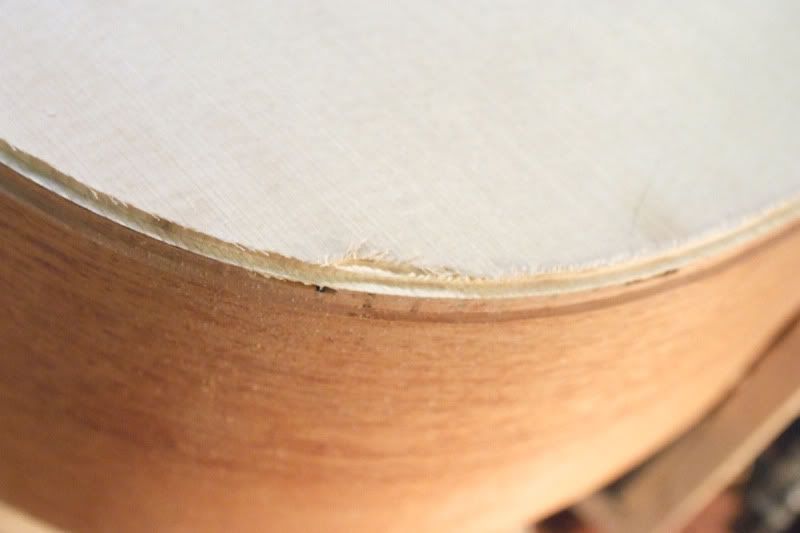 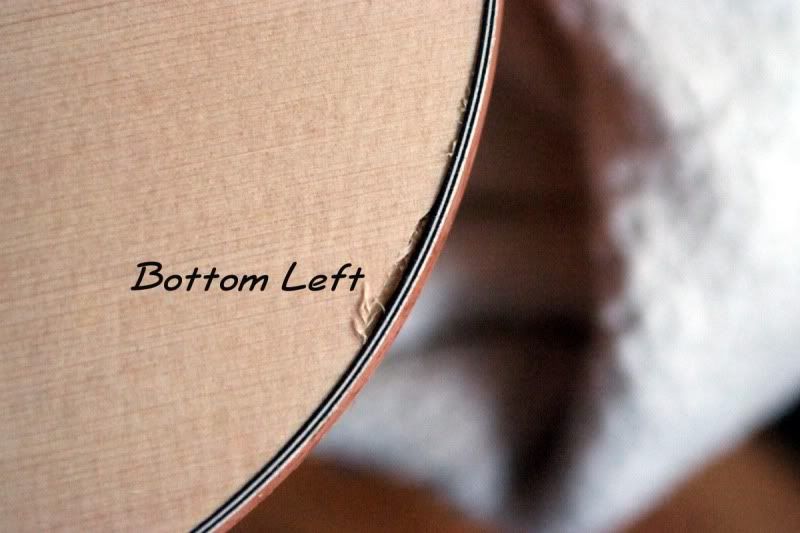 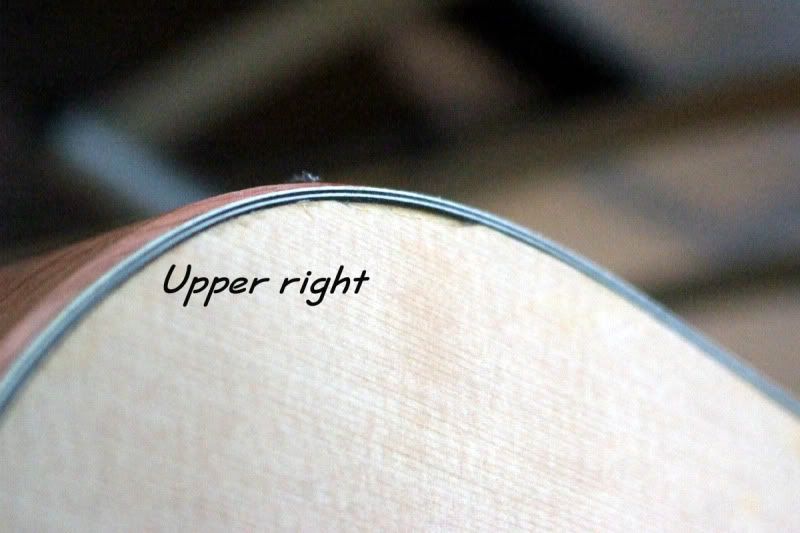 I might try to splice in some top wood. Or as I said it may be a great launch point for some Odd inlay. I used wood glue and taped it in place. This morning I unwrapped it. Found one spot on the binding channel that needs redone. One high spot on the Purfling that was easy to deal with. A month of fear. A day of reading and watching videos. 4 hours of R&D.... next time it will take about an hour to do. Heee. 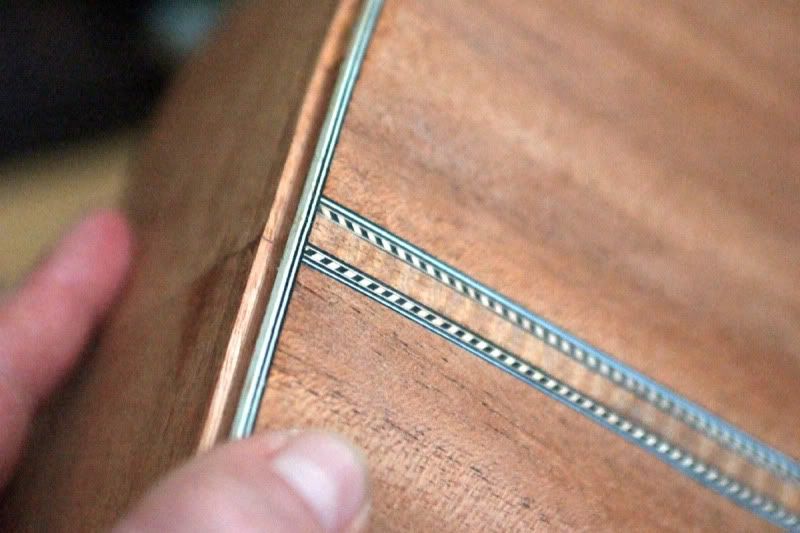
Last edited by Kitchen Guitars; 12-28-2009 at 08:52 AM.
|
|
#105
12-28-2009, 12:05 PM
|
|||
|
|||
|
Looking good, YJ. So, what kind of "decorative inlay" were you thinking? Something Cole Clark-ish?

__________________
(2006) Larrivee OM-03R, (2009) Martin D-16GT, (1998) Fender Am Std Ash Stratocaster, (2013) McKnight McUke, (1989) Kramer Striker ST600, a couple of DIY builds (2013, 2023)
|


