|
|
#1
 12-12-2012, 09:52 PM
|
|||
|
|||
|
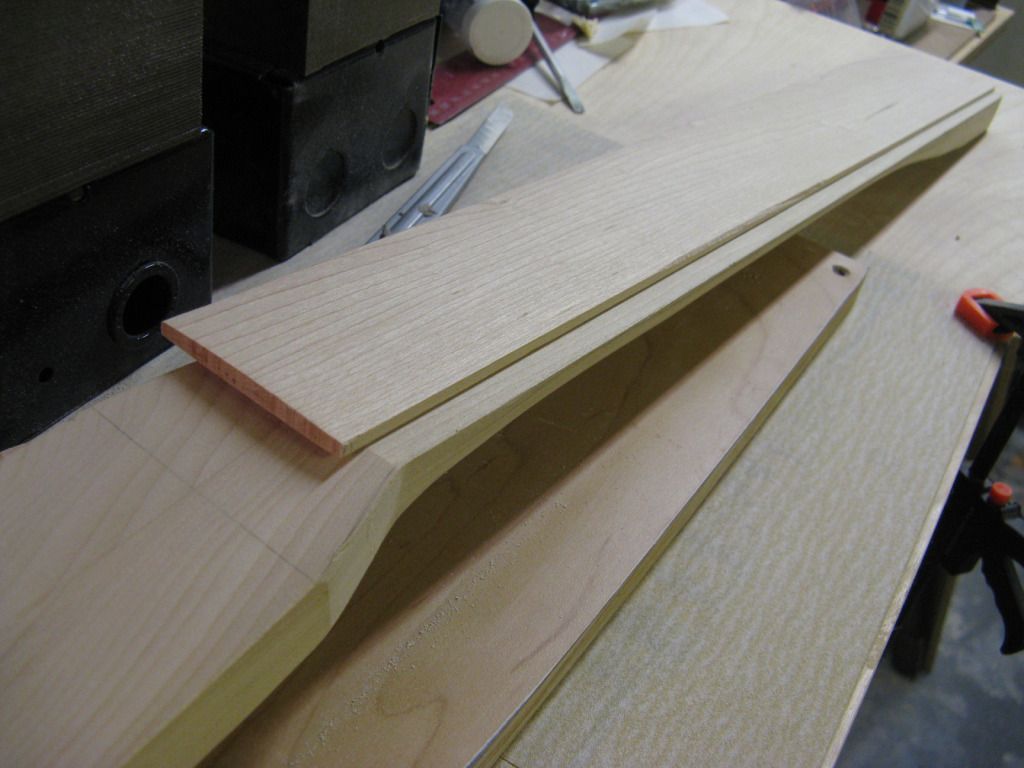
This first started as a quick build to give me an acoustic thinline telecaster but turned into its own animal. Routered out pine body, bolt on poplar neck with maple fretboard, top is a wood of unknown origin. Offset sound hole. Going to use a tailpiece and bridge to avoid some of the stresses of a regular acoustic bridge. Might put a thin pickup under the neck but mainly wanted the guitar for practicing with something not plugged in and without the full size body of my regular acoustic.
   So now I am coming up to the point where I have to do the bracing of the top. I have read and looked at how a flat top can be done, archtops also, double top I am not interested in at this time. Seeing that this is a relatively small body, the size of a Telecaster, I do not think I need to go with too many tone bars, may just go with a simple X brace and a plate under the bridge. I know this is a little out of the norm for this forum but after reading a bit of what you guys do here it would be a shame not to ask for opinions given the knowledge and talented people on this site. Also I do not know where else to ask. I would like to try gluing up the body this weekend, just in case I took a real wrong turn I am using hide glue so I can take a second crack at it. So if anyone has any advice... Just had a thought, is this in the right forum? Last edited by printer2; 12-12-2012 at 10:27 PM. 
|
|
#2
12-12-2012, 10:38 PM
|
|||
|
|||
|
you may find more helpful tips and trick in the Build and Repair section down at the bottom. Small builders usually flock there and give advice if needed. It's looking cool so far! keep it up!
__________________
Will M. I should be playing... ======
|
|
#3
12-13-2012, 05:57 AM
|
|||
|
|||
|
Quote:
|
|
#4
12-13-2012, 06:49 AM
|
||||
|
||||
|
I think the one of the moderators can do it for you. I also like the way this has started! Would love to see pics when all complete.
__________________
--------------------------------------- 2013 Joel Stehr Dreadnought - Carpathian/Malaysian BW 2014 RainSong H-OM1000N2 2017 Rainsong BI-WS1000N2 2013 Chris Ensor Concert - Port Orford Cedar/Wenge 1980ish Takamine EF363 complete with irreplaceable memories A bunch of electrics (too many!!)
|
|
#6
12-16-2012, 11:00 PM
|
|||
|
|||
|
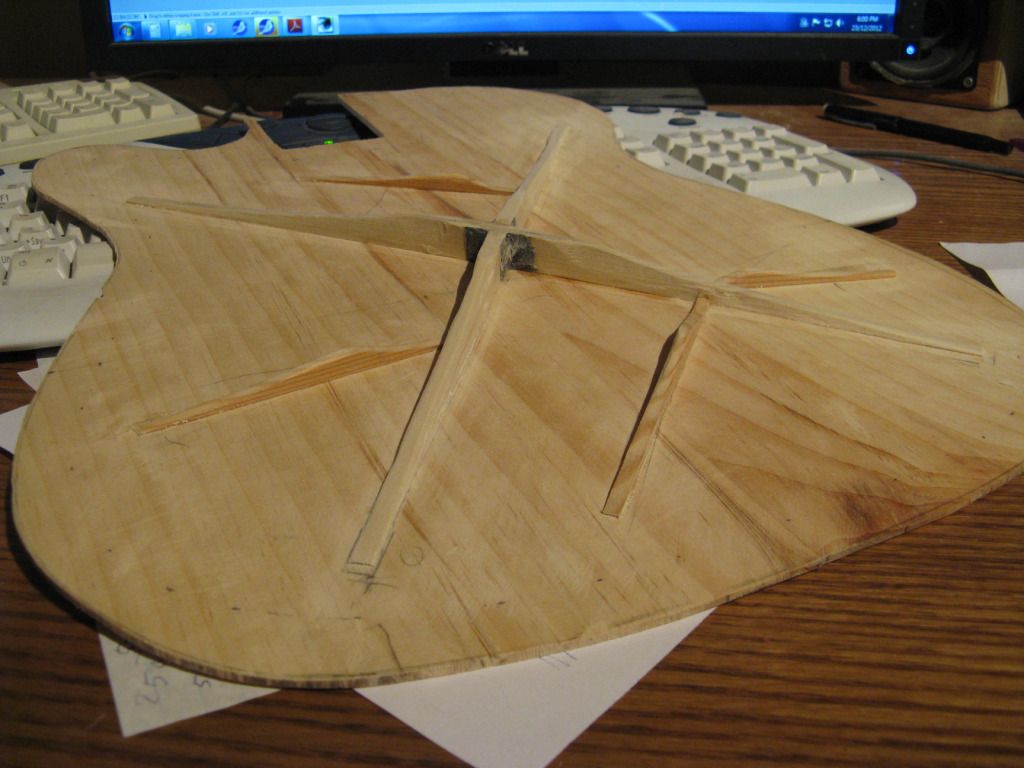
Decided on an X-brace.
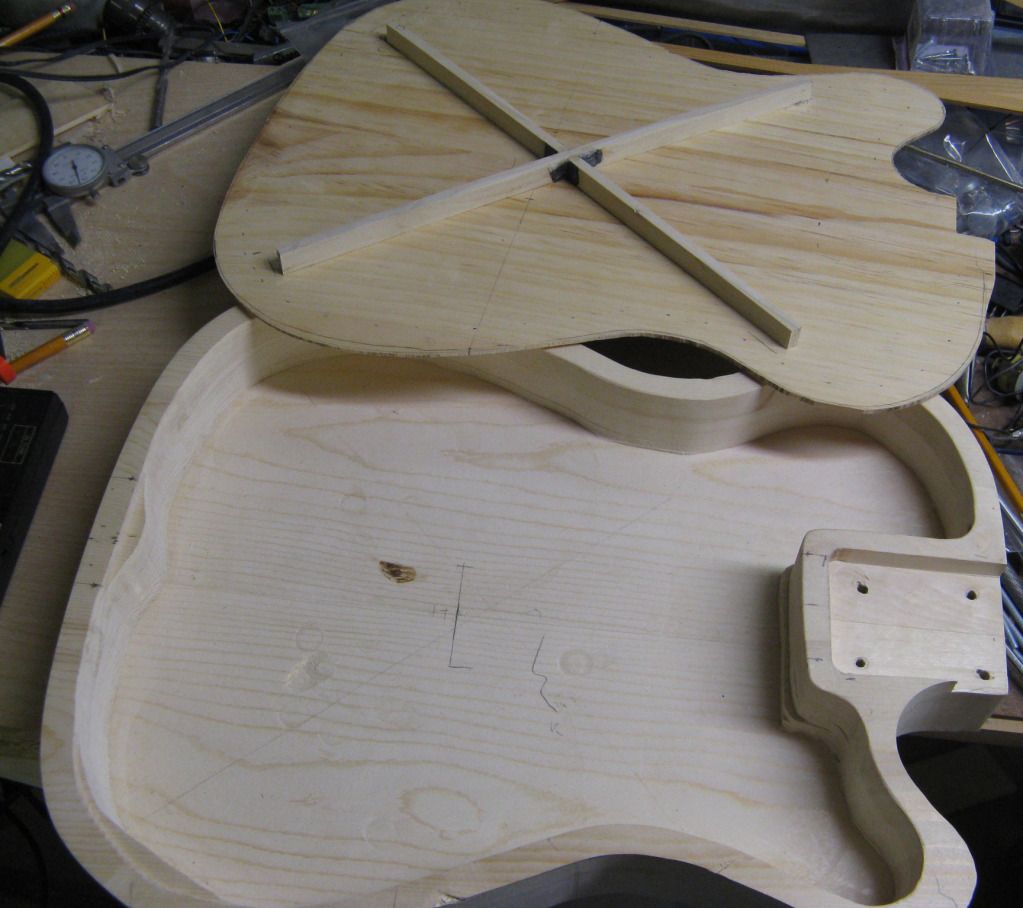 Clamped the top to the body and went a tapping. I did not have much response in the upper bouts, not a surprise or a concern. But I did have some deader areas. I thought the bracing will stiffen them up and bring some energy into those areas so I came up with this arrangement.  The top was 130 grams when I started and the bracing brought it up to 150. Clamped the top to the body and tapped it some more. The bracing seemed to take care of the dead spots I was concerned about. Also now with the top out in the air it has more ring to it than before. Hope that is good.
|
|
#7
12-22-2012, 02:07 PM
|
|||
|
|||
|
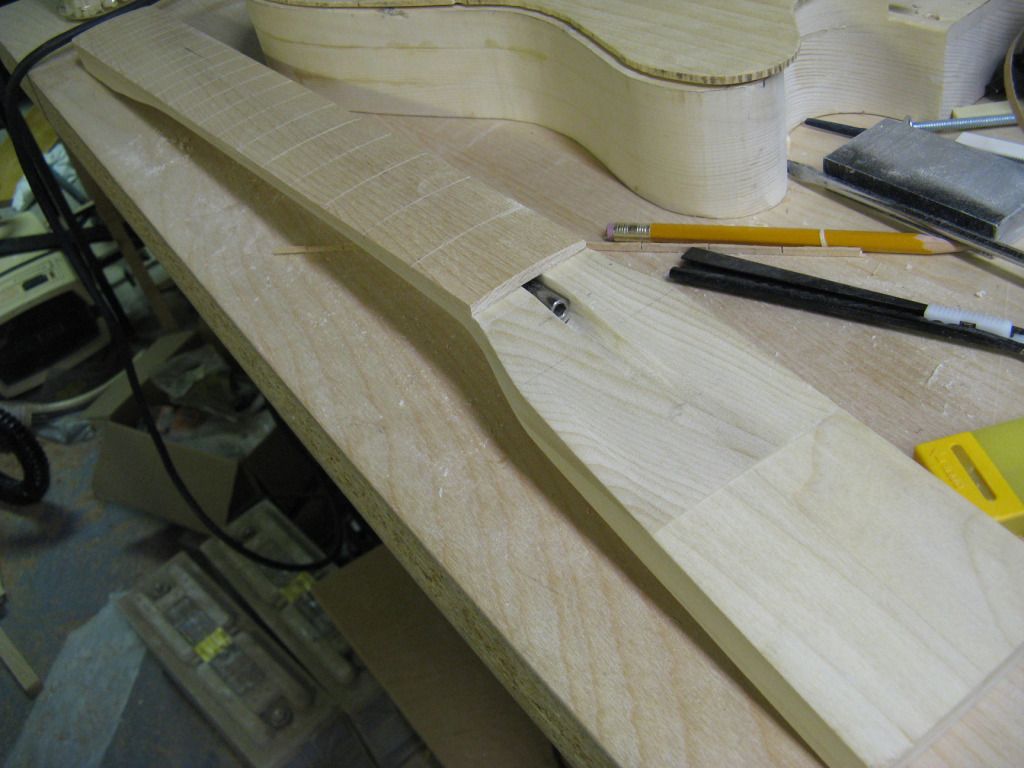
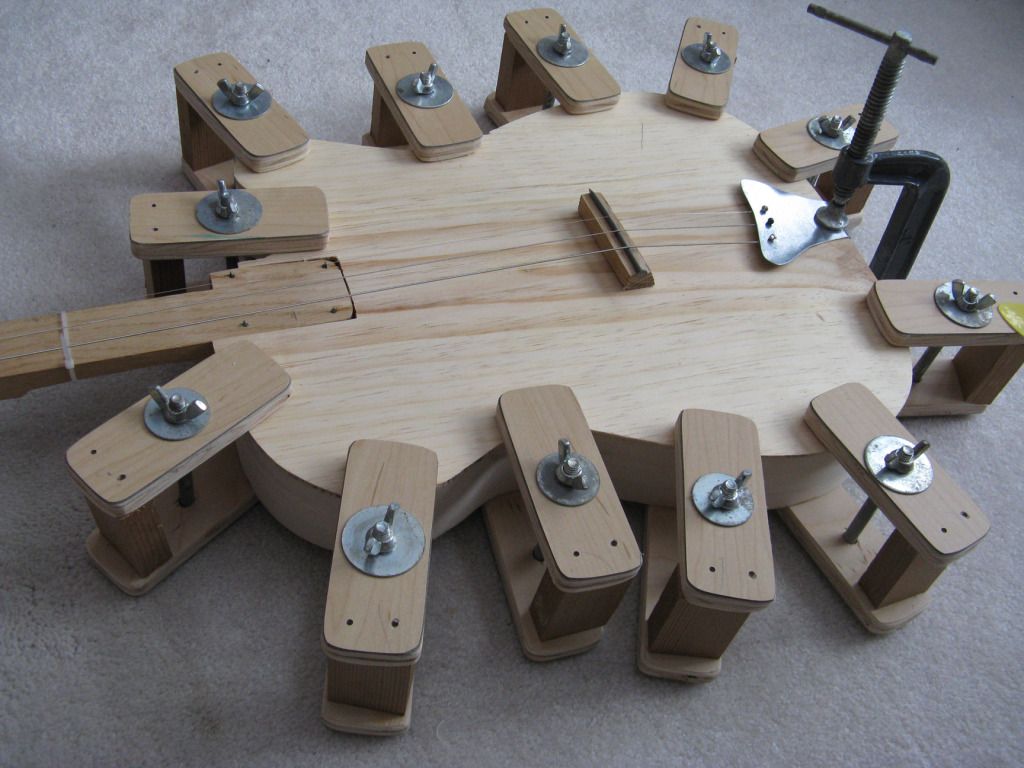
Wanted to get an idea of what this thing sounds like before gluing it together so I made some clamps to hold the top on and I hacked out a rough neck from a piece of scrap. Tiewraps for makeshift frets.
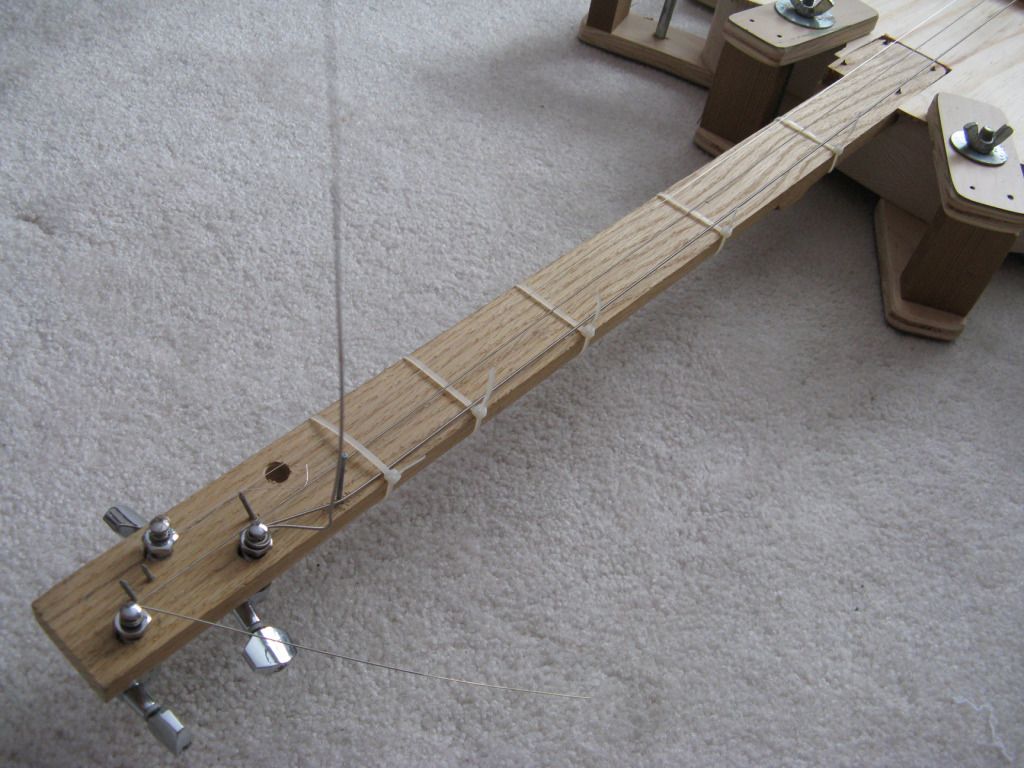  Just for curiosity sake I removed some clamps and it did not effect the sound too much. 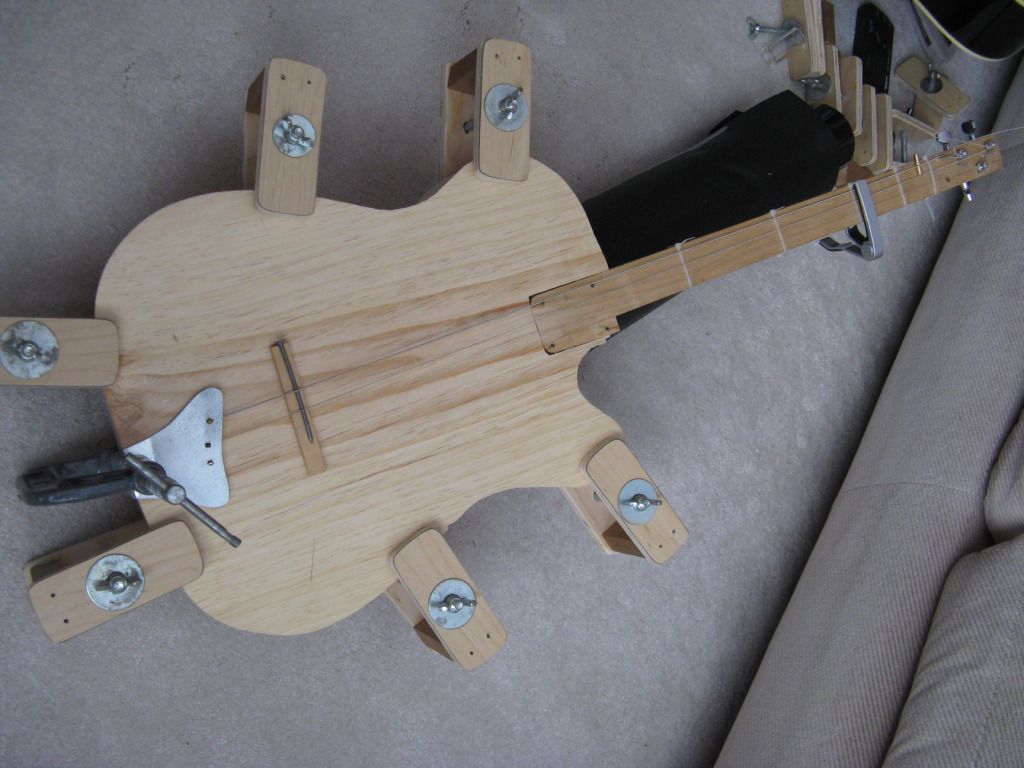 I was worried about the no-name wood being used as a top, in the end it sounds like a guitar so going to continue on with what I have. Not a heck of a lot of bottom on it but that was to be expected and may change with the addition of a sound hole. The high E string does sound a little hollow. I found that when I pressed down on the top near that side of the bridge it becomes more clearer. I am wondering if I stiffen up the bracing or top there if it will help out with the tone? I know I need better than a nail and a piece of spruce for a bridge, still does not sound too bad though.
|
|
#8
12-23-2012, 11:59 AM
|
|||
|
|||
|
Found out the high E string tension was not great enough to keep the 'bridge' in good contact with the top and it was not coupling well to the top. Pressing down on the bridge with my finger made the note much louder and clearer.
Pretty confident I can glue on the top and it will sound like a guitar. Not as resonant as a regular acoustic, compared this one to my cheap acoustic and the big difference is what is coming out of the sound hole. Sounds more like an acoustic electric for now, might have more depth when I put in the sound hole.
|
|
#10
12-24-2012, 02:58 PM
|
|||
|
|||
|
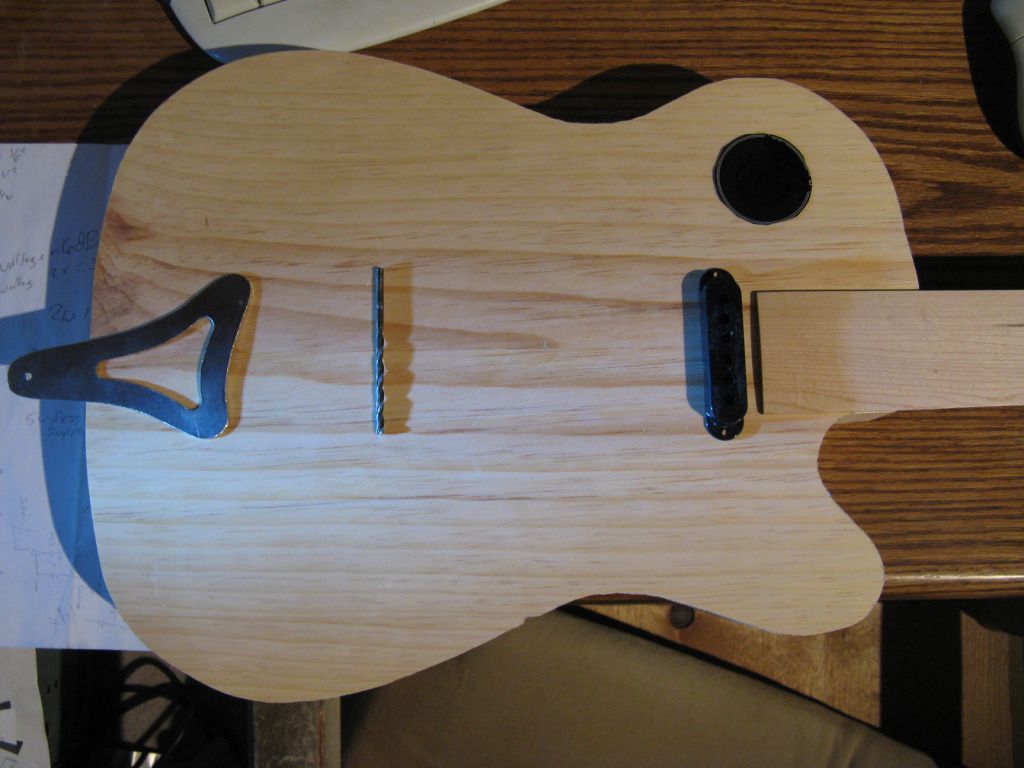
Still a little bright, though I would shave down the tone bars. Then I did something I was putting off till I glued down the soundboard. Drilled the sound hole.
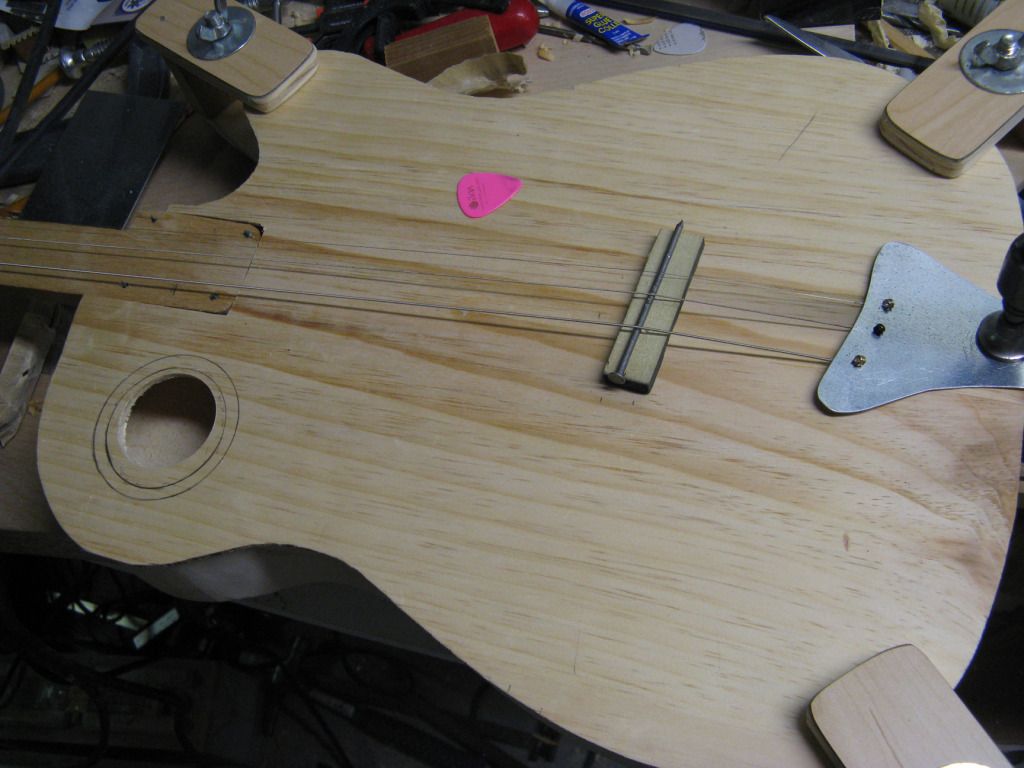 Had some bass to the tone now. It did sound a little washtuby, decided to open it up a bit. 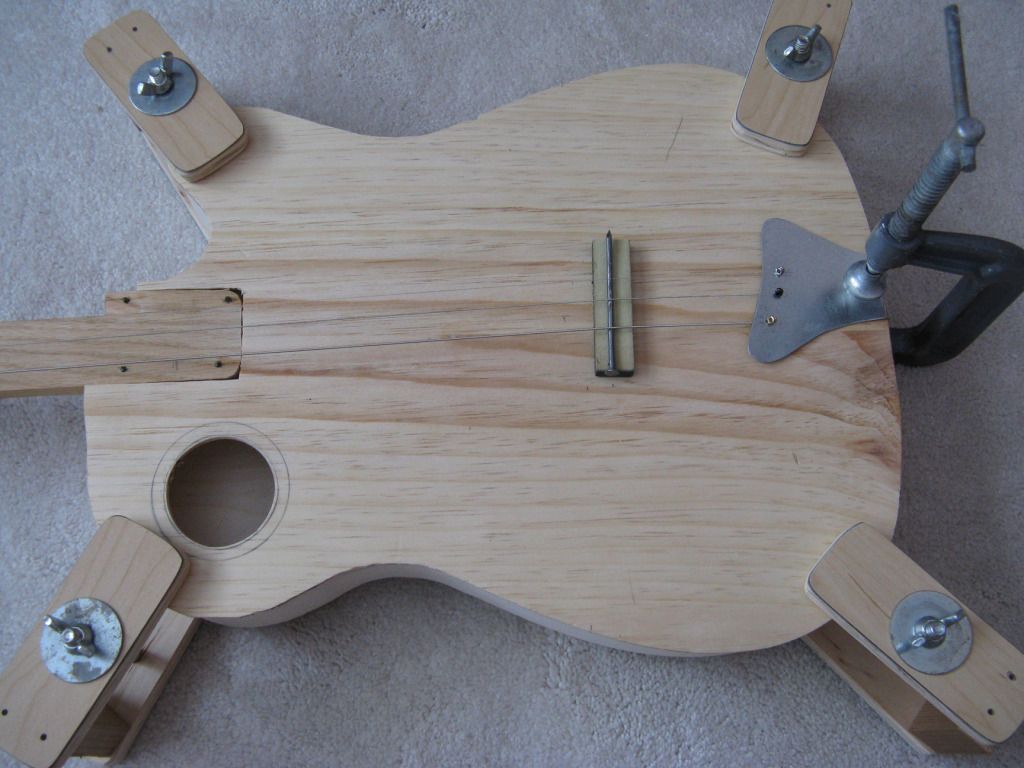 A little more balanced but now I am thinking maybe I should have left the tone bars alone, think the tone is less complex. Might trim them and install new ones.
|
|
#11
12-25-2012, 12:28 PM
|
|||
|
|||
|
I am getting more used to the sound of this thing. What I noticed today is the high E is a bit louder than the other strings. Given that it is in a more sensitive portion of our hearing is one thing but feeling the top as I pluck the strings I can feel a lot of vibration all over the top out from the X brace. The lower strings, and mainly the low E string has the vibration primarily from the bass side of the top and less from the lower right bout. I am thinking I may have to put a tone bar from the bass bridge area out towards this area.
This may take a while yet.
|
|
#14
12-29-2012, 04:29 AM
|
|||
|
|||
|
I am wondering from the way you have reinforced the x brace if you have not used a lap joint and just butted up two halves to one complete length. No matter what you went with I would still cap the joint.
Jeff.
|
|
#15
12-29-2012, 12:21 PM
|
|||
|
|||
|
Quote:
Trying to decide if I should use these mahogany strips for the headstock and a pickguard of sorts. 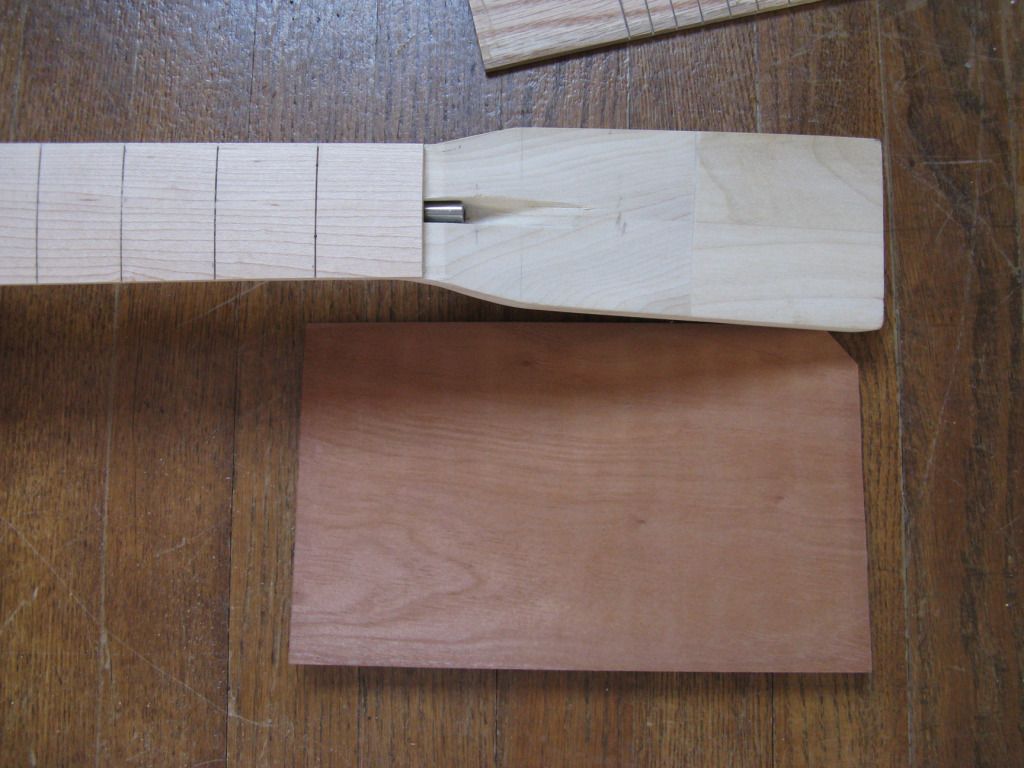 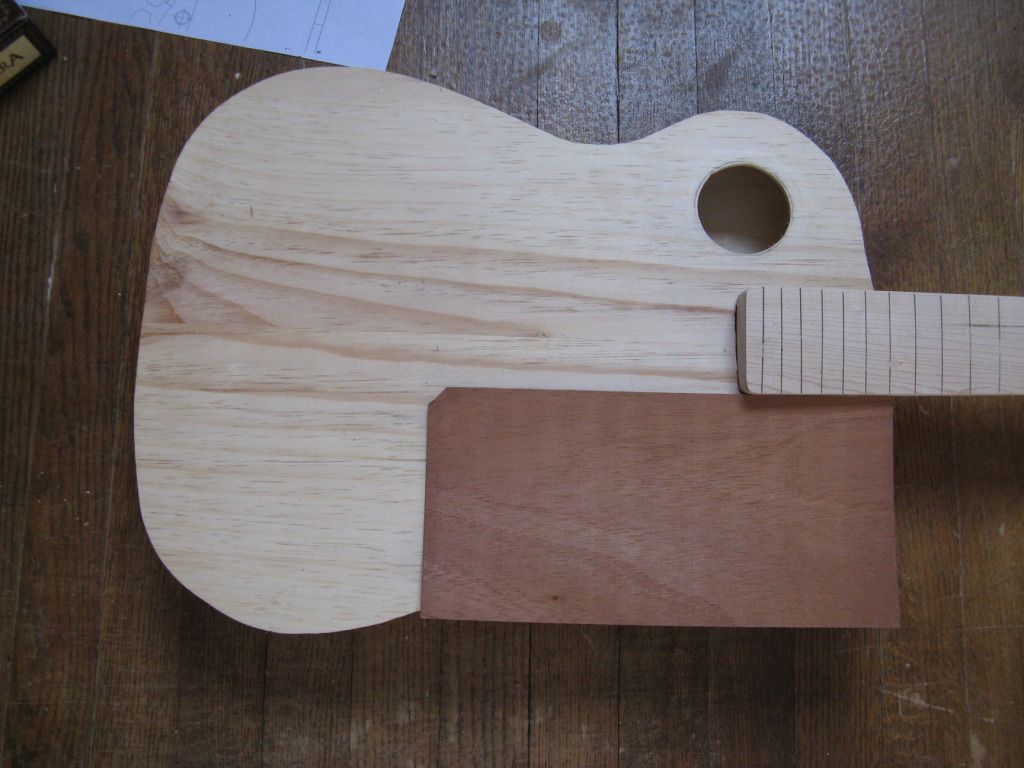
|