
|
|
#31
 07-25-2020, 09:26 AM
|
|||
|
|||
|
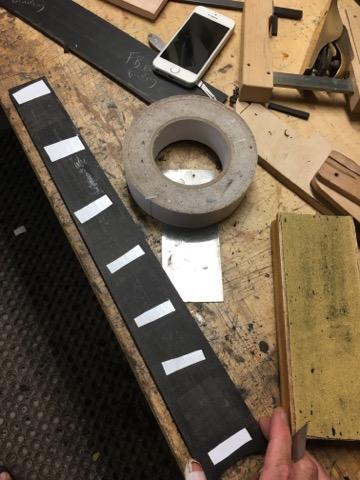
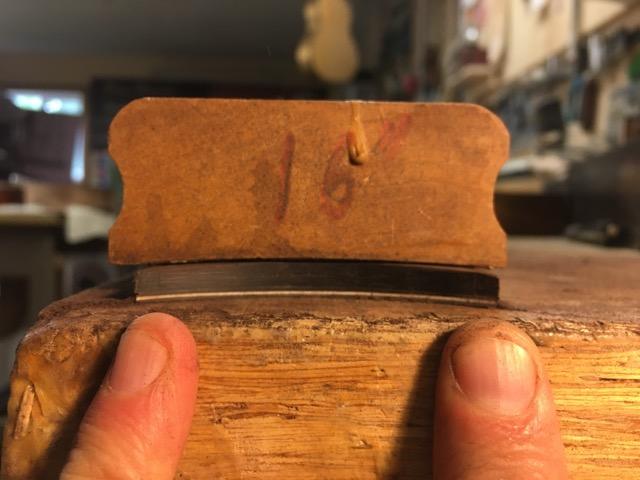
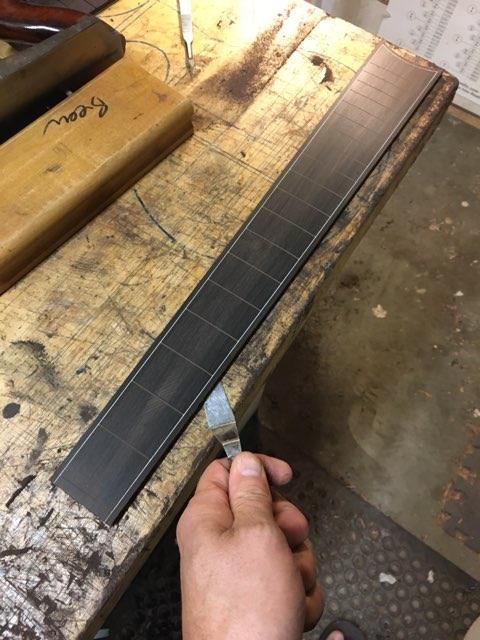
Fretboard bound, now it's time to apply the radius.

|
|
#32
07-26-2020, 06:15 PM
|
|||
|
|||
|
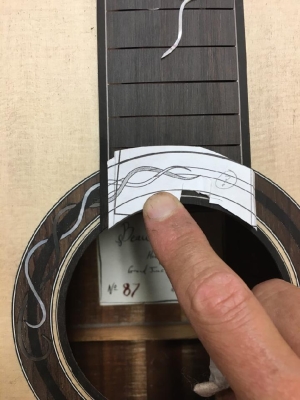
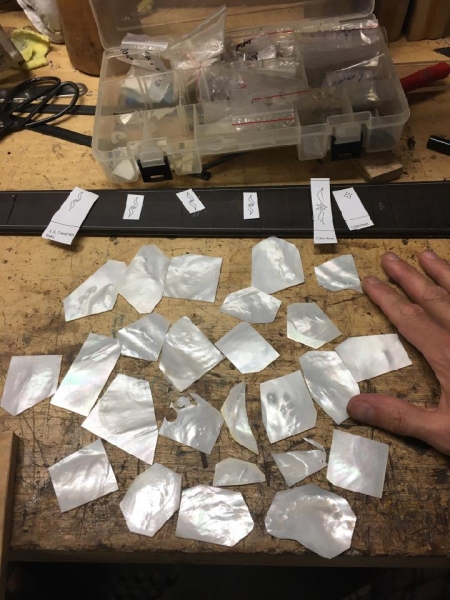
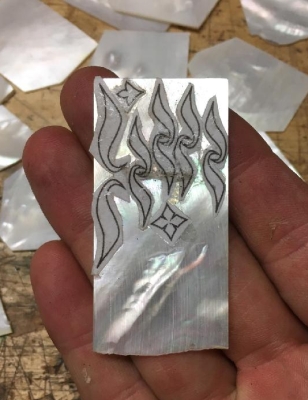
Time for more inlay. The design for the rosette will continue across the end of the fretboard, like this:
 We're leaving off what would normally be the last fret to leave room. The paper design is cut to make templates to cut the mother of pearl. 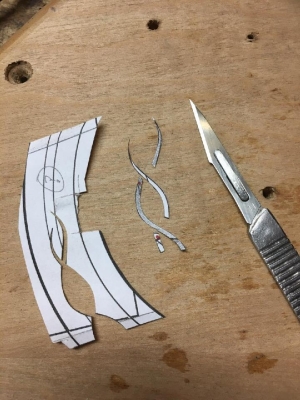 The paper templates are glued to a piece of MOP and cut with a jewler's saw, then filed & sanded to the final shape. 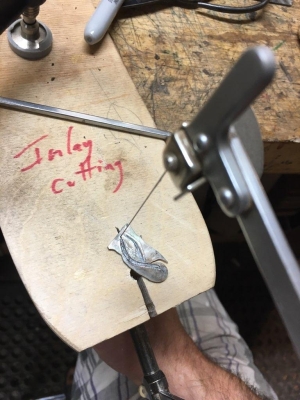 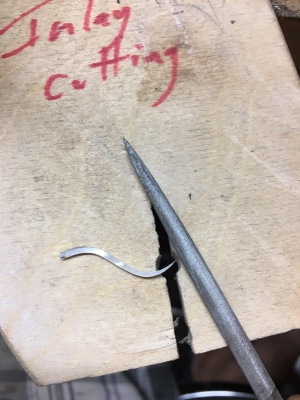 Details I never thought about... MOP reflects differently at different angles. A careful luthier will make sure that the pieces are cut so they all "flash" together. 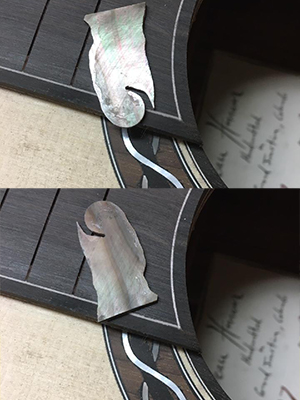 Here are the pieces cut and set in position, to be inlaid into the fretboard soon. 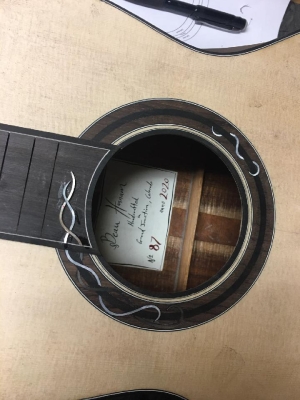
|
|
#33
07-30-2020, 09:13 PM
|
|||
|
|||
|
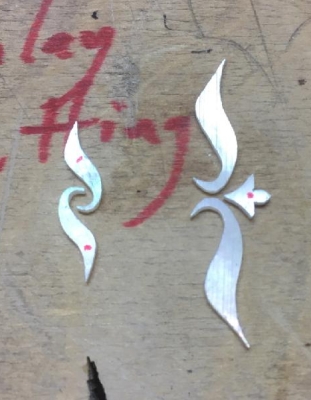
Next up - position markers. "Searching for the perfect pieces" of mother of pearl.
|
|
#35
08-02-2020, 12:15 PM
|
|||
|
|||
|
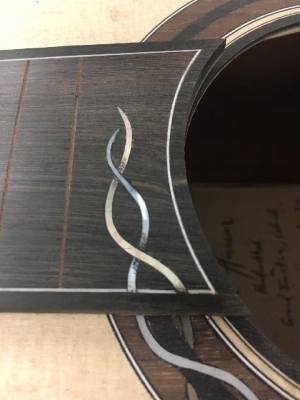
Closer look at the almost finished fretboard end. Beau does some cool stuff with "shading" on the MOP to add a kind of shadow where parts of the design appear to go underneath others, adding a 3D effect.
|
|
#36
08-02-2020, 12:21 PM
|
|||
|
|||
|
Now on to the fretboard position markers.
  After the pieces are cut, the outline is scribed into the fretboard with a knife, and the inside is routed/chiseled out. Small gaps are filled with ebony dust and black CA glue. 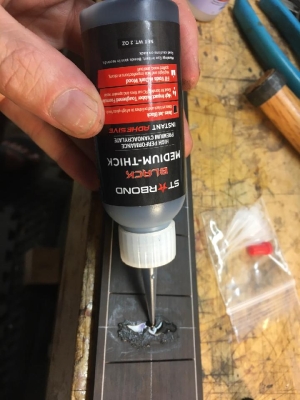 When dry, it's cleaned up. 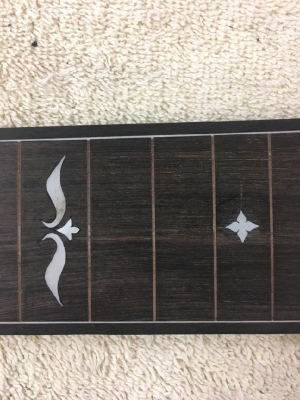
|
|
#37
08-07-2020, 07:32 PM
|
|||
|
|||
|
Time to choose a face for the slotted headstock. So many choices!
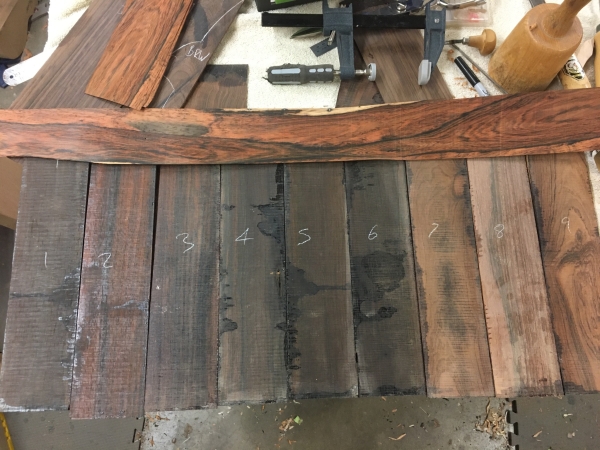 Here's a nice layout, taken from the middle of the unnumbered piece going horizontally across the top of the numbered ones, above. It's bookmatched with a sister piece. A clear template of the headstock is overlaid (without the slot-head cutouts). 
|
|
#38
08-07-2020, 07:38 PM
|
|||
|
|||
|
Here's a mockup of how that last one might look with the slots and inlay.
|
|
#39
08-20-2020, 08:29 PM
|
|||
|
|||
|
Inlay continues, now on to the end graft. This is Beau's design, working off the rest of the inlay which was mine. Here is the rout:
 And with the MOP laid in but not finished: 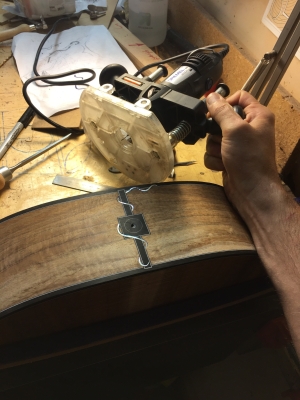
|
|
#40
08-25-2020, 07:20 PM
|
|||
|
|||
|
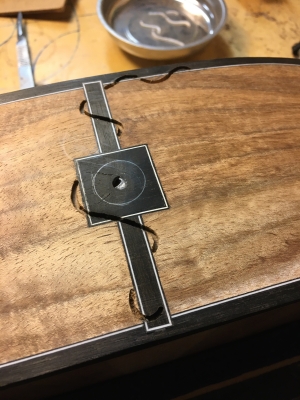
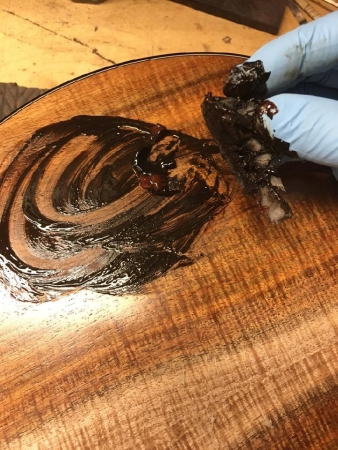
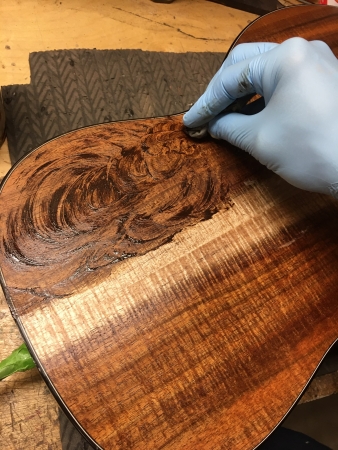
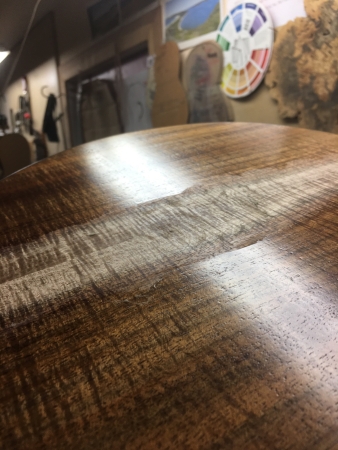
Beau mixes three different colors of filler to pour on the poor pores.
|
|
#42
09-23-2020, 04:23 PM
|
|||
|
|||
|
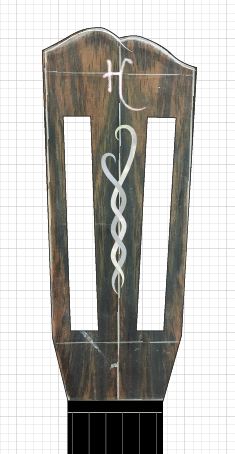
We decided to go with something a bit plainer for the headstock face, still with some nice character but less distracting from the inlay design, and a color that meshes a bit better with the rest of the guitar woods.
 Glued to the headstock and bound. I love Beau's signature "faded purfling" at the top of the headstock. 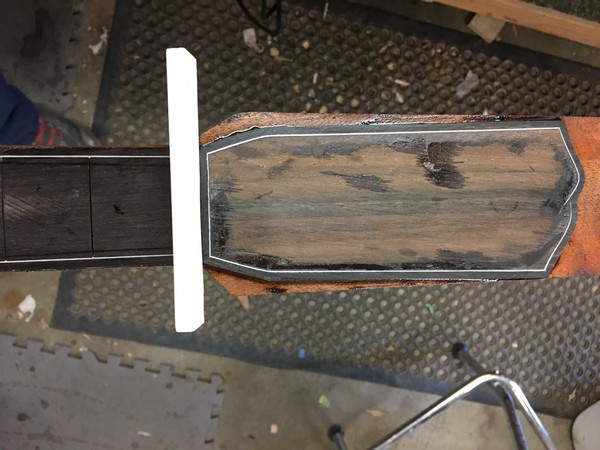 The last of the inlay design. It ties in to the design on the engraved tuner plates. 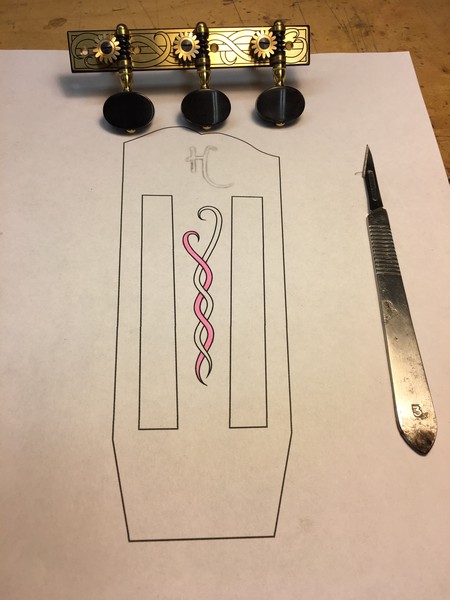
|
|
#43
09-29-2020, 10:33 PM
|
|||
|
|||
|
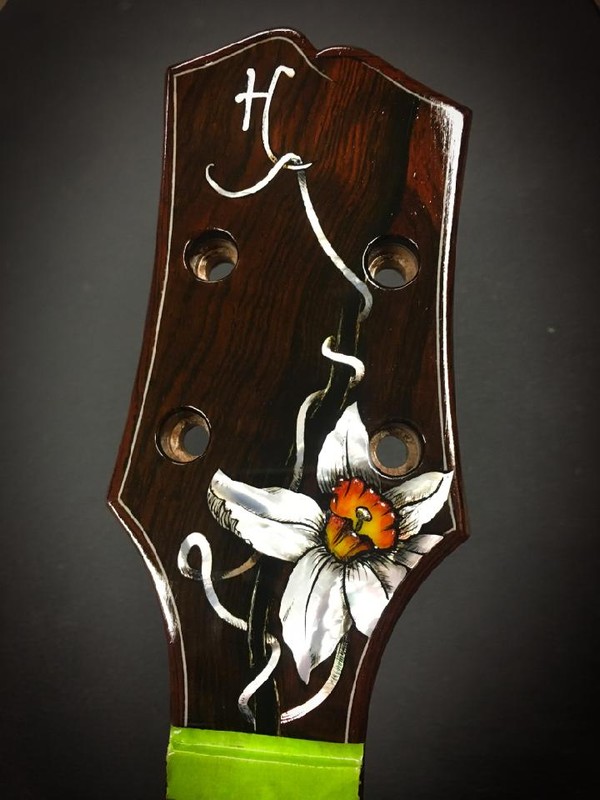
Before I continue with my guitar, I have to share this incredible uke headstock that Beau did the inlay on. He does some incredible work, and his use of different shades of MOP and some fine etching gives amazing 3D detail.
|
|
#44
09-29-2020, 10:38 PM
|
|||
|
|||
|
Back to our regularly scheduled build thread. Title: How to Slot Your Headstock.
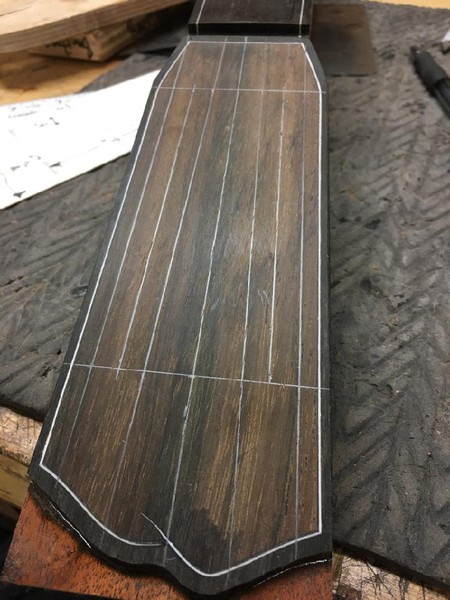 It's a boring job.... 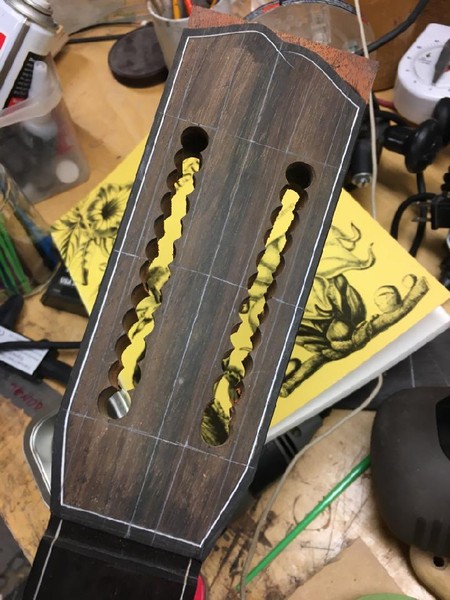 Cleaned up a bit. 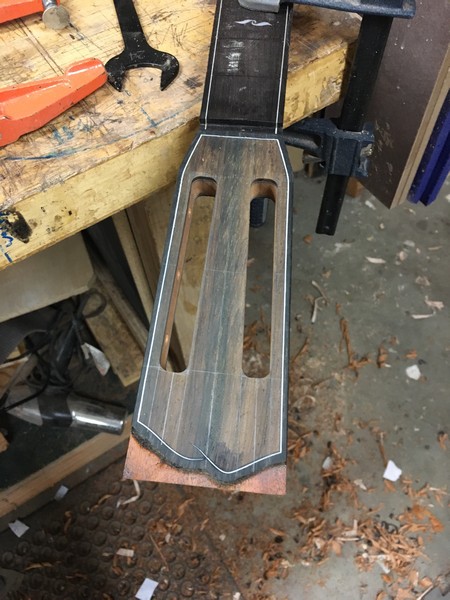 Here's how it will look with those fantastic Rodgers tuners.  All squared away. 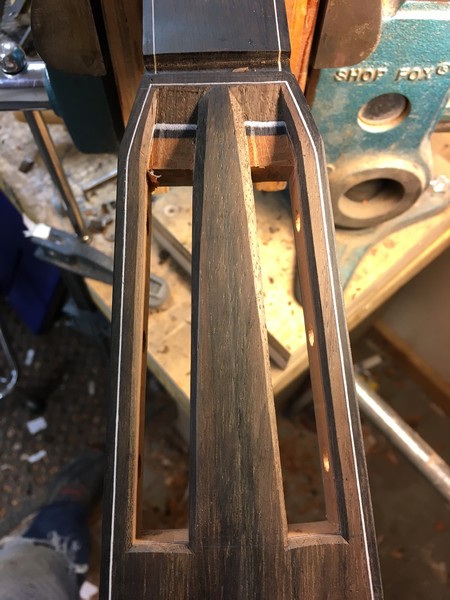
|


