
|
|
#46
 07-11-2009, 09:00 AM
|
||||
|
||||
|
John, I love the pictures. The black and white one offers vintage looking details.
I'm glad you are sharing your adventures with us.
__________________
... make a joyful noise ... http://www.mcknightguitars.com AGF MCKNIGHT GUITAR SNIPPETS https://www.acousticguitarforum.com/...d.php?t=663228 I'll continue "Doin' Life ... As a Luthier's Wife" McJam = Guitar private event June 21-22, 2024 [email protected] Pre-sign is required and begins now. 
|
|
#47
07-18-2009, 03:38 AM
|
||||
|
||||
|
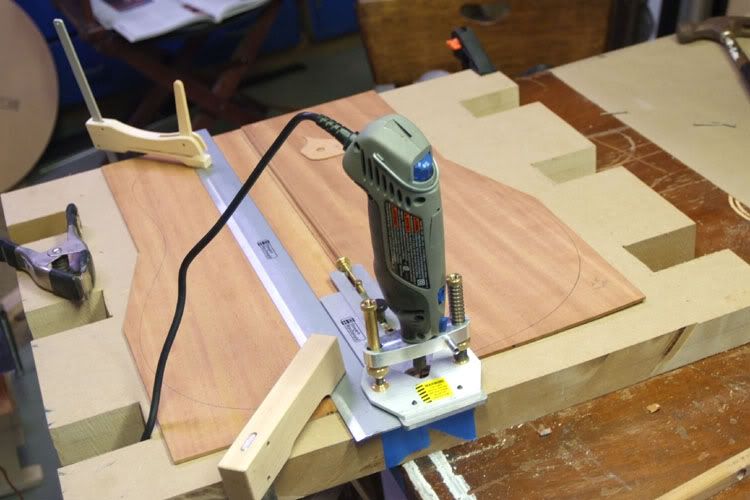
Got a lot done today. After double checking with Blues Creek and watching John Mayes bend a few sides on DVD I of course did what everyone does
. I picked my favorite parts of each method lol. John Mayes uses 2 blankets and plugs and unplugs the heat. I only have one blanket (which is what many folks use) and I used a on off switch. Blues Creek presses the middle last, Mayes does it first
I picked a way and went. I found my second side to go 10 times smoother!
 It fits the mold perfectish. A little overhang, perfect. I do have a kink? /crack on side 1. I stuffed it with CA glue and moved on. (nice spot for inlay....)  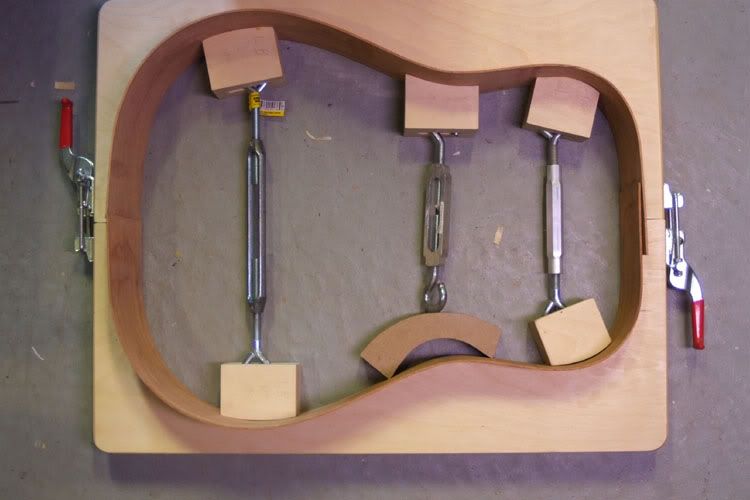 Then onto scalloping the Braces! 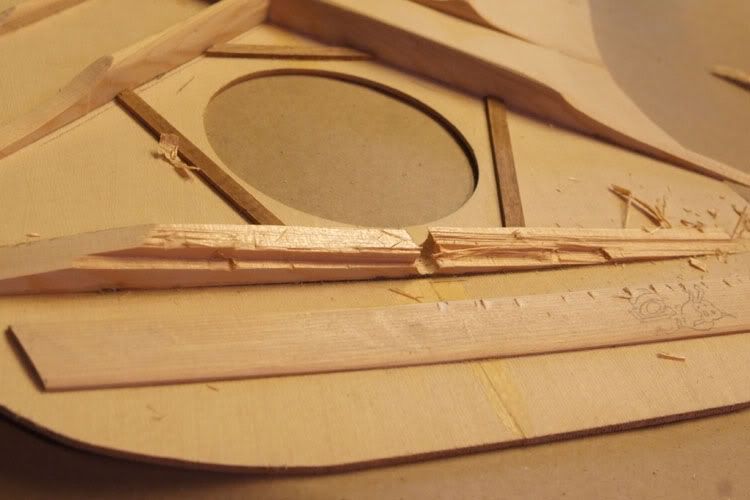 Ok I am removing the transverse brace and replacing it with a non radiusd brace. 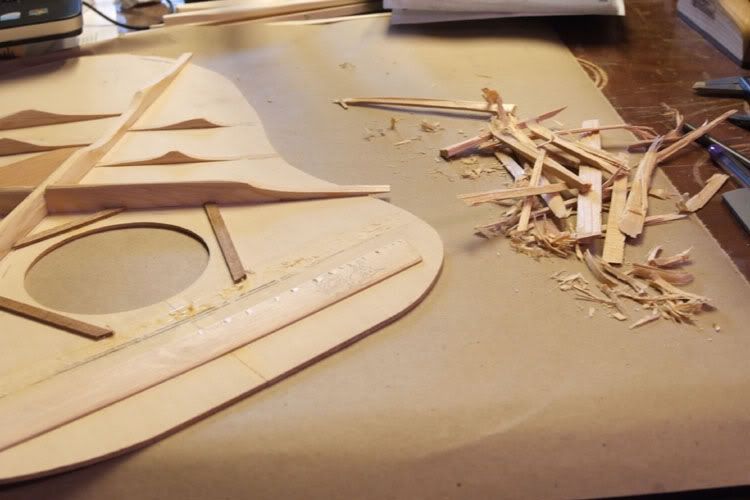 I was told I would have an impossible time with the neck if I did not change out the brace. I made the replacement with quartersawn Sitka. The grain ran off funny so I corrected the grain angle before shaping. Heres my helper... 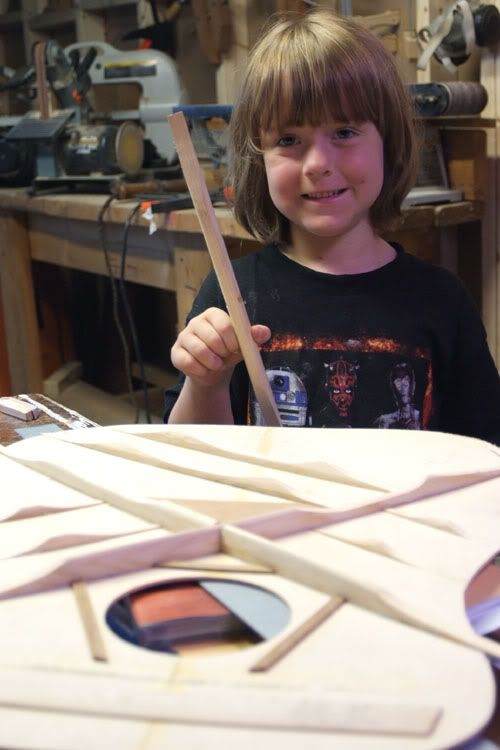 Look how much flatter the top will be braced properly 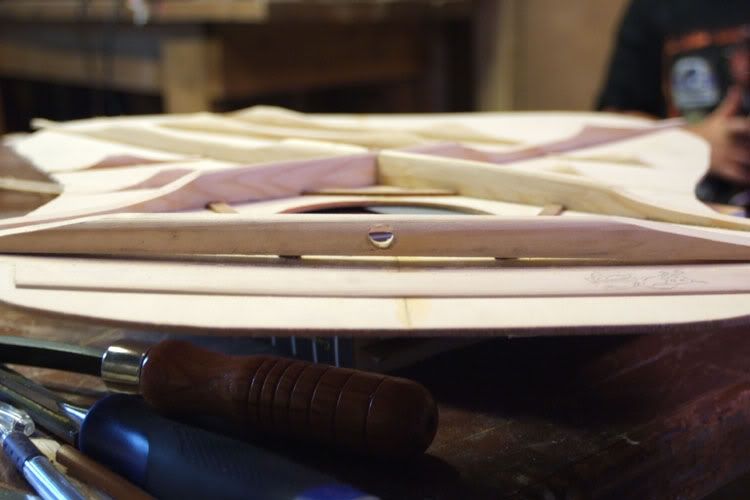 Then onto my first joining. I read the Rigid Joiner manual. It looked easy. 3 sweeps with scrap then 2 sweeps with the Mahogany back pieces sandwiched together. Wow! No light! Perfect. 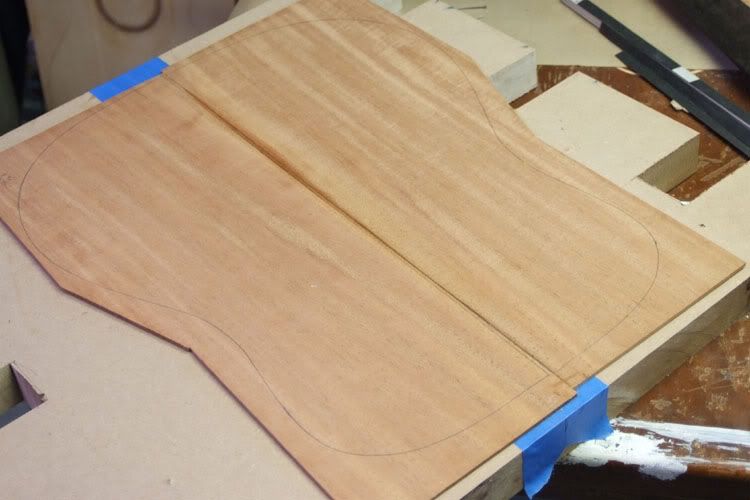 The backwood was precut an odd shape so I used nails and the straightedge trick for joining. Then I snugged with clamps. Then added weight. Last edited by Kitchen Guitars; 07-18-2009 at 03:50 AM. Reason: Messed up the order
|
|
#48
07-18-2009, 03:40 AM
|
||||
|
||||
|
Now a back strip.
 I found a cool peice of wavey? wood (lace Mahogany?). How to cut a skunk stripe??? I used the straight edge as a guide and found my height .044 on a peice of scrap. 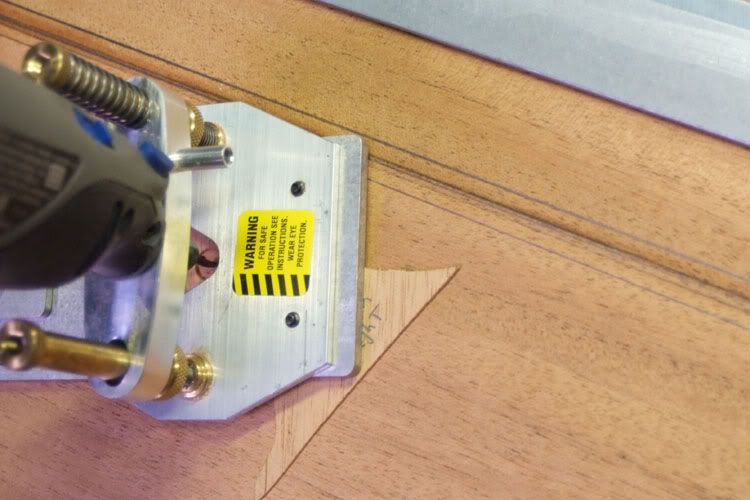 4 moves later I had a perfect line sized for the strip and 2 accent lines. 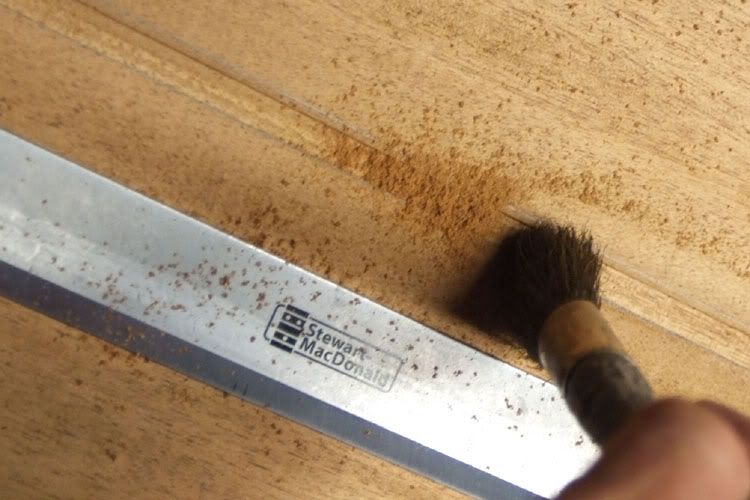 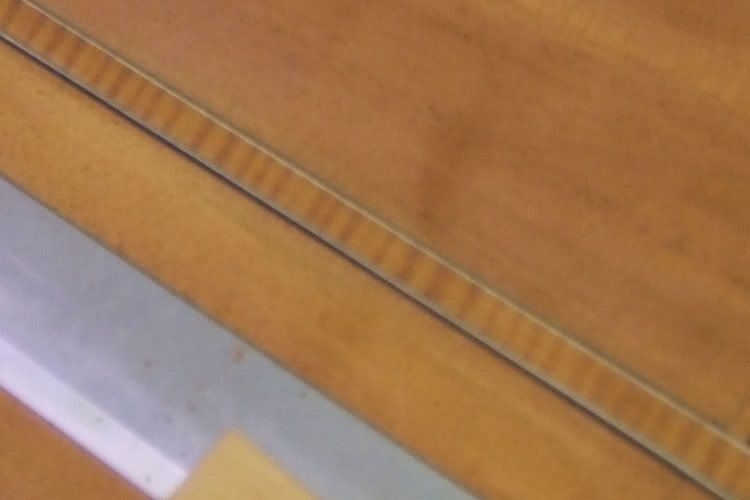
|
|
#50
07-18-2009, 07:10 AM
|
||||
|
||||
|
Quote:
 
__________________
... make a joyful noise ... http://www.mcknightguitars.com AGF MCKNIGHT GUITAR SNIPPETS https://www.acousticguitarforum.com/...d.php?t=663228 I'll continue "Doin' Life ... As a Luthier's Wife" McJam = Guitar private event June 21-22, 2024 [email protected] Pre-sign is required and begins now.
|
|
#53
07-19-2009, 06:09 AM
|
||||
|
||||
|
Now the top is a 20 radius with a flat top end.
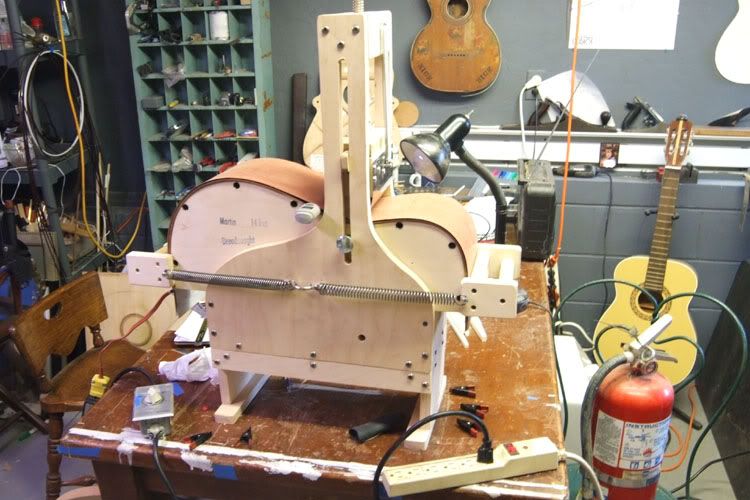
It seems my flatness sander drum is ever so slightly, slightly crooked. I will have to learn what to do about that. I made a 3 to 4 hose converter out of a coffee container so I could do much better dust collection. 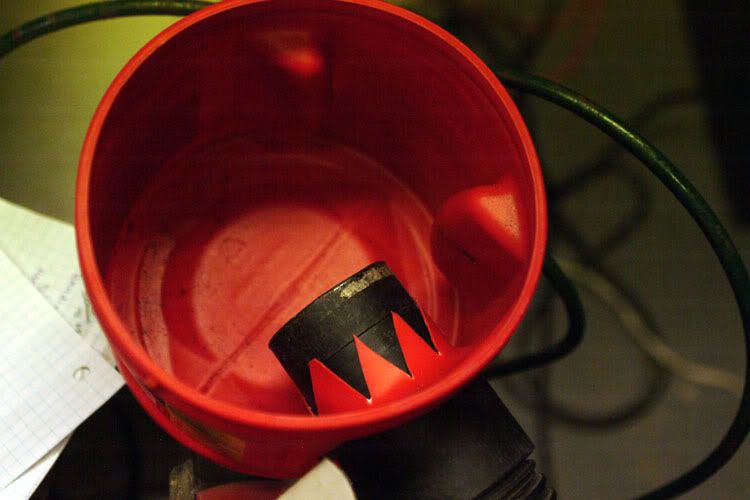 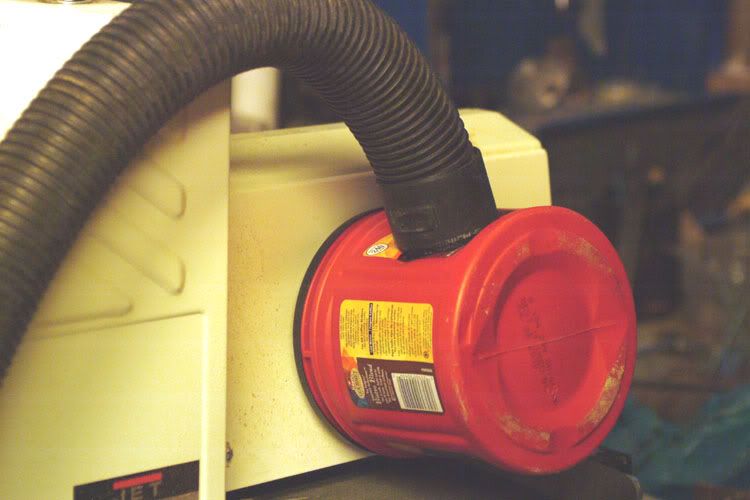 Works perfect. 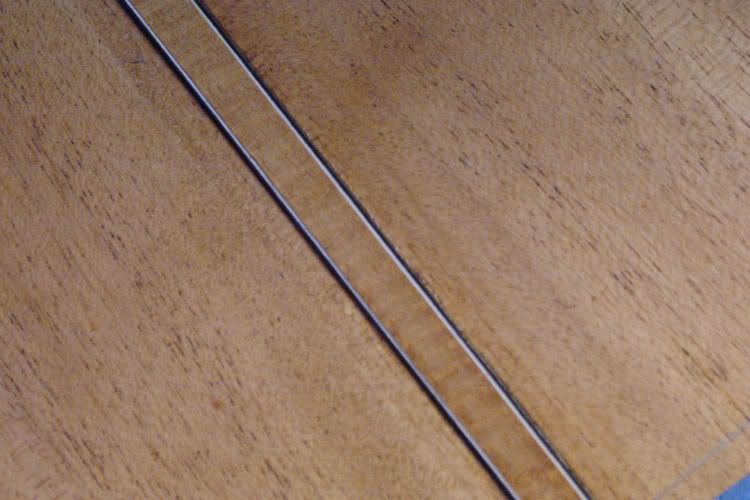 I flatness sanded the back stripe, then into the back. I needed to get it flat BUT next time I will trim the back down as much as possible on the inside. I made some of the less than properly seated B&W strip pull out. 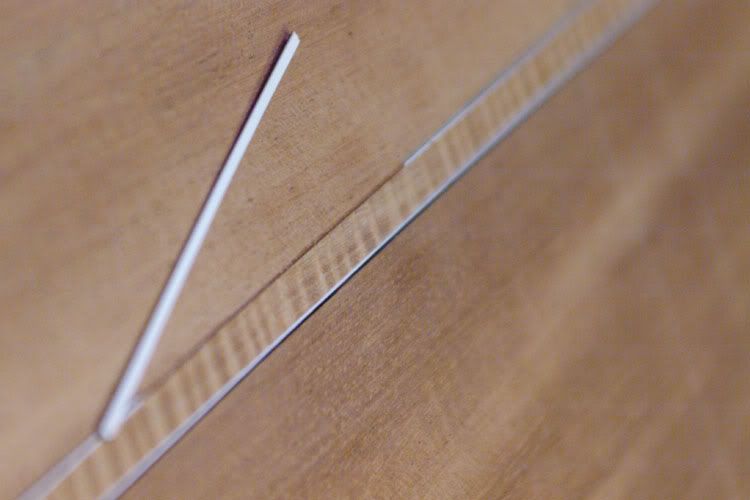 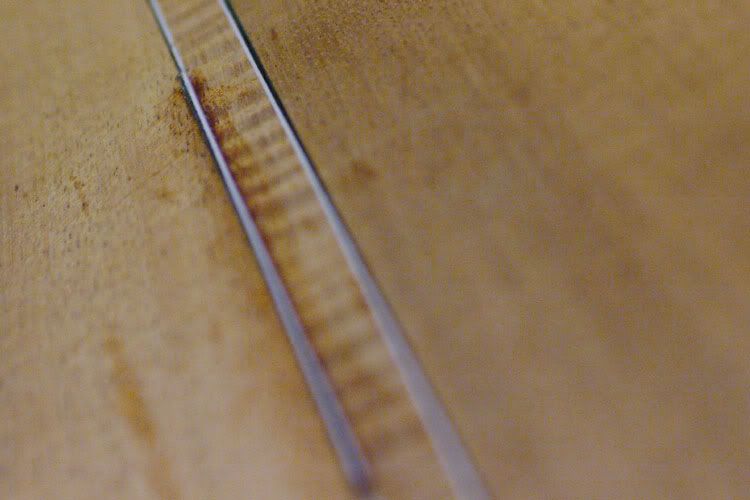 Repair was tedious but doable. After supergluing my fingers together twice, it went in perfect. Then with an 80 grit tiny sanding block I brought it down to almost level. Then gently scraped it down to level. I still need to fill in 2 spots, Ill get those done later. My back ended up at .076 to .081 in thickness. 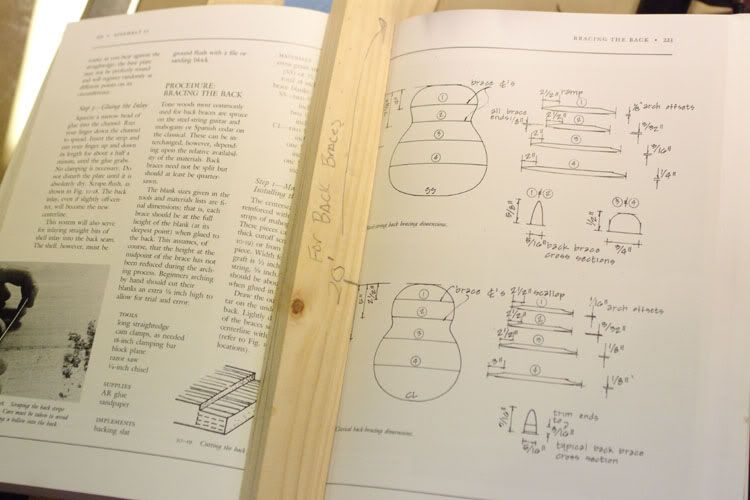 I made 2 top back braces 5/16 wide, 2 lower @ ½ . I used the Washer to emulate the radius trick. But, it chews up too much stock where the line lands. So I made a Radiused wood stencil then traced it at the middle bottom of the new braces. 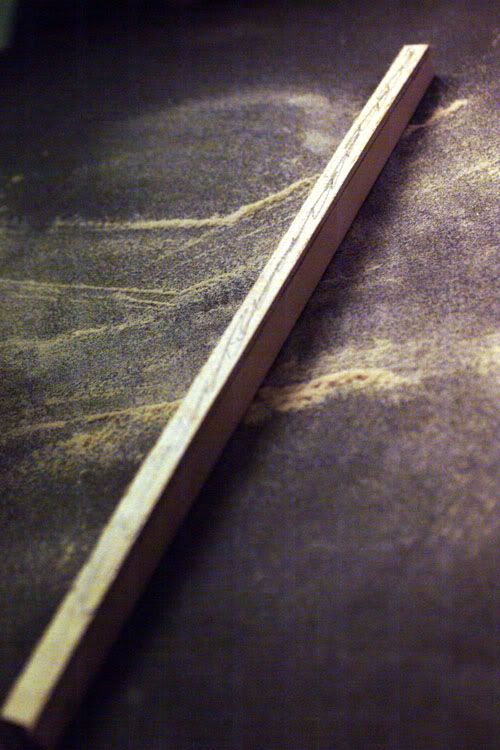 Some band saw then sanding in the 20 radius dish. I have been told ideal would be 15 for the back, 28 to 35 for the top. I ended up with 20 20. Which is not ideal for a guitar but as a photographer I like the numbers lol. I located the center line then squared off the back brace locations as per Guitarmaking Tradition and Technology book 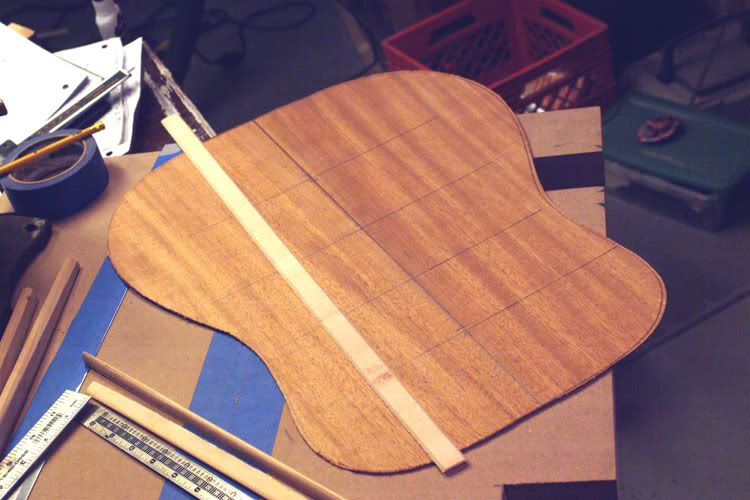 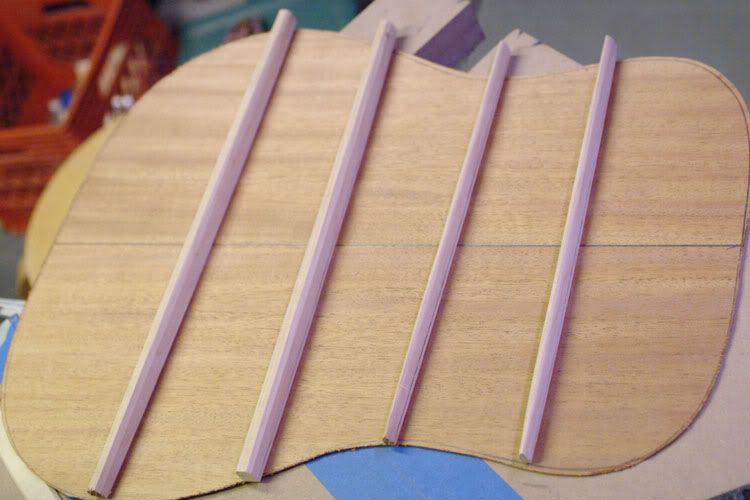 So, back braces are ready to go on. I glued in the back strip using the straight edge as a guide to keep even. 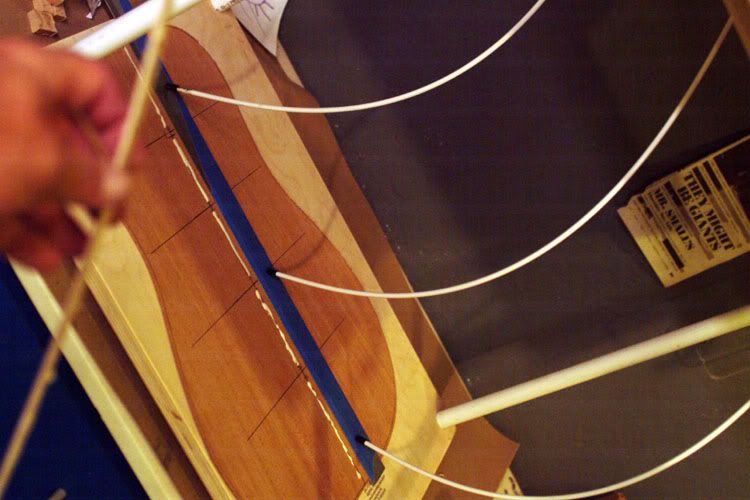 I removed the straight edge. Cleaned up the glue goo. Lights off. Thanks for the words of encouragement. They give me reasons to smile and carry on!..... as I pull chisels out of my fingers and such.
|
|
#56
07-19-2009, 10:17 AM
|
|||
|
|||
|
Better than watchin Bonanza! You should turn this whole adventure into a reality TV series ... much more entertaining than what's out there now (and dramatic - what neck joint WILL he use ... how will that backstripe look finished ... will he try a bevel next time???).
Coming along nicely! Thanks for all the posts. John
__________________
Ryan MGC EIR/Sitka Doerr SJ Legacy Select MadRose/German Omega MJC EIR/German Baranik CX Mad Rose/Western Red Cedar
|
|
#57
07-20-2009, 06:15 AM
|
||||
|
||||
|
Hi folks. I am up for a TV show. I've watched American Iron Chef. My dog could do a better show! Easter week the secret ingredient was Rabbit! We skipped Kentucky Derby week! Anyway........
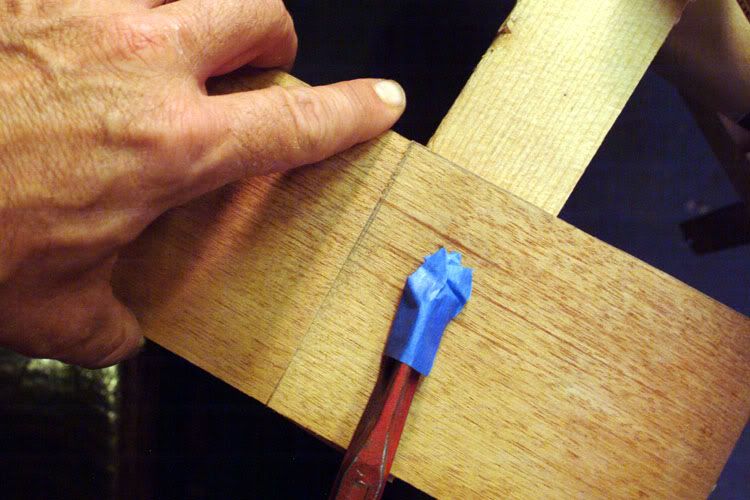
I cut the slots where the braces would be placed. When I glued up I went skimpy in the exact area the brace slot would be cut. So, chipping them out after the dove saw cut was easy. A little run of sandpaper and rockn roll 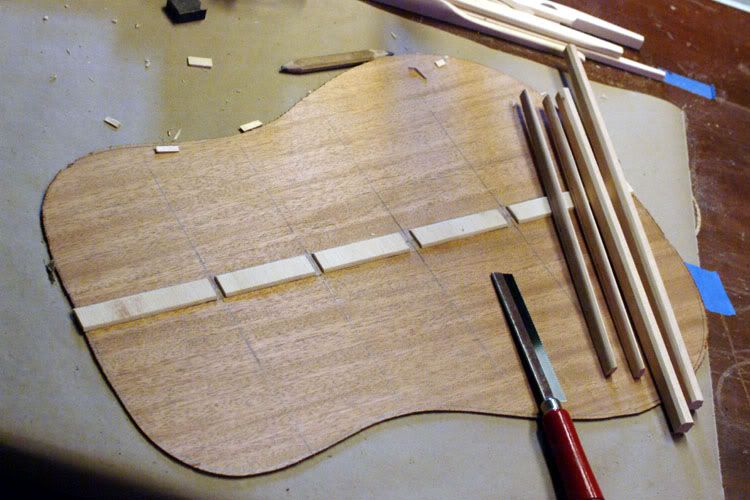 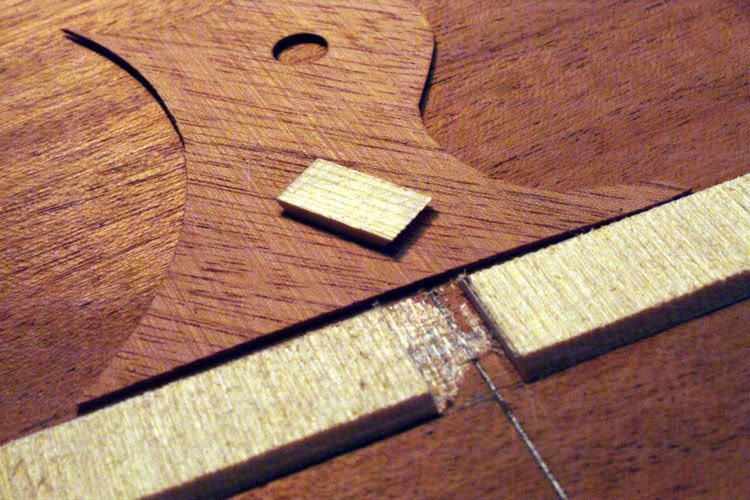 I put in the braces 1 at a time. I used a factory squared block to square off the center strip 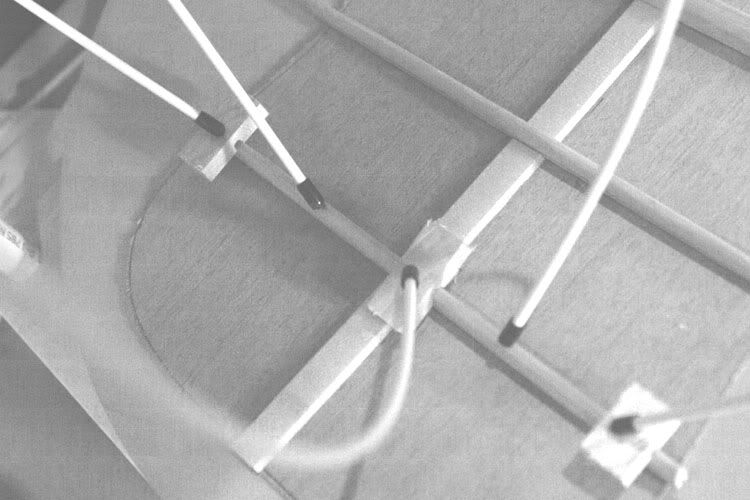 Then onto cut the sides to fit.....How? My first idea didn't work but it got me thinking in the right direction. 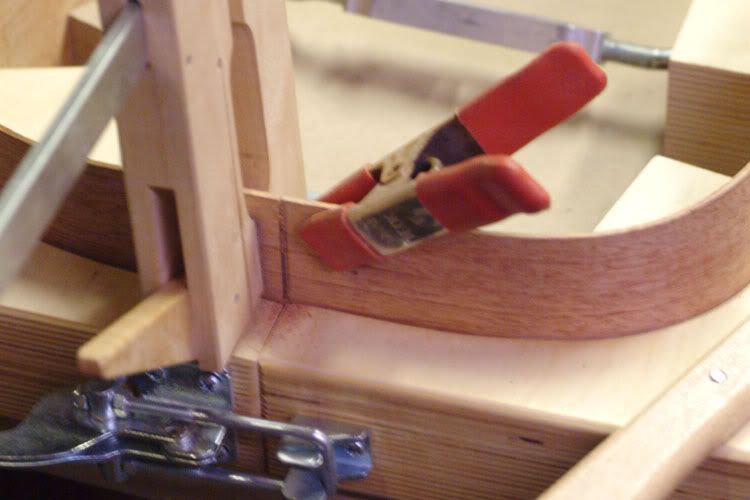 I read cut them together then the line matches up. I tried a cheap Japan saw because the protruding top edge of the good Dove saw was in the way, this way 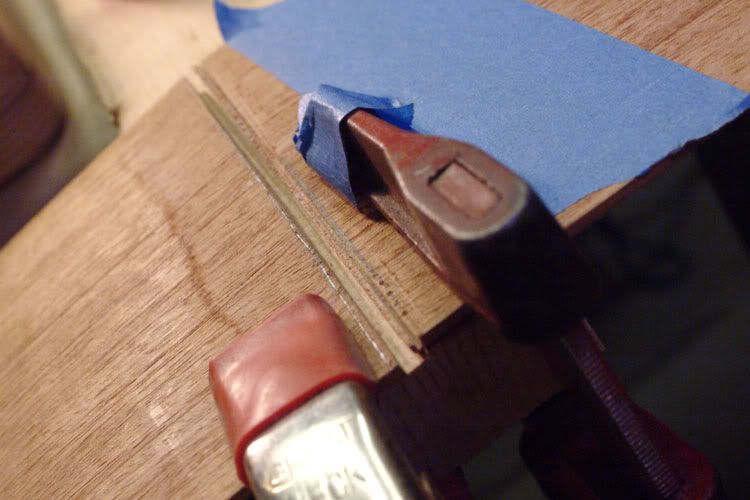 So I switched to this method. Still room to think out abetter way, but it worked. 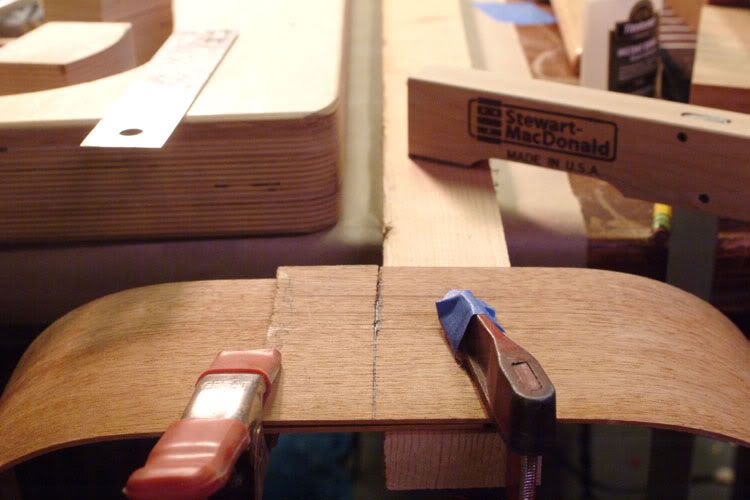 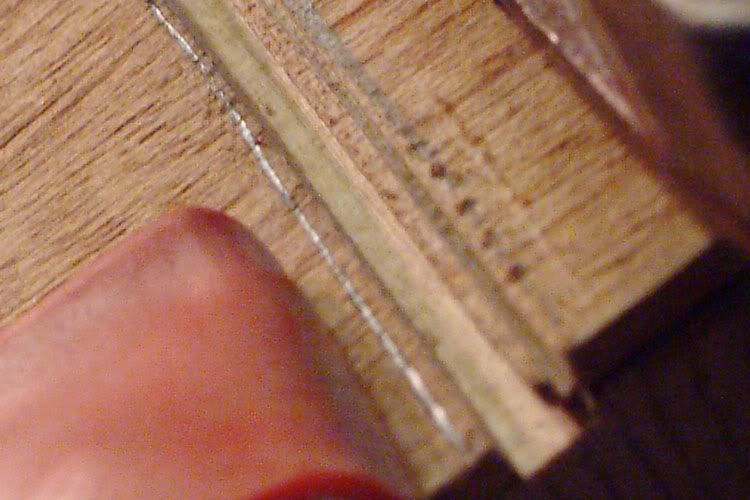  On the bottom I needed to cut only a 1/4" off one and something like 1/32" off the other. I will add more length to the bout in future builds. To close. But, I did it!
|
|
#58
07-20-2009, 06:17 AM
|
||||
|
||||
  It was now Midnight. Time to quit, but I didn't want to! 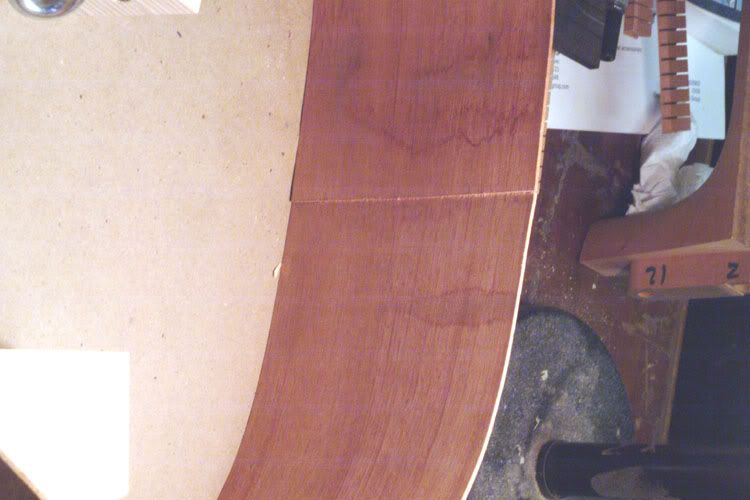 [IMG]  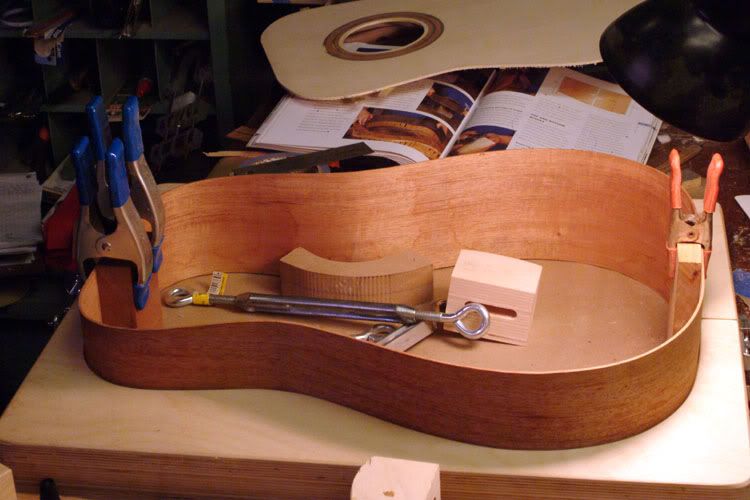
Last edited by Kitchen Guitars; 07-20-2009 at 06:30 AM.
|
|
#59
07-21-2009, 04:16 AM
|
||||
|
||||
|
Quote:
|
|
#60
07-23-2009, 07:21 AM
|
||||
|
||||
|
I made some big boo boo's. Nothing that was not fixable. But, I made hours of work for myself. Nothing makes you remember better methods like hours to think about it.
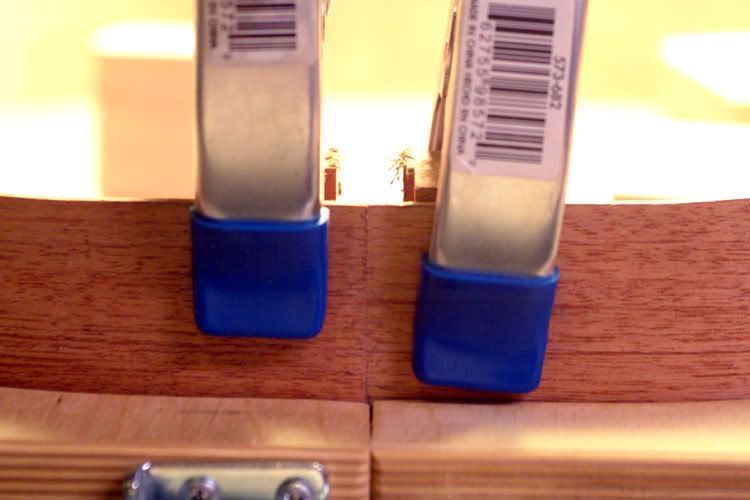
I put on the end blocks without sizing them first! Chopping a 1/4" off of one and a top 1/8" and a bottom 1/8" off another was a real bummer. + I had the NT block on an angle I guess when I leveled it down. That caused problems also. I drove a drill bit into the table and used that as a centerpost.  Then I poked a hole in the sandpaper on the radius dish, accessing a center hole. I leveled the molds sorta and centered sorta. I used a White construction pencil to mark the whole top perimeter. That will tell me when I am level. 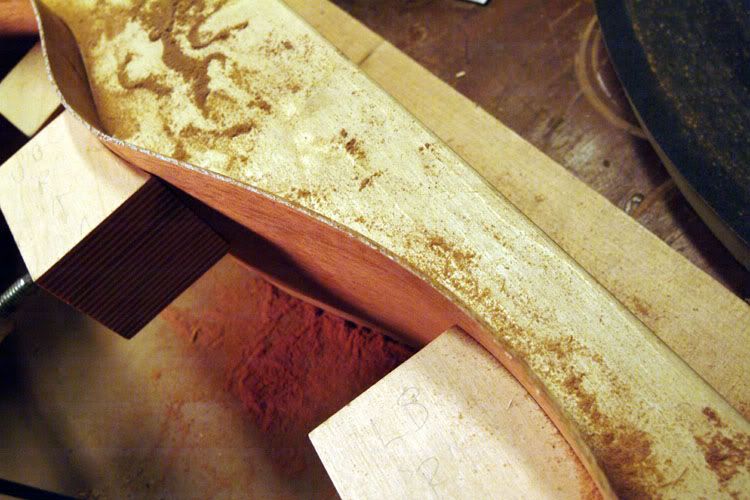 I also added a center brace I made quickly. It really seems like a great addition for holding the top and bottom in place. 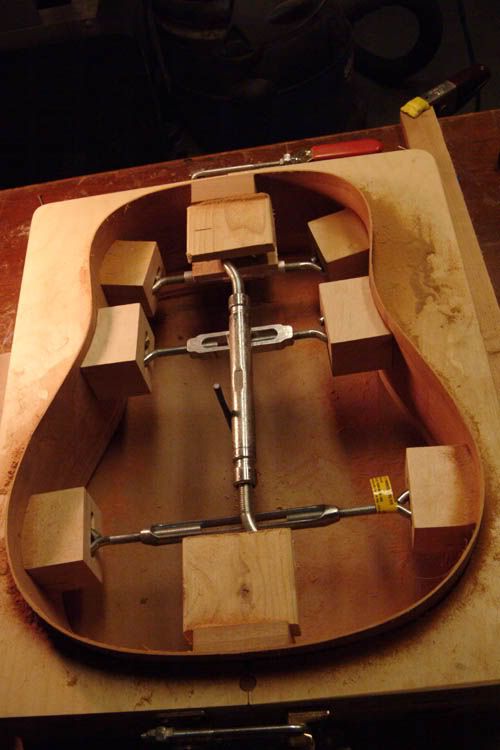 Well, 15 minutes of sanding with the 28' dish leveled all but the back of the NT Block. So, I filled in the set pin holes I won't use and superglued a thin piece of Mahogany (remember the height gauge for the Backstrip? RIP) 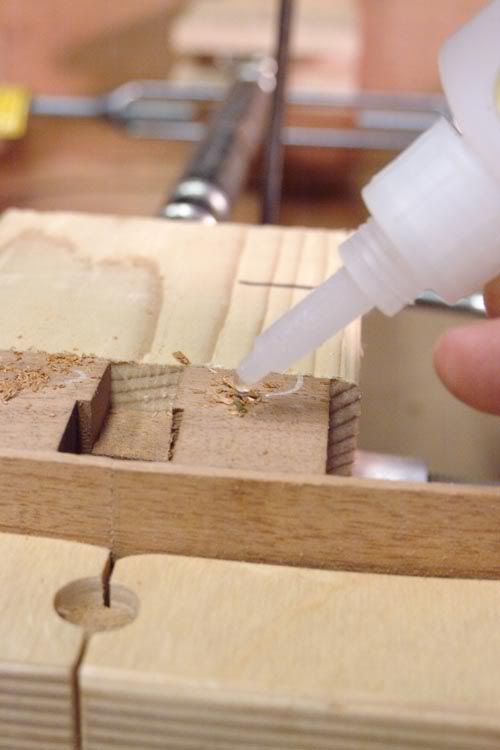 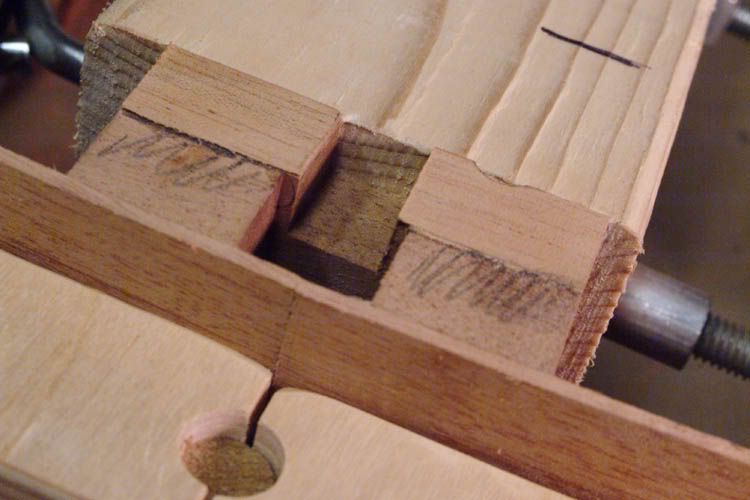 on the slope I had created sanding flat something that was not flat. Now I rough sanded. Then Radiused down quickly. 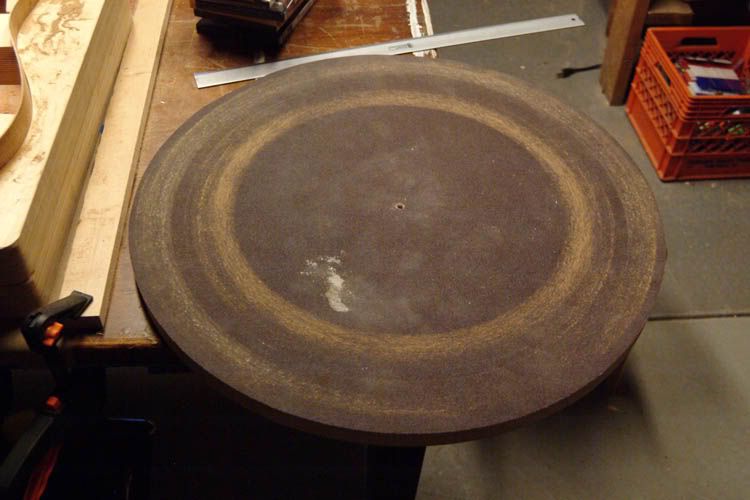 When I did the back side with the 20' it went a lot smoother. First I went back to the class pictures at A.S.I.A on this method. I braced and leveled better. Marked it and sanded. The end blocks cooperated! 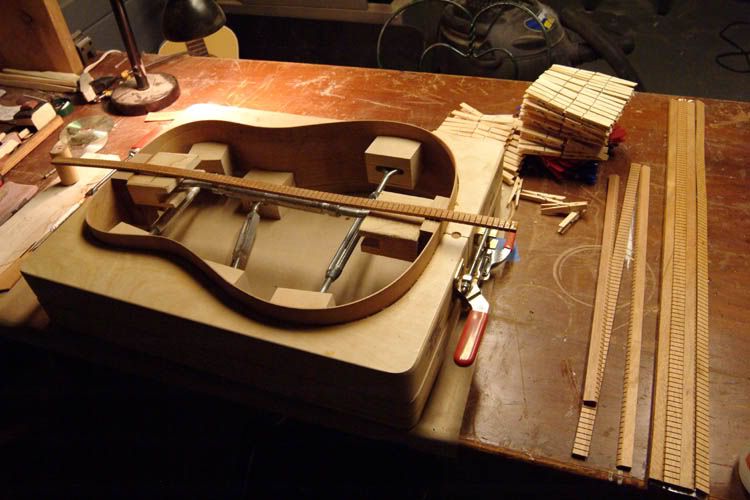 Onto kerfing. I have watched build threads for 5 years now. The clothespins everywhere was always the picture that had me wondering "How in the heck do I get to that point" Now I am here! 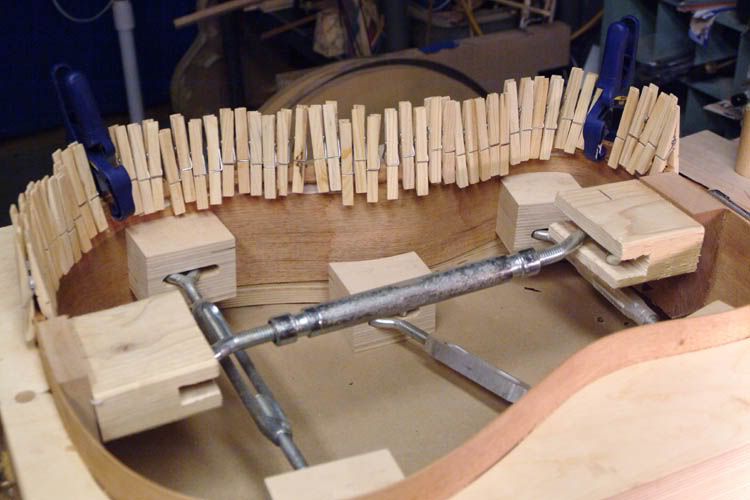 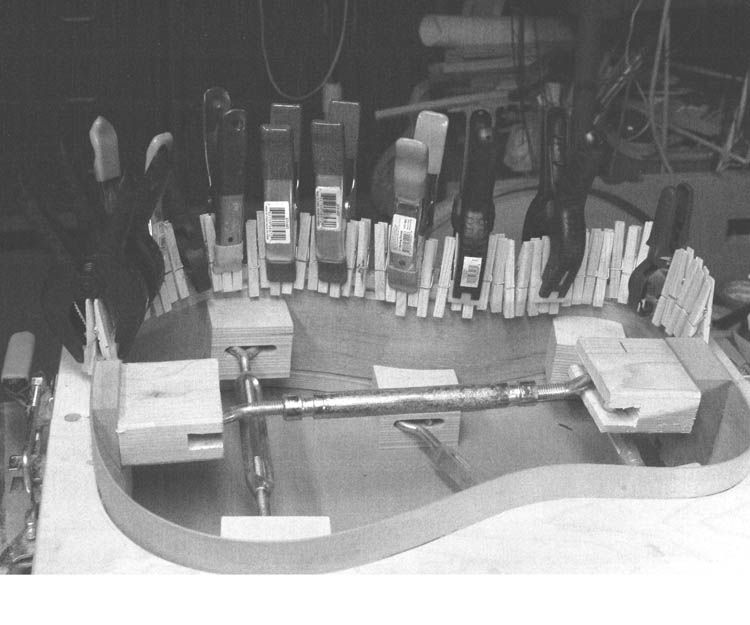  It's 10:30. Time to make my wife some Eggplant Parmesan. Last edited by Kitchen Guitars; 07-23-2009 at 07:36 AM.
|


