
|
|
#76
 07-09-2013, 09:37 PM
|
|||
|
|||
|
Quote:

|
|
#77
07-09-2013, 10:15 PM
|
|||
|
|||
|
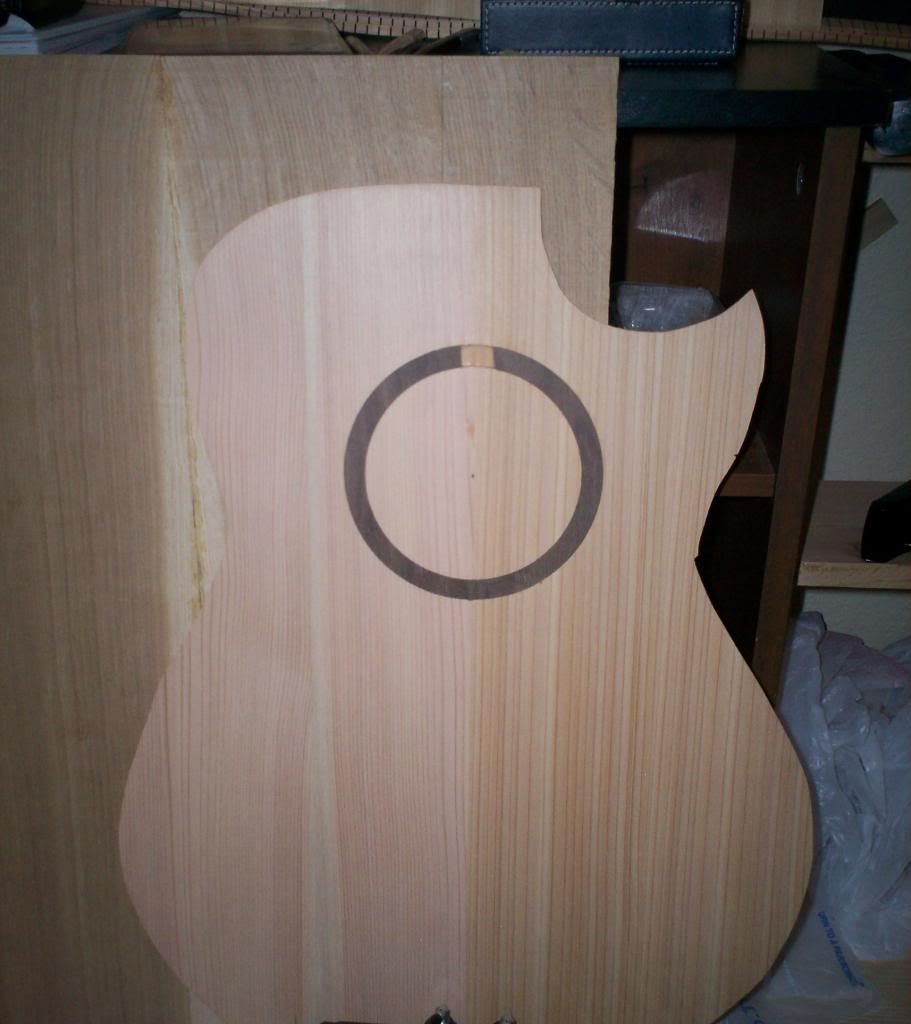
So I routed a test rosette tonight out of walnut. I like it. Turned out well. I feel pretty confident routing into the pie pieces I took 3 days assembling. That's them below. Took forever to glue up.
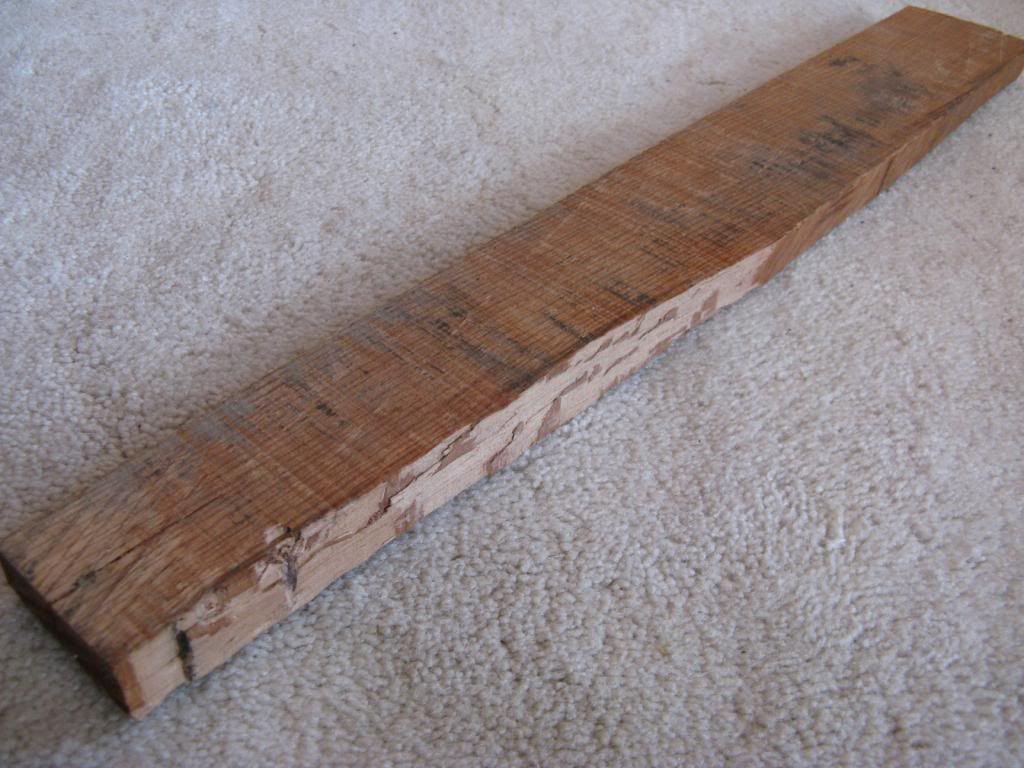
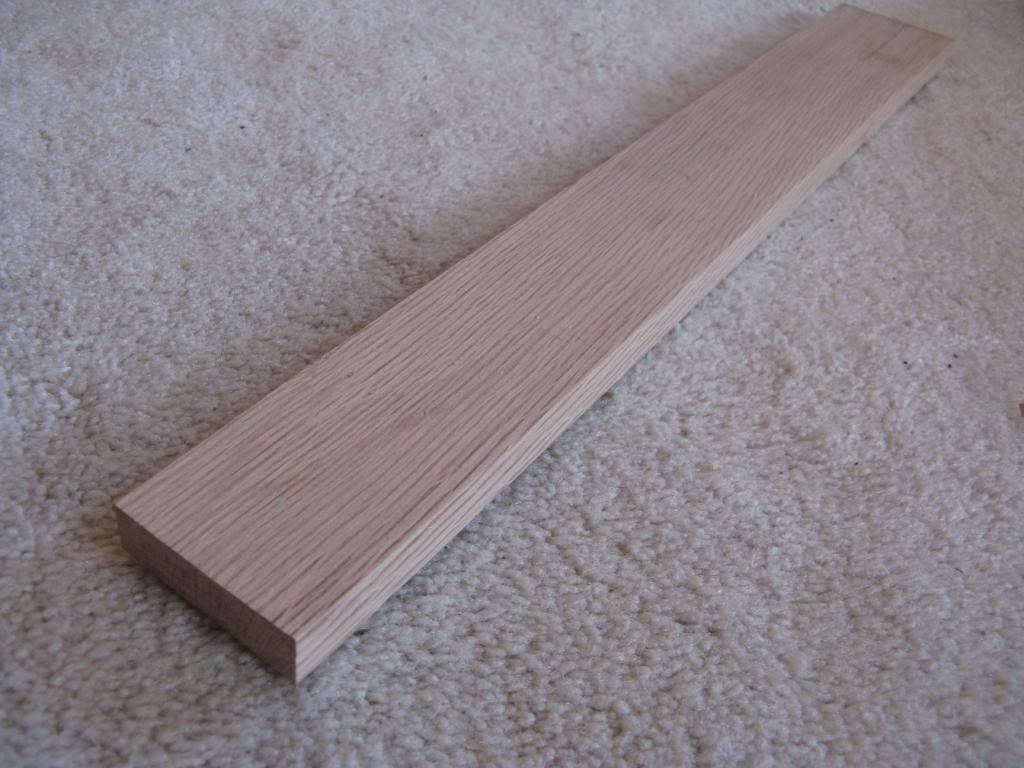
Then, the piece of white oak in this shot is going to be the head plate. It's got lots of figure and the sap wood to match the back. 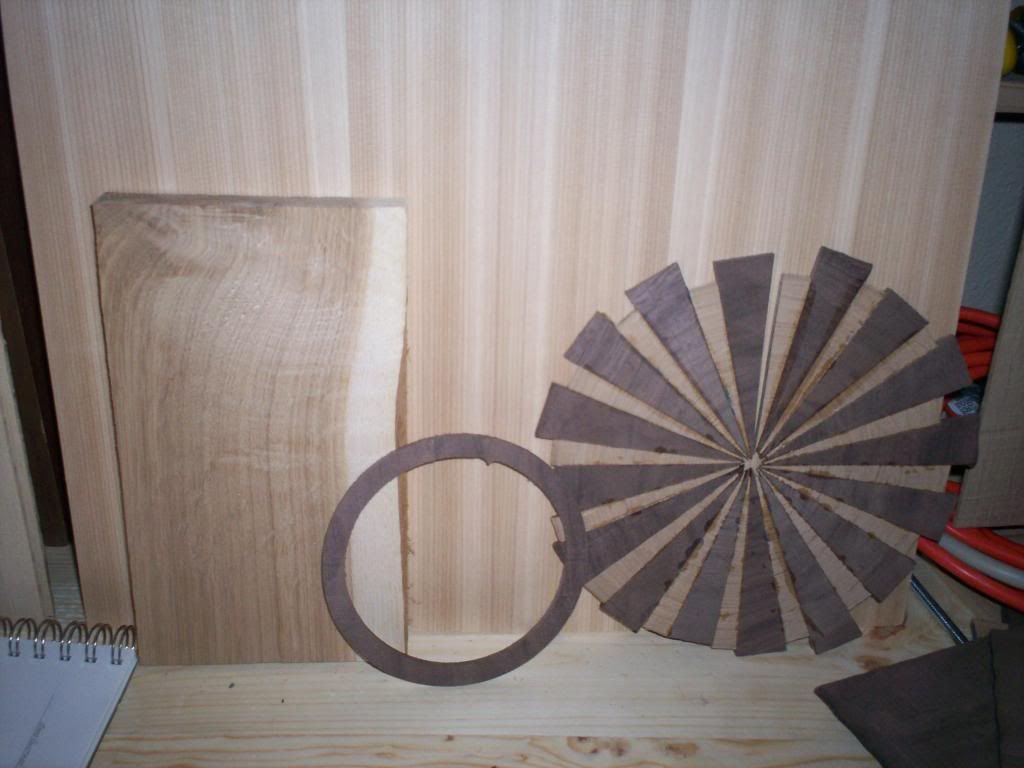 Also, I went to the scrap yard today. They have bins and bins full of electric motors. Most were 1/2 to 3/4 HP, so not quite as powerful as I wanted. But perhaps if I dig more next time, I'll find something better. It's also a crap shoot whether the thing will even fire up once it's wired and ready to go. But, they're cheep and they said I could bring it back if it doesn't work and exchange it for another one. I paid 12 dollars for a 1/2 horse dryer motor with mounting hardware. Now I just have to figure out the electronics, wire up the power and on/off switch, and it'll be good to go. After that will be assembling the impeller, housing and cyclone separator.
__________________
-- Nick Last edited by Viking; 07-09-2013 at 10:37 PM.
|
|
#78
07-09-2013, 10:24 PM
|
|||
|
|||
|
Quote:
Does everyone still think a guard is in order?
__________________
-- Nick
|
|
#79
07-09-2013, 10:50 PM
|
|||
|
|||
|
A guard can't hurt. Distractions happen and belts sometimes brake. If you can make a sander you can knock up a guard. With the segmented rosette I normally put it together on a peice of thick card using super glue. I then use my circle cutter, cutting almost all the way through and then sand the bottom off.
Jeff
|
|
#80
07-09-2013, 11:27 PM
|
|||
|
|||
|
Quote:
I knew there was probably a better way to do what I was trying to do with the rosette.
__________________
-- Nick
|
|
#81
07-10-2013, 10:53 PM
|
|||
|
|||
|
Spent tonight trying to joint the oak pieces for the center of the back. Couldn't get a successful candle after an hour and a half. The cedar was so much easier to joint. The last piece of cedar I jointed took me probably 25 minutes. Is hard wood harder to joint? I was close a couple times, but never quite got there. Grrrr.
 I'll pick it up tomorrow night.
__________________
-- Nick
|
|
#83
07-11-2013, 12:30 AM
|
|||
|
|||
|
Quote:
__________________
-- Nick
|
|
#84
07-11-2013, 04:01 AM
|
|||
|
|||
|
A longer plane makes things easier in my experience. Normally Hardwoods are easier to join than softwoods. I've got a Clifton No.6 but I want to get a 7 for joining boards.
what glue are you using for joining the boards?
__________________
Kenny Hand Made Walnut 000 | Hand Made Maple OOO 12 | '94 915-M | '96 810 | '98 W65 | '00 314-K | Yairi DY-58 (9 String) | Sobell Cittern | Moon 'Bazar' (Guitar-Bouzouki) | Freshwater Octave Mandolin | Breedlove Fretless Acoustic Bass | Recording King Squareneck Tricone Reso | Ozark Tenor Banjo | Ozark Tenor Guitar | EKO Ranger XII | Fender Strat | 'Vintage' "The Fool" SG | + some others
|
|
#85
07-11-2013, 06:43 AM
|
|||
|
|||
|
Quote:
Also, use a freshly sharpened blade iron. That'll make a difference. This kind of work is what separates a quality plane (and setup) from a lesser quality one.
|
|
#86
07-11-2013, 06:25 PM
|
|||
|
|||
|
Quote:
 Quote:
__________________
-- Nick
|
|
#87
07-14-2013, 08:55 PM
|
|||
|
|||
|
So I got the dust collection piece more or less sorted. I decided to forget building my own centrifugal blower and just bought a shop vac. But I did build a cyclonic separator. Should help keep the amount of dust and clogging down on the filer in the shop vac. I had questions about whether or not it would be sufficient for the drum sander, but those turned out to be completely unfounded. No dust flying around while using the sander, at all. It was wonderful.
So I also got the oak pieces jointed and glued up. For that, I'll next have to cut the additional pieces and then joint those. Then I can thickness sand the back. I also started on routing the rosette channel. I decided to do a test run with the first scrap top I made. I think it will actually turn out well. Had very tight joints between the walnut and the cedar. I'll sand it flush tomorrow and post some pictures of that. While routing it, I used a plane piece of white paper to protect the face of the plate. Seemed to do a good job. No gouging from the trim router turning the circle. And, if you hold the channel up to the light, you can see light through the wood. Really thin right there. I think that is the way it's supposed to be, but it was interesting to see it. 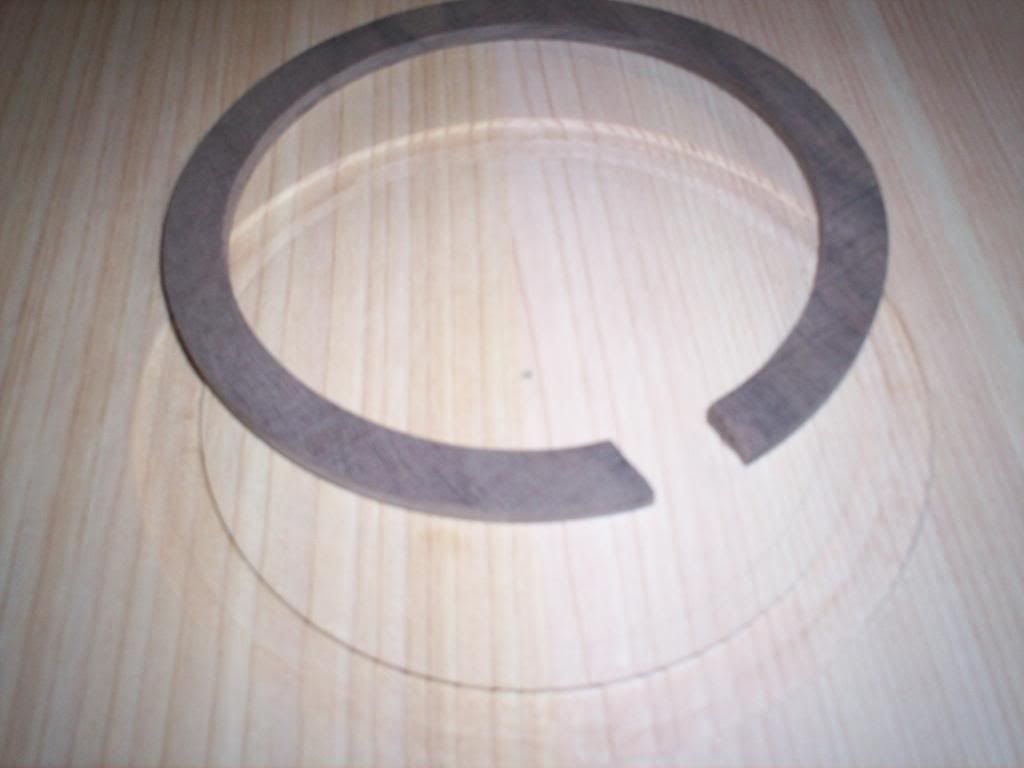 And then here it is being glued up. A black granite tile from Lowes is a handy thing to have lying around.  On the real thing, I plan on using an inner white oak piece and an outer white oak piece, to give better boundaries to the inside segmented component. Then, I will add a black, white, black border.
__________________
-- Nick
|
|
#88
07-15-2013, 08:03 PM
|
|||
|
|||
|
Sanded the walnut rosette on my test piece flush. Got really good borders between the WRC and the walnut. I feel confident moving forward to my nicer top material.
 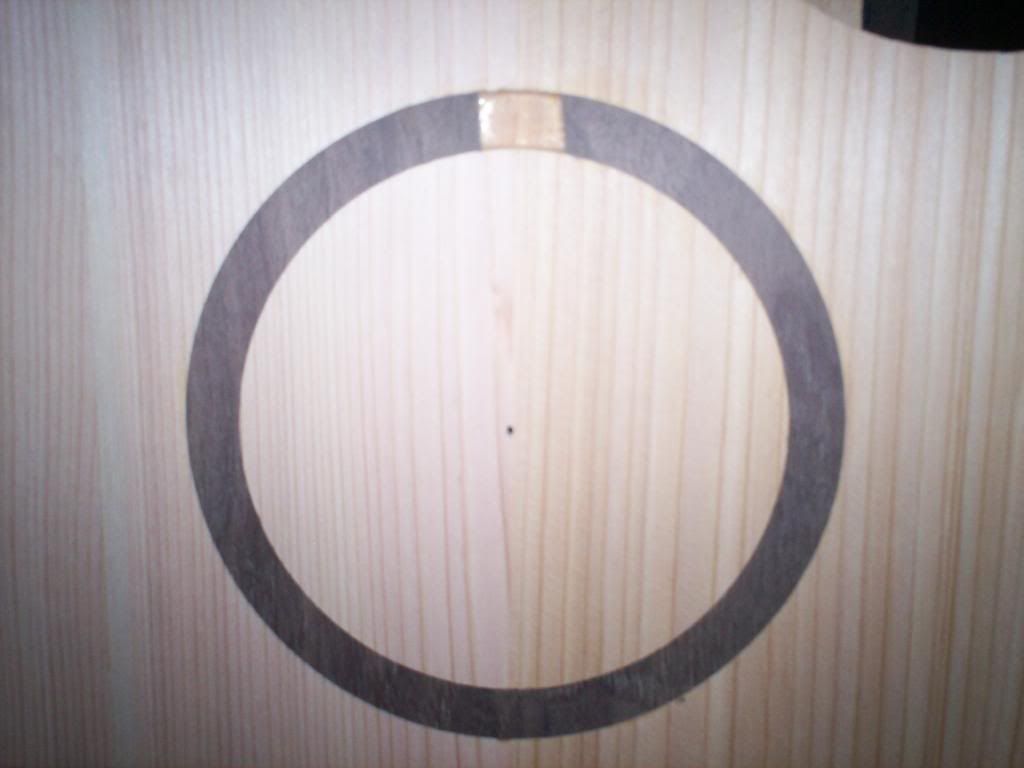 Those 2 little spots on the bottom look like tearout or something, but they're not. The wood right there is just slightly discolored.
__________________
-- Nick
|
|
#89
07-16-2013, 07:09 AM
|
|||
|
|||
|
Looks great Nick, looking forward to seeing it complete.
Scott
|
|
#90
07-16-2013, 10:50 AM
|
|||
|
|||
|
Hi,
is your drum sander reliable concerning the thickness you want?
__________________
Thanks!  Martin D28 (1973) 12-string cutaway ...finished ;-) Hoyer 12-string (1965) Yamaha FG-340 (1970) Yamaha FG-512 (ca. 1980) D.Maurer 8-string baritone (2013-2014) and 4 electric axes
|


