
|
|
#16
 09-17-2013, 11:51 AM
|
|||
|
|||
|
Someone said you "covered all the bases" - I loved that.
Put some cork right in the middle of it, but don't tell anyone. Seriously, looks like a fun project. Best of luck with the auction. 
|
|
#17
09-22-2013, 10:03 PM
|
|||
|
|||
|
Thanks, Bob.
We have progress! I finally got all the bats milled down. Once I cut them into rectangular-ish shapes on the band saw, I cut them to length on the table saw. 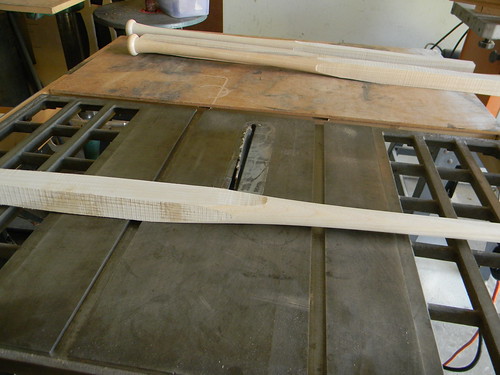 This shot reminds me of the back of a butcher shop. 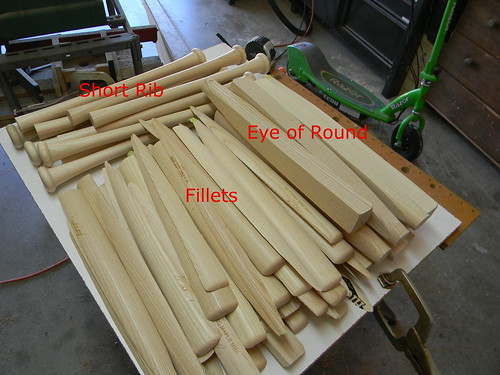 Once everything was roughed out, I then proceeded to homogenize the sticks. First getting 2 adjacent sides squared up on the jointer.  Then getting the other 2 faces parallel in the planer. 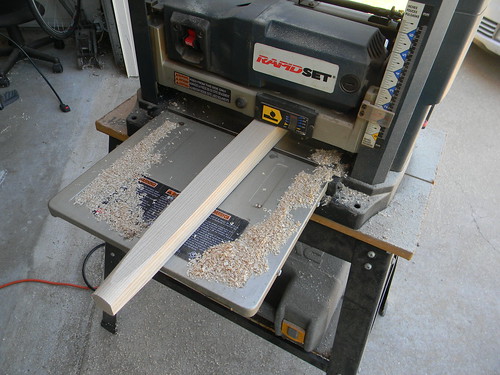 Then I laid them all out to get an idea of what I had. I knew I wanted the 2 maple bats in the middle. 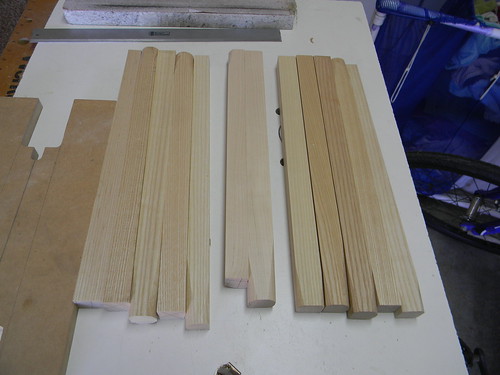 I finally ended up with this configuration. 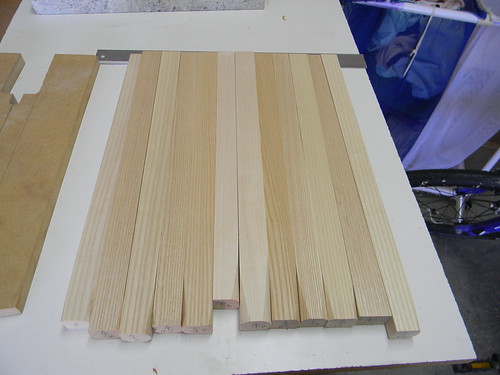 You can kinda see that I have arrows and numbers on the ends so that I know which face is up and in what order. I then start the gluing process. 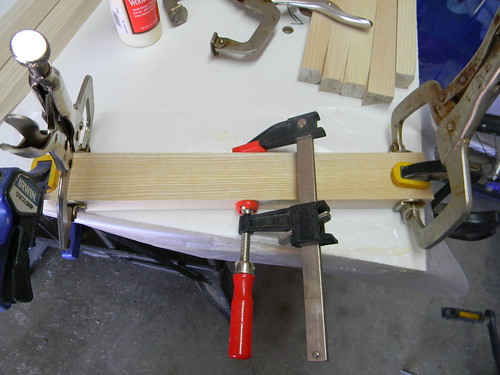 Once I get them glued up, I'll make sure to get everything square and level. Then I'll cut out the profile and start planning out how to place the fillets.
|
|
#18
09-24-2013, 09:42 PM
|
|||
|
|||
|
Here's tonight's progress...
Took the body blank out of the clamps and over to the bandsaw. 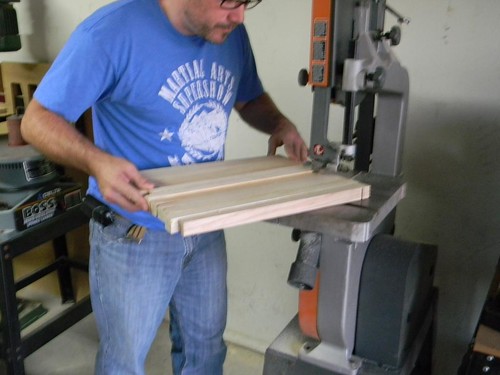 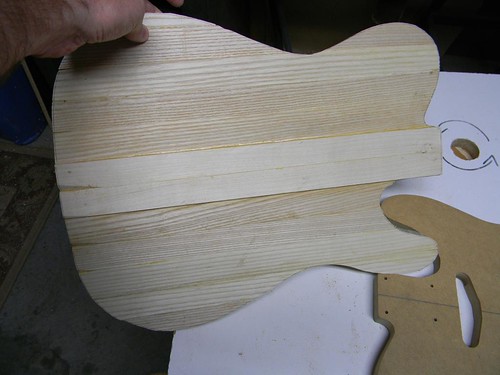 From the band saw to the planer. 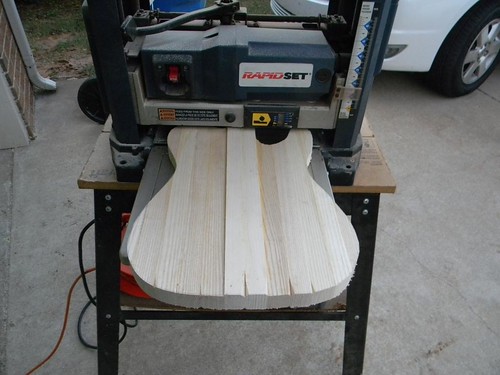 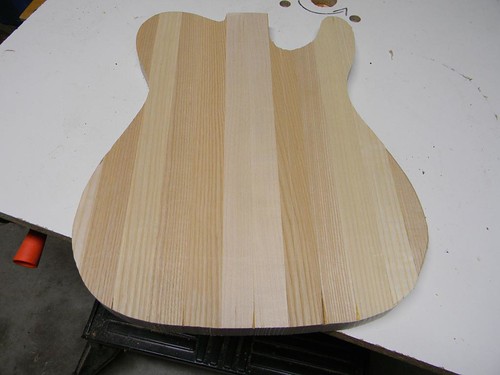 Then I took the barrel offcuts and started processing them. I've got 48 different offcuts to try and match with color and thickness, so this is like putting together a rather difficult puzzle. I've got a decent start with the center 3 pieces though. I planed the bottom and jointed the edges so that things would butt together reasonably well. The pic below was before I did any jointing. 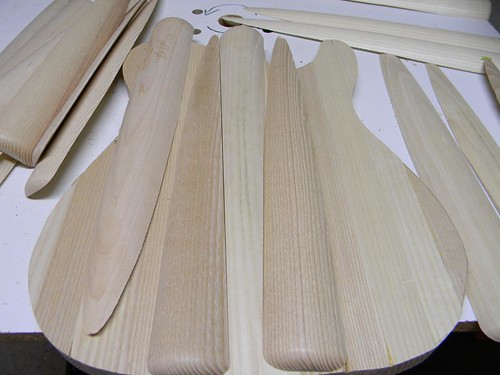 I hope to be able to start gluing offcuts by this weekend. I'm still working out some issues, though, so we'll just have to see how it goes.
|
|
#19
09-25-2013, 07:39 AM
|
||||
|
||||
|
Looking very nice Rog. I must have missed why you are putting the offcuts on it, but will see that as the build progresses.
Thanks again for taking the time to photo and post! Phil
__________________
Paragon RW/Macassar Ebony Baritone Rainsong S OM1100-N2 Woolson LS RW/30s African mahogany LG 12 Baranik LS RW/"tree" mahogany OO Baranik Blue Spruce/"tree" mahogany OM Boswell RW/koa OO Baranik Retreux Parlour Adi/Pumaquiro Baranik Blue Spruce/Coco Meridian "Geo" Baranik Blue Spruce/Kingwood OO Woolson T13 RW/Walnut SIG
|
|
#20
09-25-2013, 11:16 AM
|
|||
|
|||
|
Thanks, Phil.
The offcuts are going on for a couple of reasons: 1)aesthetics- I want to make sure people know it's made from baseball bats, 2) functionality - I need to get the body to the correct thickness for the electronics and neck pocket. I'm hoping to have the top all glued up by Friday.
|
|
#21
09-25-2013, 12:24 PM
|
||||
|
||||
|
Quote:
!! Phil
__________________
Paragon RW/Macassar Ebony Baritone Rainsong S OM1100-N2 Woolson LS RW/30s African mahogany LG 12 Baranik LS RW/"tree" mahogany OO Baranik Blue Spruce/"tree" mahogany OM Boswell RW/koa OO Baranik Retreux Parlour Adi/Pumaquiro Baranik Blue Spruce/Coco Meridian "Geo" Baranik Blue Spruce/Kingwood OO Woolson T13 RW/Walnut SIG
|
|
#22
09-25-2013, 01:00 PM
|
|||
|
|||
|
Roger,
You could use something like this for the volume and tone knobs  http://www.ammarmagic.com/miba78in.html
__________________
Working with my head down, trying to keep the groove alive https://soundcloud.com/willie-johnson-jr
|
|
#23
09-25-2013, 10:00 PM
|
|||
|
|||
|
Yeah, I've looked at a few things like that, but I ended up buying just regular nickel knobs at the beginning. Truth be told, I had a completely different vision originally, but the guy who commissioned this really liked this idea better.
Anyway, I had church band practice right after work, so I didn't get much time in the shop tonight. I think I'm sneaking up on a plan, though. Here's where it stands so far.  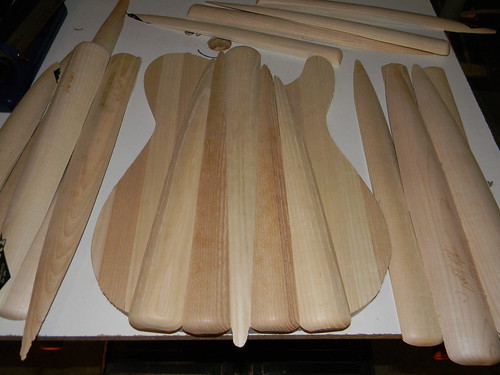 It was really hard to capture the effect in pictures. It's looking pretty cool in person.
|
|
#24
09-29-2013, 01:08 AM
|
|||
|
|||
|
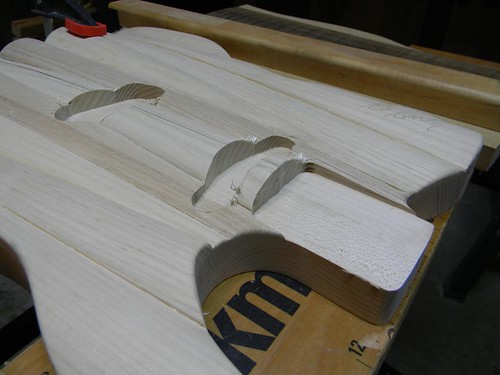
Crossed a major milestone today by finishing up the top. Here's what I've been up to for the past couple of days.
I basically glued one piece at a time until I got closer to the edges. 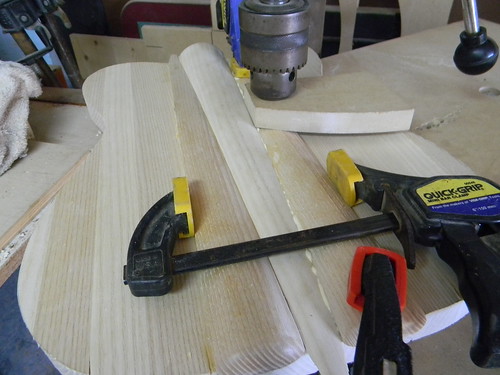 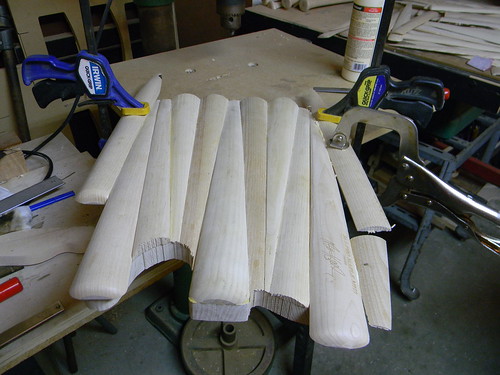 Then after a quick trip to the band saw...  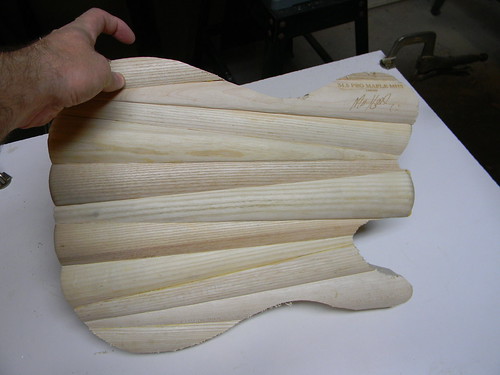 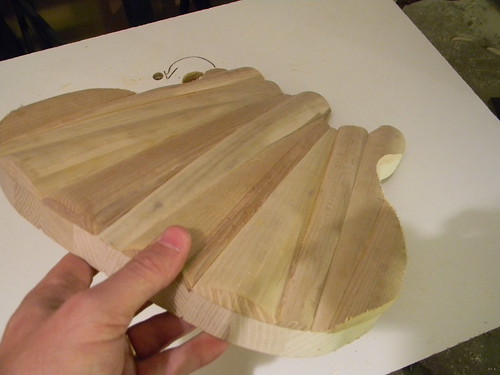 I've got 2 favorite parts on this body: 1)this piece that I purposefully placed on the upper horn... 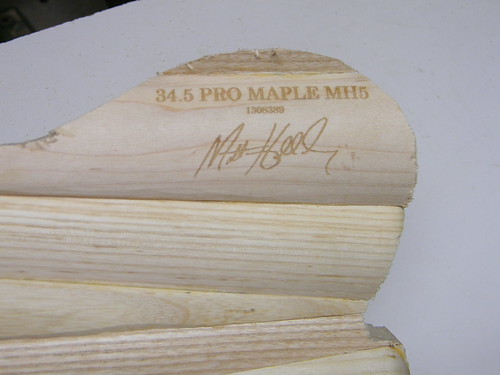 And this piece on the lower horn that just happened to be by accident. It turned out awesome, especially after sanding in the radius around the edges.  I also routed for the truss rod tonight.   And then had to do a quick mockup 
|
|
#27
10-04-2013, 09:40 PM
|
|||
|
|||
|
Quote:
Quote:
I was able to make lots of progress yesterday and today. I'm starting to not feel so overwhelmed with this one. First thing was to get my routing sled set up. I figured I would set the neck pocket and pickup cavity templates all on the same template to make things easiest. The side pieces put things about 1/32" above the body of the guitar, so it was perfect. 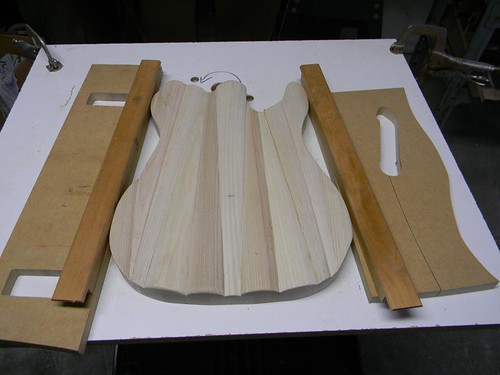 Then I traced my cavity outlines on a sheet of something that I'd taken off an old microwave cart. 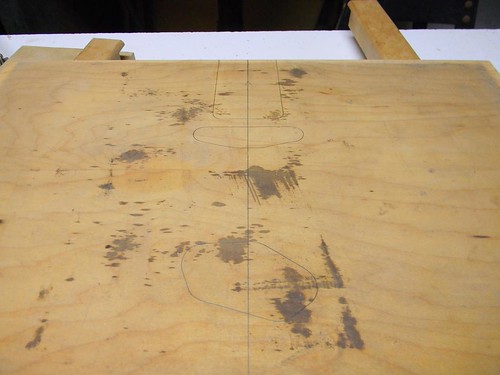 Then it was the usual process for getting them finished up. 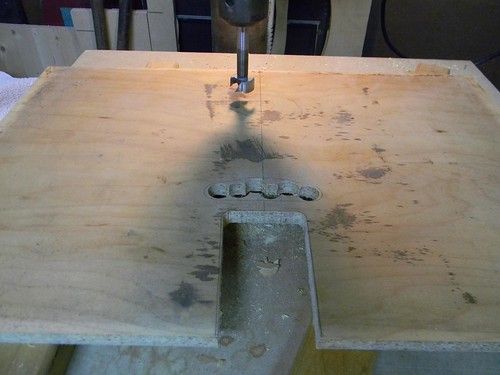 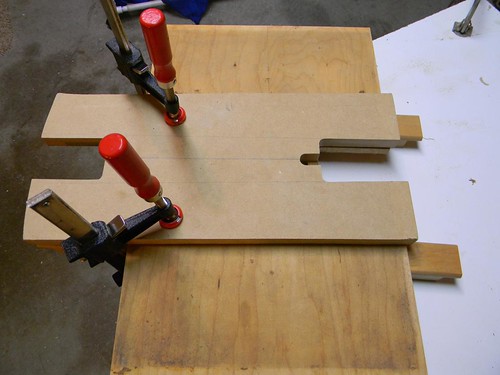 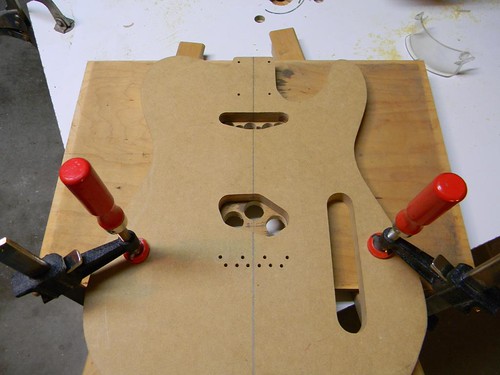 Then I made a mark 3" from the top to know where to set the template. 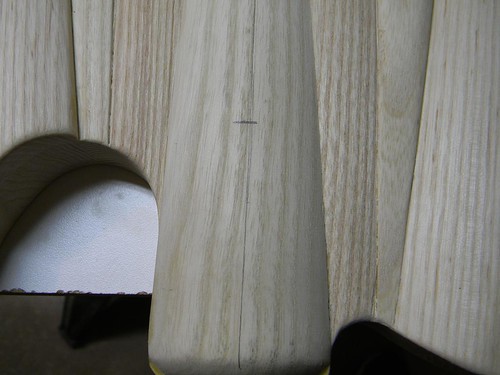 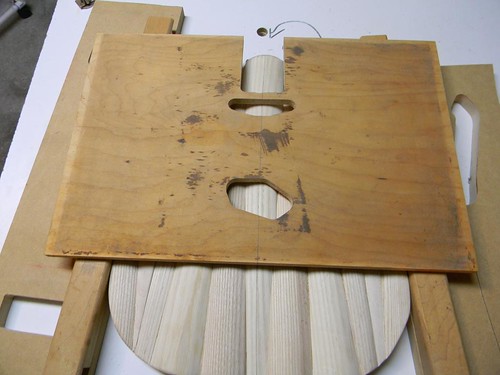 The only problem was that the material was too thin, so I transferred everything to a piece of 3/4" ply. 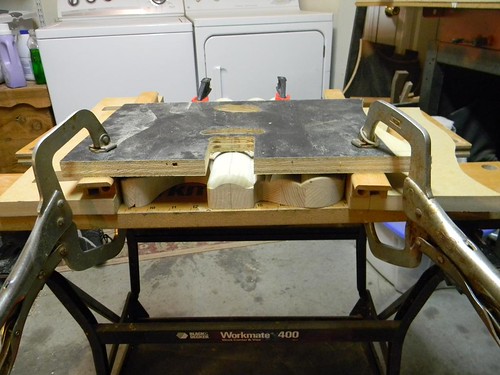 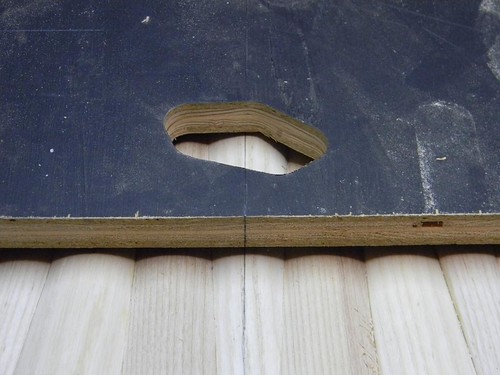 The body was held down with double-sided tape as well as the clamps, so nothing was moving. 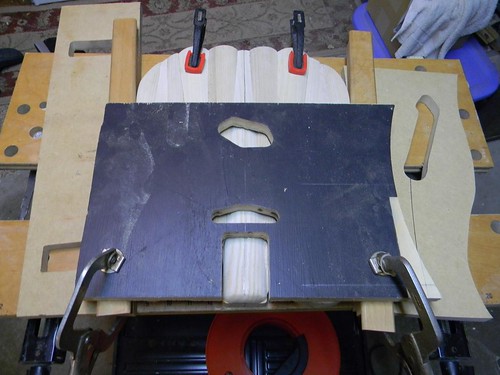 More coming up...
|
|
#28
10-04-2013, 09:41 PM
|
|||
|
|||
|
It was getting late at this point, so after a few passes, I decided to stop and work on something else.
 I went ahead and got the fret board glued up. 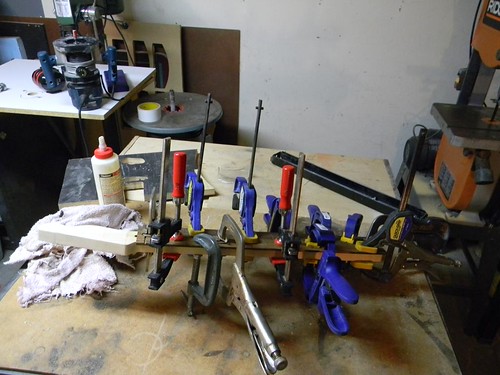 While that was drying, I wanted to see about getting my inlay ready. I'll be inlaying a #7 on the 7th fret, since that is Matt Holliday's number. I had a couple of options for the inlay material: Sculpey and recon stone. I wanted to try the Sculpey first, so I baked up a small batch. 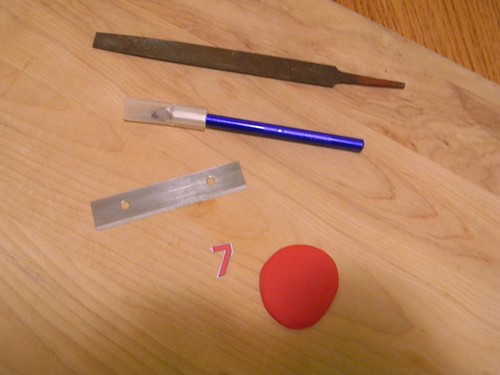  It didn't turn out well because I made it way too thick. I'll go ahead an use the red recon stone, I think. 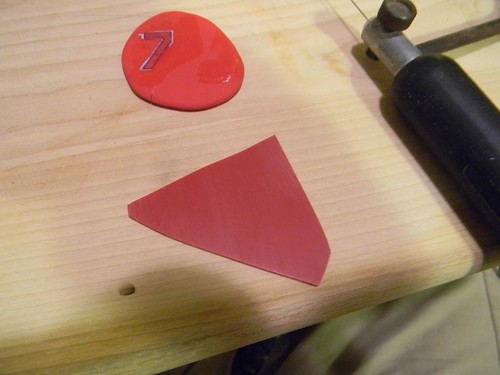 And that's where I left it last night. Today's progress in the next post...
|
|
#29
10-04-2013, 09:42 PM
|
|||
|
|||
|
Today I needed to finish the cavities. In order to do that, I needed to get the bridge level.
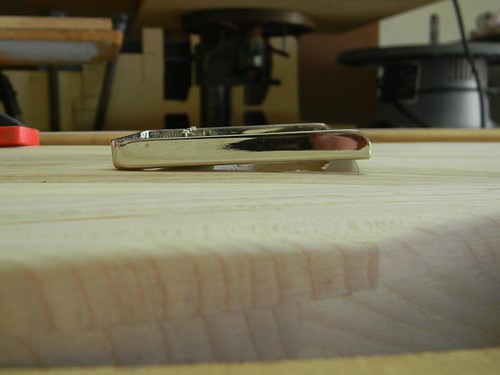 I marked out the perimeter of the bridge and set up some straight edges to get it routed. 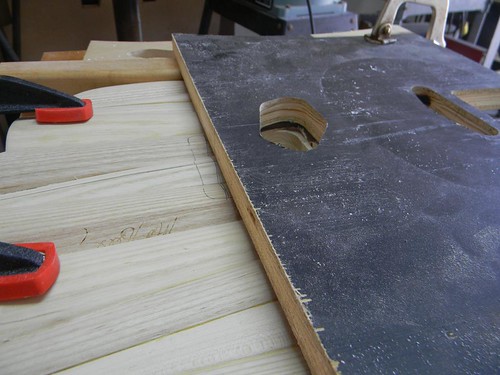  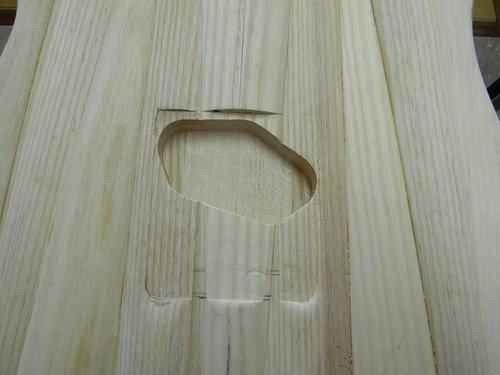  Then I picked up my pick guard material.  I spent quite a while breaking it down and figuring out how to use it. I really wanted a full-size pick guard, but it just wasn't going to work. It was perfect for a La Cab style, though.  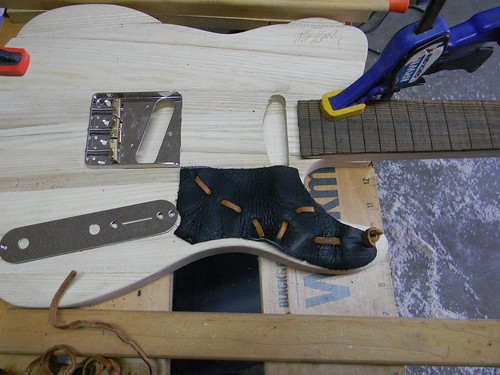 And last thing for today was getting the control cover inset. I traced the cover on my master template and got it drilled and routed out, then transferred to the body. 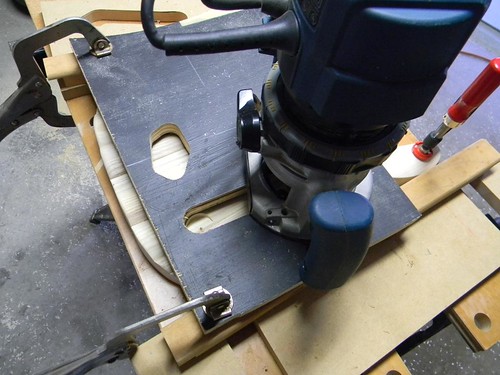  Tomorrow I hope to finish up all the cavities, back round-over, finish sanding, and at least 1 coat of finish.
|
|
#30
10-05-2013, 06:56 AM
|
||||
|
||||
|
That is really coming out awesome! Some guitar playing baseball fan is going to have a blast owning this.
__________________
--------------------------------------- 2013 Joel Stehr Dreadnought - Carpathian/Malaysian BW 2014 RainSong H-OM1000N2 2017 Rainsong BI-WS1000N2 2013 Chris Ensor Concert - Port Orford Cedar/Wenge 1980ish Takamine EF363 complete with irreplaceable memories A bunch of electrics (too many!!)
|


