
|
|
#1
 11-01-2018, 01:50 PM
|
|||
|
|||
|
Hello, I wonder how would you please repair this?
It would need to be cleated. Don´t know whether there is any binding. Most certainly a simple ladder bracing. Cracks in the top too. Eventually the back (only) could be lifted off(?). Looks like koa to me. Regards Henning Back0 Back1 
|
|
#2
11-01-2018, 02:20 PM
|
|||
|
|||
|
Yeah I'd dare say that looks like a candidate for a back removal. If you filled it with splints it would be obvious but cheaper and faster too.
Could be Koa but also could be many other things too. IT even looks like walnut. Any label inside or markings?
|
|
#3
11-01-2018, 02:37 PM
|
|||
|
|||
|
It is a vintage Gretsch Americana and from what I´ve found it is one of their more fancy models. I have done some repairs but never any as severe as that back. Wondering if it could be pressed, glued and cleated at the same time.

|
|
#4
11-01-2018, 06:08 PM
|
|||
|
|||
|
Before you take the back off, make a mold to hold it's shape. Ukes are very flexible critters and a mold will make your life much easier when you put it back on.
Do not press glue and cleat at the same time. Make a mold and then take the back off, fix the cracks, then glue it back on.
|
|
#5
11-02-2018, 03:10 AM
|
|||
|
|||
|
If I make the mold, how should it fit in there?
Snug fit, easy or firm? I guess by making the mold it will be more obvious if the cracks can be fixed with or without splinters. How can you tell the difference between koa and walnut? The fibers to me inclines towards koa. The sides are coming loose from the top though it seems to be uncracked: Top0 Top1
|
|
#6
11-02-2018, 04:16 AM
|
|||
|
|||
|
Does not need to be this elaborate, but this is my process, this Martin is in for a new back.
I use tape and masking tape to size the instrument 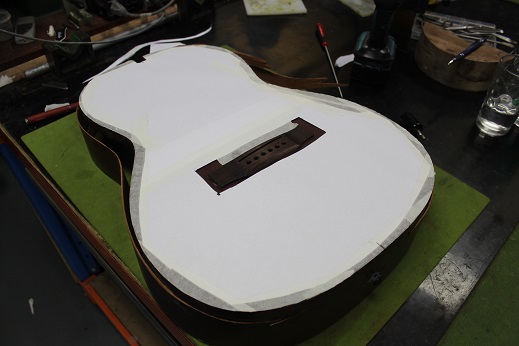 Then I stick that onto some mdf and spray paint a border 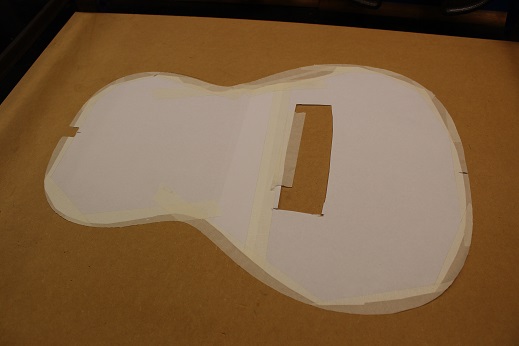 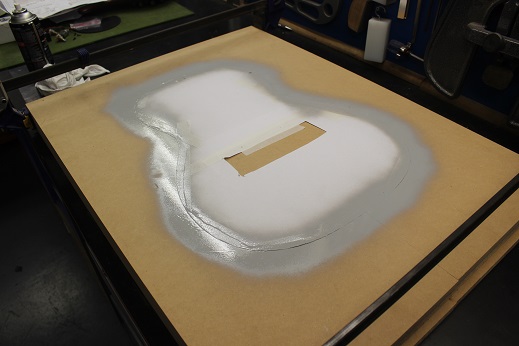 I cut it out on a bandsaw 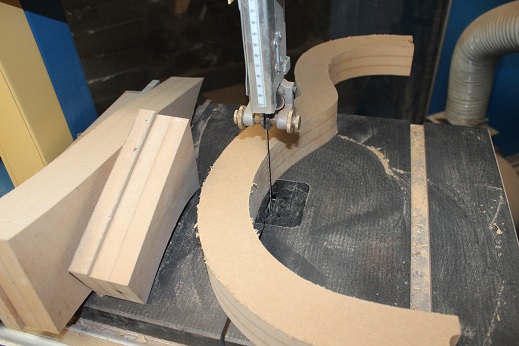 Turn it into a fully functional mold 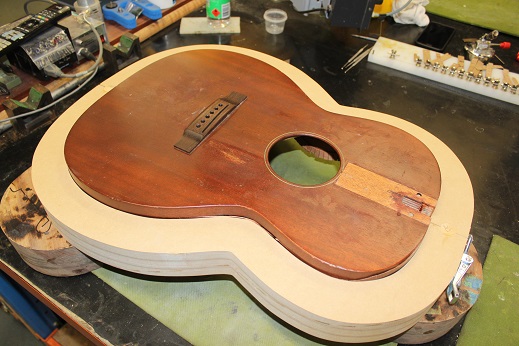
__________________
Cole Clark Fat Lady Gretsch Electromatic Martin CEO7 Maton Messiah Taylor 814CE
|
|
#8
11-02-2018, 09:21 AM
|
|||
|
|||
|
It seems to me that a much quicker, easier, less-expensive and versatile "mold" can be created using a piece of plywood, slots that radiate into the instrument shape and a number of 1 or 1-1/2" dowels, threaded rods and nuts and washers.
Cut the dowels to the depth of the instrument. Drill holes in one end of each dowel. Glue a length of threaded rod into each hole. Draw the instrument shape onto the plywood and cut slots that radiate from the edges of the plywood to inside the perimeter of the drawn shape. Slide the dowels into slots in plywood board and fasten in place, from below, with a washer and wing nut. Glue/screw a length of 2x4 down the centre of the plywood board to elevate and clamp in a vice. It can be reused to make a "mold" for any similarly sized instrument simply by sliding the dowels to suit.
|
|
#9
11-02-2018, 01:17 PM
|
|||
|
|||
|
Quote:
|
|
#10
11-02-2018, 04:43 PM
|
|||
|
|||
|
Before pulling it apart, it would be worth humidifying for a few weeks to see if the crack gaps reduce. Then try some exploratory dry clamping to see if they can be closed to an acceptable gap.
|
|
#11
11-02-2018, 07:33 PM
|
|||
|
|||
|
Quote:
I showed how I make my molds, they cost me $21 Australian to make with all hardware and latches  Steve
__________________
Cole Clark Fat Lady Gretsch Electromatic Martin CEO7 Maton Messiah Taylor 814CE
|
|
#13
11-04-2018, 06:07 PM
|
|||
|
|||
|
Quote:
Molds - You could even make a piece of wood U shape, and slide that from the front down over the waist area to hold it in shape, many ways to do it. Steve
__________________
Cole Clark Fat Lady Gretsch Electromatic Martin CEO7 Maton Messiah Taylor 814CE
|
|
#14
11-04-2018, 08:27 PM
|
|||
|
|||
|
Been there done that enough times to know that there is no way you are going to be able to clamp that back together and hope that your repair will last more then a few months. The binding area at the waist maybe (because there is a lining)... But those cracks, no way. And the OP's example is even more extreme from stuff I tried to save that way.
|


