
|
|
#76
 12-16-2018, 07:23 PM
|
|||
|
|||
|
OK, one more try.
Emsomme Night and Starry Night side-by-side 
|
|
#77
12-16-2018, 08:48 PM
|
|||
|
|||
|
That really is quite the redwood top!
What's the finish?
|
|
#78
12-17-2018, 08:16 PM
|
|||
|
|||
|
I'm interested to hear how you do with the Crystalac. Luthier's Mercantile says it's the real deal, but I've also read that it has the dreaded bluish cast that many waterborne finishes have.
|
|
#79
12-18-2018, 02:54 PM
|
|||
|
|||
|
Quote:
Quote:
Quote:
As for the bridges... after the ebony one was tweaked and a radius sanded into the base to match the guitar top, its now down to 22.1g and has made me much more likely that i'll be installing the ebony vs the Rocklite. The Rocklite one also had its base radiussed and is now at 16.9g which is probably too light. I'm going to oil the ebony one tomorrow. 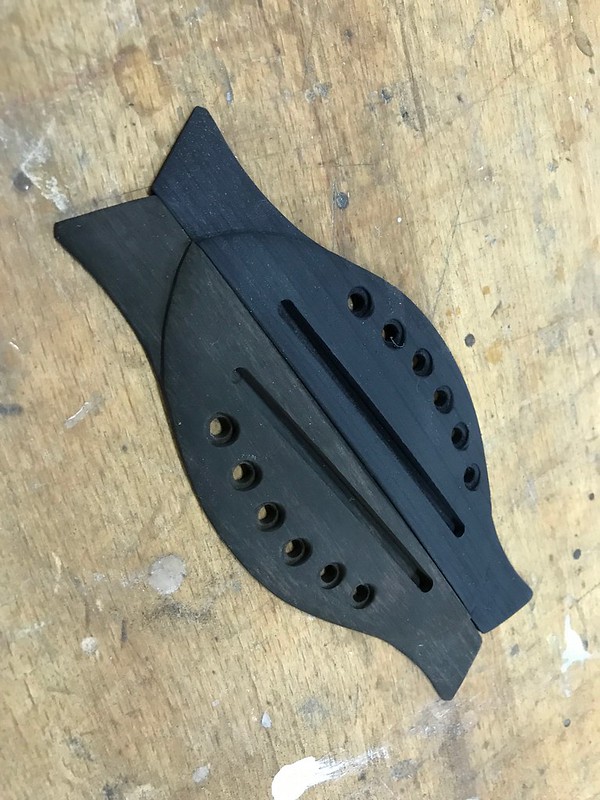 Untitled by David Emm, on Flickr Untitled by David Emm, on Flickr
__________________
David
|
|
#80
01-08-2019, 01:44 PM
|
|||
|
|||
|
I have finished the guitar!!!
That means 2 things, 1) I will shortly be starting another guitar and 2) I have final pictures to post. To see them, read on dear friends I have to say, this guitar has absolutely smoked my previous builds for sound. I don't know if thats down to the new shape, the new bracing pattern, the incredible redwood soundboard, the different lacquer, using an ebony bridge or all of the above. I can say that the guitar sounds fantastic. Unfortunately I had an audio interface issue when I was trying to do my recording and as the guitar is staying in the UK and i'm now back in Switzerland, I can't record a demo of it myself. I'm trying to find someone that can do it for me but I haven't found anyone yet. One thing I have decided is that i'm not a fan of medium sized frets. This is only my 4th completed instrument and as such I have not mastered fretwork and trying to get these frets level when they weren't that high to begin with didn't leave much room for error. As mentioned above I ended up installing the Ebony bridge, the Rocklite one ended up very light once the underside had been radiussed to match the soundboard, probably too light. The ebony one seems to work very nicely so I think I got that one right. Here are the final pictures.  Untitled by David Emm, on Flickr Untitled by David Emm, on Flickr Untitled by David Emm, on Flickr Untitled by David Emm, on Flickr Untitled by David Emm, on Flickr Untitled by David Emm, on Flickr Untitled by David Emm, on Flickr Untitled by David Emm, on Flickr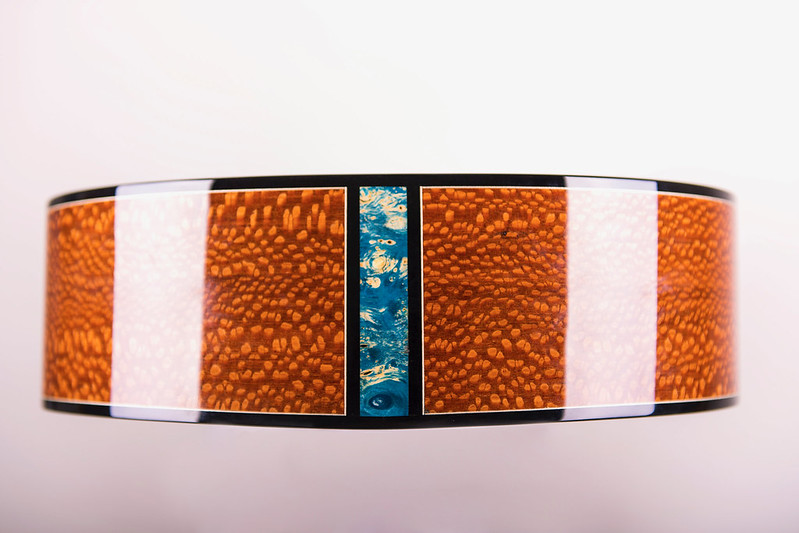 Untitled by David Emm, on Flickr Untitled by David Emm, on Flickr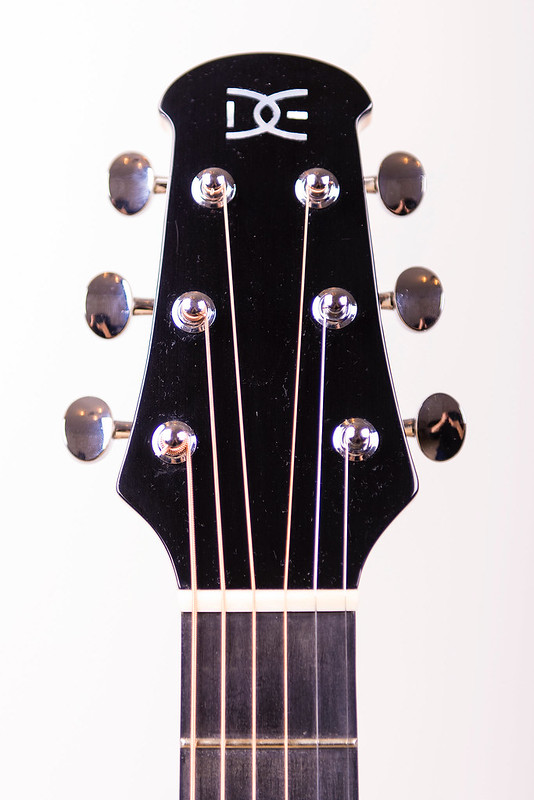 Untitled by David Emm, on Flickr Untitled by David Emm, on Flickr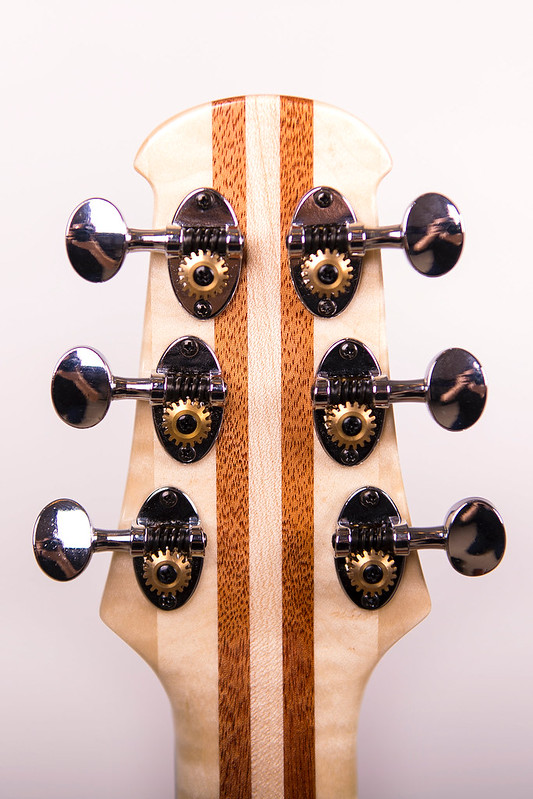 Untitled by David Emm, on Flickr Untitled by David Emm, on Flickr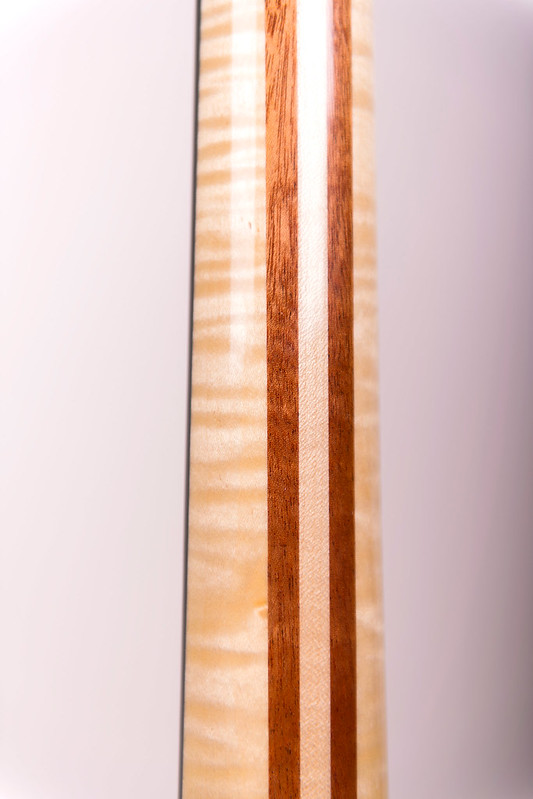 Untitled by David Emm, on Flickr Untitled by David Emm, on Flickr Untitled by David Emm, on Flickr Untitled by David Emm, on Flickr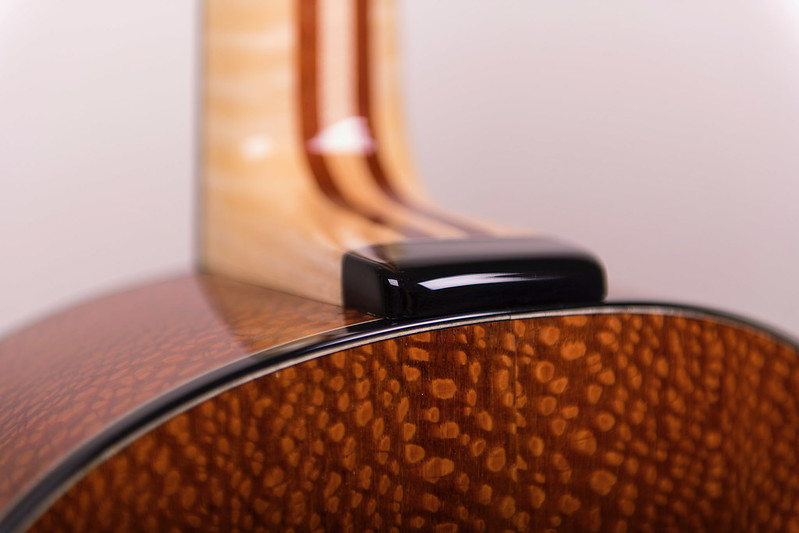 Untitled by David Emm, on Flickr Untitled by David Emm, on Flickr Untitled by David Emm, on Flickr Untitled by David Emm, on Flickr Untitled by David Emm, on Flickr Untitled by David Emm, on Flickr
__________________
David
|
|
#81
01-08-2019, 05:55 PM
|
|||
|
|||
|
The leopardwood converging on that beautiful end block is simply fabulous.
Please, please, please dont let anyone put and endpin in there!!
|
|
#82
01-08-2019, 06:04 PM
|
|||
|
|||
|
Very nice work, great looking Guitar.
|
|
#84
01-09-2019, 03:45 PM
|
|||
|
|||
|
Quote:
 Quote:
__________________
David
|
|
#85
01-12-2019, 08:39 AM
|
|||
|
|||
|
Wow David beautiful work! Great to see your progress with each build!
|
|
#86
01-13-2019, 01:24 PM
|
|||
|
|||
|
The part that impresses me the most is that this is just your fourth build. You must have really done your homework befor you started!
__________________
Something something, beer is good, and people are crazy.
|
|
#87
01-13-2019, 03:11 PM
|
|||
|
|||
|
Quote:
Quote:
There are numerous different theories of how to make a good guitar. I'd like to say i'm heading in the direction that I think suits the style of instrument I would like and what build processes made sense or were simplest to accomplish the same things. The other thing I personally have found useful, especially for a how-to-make-that-bit question is to talk to non-luthier carpenters or cabinet makers about how they might do it. They would often have a simpler solution than the typical luthiery one. Or if not simpler, perhaps more repeatable or more accurate, and if their solution is the same, thats even better.
__________________
David
|
|
#88
01-13-2019, 04:29 PM
|
|||
|
|||
|
Quote:
|
|
#89
01-14-2019, 02:13 PM
|
|||
|
|||
|
Quote:
There are probably quite a few things i've definitely forgotten, i'll have to try and think which points have come from the guys in the workshop but off the top of my head the main points that have been made to me were firstly about cutting the neck angle join. We made up a jig to cut it on the table saw as I was having a few issues getting it accurate enough using the router. It was indeed much more accurate using the table saw. After doing that we had a very extended debate about why you would ever want to make a guitar with a bolt on neck design. I couldn't convince them that in some cases it's a better option than a permanently fixed glued on neck. They were having non of it. The carpentry guys have some interesting solutions to filling gaps and holes. often involving various types of resins and similar substances. None of which have really worked out that great for me though and i'm back to CA glue and fine sawdust. Also installing bolt inserts by using a drill press using a bolt with 2 nuts half way up as stoppers and the insert screwed onto the end, then turning the chuck by hand as you pull the drill press down. This method made my inserts go in much straighter than my efforts just using a hand drill or a screwdriver. I'm sure there are other points and next time i'm in the workshop i'll look through my stuff I have stored there and see what things jog my memory.
__________________
David
|
|
#90
01-14-2019, 06:15 PM
|
||||
|
||||
|
Quote:
Quote:
Quote:
Quote:
Thanks for sharing. It's always good to learn some new way to do old things.
|


