
|
|
#16
 12-13-2018, 03:47 AM
|
|||
|
|||
|
Quote:
Quote:

|
|
#17
12-13-2018, 03:51 AM
|
|||
|
|||
|
Ok, so after a bit of a delay (work and life) I was able to get back at it and get some work done.
Glued on and slotted the back strip. Radiused and glued on the back braces. Once that was done I shaped them. 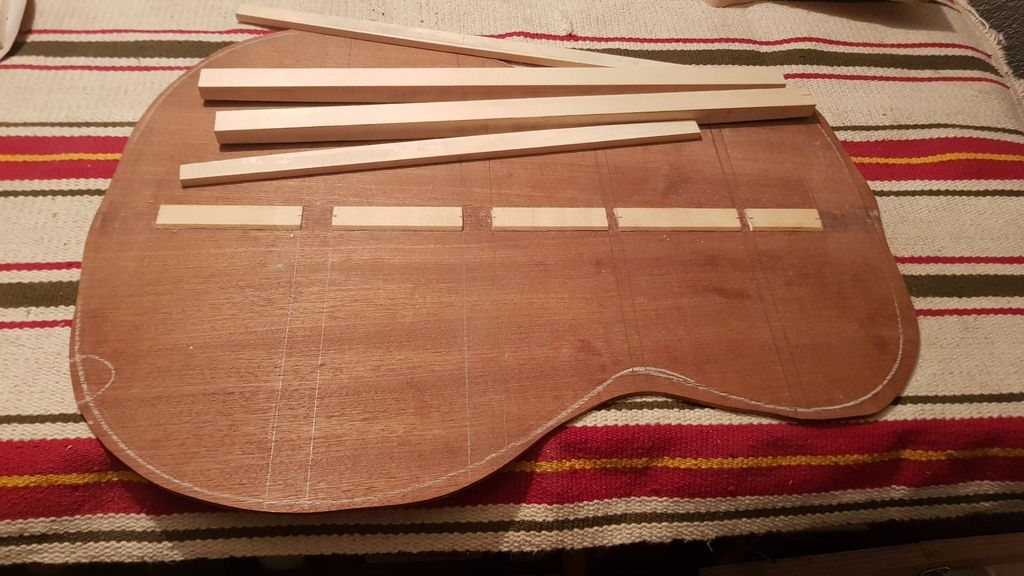 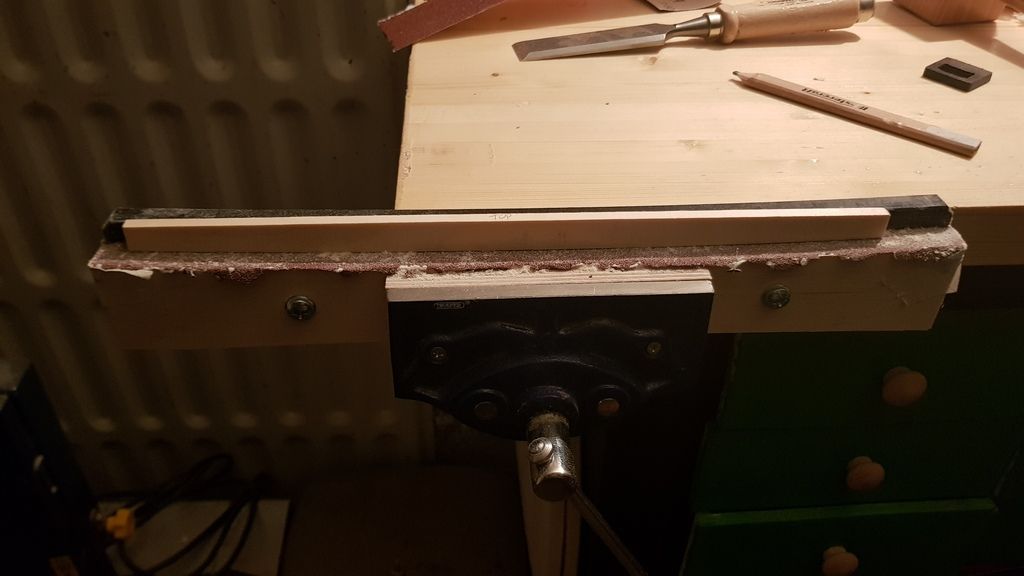 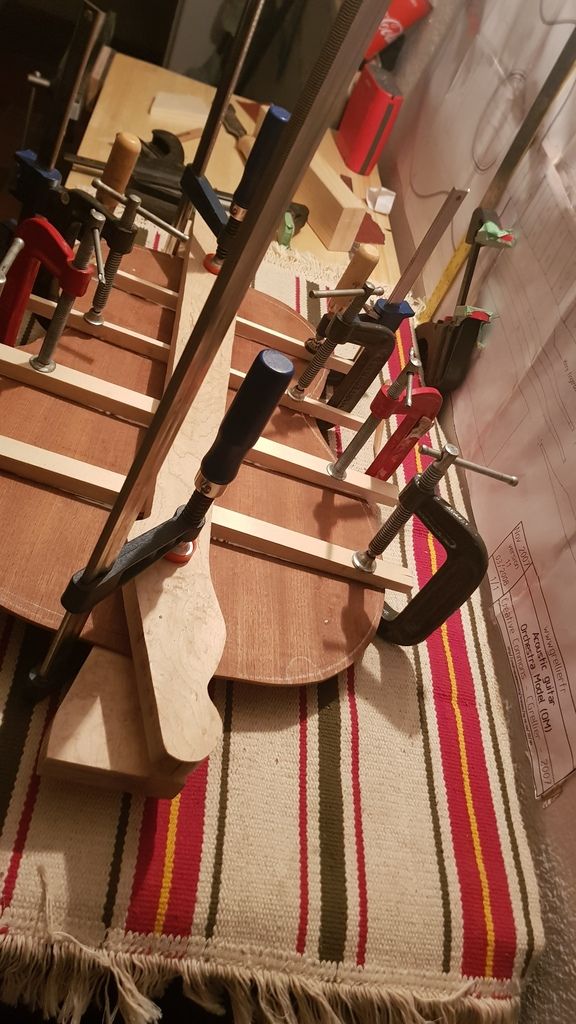 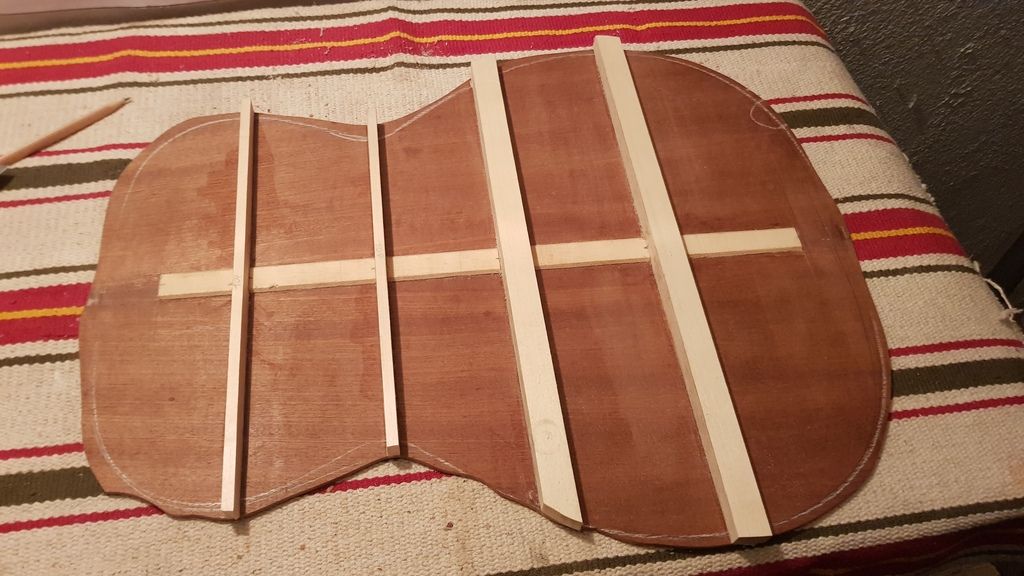 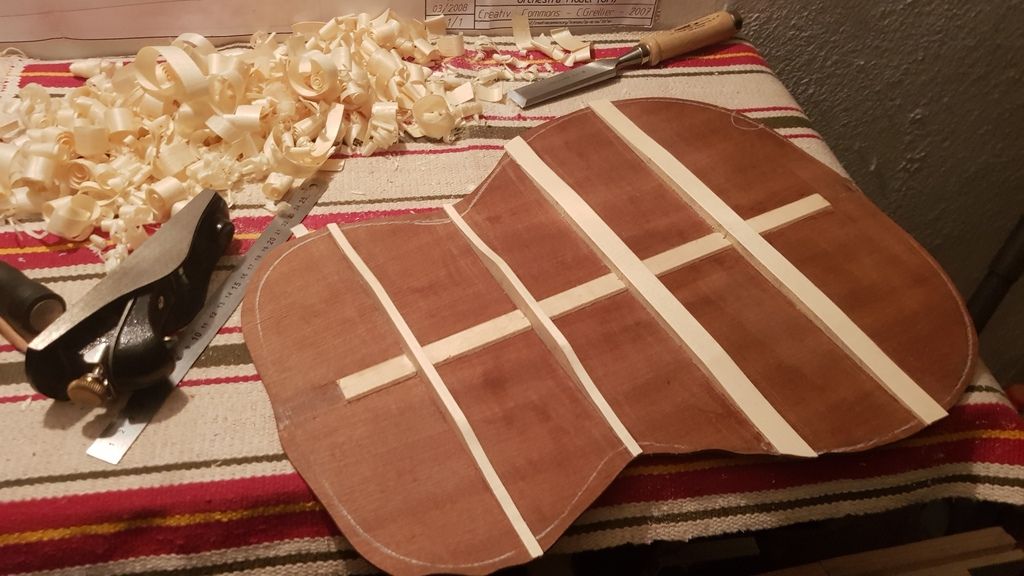
|
|
#18
12-13-2018, 04:10 AM
|
|||
|
|||
|
Your centre reinforcement strip looks nice and straight. That is good becuase when you look in the box through the sound hole, very few things can be seen, the centre reinforcement is one of those things that is viewed externally at completion.
A trick I use, I glue the centre re-inforcement strip the full length to start with, then mark my braces out and remove that section of the strip, seems like wasted time, but it gives a perfectly straight centre strip and it’s simple to remove as the grain of the strip is 90 to the back Steve
__________________
Cole Clark Fat Lady Gretsch Electromatic Martin CEO7 Maton Messiah Taylor 814CE
|
|
#19
12-13-2018, 04:33 AM
|
|||
|
|||
|
Quote:
 . Just no pictures of that part . Just no pictures of that part 
|
|
#20
12-13-2018, 07:51 AM
|
|||
|
|||
|
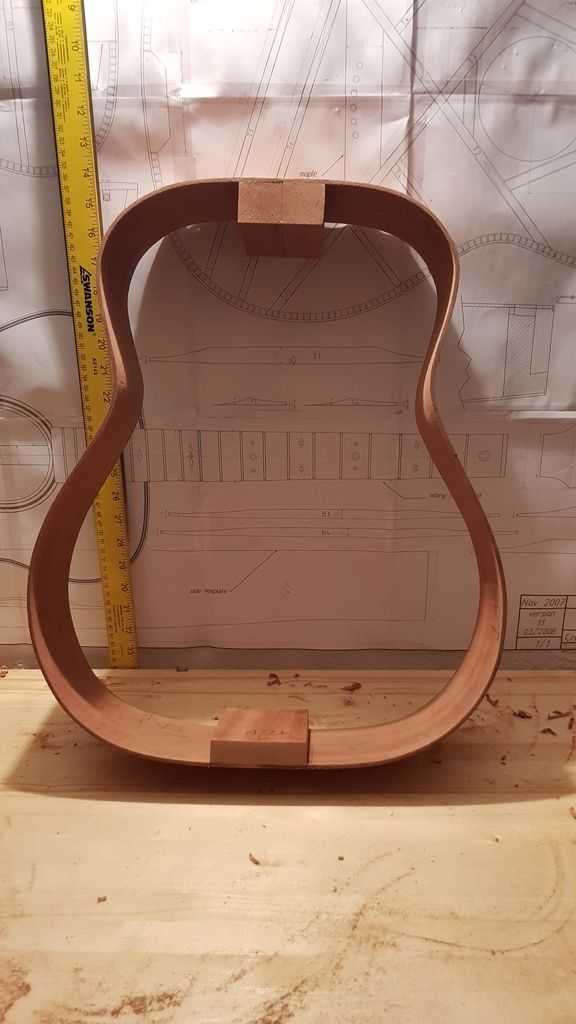
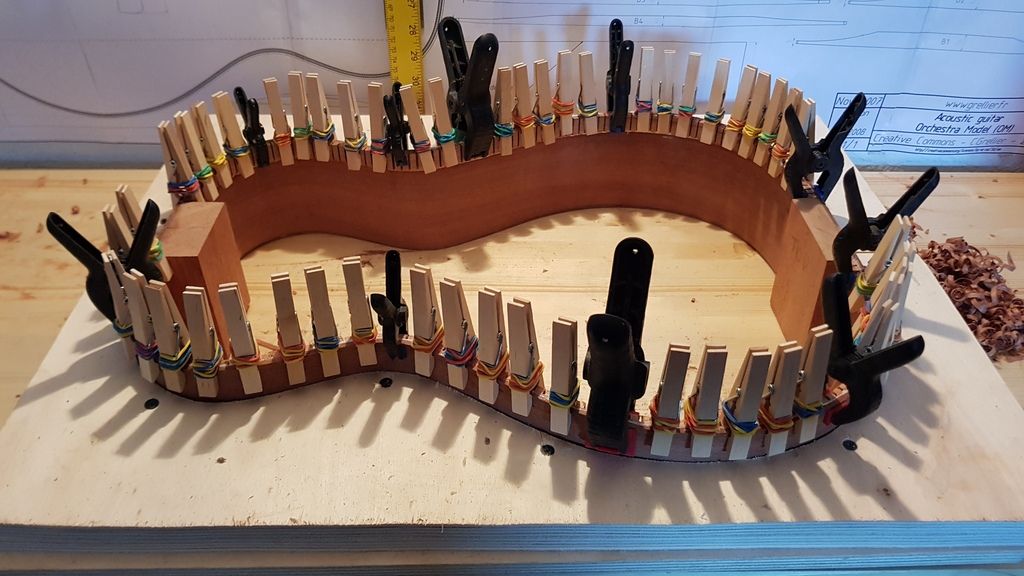
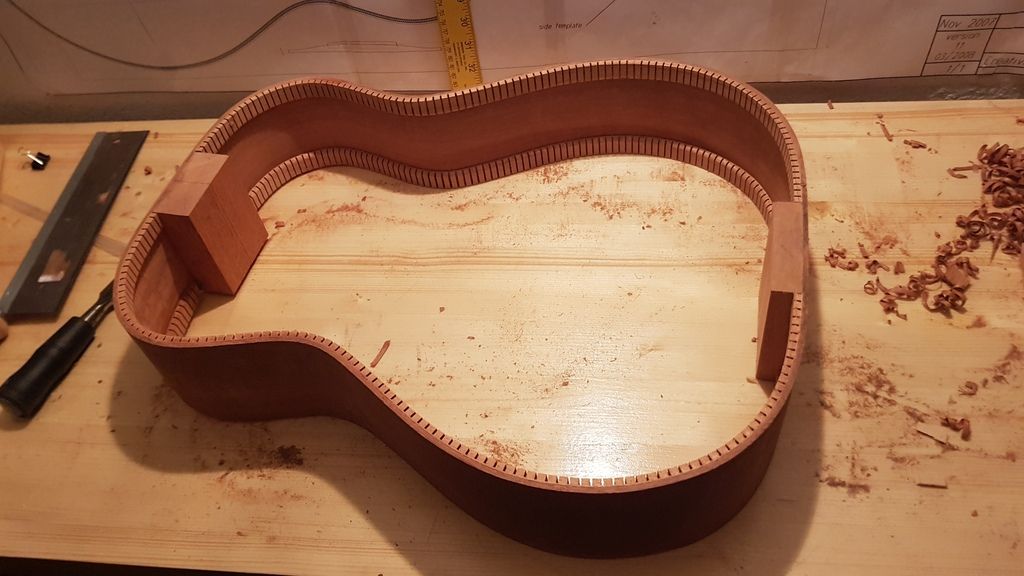
The other thing I've managed to get done is the neck and tail blocks and kefling.
|
|
#21
12-18-2018, 08:59 PM
|
|||
|
|||
|
Got some more work done on the neck.
I used a pre slotted ebony fretboard from LMII 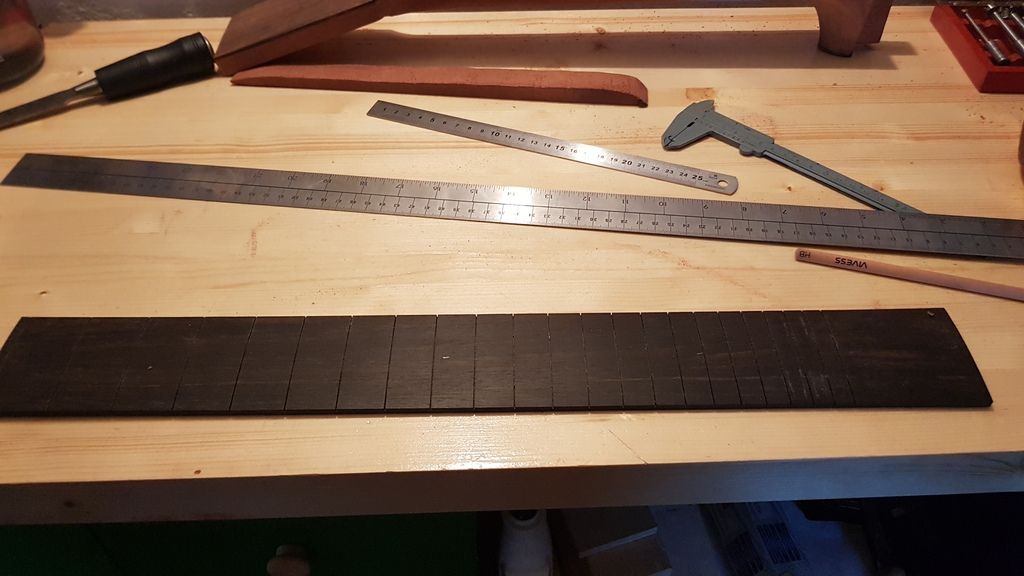 Simple pearl dot inlays. And trimmed it to the rough dimensions. 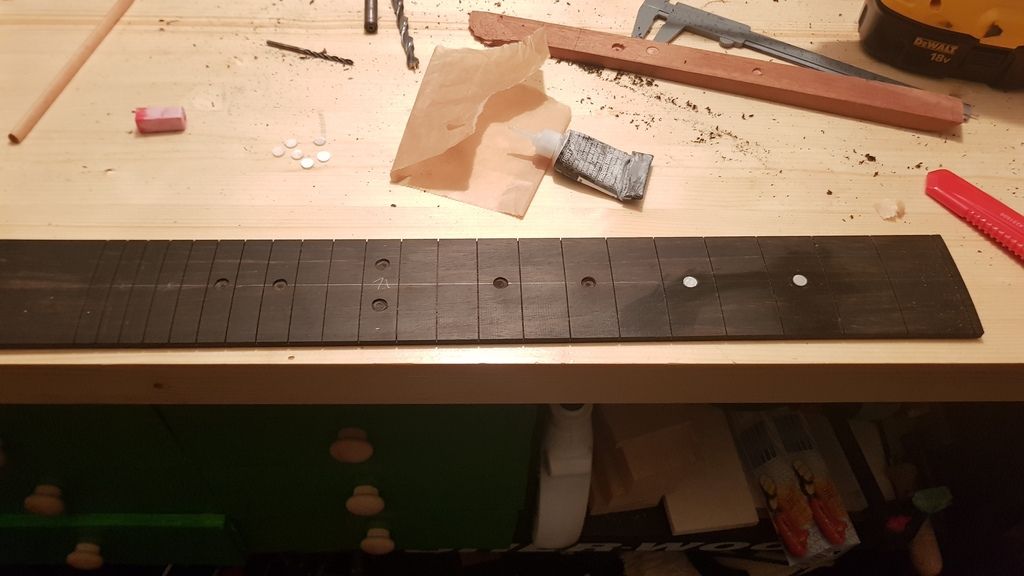 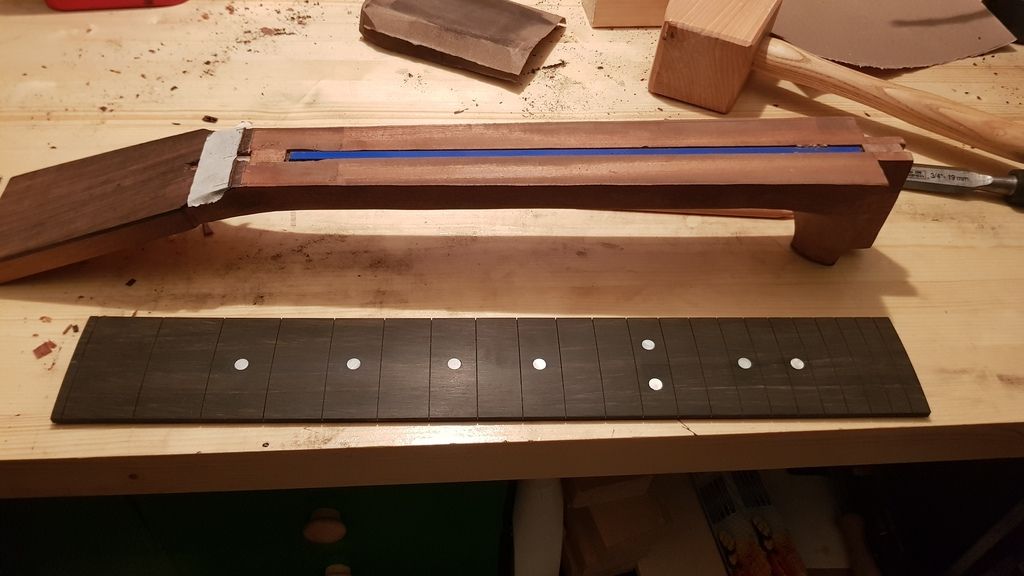 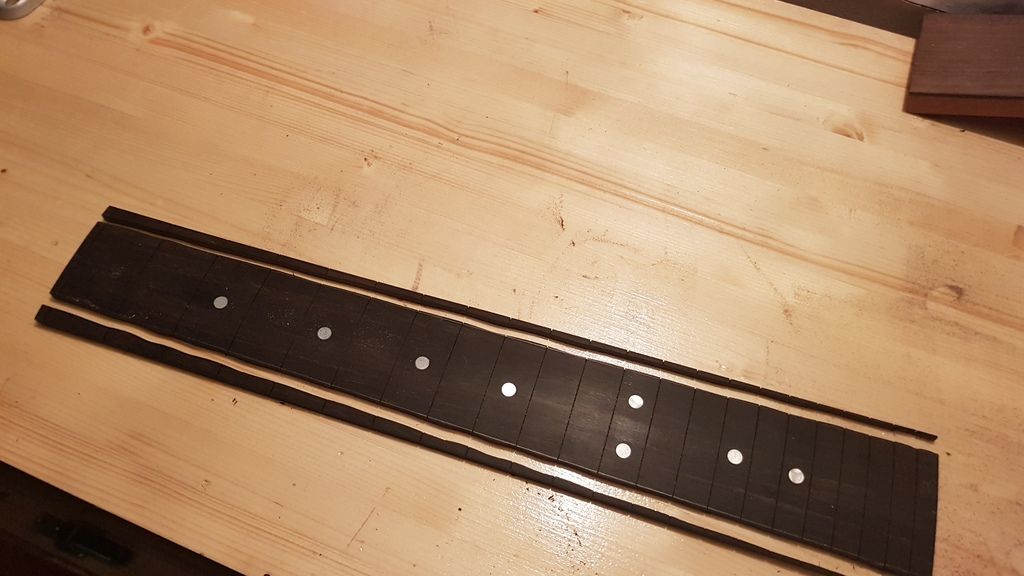 Next up is installing the truss rod and gluing on the fretboard so I can finish carving the neck Last edited by GrimesGrimes; 12-21-2018 at 09:38 AM.
|
|
#22
12-21-2018, 09:35 AM
|
|||
|
|||
|
My method for gluing the fretboard on was pretty simple, I think.
I secured it from moving by using the toothpick trick on both ends. After I was sure it wasn't going to move, I wrapped it in rubber tubing. A lot of rubber tubing. Maybe too much rubber tubing. But, it worked. 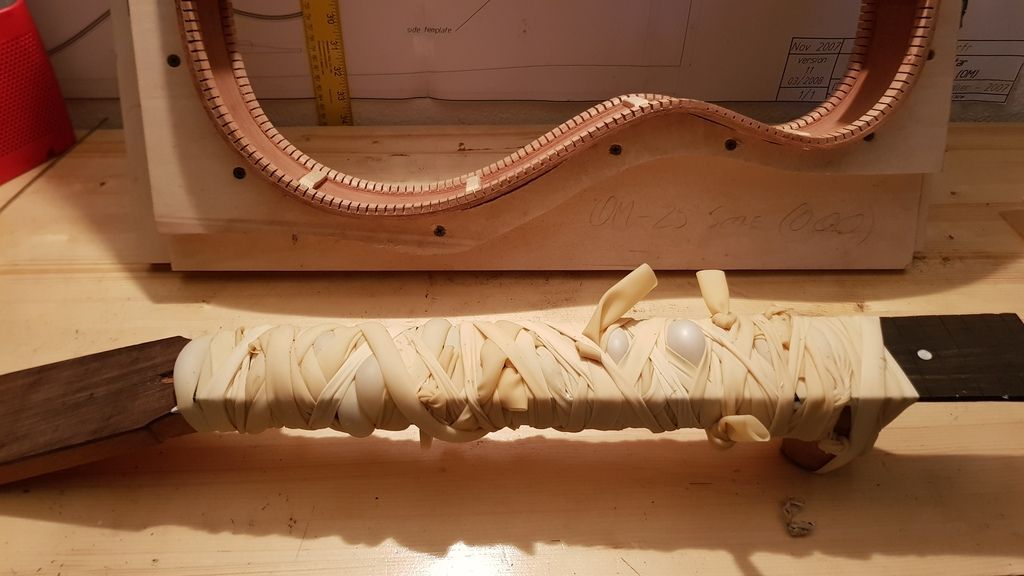
|
|
#23
12-21-2018, 10:06 AM
|
|||
|
|||
|
Whats the toothpick trick?
I use one small brad nail through each of the first and 11th fret slots and a few clamps with a jointed 2x4 gluing caul. Probably much quicker and more forceful for that large gluing surface area.
|


