The Acoustic Guitar Forum

Go Back   The Acoustic Guitar Forum > General Acoustic Guitar and Amplification Discussion > Custom Shop

Reply
 
Thread Tools
  #31  
Old 04-25-2024, 11:54 AM
Jeff Silverman Jeff Silverman is offline
AGF Sponsor
 
Join Date: Mar 2024
Location: Oakland, CA
Posts: 17
Default

Quote:
Originally Posted by KevinH View Post
Enjoying reading along in your blog Jeff!
Thanks Kevin, I'm happy to hear that!
Reply With Quote
  #32  
Old 04-25-2024, 01:17 PM
mhw48 mhw48 is offline
Registered User
 
Join Date: Mar 2018
Location: NYC
Posts: 477
Default

Fascinating seeing the process unfold. I was checking your blog as well, which adds even more of the steps. The laminated linings (in the blog photos) look quite substantial. Is that to add to the stiffness of the laminated sides? In a more "traditional" build style, the linings are kerfed, I assume, to reduce mass and weight.
__________________
Franklin Jumbo African Blackwood/German Spruce
Franklin Dread Mahogany/Adirondack
1929 Martin 2-17
Reply With Quote
  #33  
Old 04-25-2024, 05:07 PM
Jeff Silverman Jeff Silverman is offline
AGF Sponsor
 
Join Date: Mar 2024
Location: Oakland, CA
Posts: 17
Default

Quote:
Originally Posted by mhw48 View Post
Fascinating seeing the process unfold. I was checking your blog as well, which adds even more of the steps. The laminated linings (in the blog photos) look quite substantial. Is that to add to the stiffness of the laminated sides? In a more "traditional" build style, the linings are kerfed, I assume, to reduce mass and weight.
The laminated linings are to add stiffness, the idea being that more of the vibrational energy will go into the top and back, rather than being lost to the sides, resulting in more sound. Kerfed linings will be a little bit lighter, but not sure the amount of wood lost to the kerfs adds up to much weight. The main advantage of kerfed linings is that they are less work.
Reply With Quote
  #34  
Old 05-01-2024, 05:28 AM
mhw48 mhw48 is offline
Registered User
 
Join Date: Mar 2018
Location: NYC
Posts: 477
Default

I read your interesting blog post of tone wood choice based on the particular use and sound desired. I wondered what guided you in the choice of the woods for your own build?
__________________
Franklin Jumbo African Blackwood/German Spruce
Franklin Dread Mahogany/Adirondack
1929 Martin 2-17
Reply With Quote
  #35  
Old 05-03-2024, 06:50 AM
Jeff Silverman Jeff Silverman is offline
AGF Sponsor
 
Join Date: Mar 2024
Location: Oakland, CA
Posts: 17
Default

Quote:
Originally Posted by mhw48 View Post
I read your interesting blog post of tone wood choice based on the particular use and sound desired. I wondered what guided you in the choice of the woods for your own build?
I started working on that top very shortly after arriving, before going over the tonewood selection with Ervin. I chose it from a few that the other apprentice Louis Manteau had. Some of the things that guided the choice were a good stiffness to weight, pleasing tap tone, even colour, and I thought European Spruce would be a good choice for an OM, for a balanced and responsive instrument.
Reply With Quote
  #36  
Old 05-08-2024, 10:01 PM
Jeff Silverman Jeff Silverman is offline
AGF Sponsor
 
Join Date: Mar 2024
Location: Oakland, CA
Posts: 17
Default

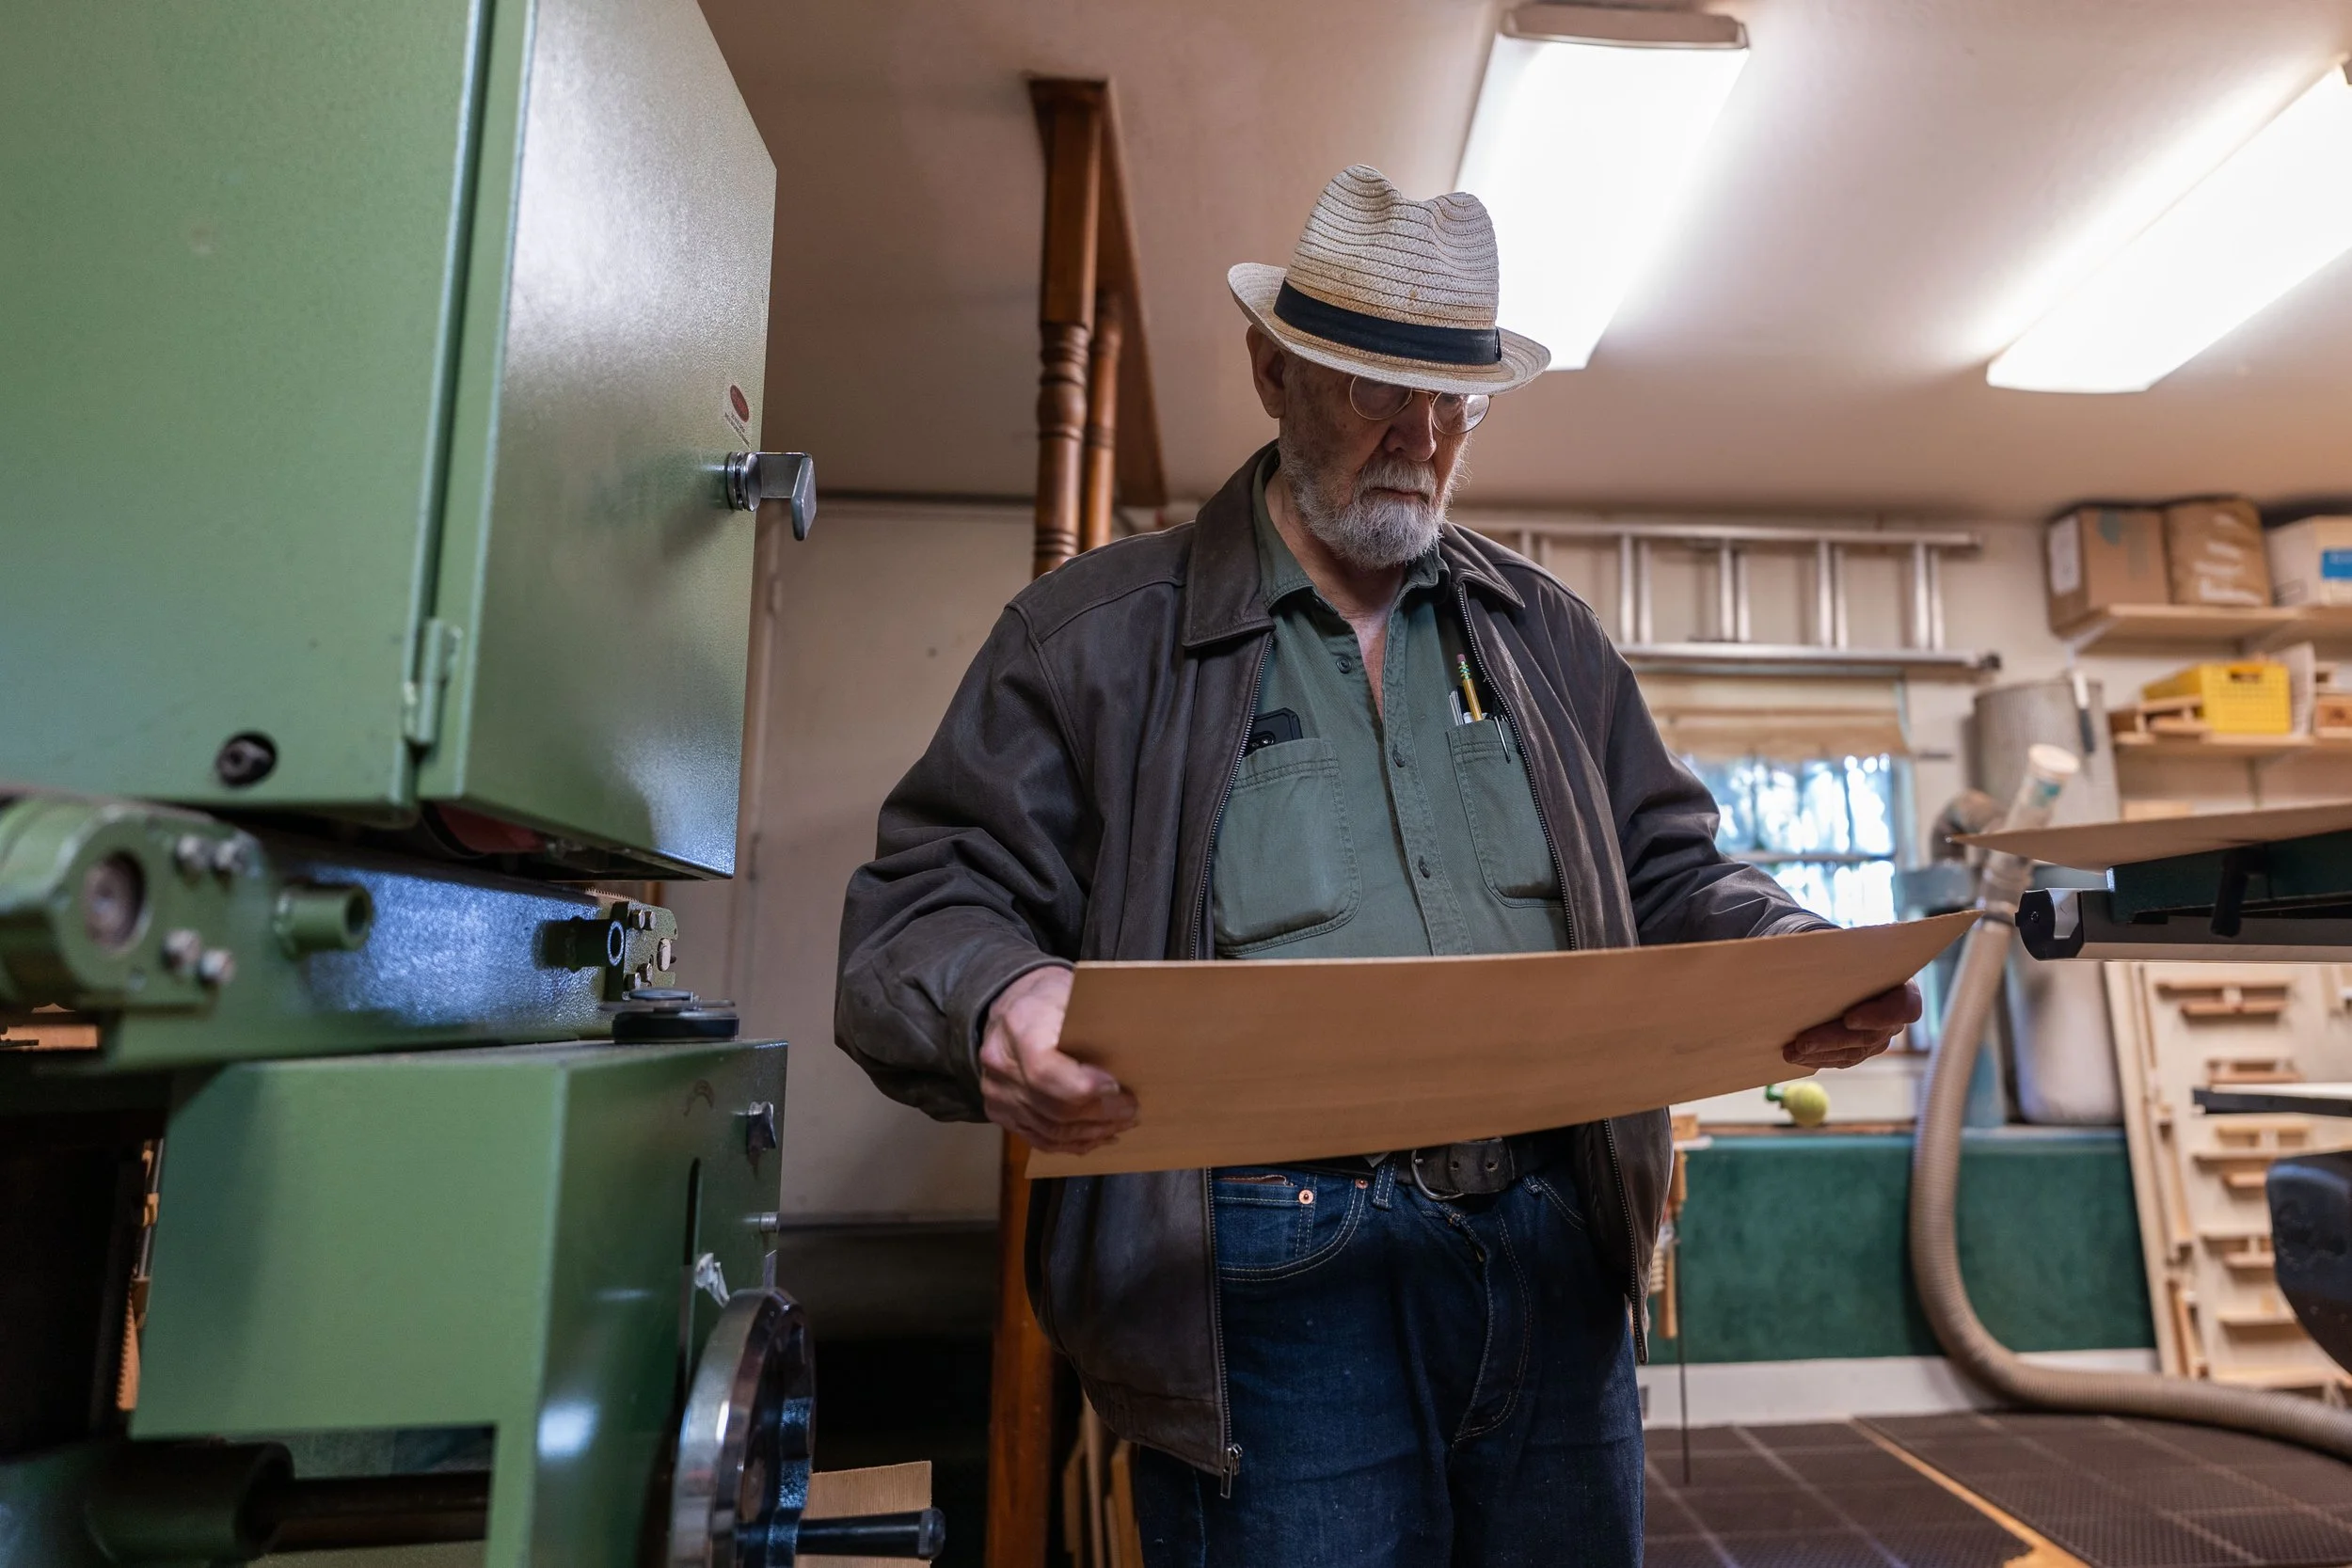
Making some progress on my build.


Fitting the back to the rim.


Fitting the top to the rim.


Glueing on the top.


After trimming the top flush with the rim.

The next step is voicing the top, something I’ve been looking forwards to learning from Ervin. Will keep you posted on how that goes.
Reply With Quote
  #37  
Old 05-09-2024, 06:04 AM
mhw48 mhw48 is offline
Registered User
 
Join Date: Mar 2018
Location: NYC
Posts: 477
Default Voicing

Very interesting -- so the shaping of the top braces takes place after the top is attached, and not before? If so, I assume that happens before the back is fitted to the rim.
__________________
Franklin Jumbo African Blackwood/German Spruce
Franklin Dread Mahogany/Adirondack
1929 Martin 2-17
Reply With Quote
  #38  
Old 05-09-2024, 11:22 AM
jmagill jmagill is offline
Charter Member
 
Join Date: Aug 2006
Location: Asheville, NC
Posts: 1,290
Default

Quote:
Originally Posted by Jeff Silverman View Post
I've never seen Ervin in a hat before. Or a beard. Is this him? Someone else? You?
.
Reply With Quote
  #39  
Old 05-09-2024, 06:09 PM
Jeff Silverman Jeff Silverman is offline
AGF Sponsor
 
Join Date: Mar 2024
Location: Oakland, CA
Posts: 17
Default

Quote:
Originally Posted by mhw48 View Post
Very interesting -- so the shaping of the top braces takes place after the top is attached, and not before? If so, I assume that happens before the back is fitted to the rim.
Ervin's process is to do the final voicing after the top is glued onto the rim, before the back is attached. The reason being that glueing to the rim drastically changes how the top responds. The normal process is to do some "pre voicing" before glueing on the top, which involves removing safe wood which is easier to do at that stage than after its on the rim. For this build, Ervin recommended that I leave all the braces full height so I could learn more about how the response of the top changes as wood is removed from the braces.
Reply With Quote
  #40  
Old 05-09-2024, 06:10 PM
Jeff Silverman Jeff Silverman is offline
AGF Sponsor
 
Join Date: Mar 2024
Location: Oakland, CA
Posts: 17
Default

Quote:
Originally Posted by jmagill View Post
I've never seen Ervin in a hat before. Or a beard. Is this him? Someone else? You?
.
That's Ervin, with hat and beard.
Reply With Quote
  #41  
Old 05-09-2024, 06:13 PM
mhw48 mhw48 is offline
Registered User
 
Join Date: Mar 2018
Location: NYC
Posts: 477
Default

Quote:
Originally Posted by Jeff Silverman View Post
Ervin's process is to do the final voicing after the top is glued onto the rim, before the back is attached. The reason being that glueing to the rim drastically changes how the top responds. The normal process is to do some "pre voicing" before glueing on the top, which involves removing safe wood which is easier to do at that stage than after its on the rim. For this build, Ervin recommended that I leave all the braces full height so I could learn more about how the response of the top changes as wood is removed from the braces.
I am looking forward to hearing about how that process goes.
__________________
Franklin Jumbo African Blackwood/German Spruce
Franklin Dread Mahogany/Adirondack
1929 Martin 2-17
Reply With Quote
  #42  
Old 05-22-2024, 10:56 AM
Jeff Silverman Jeff Silverman is offline
AGF Sponsor
 
Join Date: Mar 2024
Location: Oakland, CA
Posts: 17
Default

Hey, copied latest blog post below.


Voicing is the process of carving the top braces to create the sound of the guitar. Ervin Somogyi is known to be a master of this subtle art, and it’s one of the things I was most excited to learn from him during my time here.
The common way to voice a top is before it is attached to the rim. This makes it easier to carve the braces. However glueing the top to the rim changes the way it responds, so Ervin’s process is to do it with the top glued to the rim, and the back open.


In order to get to this stage of the build however, I had a few steps to go through since my last blog post.

The back had to be made, and fitted to the rim. This fitting is much easier before the top is glued on.


Here I’m glueing the reinforcing strips onto the back.


The brace ends get trimmed down, so they can tuck into the back lining.


The braces then get shaped.


After cutting notches in the back lining to accept the brace ends, the centre strip and reinforcing strips are trimmed to end just inside the rim.


Here I’m holding the back in place, it’s not glued yet.


Next the top is fitted. The transverse brace gets notched into the lining, and head block is trimmed to fit up against it.


Once the fit is good, I glue the top to the rim.

When I got to this stage, I let Ervin know that I was ready to do the voicing on my guitar. We sat down and had a discussion, going over some theory and principles guiding Ervin’s approach to the voicing. Then, I started carving the braces.
The idea was to shape the braces to allow the top to vibrate as optimally as possible. As I was carving, I was listening to the tap tone, the sound the top makes when tapped in different places. This could give me clues as to how the top was responding, and where I needed to remove wood. I was going for a low and open sound.
You can hear the change in tap tone from extremely tight, to loose, in the video below. It helps to listen through headphones, or decent speakers, in order to hear the low end response.


I was doing my best to apply the things I’d learned from Ervin, and it was really gratifying to see the effect these details had on the tap tone. At one point I thought I was done, then a further discussion with Ervin prompted me to remove a very small amount of wood from a few specific areas. As I was doing the voicing, I was tracking the change in frequency using an app on my phone. These few grams of wood made a surprising difference, the biggest per amount of wood removed of the whole process.
I’m excited to learn how the final tap tone translates to guitar tone.

Jeff

https://www.silvermanguitars.com
Reply With Quote
  #43  
Old 05-25-2024, 06:25 AM
steveh steveh is offline
Registered User
 
Join Date: Jun 2010
Posts: 1,753
Default

Quote:
Originally Posted by Jeff Silverman View Post
You can hear the change in tap tone from extremely tight, to loose, in the video below. It helps to listen through headphones, or decent speakers, in order to hear the low end response.
This was absolutely fascinating.

Reading about all of this stuff (including Ervin's books), as a vicarious armchair luthier, I had rather assumed the tonal changes when shaving braces was all rather subtle and needed "golden ears" to hear them: In contrast, your video rather suggests the changes are so dramatic that a deaf man could probably hear them!

Thanks +++ for putting that up.

Cheers,
Steve
Reply With Quote
  #44  
Old 05-27-2024, 07:58 AM
KevinH's Avatar
KevinH KevinH is offline
Charter Member
 
Join Date: Jul 2019
Location: Tacoma, WA
Posts: 3,398
Default

Very cool, thanks for sharing.
Reply With Quote
  #45  
Old Yesterday, 05:43 PM
TomB'sox's Avatar
TomB'sox TomB'sox is offline
Moderator
 
Join Date: Dec 2014
Location: The Lone Star State
Posts: 13,704
Default

Thanks, voicing is definitely his "thing", you are in the right place to learn that.
__________________
PS. I love guitars!
Reply With Quote
Reply

  The Acoustic Guitar Forum > General Acoustic Guitar and Amplification Discussion > Custom Shop

Tags
ervin somogyi, somogyi, somogyi apprentice, somogyi apprenticeship

Thread Tools


All times are GMT -6. The time now is 12:21 AM.


Powered by vBulletin® Version 3.8.11
Copyright ©2000 - 2024, vBulletin Solutions Inc.
Copyright ©2000 - 2024, The Acoustic Guitar Forum
vB Ad Management by =RedTyger=