I could not wait to get up the next morning and get back to working on the build. The cauls glued up real nice and solid, so I moved on to the next step which was to dry fit the sides/endblock/neckblock.
Quote:
|
Originally Posted by joeguam as LESSON LEARNED #2!
Thankfully this lesson-learned entry was not as a result of a mistake, instead it was a result of following instructions and recommendations. I've read numerous times that center lines are crucial for referencing. I found the task of measuring and marking center lines to be very tedious and annoying. But, while dry fitting the sides/endblock/neckblock, I reaped all the critical benefits of the centerlines and it made it SO EASY to line everything up to ensure they're square and fitted properly. Centerlines...do it.
|
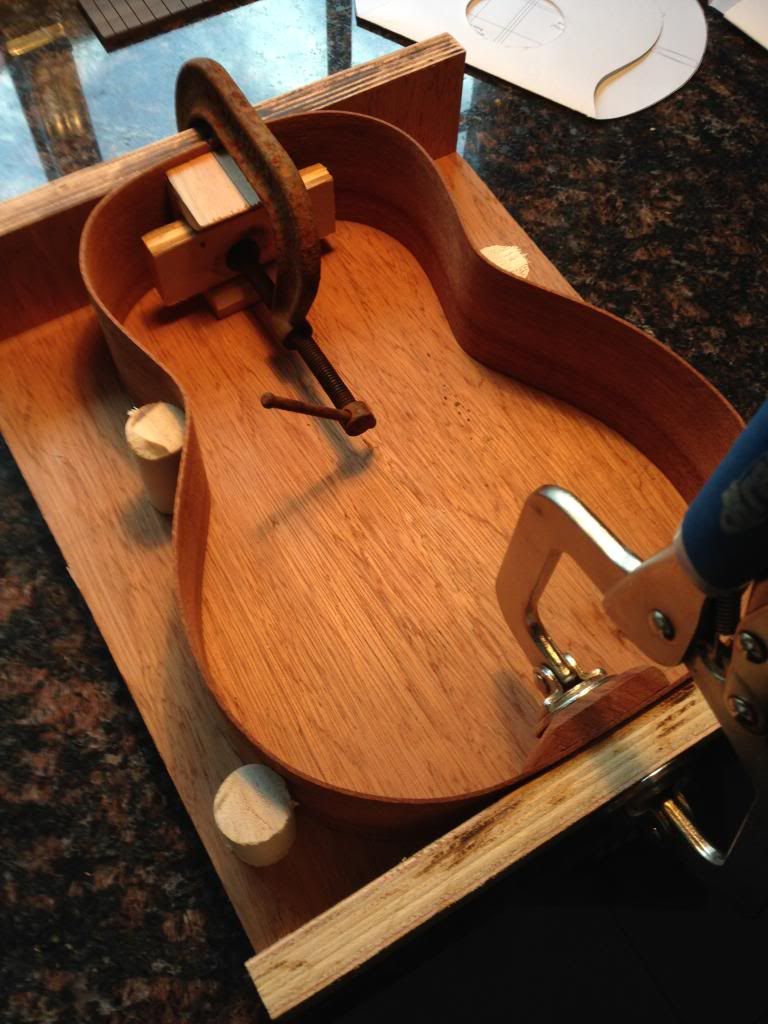
While clamping the pieces for the dry fit, something didn't look and feel right. It seemed that the butt joint of the sides that meet at the neck block weren't seating properly.
Quote:
|
Originally Posted by joeguam as LESSON LEARNED #3!
Check all ends for squareness prior to dry fitting. It only takes a few seconds but can save a ton of time.
|

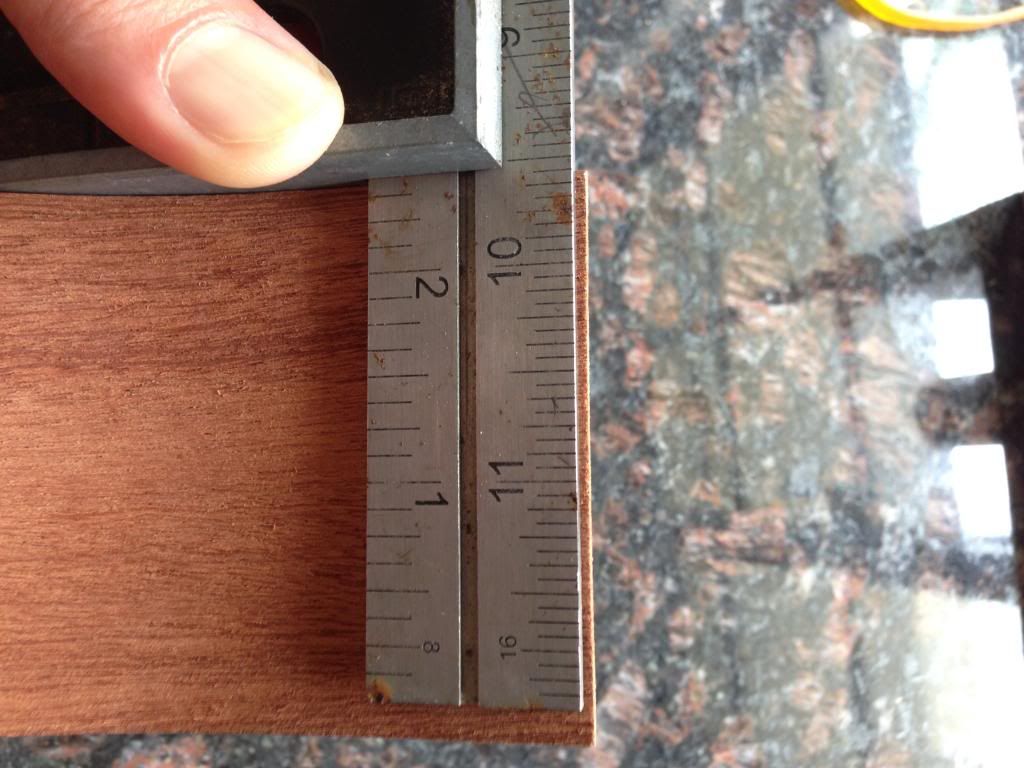
So I disassembled everything and checked the ends of the sides against a square for squareness. You can see in this picture that there's some slight correction needed. This should be simple enough to square out with a sanding block and 120-grit.
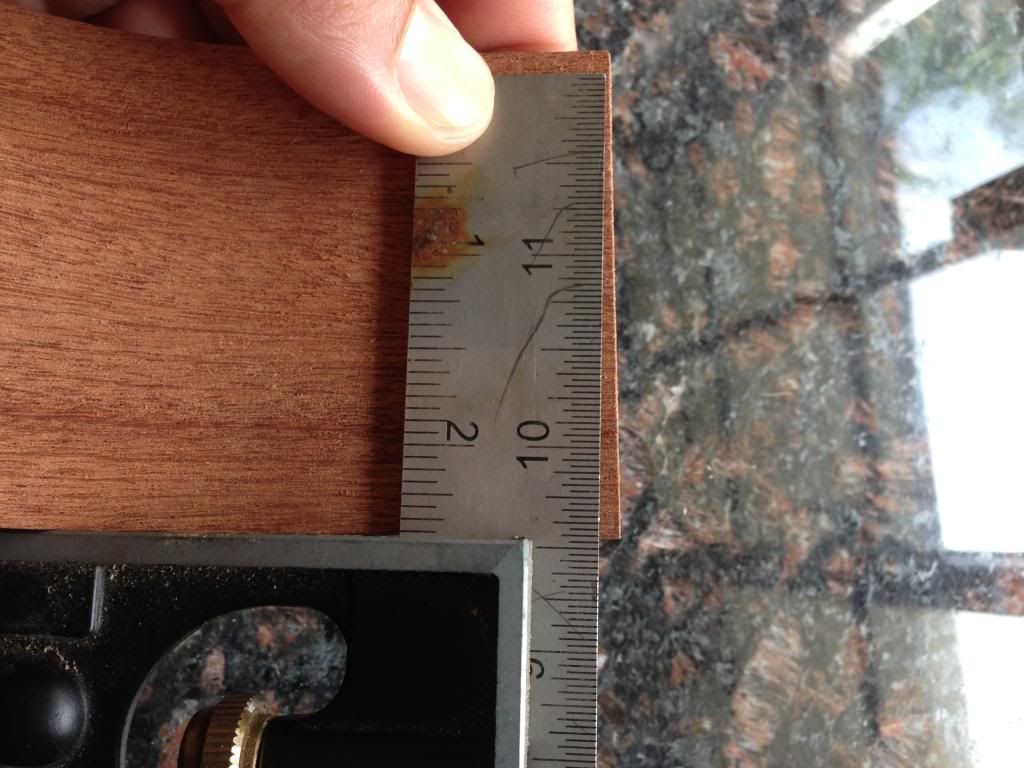
Thankfully the other end of the sides was actually pretty square.
Quote:
|
Originally Posted by joeguam as LESSON LEARNED #4!
The instructions continuously caution to dry fit everything before you apply glue. I'm so glad that this lesson learned also did not come as a result of a catastrophe. Dry fit first!
|
Hopefully Jackie and I can square the ends of the sides and get the end/neck blocks glued in tonight.