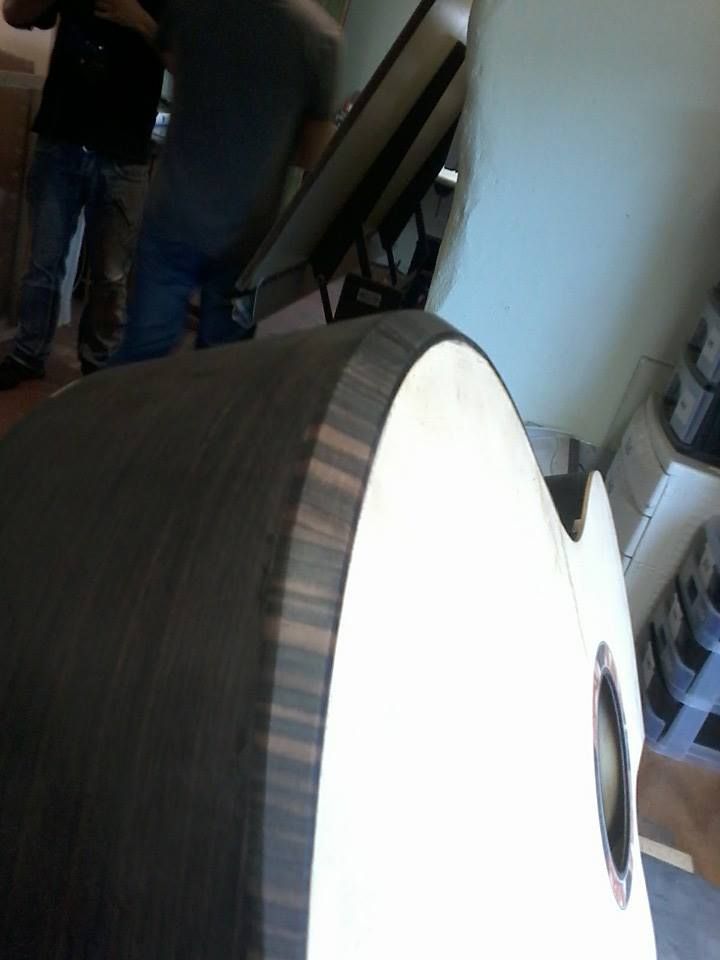
Once the box had been glued up, we used a 45degree router bit to trim to the sapele bevel blocks, which I then covered in 1.5mm Macassar ebony.

They both looked a little messy at first:

But only looked better and better after being filed flush:
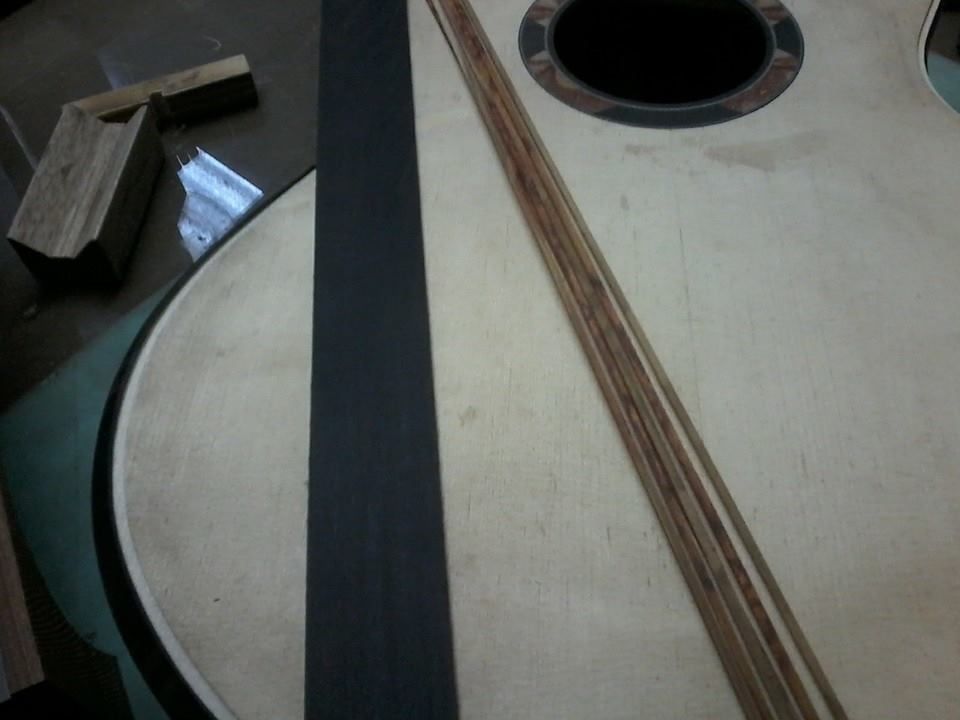
Then we cut the binding channels using a dremel and a binding jig base of sorts. This part was super scary, and I kept worrying that I would tilt the base and end up cutting funny shapes...especially on the radiused back...but it all worked out ok...slow progress was key
Here's a shot with the channels routed, and my african blackwood binding (which is still to be processed) and some kiaat that I used for purfling on my top.
As I mentioned before, this casimi design has a very deep cutaway and after binding, there would have been only about a 2cm gap between my rosette and the bidning on my cutaway. I didn't like this.
Usually Casimi make their guitars this way, but continue their purfling in a curve around the rosette, filling the area in with backwood or another wood,
however, my rosette had already gone in and had purfling around it, there was no way to make the pufling wrap around and look tidy as it joined the rosette purfling...Matthias came up with this ingenious solution:
We cut as if the prufling is going to join the rosette, but then pull it back in two bee sting mitres:
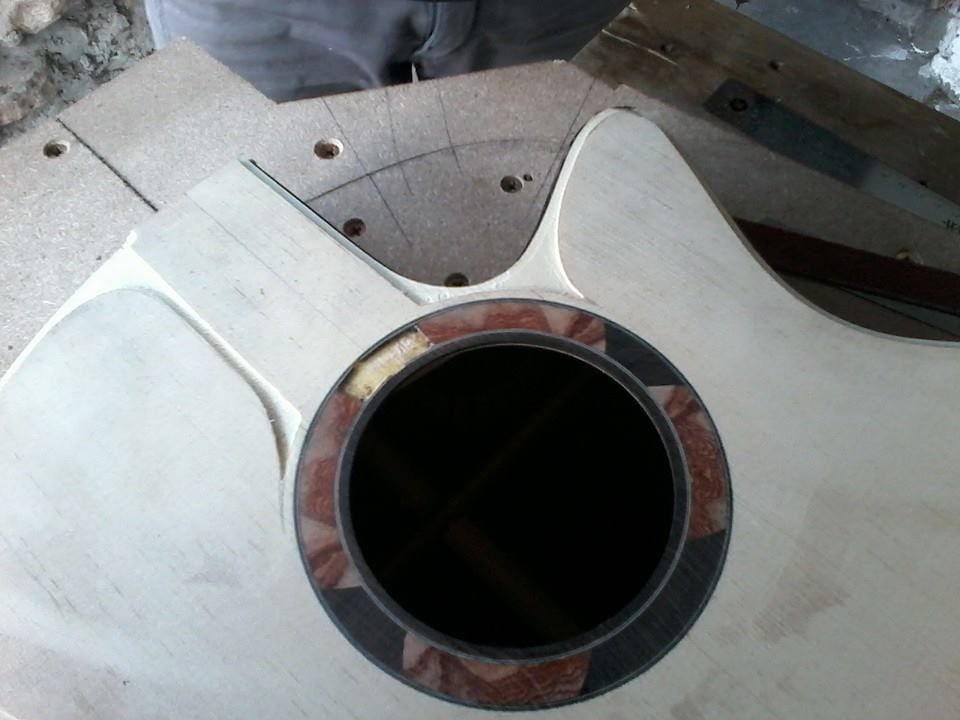
Which looked a bit like this after binding and purfling:
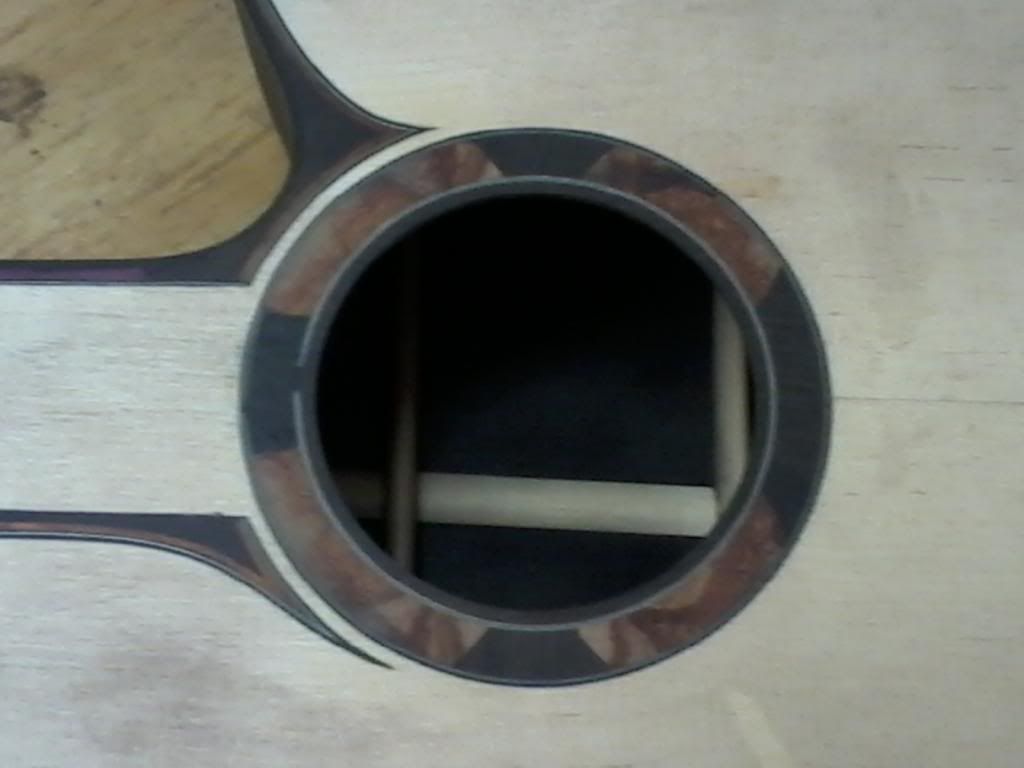
finally, work starting on my tail graft:
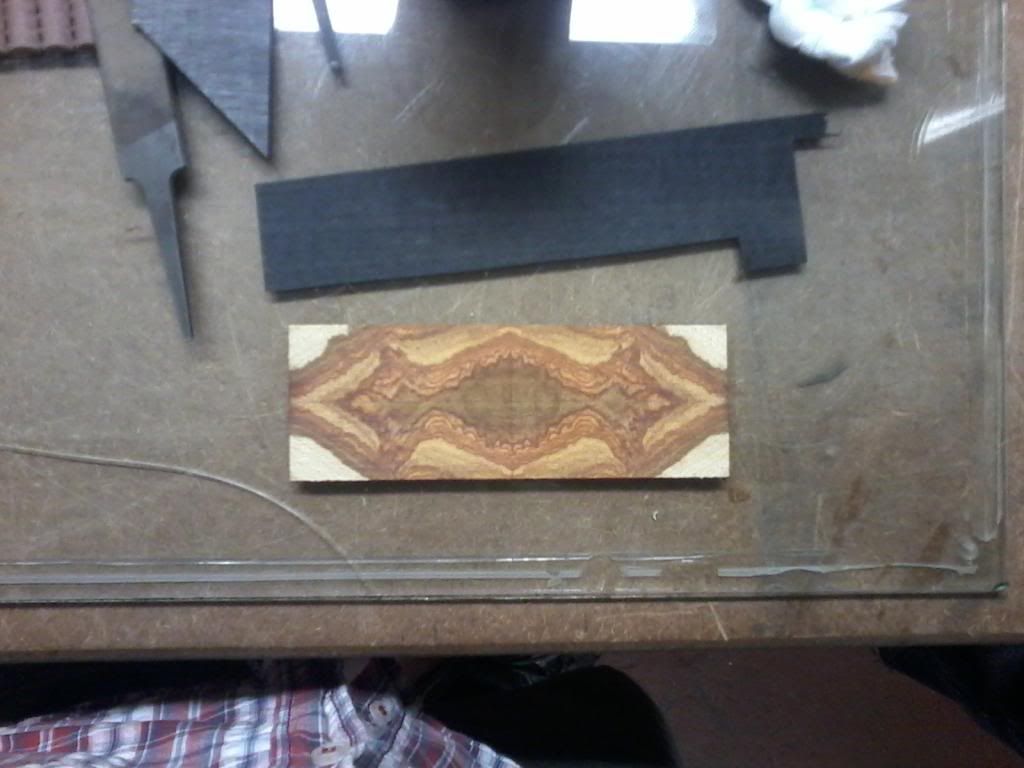
which I cut out and wraped in purfling to look like this:
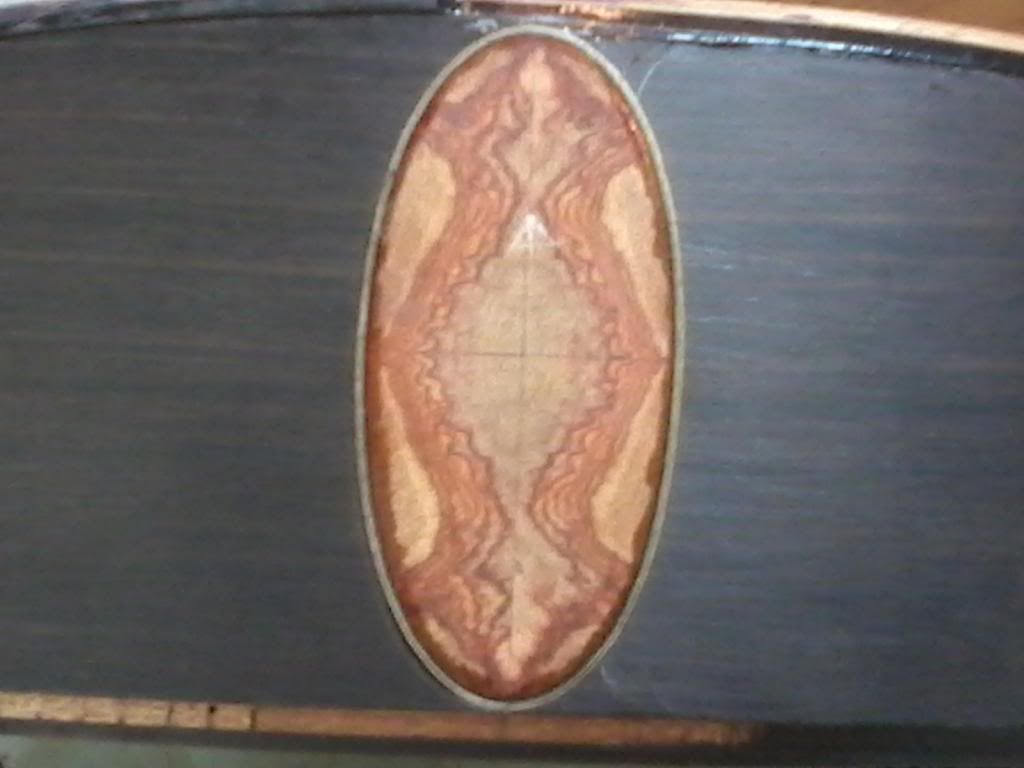
If you look closely, you can see that the cross-hair where the four tiles are joined is not quite perfect. The guys asked me if I wanted to do it again, and I elected not to, as I intend to put a strap pin in the centre there one day...in retrospect, I should have done it again.