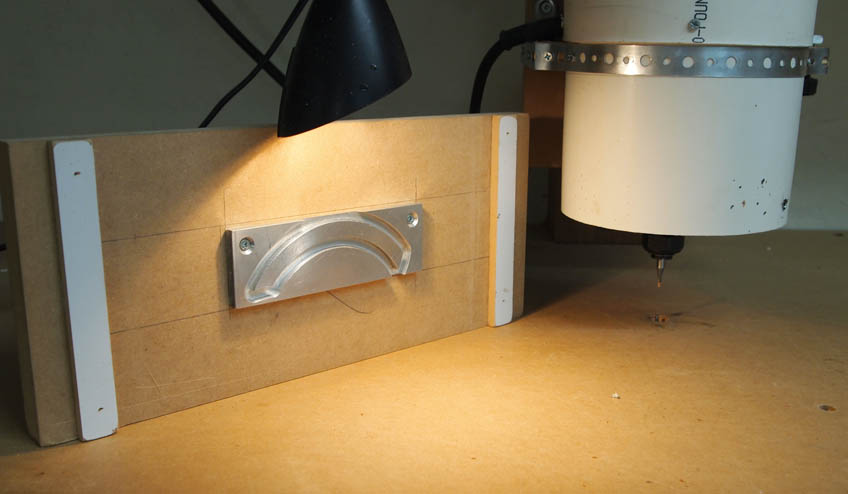
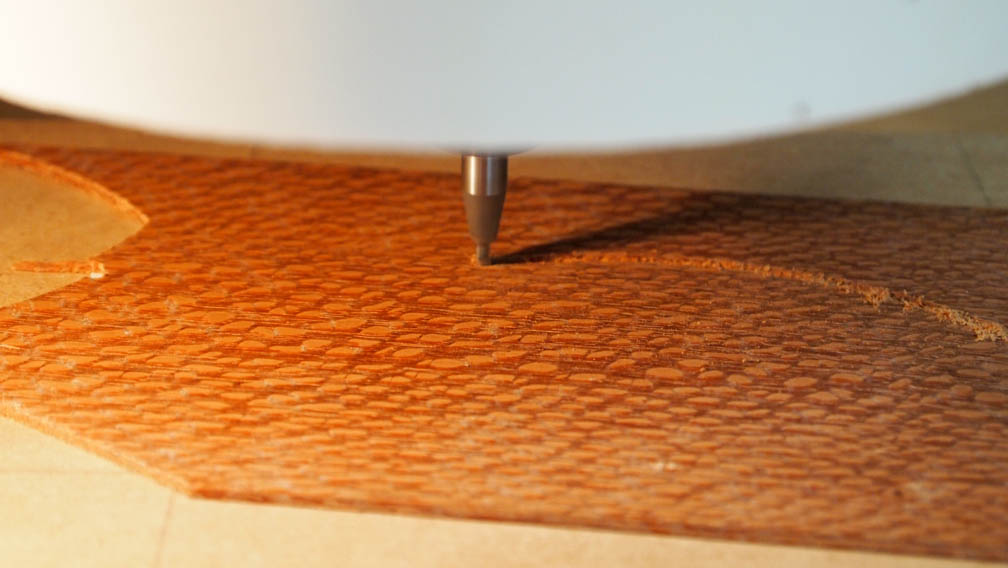
This is the male pattern to cut the inlay. Here's where the adjustable pin comes in. I don't want the inlay to be the same size as the slot. I want it smaller by the width of the purfling plus a little extra slop because everything expands when you add glue. So with the same pattern, I can use different thicknesses of purfling by changing the size of the pin. I have a set of pins graduated in .001" increments so In can really fine tune it.
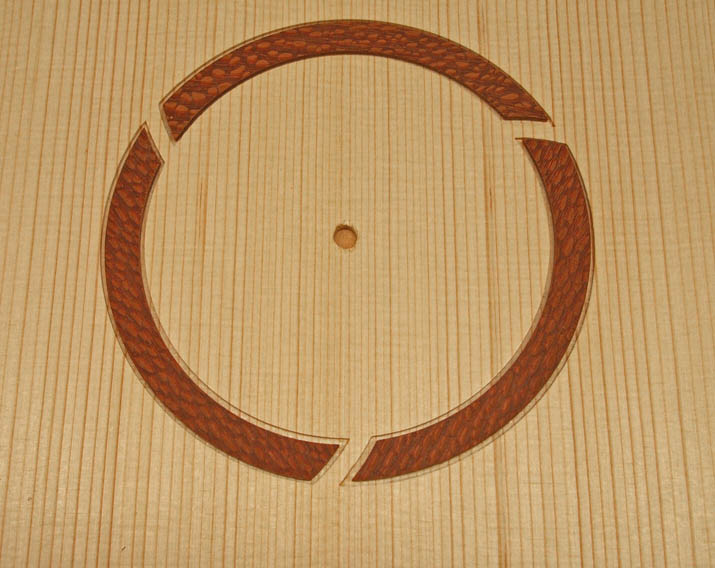
Here are segments of the rosette before and after purfling.
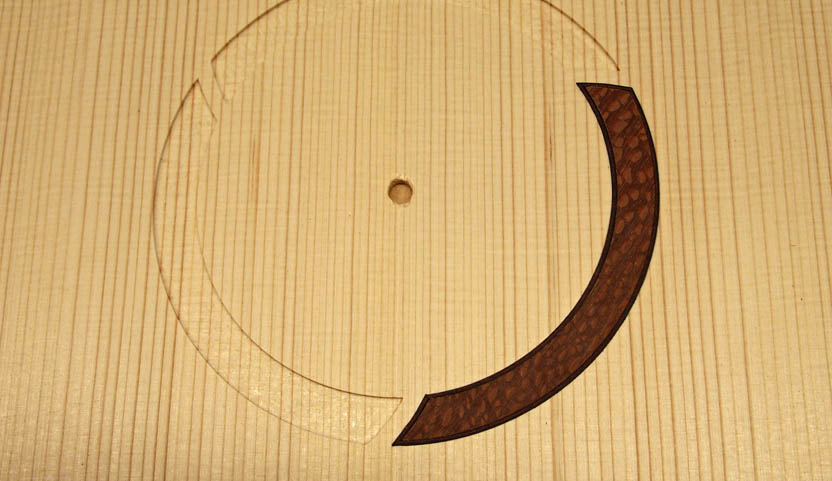
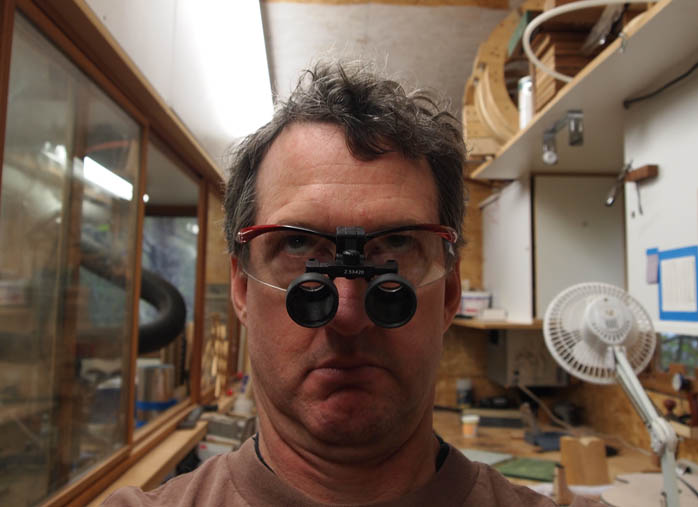
The router leaves rounded corners so before inlaying, I have to go back and square the corners with a small chisel. That and the mitered purfling is why I finally broke down and bought these loupes! They drive you batty after awhile (no wonder dentists are sadistic!) but they momentarily restore my slowly fading eyesight.
Got the top on tonight and will do final voicing tomorrow (more hand work).
Thanks for indulging me.