The first thing I did was install the rosette in the precut channels. It's just a herringbone pattern and 3 rings. Scraped and sanded it down flush after gluing in with just plain wood glue.

Here's the mold I built with the sides in it and the neck and heel block clamped in for gluing. I took 1/2 of the pattern for the guitar, which is a Dreadnought, and traced it onto poster board. Then cut that out and traced on a piece of plywood. Cut it all out with a jigsaw and cleaned it up with sandpaper. I never really got it totally smooth, but the sides fit in it well. I used this as a "master" and cut out 5 more pieces of plywood and used a flush cutting router bit to match them with the master. It was reasonable, but I've already bought a mold to use for subsequent builds. This is a foundational part of the build, and I've decided that a good mold is a necessity.


Here is the bracing for the top.
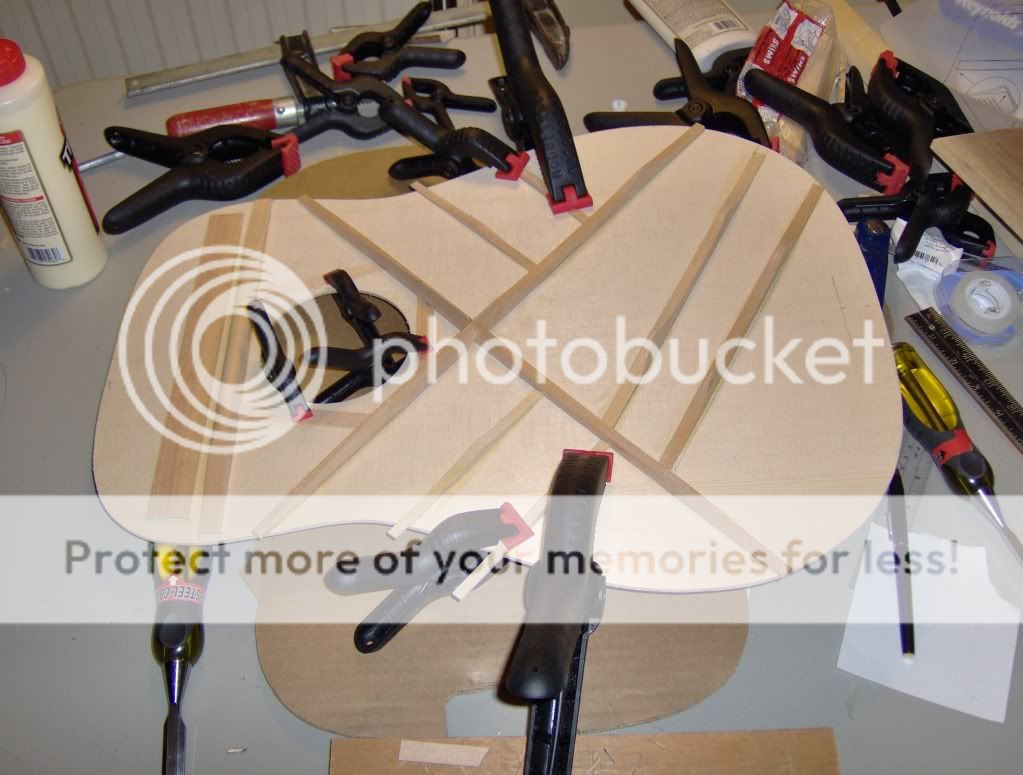
The bridge plate gave me a problem because I didn't have any clamps that would each it. So I came up with this "East Texas go bar clamp".

Here is the kerfing being attached to the sides. I think I used about 100 clothes pins for the top, and same for the bottom.

You can see the kerfing here.

The top has to be placed in position over the sides to allow marking the sides where the cross braces intersect. The kerfing has to be relieved to match the depth of the bracing. I forgot to take pics of that. Or of the top being glued on. To glue the top, I bought a bunch of little metal hooks that I screwed into the mold. I then attached rubber bands across the top in various configurations to hold it down.
At some point, I checked the length of the guitar and it was about 1/4" too long. So I wedged a couple of shims at the tail end. Later on it turned out my sides are not perpendicular to the top/back all the way across. Another reason to have a good, accurate mold.
Putting the back on presented a challenge. The sides/front would not stay stable in the mold when I tried using rubber bands again. So I built some spool clamps of 1" oak doweling, some felt pads, some 1/4" rod cut to 8" lengths. A better size is 1 1/2" doweling to give more surface for them to clamp on. Notice the band clamp in the following picture. Luckily I did not disrupt the angle of the neck block or heel block. Had I done that, my soundhole might never have had strings go across it!!

Here is the box before trimming the top or back.

I'll stop here and pick up in a few more minutes.
Bob