Good evening, it is time for part #2!
Only a few things were decided from the beginning. The body shape, the wood, the neck profile and the bracing pattern. Everything else got questioned during the design process.
To visualize the design process for you, I want to write about a few of my thoughts and ideas of different parts of the guitar. In this post I want to talk about the body shape, the materials and the rosette design.
Body shape:
For the body shape I decided to go with my OM shape without a cutaway as it is the best fit for the sound I had in my head. I want to achieve a bit of a mellower sound with this guitar, more like a classical guitar. Also I thought that the curves and proportions of it will give the guitar a modern yet classic look that will fit the theme nicely.
Materials:
For the wood I decided to go with an almost white Swiss moon spruce top, to have a lightweight and stiff tonewood with a pale color so I can use it as a blank canvas for my inlay work. Those tops are also nice to work with and great sounding.
For the back and sides I chose a nice set of flat sawn santos rosewood for the classical 1950s cabinet look. It has a glass like tap tone what I think is unusual for santos rosewood, especially if it is flat sawn.
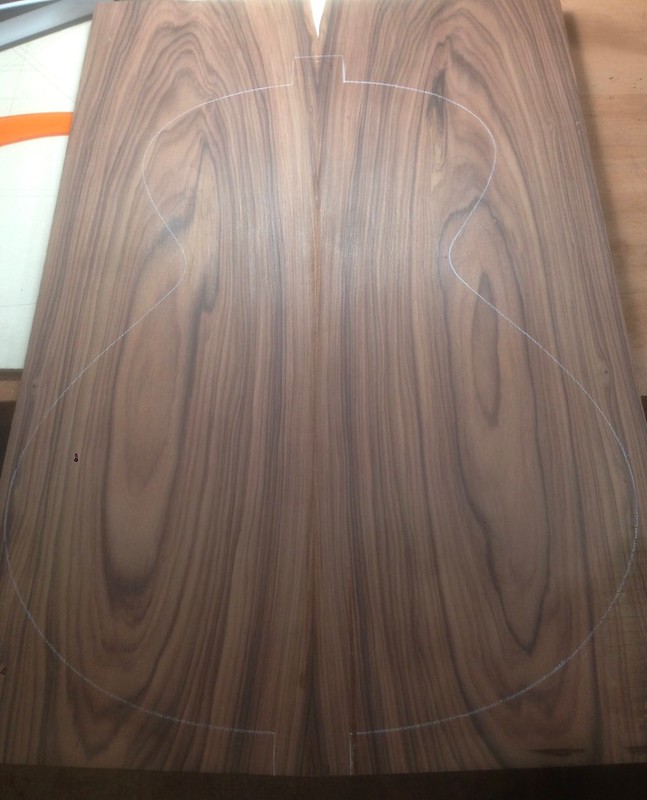
As I wanted to keep things simple, the busy figured back made the decisions for the other materials hard. What inspired me the most in terms of materials was Arne Jacobsens room 606. The combination of the flat sawn rosewood with the turquoise fabric and the stainless steel really cought my eyes. So I decided to go with some turquoise recon stone for the inlays to complement the rosewood.
The neck and the interior will be mahogany as usual, the fretboard, bindings and bridge will be ebony.
Rosette design:
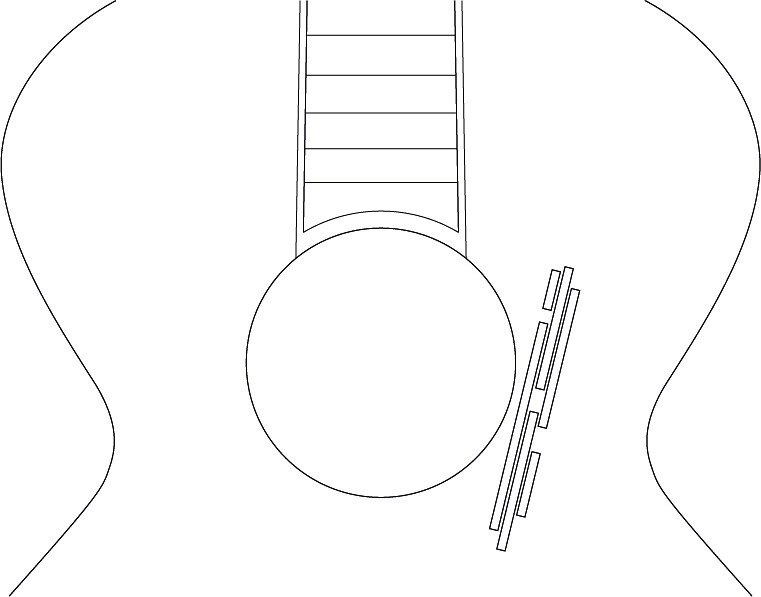
One year ago I stopped making round inlays around my soundhole. I can express myself better on my guitars with the freedom of not needing a round inlay. As the round rosette on a guitar is to prevent the top from cracking, I started to reinforce the top from the inside so I don't need the function of a rosette anymore.
As I still wanted to add some inlay close to the soundhole, I had to find a theme that is only decorative but still reflects the fundamentals of the Scandinavian design. So I started to look at the proportions of faces of buildings. but I still couldn't come up with any design that I thought would complement the guitar better than no inlay. This went on and on until I found the piece of fabric design by Arne Jacobsen. I instantly fell in love with its proportions so I started to extract them into a small theme that could work for a rosette.
After some back and forth I came up with six different patterns that are all based on the same proportions and chose one of them for this guitar.
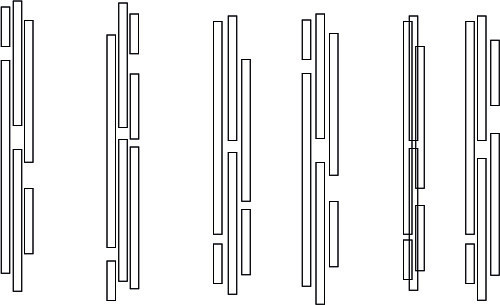
One of the most important things for me was not to exaggerate with the inlays, so I decided not to fill every segment with a material. Most of them will just be defined by their outlines.
This picture shows the first part of inlaying the rosette. I do all my inlays without cnc machines as I enjoy the process of doing it by hand as well as the flexibility I can have with my designs.
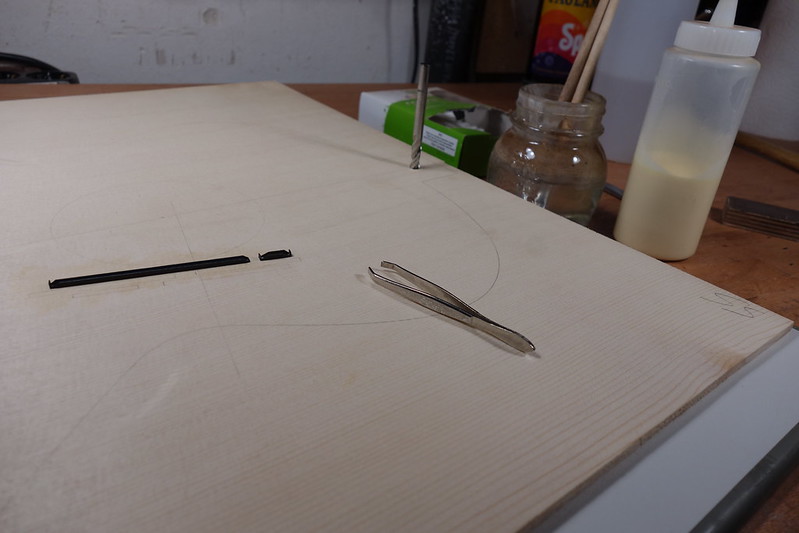
You will see the result of it in my next post.