There has been some more progress. And it really looks like a guitar now.
Thanks to Trevor's suggestion of using T-nuts, i didn't need to re-rout or cut a new fretboard extension plug as the M6 T-nuts fit perfectly. I annoyingly forgot to take pictures of this.
This meant i could glue the fretboard on and start carving the neck. I forgot to take a picture of gluing the fretboard on too.
With carving the neck the guitar really has begun to take shape and the end of the tunnel is appearing.
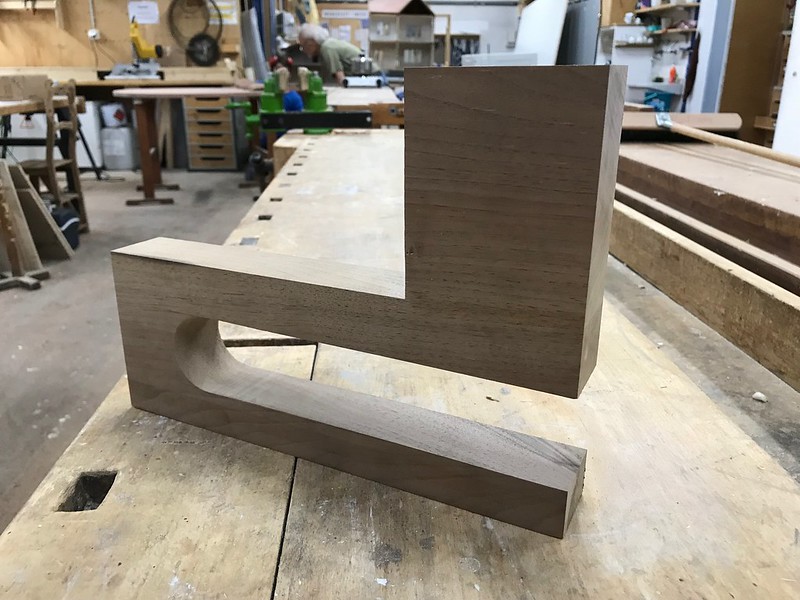
While waiting for the glue to dry when gluing the fretboard i dug out a chunk of walnut I had brought with me to the workshop and have started to make a long neck thickness calliper. I already have the digital micrometer from the deflection tester I made earlier.
Here is the start of my long neck thickness calliper. 2 blocks of walnut I had got glued together even though the one for the top section/micrometer support and mounting section is way larger than it needs to be.
 Untitled
 by
David Emm, on Flickr
neck carving process
 Untitled
 by
David Emm, on Flickr
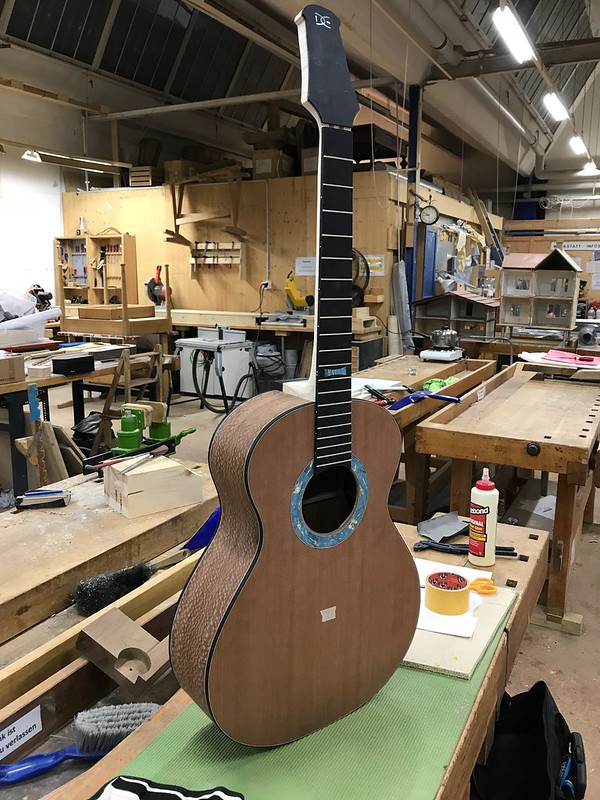
i'm probably 75-80% through the carving now. I ended up with no volute because this guitar will be for my father. He uses a yoke style capo and these are often stored behind the nut when playing, i have noticed before that it's not so easy to do this with a volute, even a subtle one, so I left the volute off here. I now think aesthetically this neck would probably have suited having one, but its a bit late now.
 Untitled
 by
David Emm, on Flickr
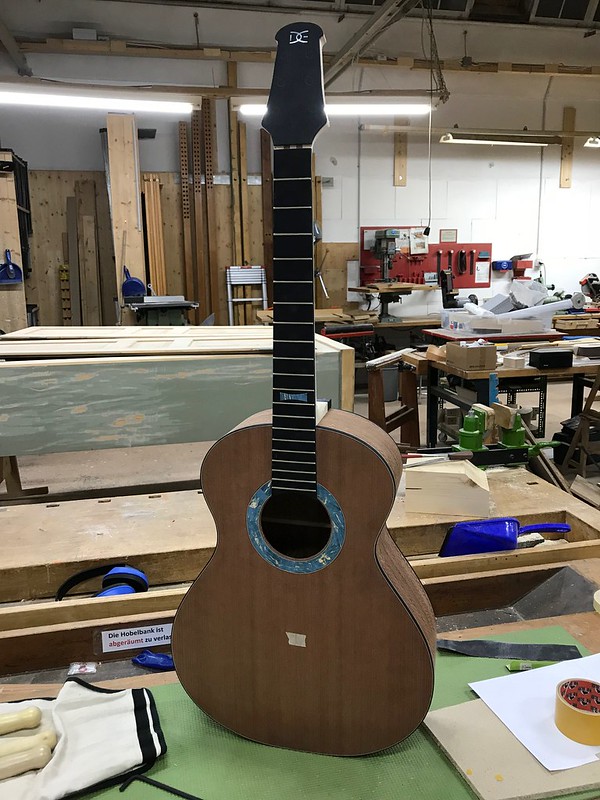
side view of the guitar with neck mostly carved.
 Untitled
 by
David Emm, on Flickr
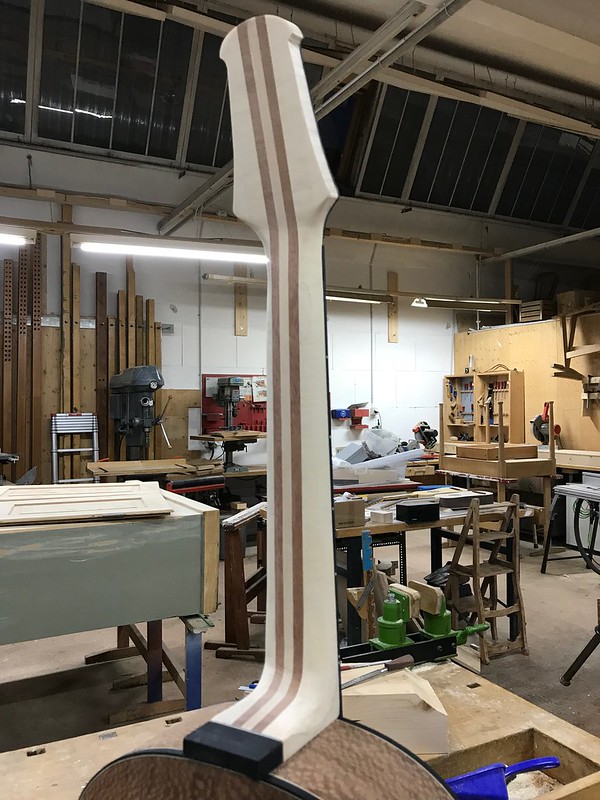
a more front on view kinda showing the now much tidier headstock
 Untitled
 by
David Emm, on Flickr