Thanks Ken! We have been very pleased with how the guitar has been coming together. The body is off at the finishing spa for a couple weeks, but I have a couple of pictures to share while it’s gone.
Here’s a little set John was curious about. I doubt that there’s anything that novel here, but we don’t usually take pictures of the steps of our neck fitting/preparation.
First we take the angle of where the neck would join the bound body.

Then, I cut the reciprocal angle in the heel of the neck. I set the chop saw to the correct angle by taking many small test cuts to make sure the angle is just right. When it is, I’ll cut down to my line slowly so my neck (with its pinned on fretboard) sits just where I want them to.

Once I have set the angle just right, I put in the inserts to hold the bolts. I start by making sure the heel face is exactly perpendicular to level.
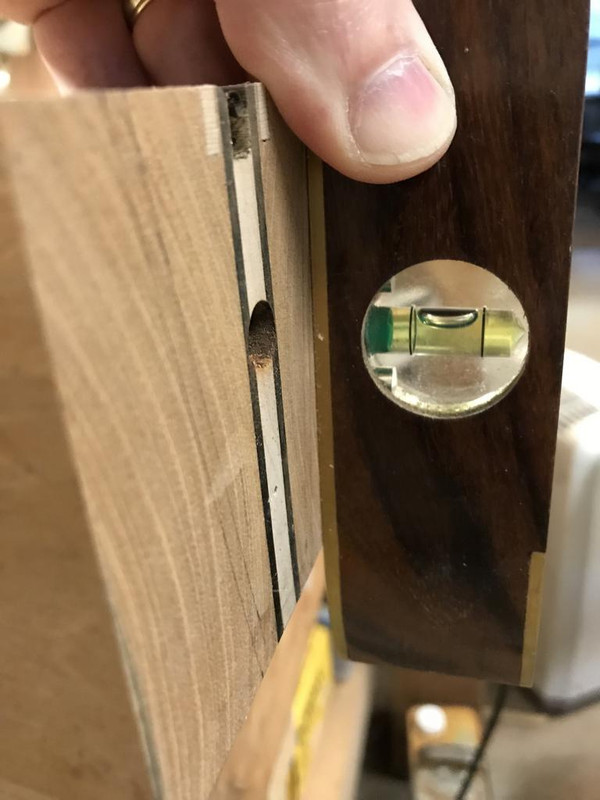
Then I use the bubble level in the drill to make sure the bit is level. I use the laminations in the neck to sight down to keep me going straight. (All this corresponds to the previous work done drilling the bolt holes in the body)

I screw the bolts into the slightly undersized holes, and once installed, I secure them with super glue. I can use the bolt driver shaft to make sure I’m putting them in exactly perpendicular to the face.

Finally, I relieve the heel (not pictured) with a router set to about 1/16”. This leaves just a border of wood that will fit against the body. I then fit the truss rod into its channel. Glue on the fretboard and we’ve finished the job.

Thanks.