Well, Here I go.........
The quick story; I started with Restorations to learn Guitar building/repair. I figured 3-4 years of tooling up. Maybe a kit or 2. ZOOM. I bought out a Luthier. Just about everything tools and wood you could dream of.
My business is Photography. I split my Photography studio in half to put in a proper workshop. That, taking over my guitar room with shelving to hold properly stored wood and rebuilding the studio so I could work took 3 intense weeks. Due to incredible timing I then went to the 2009 A.S.I.A Symposium for a few days (check it out if you are even THINKING of building or repairing). I learned more in 3 days than I have in 2 years of wanting to do this. The support, contacts and new friends really helped me understand: I can do this.
This is primarily a scratch build. I have many semi finished necks and a few other shortcuts. Keep in mind I DO NOT KNOW WHAT I AM DOING. I have rebuilt a few houses, done wood work. But nothing like this. Lets see what happens.
I will post here as I go to keep track and maybe me and a few others will learn along the way. I bet a bunch of Don't do it this ways lol.
Questions, observations and experience are welcome.
************************************************** ****
6/29/09
I sat down with a pre Joined soundboard, I think Sitka. I drew out the body, I used a Blues Creek Martin Stencil to get the shape.
Then found the sound hole center. Using a compass I started to rough out rosette locations.
Just for kicks I laid a Yamaha FG on and traced the difference.

The "M" and the "Y' are tough to see. The resolution is turned down to keep images easy to look at.
Since I am already set up for it, this one will be a Martin D shape, Mahogany Back and sides.
I think a Rosette should represent the feelings or emotions of the moment.
My first design;
Then I thought
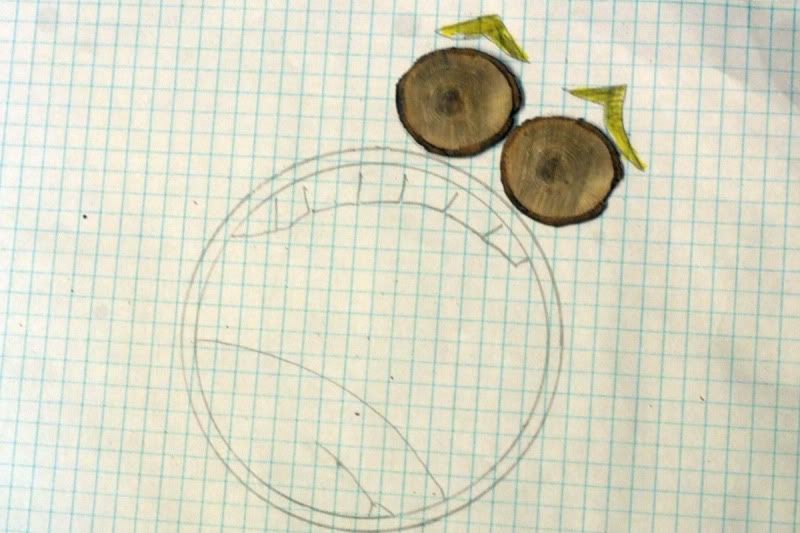
The rings of a tree overlapping would look cool. It looked to much like a topless race lol !
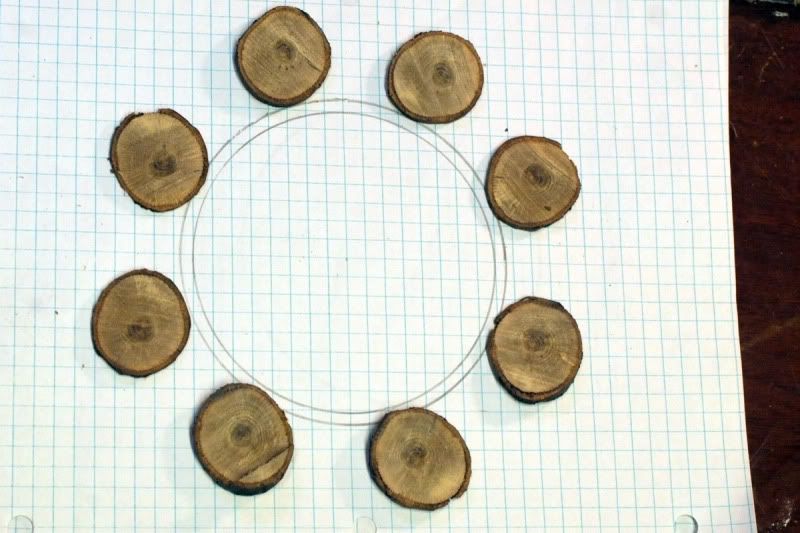
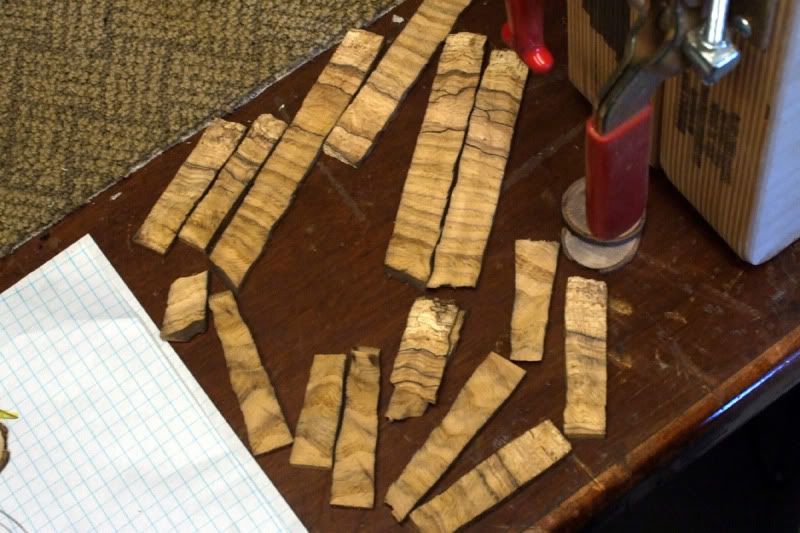
So I played around with some wavy Spalted scraps. ALWAYS wear your mask messing with wood. Especially Spalted wood. The black lines are a mold.
My wife said tooooo Funky
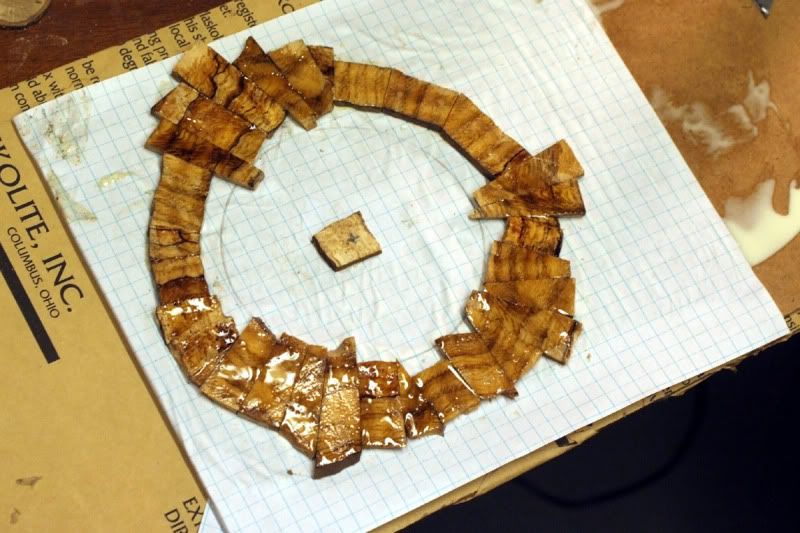
I super Glued it and saved it for another day.
So a ring of Mahogany it is. I had a scrap Mahogany top (broken in a few places).
Now, How?
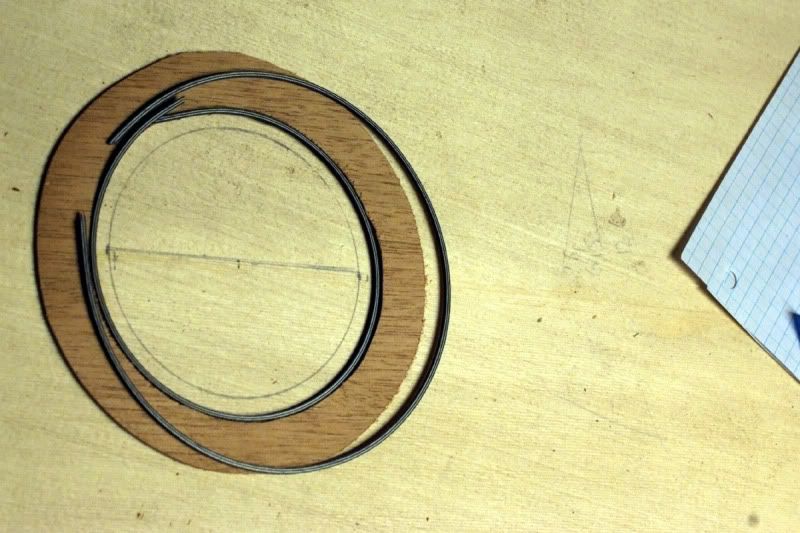
I cut it out rough with a scroll saw. Shouldnt have. But I finished it with the right tool.
I spent an hour figuring out the ups and downs of the Stew Mac Dremel set up for Rosettes and holes. I could not find the center pin to rotate the fixture on. So I found a proper sized bit. Drilled it into the Sitka Top and then into the table top. Leaving it stuck in the table. Perfect.
I cut for the inner ring, outer ring and Mahogany ring. Also the sound hole was scored but not cut through. I took off the sound board and pinned down the scrolled rough rosette. I cut it almost perfect. One dip, so now I have the direction of the Mahogany grain (to hide the dip)
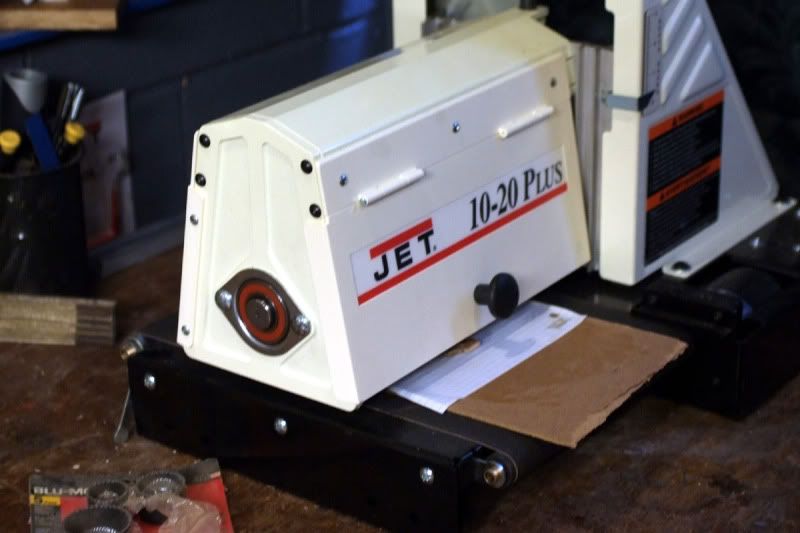
Using other rosettes for my height guide I thinned the Mahogany ring. Using the fancy shmancy Jet thickness sander eliminated a ton of time and likely screw ups. You run the item though many times grinding off small layers at a time.
I lined everything for a test fit and
OOPS
Not sure what I measured wrong but my Sitka field is now another ring of Mahogany. I mean...Wouldn't it look perfect with another field of Mahogany!
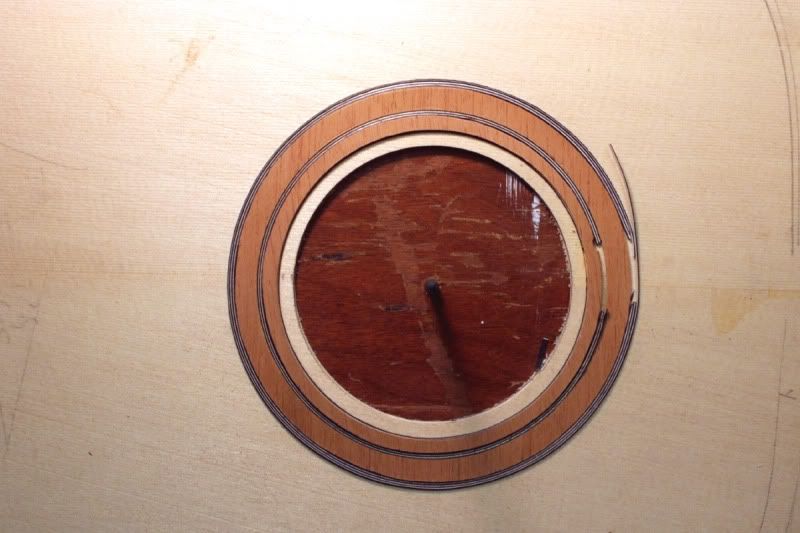
I had a 3/1000'ths I could not account for. So I made it up with a .003 strip
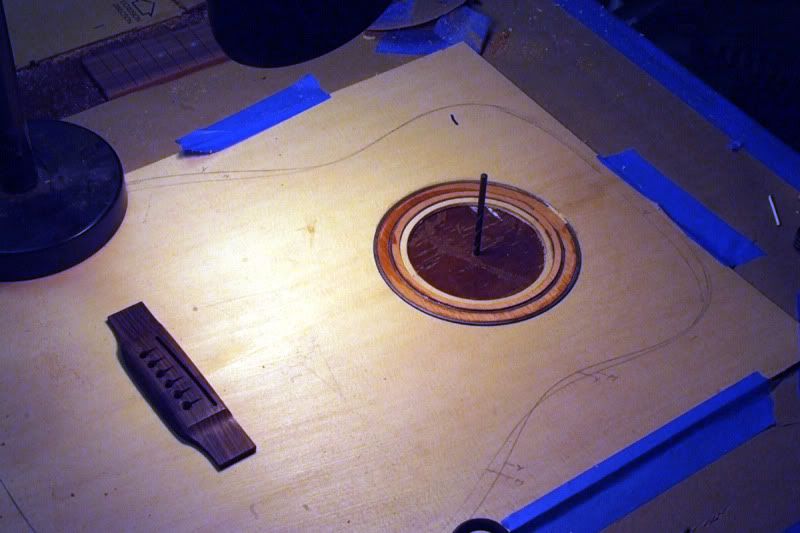
Everything is superglued in place. After it hardens I will thickness sand the top and rosette down to get started on making braces.
I hope it survives!
Just dreamin'