Life and some serious health problems conspired against me. But I am determined to finish at least 1 guitar! lol
So. Onward.
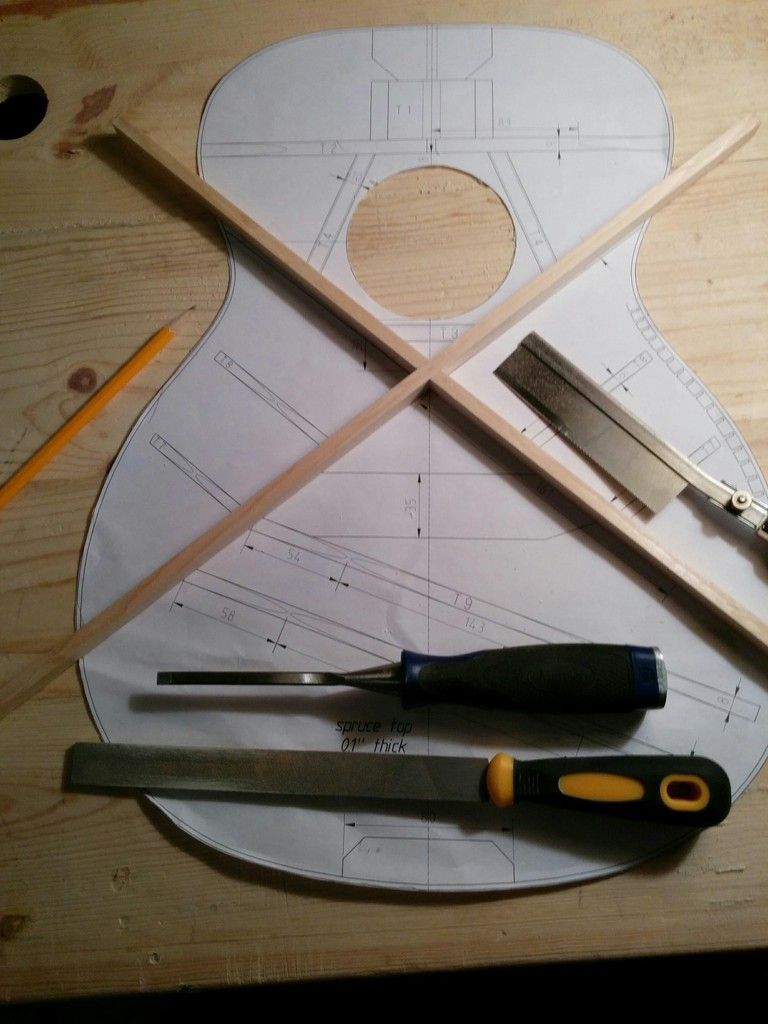
I still have all the stuff, and the components I already built. So I'm just picking up where I left off. I've been working for the last couple weeks, getting ready to brace the top.
Thicknessing the x braces.

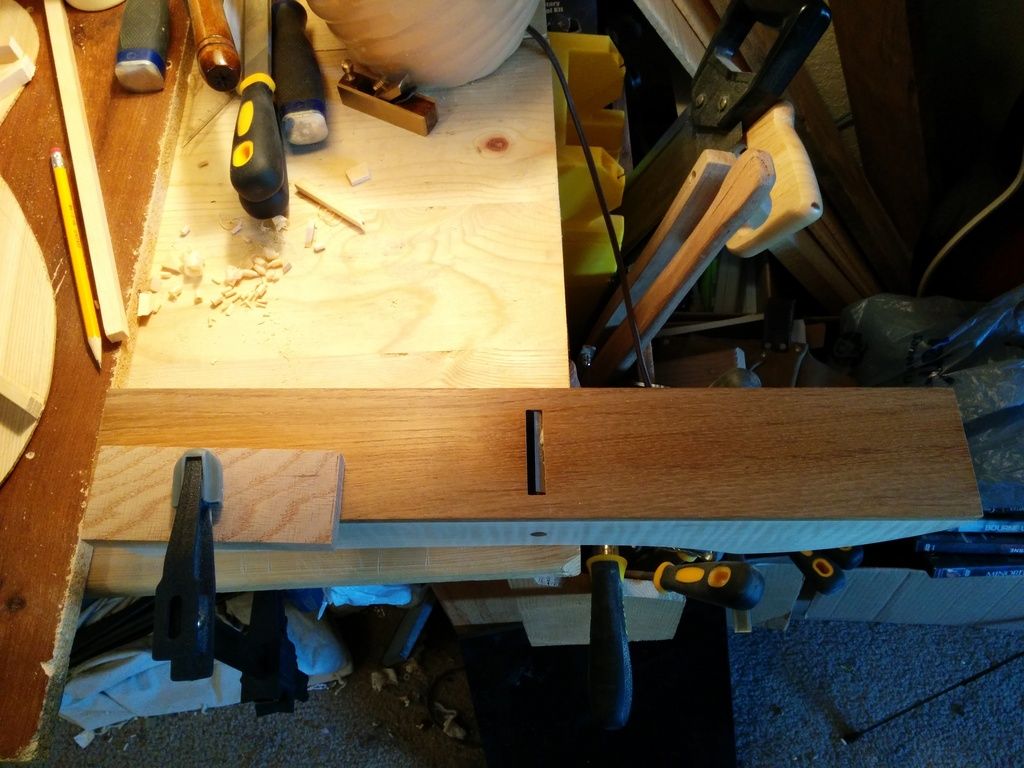
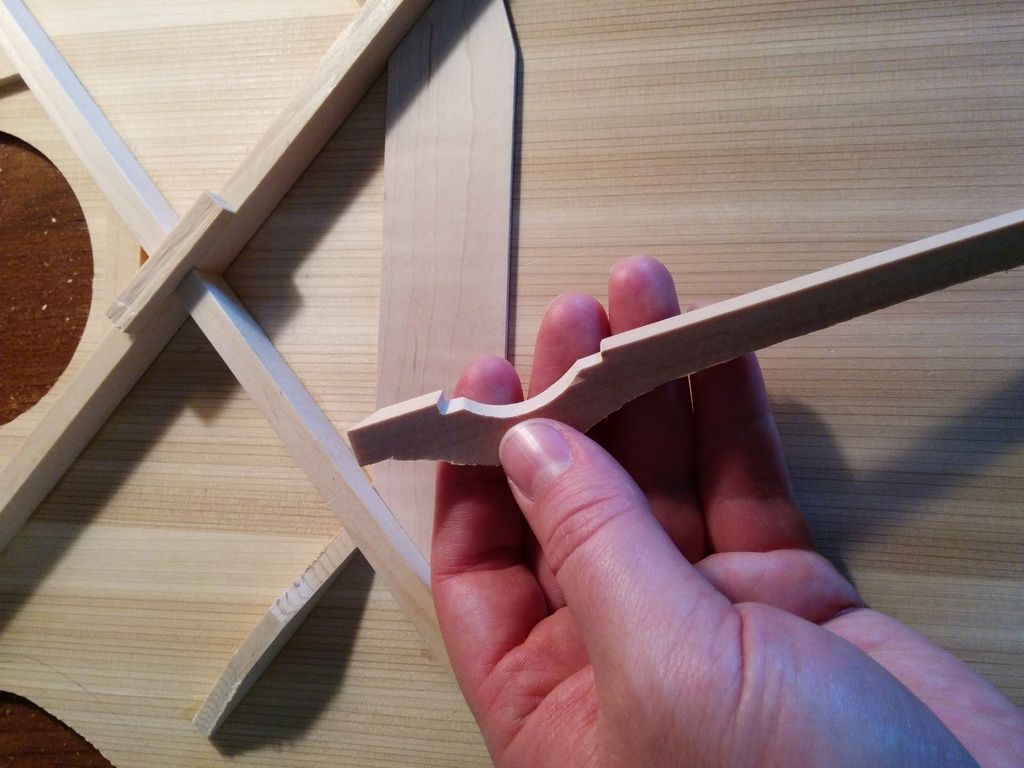
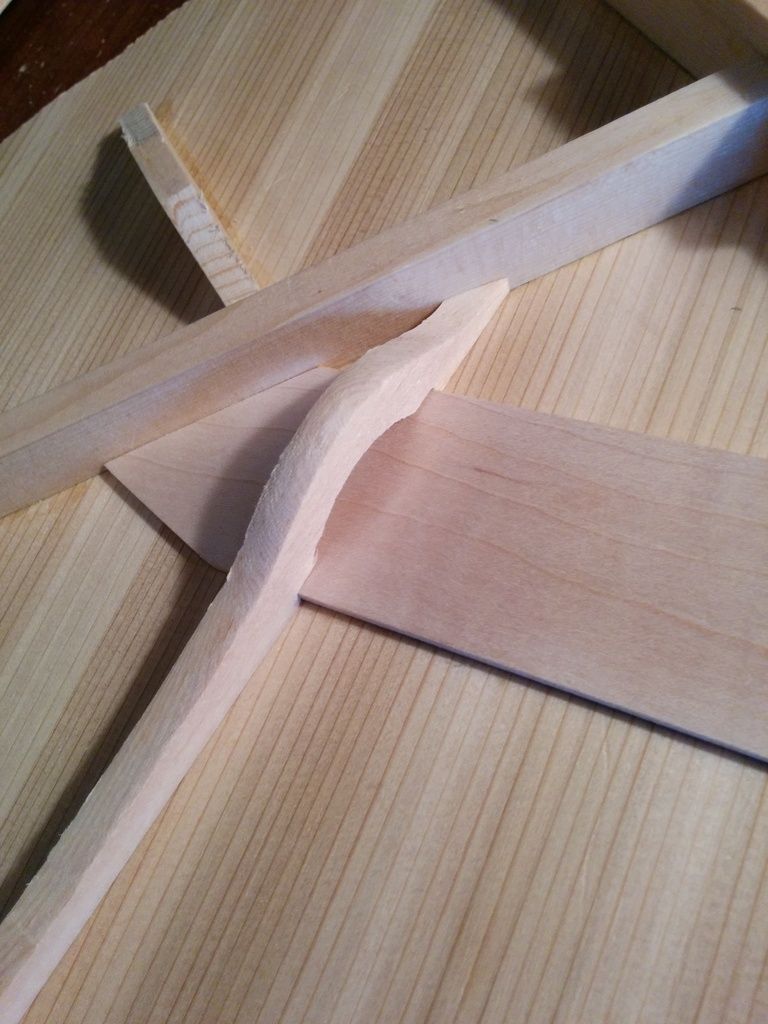
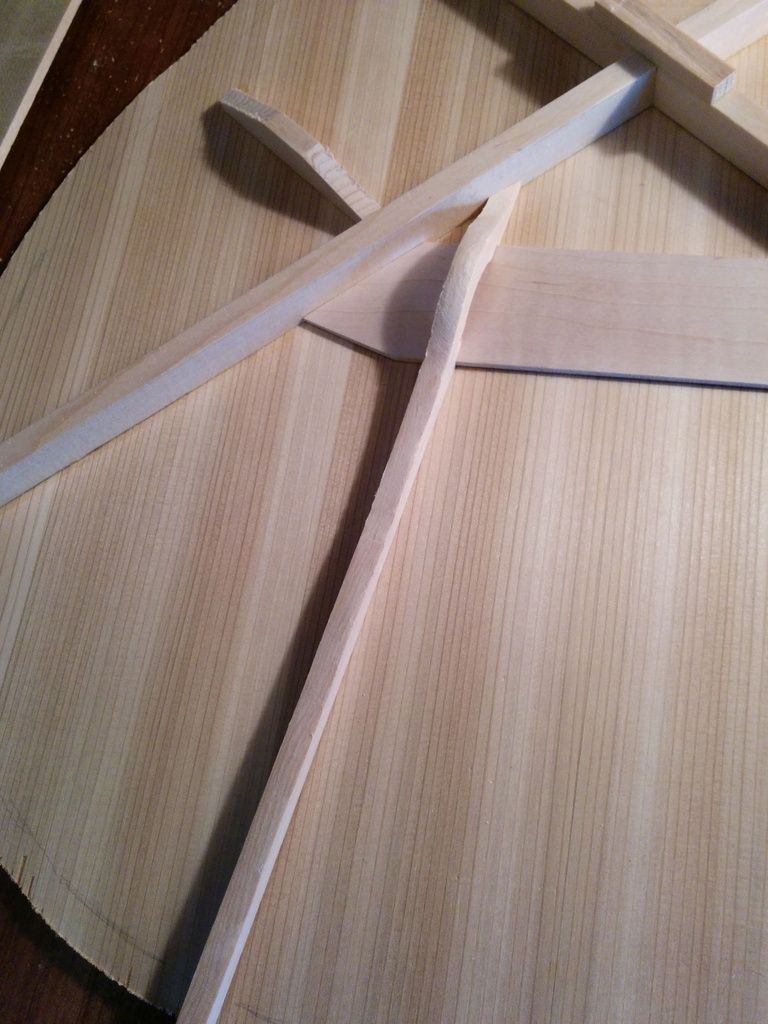
Cutting the lap joint. This wasn't too hard.
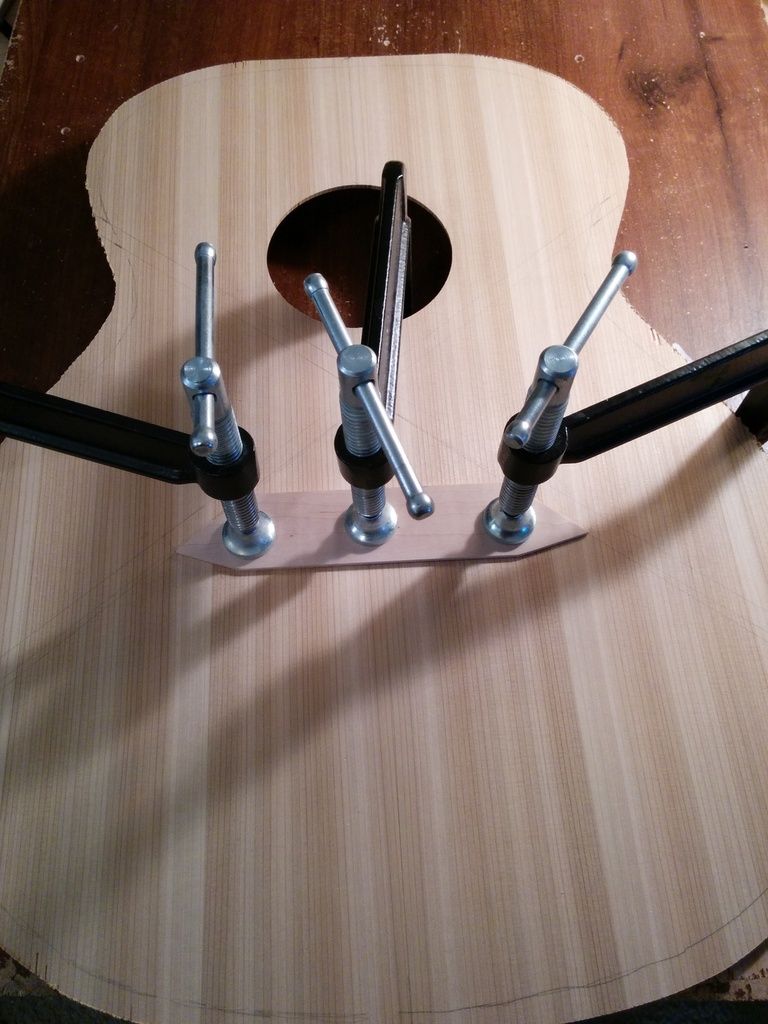
Thicknessing the bridge plate.

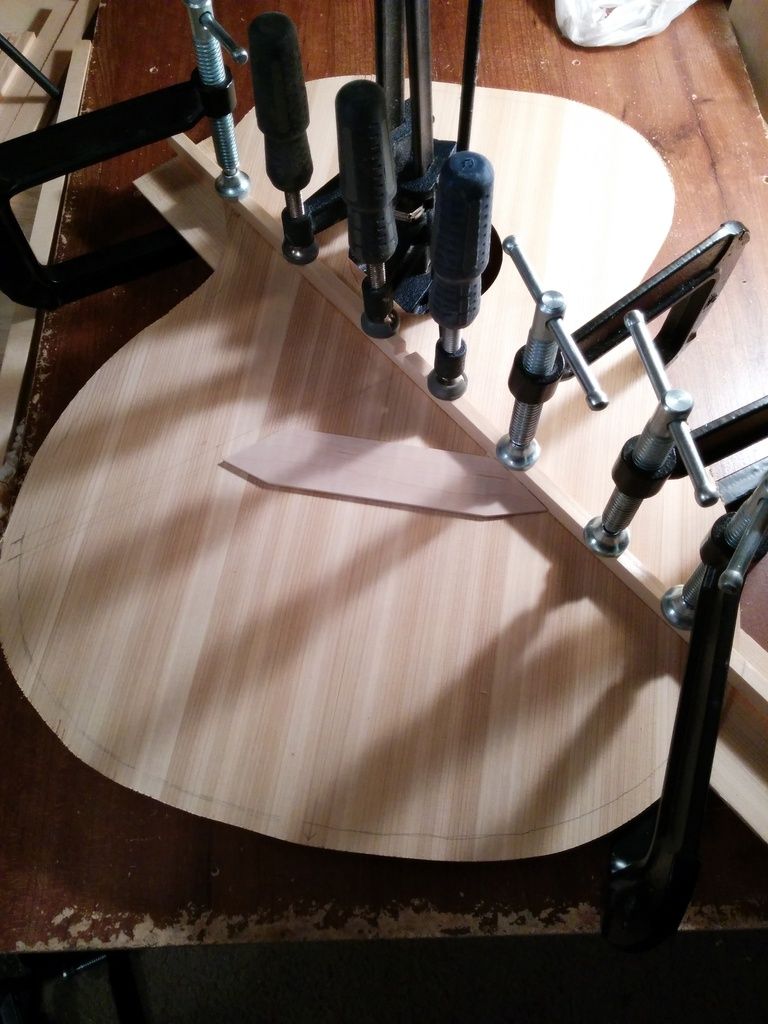
Gluing the bridge plate.
I used my jointing plane to cut the radius into the braces. I used cumpiano's wooden dowel method to draw the initial radiused line into a piece of cardboard. Then I used the cardboard to draw the line onto the thicknessed brace. Then I used the plane below to plane down to the line. It's a bit tricky, but I think it worked fine. I'd be interested in hearing other ways of doing this, as this seems a bit hazardous to my fingers. Wouldn't be that hard to cut a finger tip off doing it this way.
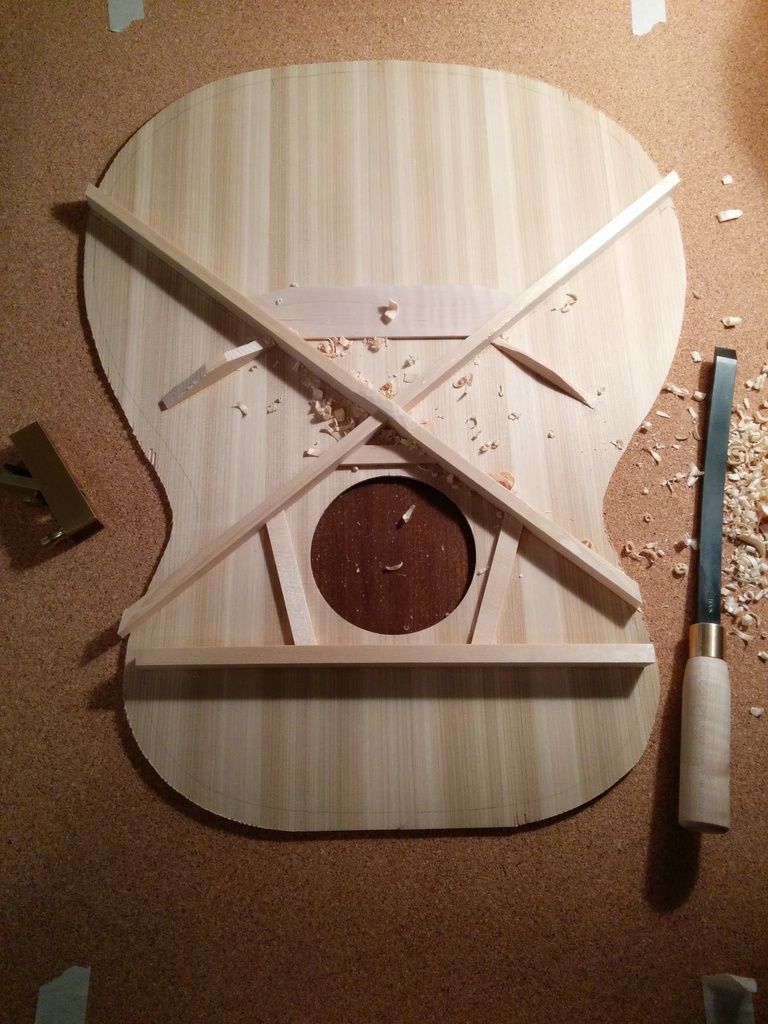
Gluing the first x brace.
Gluing the other x brace.
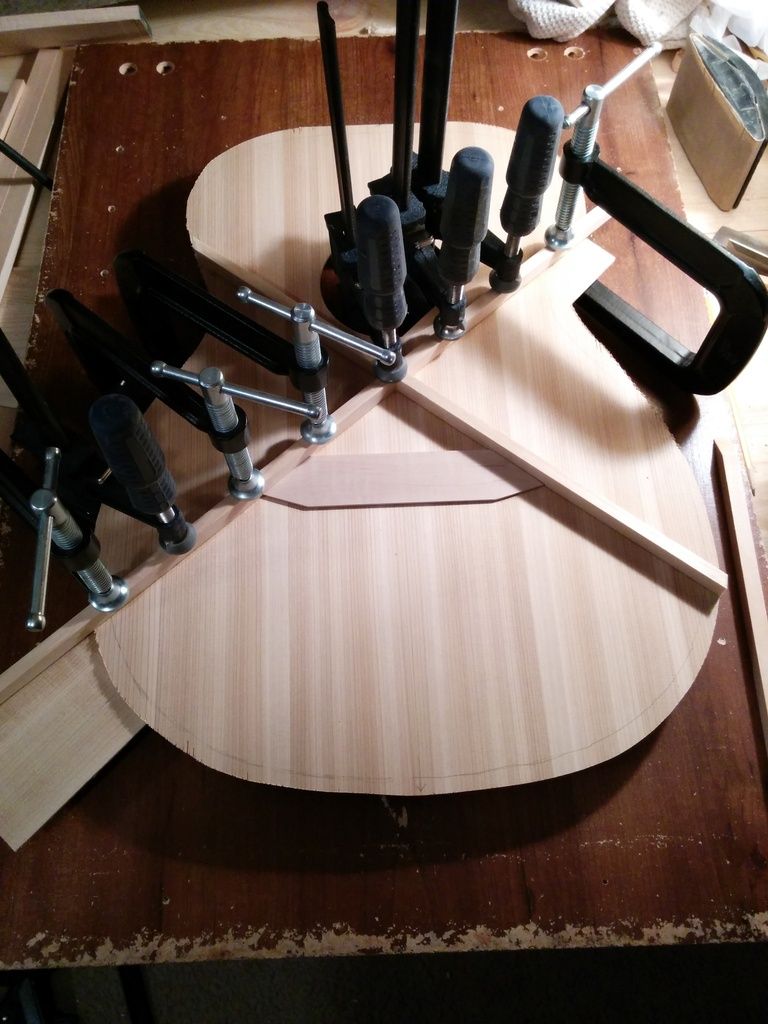
Gluing the upper transverse brace.
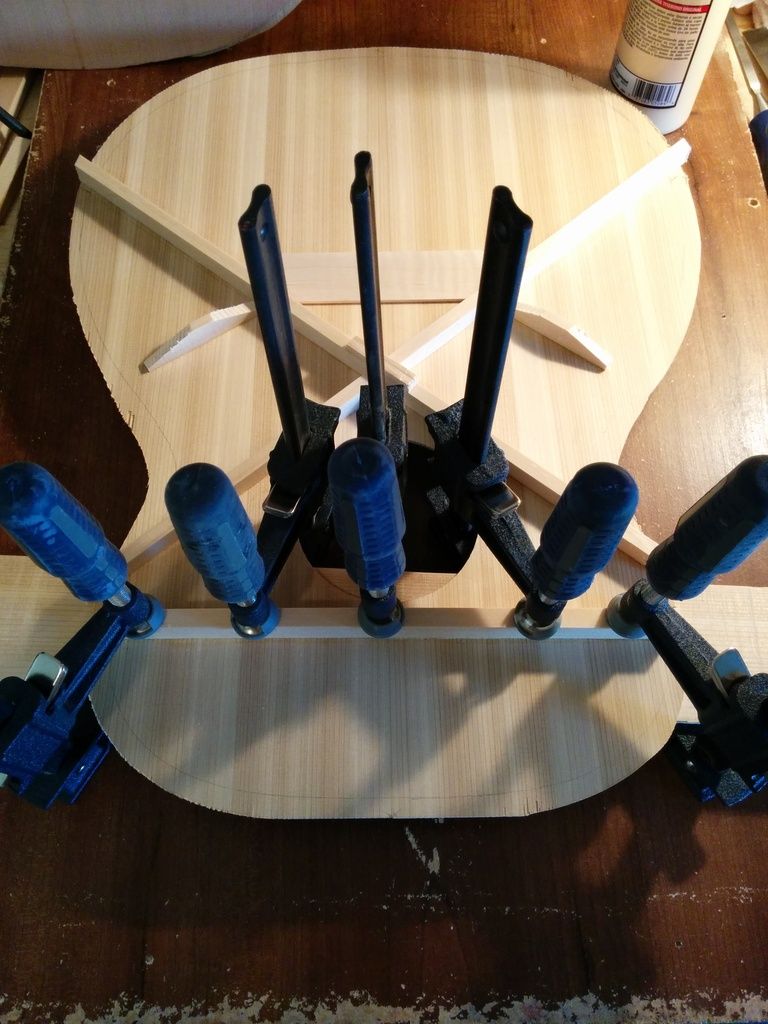
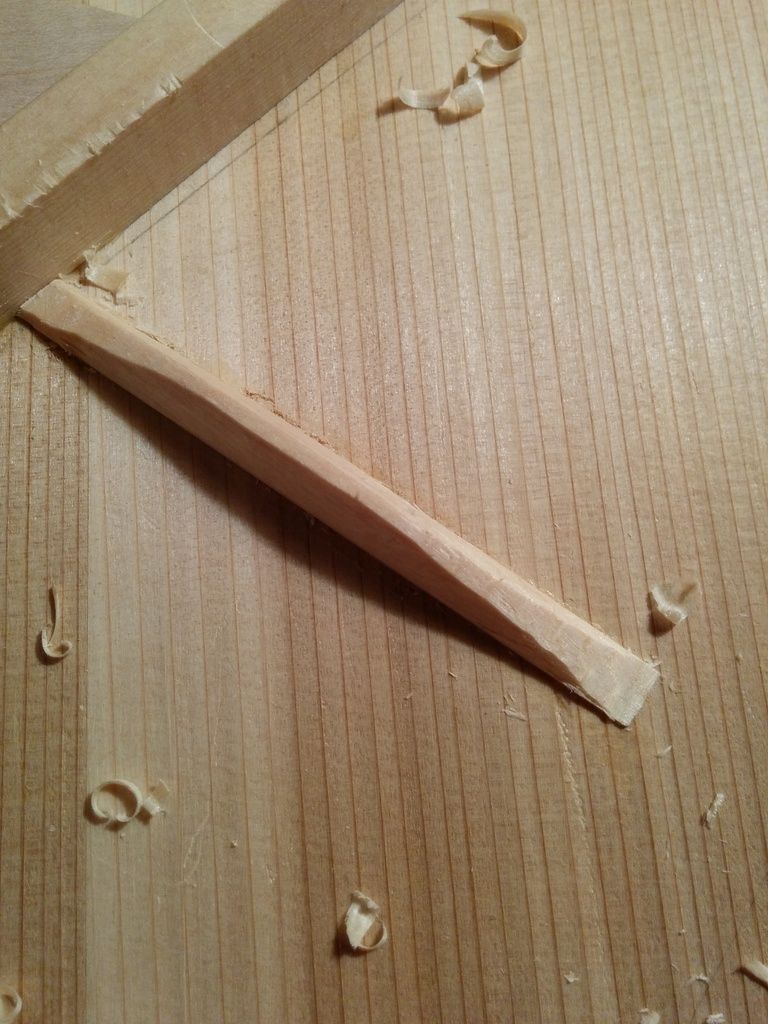
Fashioning the lower "tone bars". I'm not going with the old Martin way of doing things, making the tone bars cross the lower face of the sound board.
The tone bar fit into place.
Another shot of the tone bar. On larger sized guitars, I'll do 3 of these (possibly). For this OO size, just 2. They are a quarter inch tall and a quarter inch wide. They will be shaped to a triangular shape.
Shaping the braces with my hock chisel. I love that chisel. Thing of beauty.
Closeup of one of the fan braces. Not the prettiest thing, but then, I've never done this before. I'm just glad I haven't yet put the chisel through the sound board. lol. Or my hand.
Here is the top with half the shaping done on the braces. Cutting the triangular shape is next. That'll be the hardest part. And after I'm done there, I'll glue the tone bars into place and shape them. The x braces are cut to 1/8 inch at the sides on the lower side, and 3/16 inch on the upper side. Should I go lower than that? Any thoughts there?
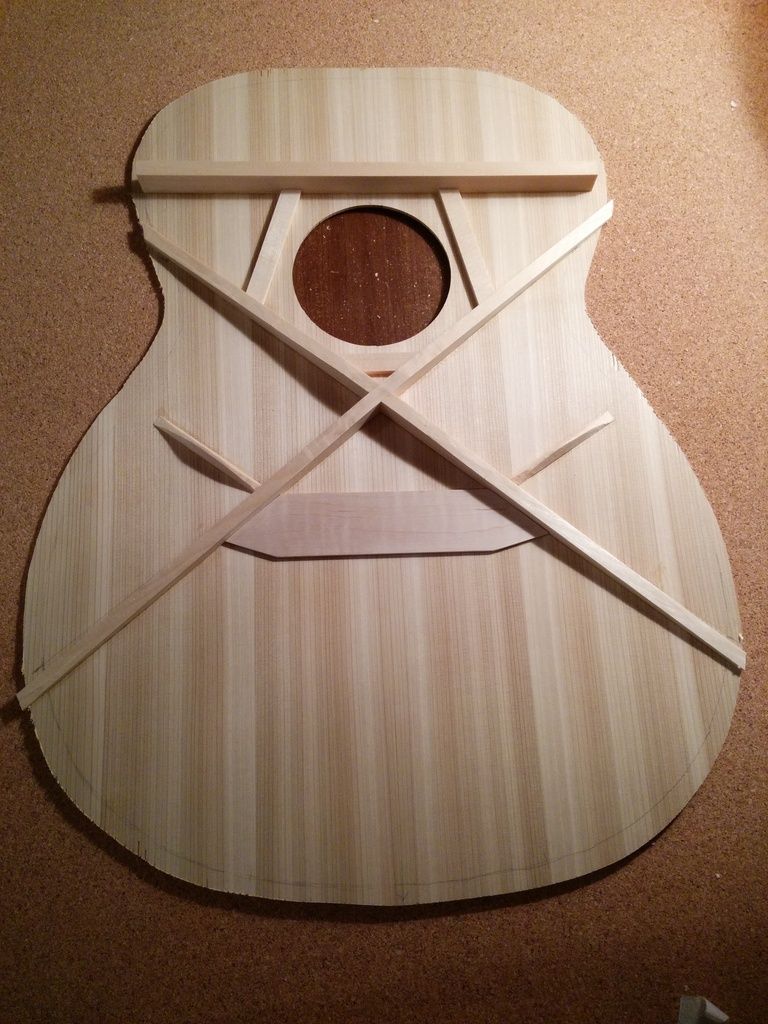
For the upper transverse brace, I'm going to leave the majority of the material alone, and cut a steep angle where the brace meets the side/kerfing. I'll then fashion a rib with a complimentary angle to provide a strong, load bearing anchor point to glue the transverse brace to.
I also had already put the x brace patch in place, a small piece of sitka. But I realized after that I probably shouldn't have put it there yet, it gets in the way while shaping the braces. So I planed it off. I'll put it back on when I'm done.
