
|
|
#32
 04-19-2017, 12:25 PM
|
|||
|
|||
|
So i've now joined up top number 2.....
Apparently this top is actually from the same tree as my the other top. Thats kinda cool. This time round I'm pretty much decided i'll thin the top to 2.2217596468mm but if it initially comes out anywhere between 2.3mm and 2.2mm i'll accept that. I'll later thin it down to at least 2.0mm if not less on the edges but leave the central area pretty much as it is. 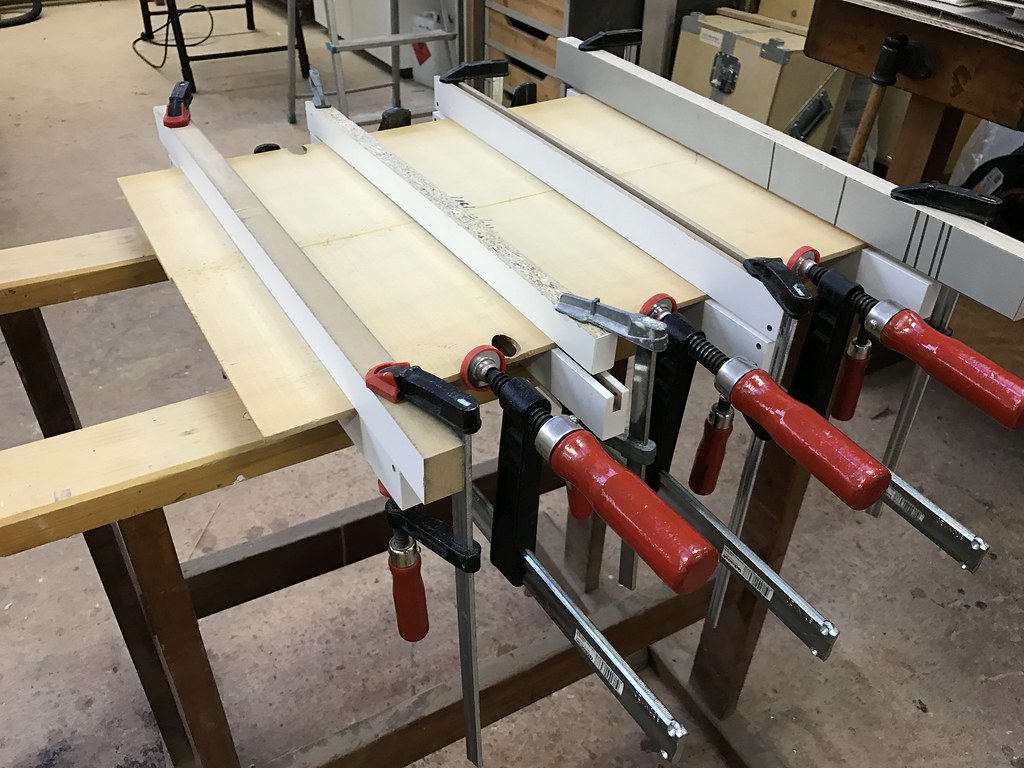 Untitled by David Emm, on Flickr Untitled by David Emm, on Flickr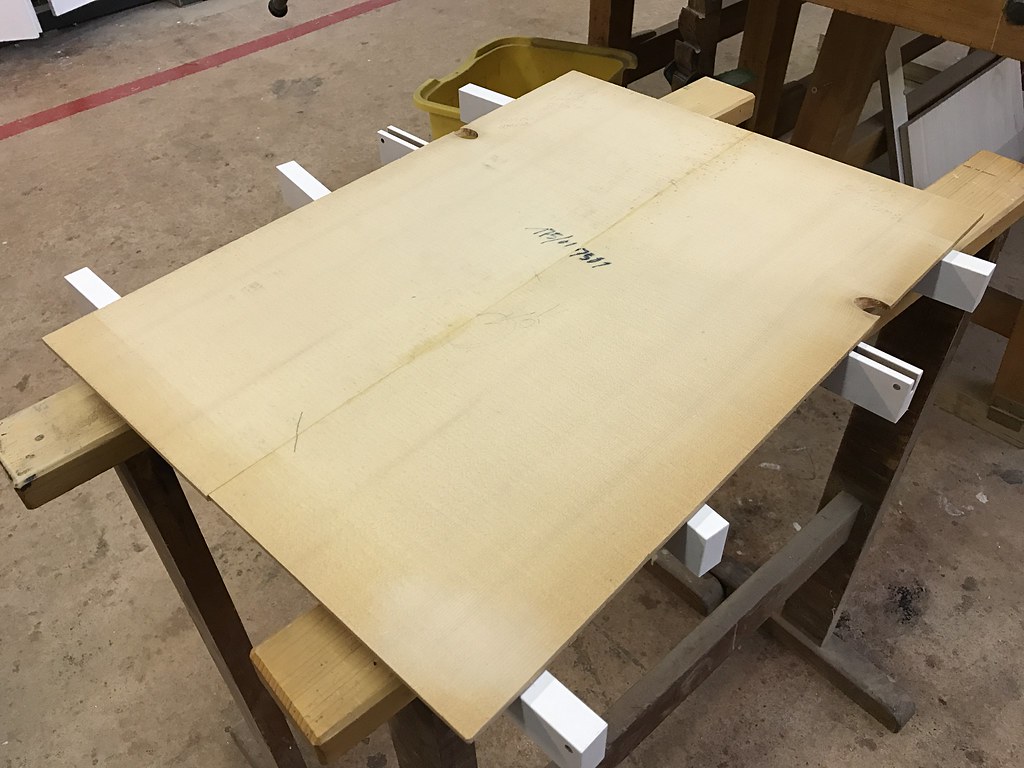 Untitled by David Emm, on Flickr Untitled by David Emm, on Flickr

|
|
#33
04-19-2017, 01:25 PM
|
|||
|
|||
|
If the thickness sander you are using is anything like mine, allow a few 1/10ths of a mm for sanding out the marks from the thickness sander.
|
|
#34
04-19-2017, 02:01 PM
|
||||
|
||||
|
About the truss rod and relief. You are over a thinking this. If you use straight grained and dry H mahogany for your neck and a typical profile and no truss rod and the then work the fingerboard dead flat, the strings will pull the neck into the closest approximation of the ideal relief 99 times out of 100. It's all part of the design concept.
My ideal for classical action height approximates steel string Bluegrass action: just a hair under 3/32 x 4/32. I often do use carbon fiber in my classical neck, but I then have to create the relief.
|
|
#35
04-19-2017, 04:23 PM
|
|||
|
|||
|
Quote:
Tigers like that bender. Never ever thought of using an iron DUH. So really all you have there is the inside bending mold... w lamps Then use the iron w clamps Rad Sent from my iPhone using Tapatalk Pro
|
|
#36
04-20-2017, 03:56 AM
|
|||
|
|||
|
Quote:
Quote:
Actually the thickness sander seems to do have done an excellent job of not leaving marks previously, but it does only have 80 grit paper on it, so you do then have to sand it from that point up to the required grit. Quote:
|
|
#37
04-23-2017, 12:33 PM
|
|||
|
|||
|
Right, so I'm basically back to where I was. Still waiting for the replacement sides to arrive in the post though.
I managed to get the top thicknessed. Its somewhere between 2.2mm and 2.3mm, I don't have a deep throat thickness gauge to get exactly to my pre-planned dimension of 2.2217596468mm, so this will have to do for now, when I can re-grind and resharpen my scraper I'll thin the edges down. Hopefully i remember to do that before I start doing anything with braces. I also installed another rosette, i think its pretty much as good as the first one, obviously I was hoping it would come out better, but somehow even though I seem to have better joints between the pieces on the rosette on number2, the joins seem to be more obvious. I then decided to swab some mineral spirits onto the top and rosette to show the flame in the rosette. I can't find any 'ingredients' listed on the mineral spirits bottle, but several hours later it has dried but has left a stain exactly the same colour as it looked when wet. I'm not overly happy about this as the tops were so 'clean' beforehand. My previous bottle of mineral spirits didnt do this. it flashed off super fast as would be expected. Is there anything I can do to fix it? I guess I have to sand it out? but if its soaked in that could be a lot of sanding..... I guess I need to find some actual naptha somewhere for next time. Here is the thicknesser I borrow, its pretty large.... 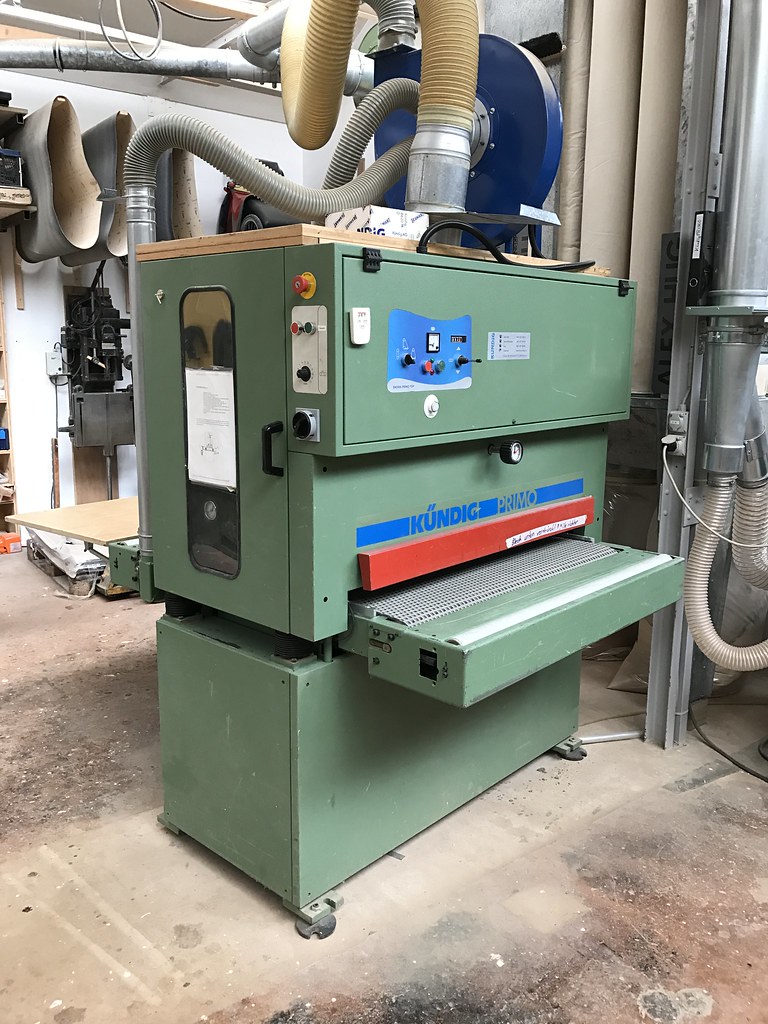 Untitled by David Emm, on Flickr Untitled by David Emm, on FlickrTop number 2 after bandsawing the excess away to somewhere near the required outline  Untitled by David Emm, on Flickr Untitled by David Emm, on Flickrtop number 2 after bandsawing 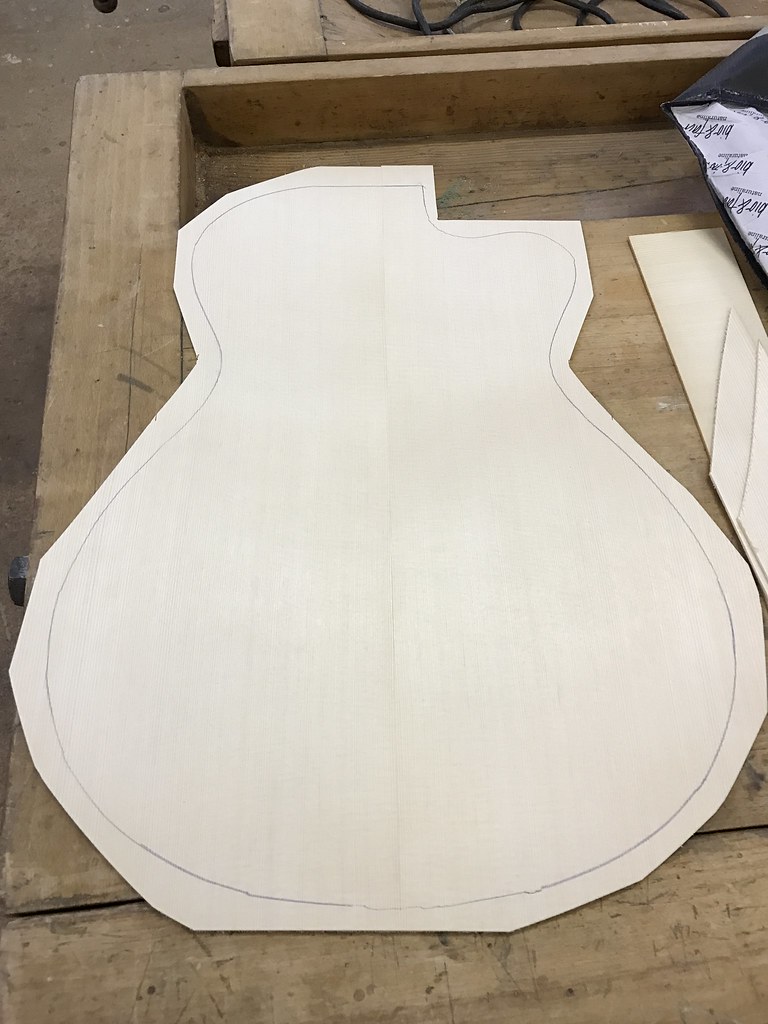 Untitled by David Emm, on Flickr Untitled by David Emm, on Flickrcloser view of top number 2 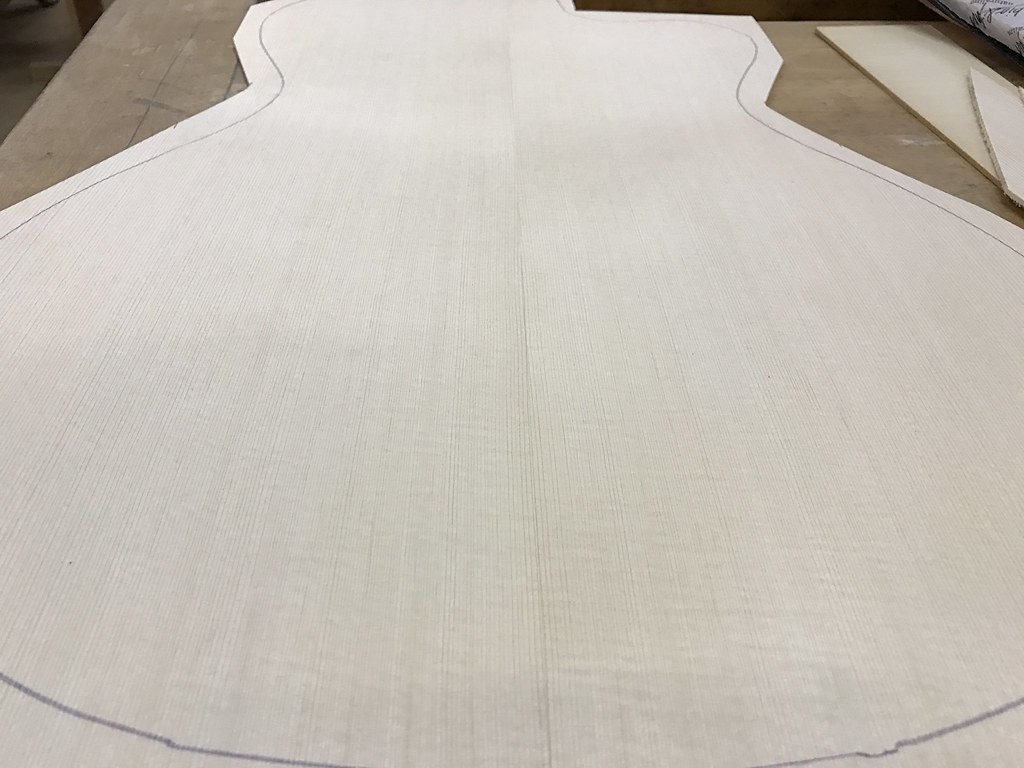 Untitled by David Emm, on Flickr Untitled by David Emm, on FlickrGot the rosette installed on top number 2, pictured with mineral spirits applied 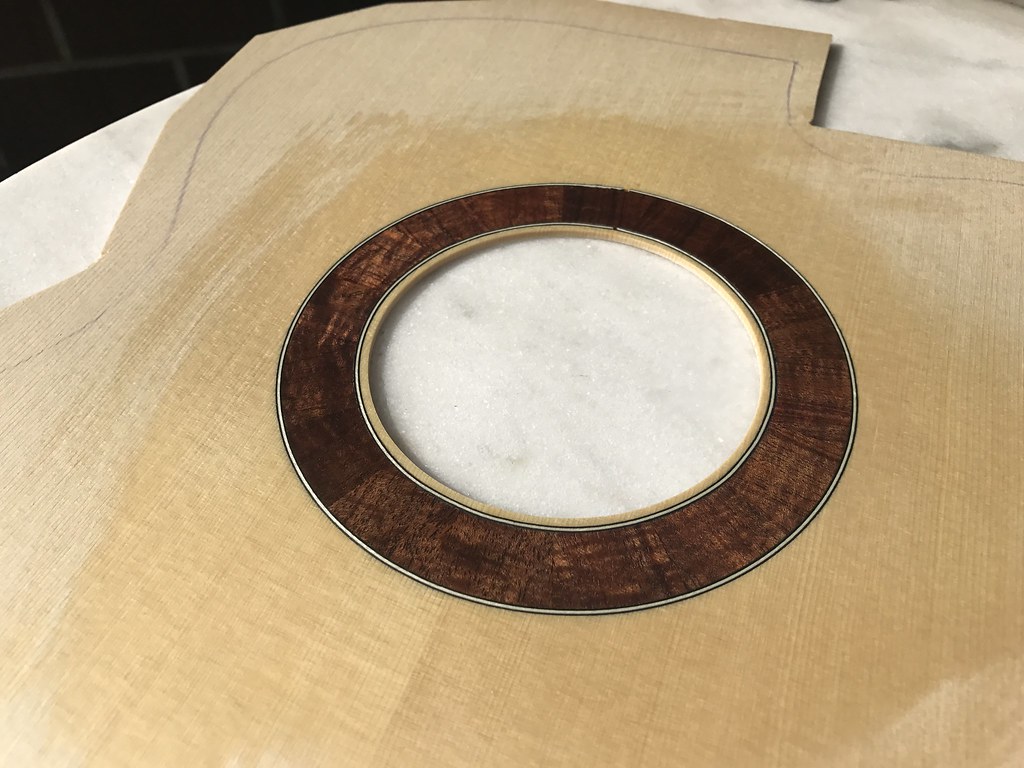 Untitled by David Emm, on Flickr Untitled by David Emm, on Flickrsecond view of the rosette, pictured here with the aforementioned mineral spirits 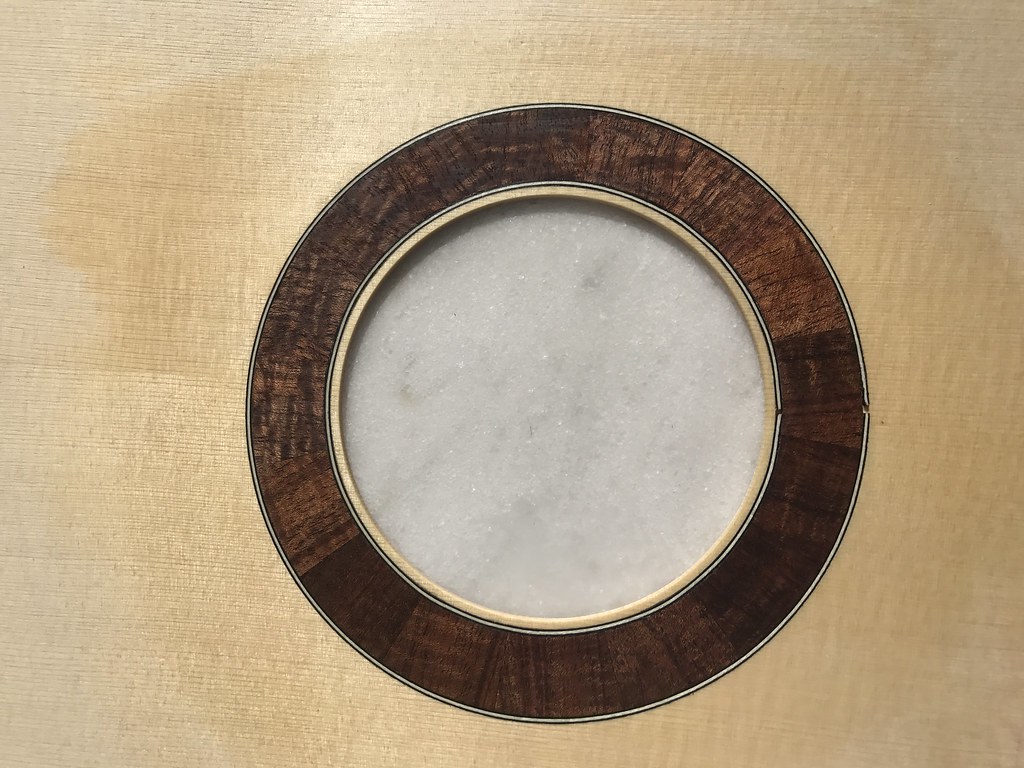 Untitled by David Emm, on Flickr Untitled by David Emm, on FlickrOriginal top (left) and top number 2 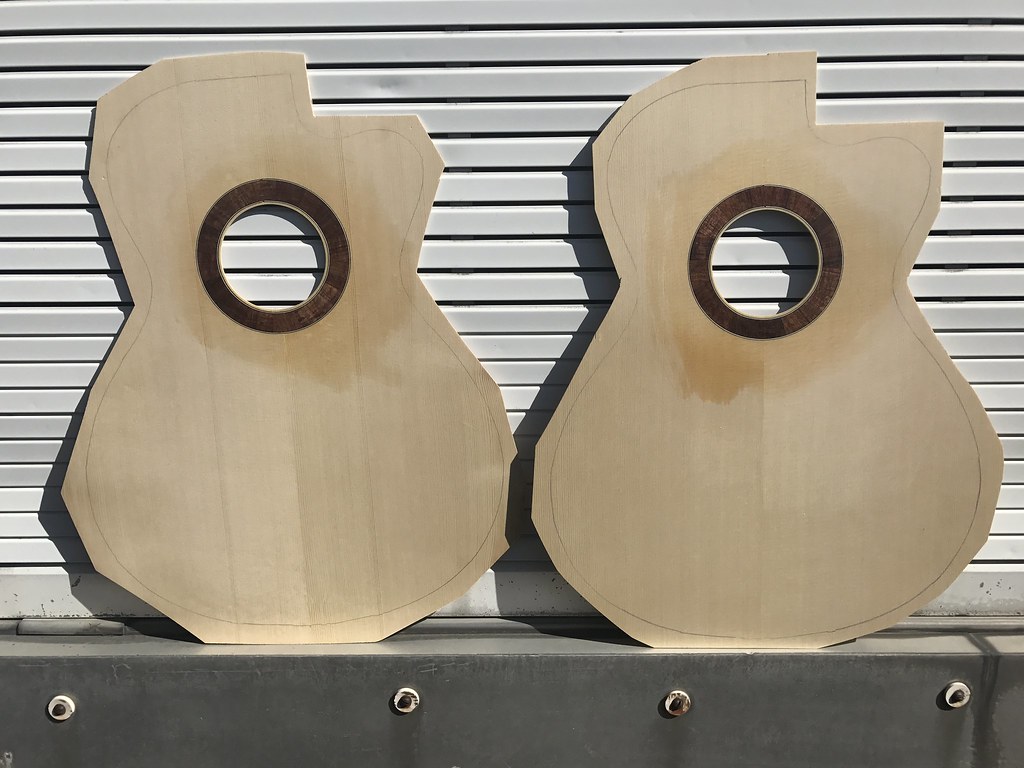 Untitled by David Emm, on Flickr Untitled by David Emm, on Flickr
|
|
#38
04-24-2017, 02:25 PM
|
|||
|
|||
|
So after re-reading the label about 8 times, i finally spot that my mineral spirits contain oil.
If I plan to lacquer this at the end, I'm guessing I need to somehow remove this from my wood even though its now soaked in and I can't see the stain any more Any suggestions on how I would best go about this? dish soap with not much but warm water? sanding? actually oil the top fully and prepare to utilise a non-lacquer finish? this is not my number 1 option as my client would prefer a semi-gloss finish, and in my impressions that much easier to obtain via lacquer then by shellac/french polishing or oil lacquer etc.
|
|
#39
05-03-2017, 01:19 PM
|
|||
|
|||
|
So i've been bracing top number 2.....
I haven't really started to actually tune it, and I still don't really know what i'm listening for in a fan braced top, but in my opinion i'm definitely not there yet. It is only really the start point though and I have a way to go. The big transverse braces look massive, but they are apparently the right dimensions. I still have to scallop the ends of those to better fit them into the box. I also haven't glued the flat, wide vertical braces inbetween the two transverse braces yet. obligatory wood shavings picture 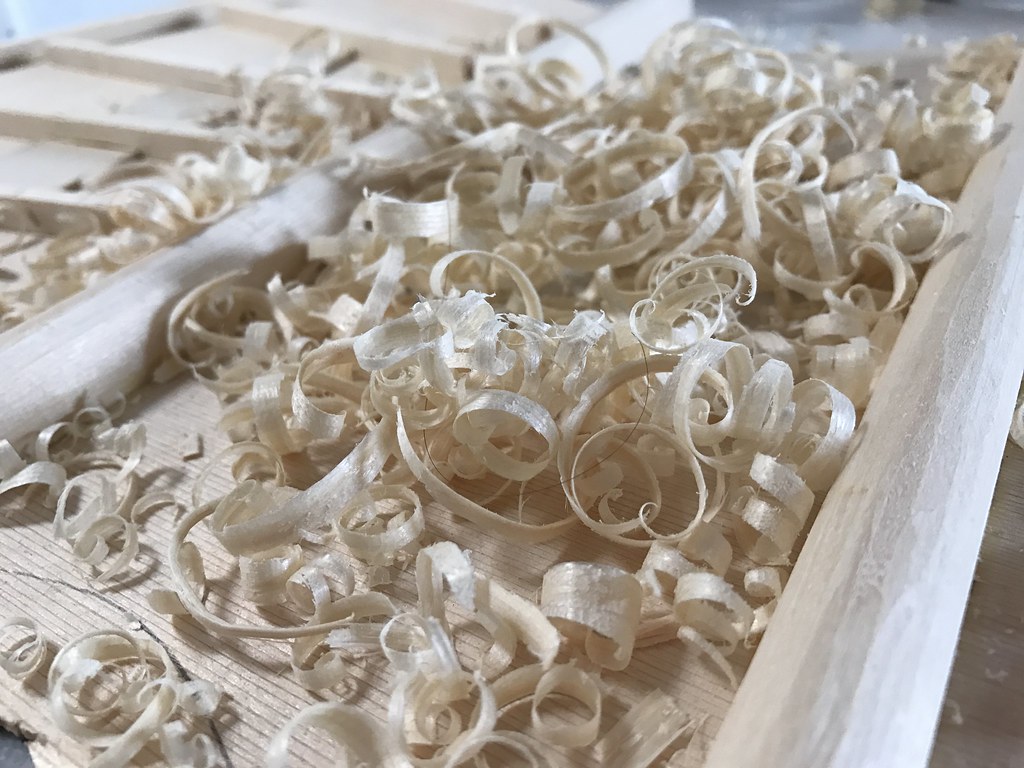 Untitled by David Emm, on Flickr Untitled by David Emm, on Flickrmost of the initial carving is done here 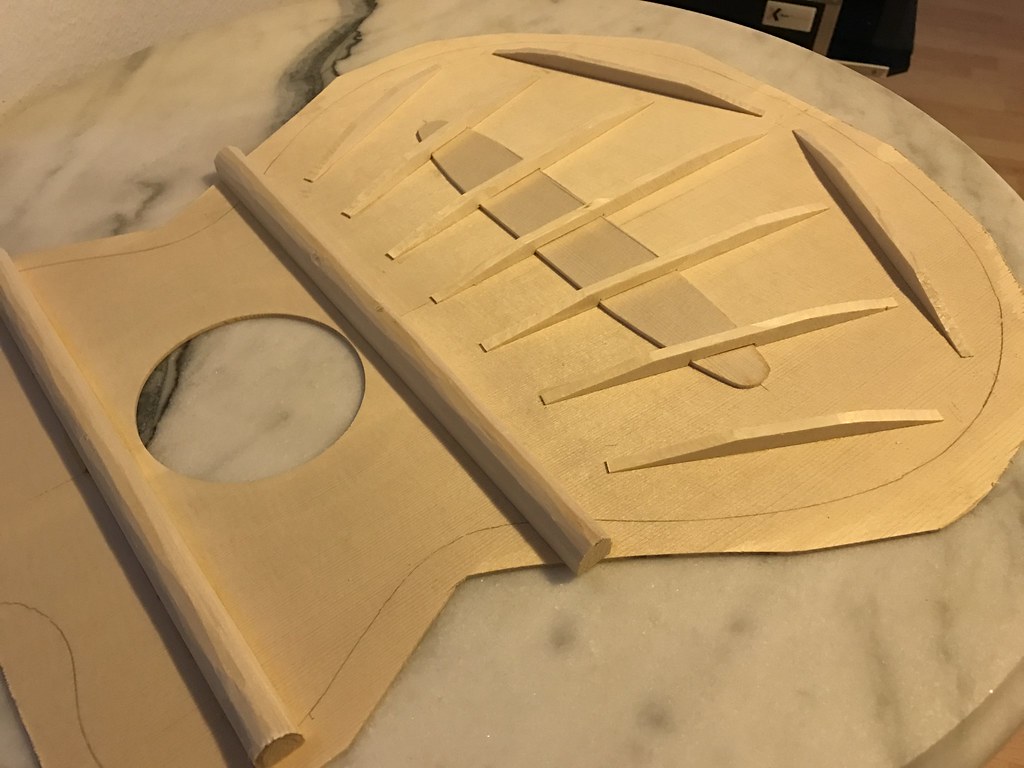 Untitled by David Emm, on Flickr Untitled by David Emm, on Flickr
|
|
#40
05-03-2017, 01:26 PM
|
|||
|
|||
|
Quote:
From where are you getting dimensions for your braces? Last edited by charles Tauber; 05-03-2017 at 01:32 PM.
|
|
#41
05-03-2017, 02:06 PM
|
|||
|
|||
|
Quote:
The fan braces are 5mm wide and are 8mm high at the highest points. I was/am expecting to take them closer to 6mm at the high point, but it was much easier to cut them to 8mm to start with. Other then that, its a basic Torres pattern. Because I have no idea where i'm going with the voicing, I'm half expecting it to not work out, and i'm already thinking theres a 25% chance this top might also end up on the scrap heap, if you're thinking this bracing looks bad, perhaps 25% is about 50% too low.
|
|
#42
05-03-2017, 02:10 PM
|
|||
|
|||
|
Does the local luthier make nylon string guitars?
|
|
#43
05-03-2017, 02:18 PM
|
|||
|
|||
|
He does build classicals yes. although most my measurements are upsized from his, as he builds borderline as light/thin as he physically can, which for what i'm building isn't really the goal, nor would it suit a nylon string designed to be strummed much more than finger plucked.
Now i'm really second guessing what i've done. This is usually bad, because if i second guess myself it usually means i've done something drastically wrong.
|
|
#44
05-03-2017, 02:35 PM
|
|||
|
|||
|
Well, it does look over braced and the angles are off for what is a Torres pattern I think. But disaster? No, you still have time to fix it. It could turn out well too. BUt you should IMHO always build a classical guitar as light as possible whether you are going to strum it or pick it. In fact Flamenco guitars which are strummed the hell out of are very lightly built.
|
|
#45
05-03-2017, 02:50 PM
|
|||
|
|||
|
Quote:
Last edited by charles Tauber; 05-05-2017 at 07:10 AM.
|


