
 |
|
#1
|
||||
|
||||
|
I'm about one week in on a new custom build, and Jim G., the commissioner, and I decided to feature the project here. The guitar is the ECC-V, Consort Cutaway Venetian model, which is my most versatile and popular guitar model. It is a size and shape similar to an OM or 000-style guitar, 15" wide in the lower bout; so it's big enough to have a lot of power and presence, but small enough to be comfortable to hold and play.
This guitar will have a 25.5" scale length, with thirteen frets-to-body, twenty frets total. The fingerboard and string spread are a tad wider than my standard specs, as Jim likes to have the extra room. In fact, we are closely copying the specs of his Martin D 28 Authentic 1931, which is a re-issue of a legendary Martin model that Jim acquired in 2014. That means we'll have a 1 7/8" nut width, tapering out to a 2 3/8" string spread at the saddle. Jim also provided me with the specs for replicating the vintage-style neck carve on the Martin. I'm sure Jim's Martin is a great guitar- but I told him that I'm going to do my best to make an even better guitar. We are using a classic and very reliable wood combination: Back and sides are primo Indian Rosewood, one of the best sets in my stash; and the top is very nice Adirondack Red Spruce. Here's a photo that somewhat illustrates what I am projecting this guitar to sound like:  To put it into words, I am aiming to voice this Consort with a big, wide-open, colorful, expansive sound, with a lot of air and space in it. I think that is right in line with the selection of woods. Here, I'm laying out the sides for bending. As is my standard practice now, we're building with double sides. The inner sides are Khaya, aka African Mahogany. 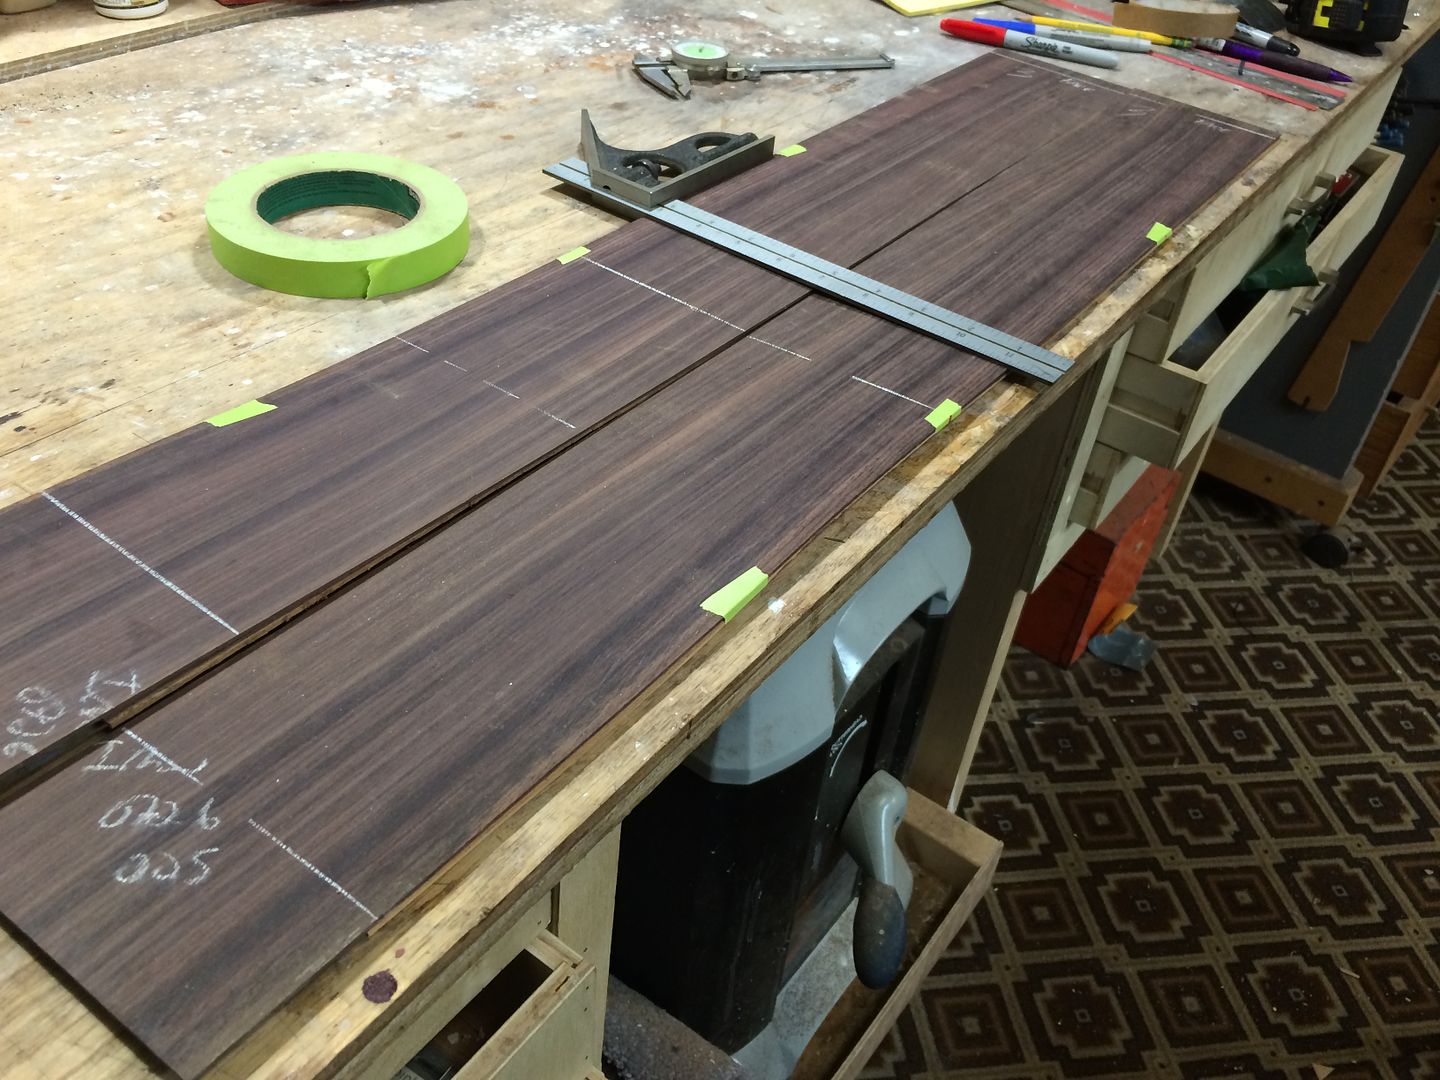 I bend the inner and outer sides together at the same time in my bending machine, using a silicon heating blanket for the heat source. I use very little moisture for the bending procedure- just a light misting with a spritz bottle, enough to dampen all surfaces. Both pieces are taped together, and wrapped in heavy Kraft paper, then inserted into the bender between spring-steel slats, with the silicon blanket on top of the wood sandwich. 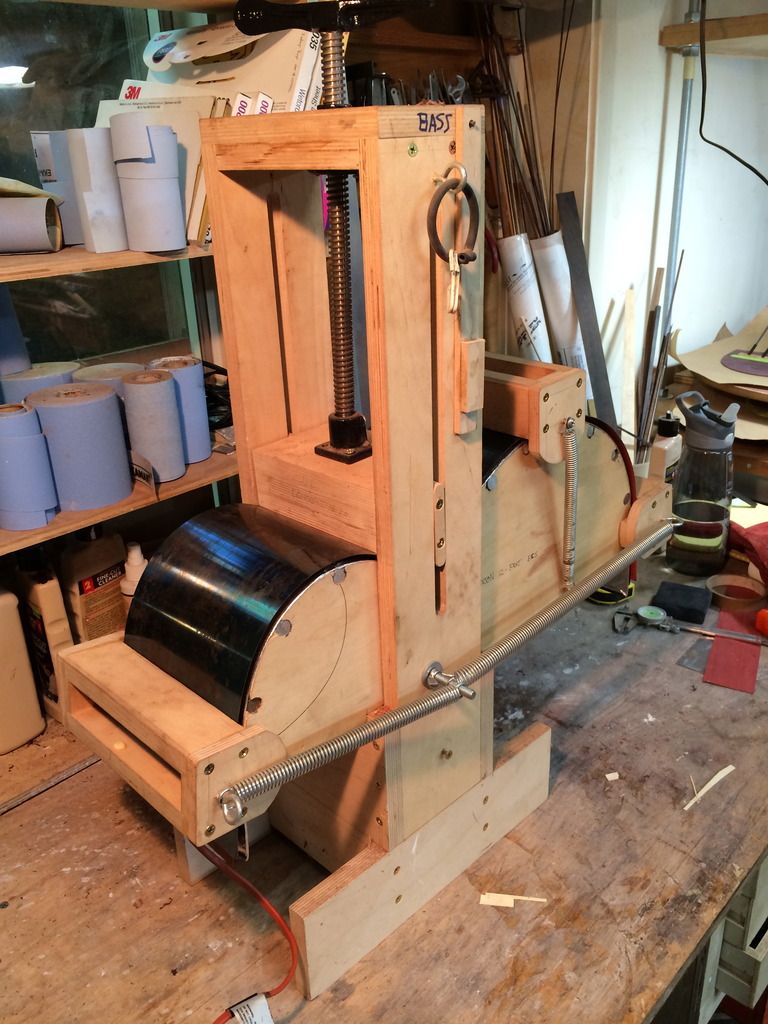 Using a minimum amount of moisture, and bending the inner and outer sides together, I've had consistent success getting near-perfect bends every time. This makes the lamination process a breeze. I join the back plates while they're still fairly thick, and then run them through the thickness sander to bring them closer to final thickness. I prefer to use scrapers to remove the sanding scratches.  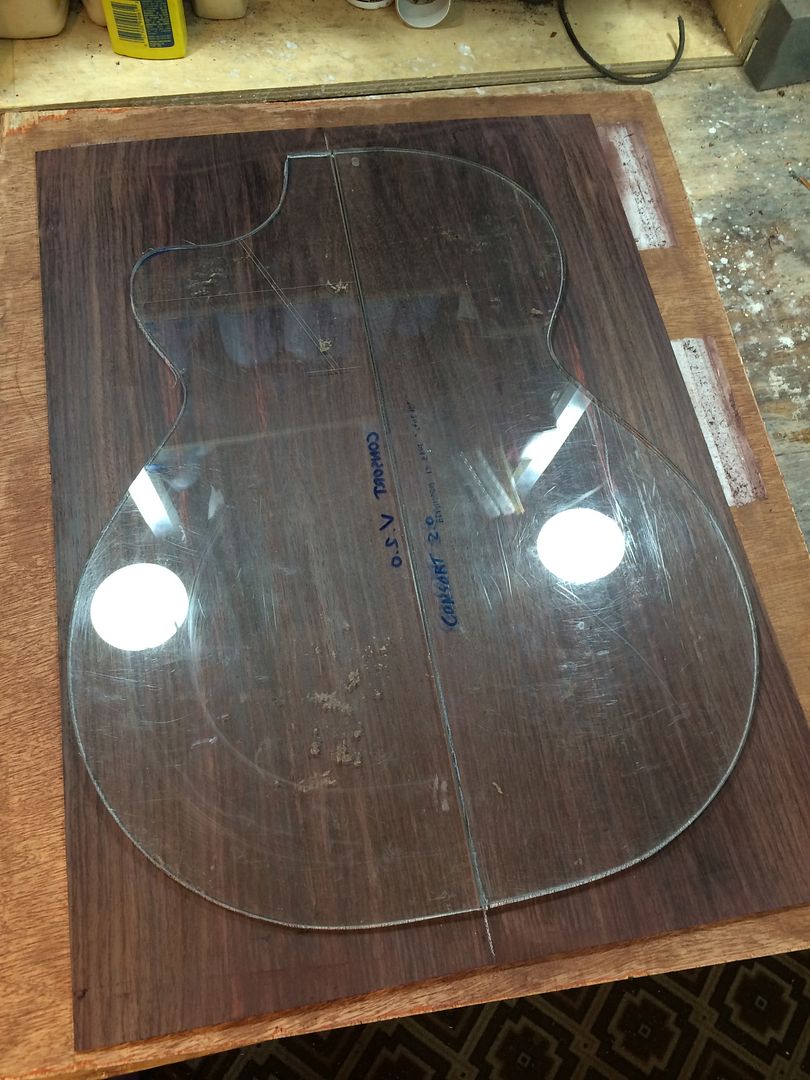 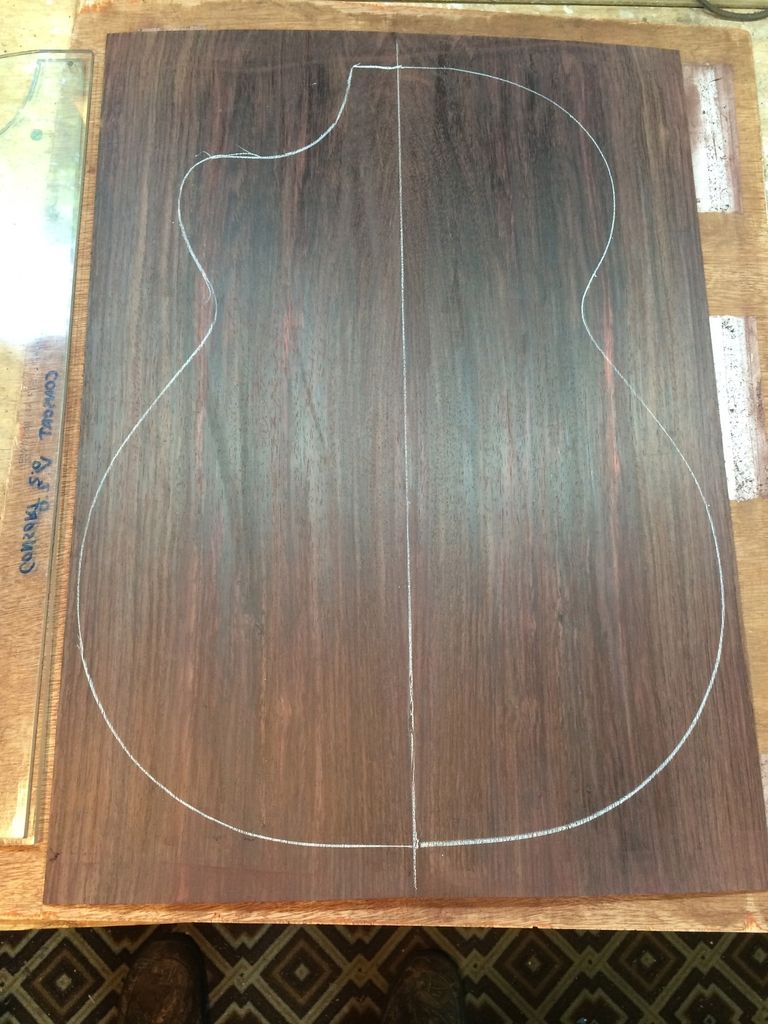 More soon- I'm going back into the shop for awhile. Thanks for looking!
__________________
Edwinson |
|
#2
|
||||
|
||||
|
That, sir, is a nice looking set of Indian Rosewood.
__________________
Some tunes can be found here |
|
#3
|
||||
|
||||
|
Wait till you see it under finish. It's deep purple-brown, with some black lines and red streaks. Pretty sure it's old growth rosewood, not the plantation-grown stuff. It rings like a bell too, and smells like roses when cutting and sanding.
Indian Rosewood is one of my very favorite woods to work with, because it is so cooperative, and has all the high-end properties you could want.
__________________
Edwinson |
|
#4
|
||||
|
||||
|
Congrats on your new custom build. If it is anything like your Memphis builds, Jim is in for quite a treat!!!! Can't wait to see how you finish this one out.
|
|
#5
|
||||
|
||||
|
Gluing in the back reinforcement strip. In this case, it's made with flamed Black Limba- an orphan piece I've had floating around for years. Thought it looked nice on the Indian Rosewood.
I am doing the reinforcement strip first, before doing the center inlay on the back. This photo is greenish- needs about 10 points of Magenta correction. 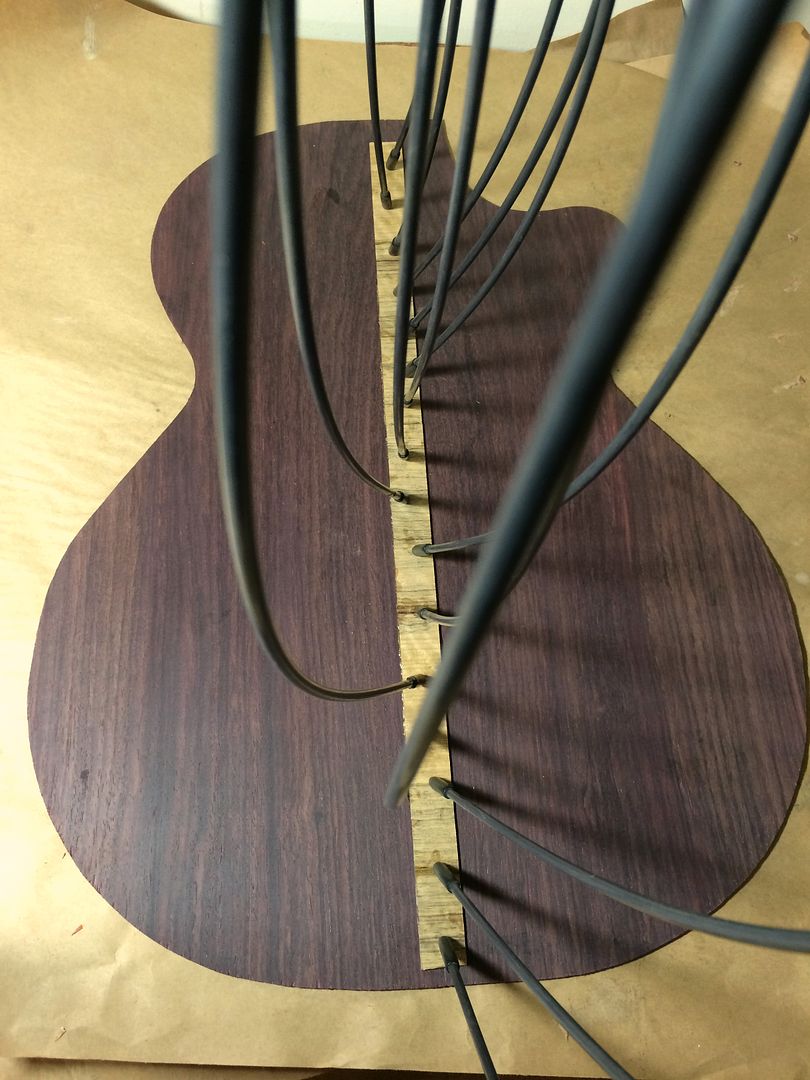
__________________
Edwinson |
|
#6
|
||||
|
||||
|
Time out, to make a batch of kerfed linings. I make my own reverse-kerf linings on my table saw, with a jig that makes perfect 3/16" kerf spacing, Six strips at a time. This batch of linings is made with straight-grain Sapele.
I always give the steel table a paste-wax treatment before I do this job on the table saw; then each cut is an effortless, swish, swish. 
__________________
Edwinson |
|
#7
|
||||
|
||||
|
Jim intends for this guitar to stay in his family for a long time, as both a tool and a symbol of a musical legacy. So there should be some inlay work in keeping with this. Using the previous Blackwood Rose Consort as a design cue, we decided to do a segmented center seam inlay on the guitar back, with an emblem included- the "G" for the family name.
Jim sent me the font he wanted for the "G", and I cut it out of a piece of Black MOP.  Here are the inlay segments laid out on the back, before cutting them in. 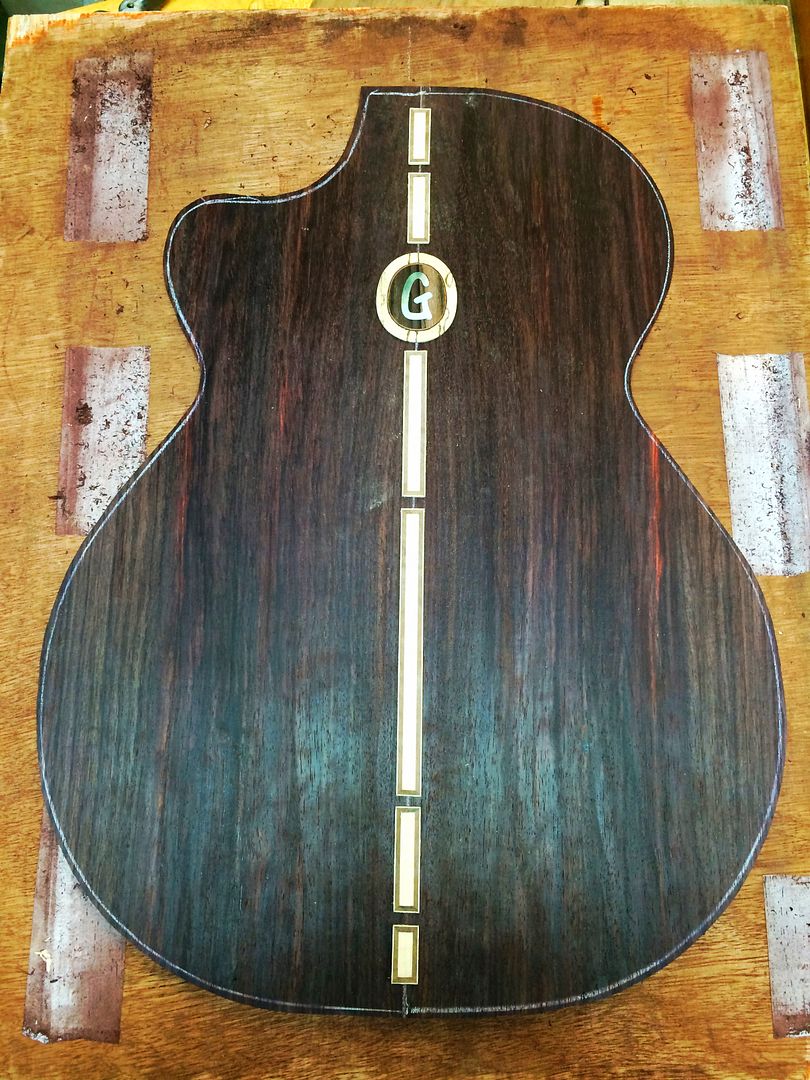  And here it is, ready to route the inlay cavities:  ...And leveling it all, after gluing in with hide glue...  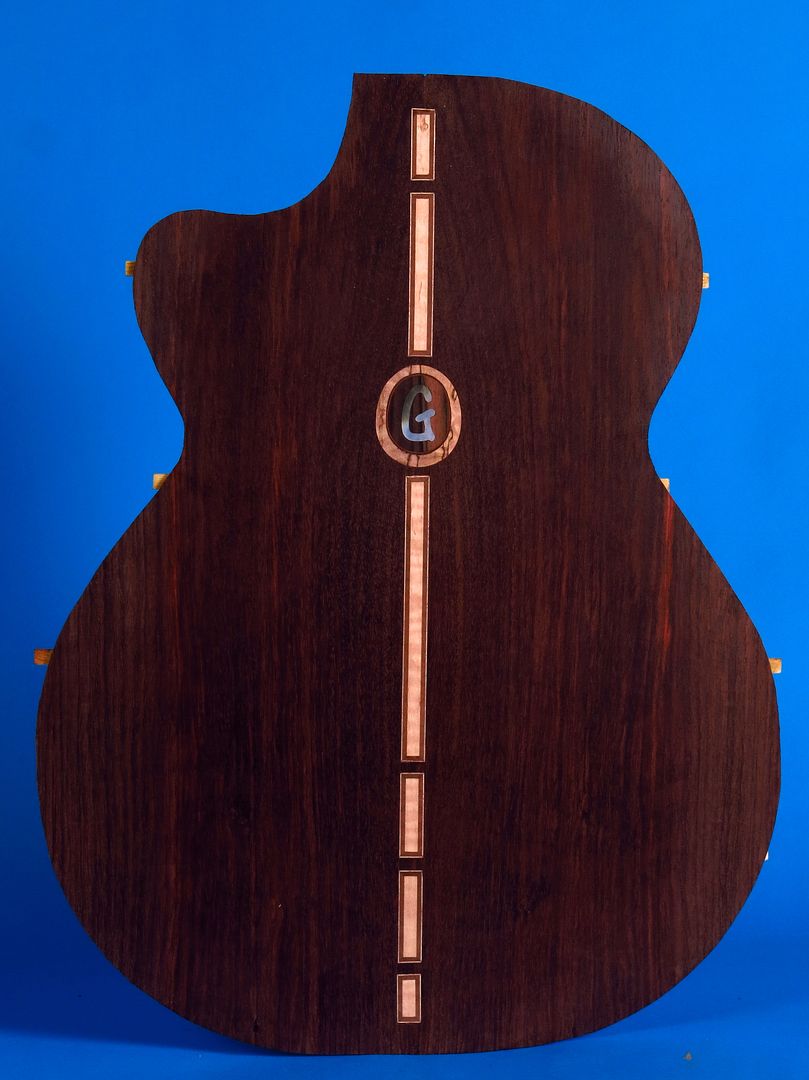 The segmented strips are made with Flamed Maple, Flamed Claro Walnut, and bordered with Maple veneer lines. We will be using this exact same theme for the center laminations on the neck. Here's a detail shot of the neck blank, showing the center laminations:  Currently experiencing a little technical difficulty with Photobucket... I'll be back later to add more...
__________________
Edwinson |
|
#8
|
||||
|
||||
|
beautiful precise work. Thanks for sharing!
|
|
#9
|
|||
|
|||
|
Wow...that is stunning! Will be following with interest!!!
__________________
Treenewt |
|
#10
|
||||
|
||||
|
Looking great so far Steve, fun to watch you create....
|
|
#11
|
|||
|
|||
|
Very cool--I still can't get over how beautiful that EIR is! This is shaping up to be another one of your stunning guitars, Steve...
__________________
2013 Stehr Auditorium (Carpathian/Myrtle) 2015 Stehr Auditorium (Adi/BRW) 2020 Baranik Meridian (Blue Spruce/Manchinga) 2020 Wilborn Arum (Tunnel 14/Coco) 2021 Kinnaird Graybeard (BC Cedar/Bog Oak) 2022 Kinnaird CS Student Build (Adi/Padauk) 2023 Kinnaird FS (Italian/Koa) |
|
#12
|
||||
|
||||
|
Thanks, guys, for your generous comments. The build is proceeding gracefully, and everything looking good. To continue the narrative- Here, the Adirondack Spruce back braces are glued in, amidst a thicket of go-bars. I'm using all hide glue for this.
The back easily holds its 15' radius dome even without the braces, because I "trained" it to shape by slightly moistening the show side, and leaving it clamped into the radiused sanding dish in the go-deck, for two days. It's amazing how well the Indian RW conforms to that radius, and holds the shape even when it's unclamped! This is great, because now I can build guitar backs with very little stress in the wood. I think that will translate functionally to a lively, responsive, "active" back, which will interact well with the Adirondack top. The Adirondack ladder-braces are light, stiff, and very acoustically active, so I predict that this guitar will be very responsive and lively.  In the meanwhile, the sides are bent and laminated. The inner sides are Khaya, also known as African Mahogany. The laminating process went flawlessly- absolutely no gaps detectable. Here, I'm gluing in the neck block and the end block. When everything fits together without effort, you don't need to use an army of clamps to put it together. That is the whole idea- I try to build the entire instrument with as little stress as possible. When all the parts fit together in agreement, the end result will be a highly responsive guitar, without tone-killing areas of built-in tension. 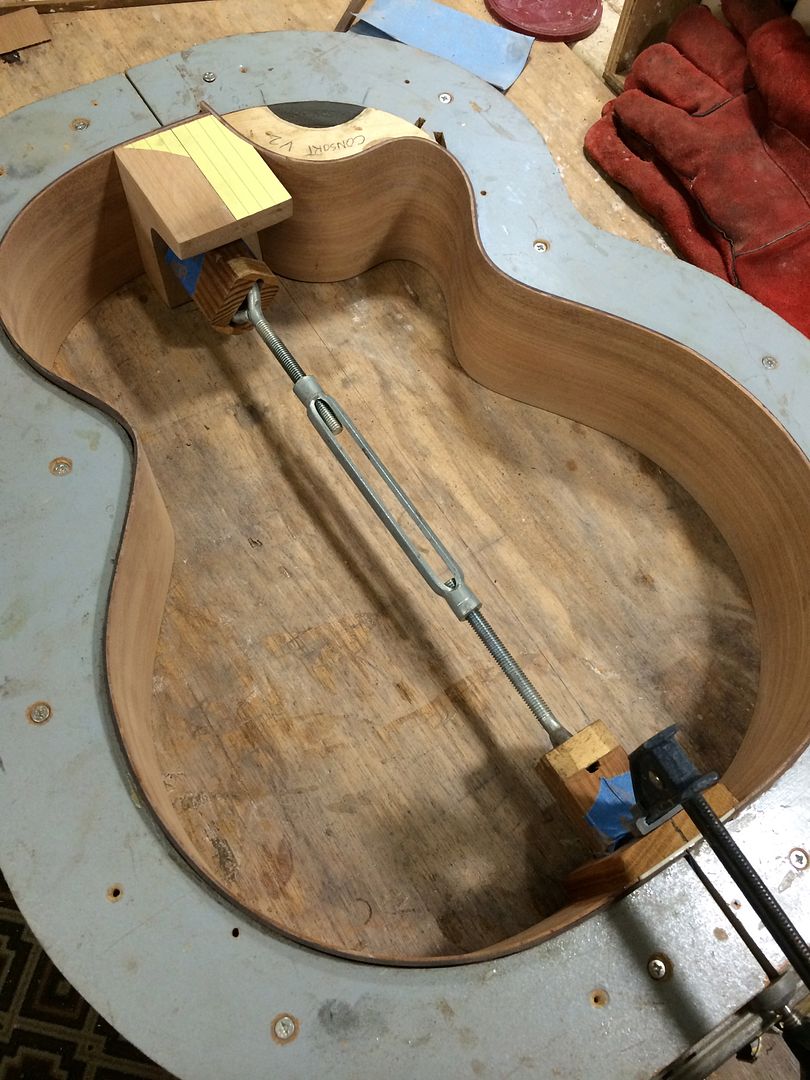 ...And here we go with the kerfed linings. I make my own linings, as seen above, because since I'm building double-sides, I don't want the linings to be 1/4" thick, like the ones you buy from StewMac or LMI. I make them 3/16" thick, which gives plenty of gluing surface, combined with the double sides. If the linings were thicker than that, I think the back and the top would begin to be too "tied down" to the perimeter to vibrate freely. So again, every consideration is given to maximum tonal production. There are so may of these little details that add up over the course of the build. 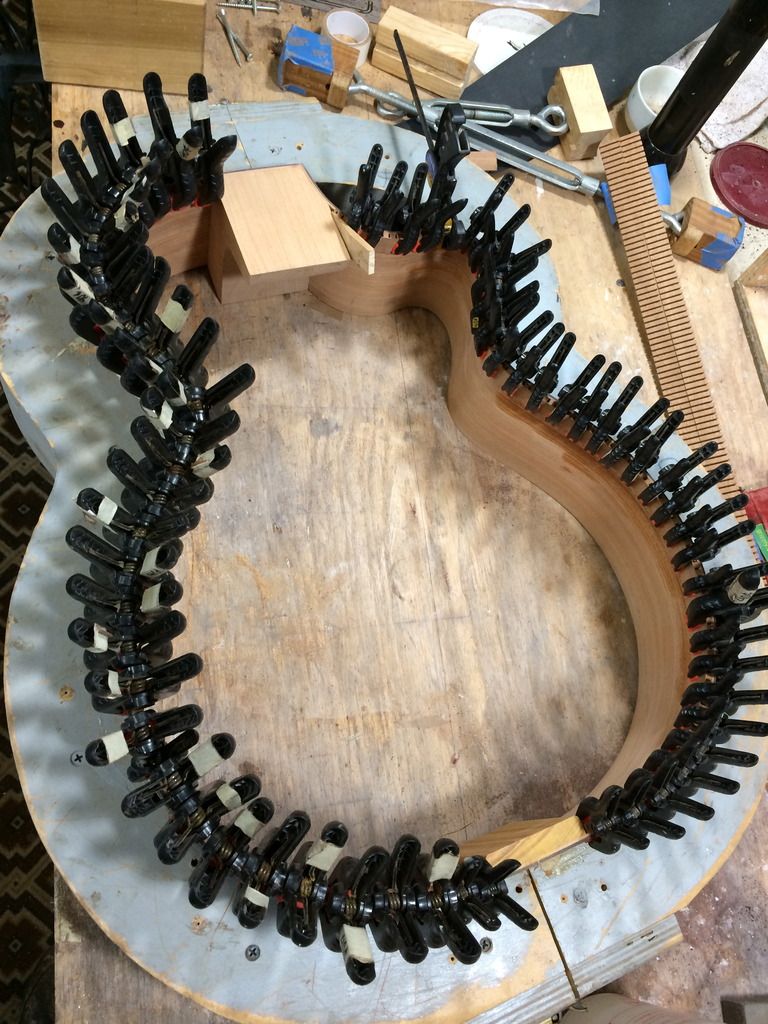 Here are the completed rims:  The end block is a piece of rift-sawn Canary wood. Notice how the gluing edges are beveled, so they are contiguous with the thickness of the linings. I believe that if the block was NOT beveled, but stuck out fatter than the rest of the rims, it would squelch the top and back vibration somewhat. Also, after string pull settles in on the finished guitar, an un-beveled block will telegraph its shape into the top. 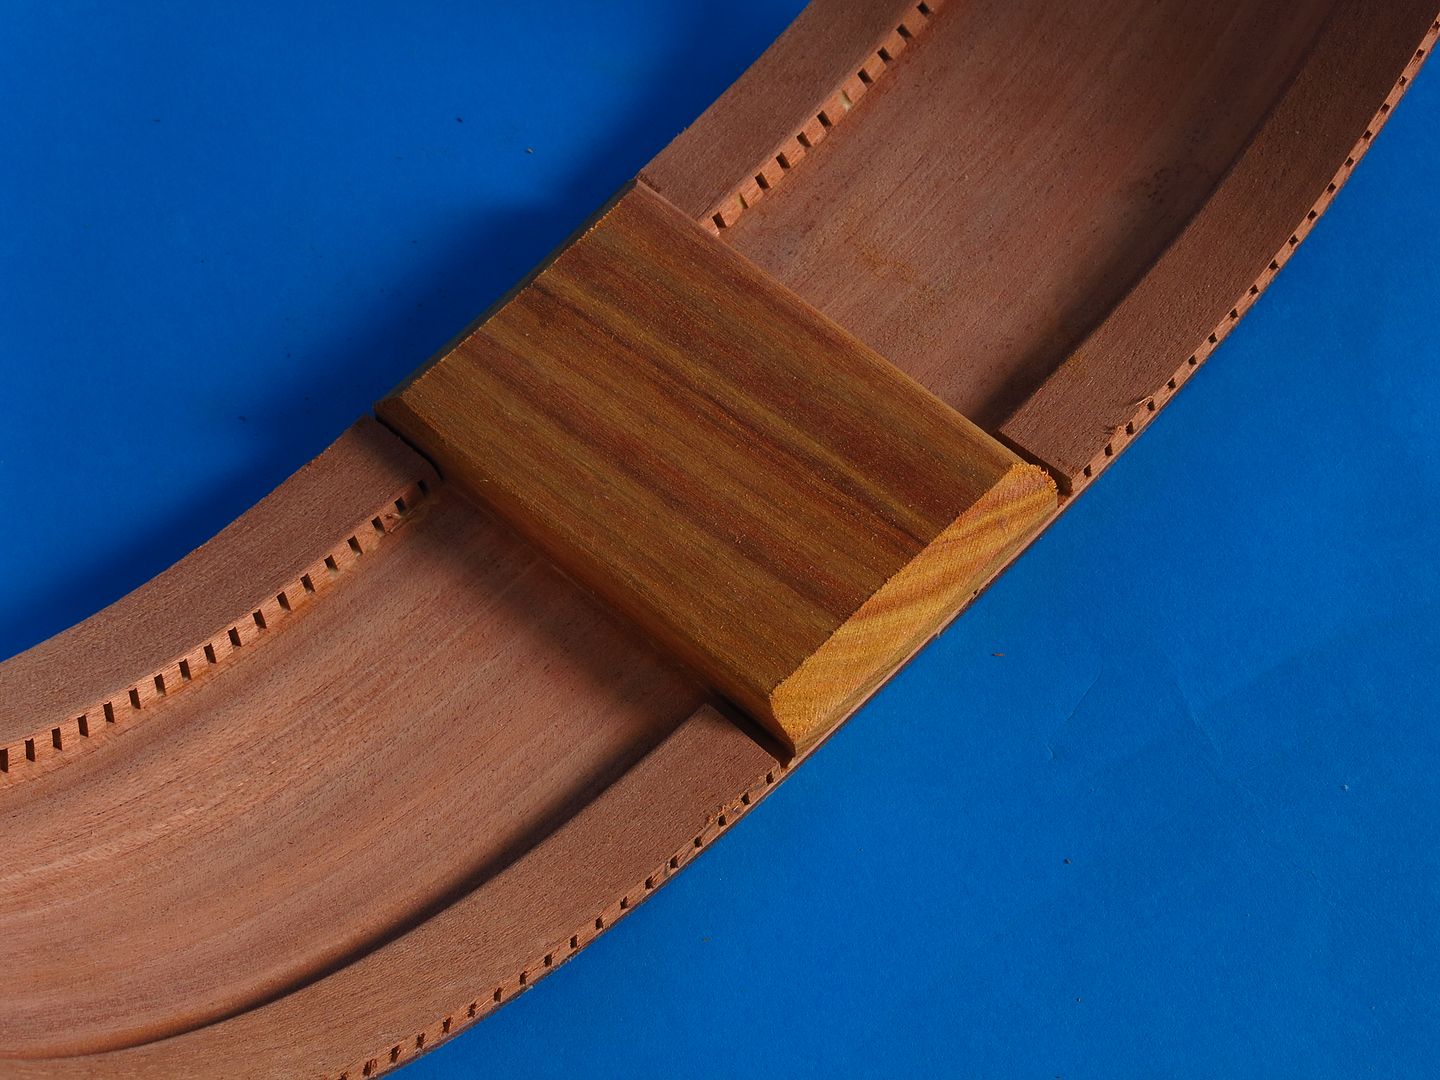 Here's a detail of the back side of the neck block. Everything fits together exactly, stress-free. Ahhhhhhh.... (In this photo, the linings have just been glued in, but are standing proud of the sides, because I haven't yet radius-sanded them flush.) 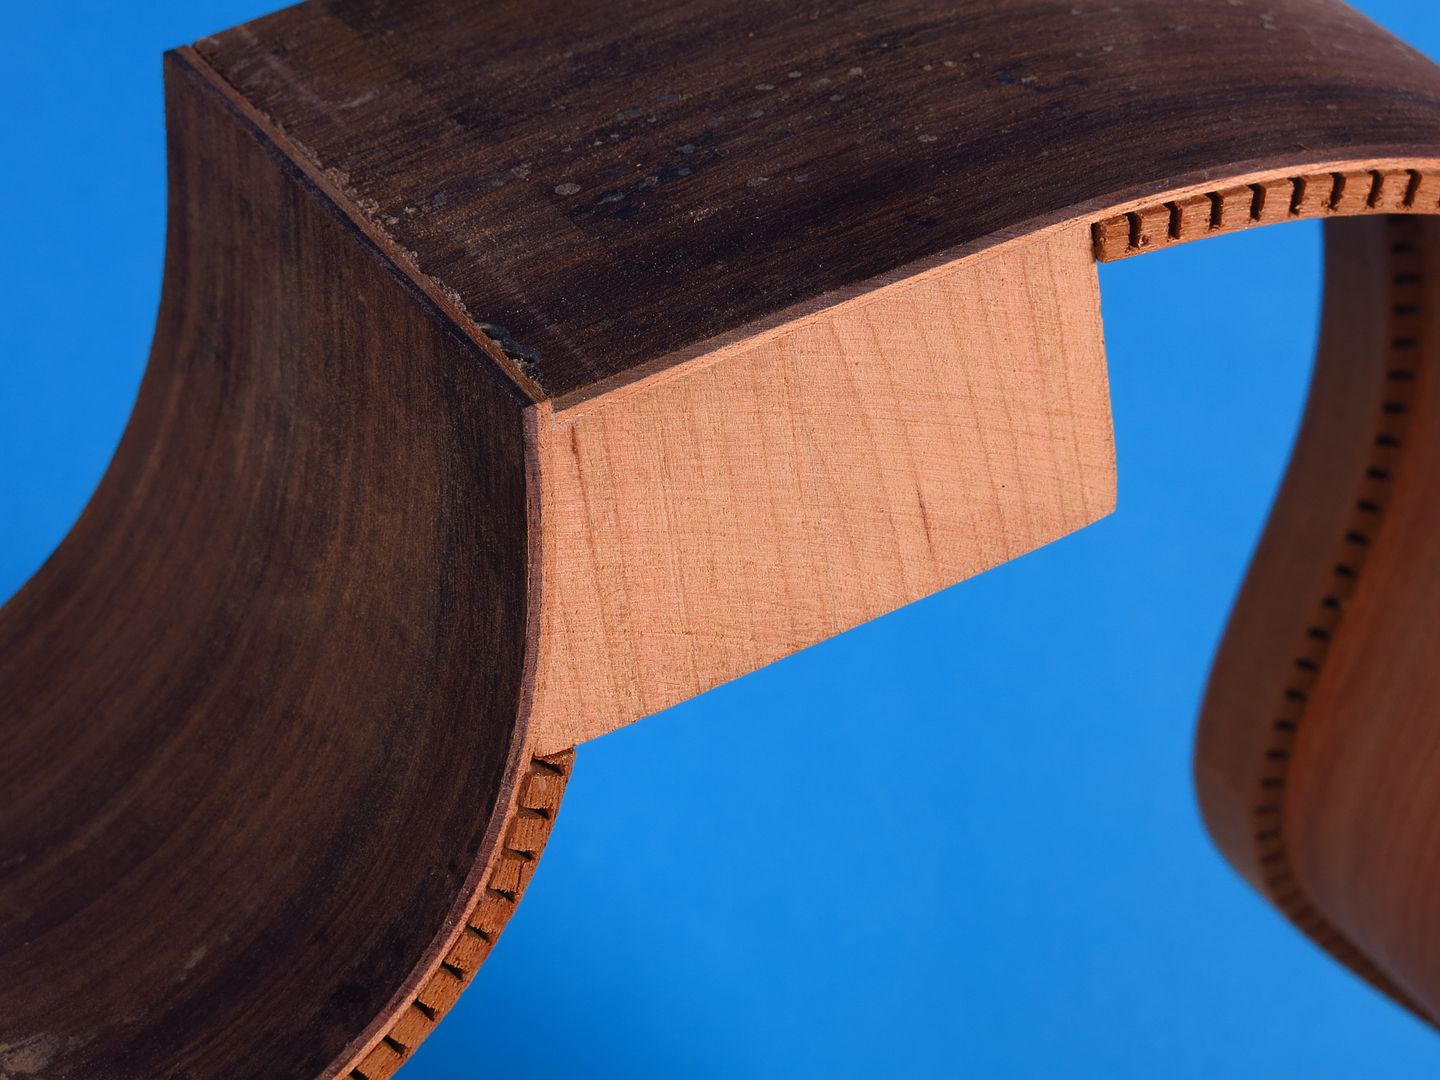 And here's a detail of the neck block. In this case, it's two pieces of hard Cherry, epoxied together. The glue joint is probably stronger than the surrounding wood. This is how I use up large chunks of left-over neck wood! 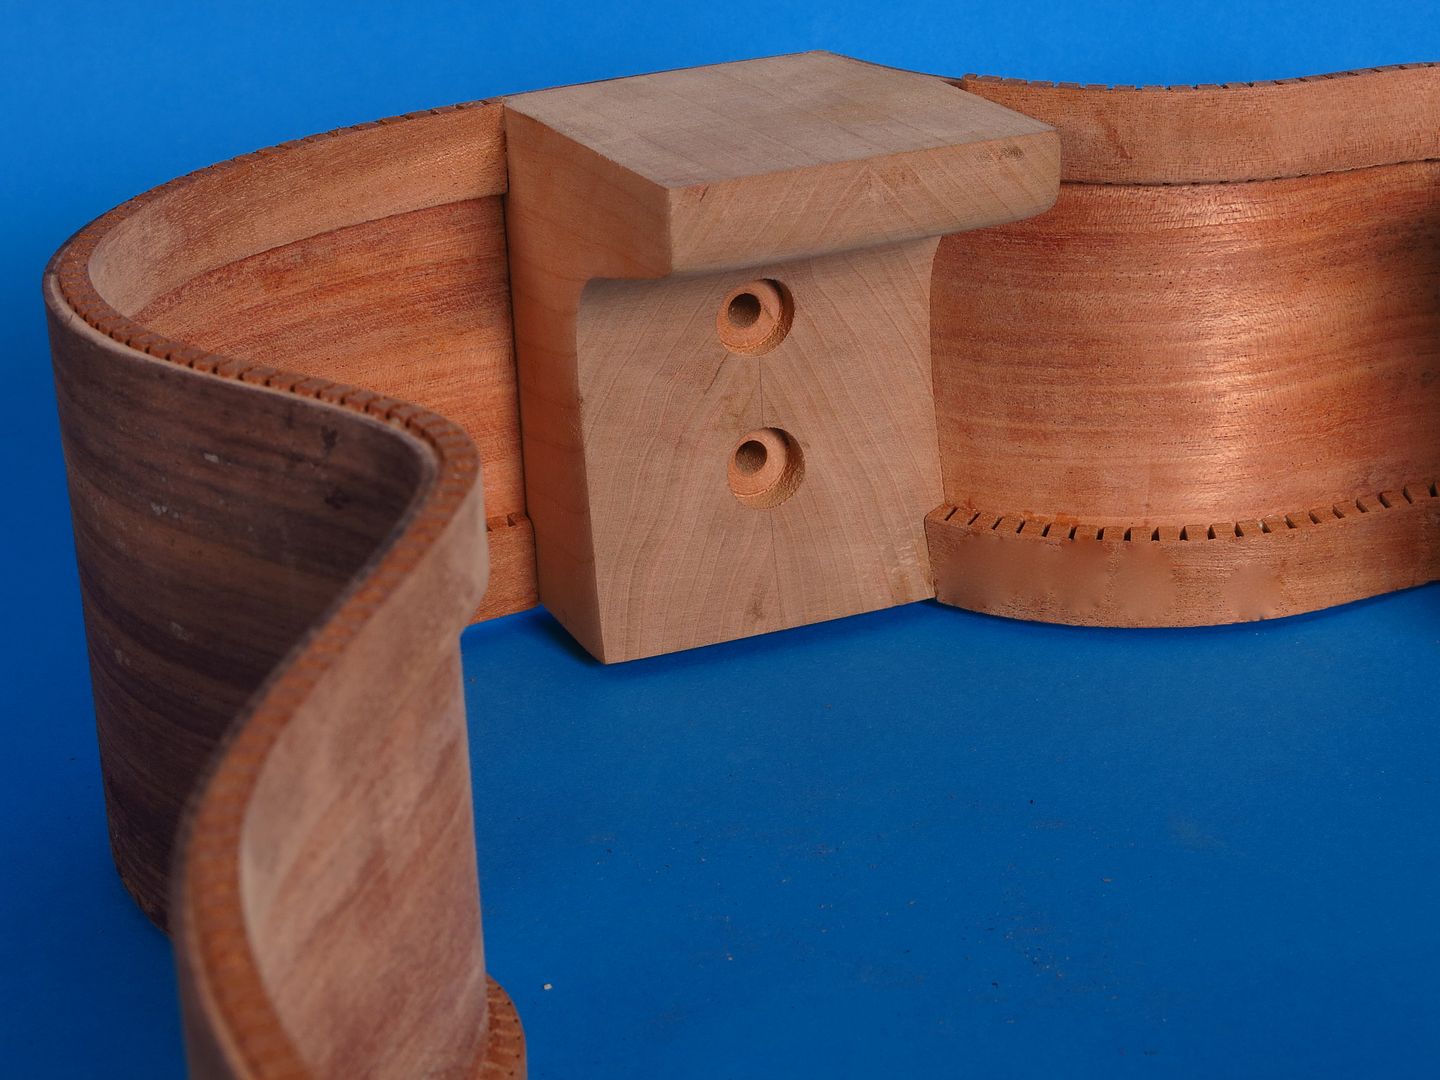 More soon- time to go take some clamps off, and move on to the next thing. Thanks for looking!
__________________
Edwinson |
|
#13
|
||||
|
||||
|
Moving right along... time to make the rosette. To keep everything harmonious, I'm sticking to the Rosewood and Maple theme that are embellishing the rest of the guitar. First, I glued up a ring of rosewood with radially oriented figure. This is stuck down to the rosette workboard with double-sided tape, and cut out with the Dremel, on a StewMac router base and circle-cutting jig. I love this tool! I used to have a shop-made version, but the StewMac version is so much better.
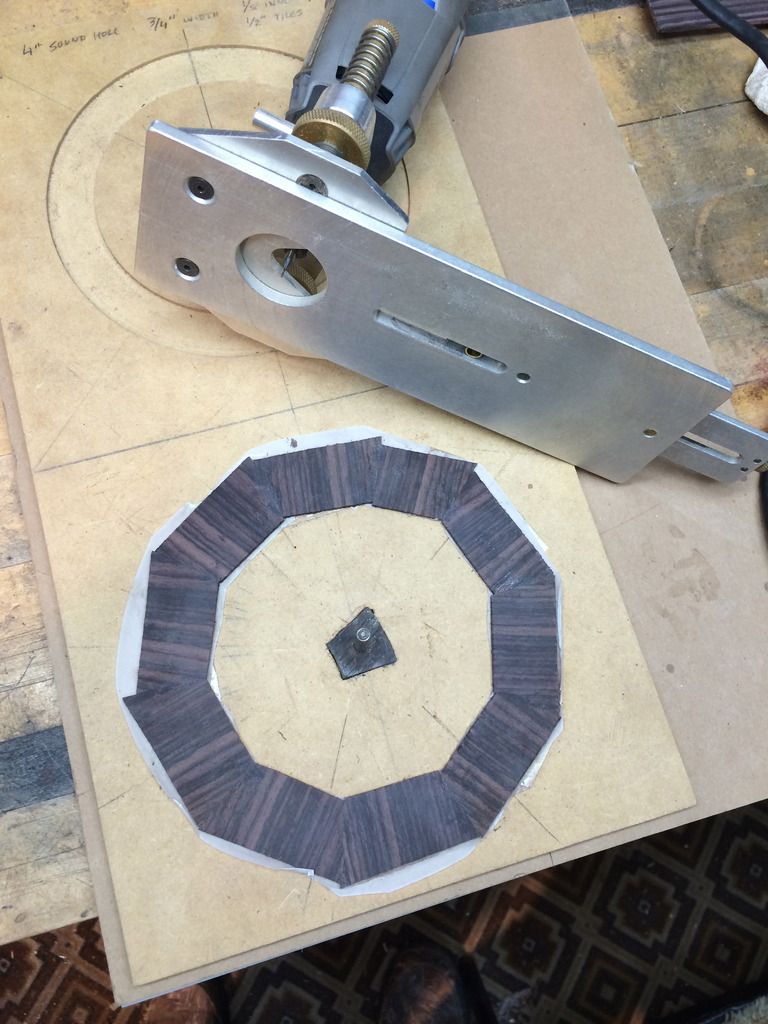  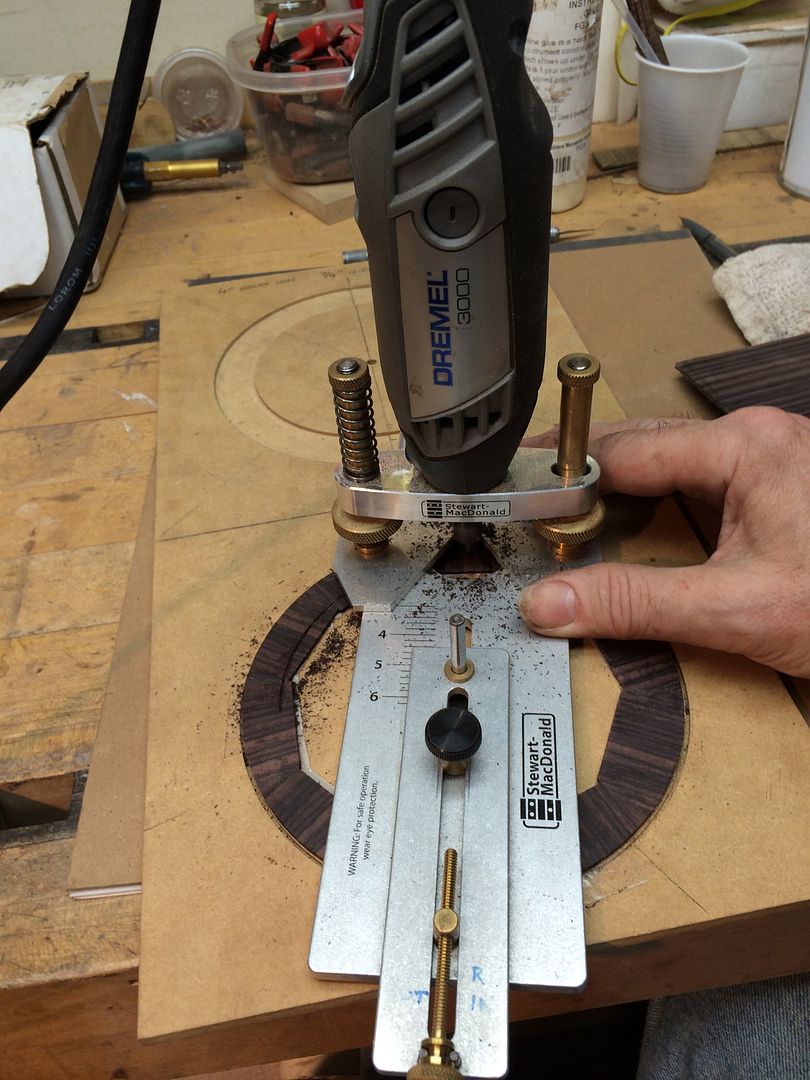 Not only does the StewMac jig cut out the rosette parts, it also routes out the cavity in the soundboard where the rosette is inlaid. Here it is with the basic rosette installed. But it's only half done at this point. After the rosette is sanded level, I make some infill pieces to further embellish the design, with spalted maple and rust-colored veneer. Here they are, with mini-clamps, getting the veneer borders glued on. 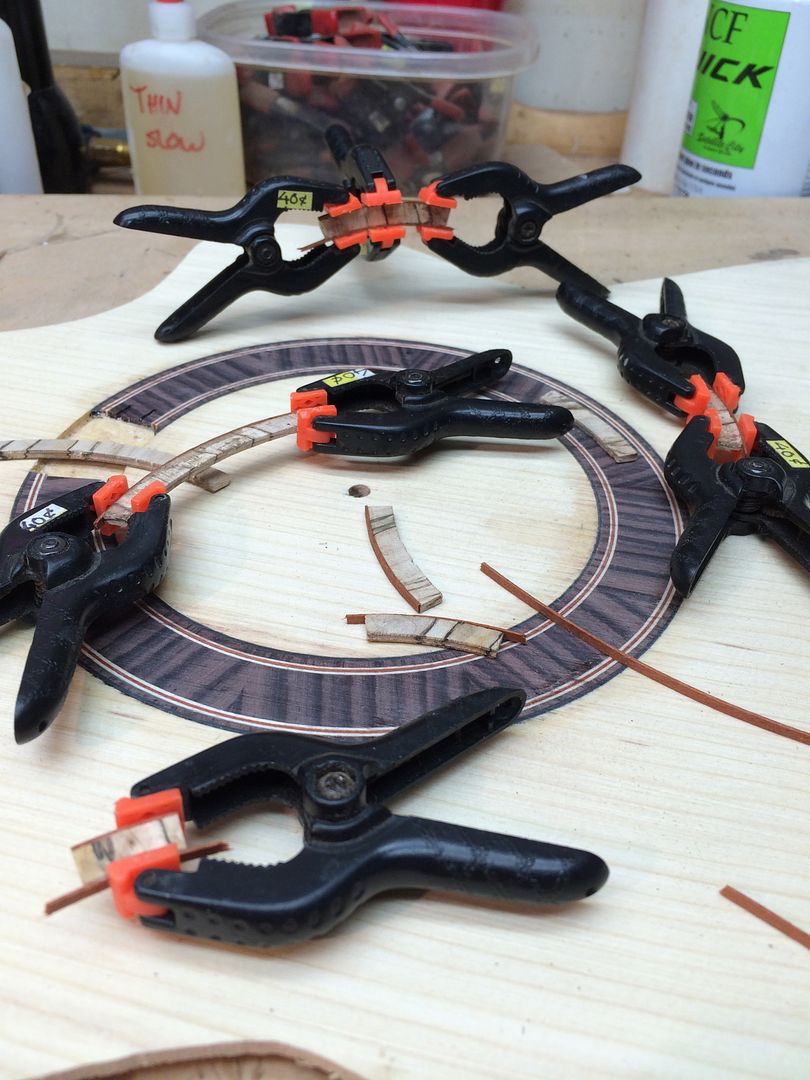  Next, I route out the cavities where these Maple pieces fit in. Can you tell I have an affinity for asymmetry? 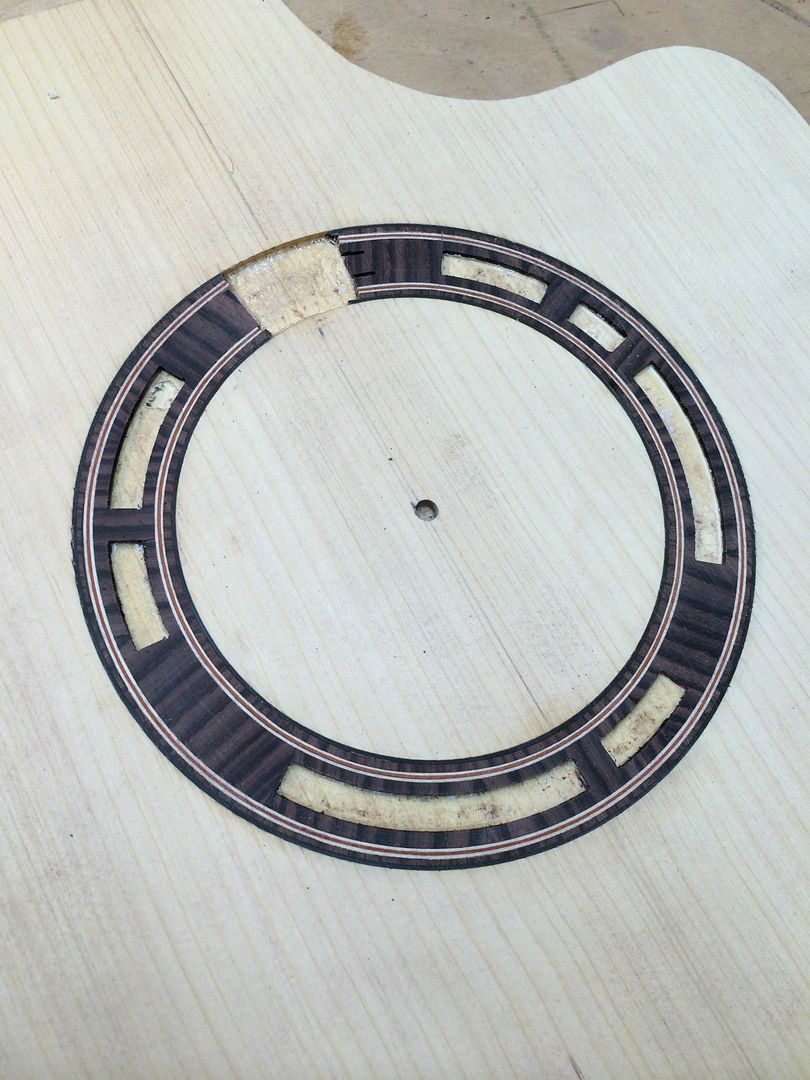 ...Fitting it together... 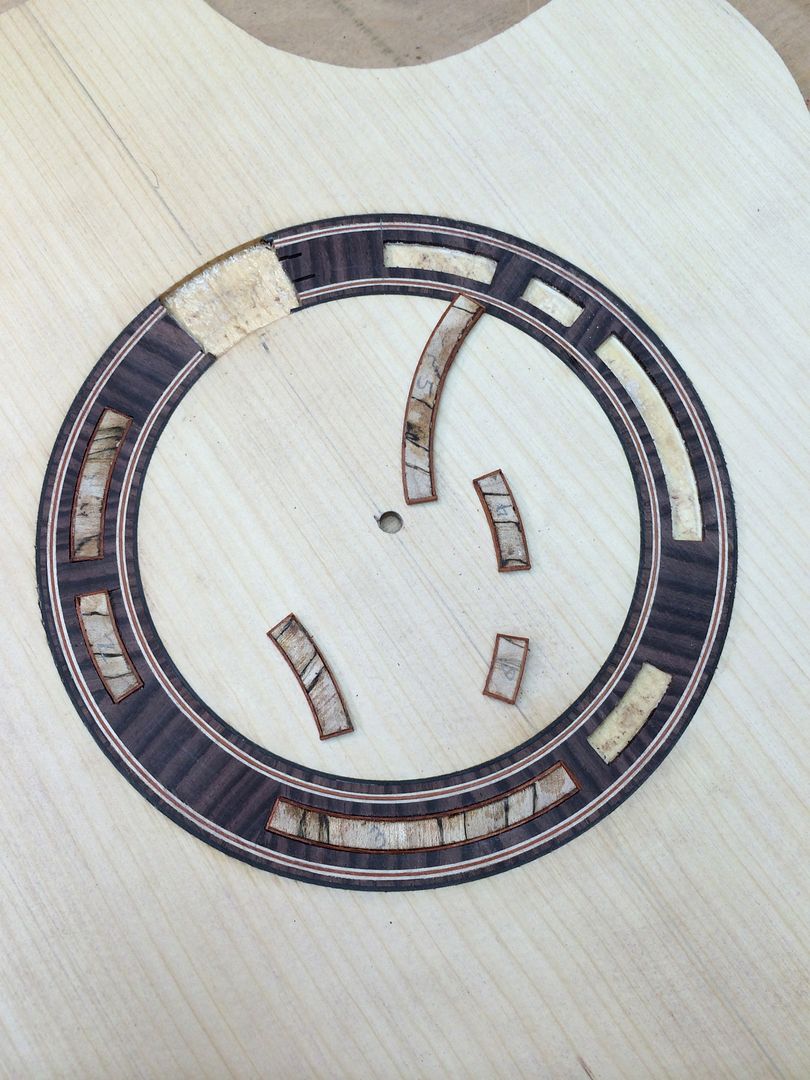 And here's the finished rosette. I decided to throw in my trademark Copper elements too- five 1/4" diameter copper rings, filled with an Ebony Mastic. The last step is to cut out and bind the sound hole. I ALWAYS bind the sound hole with Ebony or Rosewood- every guitar since number one. I don't understand why this isn't more of a universal practice. Considering that the sound hole is exposed, end-grain softwood, and is subjected to years of onslaught from picks and fingernails, it just seems to me that adding some binding to the sound hole not only protects this vulnerable area from damage, but it looks pretty cool too. On this one, I used a Rust veneer line, and ebony binding, to complete the theme of the rosette.. 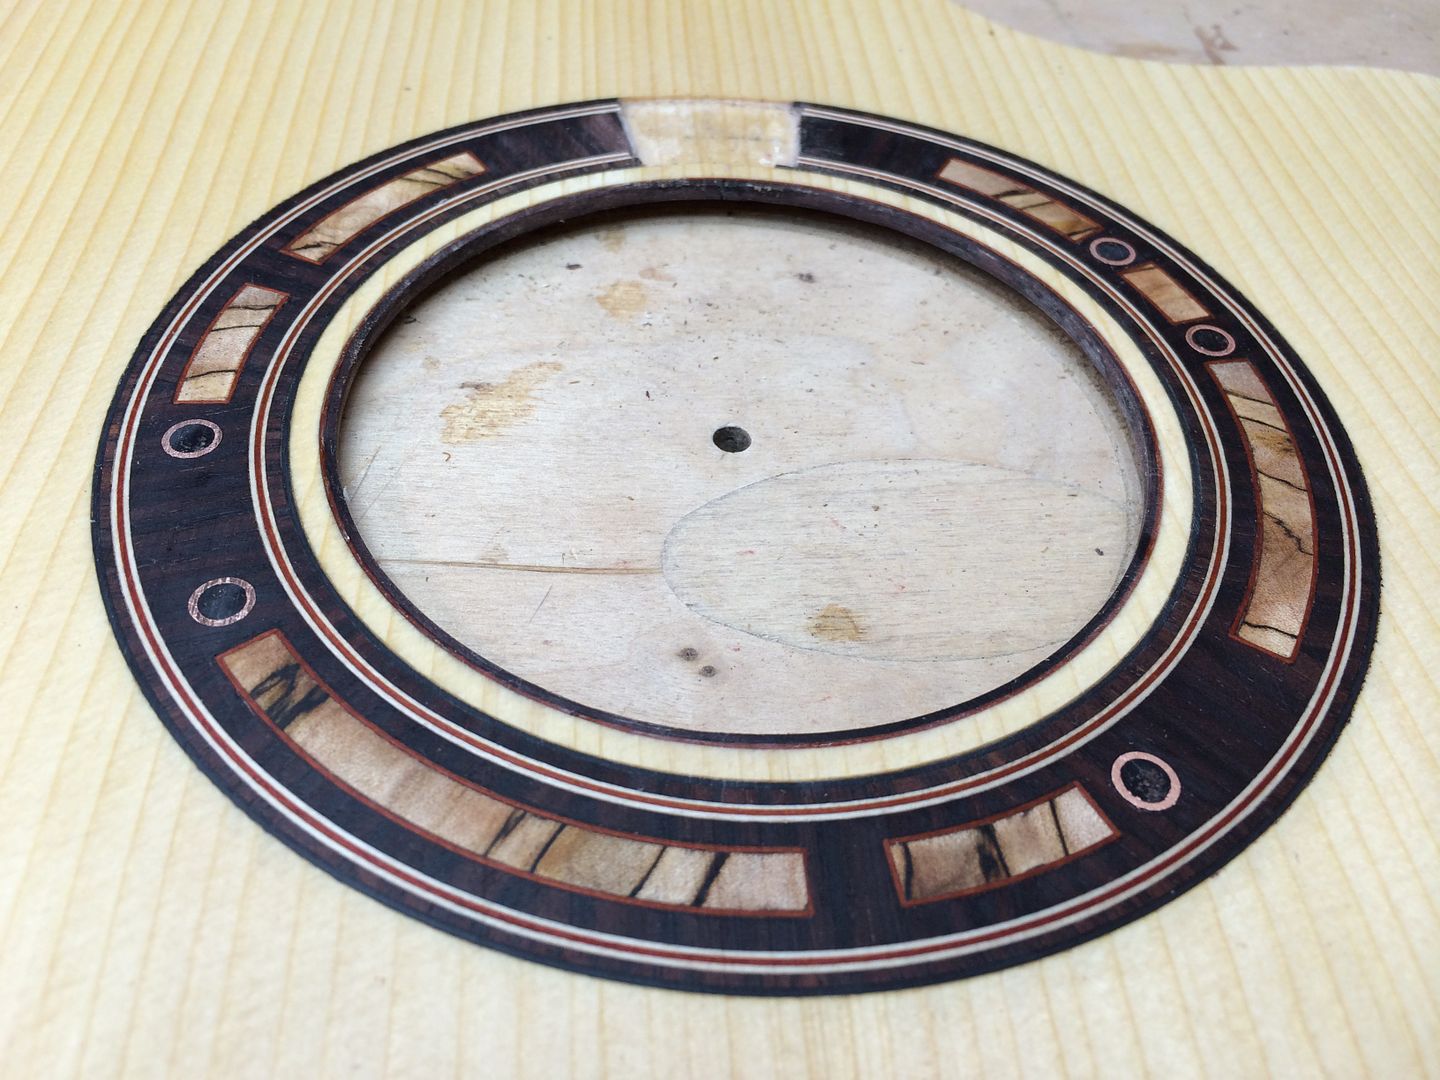 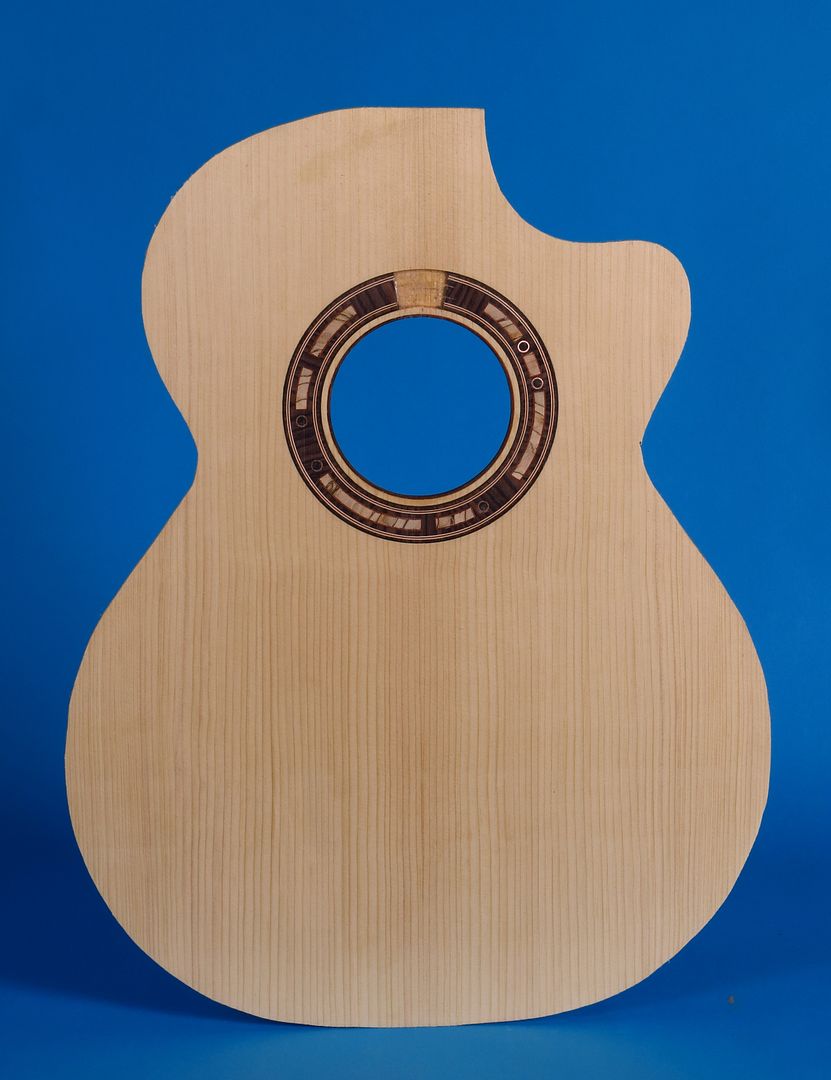
__________________
Edwinson |
|
#14
|
||||
|
||||
|
That's as pretty a set of rosewood that I've ever seen! I'd have to agree ... definitely not plantation. Can't wait to see it under a finish!
__________________
David Wren |
|
#15
|
|||
|
|||
|
|