|
|
#16
 05-12-2014, 03:39 PM
|
|||
|
|||
|
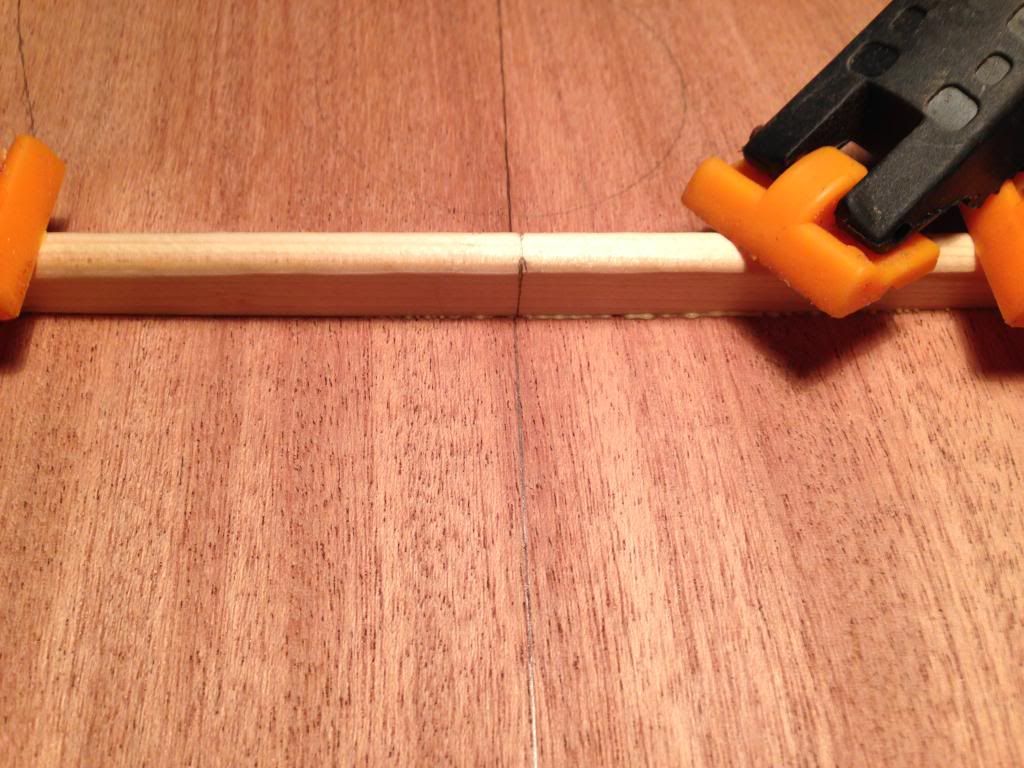
So once we got everything back to normal, we moved on to the next step which was to glue in the non-kerfed lining.
I used a chisel to slowly trim the lining until it fit perfectly. Quote:
 Following lesson learned #4, we made sure to dry fit and clamp. This showed us the areas that really needed a lot more clamping than others. 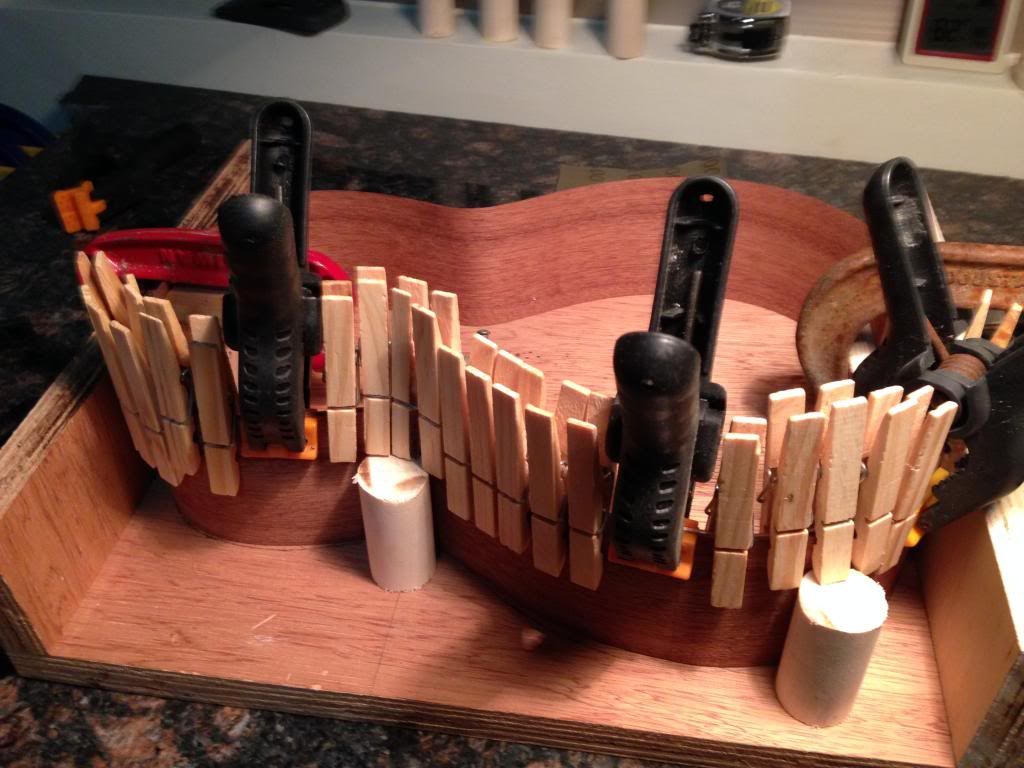 You can see slightly at the waist that there's a pencil mark that I used for reference when I first fitted the lining. Our method was to situate the waist together (because this can't be moved), mark a reference line, then cut the ends to fit. 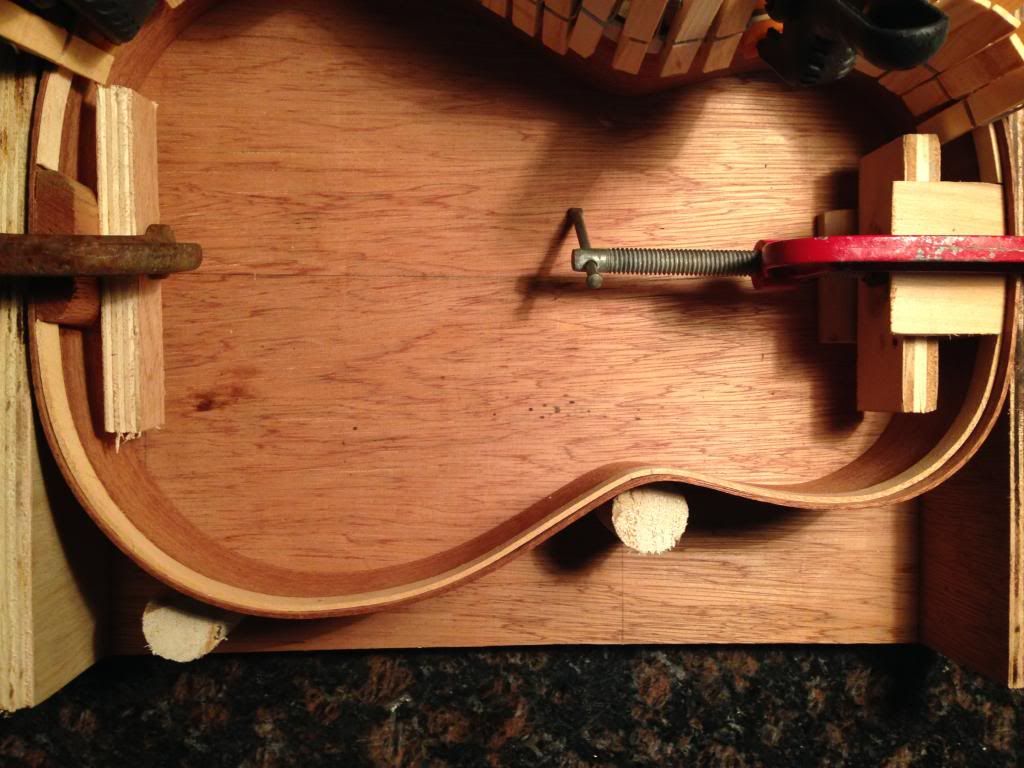 All looked good, so this is Jackie slapping on the glue. I found an "artist glue bottle" with a very fine point at the craft store for about $2.00, this really helps keep things from becoming messy. 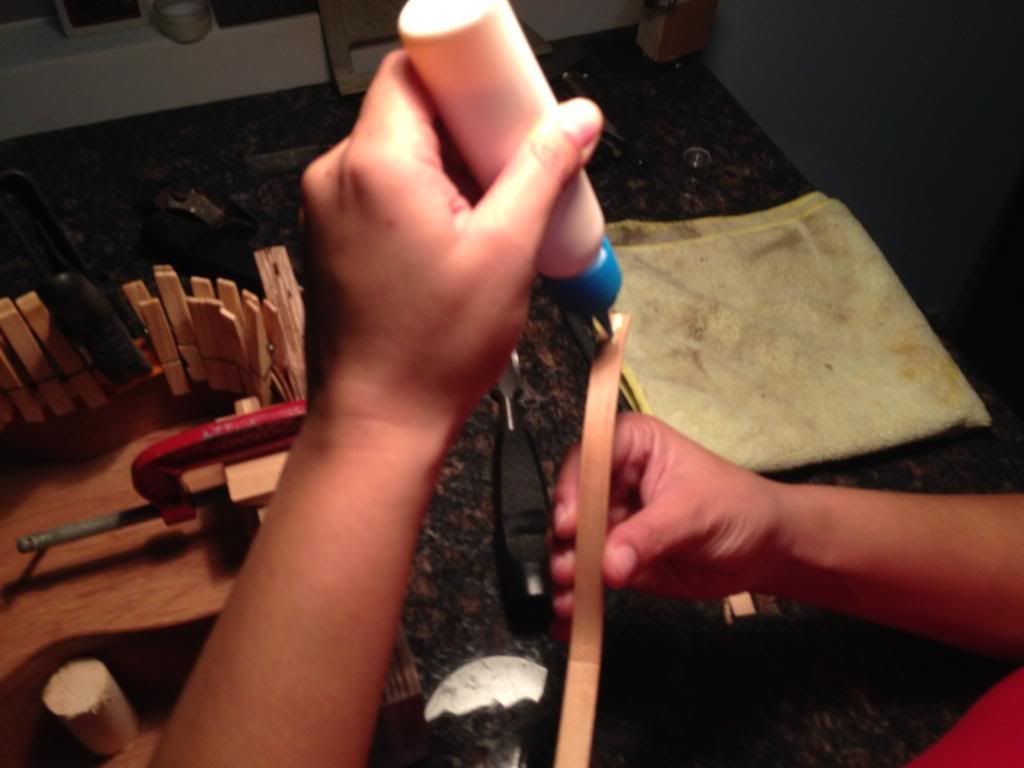 So we did a rinse/repeat for the other side and glued him up to sleep for the night. Quote:

|
|
#17
05-12-2014, 03:44 PM
|
|||
|
|||
|
Once again, could not wait to wake up and get back to working on this uke! I'm loving this!
Removed all the clamps and checked out the lining we glued for the back, looks real good. 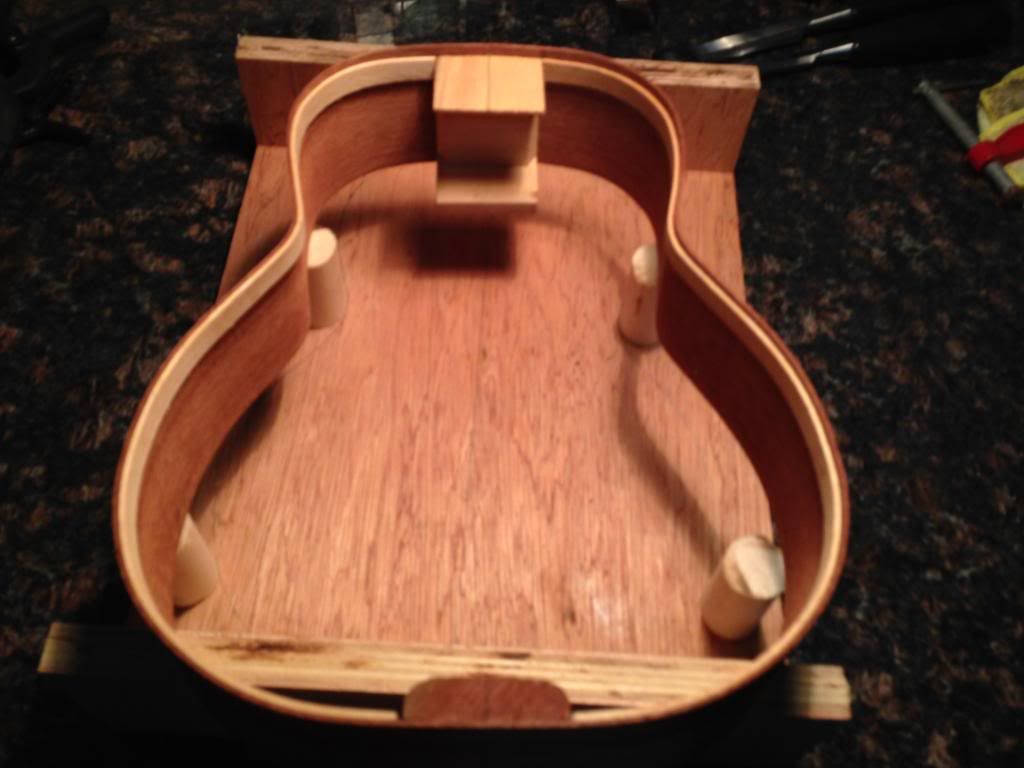 So I flipped him over and did the same process for the top lining. Here's the dry fit...always have to dry fit first. 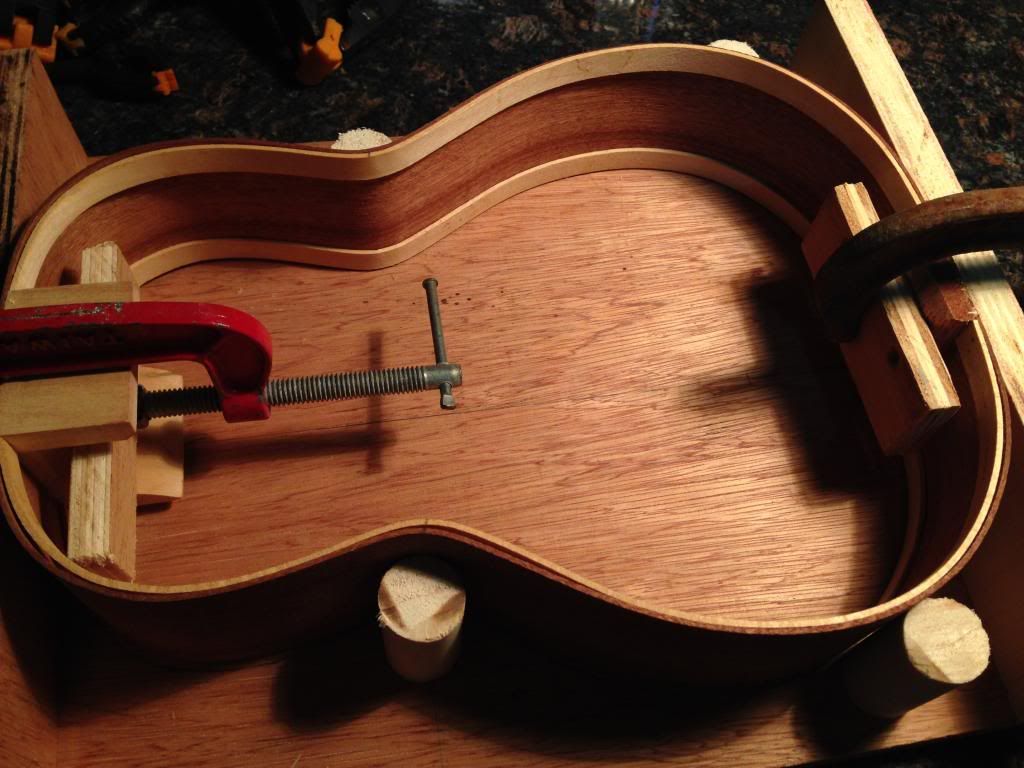 Here he his all glued up. I remembered that I had 4 bar clamps sitting around so I used them to get better clamping pressure than the clothespins. 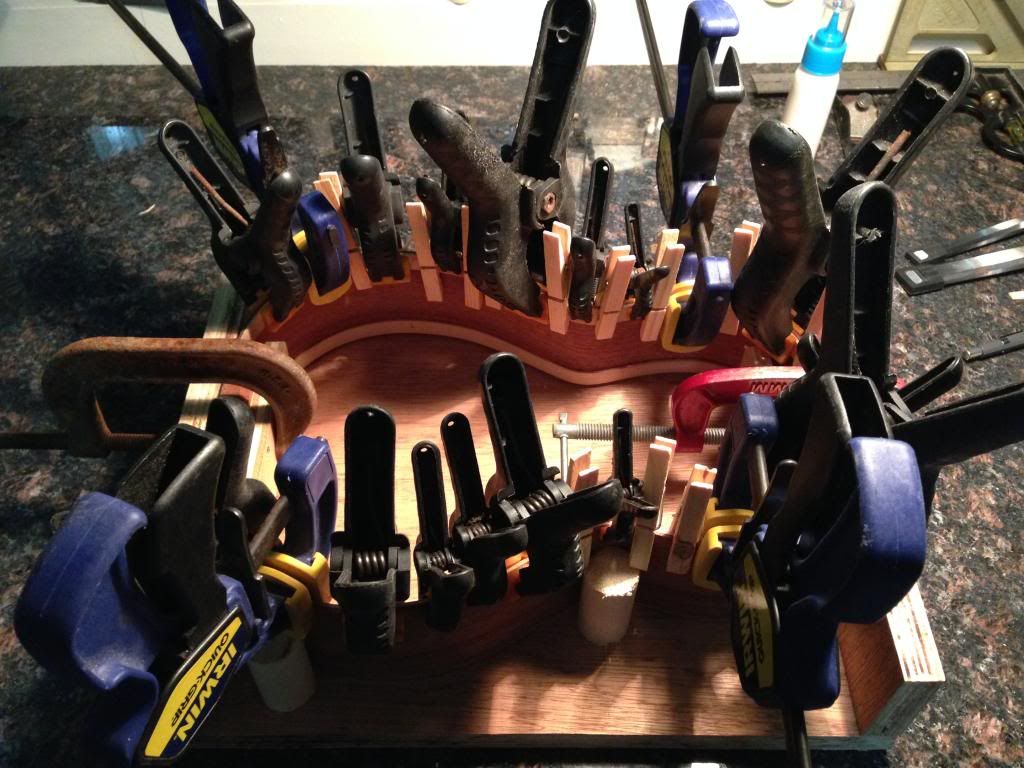 The next step will be to start gluing the back bracing.
|
|
#18
05-12-2014, 06:41 PM
|
|||
|
|||
|
Making good progress lad, and lady. Keep it up
__________________
Martin HD28E Retro Seagull Maritime Mahogany Alvarez Rd8c Dean EABC5 Gretsch 9121 Lag TN100 Nylon Recording King RO-10 Recording King RP-06 https://soundcloud.com/search?q=Smokerblacker
|
|
#20
05-12-2014, 10:56 PM
|
|||
|
|||
|
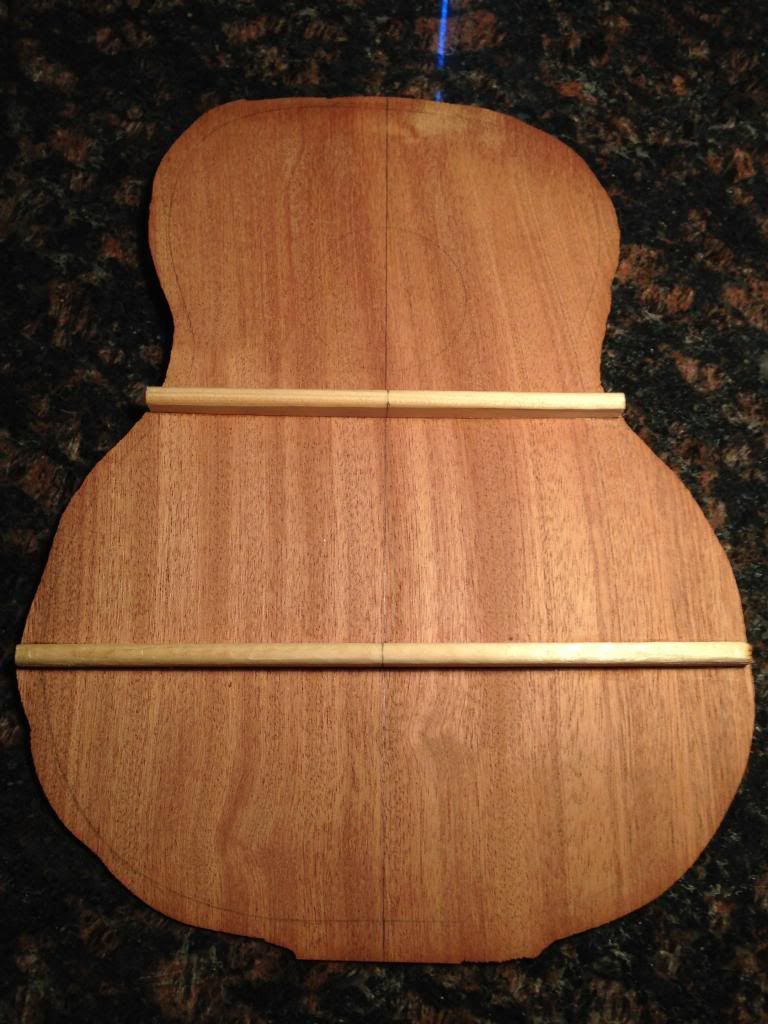
The top and back linings are all installed.
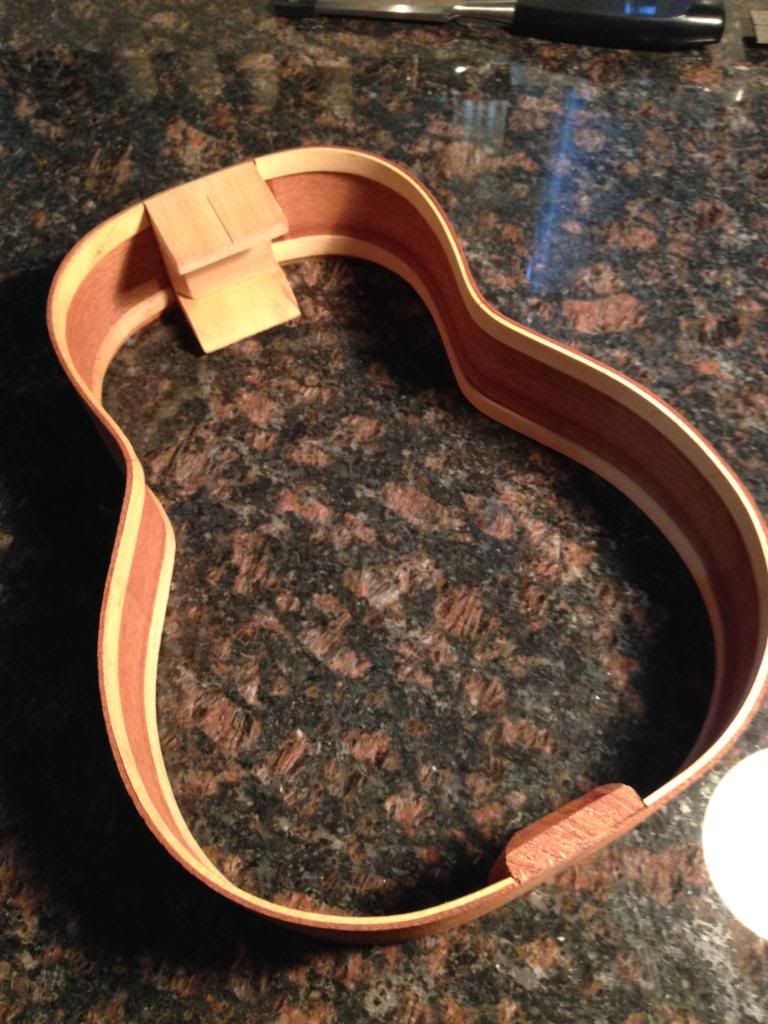 The next step is to trace the template for the bracing onto the top and back. As you can see in the pictures below, the tracing that shipped with the kit were a quite off. Early in this build thread, I showed a picture of the center line also being drawn inaccurately on the top. The wider lines are the ones I redrew and actually fit the width of the braces. Quote:
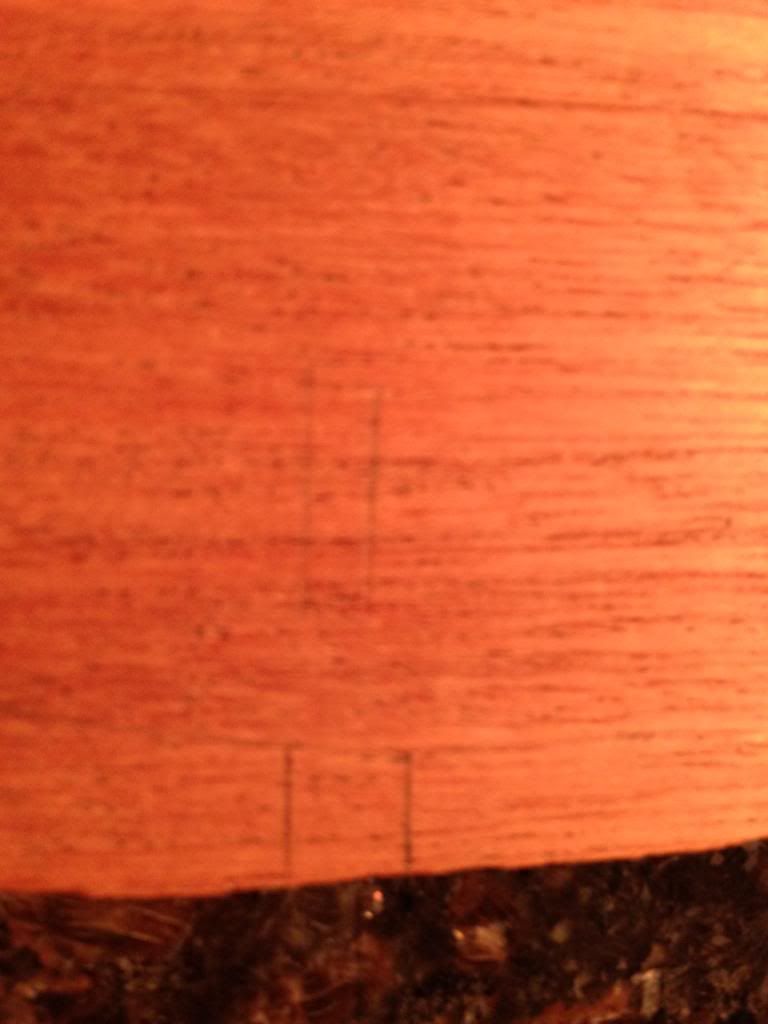 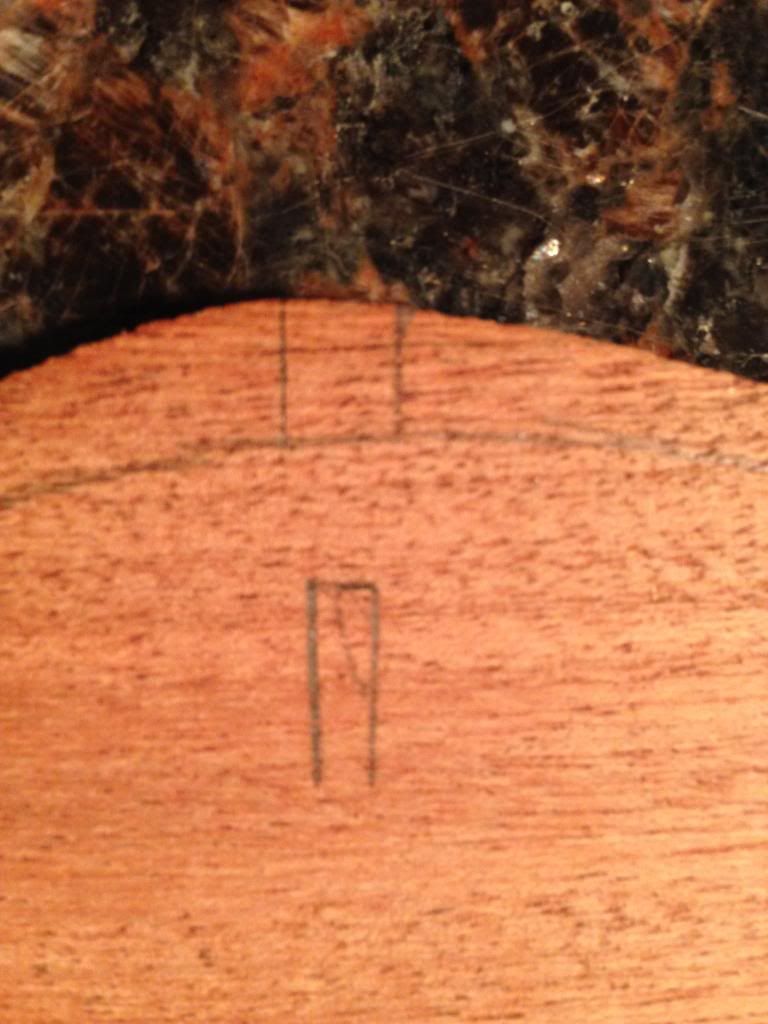 To retrace the lines, I laid the template over the top/back lining it up with the centerline and the soundhole (for the top). Then, using a good straight edge, I marked the lines on the wood outside the paper template. When all the lines were marked outside the paper template, I removed the template and connected them. 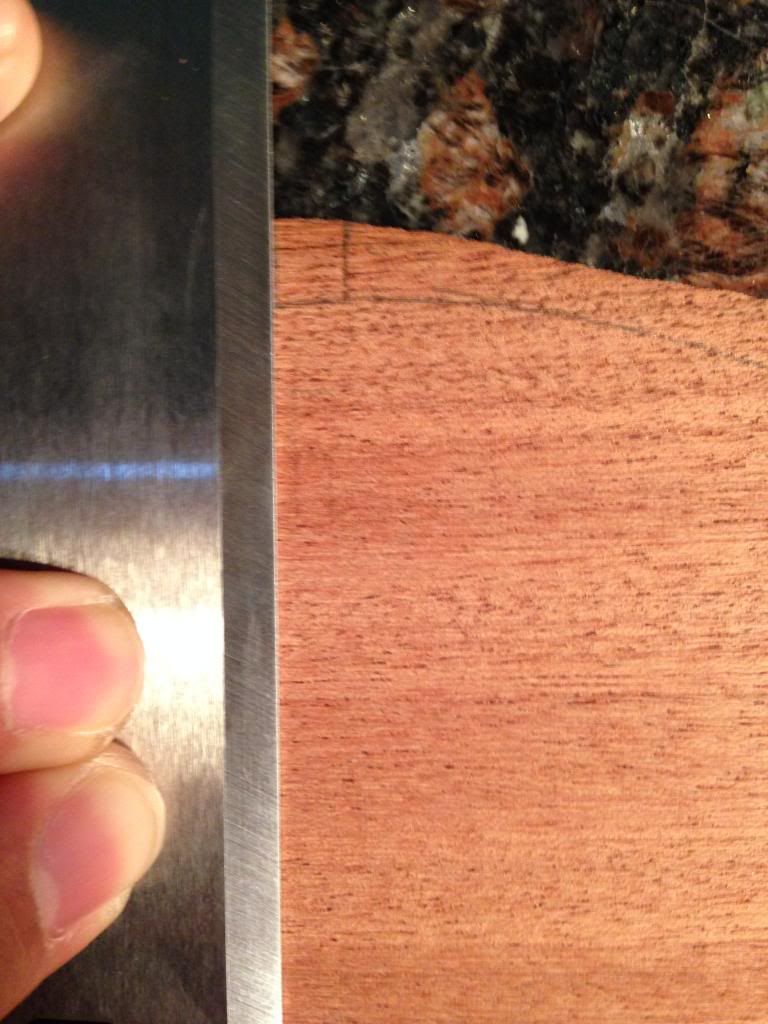 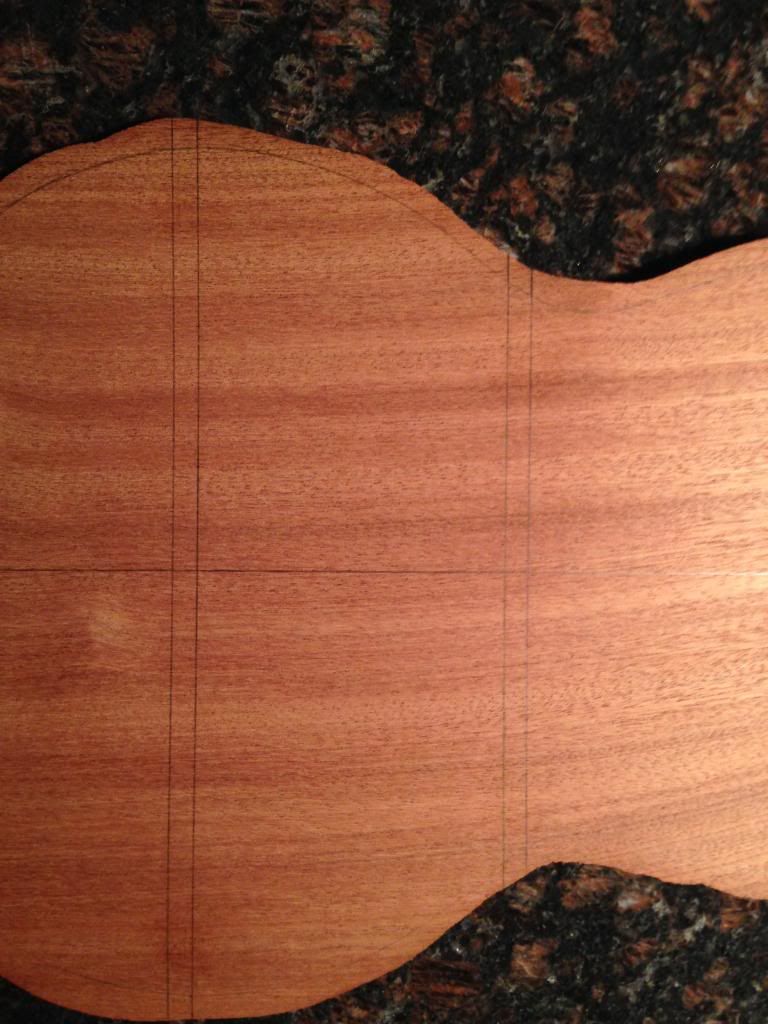 I retraced the template for both the back and the top. Next step will be to dry fit the bracing.
|
|
#21
05-13-2014, 12:11 AM
|
|||
|
|||
|
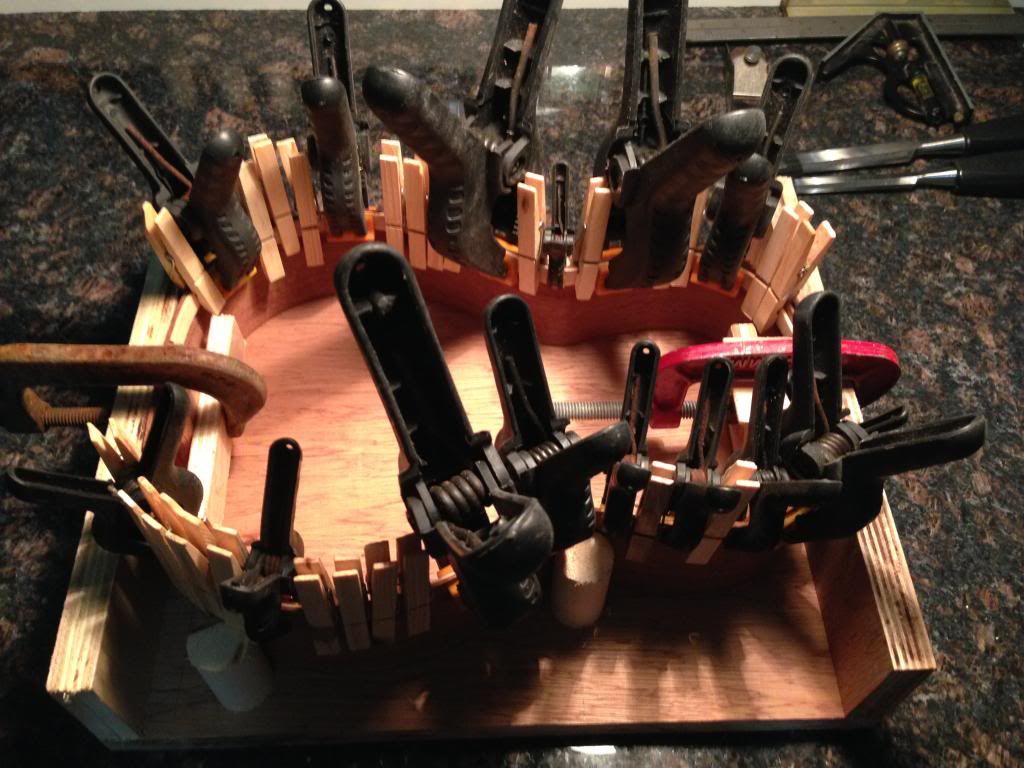
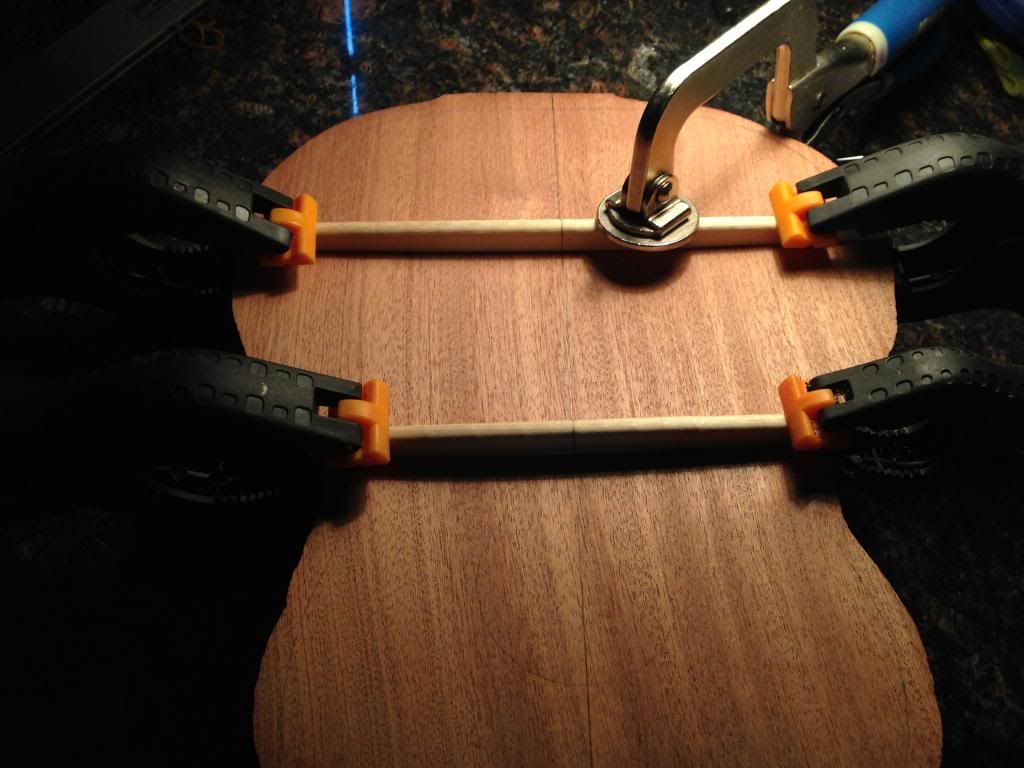
Abiding by lesson learned #4, I dry fitted the back bracing with clamps first. I'm so thankful I did not skip this step because I discovered that the back bracing is actually radiused and not flat. This discovery led me to change the type of clamps I initially used.
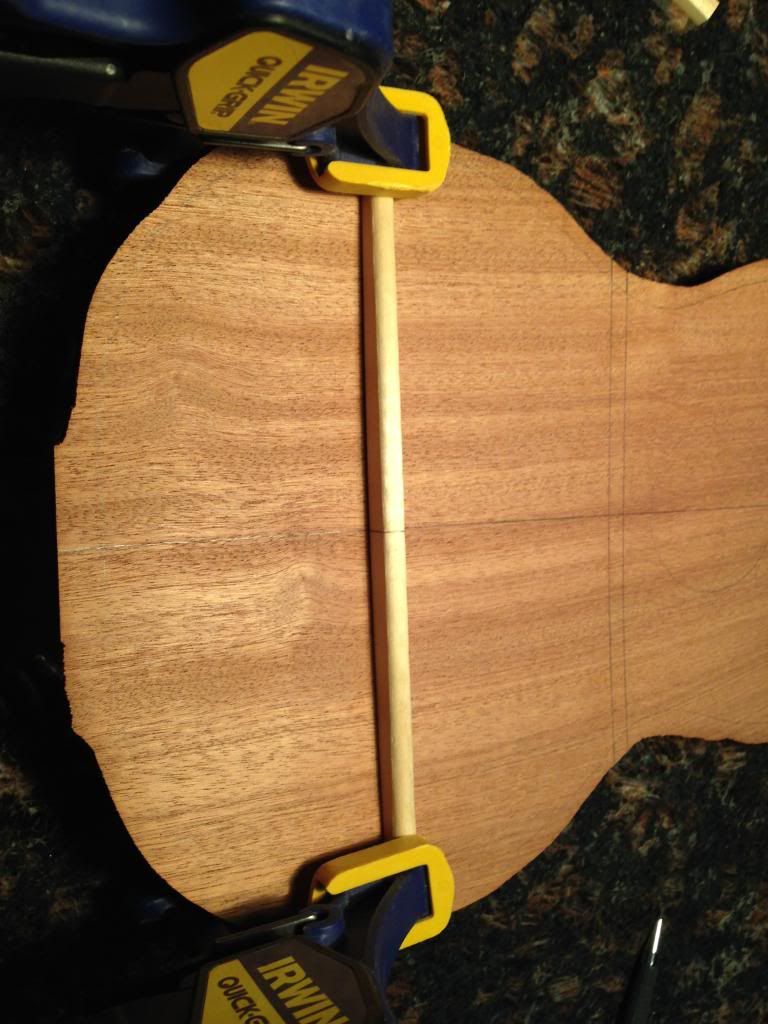 Looking through an angled light revealed that the center of the brace was not properly clamped.  So I changed the clamps, added one to the center... 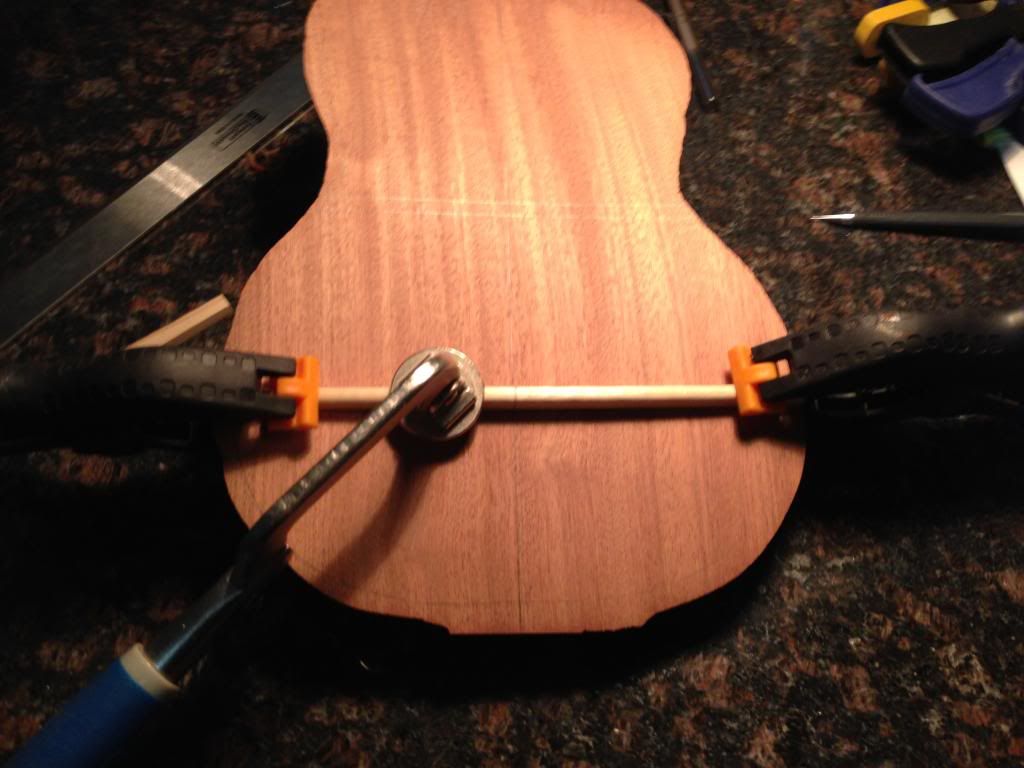 ...and all looks good and ready to glue. 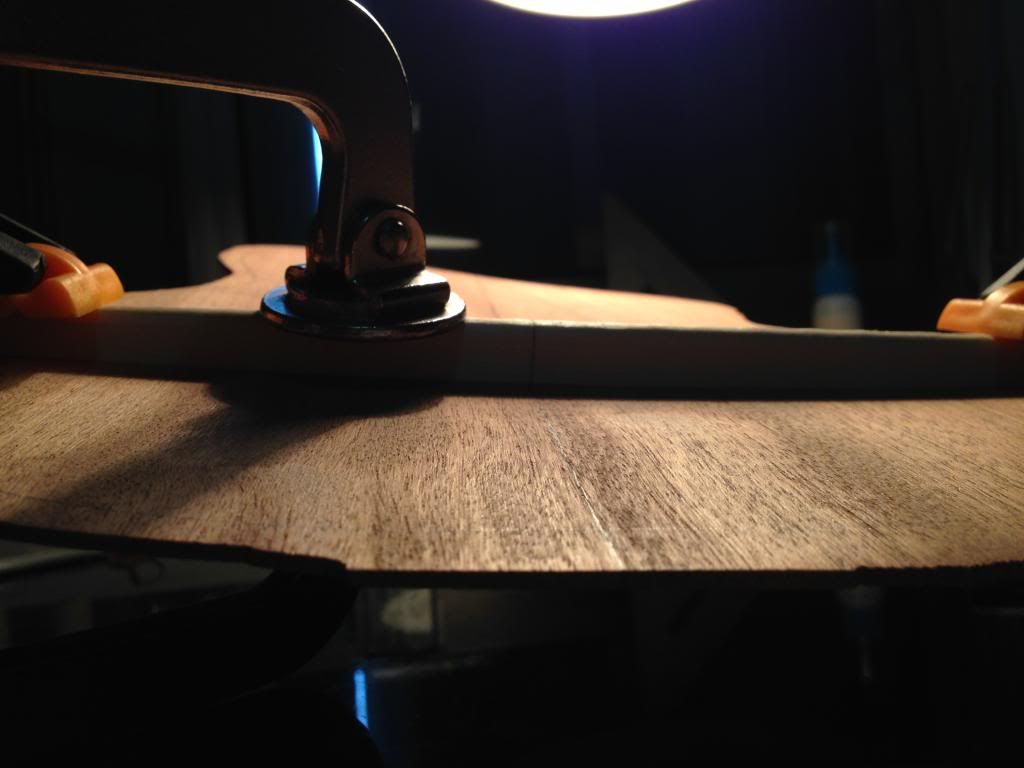
|
|
#22
05-13-2014, 12:14 AM
|
|||
|
|||
|
The dry fit for the 2nd back brace using the same type of clamps.
 You can see some light coming through, that means another clamp is needed. 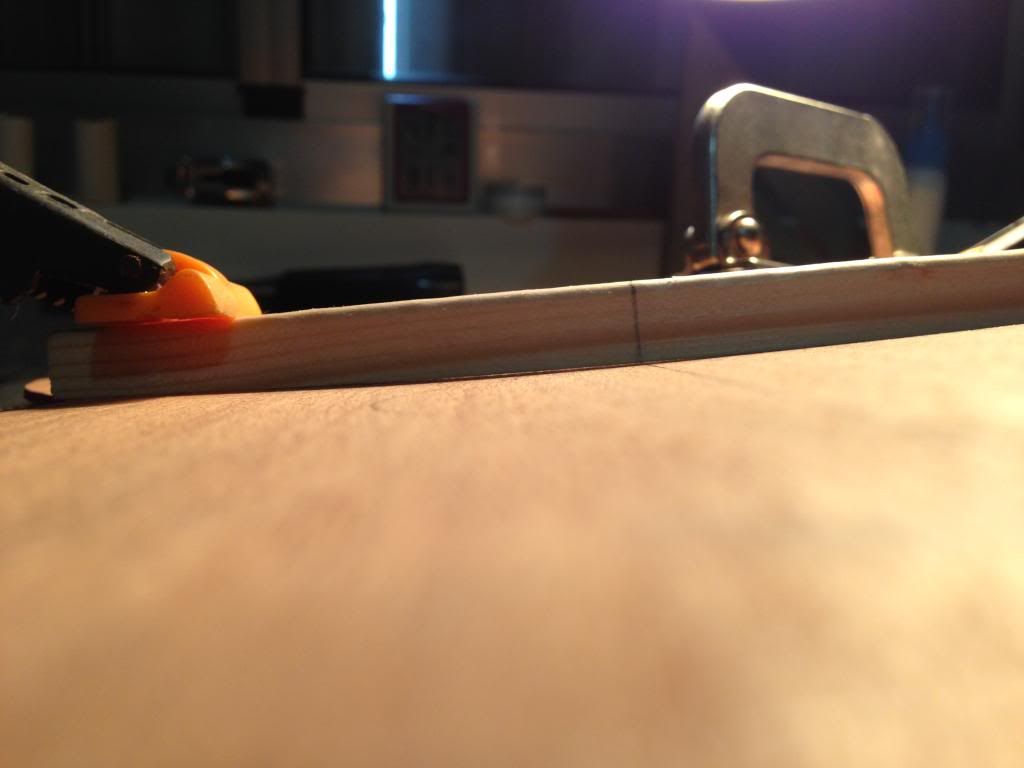 So we added a third clamp and all looks ready to glue. 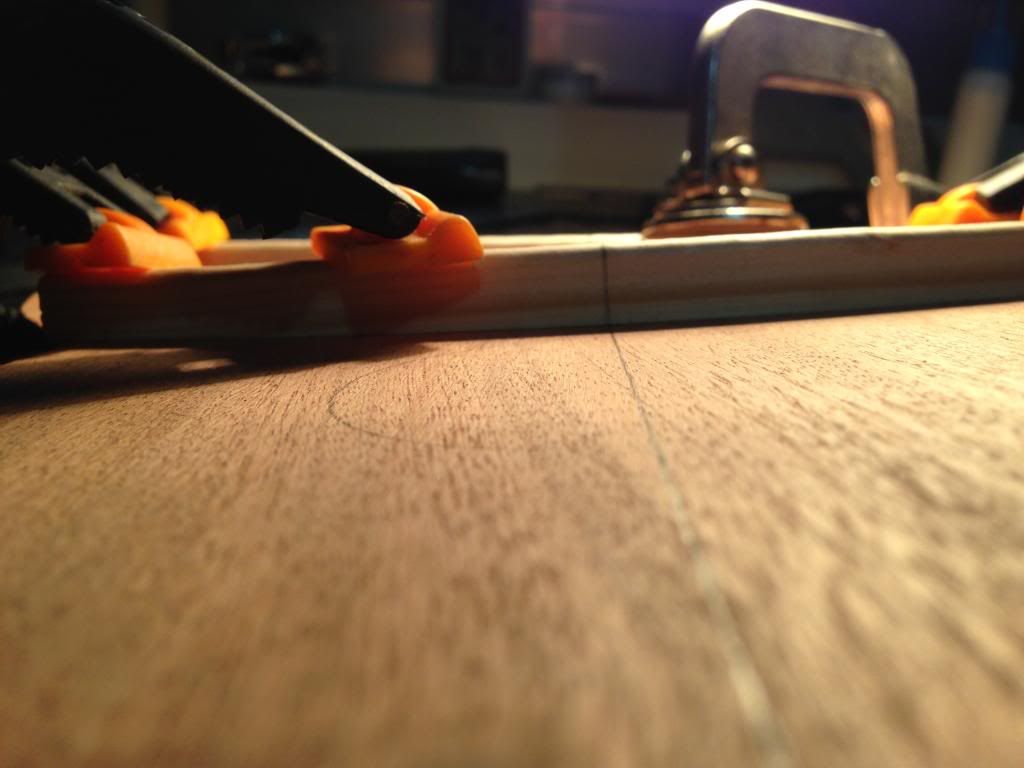 The next step will be to glue and clamp the back bracing.
|
|
#23
05-13-2014, 02:03 AM
|
|||
|
|||
|
Glued the back bracing on this evening, dry fitting the clamps made it real easy and quick.
 Of course I cleaned up the squeeze out... 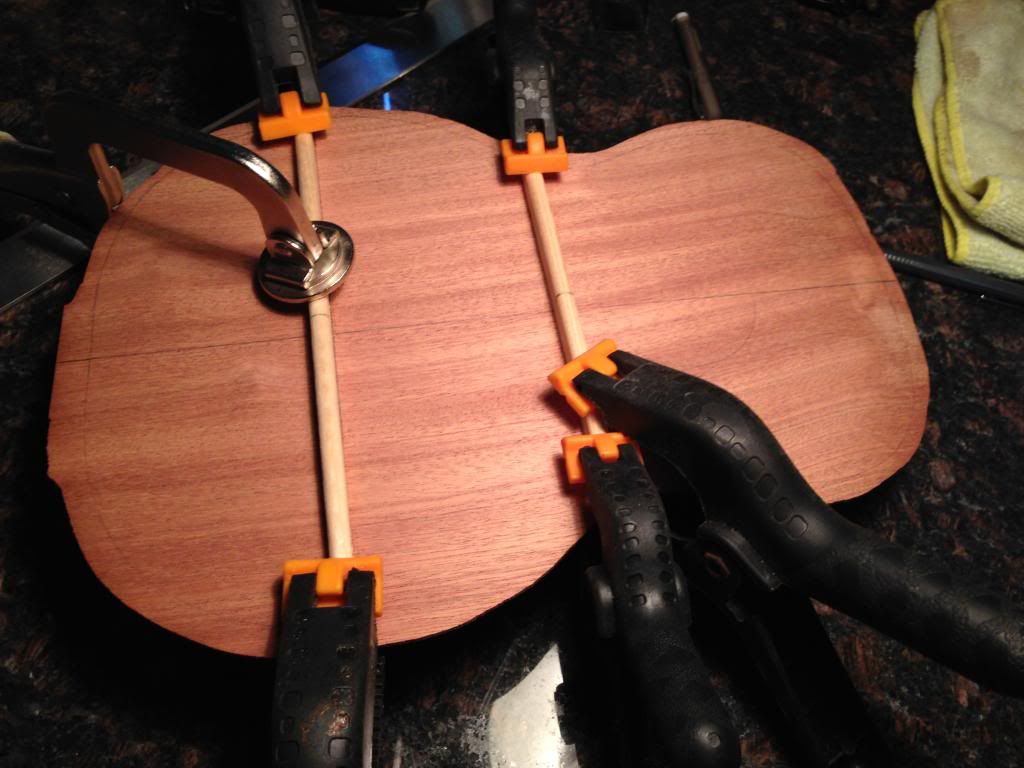 I have back-to-back gigs the next two days so it may not be until the weekend for the next update. Hoping to get the the fretboard and rosette inlays completed next.
|
|
#24
05-13-2014, 03:09 PM
|
|||
|
|||
|
Looking like something now
__________________
Martin HD28E Retro Seagull Maritime Mahogany Alvarez Rd8c Dean EABC5 Gretsch 9121 Lag TN100 Nylon Recording King RO-10 Recording King RP-06 https://soundcloud.com/search?q=Smokerblacker
|
|
#26
05-15-2014, 05:51 PM
|
|||
|
|||
|
Sneaking in a little update, I've been using a rasp to take of the chunk of material off the sides to get it flush for the gluing of the back. Taking this real slow and steady and going "downhill" with the grain. I thought about using my orbital sander, but didn't want to chance it. The rasp is coming along nicely.
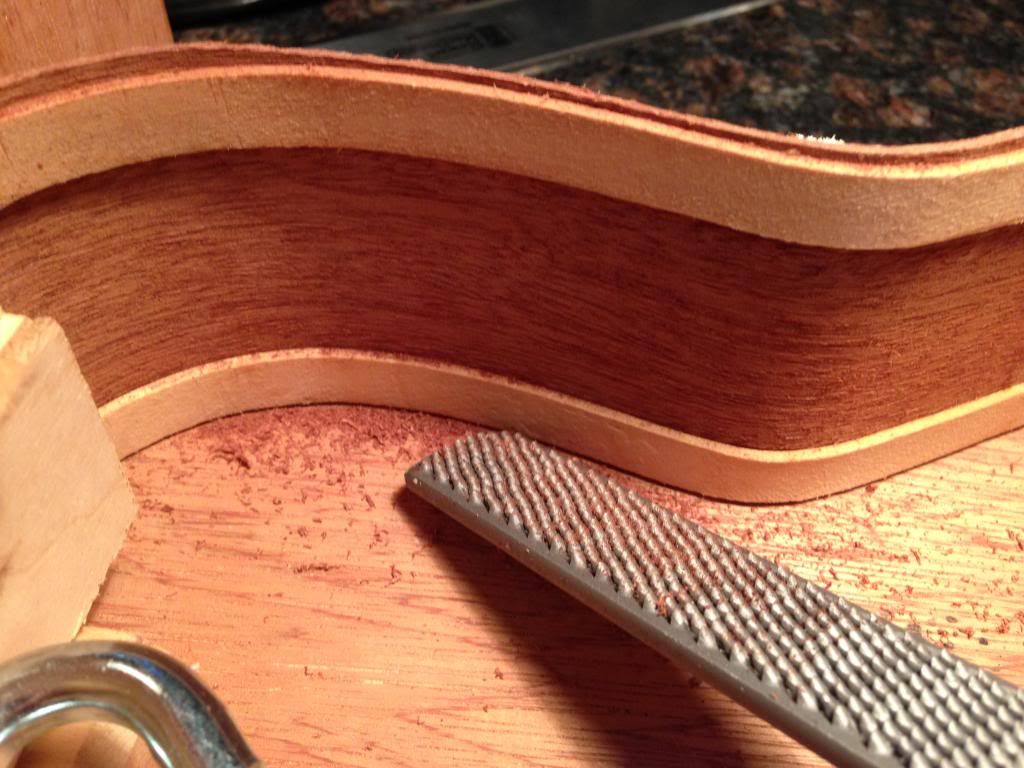 I'll take it down to about 1/16" above the lining then use 100-grit paper stuck with double-sided tape on my granite top to sand it flush.
|
|
#27
05-15-2014, 08:01 PM
|
|||
|
|||
|
Looks like a cheese grater
__________________
Martin HD28E Retro Seagull Maritime Mahogany Alvarez Rd8c Dean EABC5 Gretsch 9121 Lag TN100 Nylon Recording King RO-10 Recording King RP-06 https://soundcloud.com/search?q=Smokerblacker
|
|
#29
05-18-2014, 09:40 PM
|
|||
|
|||
|
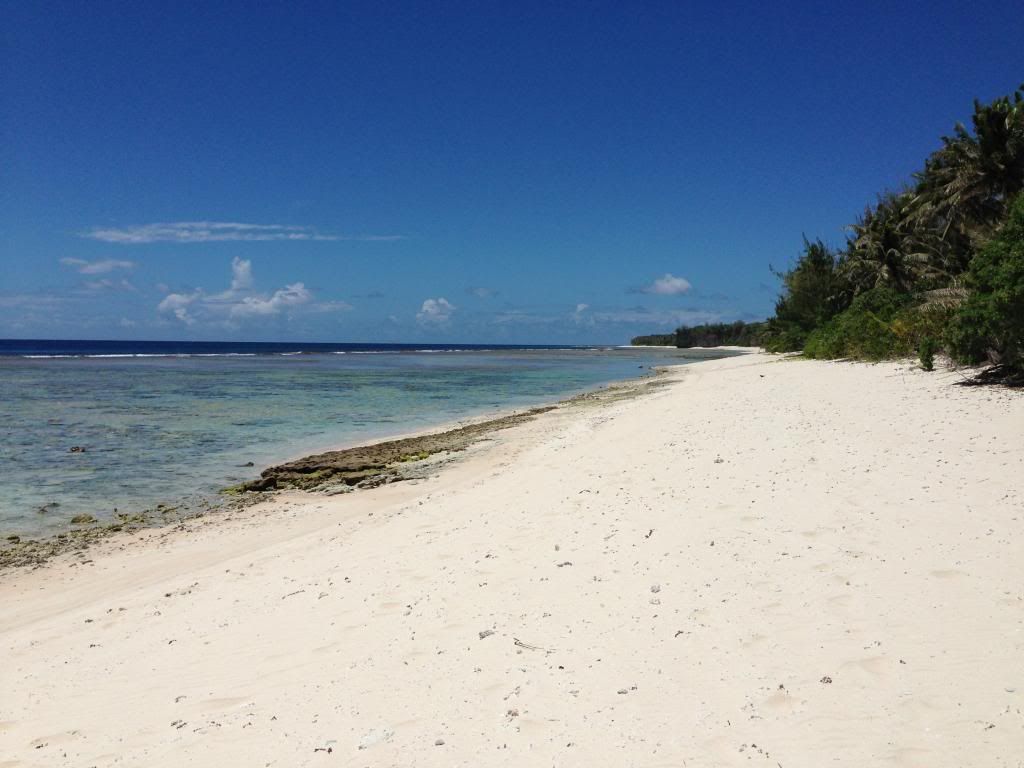
Despite going camping with the wife and family, I was able to get a significant amount done this weekend. Just wanted to share a picture of our family's private beach here in Guam, we're truly blessed to live in paradise. Unfortunately, I didn't wake up early enough to get a picture of high tide, here's a shot with the tide already on its way out. Normally the shore rocks are covered with water.
 Now back to the build... After rough-shaping the sides with the rasp, I used double-sided tape and 100-grit on my granite workbench to prep the sides for gluing the back. I know there's supposed to be a radius in the back, but I don't have the means to sanding a radius. This is just one of those compensations I'm going to have to make with the lack of tools/materials. 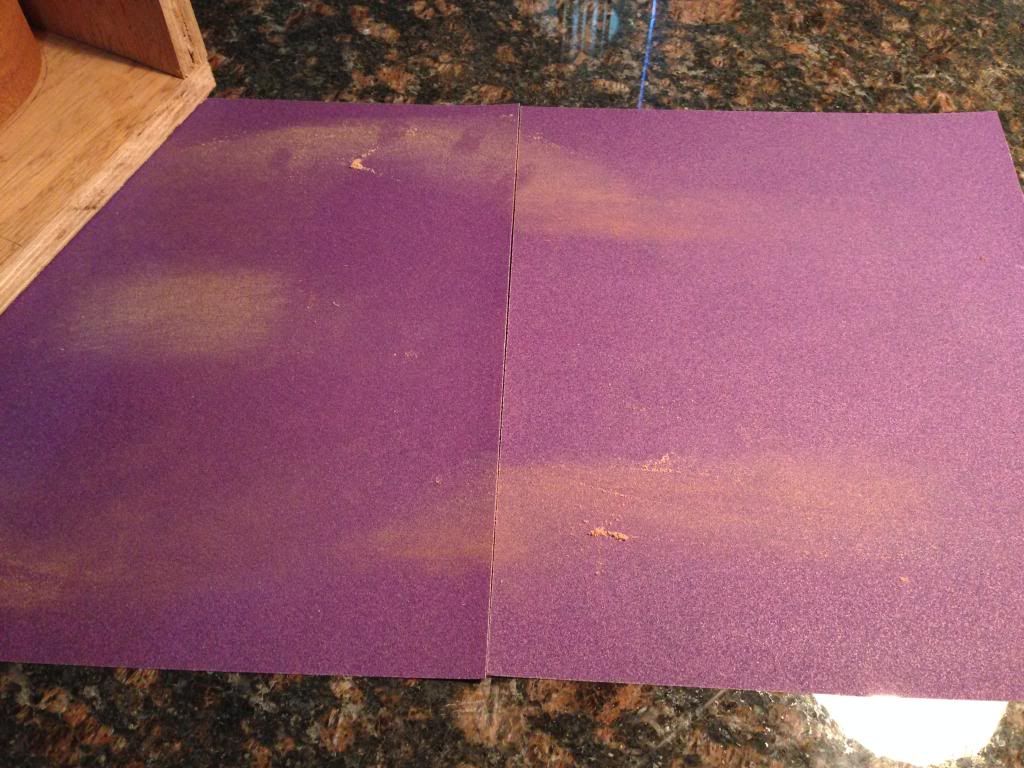 Sanded it just like the instructions suggest. You can also see an example of this in Mya-Moe's "Birth of a Mya-Moe" series. 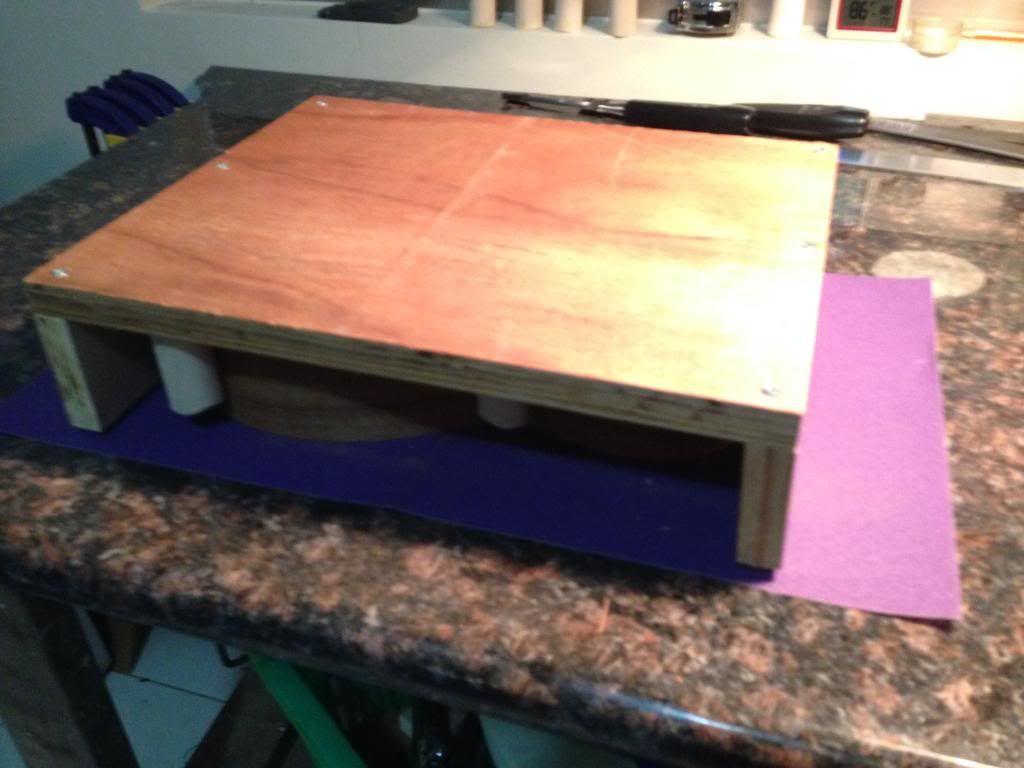 I didn't have chalk so I just made pencil marks all around the sides to indicate when I've successfully sanded all areas. 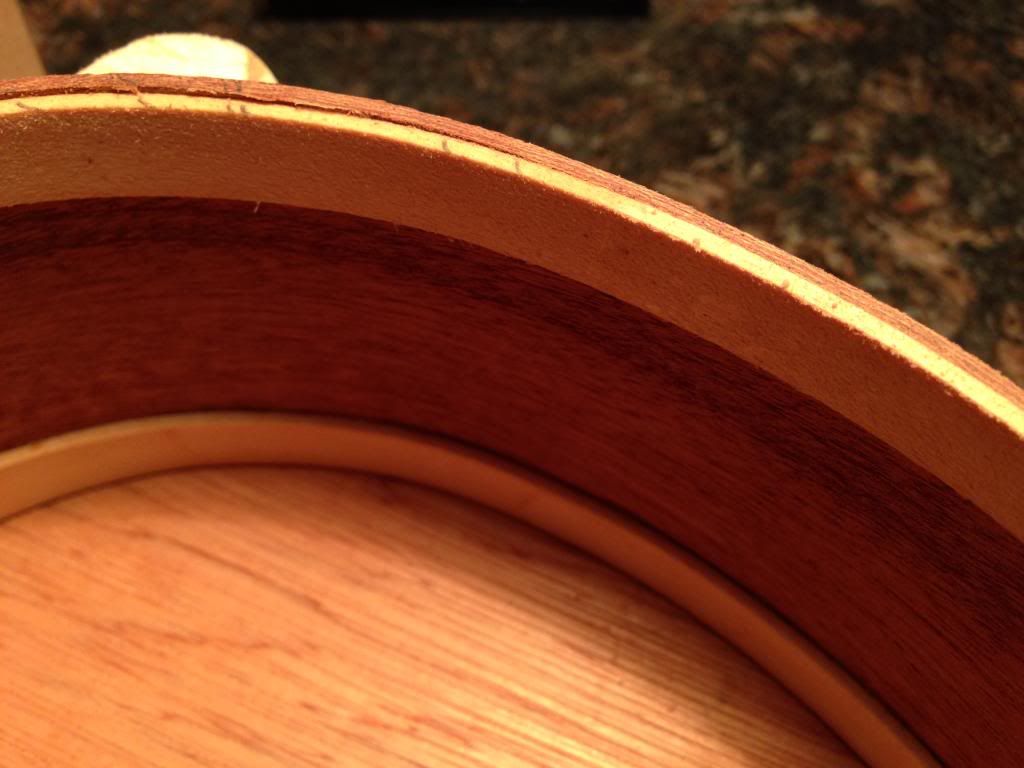
|
|
#30
05-18-2014, 09:44 PM
|
|||
|
|||
|
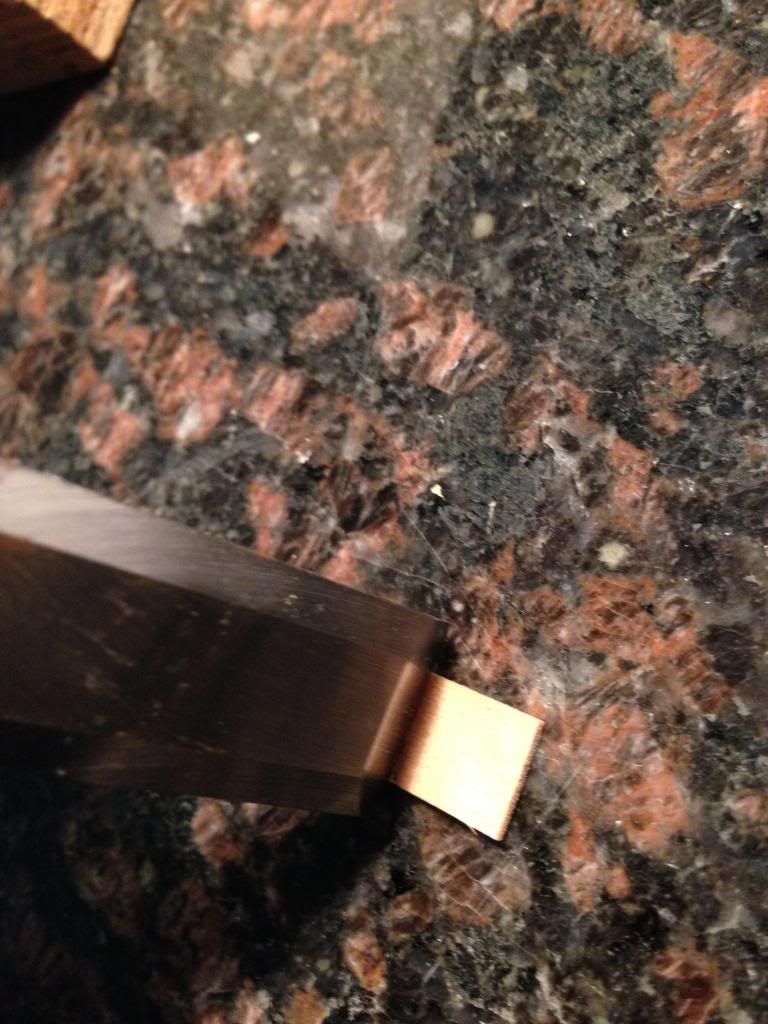
Once I had everything sanded flat and ready for gluing, I decided to trim the back braces to fit. Taken from another tip in the Mya-Moe series, I sanded the neck-edge back about 1/8" from the template line. this is to be used to line up the back to the centerline of the body.
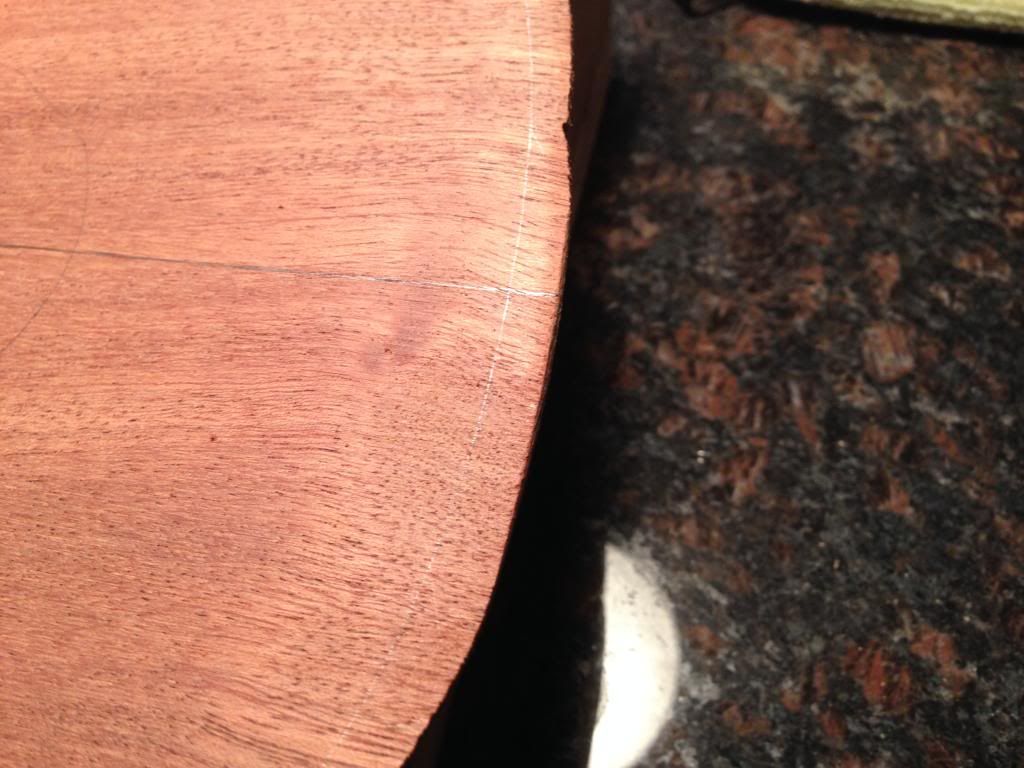 I laid the back on the sides and marked the cuts to fit. 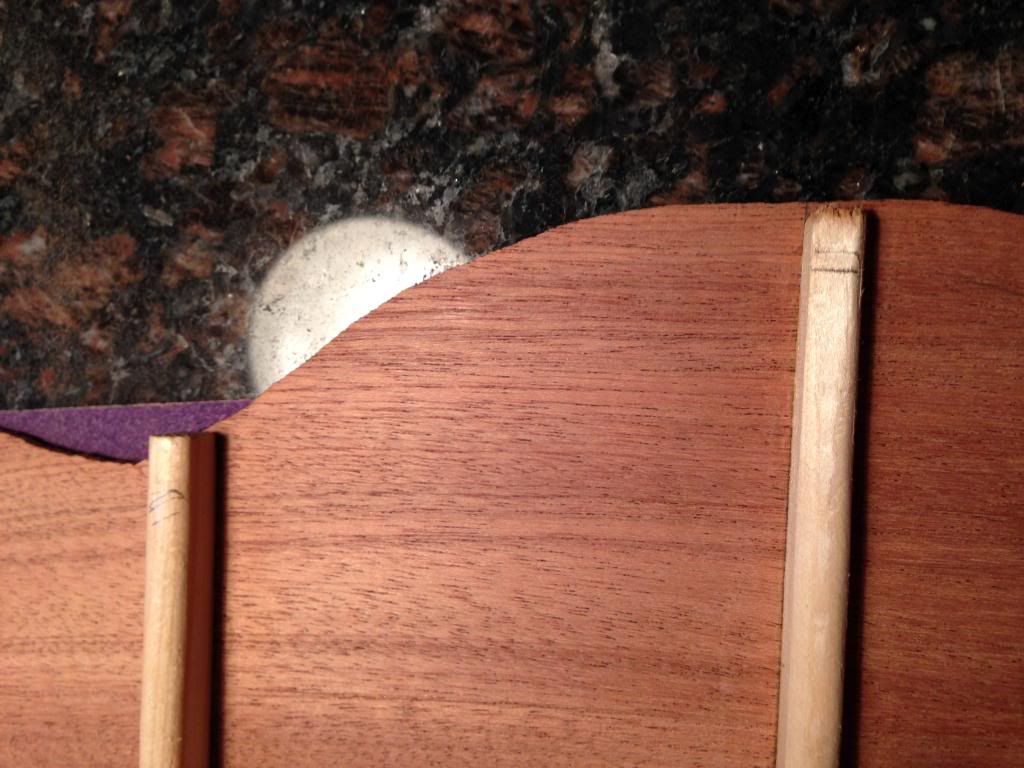 I'm using a StewMac .010" saw here to make these cuts. 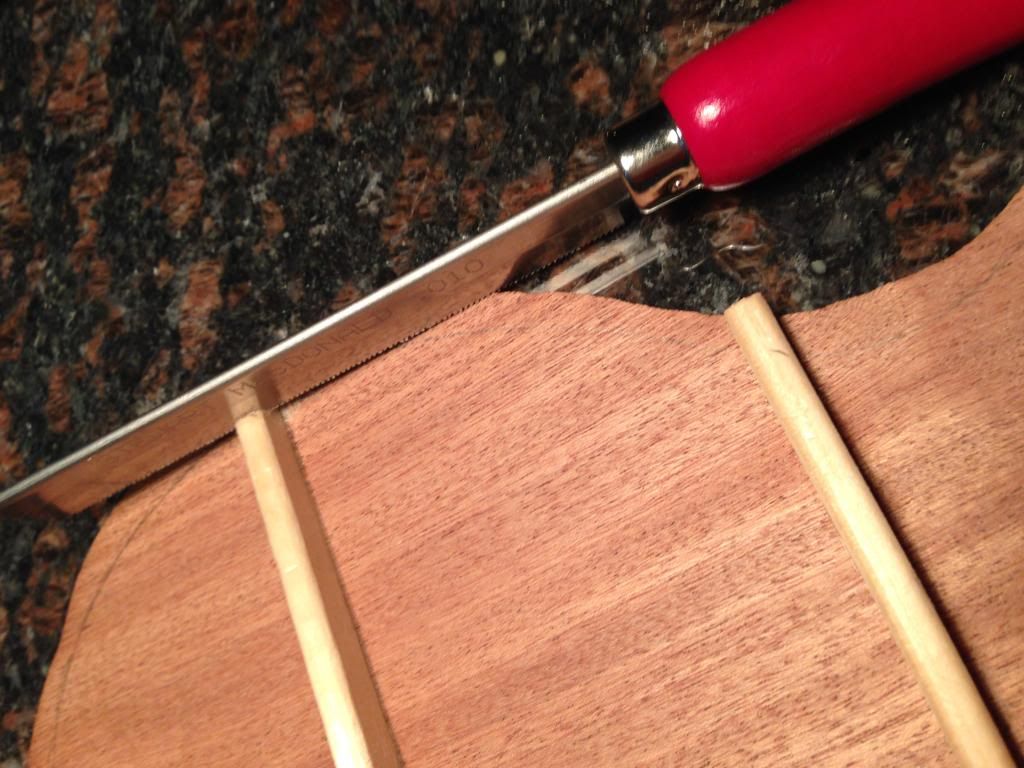 Then I clean it up a bit with a chisel. 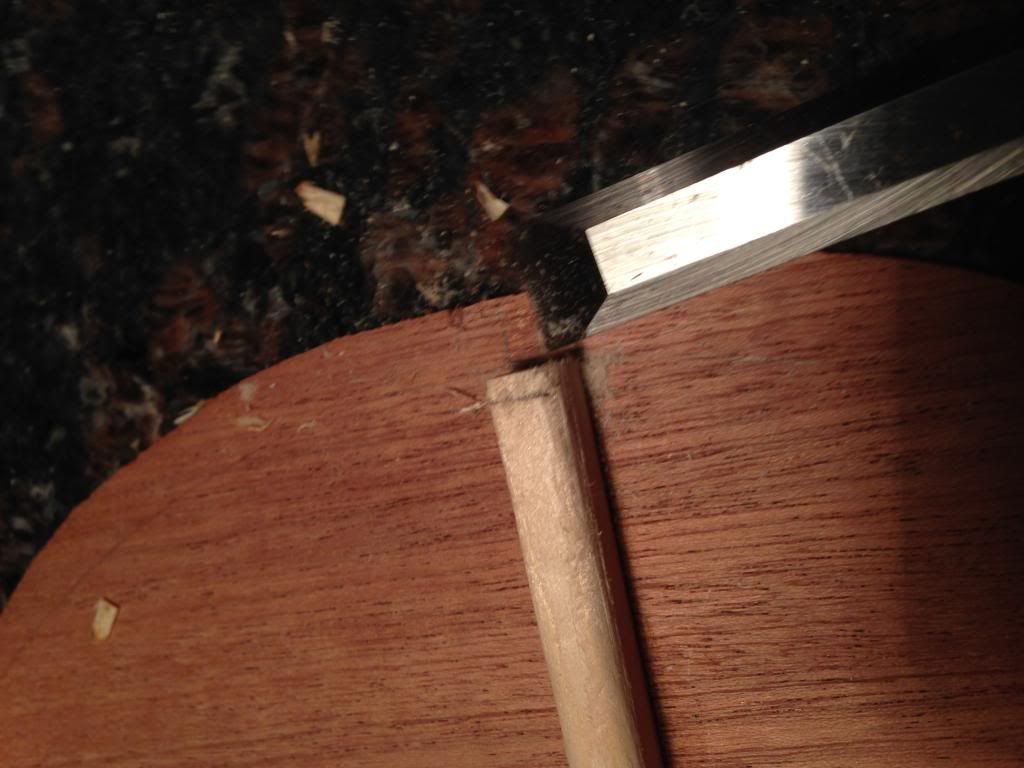
|
 |
|
| Tags |
| first build, stewmac tenor kit |
|
|