
|
|
#1
 10-14-2013, 04:20 AM
|
|||
|
|||
|
My First Acoustic Guitar Build
After playing guitar (electric and acoustic) on and off for over 25 years, I decided that it was probably time for me to see what it was like to actually build one. I also thought it might be pertinent to document this process so that other who are thinking about doing the same can follow along to see what is involved. My backstory - I am a 46 year old guy with a young family and run my own IT business. I haven't done much woodwork with my own hands, and in fact I think the last time I picked up any wood tools was in high school where I scored a solid 'C' for my skills. So this process is quite daunting. Not to mention that I had to basically shut down my business for 2 weeks and fly 3000 miles across the country to do this build. Rather than talk about technique and process, I am going to try and frame my post from the perspective of a rank newbie who has been thrown in at the deep end, so please bear with me (if you are still reading at this point). I will also refrain from naming the 'school' that I am at, unless other people want me to. I don't want to be tagged as a shill, but by the same token, if there is interest there, I will pass on the details. Day 1 ----- Ok, I basically flew in at 1am yesterday - just had time to find the place I was staying at for some quick shuteye, then report to the workshop in the morning for make a start. The workshop itself is set in a beautiful artist community, built in the 1930's. It has a real old world charm. The workshop 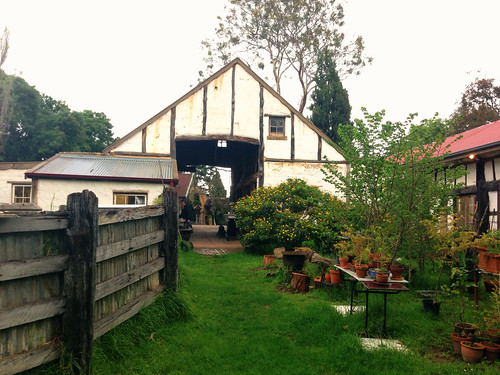 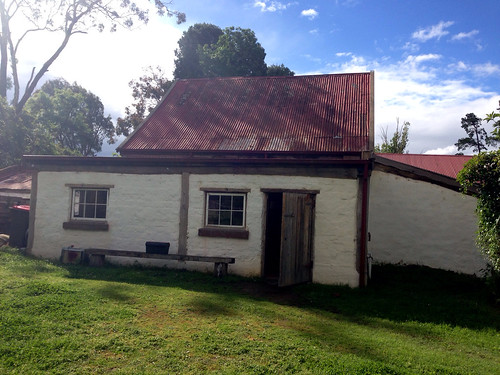 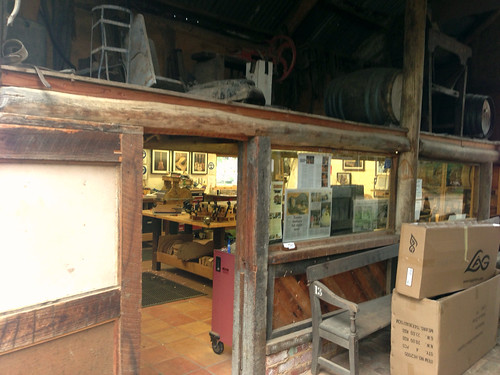 After the initial introductions and niceties were completed, it was time to visit the wood shed to pick out the woods for the back and sides. Sounds simple? Interminably hard it was. So much to great Australian tonewoods to choose from, so many options. After about an hour, it was a case of mental overload, and I ended up going back to four sets of wood that were amongst the first lot I picked out. (This is Sam, one of the other students on the course). 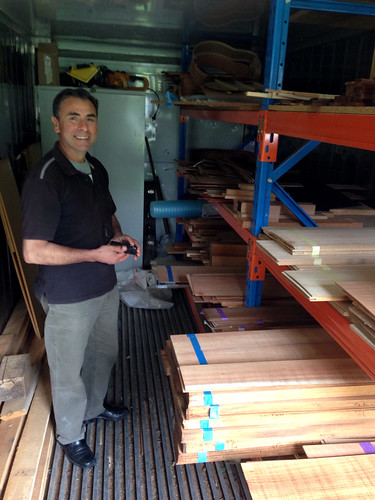 Two were Tasmanian blackwood and two were Tasmania Tiger Myrtle. 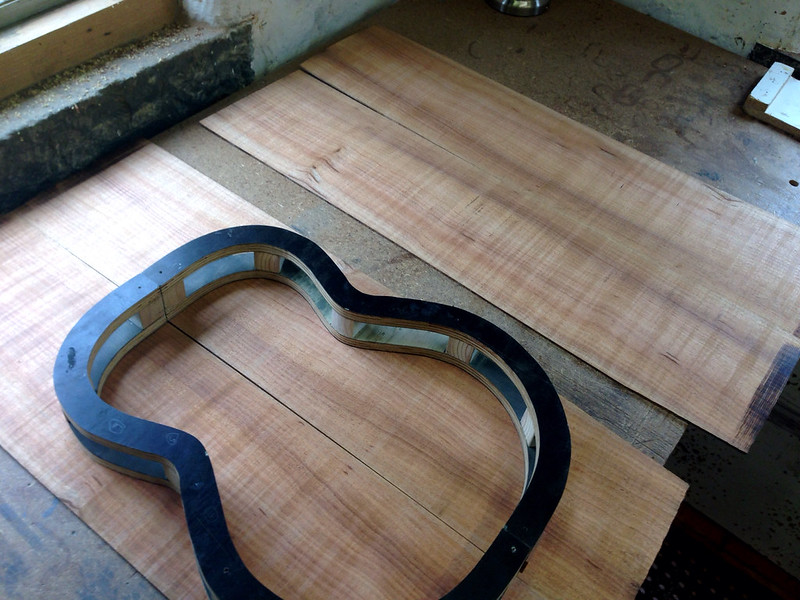   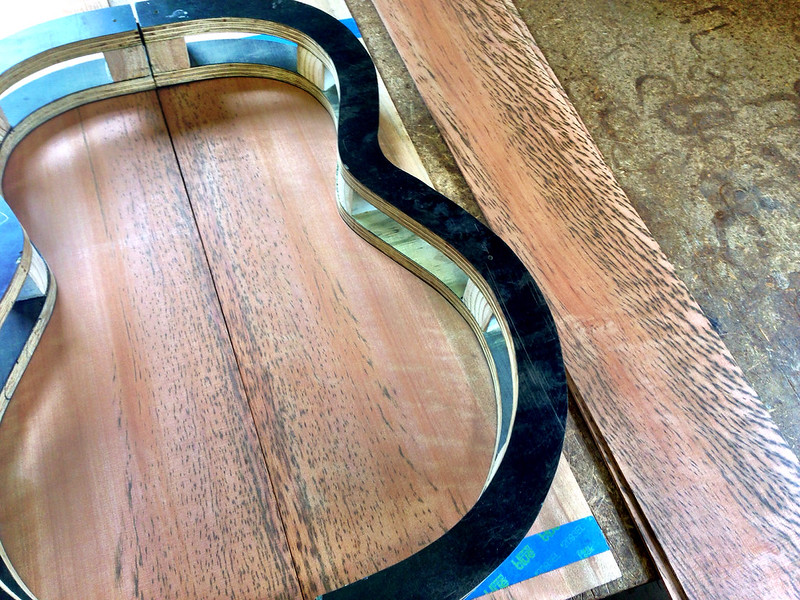 After much to and froing, I decided against the Myrtle wood, because whilst the back looked good, I thought the sides looked *too* patterned. Chris, the masterbuilder in charge of us rookies recommended that we select the same type of wood for the back and sides because of the different movement due to weather and external conditions. Same wood would be more stable. Thus I chose this Tasmanian Blackwood back and sides. I like how the darker pattern forms a 'waterfall' pattern on the back.  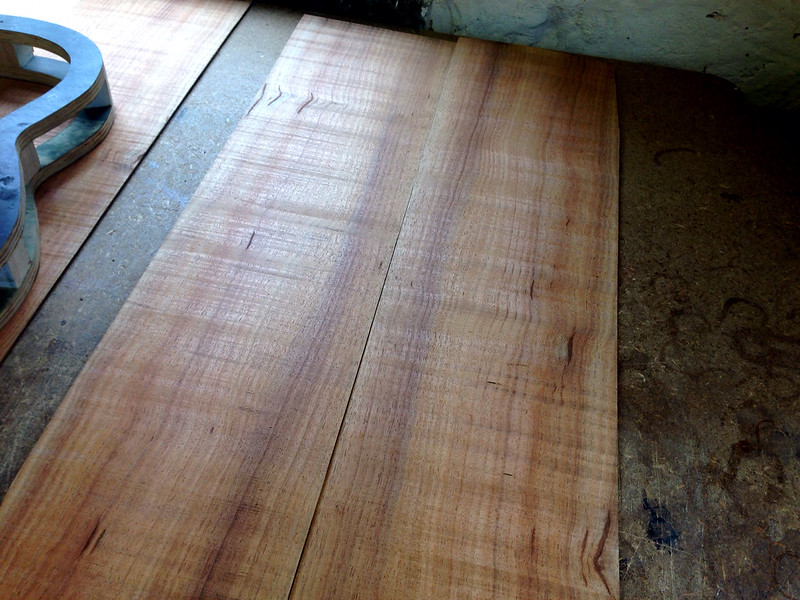
__________________
······························ ·▄▄▀▀▀▄▄··▄▄·················· ▐·······▀▀··▀▌··········ΦΦΦ··· ▌····║··(░)▒▒▒▒▒▒▒▒▒▒▒▒█████·· ▐·······▄▄··▄▌··········ΦΦΦ··· ·▀▀▄▄▄▀▀··▀▀·················· ······························ » My name is Devan » Guitar and Personal Blog. » Guitar and Gear Review Site. 
|
|
#2
10-14-2013, 04:21 AM
|
|||
|
|||
|
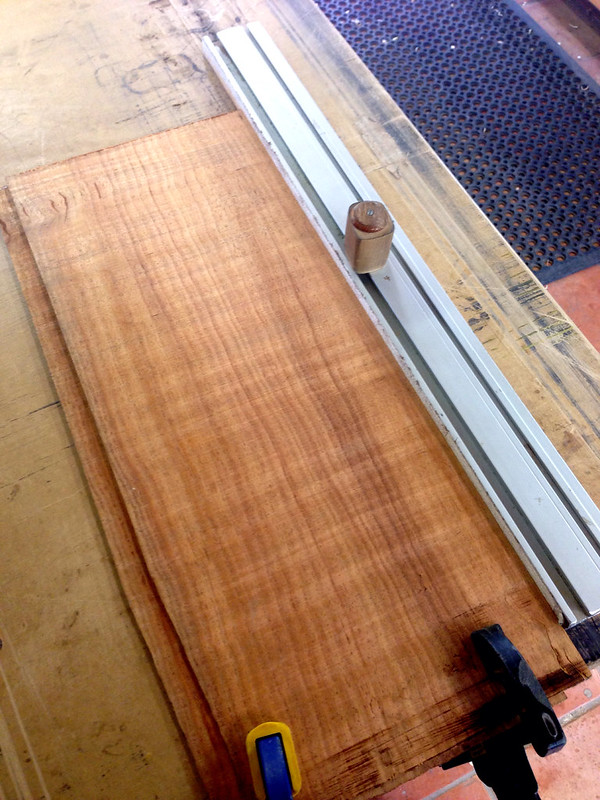
First order of business was to sand down the edges of the back to be joined so that they were perfectly straight. This was where I found out exactly WHICH muscles in my hands and forearms have been dormant for much too long. It tool me about an hour to get the edges straight. Mainly due to my imperfect technique - I was using too long a sanding stroke, and it caused a 'hump' in the centre section which I had to re work out using shorter stroked and a shorter edge.
 Then it was time to cut the sides down to basic shape. This was the first time I used the band saw for decades, so I took it slow and managed to get a reasonable facsimile of some sides.  After cutting, we planed the sides down to 2cm thick using a plane sander. Slowly slowly is the key with this machine - shaving off a millimetre at a time. Sorry no pics, I was too busy and forgot!  Now the first 'build' bit - We glued the two halves of the back together and set it aside to dry. It was over in less than 5 minutes. Shucks! Here is the glueing happening on my workbench in the corner. 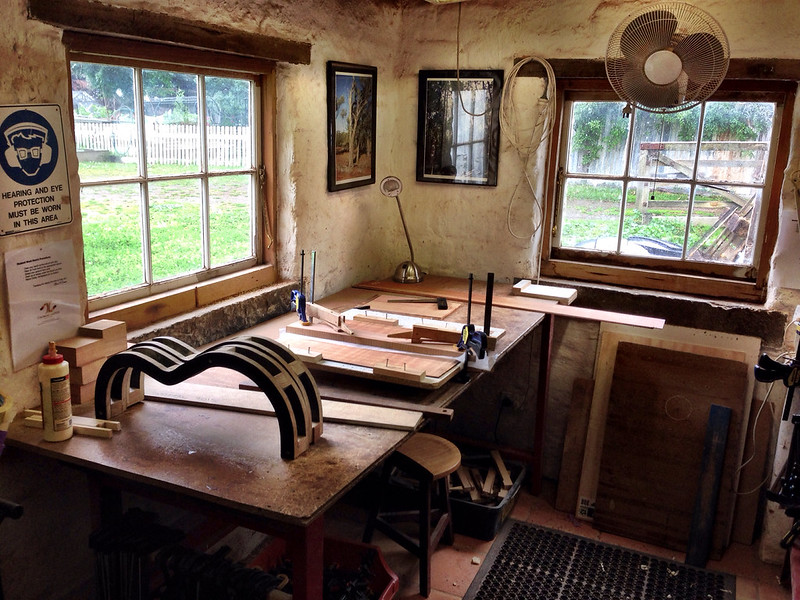 Straight after the fun, it was the next arduous bit which I struggled with. The shaping of the back bracing. We cut the 4 braces and I used a small hand plane to start the shaping process. Once again, rookie mistake - being a left hander, I shaved the edge furthest away from me far thinner that the closer side. Took me a while to correct that. 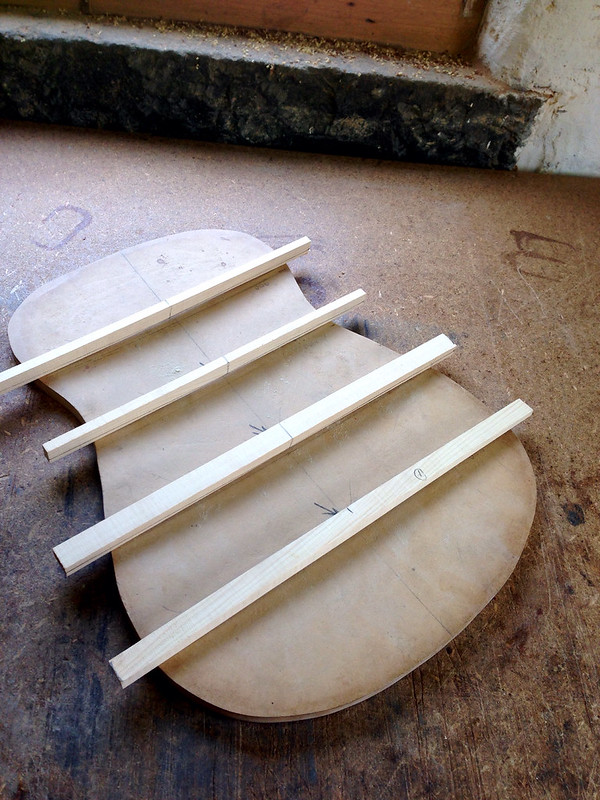 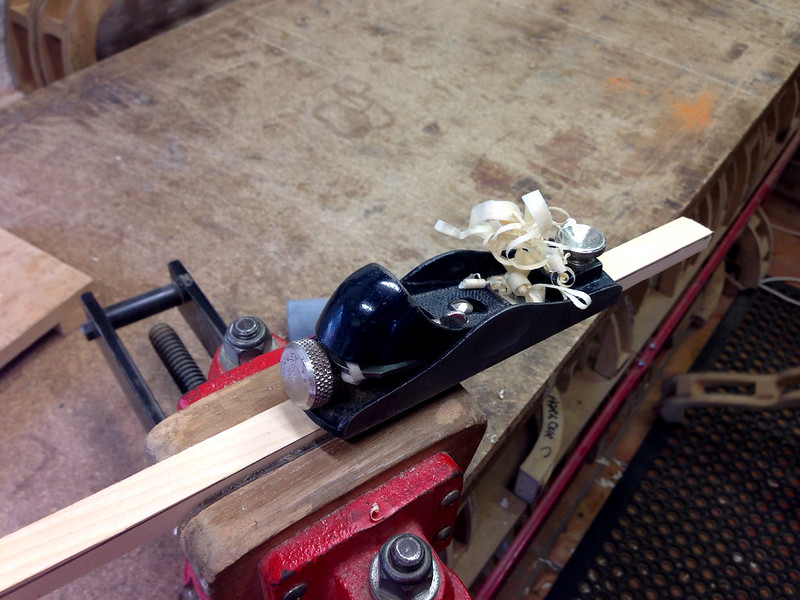 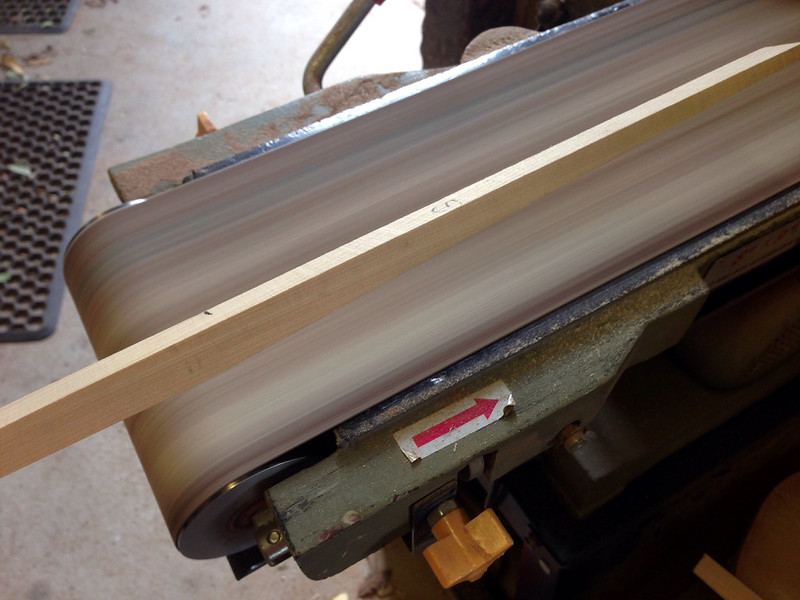 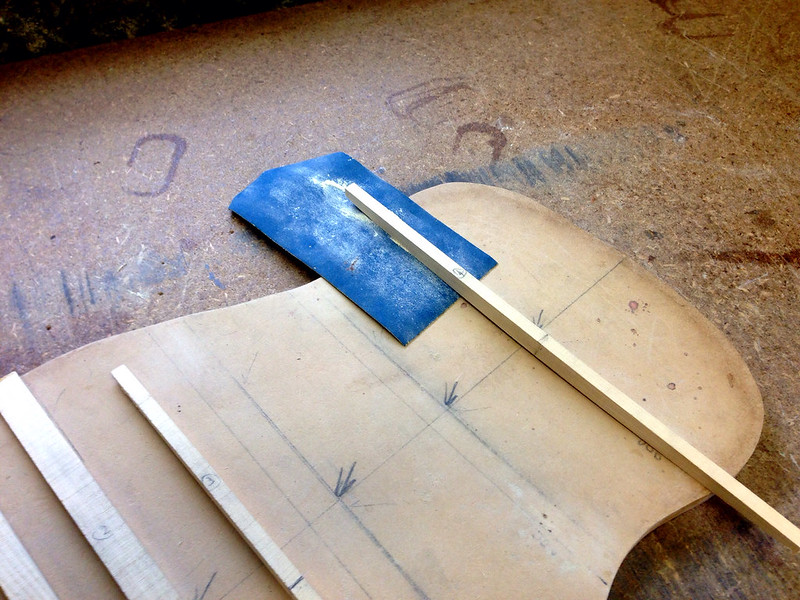 After the planing, I used a belt sander to shape the curve, then manually sanded then using a curved 'back template'. I found this bit to be really hard on my hands - holding the tiny braces and sanding them with tiny, brisk strokes to match the curve of the template. After over a hour of shaping, I was still no closer. The other student on the course, a carpenter, was already well ahead with gluing the braces onto his back and cutting the back into shape. I felt a little bit discouraged at this point. Then Chris broke the pace by getting me to bend the sides. This was fun. Wetting the sides prior to the bending also highlighted the grain as it would look when finished. It was great to see the beautiful grain, before manually doing the bending on the rig that Chris had set up. 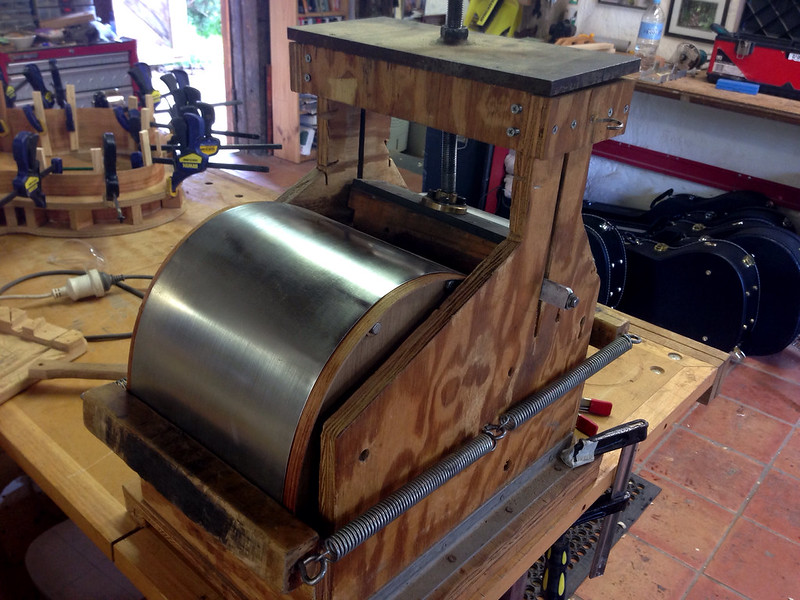 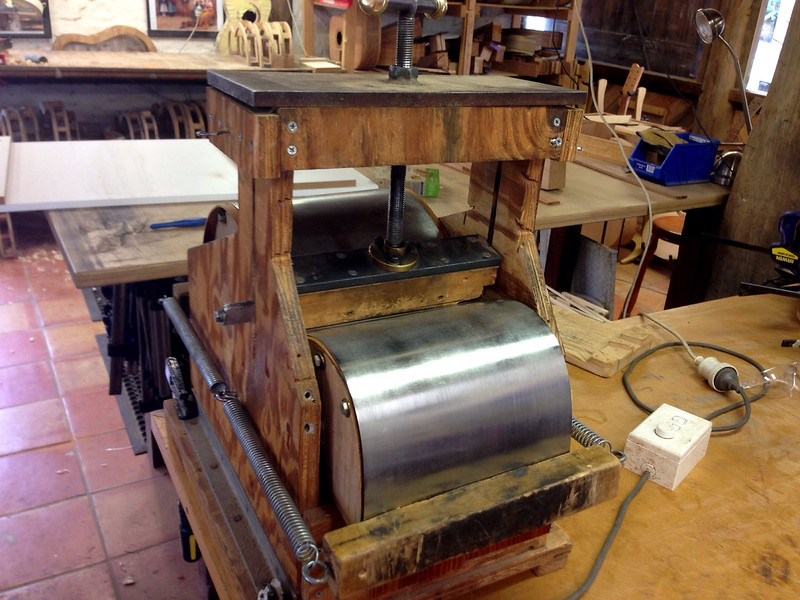 At this stage, we decided to call it a day. I still have to do a lot of work on the back brace shaping tomorrow, but hopefully I can complete most of the work on the back and sides too. When I returned to the place I am staying at tonight, I noticed that my forearms were extremely fatigued and I could barely hold the phone up to my ear to talk to my family back home. I hope that my arms and hands are not too sore and stiff for tomorrow! EDIT: After many PMs and Emails, I think I can publish the name of the workshop I am attending. It is Thomas Lloyd Guitars Australia. Their website is: www.thomaslloydguitars.com.au. Chris Wynne is the master luthier in charge - a really nice guy so feel free to visit his site and direct any questions about the course to him.
__________________
······························ ·▄▄▀▀▀▄▄··▄▄·················· ▐·······▀▀··▀▌··········ΦΦΦ··· ▌····║··(░)▒▒▒▒▒▒▒▒▒▒▒▒█████·· ▐·······▄▄··▄▌··········ΦΦΦ··· ·▀▀▄▄▄▀▀··▀▀·················· ······························ » My name is Devan » Guitar and Personal Blog. » Guitar and Gear Review Site. Last edited by CyberFerret; 10-18-2013 at 03:16 AM.
|
|
#3
10-14-2013, 04:42 AM
|
||||
|
||||
|
Good on you, Devan, for taking on the challenge. And thanks for sharing the build with us. Your detailed description makes me feel I was there. I'll be following along. I wish you success.
__________________
Life is like a box of chocolates ....
|
|
#7
10-14-2013, 05:51 AM
|
|||
|
|||
|
Quote:
Will be following also. Great posts.
__________________
« I don't feel I'm a musician. I create sounds that are reflections of my emotions. To be a musician is something quite different. » - Mike Oldfield https://soundcloud.com/user-254253822 http://members.soundclick.com/Jean%2DFrancois+Champoux
|
|
#8
10-14-2013, 07:54 AM
|
|||
|
|||
|
I have been thinking about trying one of these workshops, so like others I will be following with great interest.
Thanks for taking the time to take the pics and get them posted!
|
|
#9
10-14-2013, 09:26 AM
|
||||
|
||||
|
Looks like fun, especially the location.
__________________
1930 Martin OM-28 2017 LeGeyt Parlor 2021 LeGeyt CLM Red/Tree 2021 Kostal MDW German/Pernambuco
|
|
#10
10-14-2013, 12:53 PM
|
|||
|
|||
|
Wow, what a shop!
You're lucky to make your 1st build in such perfect conditions, keep going, and let us know!
|
|
#11
10-14-2013, 03:57 PM
|
|||
|
|||
|
Looks like a wonderful place to learn to build a guitar... I'm slightly jealous although my forearms are thankful that they've not had to undertake such an arduous task. I imagine that the pain will only get worse over the next day or so...
 Looking forward to seeing how this turns out. Thanks for taking the time to document the build and to share it. Cheers, berf
|
|
#12
10-14-2013, 07:01 PM
|
|||
|
|||
|
Great photos - keep 'em coming! (Loved your blog too.)
|
|
#13
10-15-2013, 03:28 AM
|
|||
|
|||
|
Day Two
------- Thank you for the kind comments so far everyone! I am glad that this post is useful to some. To go back a step, I was actually quite concerned last night when I went to bed. My elbows were extremely painful, like I had played 100 sets of Tennis with Bjorn Borg and Ivan Lendl whilst holding a racquet in each hand. I wasn't sure how I would feel in the morning or whether I would be able to do anything with my arms. Thankfully, I woke up with nothing more than the usual lactic acid buildup soreness in my arms and shoulders and upper back. I got back to the workshop to be faced with the curvature shaping of those ****ed back braces again. I gritted my teeth and worked away with them for another hour and a half. It felt like doing lines at school. Arduous. But finally, Chris checked them and approved them so I could move onto the next step, which was to remove the sides from the bending rig and clamp them into the jig to dry out some more. 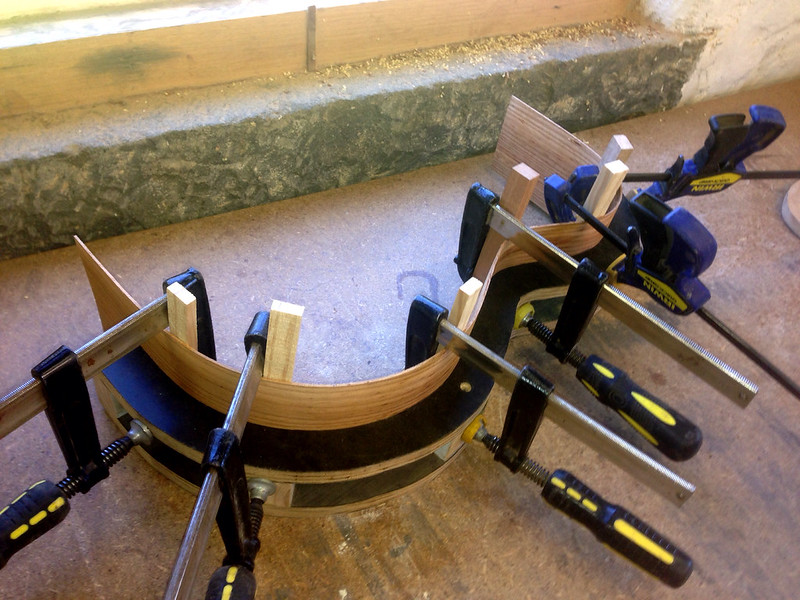 (Actually, I did this halfway through the brace shaping. I think Chris felt sorry for me and wanted to break the monotony for me). Then, it was time to trim off the ends od the sides to fit the jib with no overlap. I love using these Japanese hand saws - they cut on the pull, not the push, and are easy to guide and feel. 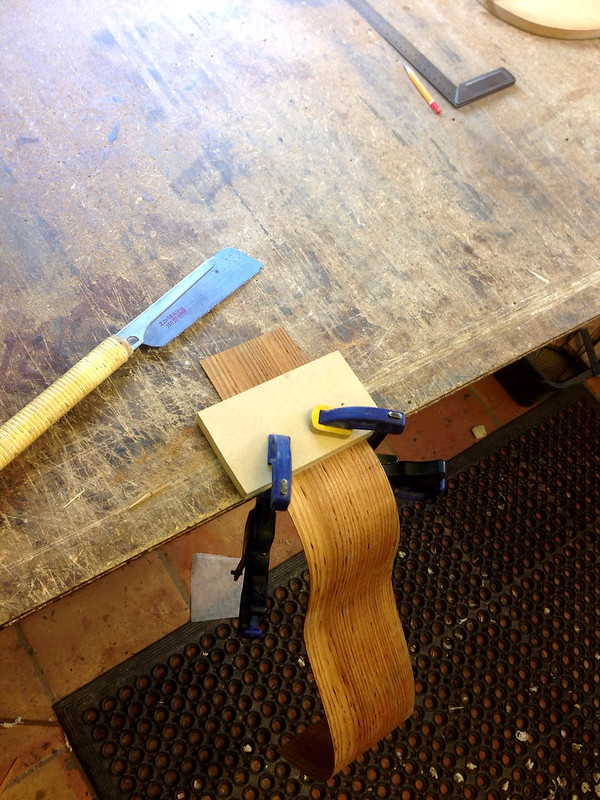 Next it was time to cut the end blocks for the body (neck and tail). Had to use the jig to cut a 4 degree slope on them. Things are starting to get exciting now - plenty of variety of tasks which I really started to enjoy. 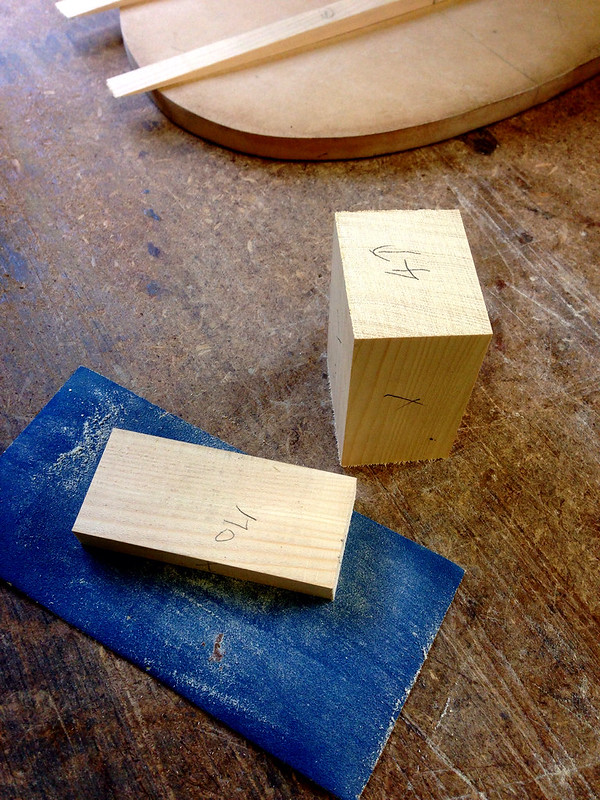 [Intermission - The view from my window, though I was too busy to look through it much!] 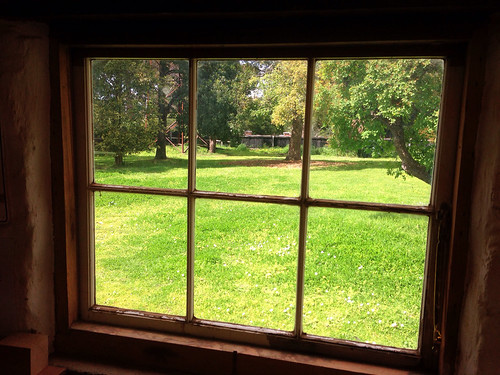 Ready to glue the end blocks in place. A really easy job to start off, but extremely difficult to get that last bit joined up due to the floppy springiness of the whole structure. I found out later that this was a two person job usually, but I slogged through it myself because everyone else was busy. Bad mistake - when the glue dried, I found out that the neck block had slipped down below the bottom edge of the sides. Not an unfixable problem, but it will add more time to my job later to fix. 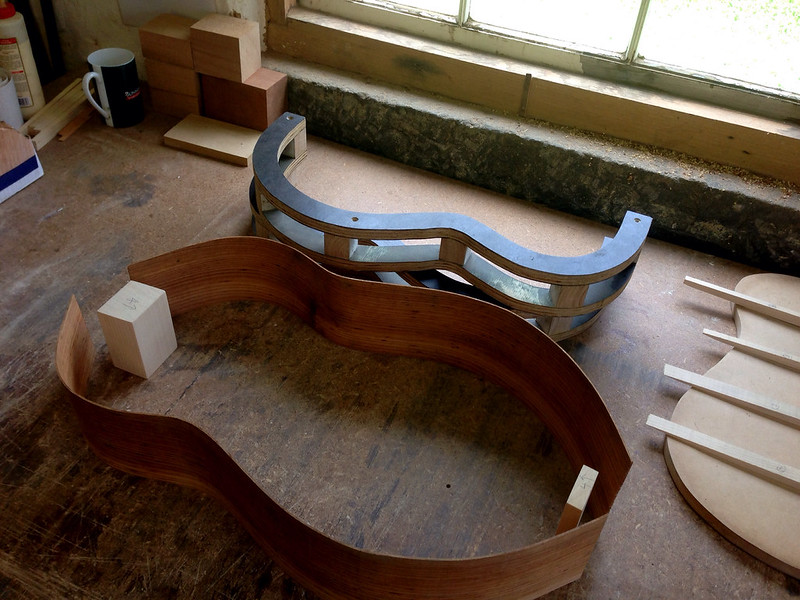 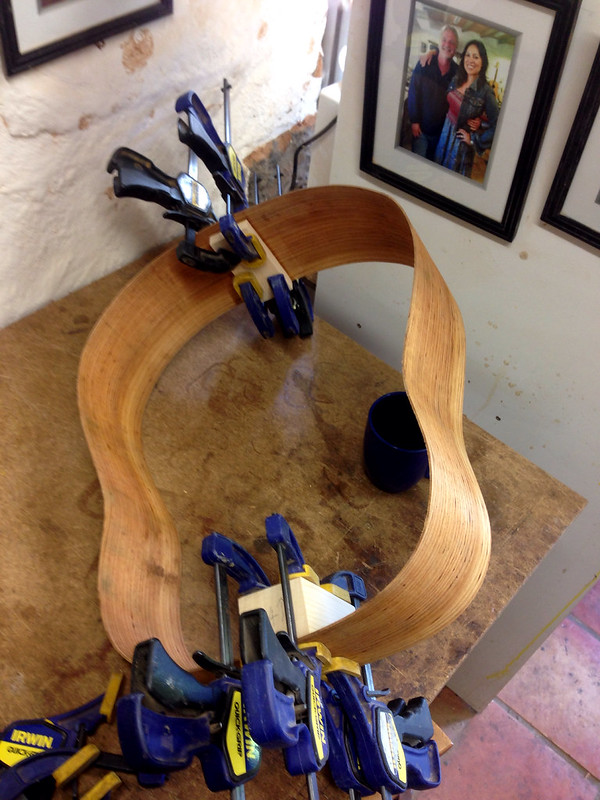 Motto of the story is: Always ask for help. Additionally, later when we checked the glue joints, we found out that one side on the tail block was not 100% flush with the sirface of the block, so the glue didn't stick and we had to redo it. Motto II: Always double check for shifting or non flush joints after clamping. Change of pace - the different tasks are coming thick and fast now. I removed the back that I glued yesterday, and we ran it through the belt planer to scrub off the glue marks from the join. 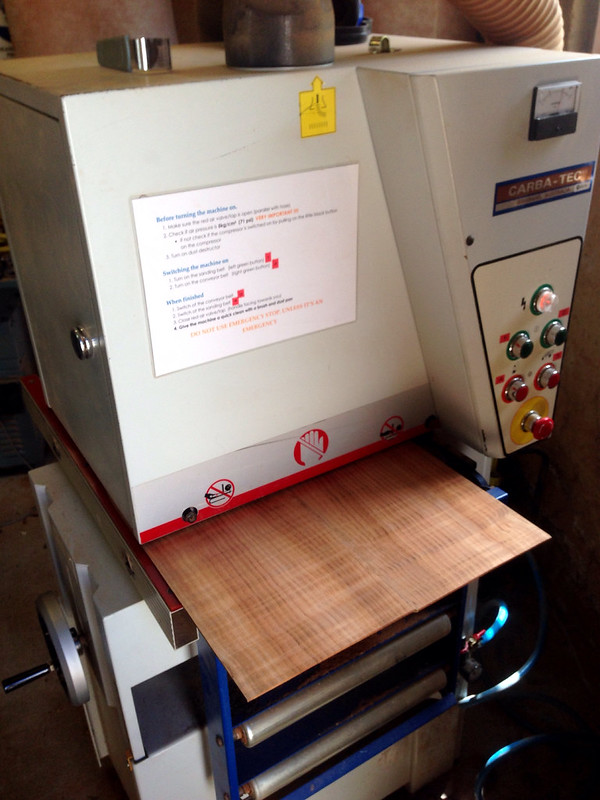 Once cleaned up, I used the jig as a template and drew the shape of the guitar onto the piece. Things are about to get REAL!! 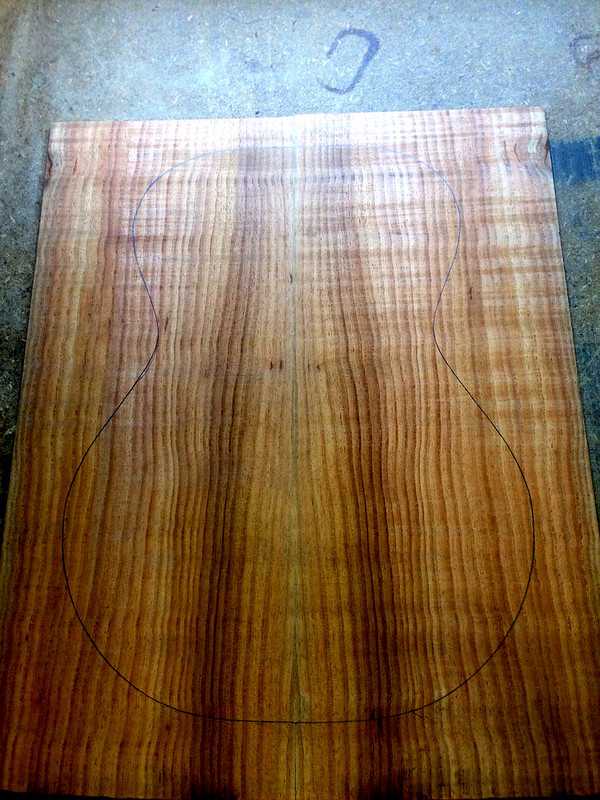 Using ye olde jig saw, I cut out the shape of the back, leaving about 1cm of clear space around the outline. 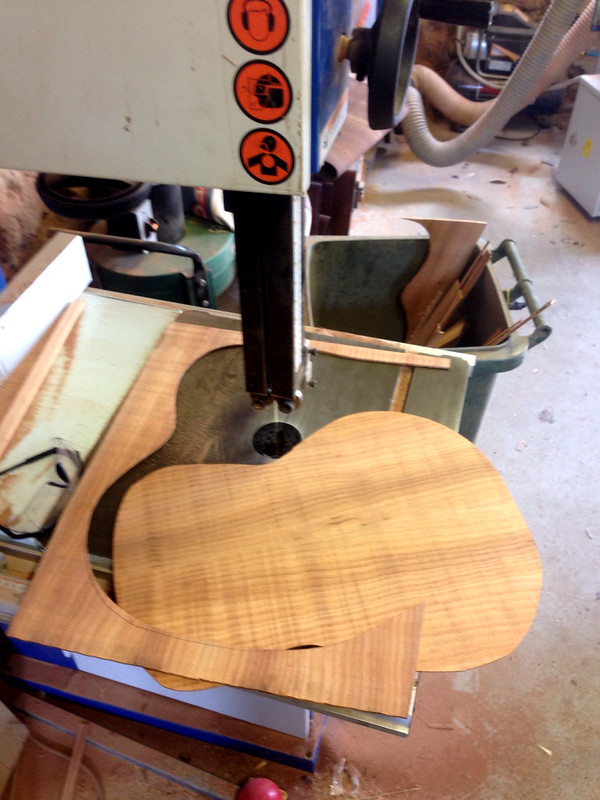
__________________
······························ ·▄▄▀▀▀▄▄··▄▄·················· ▐·······▀▀··▀▌··········ΦΦΦ··· ▌····║··(░)▒▒▒▒▒▒▒▒▒▒▒▒█████·· ▐·······▄▄··▄▌··········ΦΦΦ··· ·▀▀▄▄▄▀▀··▀▀·················· ······························ » My name is Devan » Guitar and Personal Blog. » Guitar and Gear Review Site.
|
|
#14
10-15-2013, 03:30 AM
|
|||
|
|||
|
(Day 2 cont'd)
For the first time, I actually started believing I was building a guitar. This was the first time I actually saw a shape resembling what the final build would look like, and it marked a mental change in my whole outlook. Suddenly everything became just that bit more exciting. Motivation was UP... No time to savour it though - it was straight back to the belt planer to shave the back piece down to about 2.5cm thick. 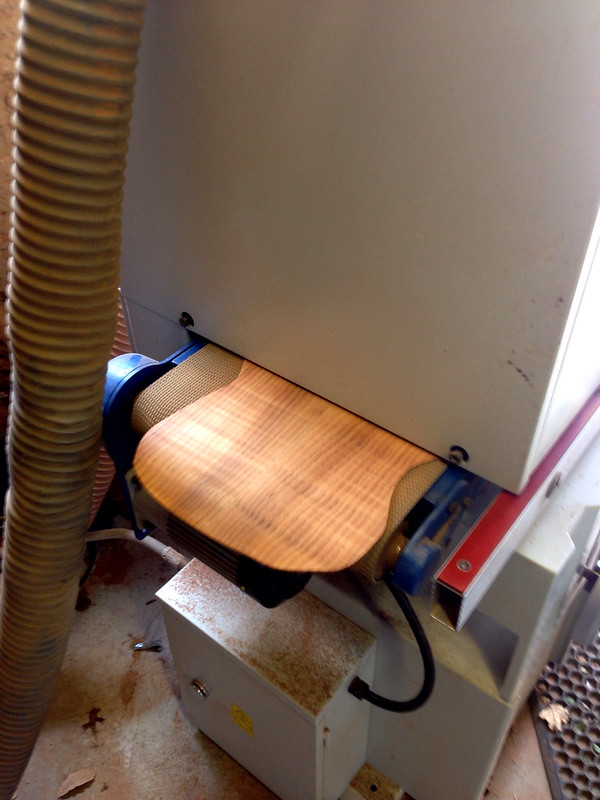 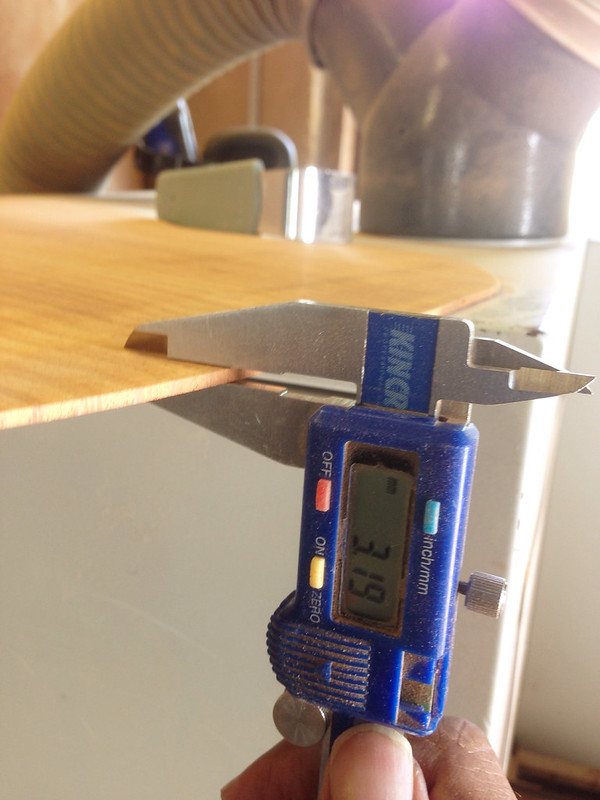 It is a slow, repetitive process, with several passes, adjust the machine a little thinner, measure and insert the back back in the machine. It was a great break for my back and arms though, from bending over the workbench. Once done, it was straight down to glueing those ****ed back braces to the back. This time I was very careful with applying the glue and ensuring that the clamps left no gaps between brace and back. 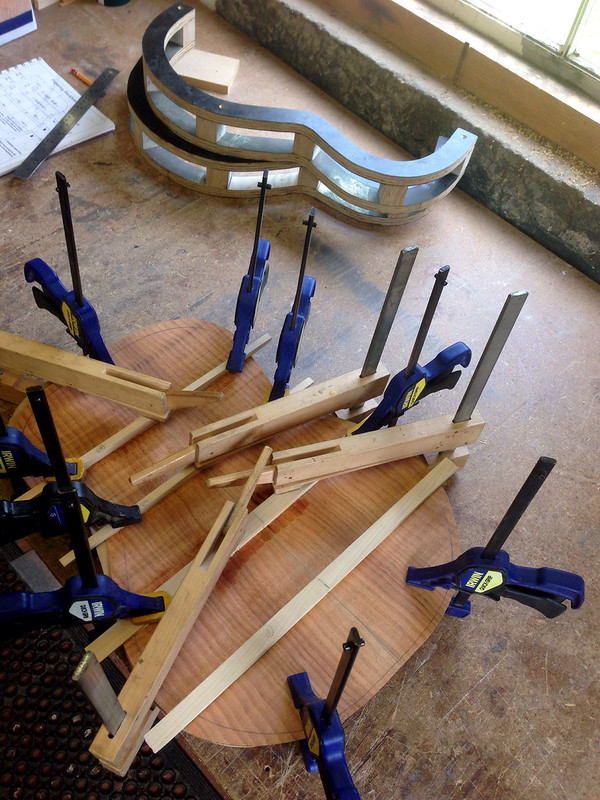 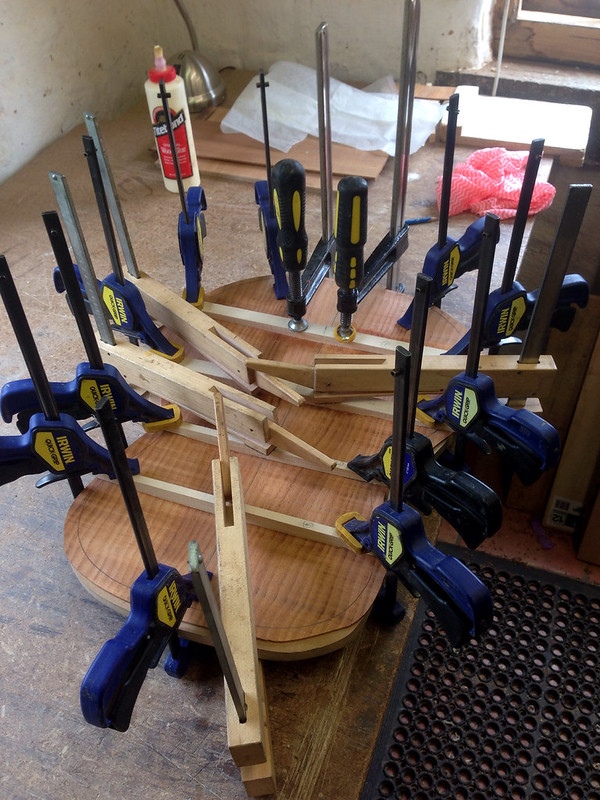 While the braces dried, it was on to creating the kerfing. First, I had to shave one edge of the rectagular strips of wood to form that rounded edge to the kerfing. Then, sand them smooth. 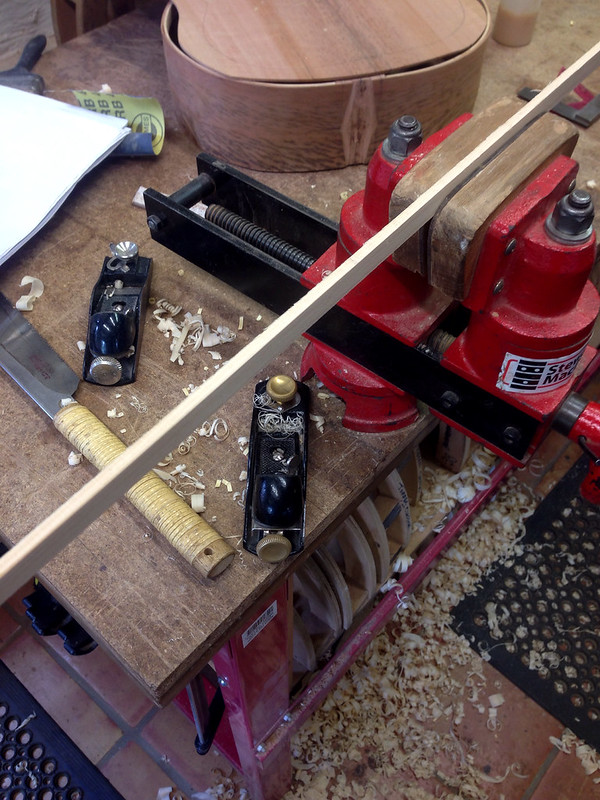 Then it was back to the jig saw to cut the slots into the kerfing. This was a risky process, because it took a long time, and it was an almost meditative process and your mind tended to wander which increased the risk of your finger getting sliced in the blade. Thankfully, we managed to get past this. Here is Sam, the other student, cutting his kerfing slots. 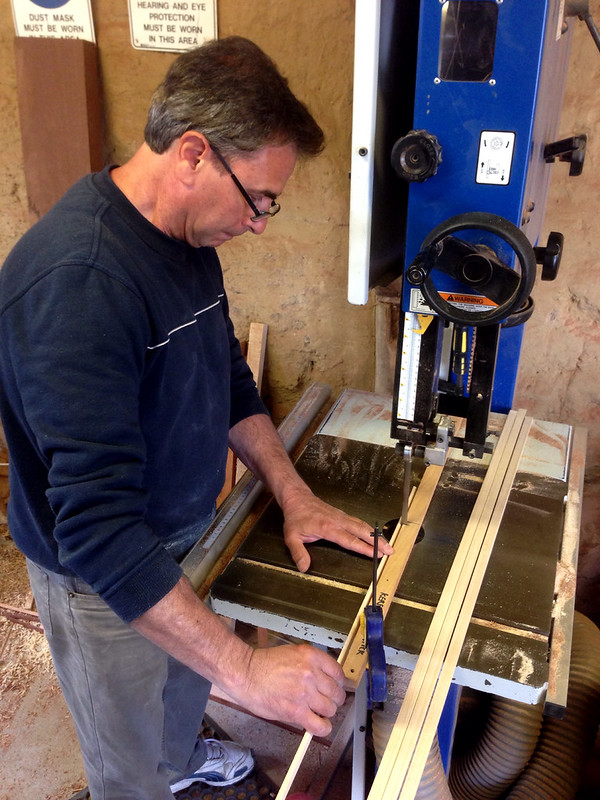 My cut kerfing. Not as consistent as I would have liked, but serviceable.  [Intermission II - All work stopped as these guys (4 of them in total) traversed through the workshop] 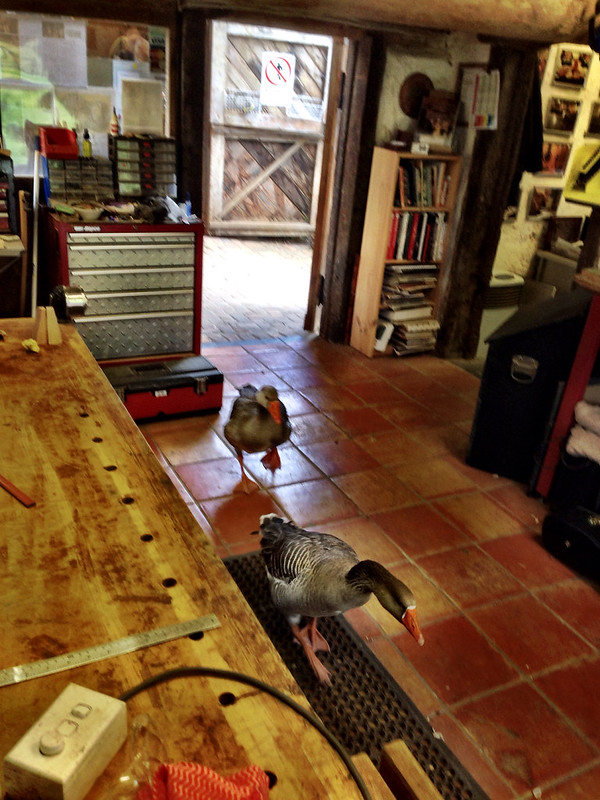
__________________
······························ ·▄▄▀▀▀▄▄··▄▄·················· ▐·······▀▀··▀▌··········ΦΦΦ··· ▌····║··(░)▒▒▒▒▒▒▒▒▒▒▒▒█████·· ▐·······▄▄··▄▌··········ΦΦΦ··· ·▀▀▄▄▄▀▀··▀▀·················· ······························ » My name is Devan » Guitar and Personal Blog. » Guitar and Gear Review Site.
|
|
#15
10-15-2013, 03:32 AM
|
|||
|
|||
|
(Day 2 cont'd)
Now it was time to trim back, and shape the back braces. 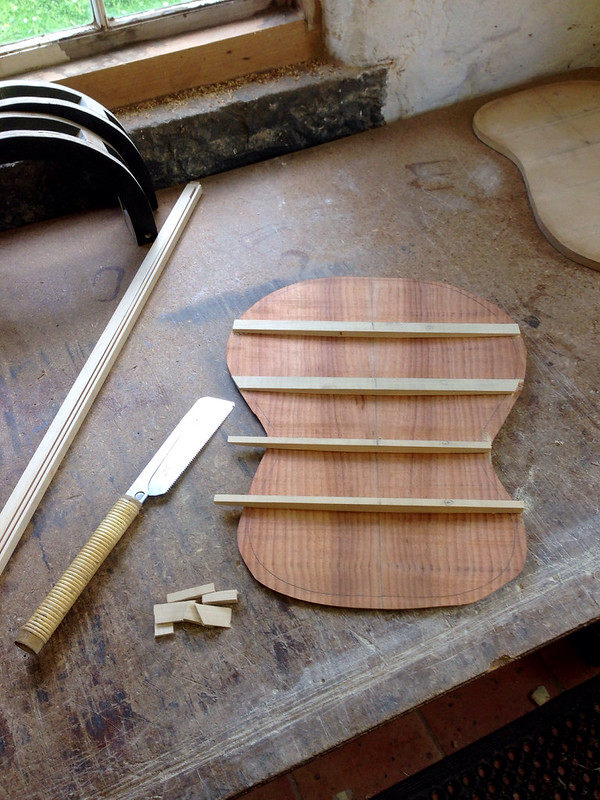 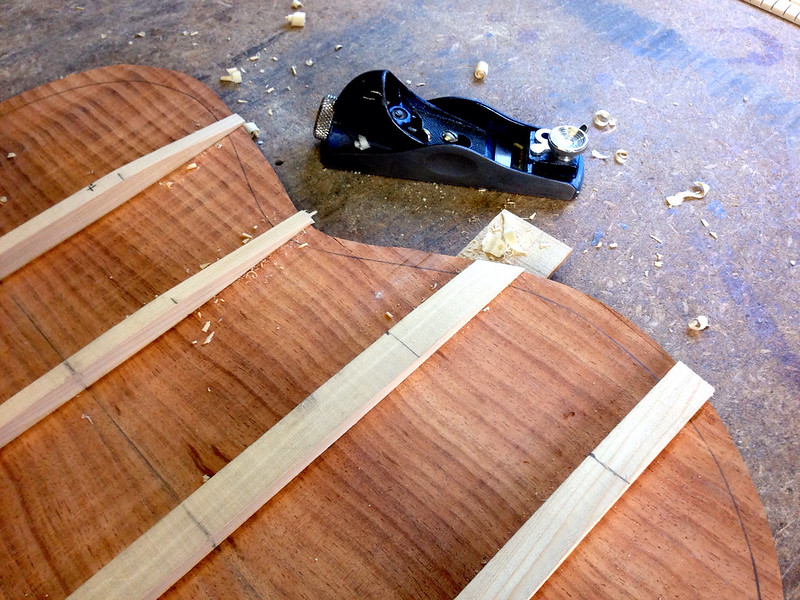 I must say - I LOVED using the plane to cut the chamfers and curves on the braces. I even enjoyed this next sanding bit for final brace shaping. 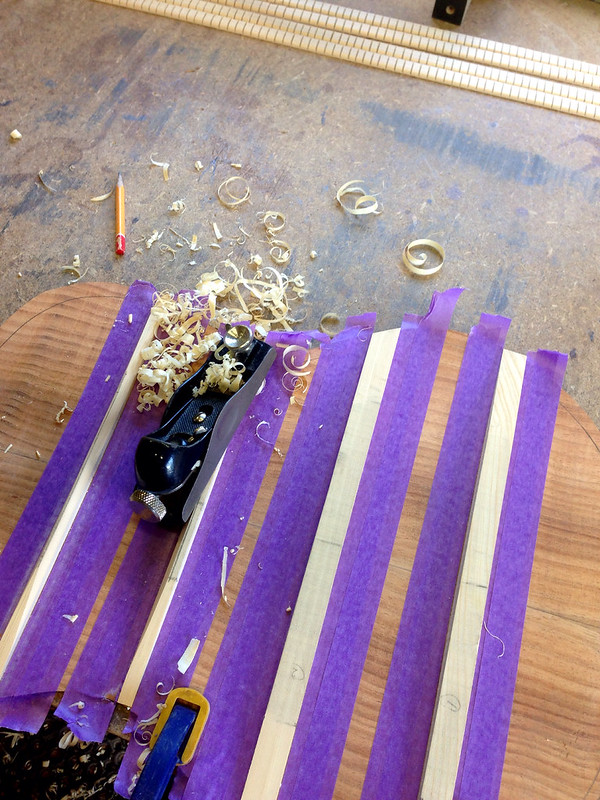 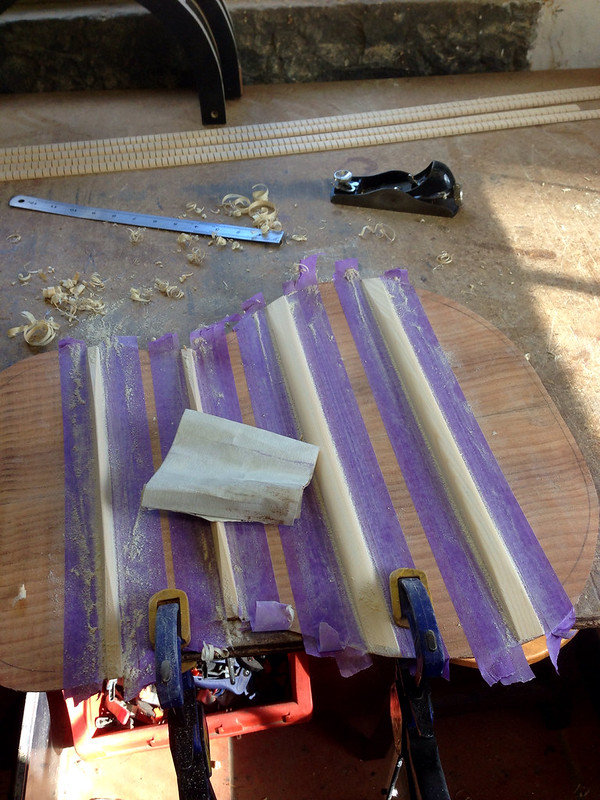 That was it for today! Next step is the using a chisel to further shape the back braces. That's the job for first thing tomorow morning, and I am looking forward to it. See you tomorrow!
__________________
······························ ·▄▄▀▀▀▄▄··▄▄·················· ▐·······▀▀··▀▌··········ΦΦΦ··· ▌····║··(░)▒▒▒▒▒▒▒▒▒▒▒▒█████·· ▐·······▄▄··▄▌··········ΦΦΦ··· ·▀▀▄▄▄▀▀··▀▀·················· ······························ » My name is Devan » Guitar and Personal Blog. » Guitar and Gear Review Site.
|


