|
|
#76
 04-28-2016, 06:55 AM
|
|||
|
|||
|
The fingerboard is done. The headstock is done. The heel is done. The only thing left to do is a little more prep on the neck and then the fingerboard goes on.
So I like to put this thingy in the inside of the neck, but it takes a slot. Over to the router table and that's taken care of. 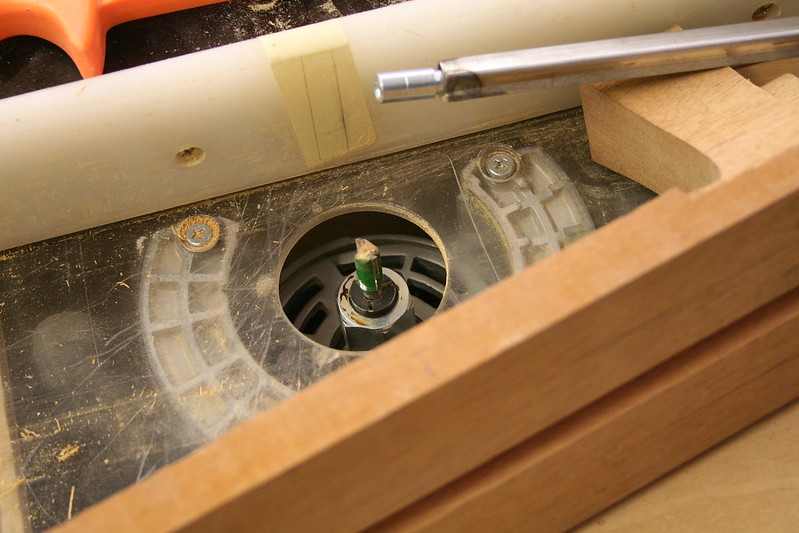 Then I need to address the fingerboard extension support. I inlay a couple of t-nuts that I modify to fit the area. These are then pressed in place. They have barbs that make it so that they can't rotate. Ok, they can still rotate. But if they do, somebody was tightening the screw way to hard.  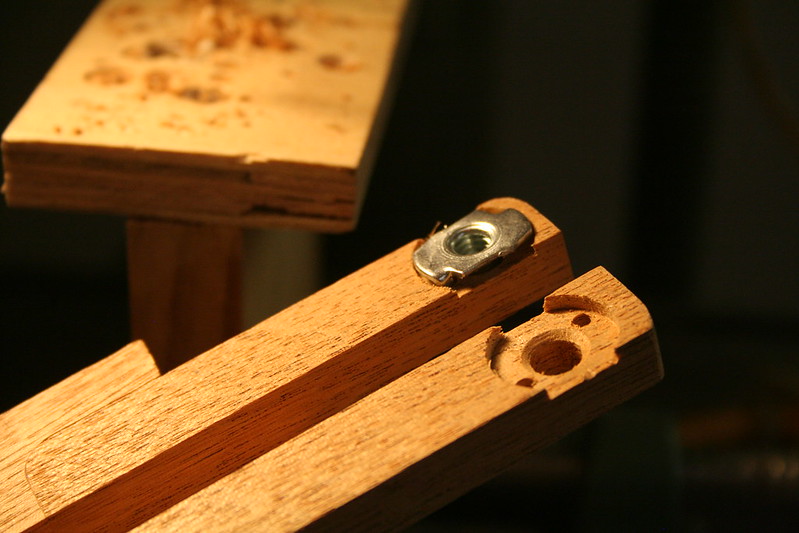 Now the truss rod can go in.  Once it has set, the fingerboard goes on. 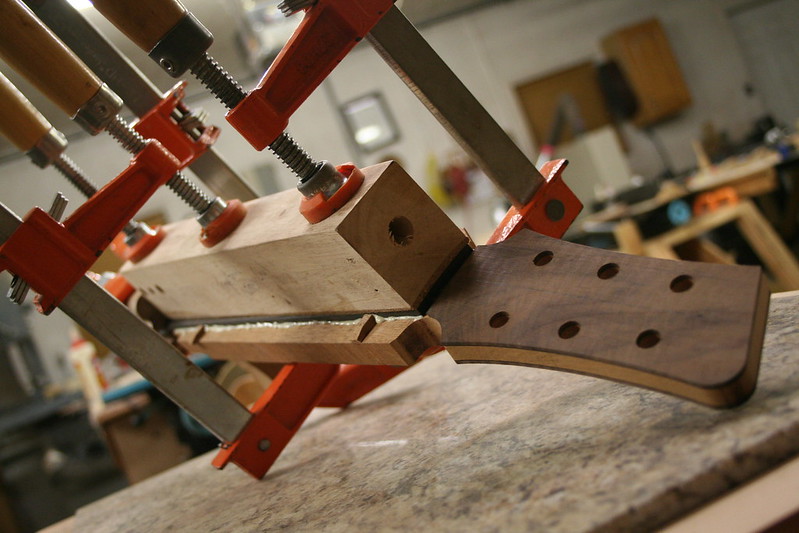 John Kinnaird, Do you have any more questions about my fingerboard extension support? I would be glad to answer them. Up next will be one of my favorite tasks and photo sequences- neck carving. It is such a fun, detailed event.
__________________
Chris Ensor 
|
|
#77
04-28-2016, 08:58 AM
|
||||
|
||||
|
Most interesting Chris.
I would like to see the details of how you align the bolt holes which I assume go through the cavity you cut for the fbe. And one more troubling thing which I personally find vexing, is how you deal with neck resets when the plane of the neck dips below the flat plane established by that mahog on the fbe. Many makers have a slight drop off on the fbe, and unless the fingerboard extension floats I am not sure how you would keep tight contact with that part of the fingerboard and the top. Or does your fingerboard extension float?
__________________
Kinnaird Guitars
|
|
#78
04-28-2016, 09:25 AM
|
|||
|
|||
|
Quote:
An important thing to mention within this process is that the neck needs to be set and fit to the body before any of this takes place- even before the cavities are routed in the neck and body for the fingerboard extension support. In regards to neck resets, you are correct in your thinking that a small gap is left between the neck side tenon and the bottom of the body side mortise. The fingerboard is held tight against the top by snugging the bolts in the t-nuts. There needs to be only enough pressure to keep things firmly in place. This is not the place to test your ability to over tighten hardware. Does that answer your questions?
__________________
Chris Ensor
|
|
#79
05-01-2016, 08:18 PM
|
|||
|
|||
|
Neck carving day is one of my favorites. It is a very hands on process. It is also a very detail oriented task. I enjoy the transitions between the main neck shaft and the heel as well as the volute area. These are fun to finesse to perfection.
It all starts by hogging off the excess next to the fingerboard on the bandsaw. 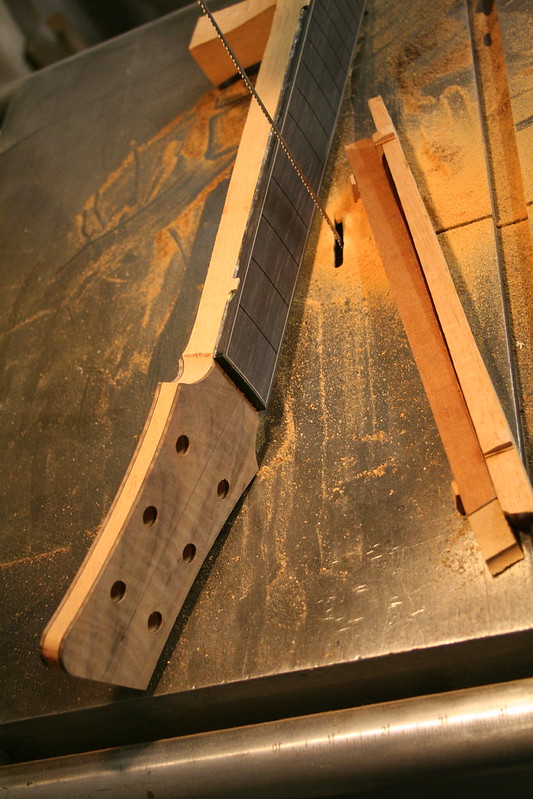 Now for some time-lapse photography. This is where the neck starts: 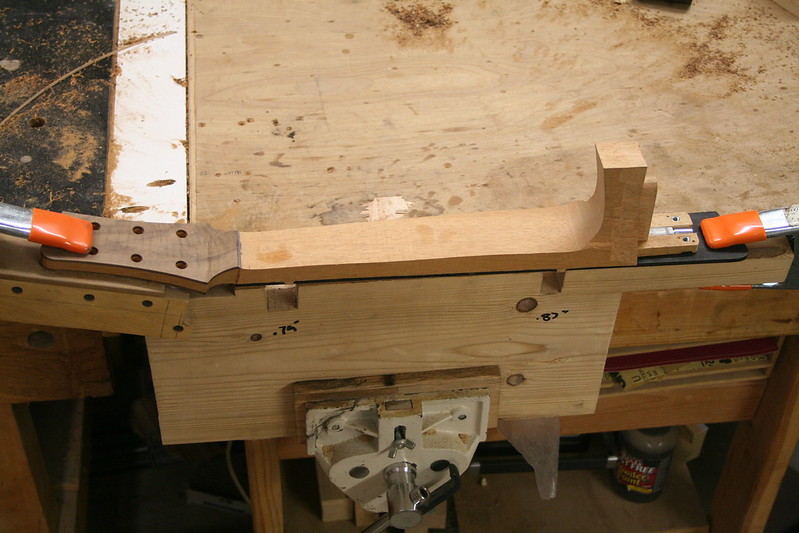 A little bit of the shoulder is taken off and the shaft of the neck is flushed close to the fingerboard. 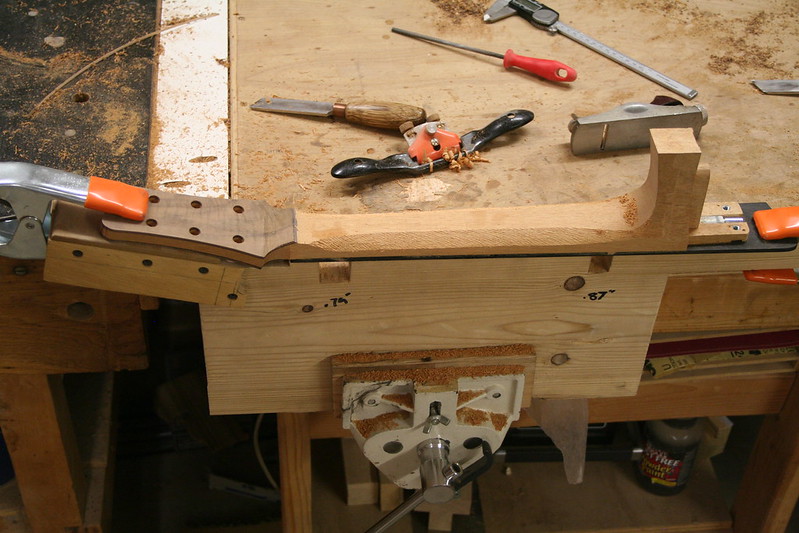 The thickness of the neck is set at the first fret and just before the heel transition.  Then the rest of the neck is brought down to create a flat plane between these two spots.  Next the volute and heel are roughed in. 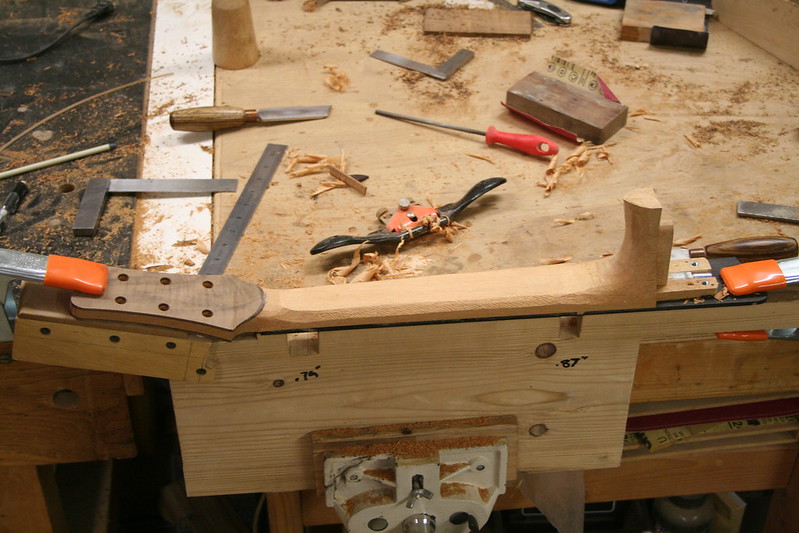 Then the main shape of the neck is roughed in. 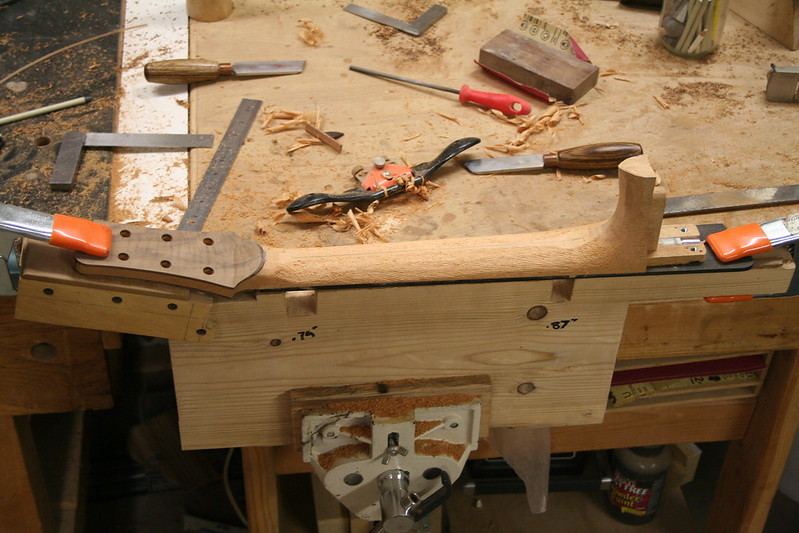 More work on the heel and volute to smooth them out and transition them into the shaft of the neck. 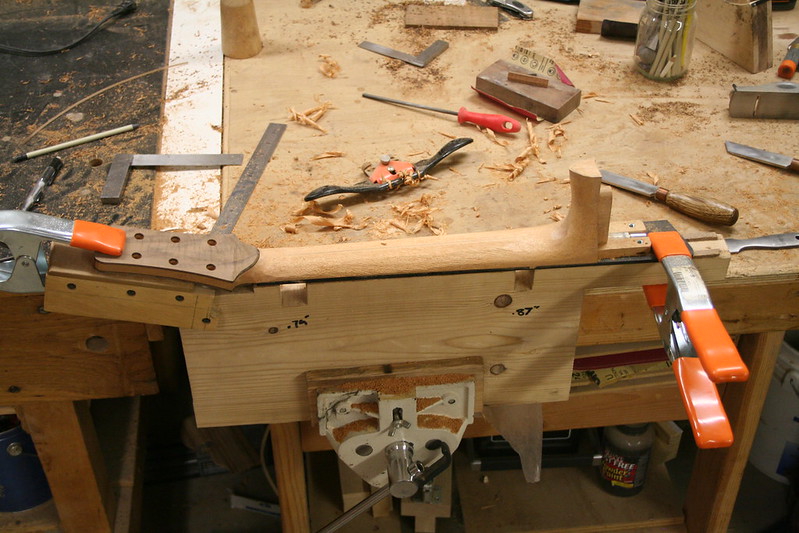 The heel is cut to the correct length and angle for the heel cap. 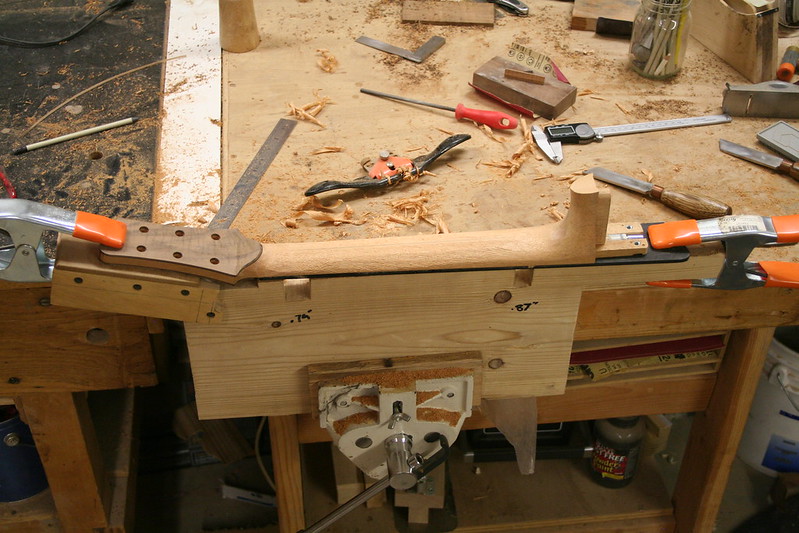 The heel cap is glued on. 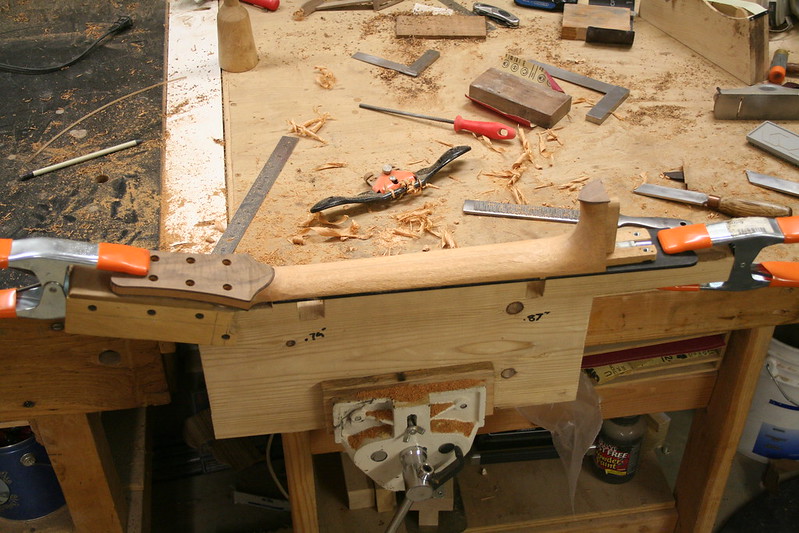 Then it is carved down the correct shape. 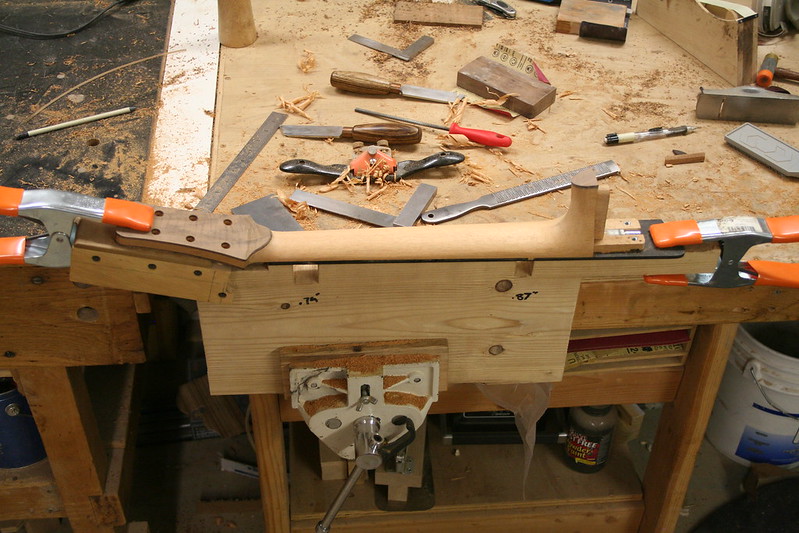 The final step is to sand the neck and check it in high-key lighting for any tooling marks. 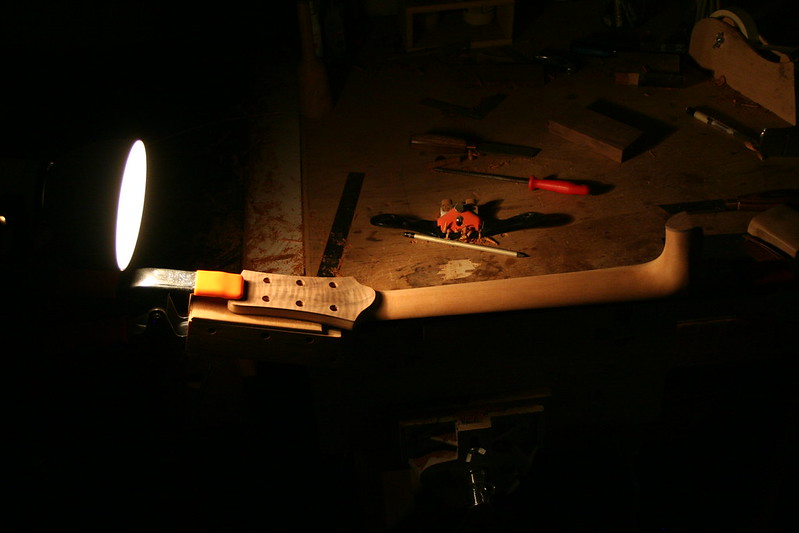 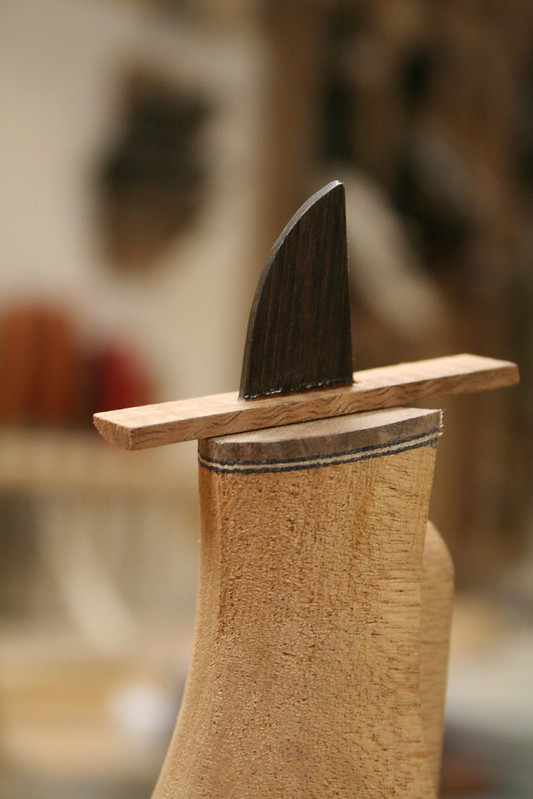 DUUUUH nuh DUUUUH nuh Duh nuh duh nuh duh nuh
__________________
Chris Ensor
|
|
#80
05-01-2016, 08:54 PM
|
|||
|
|||
|
Thanks for posting this Chris, I like your neck carving jig with the cut outs for measuring neck thickness. I will have to make me one of those. I assume the
.75 and .87 are the thickness you shoot for at the first and 12th fret. Travis
|
|
#81
05-02-2016, 08:36 AM
|
|||
|
|||
|
Quote:
I have never claimed to have great hand writting! HA! Those numbers are actually .79" and .87". Those are the numbers I shoot for on my thinline necks. My vintage inspired necks are around .82" and .94". Hope this helps.
__________________
Chris Ensor
|
|
#82
05-02-2016, 08:42 AM
|
|||
|
|||
|
Coming along nicely Chris.... might have to update my existing neck cradle...
|
|
#86
05-04-2016, 07:02 PM
|
|||
|
|||
|
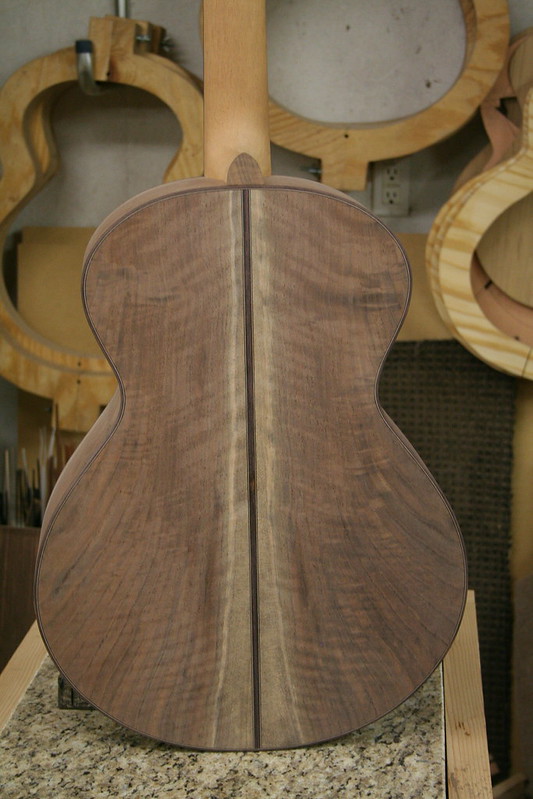
Great lines, everything flows nicely from lower bout to headstock. And of course the figuring of that walnut is spectacular.
|
|
#87
05-04-2016, 08:10 PM
|
||||
|
||||
|
Chris,
I love following this thread. great work!!
__________________
Wayne Irvin Johnson www.irvinguitars.com my current guitars; 2014 personal build eir/cedar 25.4 2020 Irvin SJ eir/tunnel 13 redwood top 25.5 guitars I have owned; 1977 Martin D-28 2006 Tom Doerr Legacy Select 1956 Gretsch White Falcon 2011 Taylor GA3e 1967 Silvertone 1969 Stella Harmony
|
|
#88
05-04-2016, 08:40 PM
|
||||
|
||||
|
Very nice Chris!
__________________
Kinnaird Guitars
|
|
#89
05-05-2016, 08:35 AM
|
||||
|
||||
|
Quote:
I am glad you are getting some ideas from the thread. Quote:
Thanks for the kind words. An elegant flow is something I try very hard to achieve. Quote:
Thanks for following along and thanks for the kind words. Quote:
__________________
Chris Ensor
|
|
#90
05-05-2016, 08:38 AM
|
|||
|
|||
|
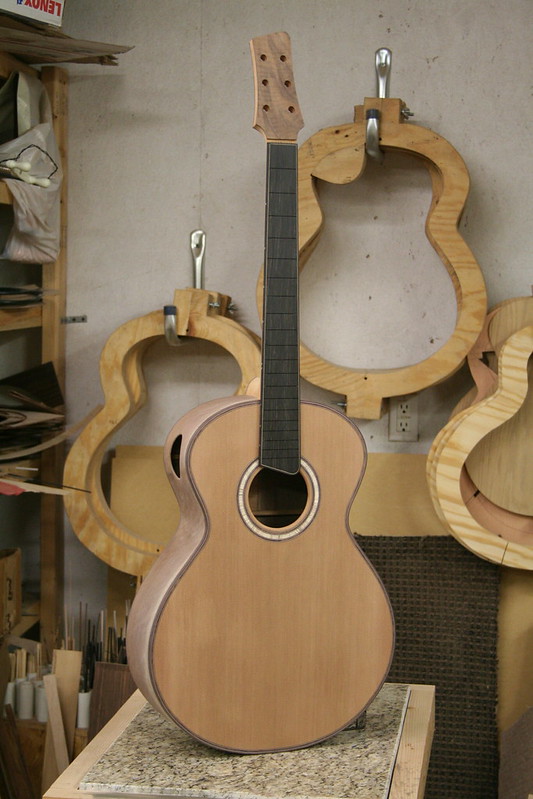
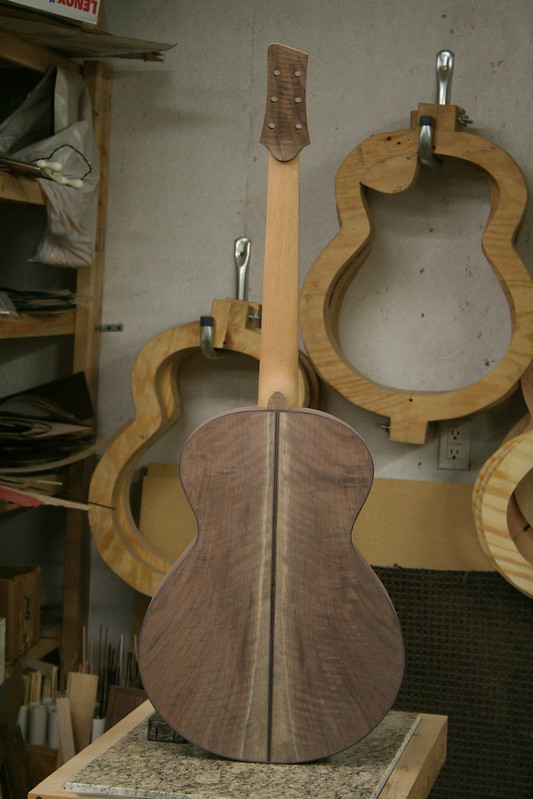
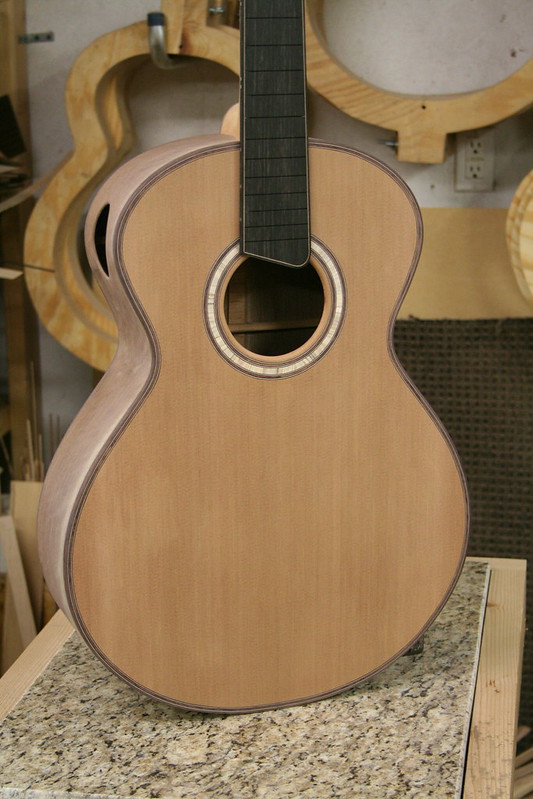
Here are some more photos of the guitar just prior to finish to wet your whistle.
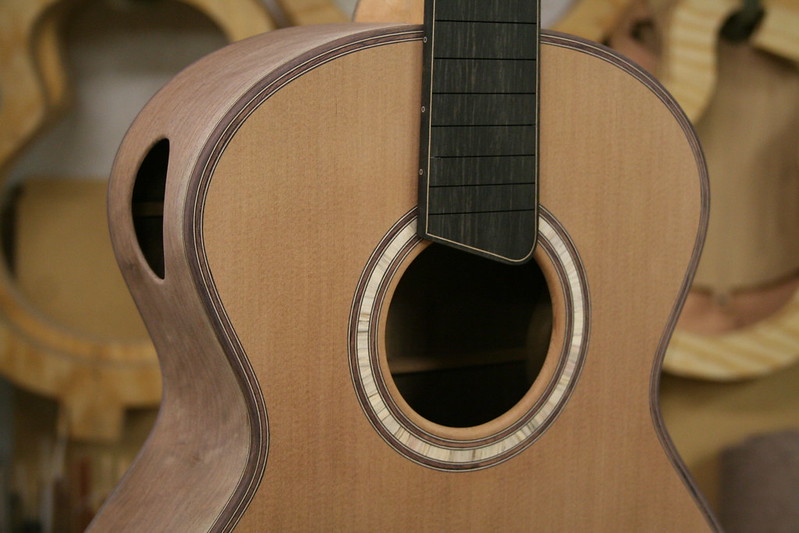 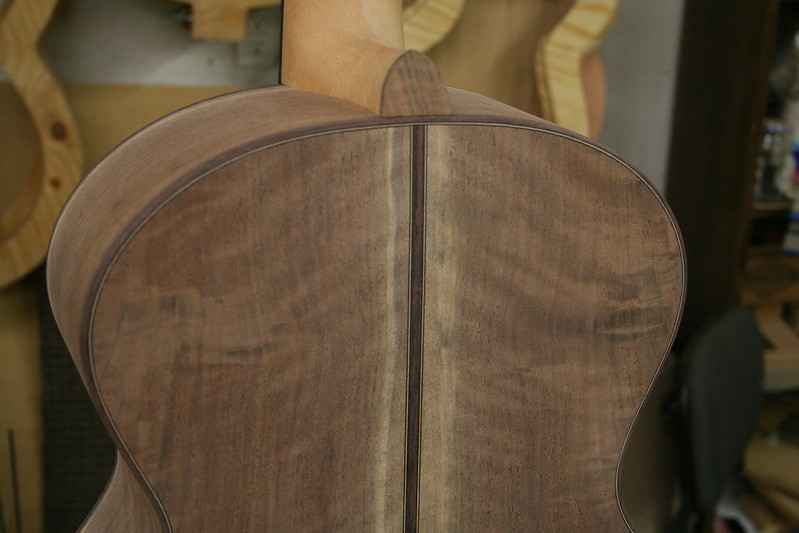 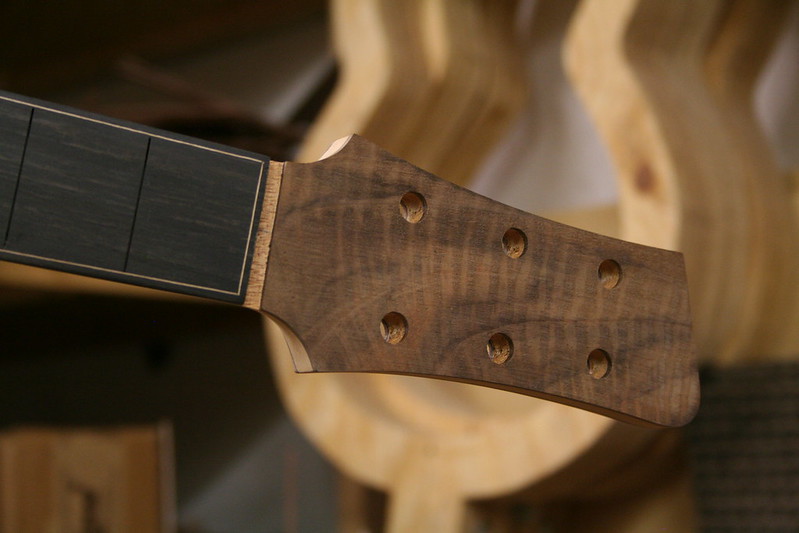 Finish will be next. I think everyone will like how the colors and figure are going to explode!
__________________
Chris Ensor
|