
 |
|
#1
|
|||
|
|||
|
Well, a couple months into my renewed classical guitar hobby, and I've picked up my third sub-$100 guitar. Couldn't help myself.
I spotted this 1965 Yamaha Nippon Gakki No. 100 on craigslist the other day for $70. It looked fairly rough, but my research indicated that it was all solid wood and should be a nice player if cleaned up. I noticed it had a strap button and what looked like a Breast Cancer Awareness sticker on the top, but I figured it would be a good little project. Unfortunately it was over an hour away, but I inquired anyway. The seller suggested that if I could meet him halfway, he'd drop the price to $40. That sounded like a good deal to me, so I agreed. He mentioned that he had picked it up at a pawn shop and that a previous owner had done some engraving on it. I didn't recall seeing any engraving in the photos, but I figured it was probably a name or initials on the headstock or something like that. I headed out early this morning and met the seller. It turns out that what I thought was a sticker on the top was actually the aforementioned engraving, complete with filled-in paint. Still, the guitar was solid structurally, and it seemed like a fun project. I'll be spending a few hours figuring out how to best approach refinishing the top. I'm not sure if it's thick enough to sand down past the engraved ribbon. If not, then I'll have to sand/strip the paint off, then try to fill in the engraved lines, then sand level again. It'll need a few other things. The saddle has slots filed into it, so that will get replaced with a bone saddle. The nut isn't in great shape either so I may as well replace that. I had heard that these early Nippon Gakki's came with 32mm roller spacing, but these are 35mm, so that will make replacement very easy. Oh, and those strap buttons will be removed. 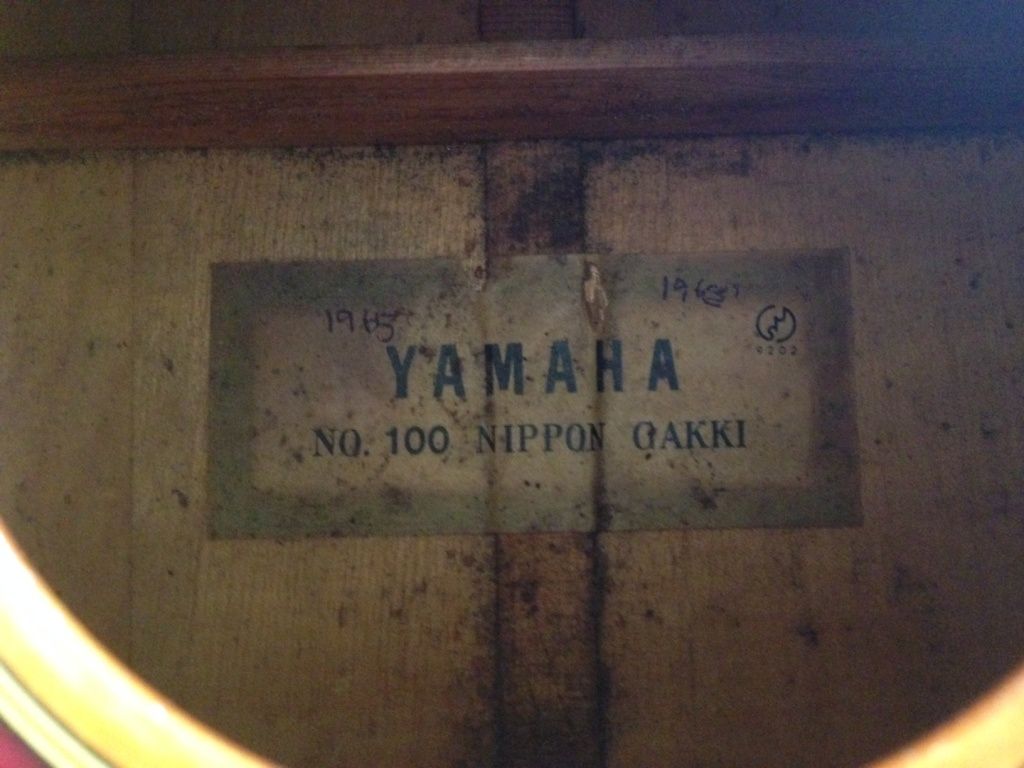 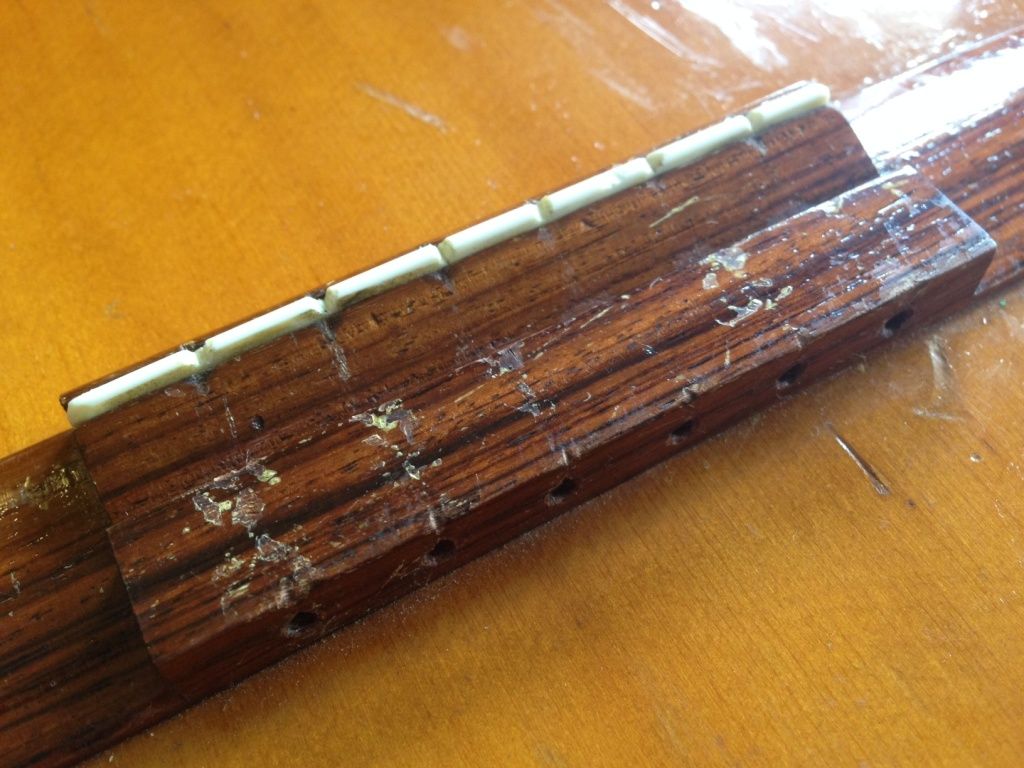 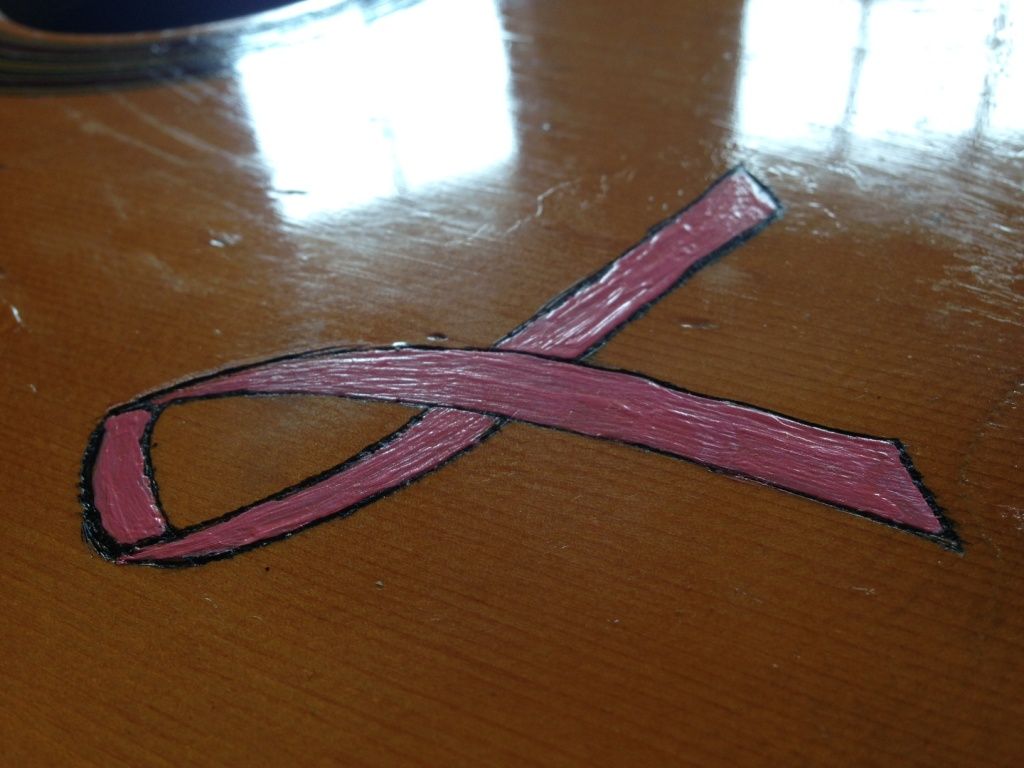 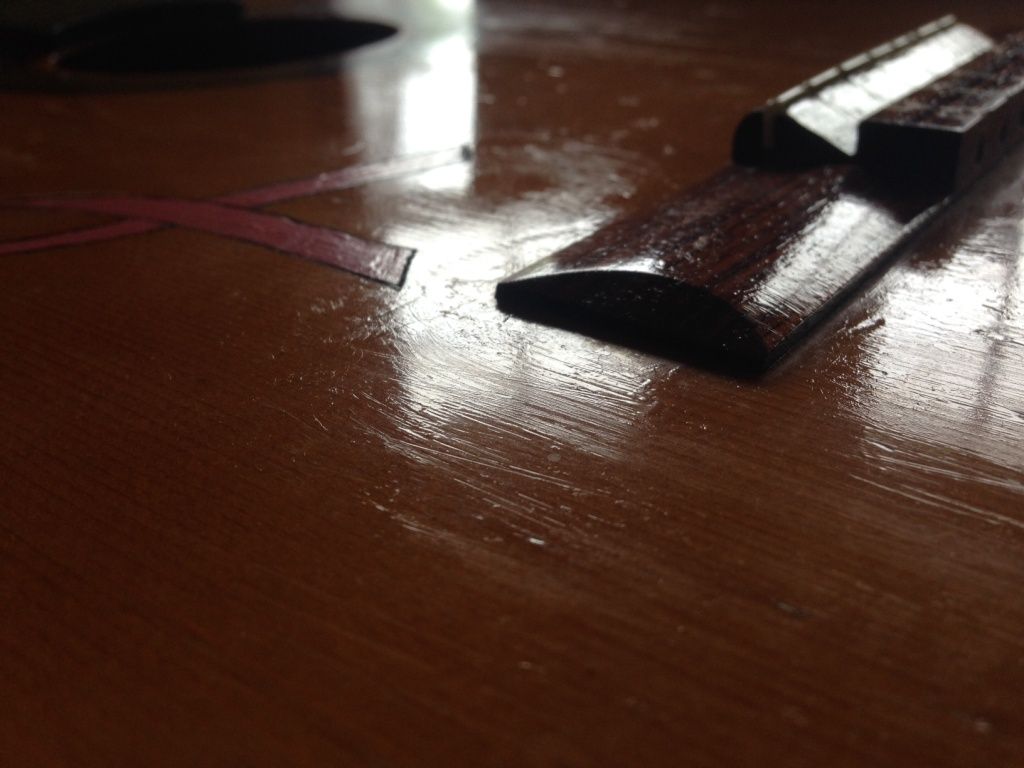 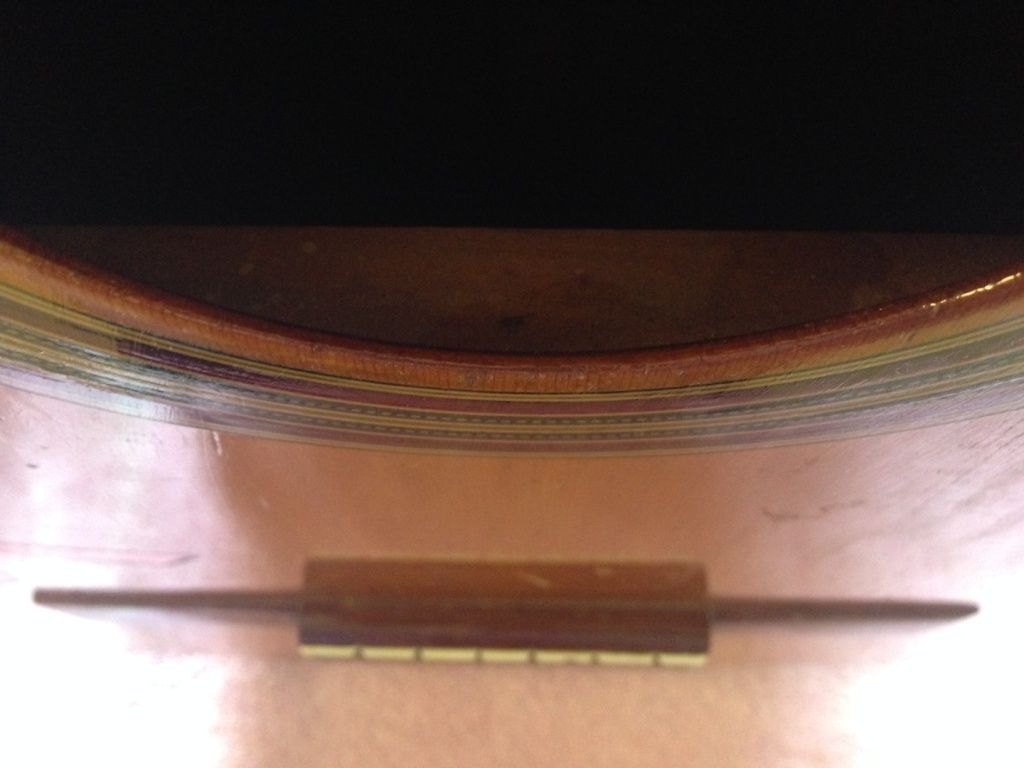 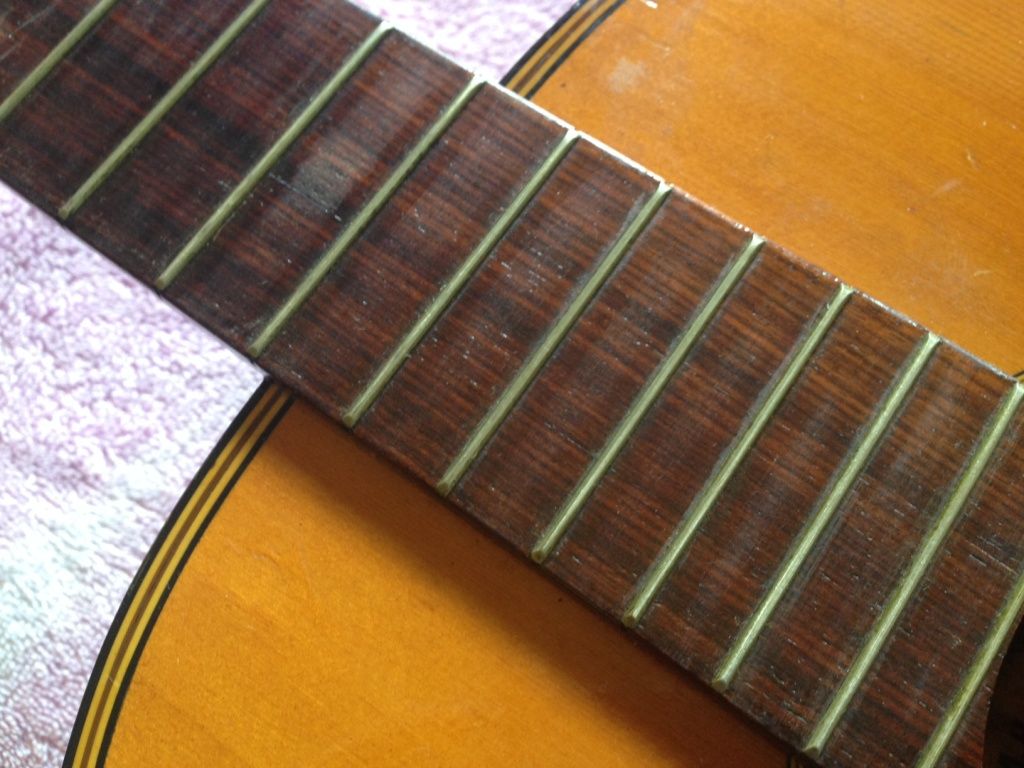 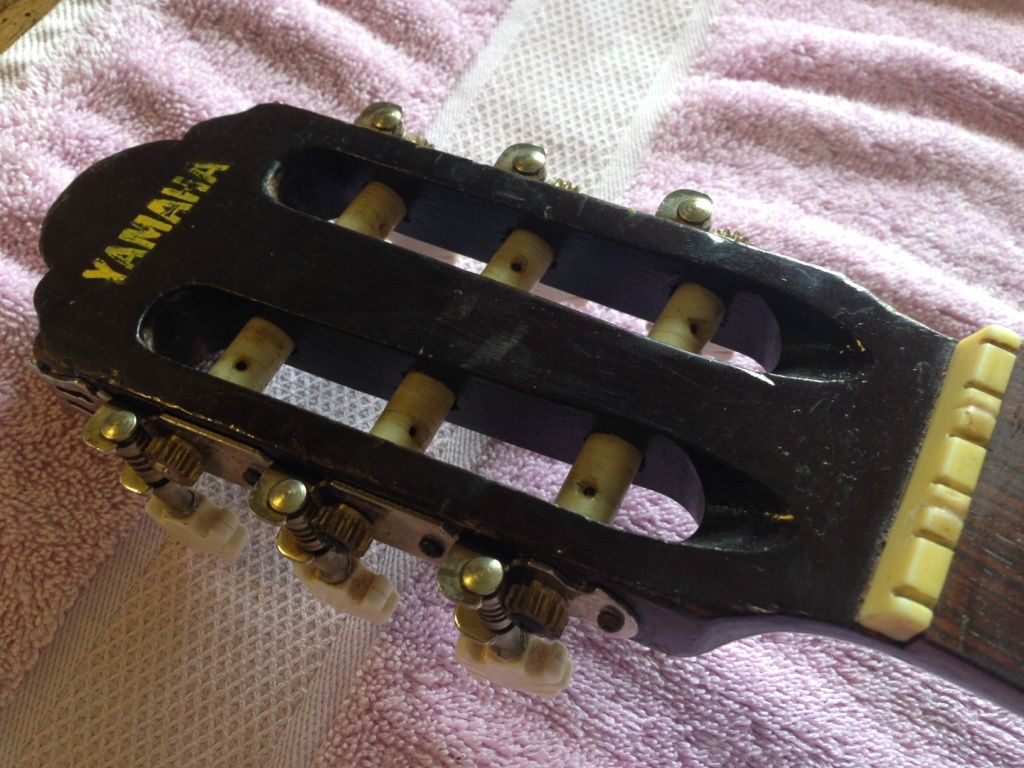 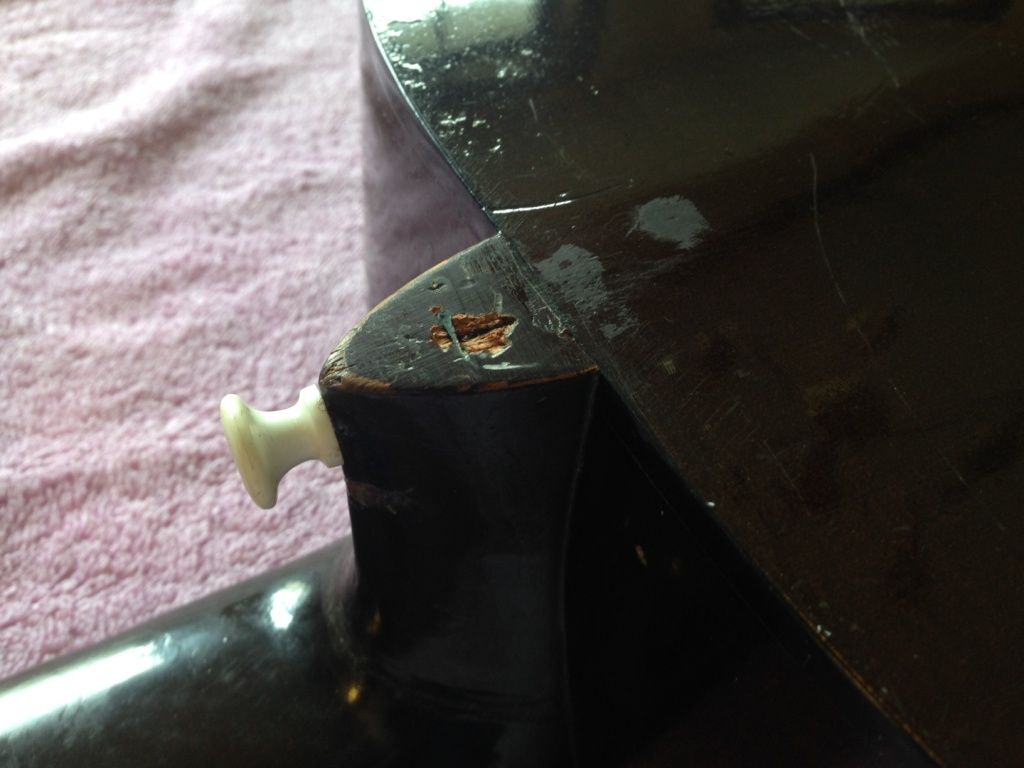 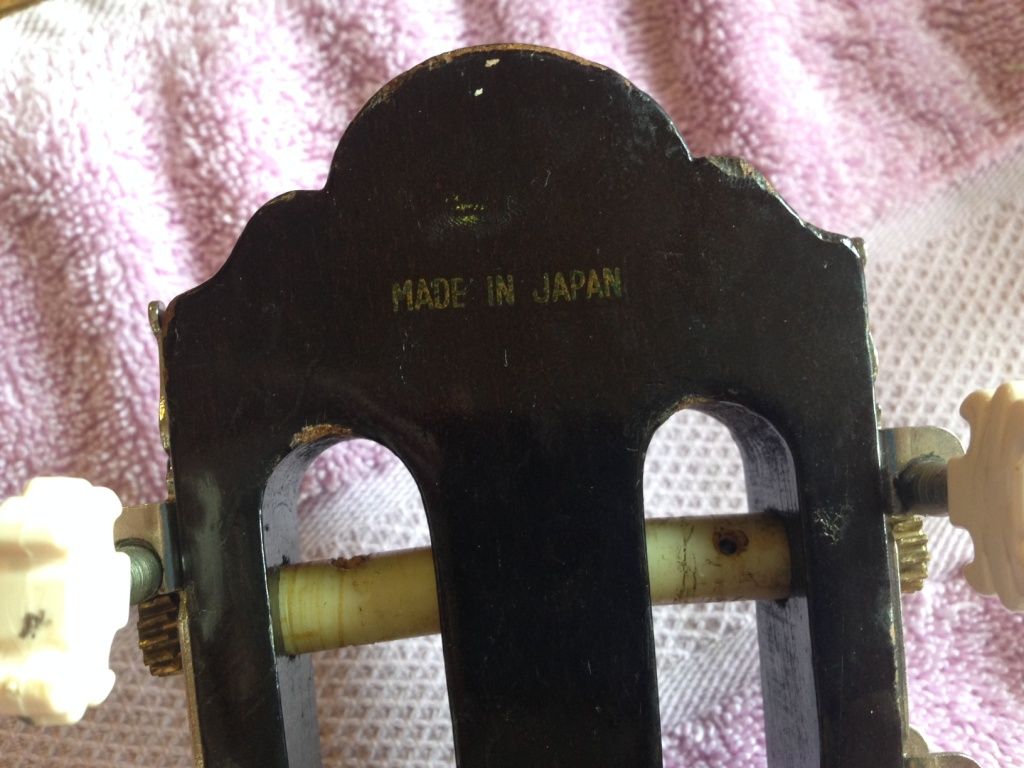 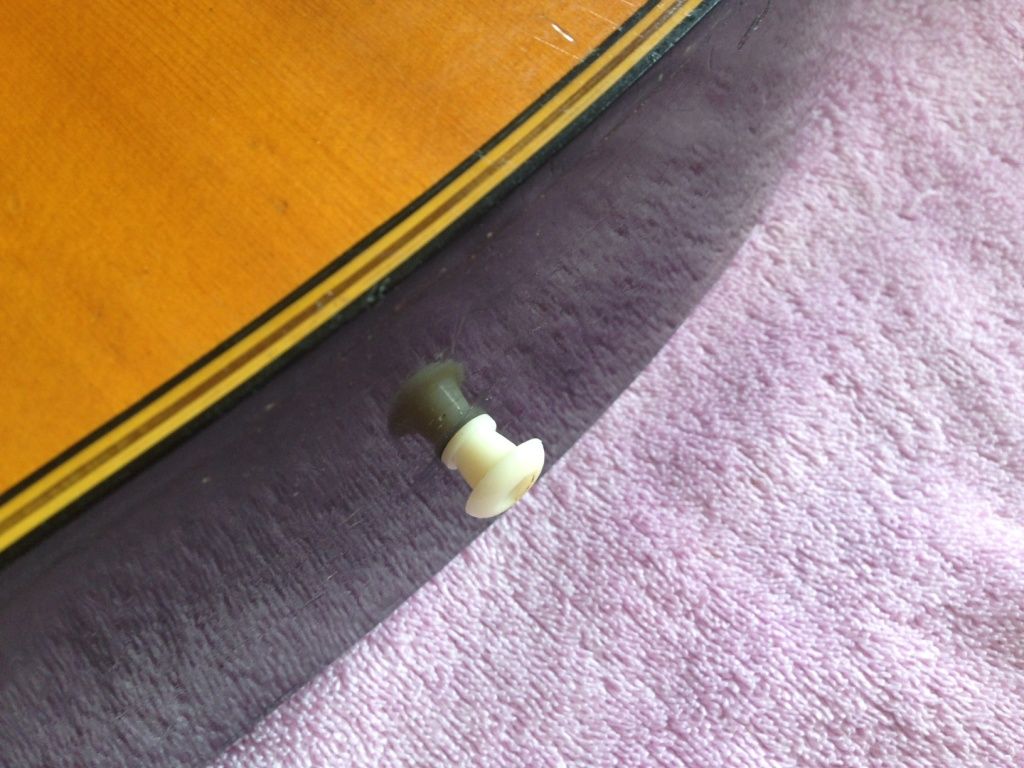
__________________
Kenny Hill New World Estudio 628C Cordoba Cadete |
|
#2
|
|||
|
|||
|
__________________
Kenny Hill New World Estudio 628C Cordoba Cadete |
|
#3
|
|||
|
|||
|
So, apparently, despite some misleading internet posts, it looks like this No. 100 model does in fact have a laminate top. It's hard to see unless you look at the edge of the soundhole where it meets the fretboard -- and then you can see the layered structure.
Not sure how to approach the repair now. Might move on from this guitar...don't know what I can do with this much damage to a laminate top. 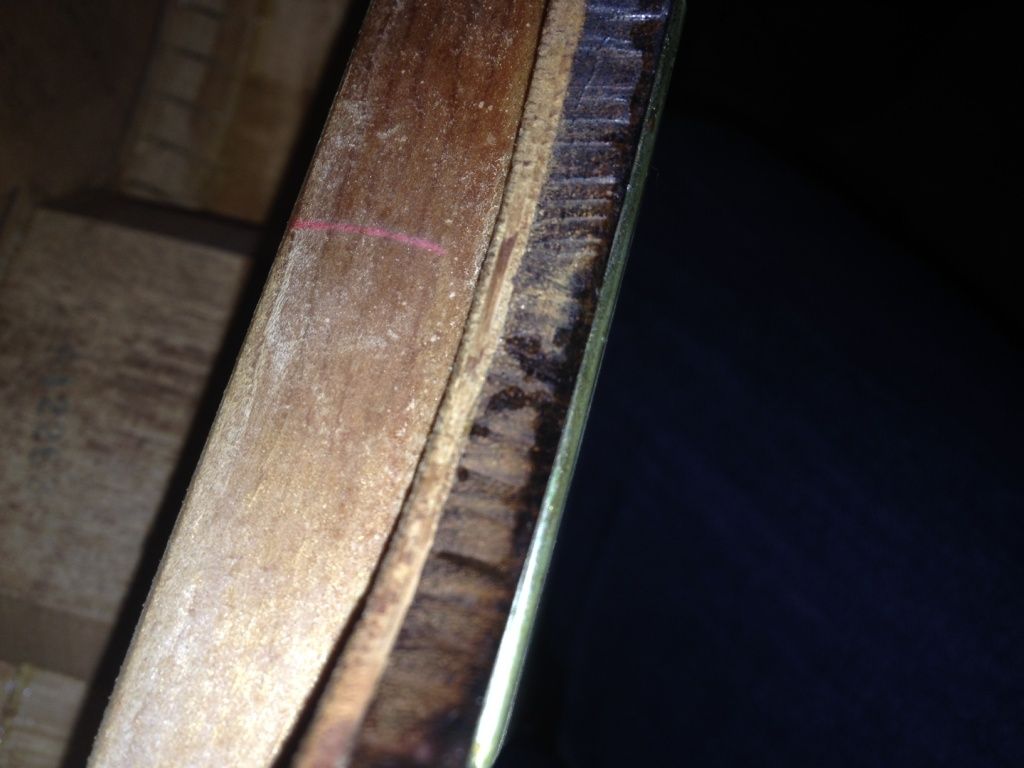
__________________
Kenny Hill New World Estudio 628C Cordoba Cadete |
|
#4
|
|||
|
|||
|
I have mostly decided to go for it. It was a $40 experiment, and I won't be happy with it in it's current state. I think I'll try to do some careful measurement of the laminate layers at the soundhole and compare to the dept of the engraving, and see if I can realistically sand the top layer down without encroaching on the middle layer.
Should I be concerned about the depth of rosette? I would hate to successfully sand down past the engraving but damage or lose the rosette entirely. If that works, then, I'll have to think about refinishing. I guess it's always a good time to learn how to French Polish, right? Anyone have any thoughts on how to fill the strap button holes, and also the damage to the heel of the neck?
__________________
Kenny Hill New World Estudio 628C Cordoba Cadete |
|
#5
|
|||
|
|||
|
It's definitely a laminated front and the top lamination is a lot thinner than the middle. Rather than sandpaper I would try a scraper or one edged razor blade just on the painted area until things become clearer.
|
|
#6
|
|||
|
|||
|
The saddle slot for this thing is tiny. It's taking forever to get the bone saddle down to size. I need a power sander or something.
__________________
Kenny Hill New World Estudio 628C Cordoba Cadete |
|
#7
|
|||
|
|||
|
Got the saddle fitted tonight and strung it with some EJ45 Pro Arte's. Discovered a new problem.
I strung the guitar, let the strings settle some, retuned, and then started to play a little bit. I was quite pleased with the sound. The action was high as I had left the saddle full-height, but it was not unplayable, and had plenty of room to adjust lower. The tone was not overly complex, but still, quite nice and full. Then I glanced back at the bridge and noticed the saddle was leaning forward. I thought, "That can't be right -- I just fitted that saddle very carefully." When I looked closer, I realized there's a crack in the bridge, and the edge closest to the soundhole is leaning under the pressure of the strings. So...try to glue and repair this bridge? Buy a replacement bridge and some clamps from StewMac? Or just admit defeat and move on? 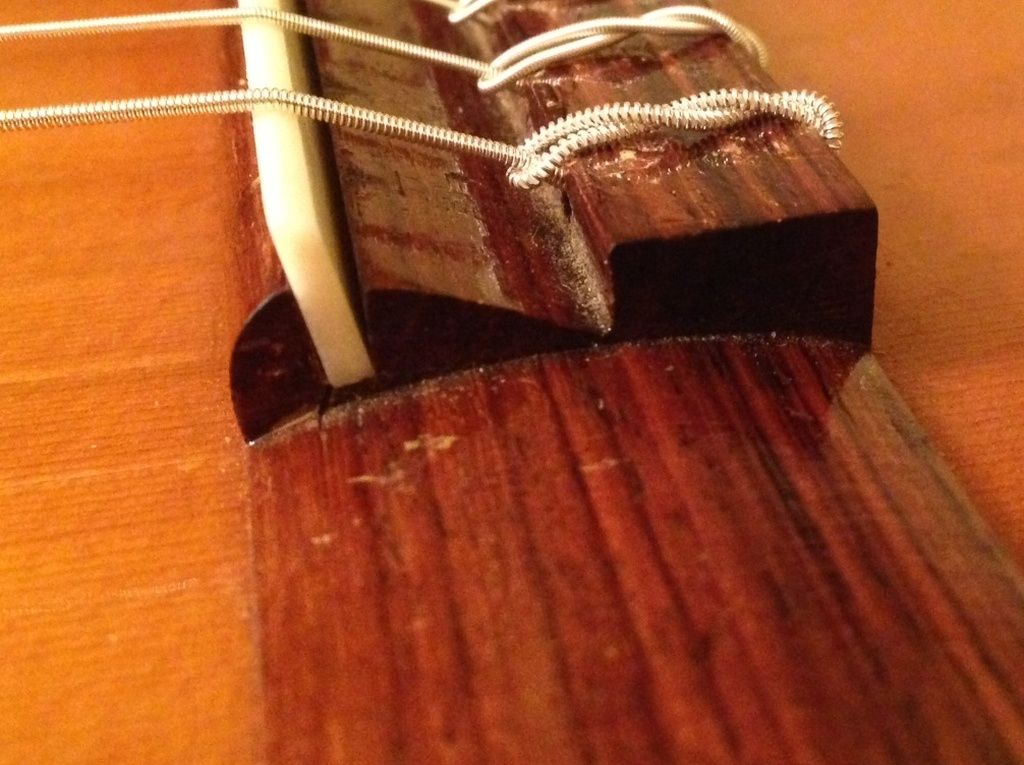 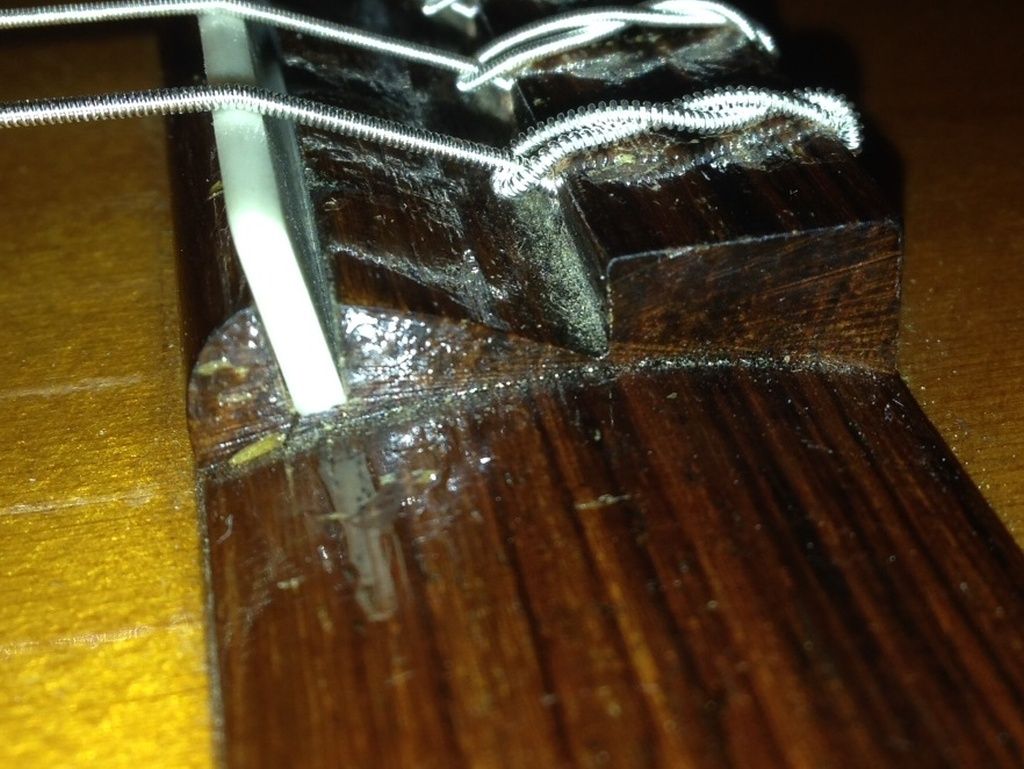 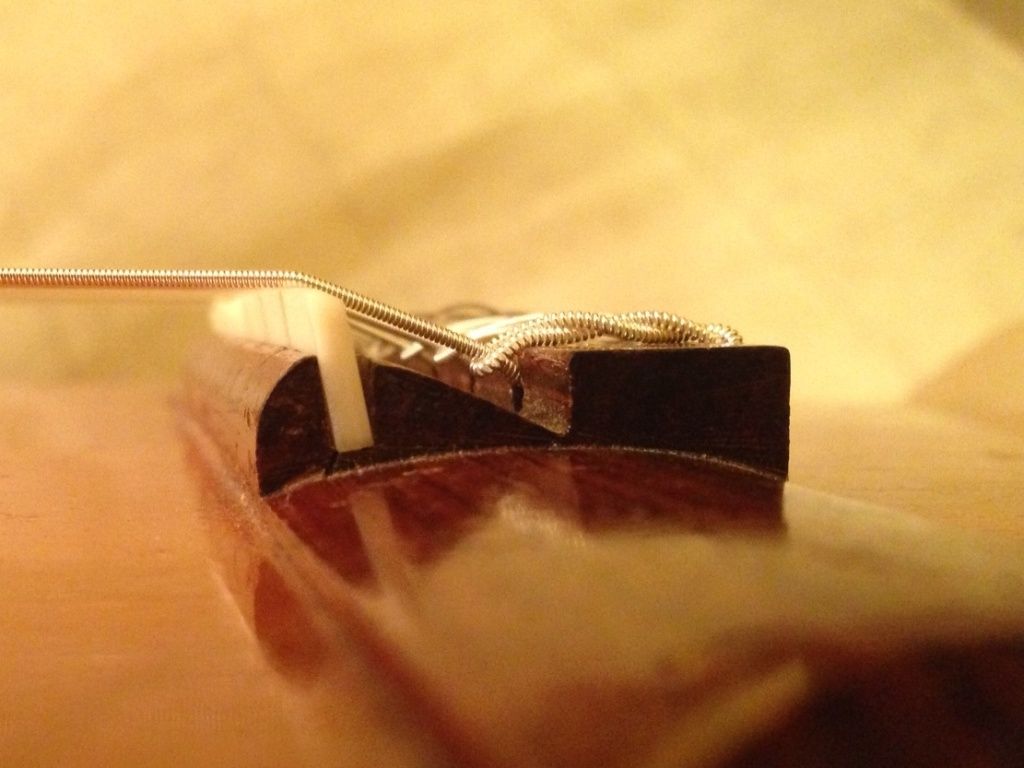
__________________
Kenny Hill New World Estudio 628C Cordoba Cadete |
|
#8
|
|||
|
|||
|
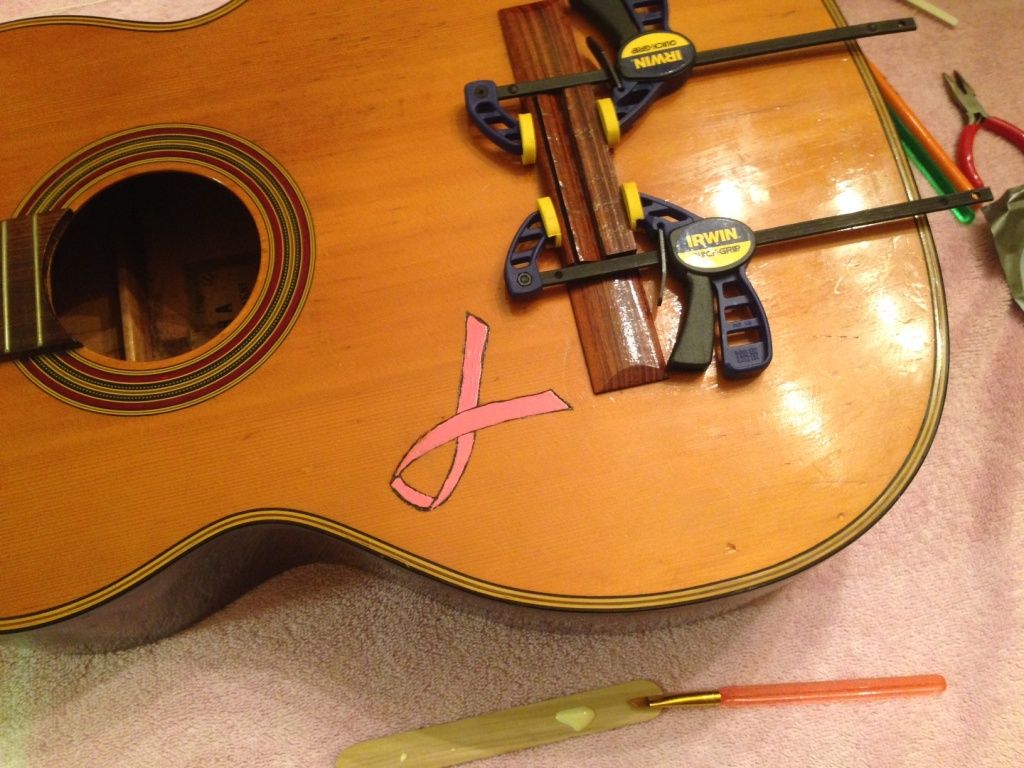
I used a craft stick to pry open the crack in the bridge and "painted" as much TiteBond as I could manage into the crack with a fine chisel-tip paintbrush. Then I closed the it back up with the 2 small Irwin quick clamps. I think I got a decent amount of glue in there, because when I clamped it shut there was a nice bead of glue that got squeezed out into the saddle slot. I wiped that clean with a craft stick wrapped in paper towel.
__________________
Kenny Hill New World Estudio 628C Cordoba Cadete |
|
#9
|
|||
|
|||
|
Not the result I was looking for. I removed the clamps today. The crack looked shut tight, but as soon as I applied a bit of pressure, it let go.
Think I can reattempt with CA glue?
__________________
Kenny Hill New World Estudio 628C Cordoba Cadete |
|
#10
|
|||
|
|||
|
Good news...I think the CA glue did it. When I tested the TiteBond repair, a bit of applied pressure opened it up fairly easily. I applied as much or more pressure after the CA glue repair, but it held strong. I'm hoping that since I intend to lower the saddle quite a bit, there shouldn't be much fore-aft pressure applied to the bridge.
__________________
Kenny Hill New World Estudio 628C Cordoba Cadete |
|
#11
|
|||
|
|||
|
Well, good new and bad news.
Good news: I have found the depth of the engraving, and it appears to be contained in the first layer of the laminate top, which means I can erase most if not all traces of it. Bad news: It's pretty deep, which means I'll have to sand down the entire top to raw wood and refinish it. I'm going to write up my explanation before I post the pics, because I know the pics are going to make some of you shudder. I know I'm doing it "wrong." But here's my thoughts: If this were a $500 guitar, or a $1500 guitar, or a $15,000 guitar, the right thing to do when faced with a flaw in the top would be to ever-so-carefully and evenly sand or strip down the top until it could be minimized and then refinished. But this is not a $500 guitar. It wasn't even a $50 guitar. So instead, I decided to hit the engraved spot first to gauge the depth. Basically, I figured, I don't want to invest hours and hours trying to sand down the top evenly, only to discover that it was a lost cause all along. Yes, this means I'll have to go back and try to get the rest of the top down to the same depth. But doing it this way was a proof of concept -- now I know for sure that I can remove the engraving, so I don't mind spending a few more hours sanding down the rest of the top. I might not get it perfectly even, but that's okay for this guitar. That said, here's a couple pics. 1st pic, I just started. 2nd pic is where I stopped -- the engraving isn't entirely gone, but it's close enough that I decided I should start trying to bring the rest of the top down with it. 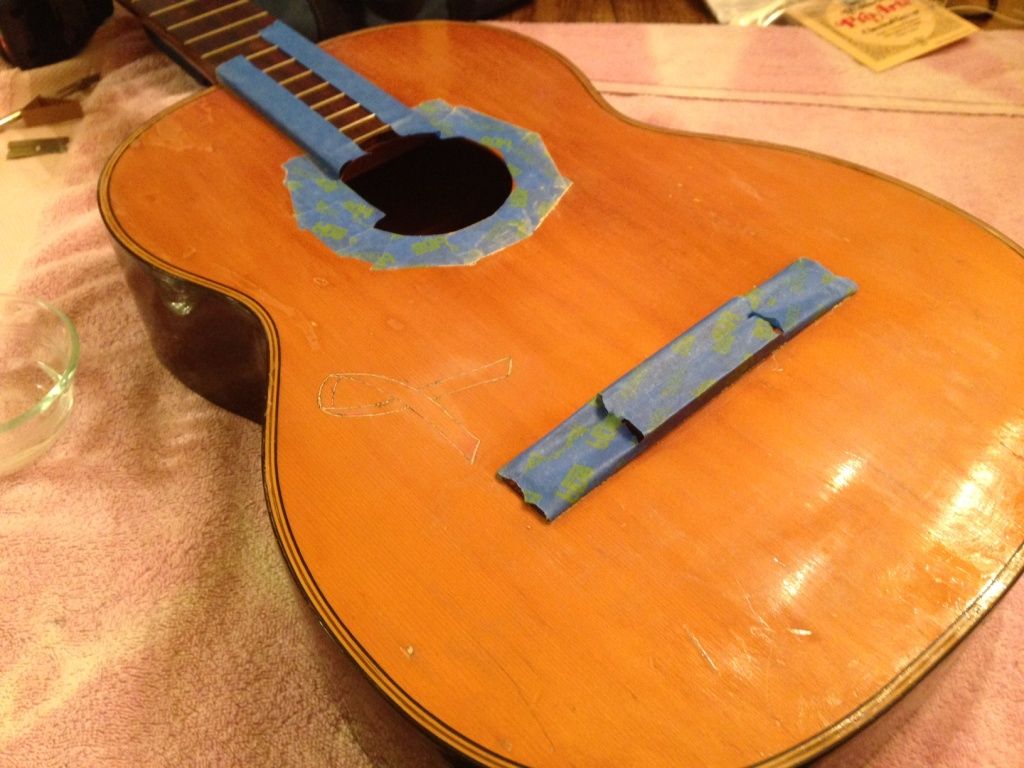 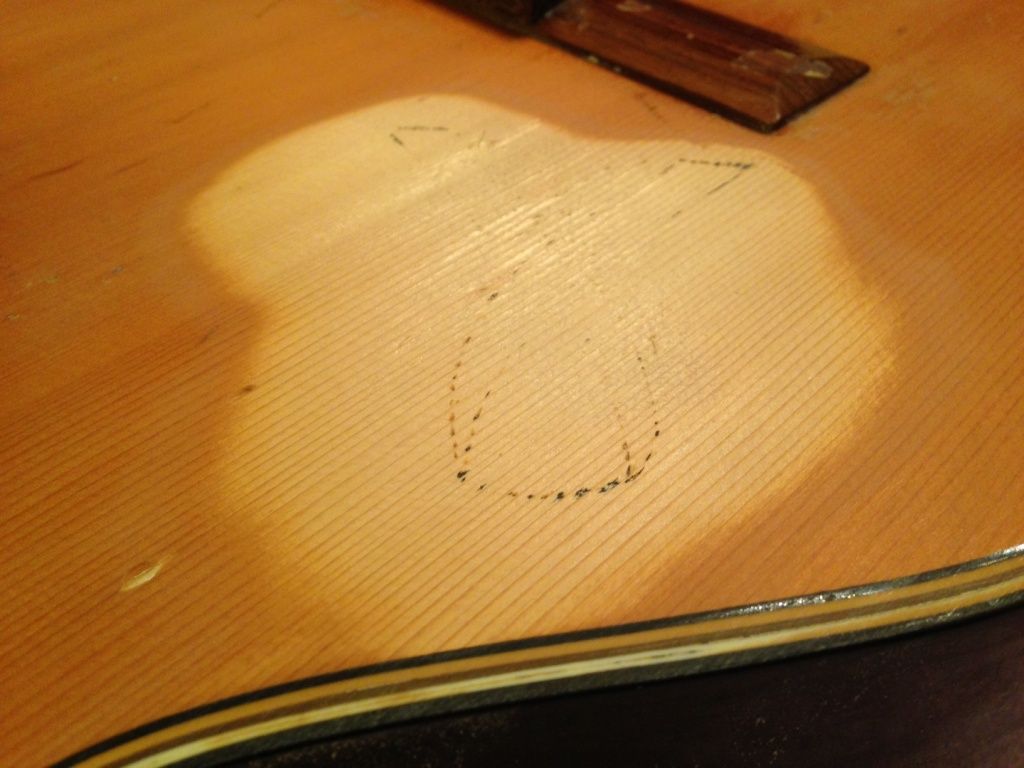 Sanding through the finish is a pain -- the finish gums up fast and clogs the sandpaper, requiring frequent cleaning and new sandpaper. But I'll get there eventually. The remaining question I have yet to answer is how (or whether) to save the rosette. I can keep masking it off to preserve it, but I'm not sure how that will work when I refinish the rest of the top that has been sanded down to raw wood. Or, I guess I could just sand it down and see what happens. My fear would be that I would get stuck in between -- the decal would begin to deteriorate, but not be completely removed. Any thoughts?
__________________
Kenny Hill New World Estudio 628C Cordoba Cadete |
|
#12
|
|||
|
|||
|
i'm no finish expert but were it my 50 buck guitar I'd:
-maybe try some tiny amount of glue and sawdust to fill in the remaining gouges. -then block sand the entire top with some fine paper to just rough up the surface enough to take a finish. don't sand through the finish, just dull it enough to provide tooth for a new finish. it should be thick enough. -get some tint or dye and try to get the color of your repaired area to match the rest of the top. -then shellac and french polish the top. you could go with super blond, amber, garnet, etc.. your choice. i prefer super blond myself. Last edited by arie; 09-26-2014 at 10:00 AM. |
|
#13
|
|||
|
|||
|
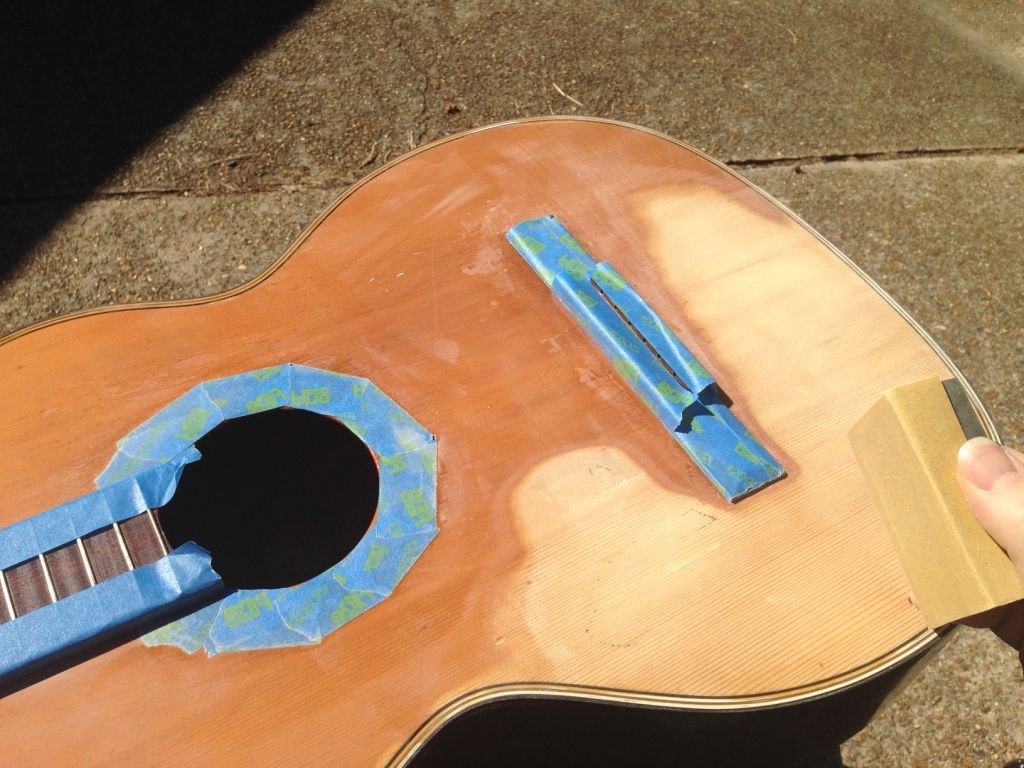
Slowly making progress! The sandpaper I had wasn't cutting it -- clogged way to quickly. I got some 3M Gold sandpaper in 180, 220, 320, and 400 grits. Working with the 180 grit right now as I'm just trying to get down past the finish. It's going much more quickly, but working around the bridge is still difficult.
__________________
Kenny Hill New World Estudio 628C Cordoba Cadete |