
|
|
#61
 06-22-2016, 08:44 AM
|
||||
|
||||
|
Quote:

|
|
#62
06-22-2016, 10:38 AM
|
||||
|
||||
|
Quote:
|
|
#63
06-23-2016, 05:36 AM
|
||||
|
||||
|
Often, I cut the tail wedge on the body by hand, using a chisel. It is satisfying work. (I mentioned earlier in this thread that it I wasn't sure why it is taking me longer to build guitars these days ... hmm I might have just stumbled upon one reason.)
I am a little embarrassed to show this quick and simple little tool, but it is quite effective in creating a guide to run my router against. It allows for many angles so I am not married to one size fits all. I still do a fair amount of handwork, but this helps. 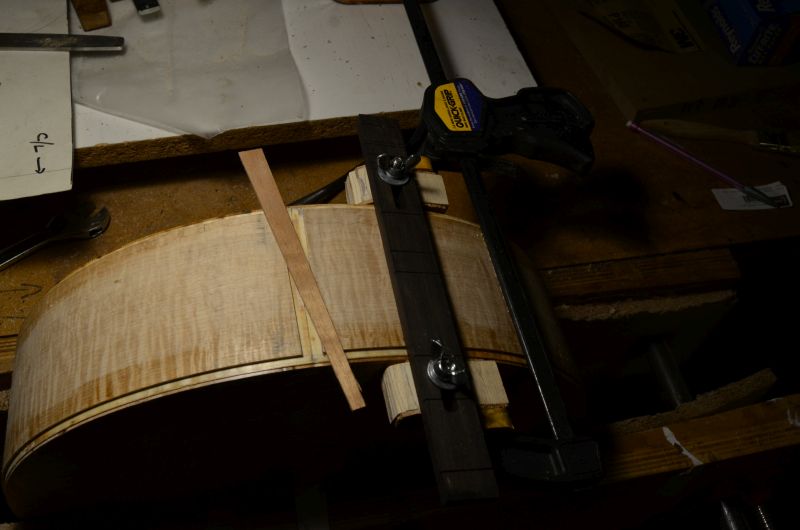 Here are a couple shots of the Maple GP after binding. 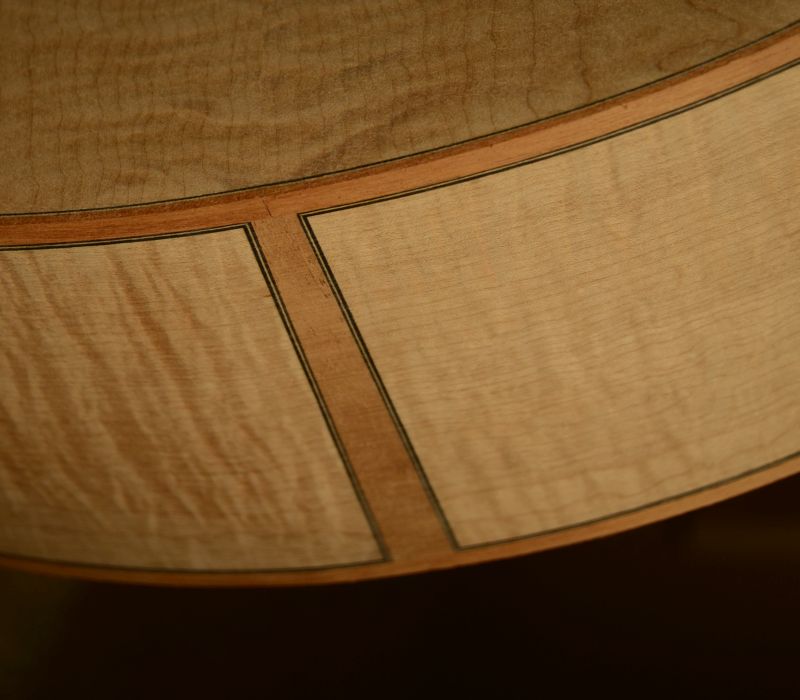 Note: in the above shot, you can see the black/white/black purfling is not symmetrical. I did not notice this until I started to work under the magnifiers. It is even harder to see before the binding has been scraped. It turns out one piece of the purfling did not match, so it was back to the bender. In this shot the color is off but you can see another variation of the spiral rosette I have been doing. 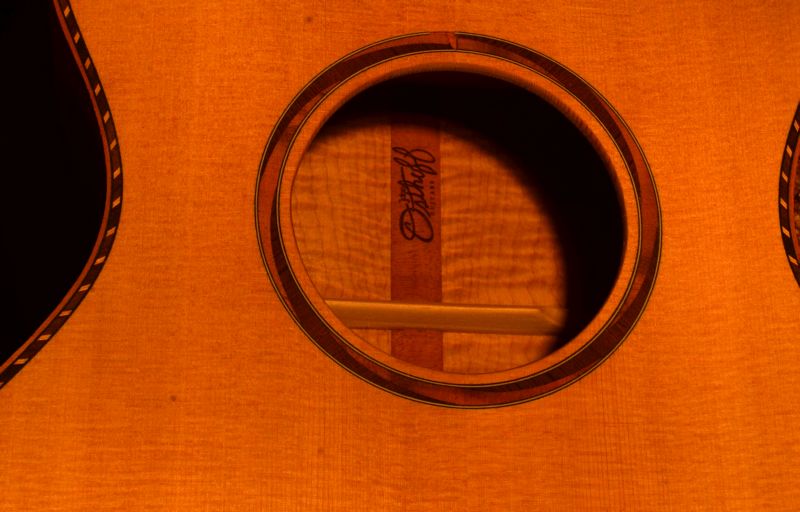 And just another look at the logo branding on the back reinforcement strip. (I like the way it comes out on mahogany) 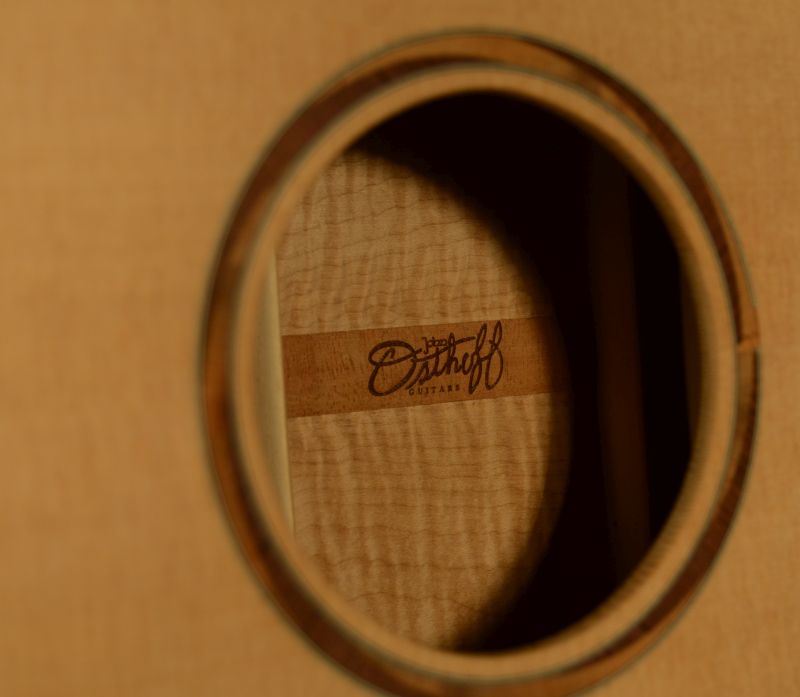
|
|
#64
06-24-2016, 04:12 AM
|
||||
|
||||
|
Quote:
Thanks, I remember something hearing like that long ago, possibly it even came from you back when we used to visit the 13th fret.
|
|
#65
06-24-2016, 04:20 AM
|
||||
|
||||
|
Below is a shot of the current line-up in the shop. I do have a couple of others projects going, an African Blackwood SJ and a prototype. More info on both of the projects coming soon.
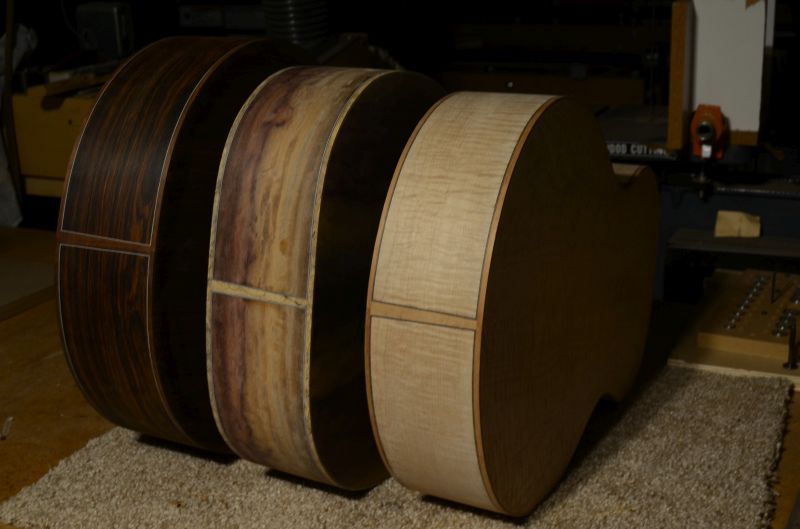 In the shot above the Cocobolo SJ on the left is getting the focus these days. This one will be going to Dream Guitars, and there is more info about this build in this thread.
|
|
#66
06-26-2016, 05:08 AM
|
||||
|
||||
|
I have another SJ in process. This one is the African Blackwood one I mentioned a little earlier in the thread. I got the sides bent and was thinking I would put a Ryan style bevel on this one. I didn't find much time to work on it last week, although I did rough-out a piece of Spanish cedar for the bevel, liner. No photos of that just yet, but here are some shots of the getting the blackwood into shape.
In this first shot, the blackwood just came off the bender getting ready to get the double side added. In this case I used rosewood on the inside. You can also see the bindings that went along for the ride that got bent too.  This shot shows the side in the side laminating fixture 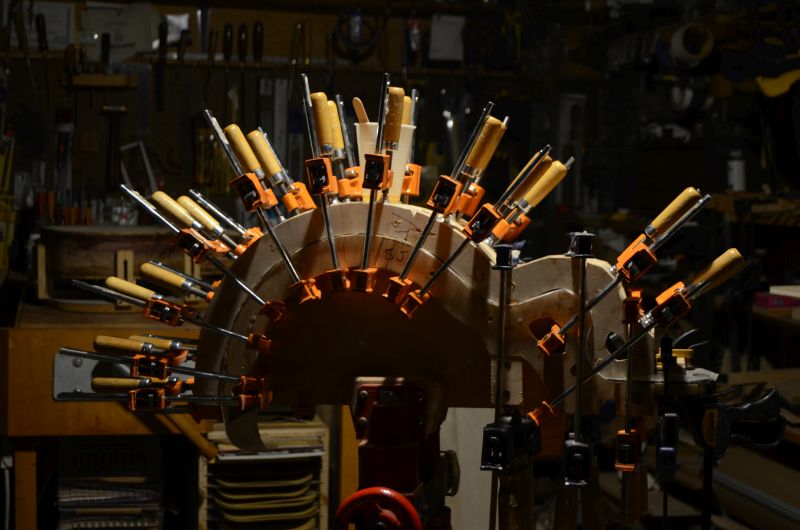 Here is the side after it came out of the lamination fixture, It is really well formed, no springback or ripples. 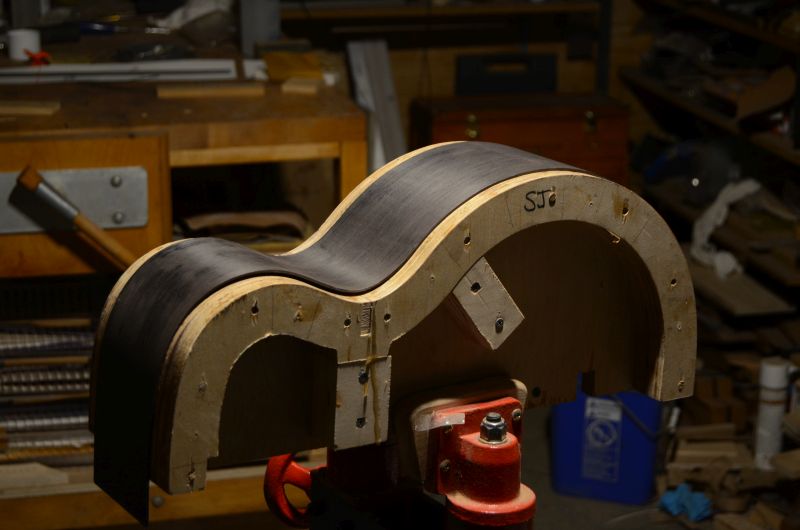 Here the back is getting the reinforcement strip installed. Probably not necessary to do this step in the radius dish, but why not? 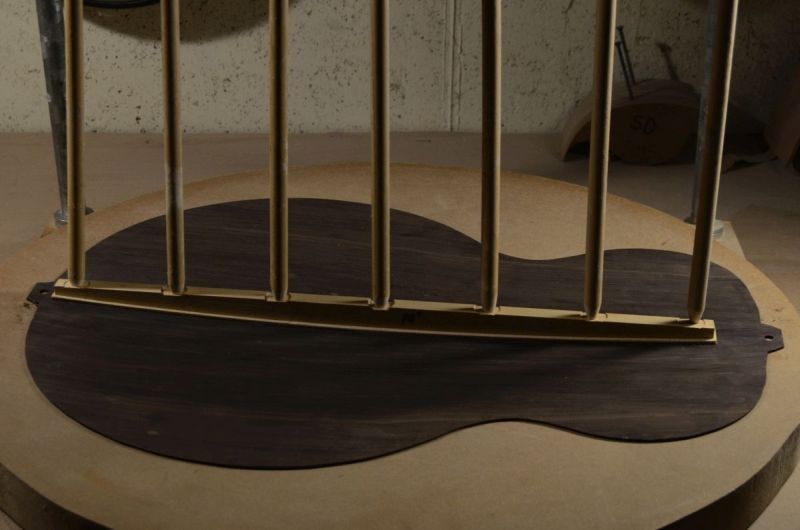
|
|
#68
07-01-2016, 06:45 AM
|
|||
|
|||
|
A typically cool and informative thread by you, John. As usual your work is mesmerizing! Hard to believe we're already talking about Woodstock, see you there. Best....Robert
__________________
Martin OM-42SB MJ Franks 000-12 Brazilian/Carpathian J Kinnaird 000-12 Birdseye/Sitka Flammang SEL SCGC 00-12 EIR/Sitka SCGC OM Mahogany/Moon
|
|
#69
07-05-2016, 07:32 PM
|
||||
|
||||
|
Quote:
Yea, I actually start thinking about the next show even before the last one. I hope to have some things for you to enjoy this year in Woodstock, (maybe that maple GP will be fun for you to try.) I do have a bunch of stuff going on the shop and some projects outside, but I will try to update this thread with some more photos this week, (before I take a couple days off.)
|
|
#70
07-05-2016, 07:50 PM
|
|||
|
|||
|
John, that katalox is stunning! If I may ask, what glue do you use for your side laminations? Thanks...
|
|
#71
07-06-2016, 05:08 AM
|
||||
|
||||
|
Quote:
|
|
#72
07-06-2016, 05:16 AM
|
||||
|
||||
|
I had promised a few more shots from the shop and I noticed that I missed taking many of the process while working on the Katalox OM's neck. I did snap a few.
Here the customer wanted a (dark) piece of Katalox for a headstock overlay. I did not have a piece wide enough, so I sliced a thinner piece, bookmatched it, and glued it up 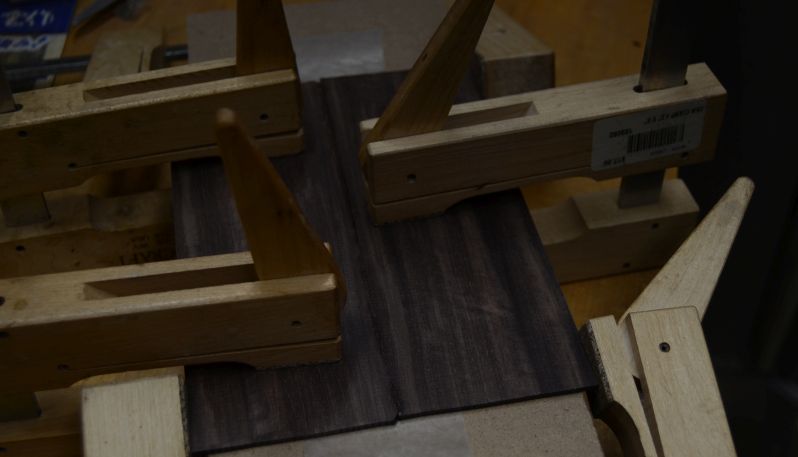 For the back, overlay, the same sort of thing was done but using "leftovers" from the back. In this shot toward the top, you can see the neck blank taking shape. 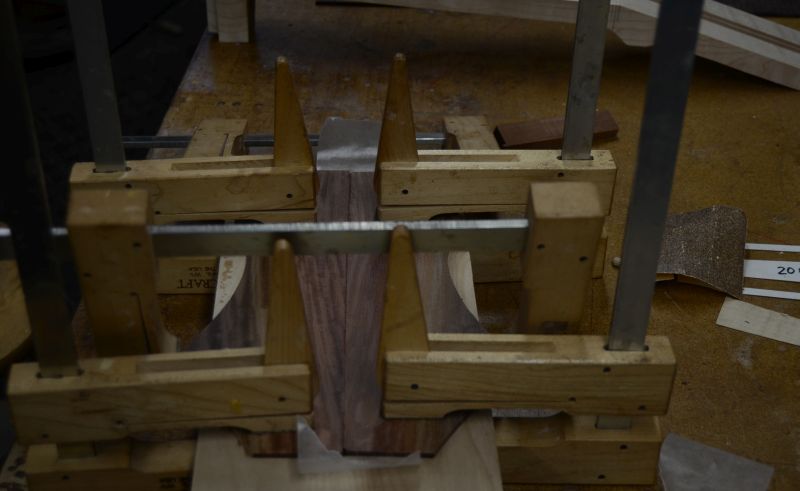 Here is a shot of the headstock overlays glued-up. 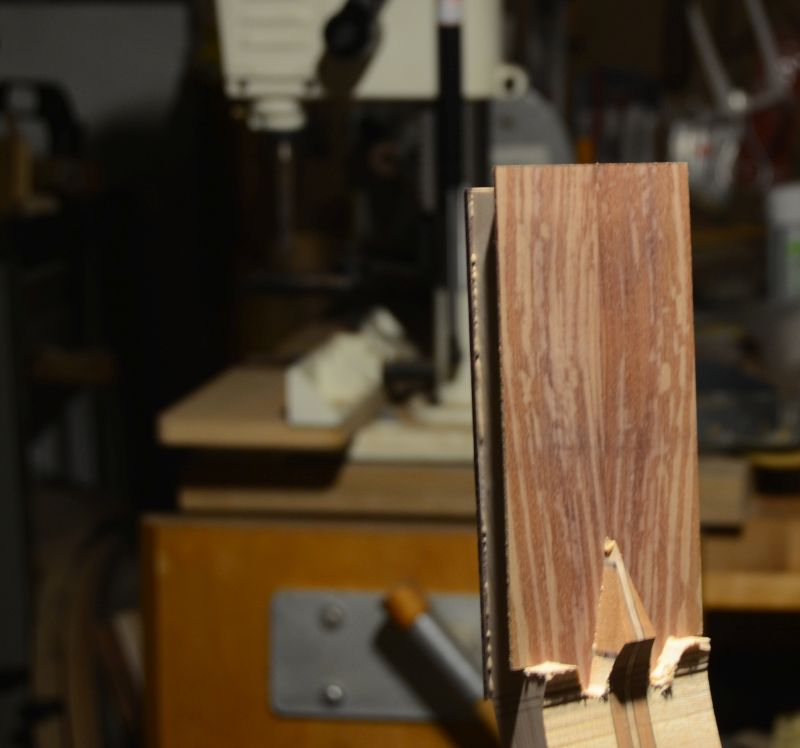
|
|
#73
07-06-2016, 06:52 AM
|
||||
|
||||
|
Quote:
Pretty stuff That middle guitar is especially calling to me. What is the wood and binding?
__________________
Kinnaird Guitars
|
|
#74
07-07-2016, 06:11 AM
|
||||
|
||||
|
Quote:
That is the Katalox (OM.) The binding is also Katalox albeit sapwood. The sapwood was really tough to bend as I found out when when I did the headstock and the curve I have at the end of the fretboard. Needless to say, I made a lot of scrap before getting it just right. Thank goodness this was not a cutaway.
|
|
#75
07-07-2016, 06:19 AM
|
||||
|
||||
|
Here are a couple of shots working on the slotted headstock.
In this shot I am getting the holes drilled for the tuners. The temporary filler strips help to prevent any blowouts 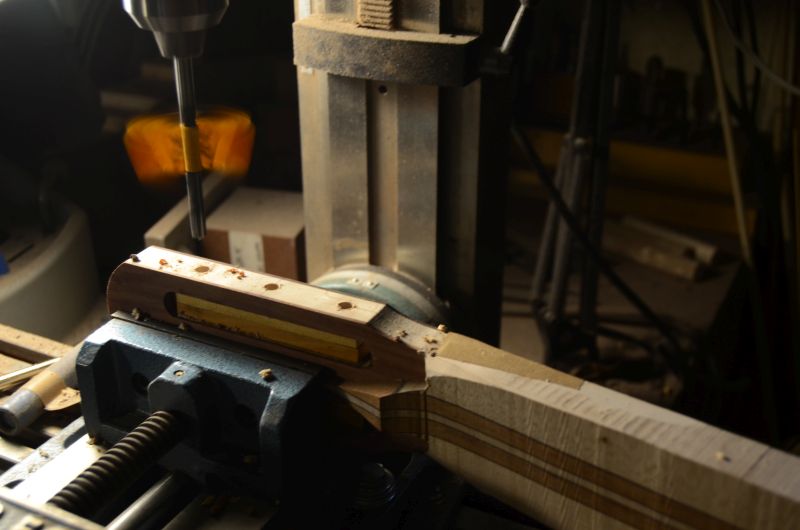 This one shows the ramps getting machined in. It gets a little tight in this setup, but works out. The headstock is not bound yet in this shot although I did get it bound and the stealth truss rod cover is now more stealthy. 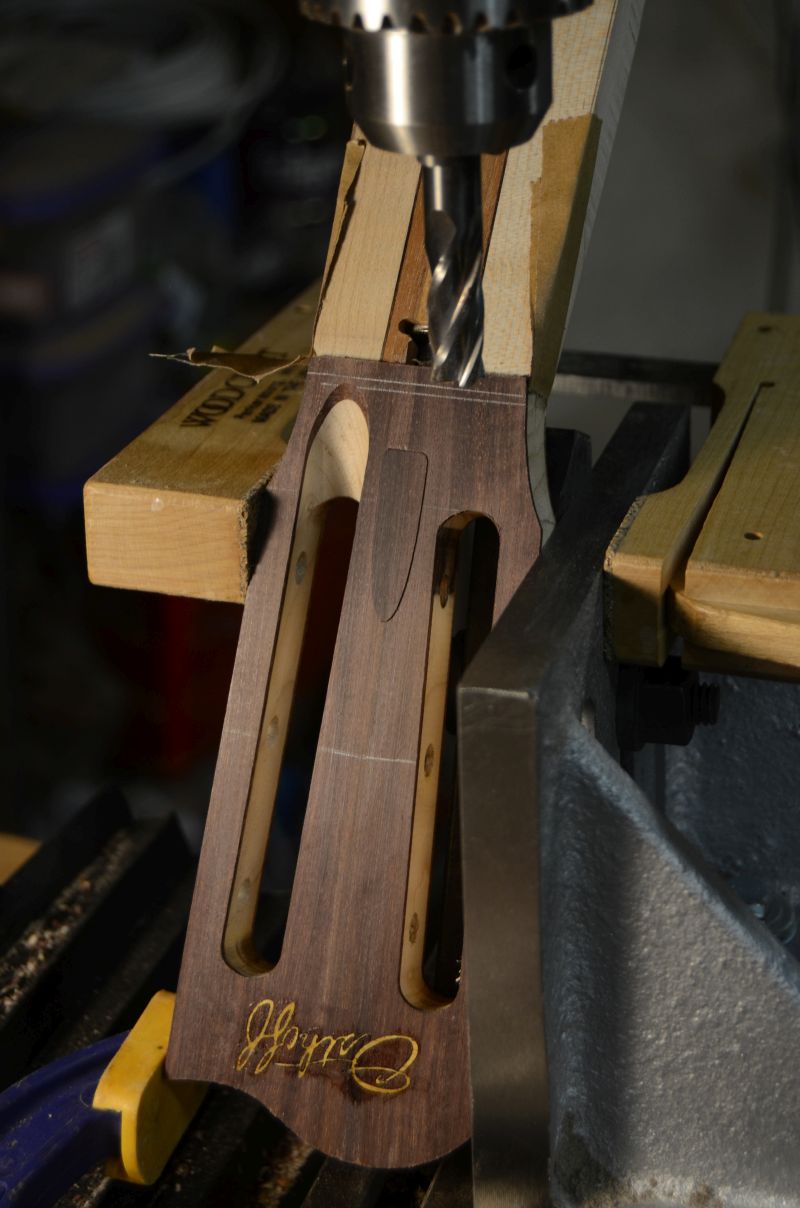
|


