
 |
|
#1
|
|||
|
|||
|
This isn't much of a build thread, though I thought I'd share the latest to come out of my shop.
A friend of mine wanted me to help him build his first guitar. He wanted something dreadnought shaped, but with more of a waist for playing sitting down. I gave him some rough dimensions, and had him go at getting the shape drawn. I helped him tweak a couple lines, and we made a form. He got some nice Honduran mahogany. I liked the shape we came with, so I decided to build one for myself. The upper and lower bout are pretty close to a typical dread. I don't have the dimension for the waist. Scale is 25.5". Nut width 1.75", string spacing at the bridge 2.187". The top is Douglas fir with some cool figuring. The back and sides are East Indian rosewood. Sitka spruce used for all bracing. Binding is curly maple, with ebony purfling on top. the rosette is quilted maple with ebony banding. [IMG] 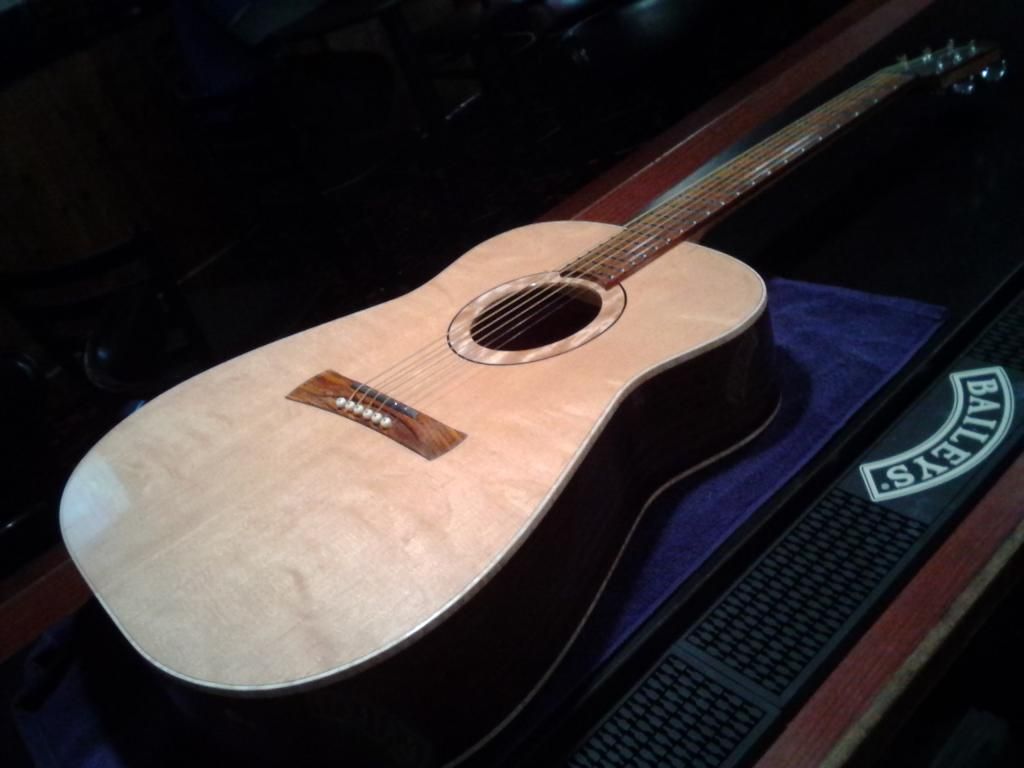 [/IMG] [/IMG]For the bridge, I usually slot the string paths behind the saddle. On this build I decided to just eliminate all that wood behind the saddle. [IMG] 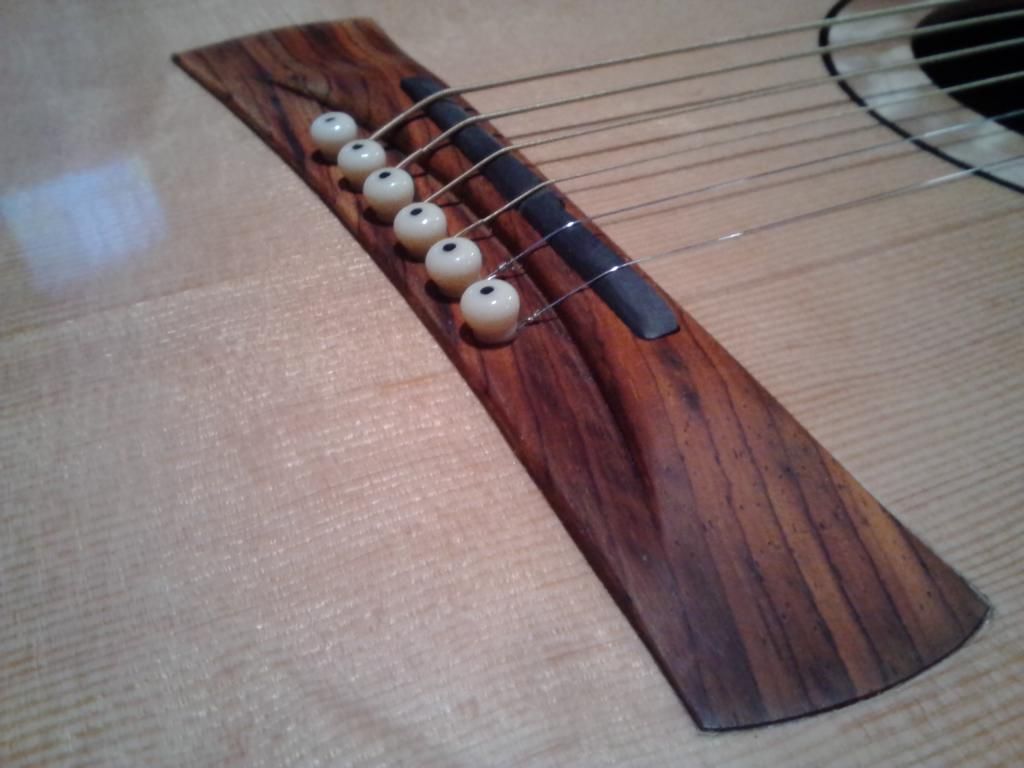 [/IMG] [/IMG]
|
|
#2
|
|||
|
|||
|
The headstock is the non-slanted version of the one I used on my multi-scale guitar a while back.
[IMG] 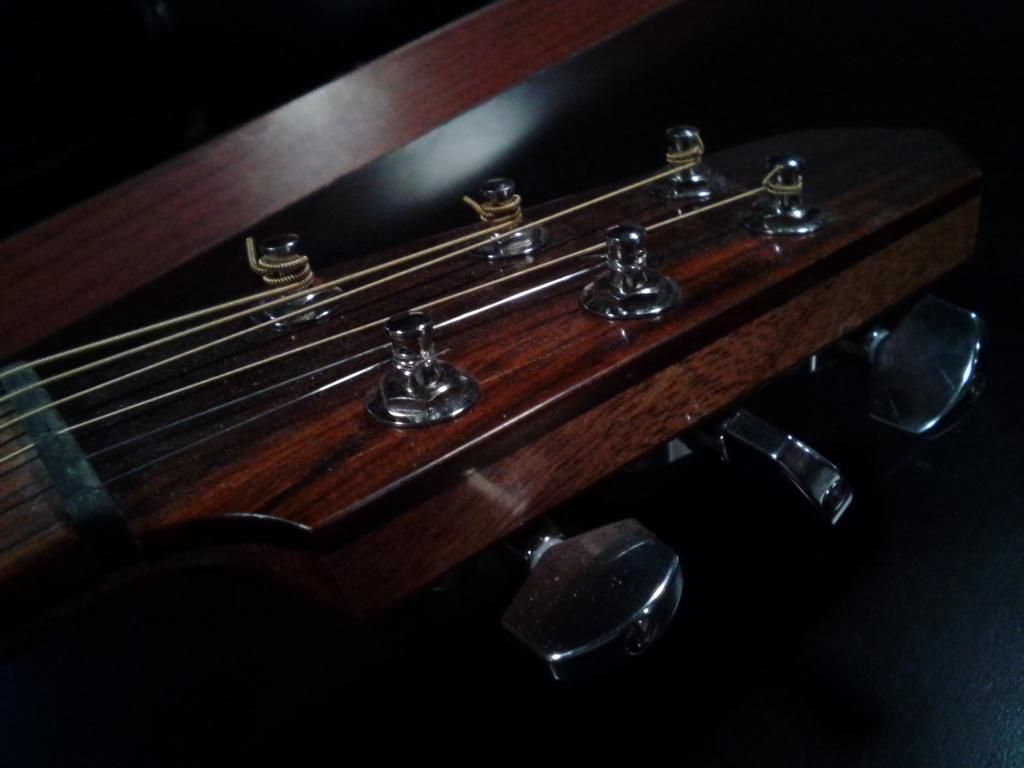 [/IMG] [/IMG]A view of the back. Since I intended to keep this one, I went pretty stark as far as decoration. You can see somewhat my preferred surface finish. I work up to 5000 grit 3M Trizact pad. This gives something in between a high gloss and sheen. [IMG] 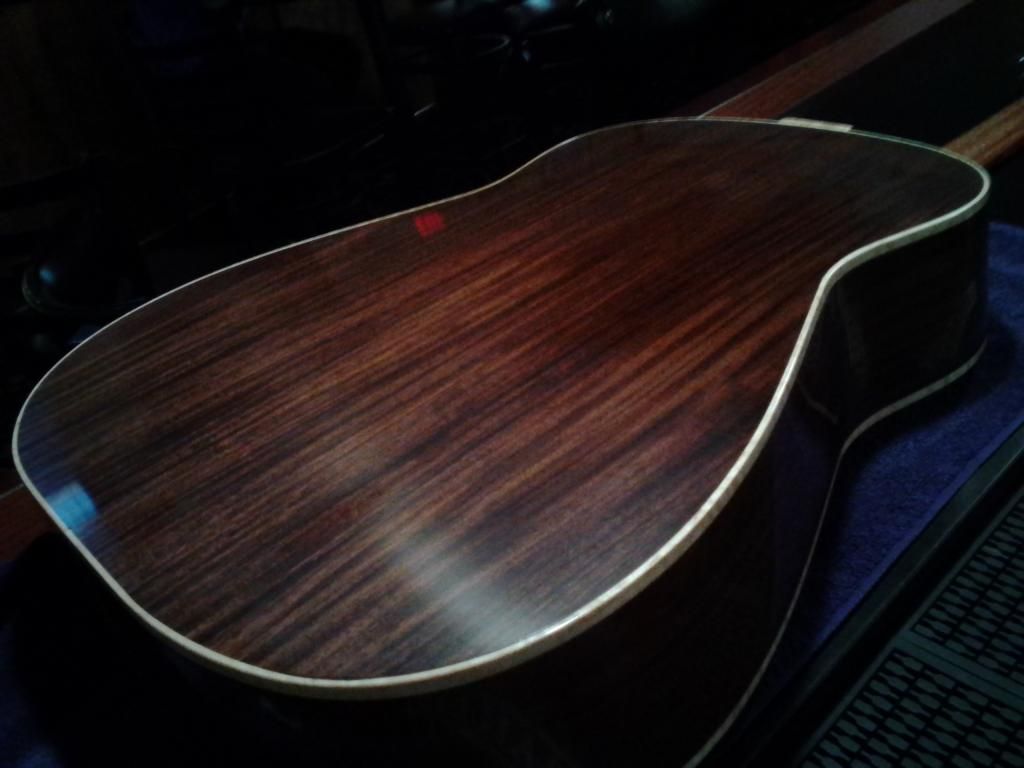 [/IMG] [/IMG]End graft... Doesn't get much simpler I suppose... [IMG] 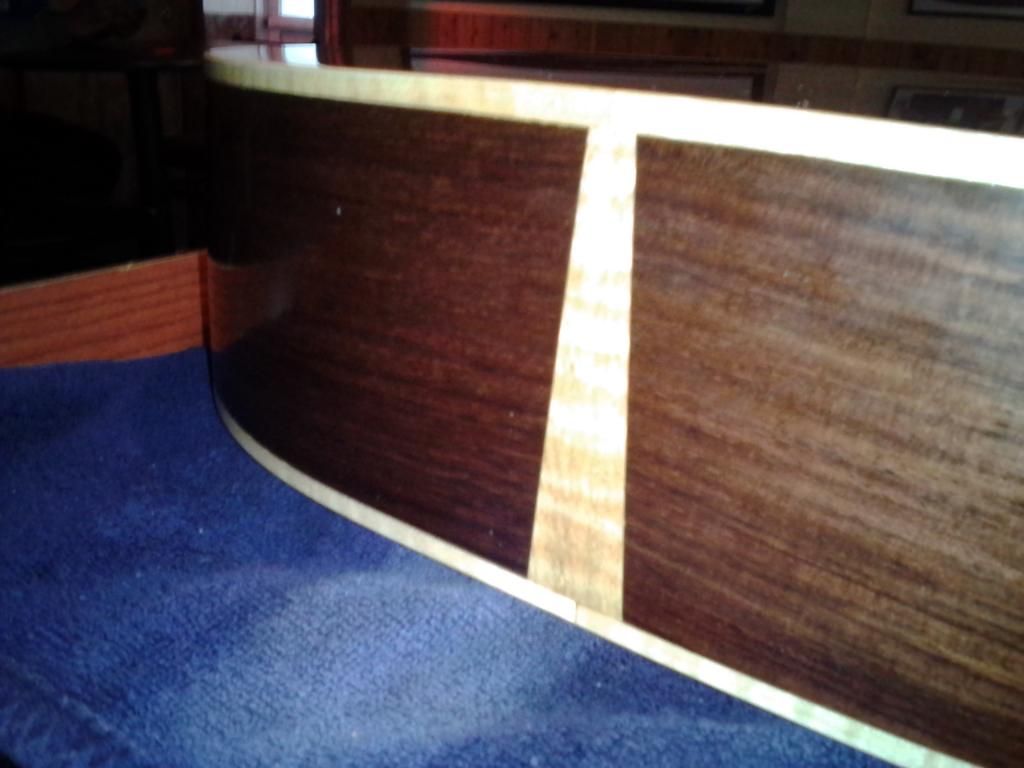 [/IMG] [/IMG]
|
|
#3
|
|||
|
|||
|
The rosette. I wanted to try something different here. The rosette actually started out as a solid piece, that I cut into a circle. I then rabbeted the back edge, and set that into the corresponding rabbet on the top. This allowed me to show the figure on the inside edge of the sound hole as well
[IMG] 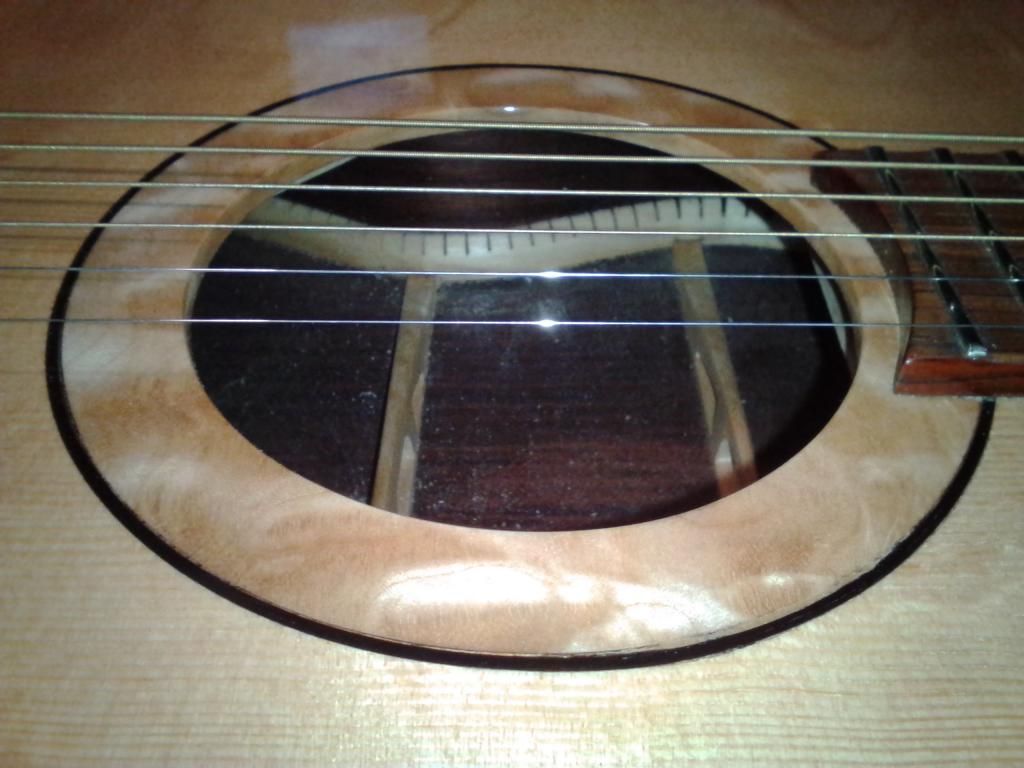 [/IMG] [/IMG]View of the top and body shape. [IMG] 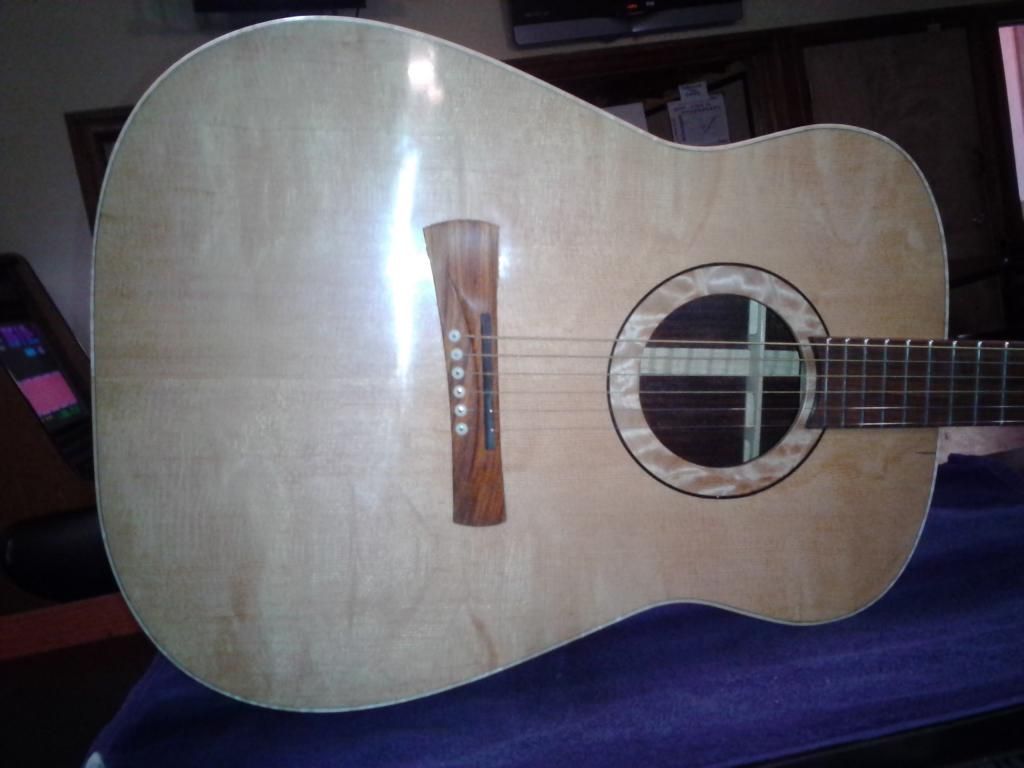 [/IMG] [/IMG]It's tough to capture the sheen of the guitar; this pic is pretty close. [IMG] 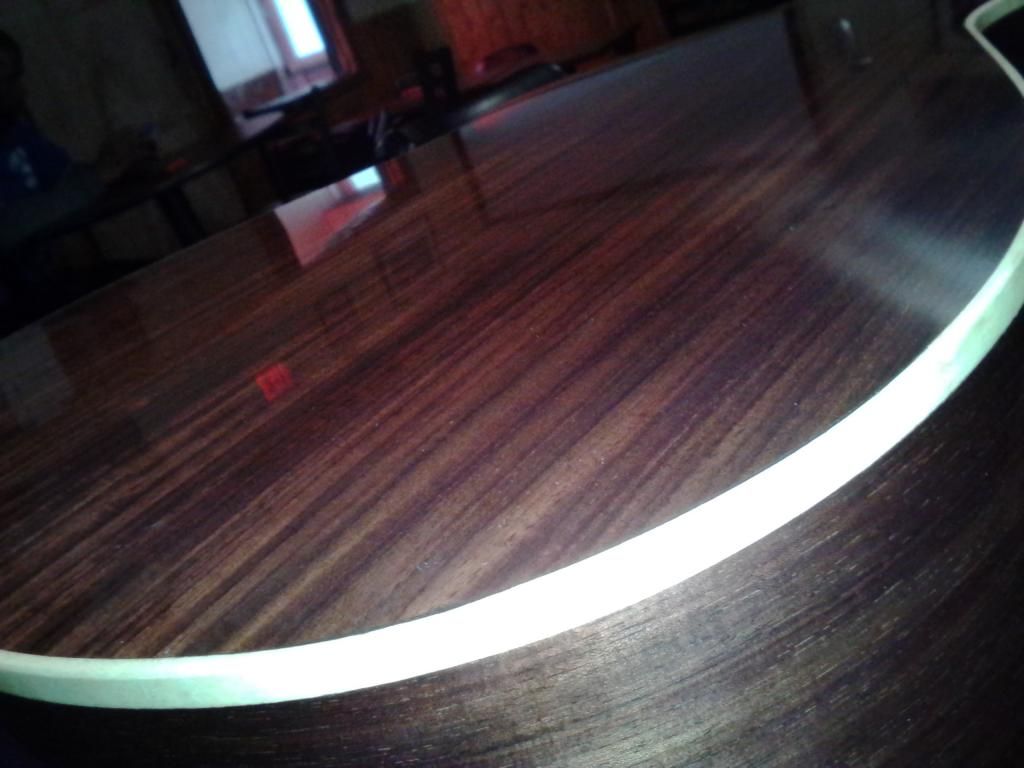 [/IMG] [/IMG]There was one defect in the top that I couldn't cull out, so I had to splice a piece in. I decided to leave the pitch pocket... [IMG] 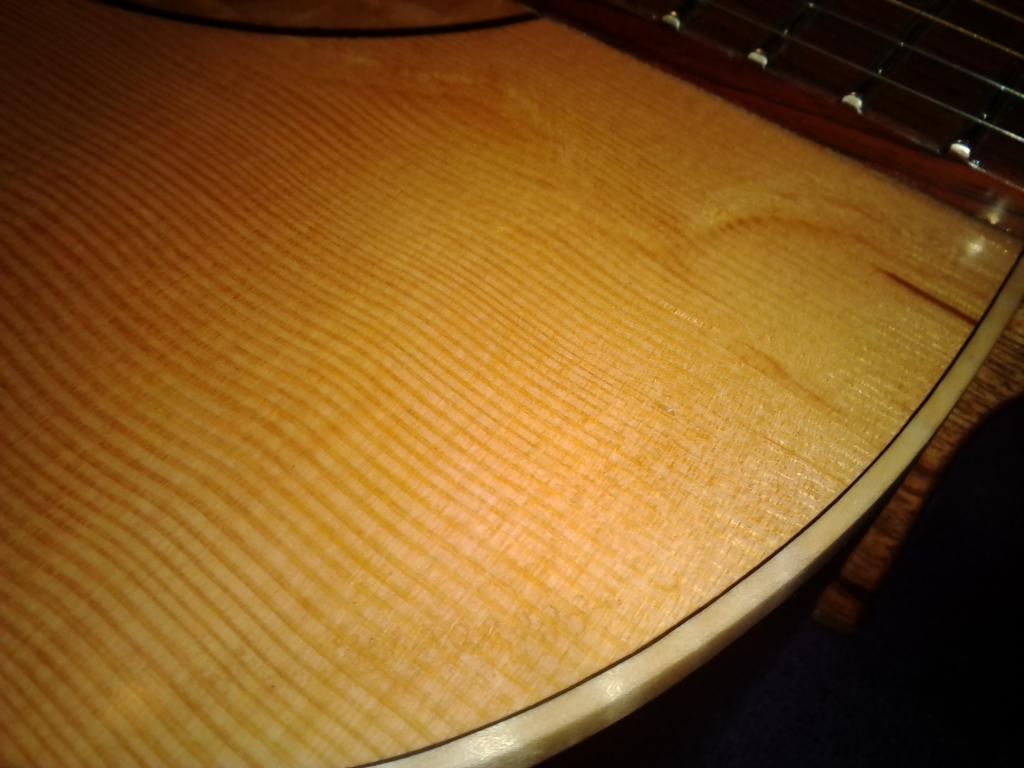 [/IMG] [/IMG]
|
|
#4
|
|||
|
|||
|
View of the heel and side dots. Just a minimalist shape on the heel. The dots are maple dowel, though it darkened quite a bit under finish. The neck is Philippine mahogany; the fretboard and bridge are cocobolo.
[IMG] 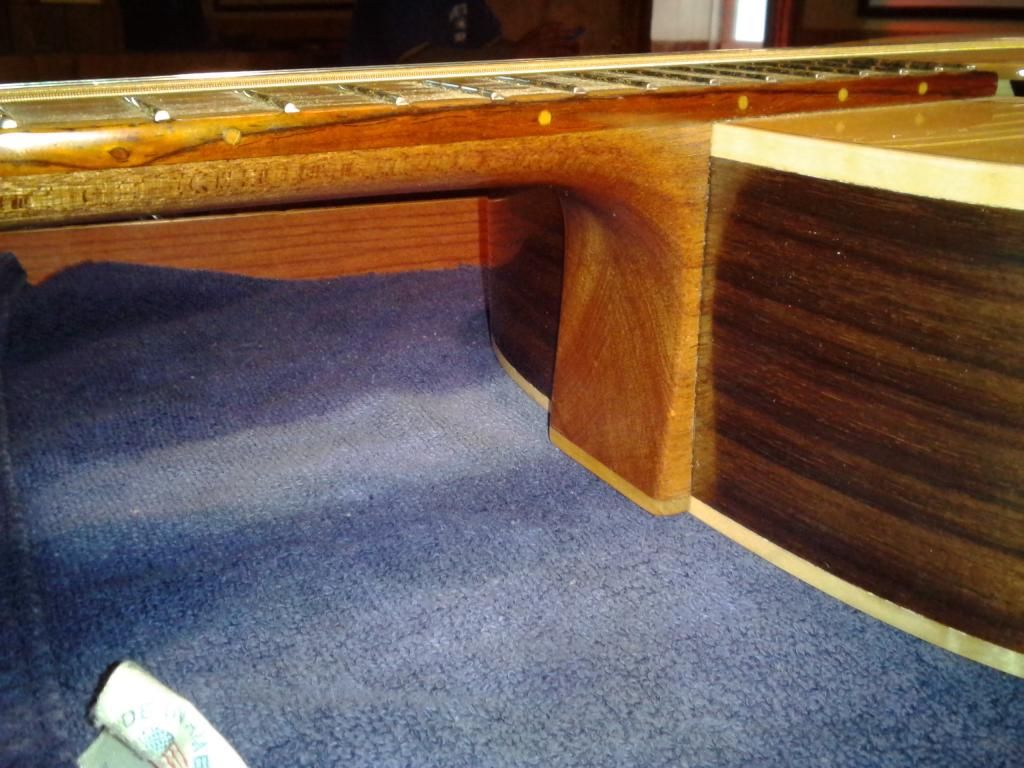 [/IMG] [/IMG]Some interior pics. The bracing features openings I pocket out on the CNC. They are then rough shaped by hand, glued in place, and finish sanded. Also, the entire bracing is shifted about 1/4" toward the bass side. Just a little experiment for me... [IMG] 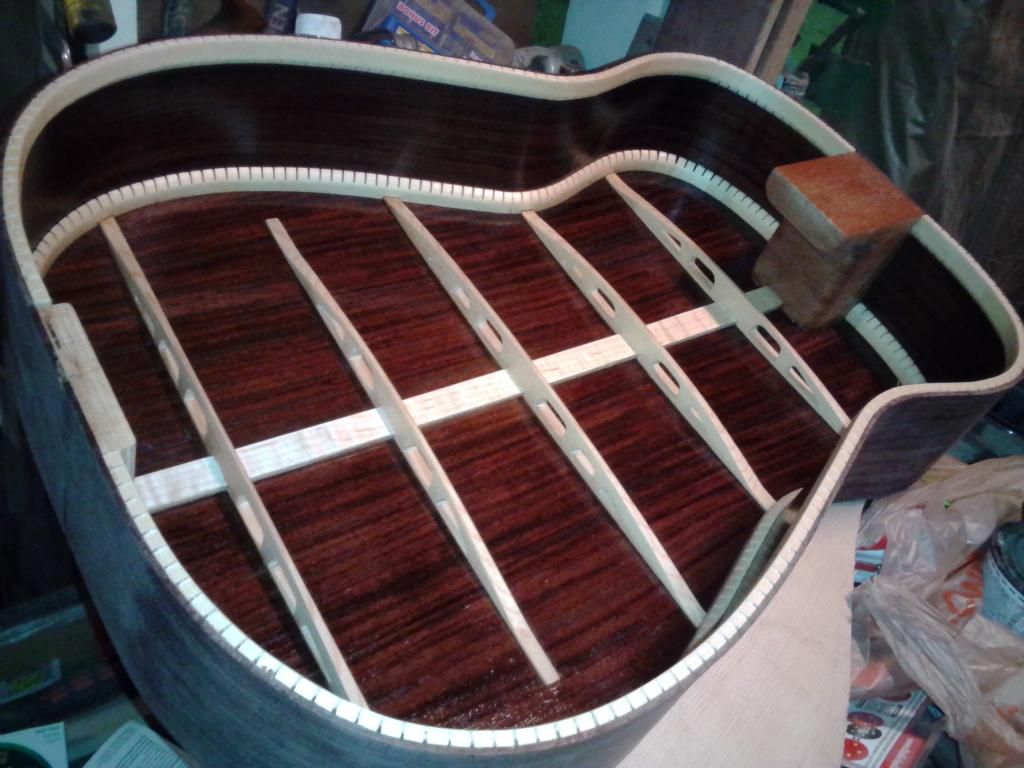 [/IMG] [/IMG]The top is an extension of the bracing ideas on my last couple builds, applied to scalloped-shaped braces. Also, unlike the last couple guitars, these are not laminated. [IMG]  [/IMG] [/IMG]
|
|
#5
|
|||
|
|||
|
I should add the nut and saddle are paper-based phenolic. Rock hard, it shapes similarly to bone, maybe even a bit harder than bone. The trussrod is G10-FR4 phenolic; fiberglass based, for me it's the poor-man's carbon fiber.
|
|
#6
|
|||
|
|||
|
I'm liking it Louie ... love the bridge design, very elegant.
I'm having trouble figuring out the neck joint ... not a lot of meat on the heel for threaded inserts, yet no visible mortise for a dovetail ... come on, spill the beans . how did you do it ? Straight tenon ? |
|
#7
|
|||
|
|||
|
Quote:
 I use a tight-fitted mortise and tenon joint. The mortise is not routed in the pic above. What's unique about it is that I have a dowel pin at the base of the tenon that corresponds with a hole at the bottom of the mortise. It would essentially lock the neck in under string tension even without glue. Also the reinforcing bar I used runs through the neck extension. |
|
#8
|
|||
|
|||
|
I second the bridge, also I like the narrower waist compared to a regular dread. I may have to do the same when I build one. Almost forgot, how does the fir sound?
|
|
#9
|
|||
|
|||
|
Quote:
I didn't come up with the narrower waisted dread, Ervin Somogyi is the one responsible for the modified dreadnaught idea. I didn't want to use this term because I'm nowhere near the level of the ones who do! This is actually the second guitar I built with a Douglas fir top. The first I thought was a bit brash sounding, maybe because it was a smaller body. It is super stiff, but heavier than Sitka. I thought I could exploit this in this larger guitar body by making the top thinner, and utilizing my bracing ideas. |
|
#10
|
|||
|
|||
|
Quote:
|
|
#11
|
|||
|
|||
|
Quote:
But I'm glad you brought this up, since I have drastically changed the angle of the headstock on this one. It's only tilted back about 6-7 degrees. This is due in part to talking extensively with Ken Parker during the Woodstock festival a couple months ago. The idea is that having just enough break angle allows the strings to not get bound up in the nut, and that in parts helps the strings feel "slacker" since they are allowed to stretch and relieve. |
|
#12
|
|||
|
|||
|
Looks great Louie!
I'm in for that bridge as well, nicely done. I really like the Rosette too, got any pics to show how you do that. SA |
|
#13
|
|||
|
|||
|
Quote:
I liken the bridge to a hybrid of an archtop and flat top bridge. Three of my first five builds were archtops, and I always liked the look of the bridge.. |
|
#14
|
|||
|
|||
|
Just to update, the guitar has been a success so far with the requisite pass-alongs to friends and some local players. So successful that one of my friends loved it so much that his wife bought it for him! So once again, not having a guitar to show around, I decided to build another.
For this one I'm using padauk (vermillion for the old fogies). The back has some pretty cool subtle figuring to it. Because of the way the grain is on padauk, there can be a little tearout regardless of which way the boards are run through the planer (I don't have a thickness sander - yet.) So for the sides I doubled them and laminated them in my form. As with my other guitars, the tail block is 1/2" Baltic birch. [IMG] 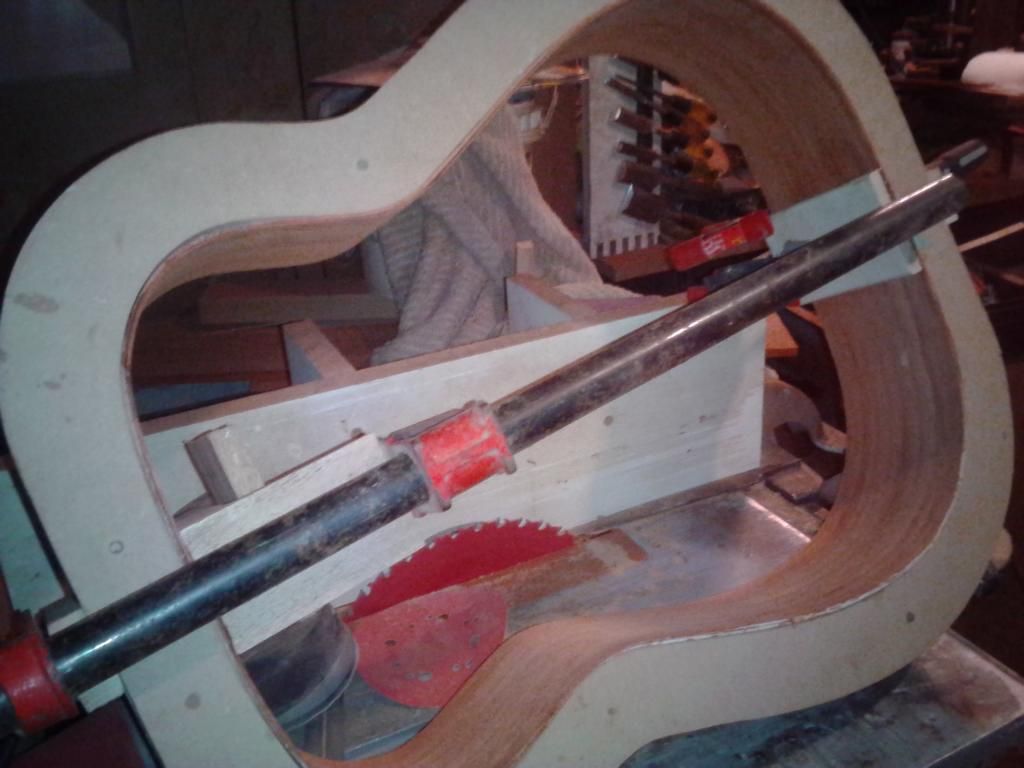 [/IMG] [/IMG]I also returned to making my own kerfed linings. For this I used some Spanish cedar I had laying around. The sawblade is a Freud Diablo 40-tooth, with a .060" kerf. I had to make a new zero-clearance insert for my saw. [IMG] 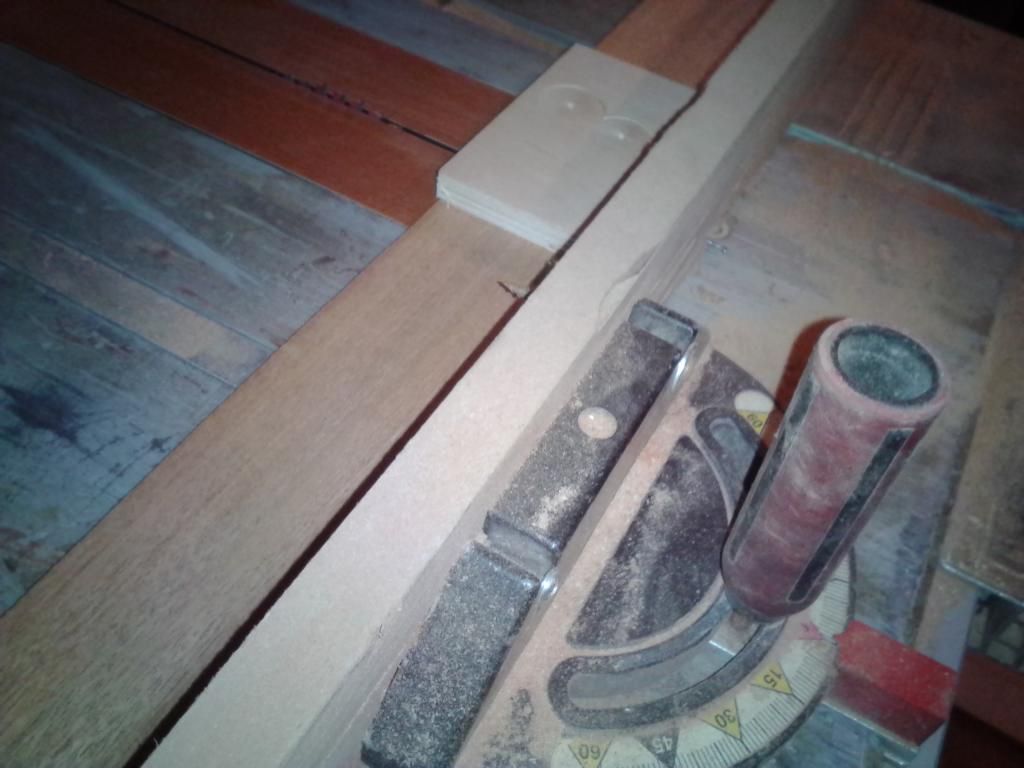 [/IMG] [/IMG]Close-up of the kerfs. Because the blade is ATB (alternate tooth bevel) I leave a little more meat than usual. [IMG] 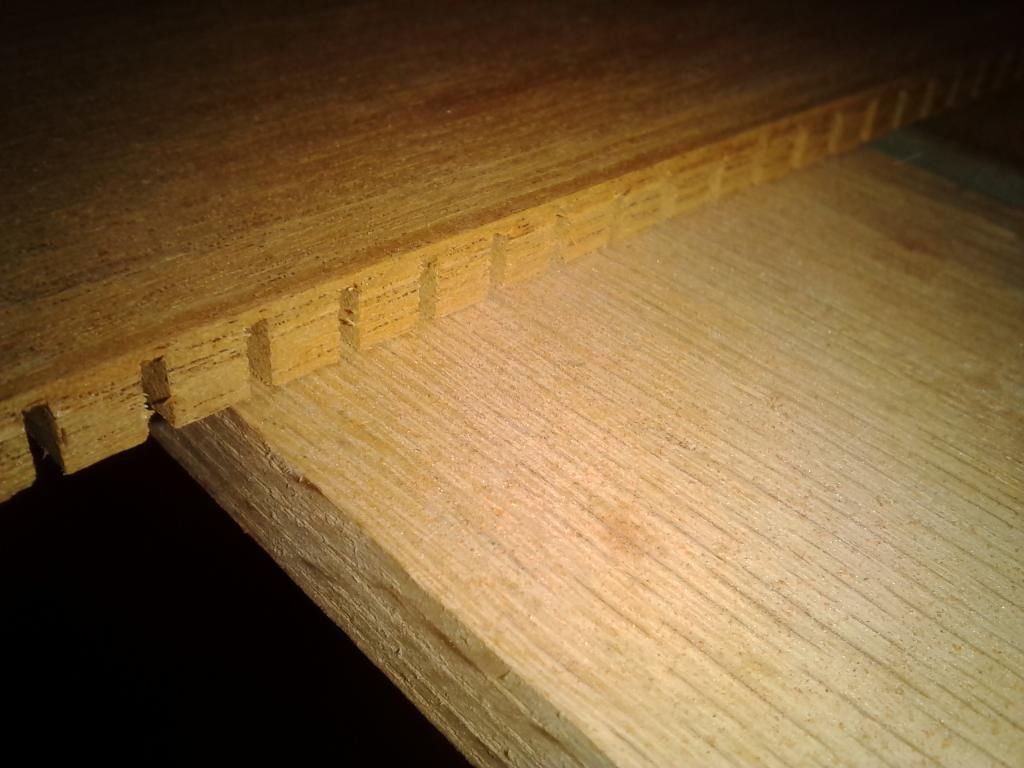 [/IMG] [/IMG]
|
|
#15
|
|||
|
|||
|
This is how the magic is done. An auxiliary board is attached to my miter gauge, a kerf is made on it, and a small brad is placed about 3/8" or so from the kerf. After the first cut, the material is lifted and the kerf is registered onto the brad, and the process is repeated ad nauseum. truthfully it only takes about 15 minutes to do about 35", and the board is wide enough to do an entire guitar. Not as great as one of Mathias Wandel's jigs but it works flawlessly.
[IMG]  [/IMG] [/IMG]The finished kerfs look like this: [IMG] 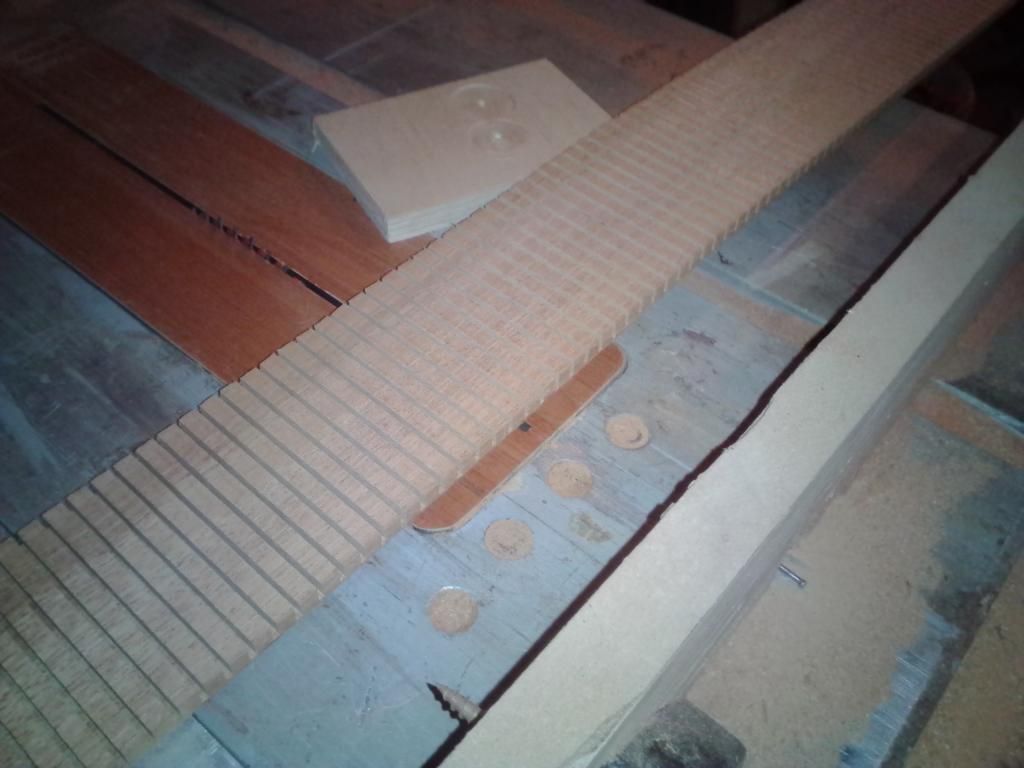 [/IMG] [/IMG]They are then cut into strips: [IMG] 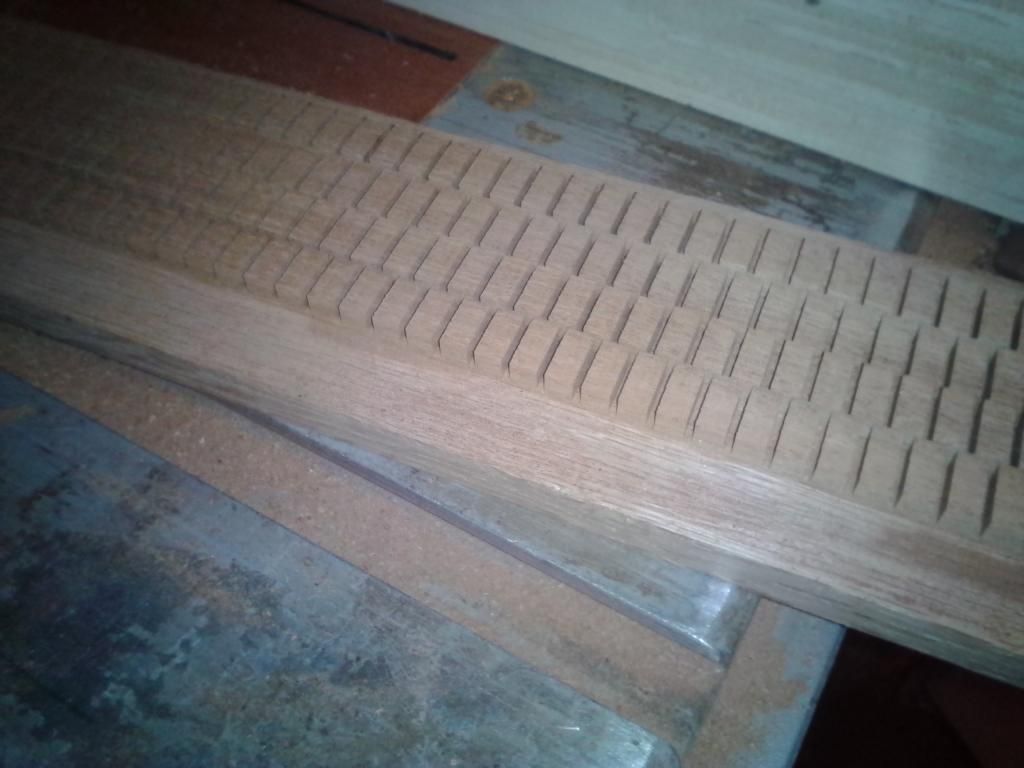 [/IMG] [/IMG]They are unnecessarily bulky at this moment, so I profile one edge. Usually I would use a roundover or chamfer bit, but I thought it would look visually more interesting to rout a cove. The profile does double duty; as well as remove unnecessary wood, it allows the lining to flex easier on the back edge, where it has to bend in two directions. [IMG] 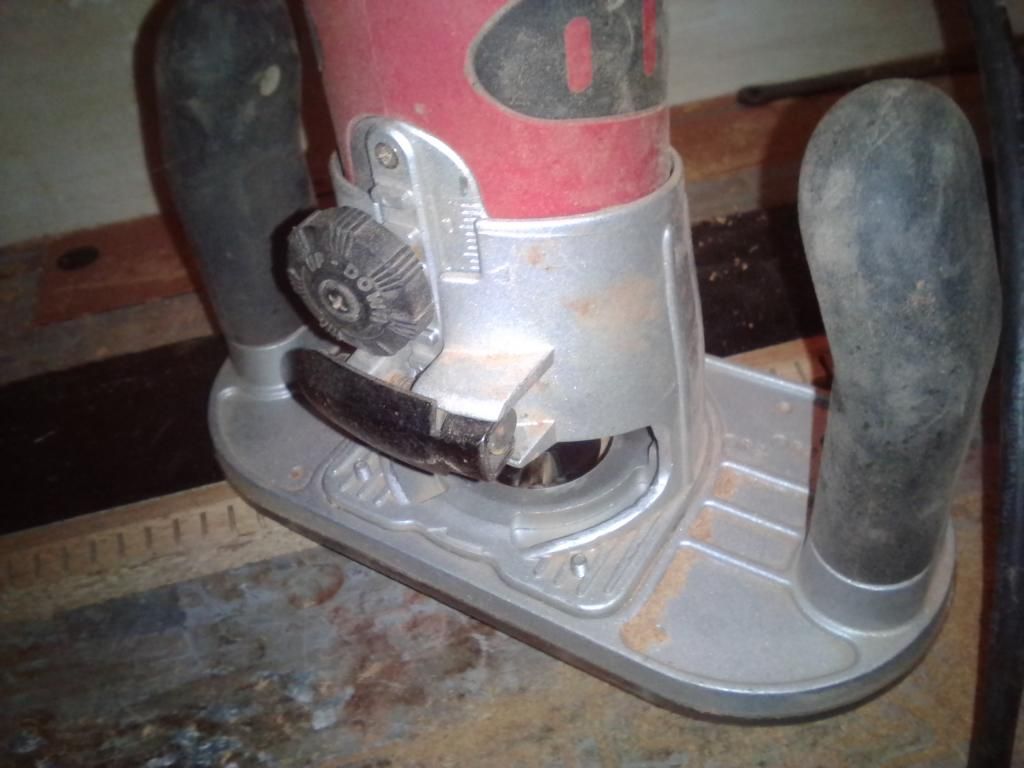 [/IMG] [/IMG]
|