
 |
|
#46
|
||||
|
||||
|
It's OK I guess if you like stunning. Sometimes I find amazing, unbelievable, beautiful works of art and sound sort of boring.....

|
|
#47
|
||||
|
||||
|
THANK YOU everybody, for your kind comments. I often feel a little overwhelmed by all the brilliance and beauty shown here on the Forum, and the world-class talent of all the luthiers who present their work here for us to enjoy. I am proud and honored to be counted among all these great people- my peers and colleagues- and also, certainly, all the people for whom we build these instruments. Without ALL of you, there wouldn't be any point to all this! So, THANKS!
Now, since I've arrived at a milestone in the building of Ken's Blackwood Rose, (soundbox done!) I think it's time for me to 'fess up about the rose inlay on the back. I had some major help, pulling that one off. See, there's no way I have the skills of someone like Jimmi Wingert or Larry Robinson, or ANY inlay specialist for that matter. I just don't possess that level of magic, to do incredibly artistic, beautiful inlay work with the traditional hand tools- mostly the jeweler's frame saw, miniature pattern files, etc. When I began to consider how I was going to make a credibly artistic inlay with the rose art that Ken sent to me during our planning stages, I figured I was in for a very steep learning curve. With great trepidation, I delved into studying the techniques of wood marquetry. And the more I learned, the less confident I became! If I was only able to hack together a crude piece of work, it would be the end of my career! I needed to think outside the lines... Then I thought: Hey, why don't I hop on a jet, fly out to Seattle, visit my good buddy Aaron Andrews (who was my mentor, best friend, and workshop partner for 12 years when I lived out there)!!! I could do this inlay work in his shop, using the 1940s-era Gorton Pl2 Pantograph engraving machine that Aaron owns. I called Aaron to ask how he felt about the idea of me coming out to visit and work in his shop for a few days. He said, "Come on out here! Let's do this!" So I bought a plane ticket and flew 3000 miles across the country to do this rose inlay. Here are a couple shots of Aaron, my benefactor extraordinaire: 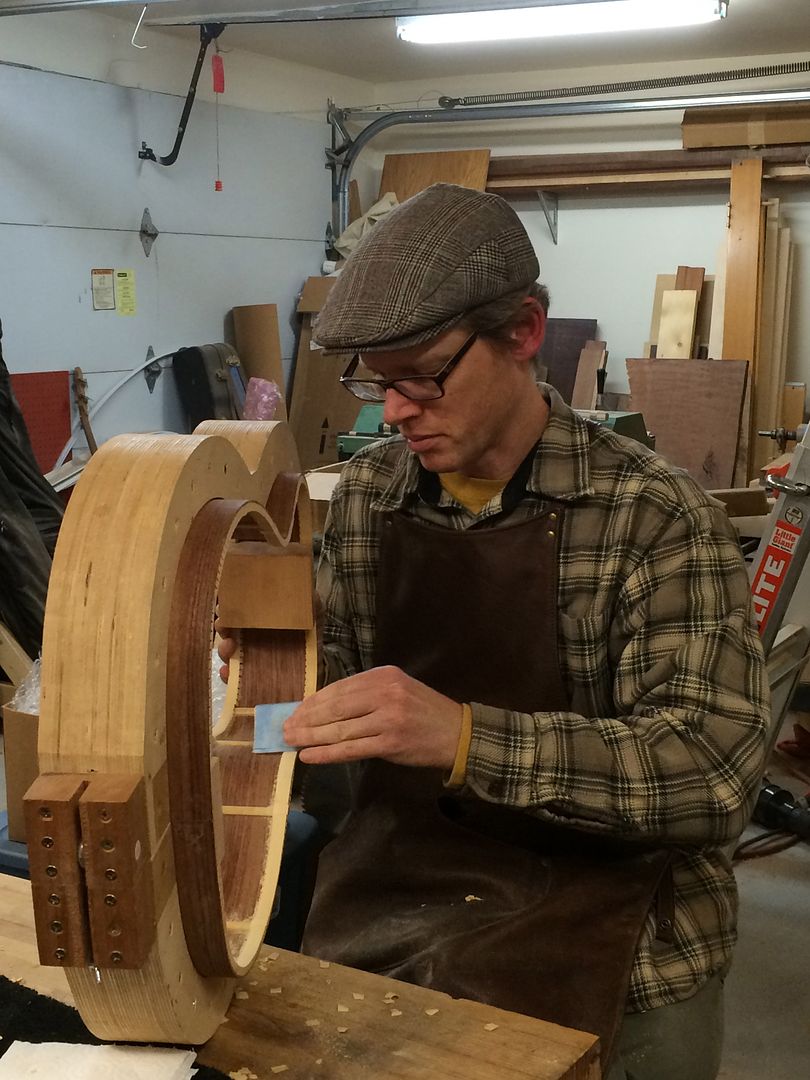 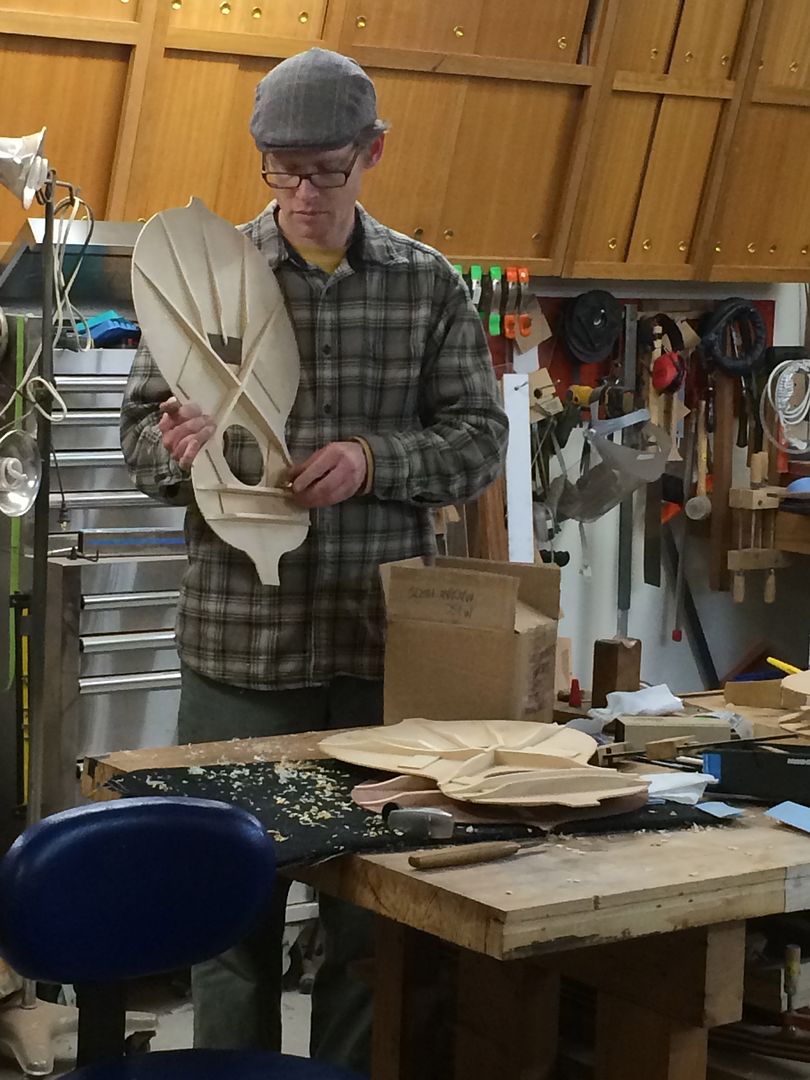 ...And here is the machine that made it all possible. It's about 800 pounds of cast iron and steel, with a pantograph arm, which guides a tiny cutter about the size of a dental burr, used for drilling teeth. The machine dates back to the WW II era, and it's built to last another couple centuries, at least. 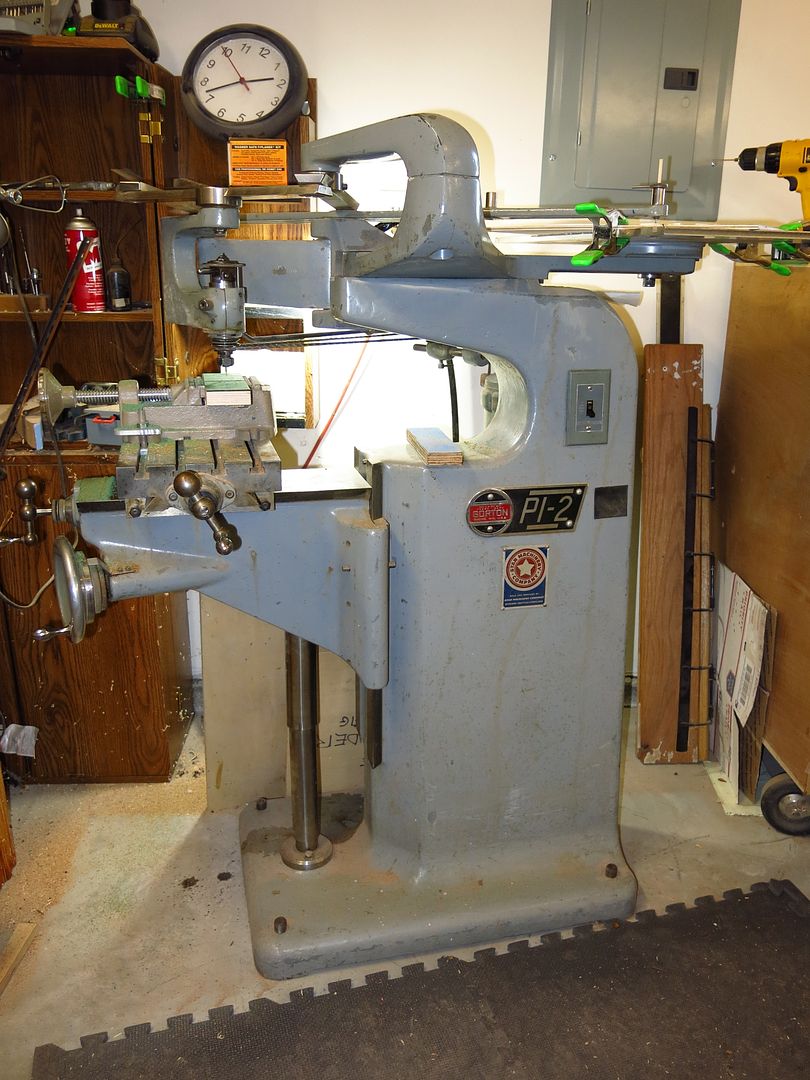 When Aaron and I were sharing our Seattle shop, I loved using this machine, because it made inlay projects I could never even consider, entirely do-able. See, it works like a CNC machine, except that I am the OS that runs it, and my hand operates the pantograph arm that directs the cutter. So essentially, it's like a computer-controlled micro-milling machine, but without the computer. 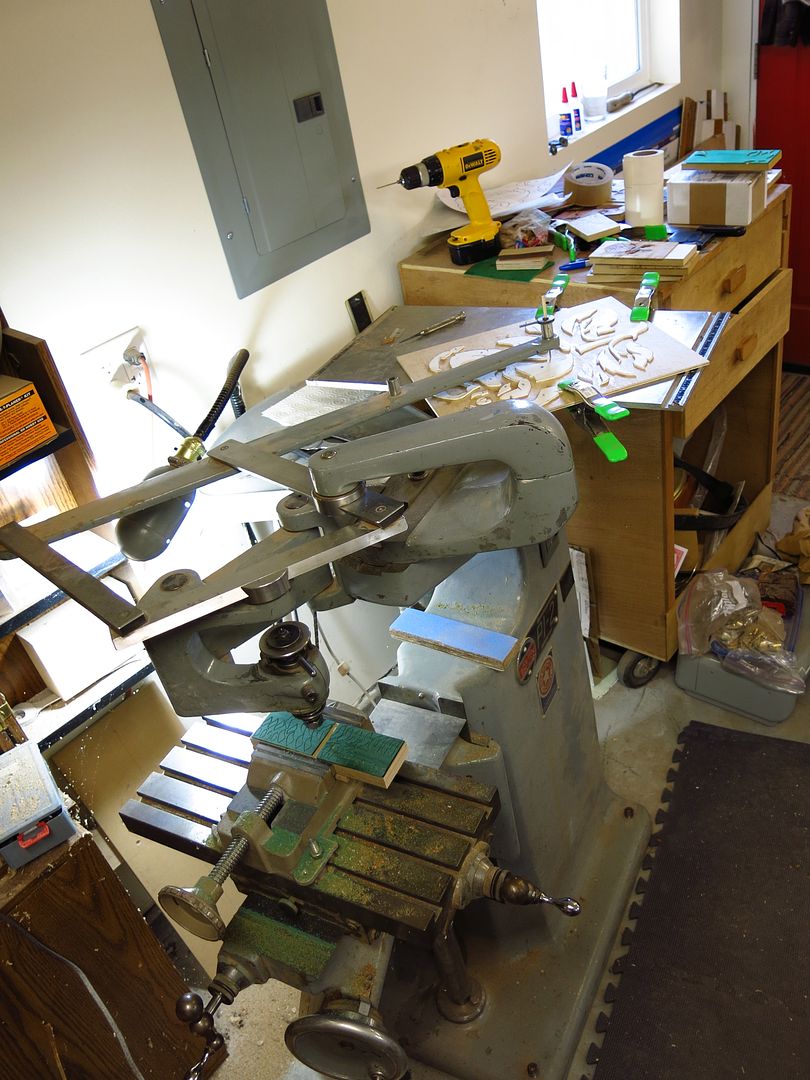 The beauty of the Gorton machine is, you can make positive and negative patterns, scaled anywhere from 100 to 800% larger than the inlay you're making. So instead of cutting these excruciatingly small pieces, you can work BIG, and get an extreme level of precision with the resulting inlay elements. Here's how it starts. Using the rose art that Ken sent me, I made a 500% scale positive and negative pattern, cut out of sheet plastic.  It took a couple days of trial and error to get the ratios between the hand-operated stylus (shown below), the tiny endmill cutter, and the percent scale the machine was set to. 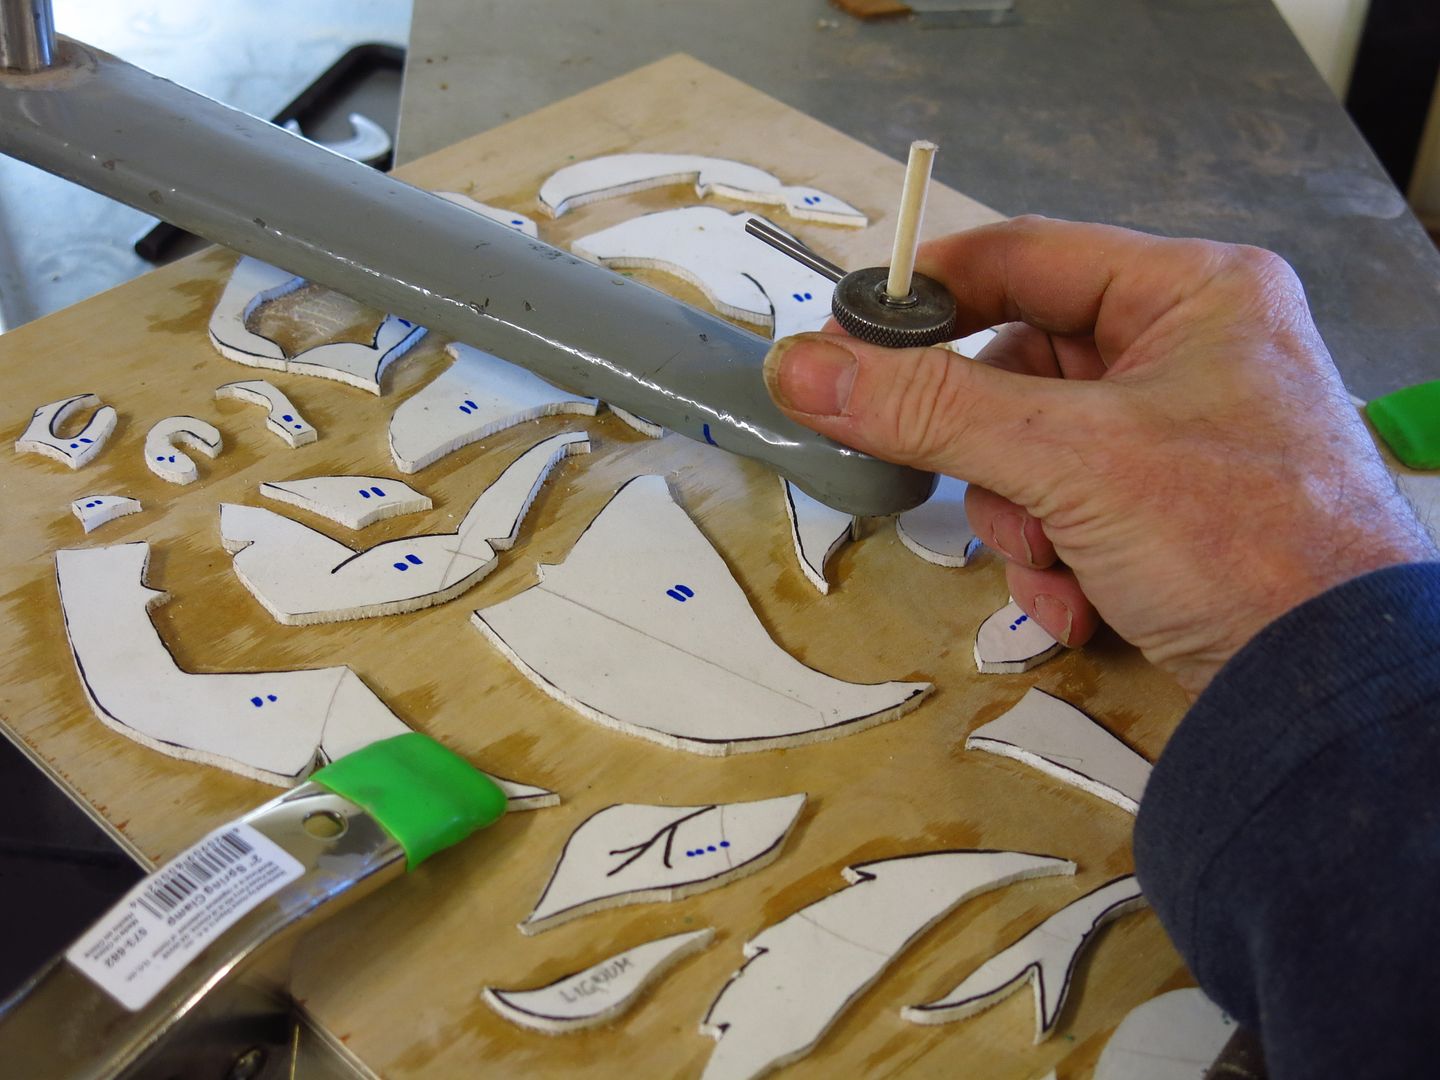 In the beginning I was having trouble because the parts of the rose fit so perfectly together, there was no delineation, and the whole composition kinda blurred together. So, I had to find a ratio that made the parts loose enough to be able to rub some ebony dust into the jigsaw-puzzle composition, and get some line definition. Here's a close-up of the cutter, motoring out some rose leaf parts:  It took three days to finally get everything dialed in. I was getting pretty nervous for awhile there, but Aaron calmed me down, saying, "You've done some great inlay on this machine before, and you can do it again!" And since I flew all the way across the country to do this, failure was not an option. Finally, I was able to crank out five versions of the rose, using different wood combinations. This is the one we finally decided to use on the Blackwood Rose guitar:  ...And here it is again, installed in the guitar back. It is not 100% finished yet- I am going to do some subtle shading on the rose, using a pyrography (wood-burning) tool. That will happen after the sound box has been fine-sanded up to 320 grit- just before the lacquer finishing. If I did it now (sanded to 150 grit), I would sand off the shading as I move through the finer grits. 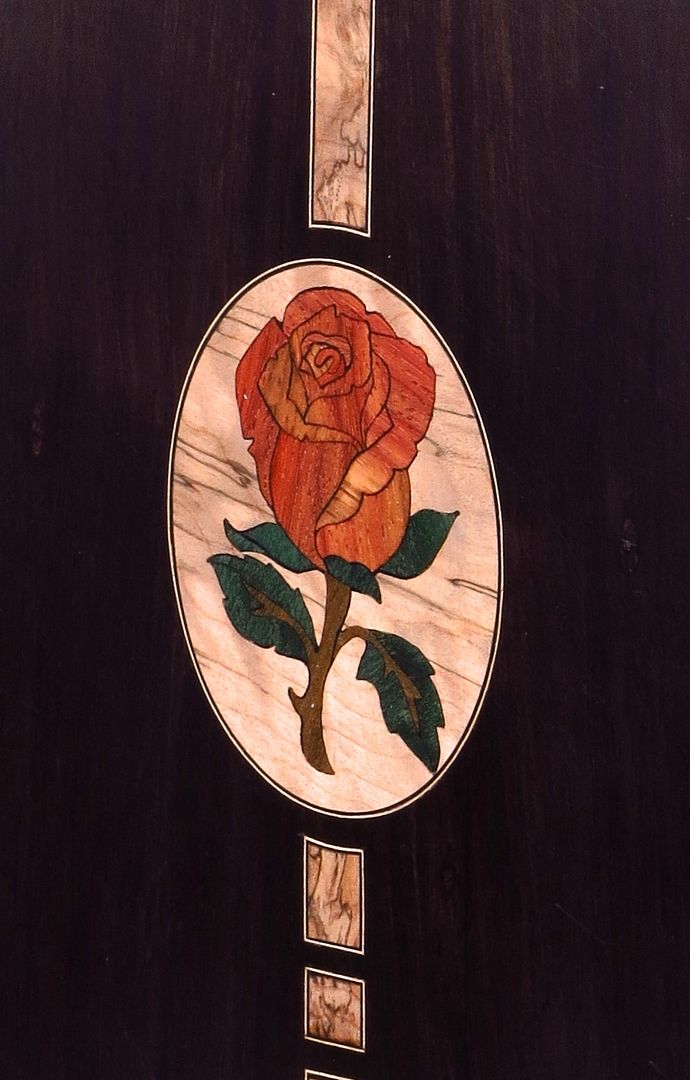
__________________
Edwinson |
|
#48
|
|||
|
|||
|
That was an interesting post.
|
|
#49
|
|||
|
|||
|
That's gotta be the coolest machine sense the Flux capacitor on the DeLorean . WOW ! That's incredible, thanks for sharing
|
|
#50
|
||||
|
||||
|
Here are a few shots in Aaron's shop. He has the most lust-worthy collection of planes and chisels- and he knows how to use them!
  Aaron's got a lot going on right now. We need to get him to update the thread on these four guitars he's making. 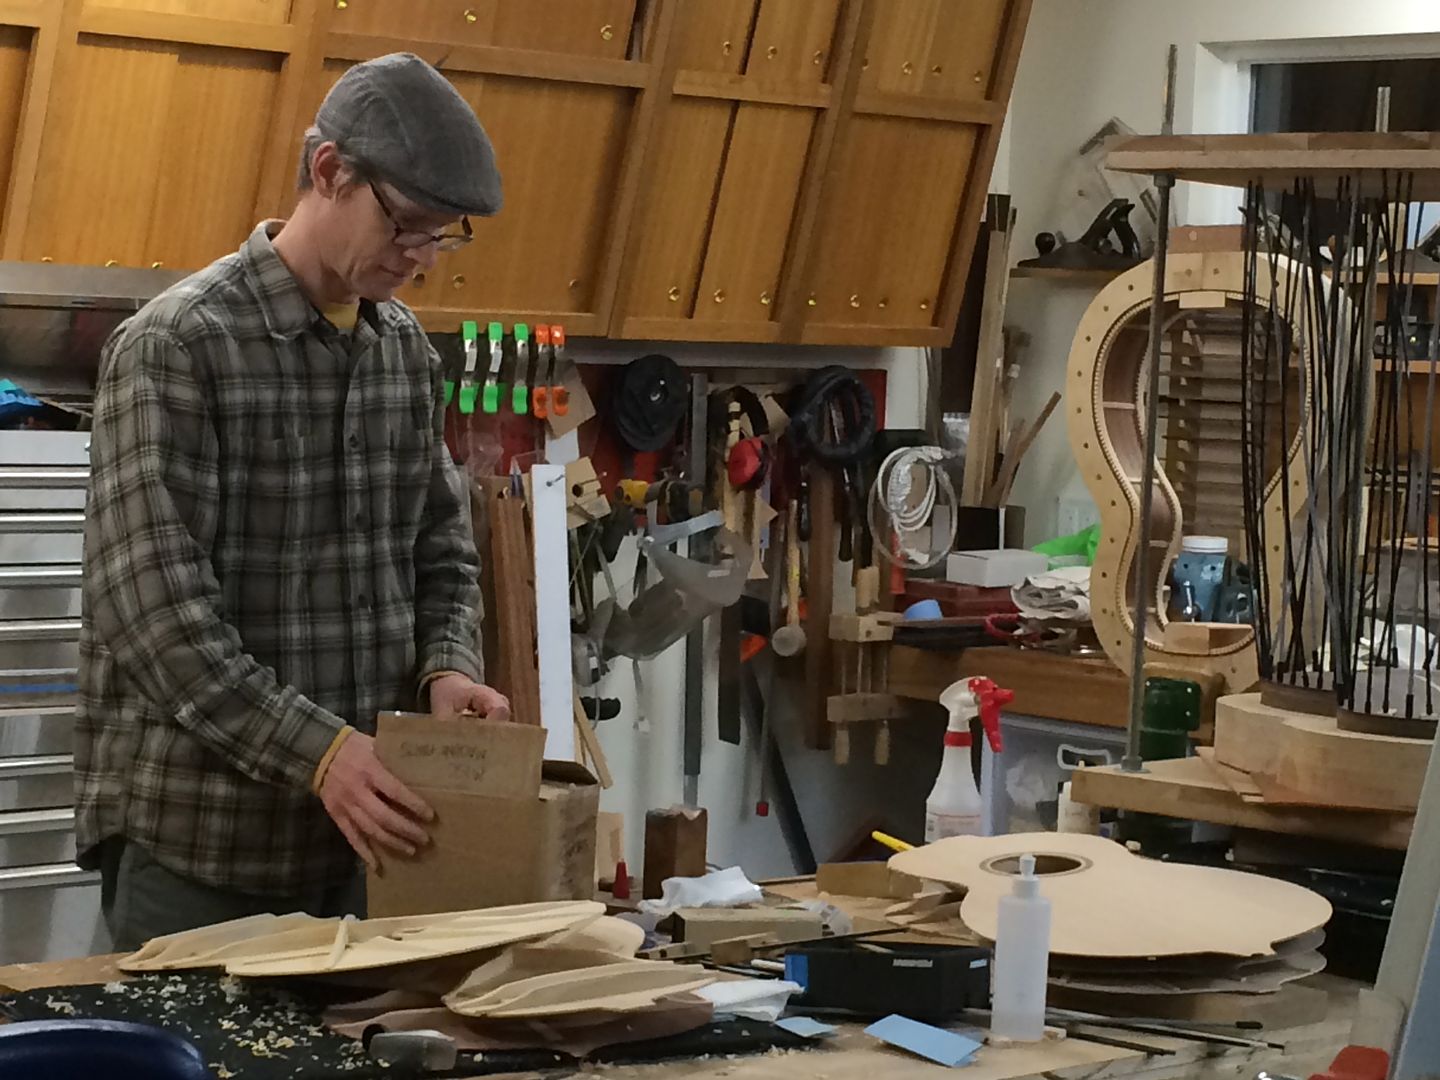 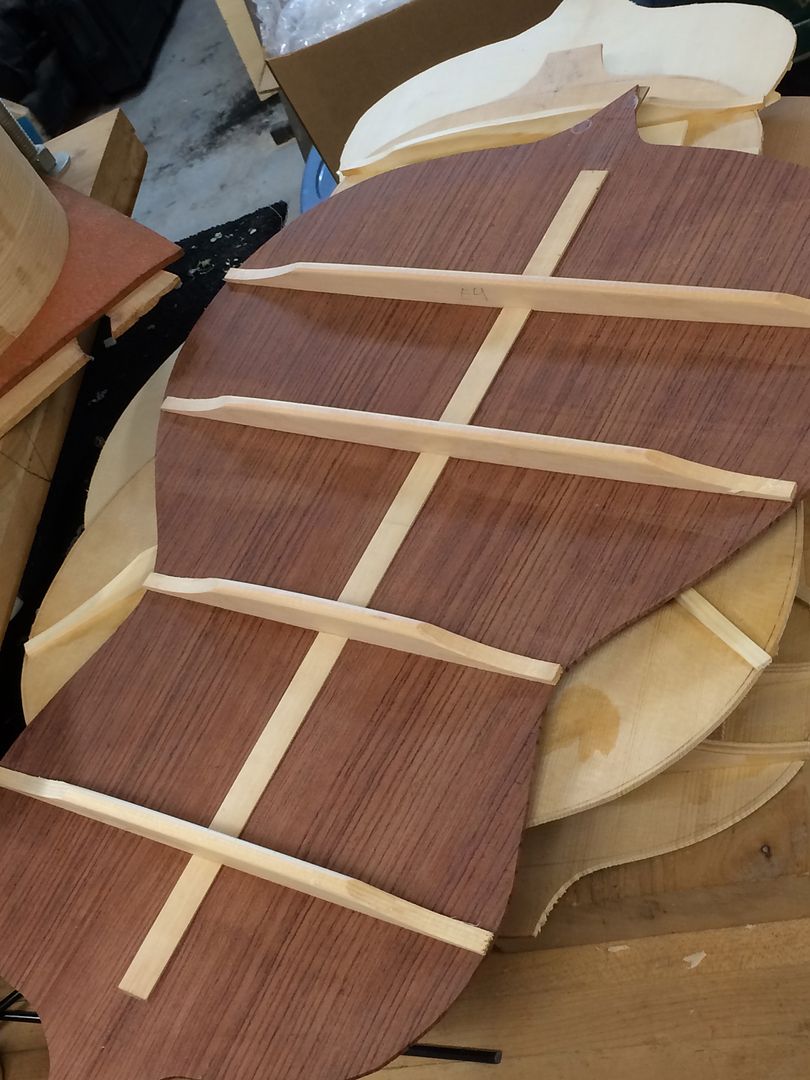 
__________________
Edwinson |
|
#51
|
||||
|
||||
|
Steve, great story on the inlay. I used to see inlays like that available commercially--catalogues like Constantine's--and erroneously thought you had purchased that. But no...you made that. Wow, that's fantastic!
I hope you do get permission to bring this to Memphis. It would be a joy to see such fine work. Steve |
|
#52
|
|||
|
|||
|
That's pretty dang cool.
|
|
#53
|
|||
|
|||
|
Give me a jingle next time you come out. I'll buy you a pizza.
Tony |
|
#54
|
||||
|
||||
|
Wow, that is pretty good service. I looked on your website at options and I could not find the upcharge for flying 3000 miles to make a personalized insert. I wish you would show more devotion to your work Steve!!!
  
|
|
#55
|
||||
|
||||
|
Hey, Tom, I flew out to Seattle to do this inlay work in Aaron's shop solely out of selfish motivations- preserving my fragile sanity! Fortunately, it turned out well, and I am still relatively sane.
That said, when I told Ken about the plan, he provided a generous "research and discovery" stipend, an unexpected, but deeply appreciated bonus. Tony, I wish I had time during the Seattle excursion to see you and a bunch of other friends; but the way it worked out, I spent nearly all my time out there hunched over the Gorton machine, cranking inlay! I figured, while I was at it, I should also stock up on some of my standard stuff, like headstock logos, etc. Next time I come out to Seattle, it's going to be pleasure before business, hopefully. Hope you are well, prosperous, and happy these days!
__________________
Edwinson |
|
#56
|
|||
|
|||
|
Steve gave me some hard choices for the Rose.
https://docs.google.com/file/d/0B4MT...p=docslist_api https://docs.google.com/file/d/0B4MT...p=docslist_api https://docs.google.com/file/d/0B4MT...p=docslist_api https://docs.google.com/file/d/0B4MT...p=docslist_api https://docs.google.com/file/d/0B4MT...p=docslist_api I liked 1 and 5. I selected 1 for the color, but I do like the etching on 5. Steve preferred 1, and I defer to him on esthetic choices. What would you have selected? |
|
#57
|
||||
|
||||
|
No question.....
Number one is my choice. Good call!!! |
|
#58
|
||||
|
||||
|
I'm a bit overdue for an update on the Blackwood Rose. I am just about to begin the lacquer work; it's a BUILT guitar. And mighty pretty to gaze upon, if I do say so myself. I just sent some photos to Ken as well, and he agrees!
But first, let's go back and show a few photos of the neck construction. This is a 25.5" scale, thirteen-frets-to-body, with Pogoda style slotted headstock, 1 13/16" nut width, 2 1/4" string spread. The neck woods are some gorgeous, very hard, dense African Mahogany, with a flamed Maple center lam, bordered by black veneer lines. The fingerboard, and front and back headstock plates are Ziricote; the FB and front headstock are purfled with Tahitian Black Pearl, to match the sound board. Here's a shot of the front head plate being glued on: 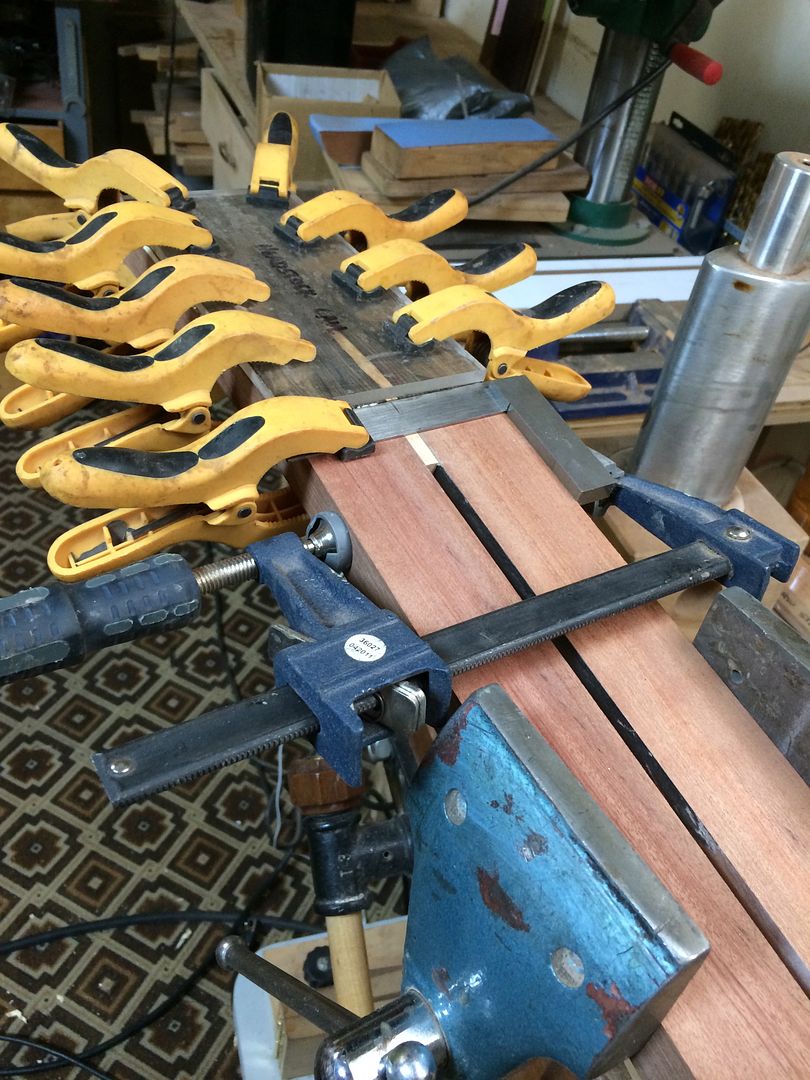 As I mentioned earlier in this thread, I am not an inlay specialist. To me, doing complicated inlay is often much like having oral surgery without anesthesia. Fortunately, there are other people who create brilliant inlay work; and in this case, Ken and I decided to include a beautiful Rose inlay on the fingerboard, source of provenance being Andy DePaule and the mind-blowingly talented Vietnamese artists who work for him. This rose is far finer than anything I could come up with myself- do you agree? It's cut from Paua, Black MOP, and Bronze MOP. Here it is, sitting on the Ziricote FB before implantation:  I have put a layer of heavy duty clear packaging tape on top of the inlay to hold all the parts together while I scribe the outline into the fingerboard.  ...And here it is, installed. I would like to link you to a video on Andy's website that shows the artists at work in the Vietnam shop. I am just astounded by the talent and skill of these artists. Everything is made entirely by hand- no computers, lasers, CNC, or any of that. These guys even make their own tools. Check it out: http://www.luthiersupply.com/OurShop.html And while you're there, watch this slide show of workshop culture: http://www.luthiersupply.com/SlideShow120511/index.html Now, it's time to start building the neck.  The headstock has been routed to shape and the tuner post holes drilled, using this drilling jig I made. Looks crude, by it's actually very accurate. 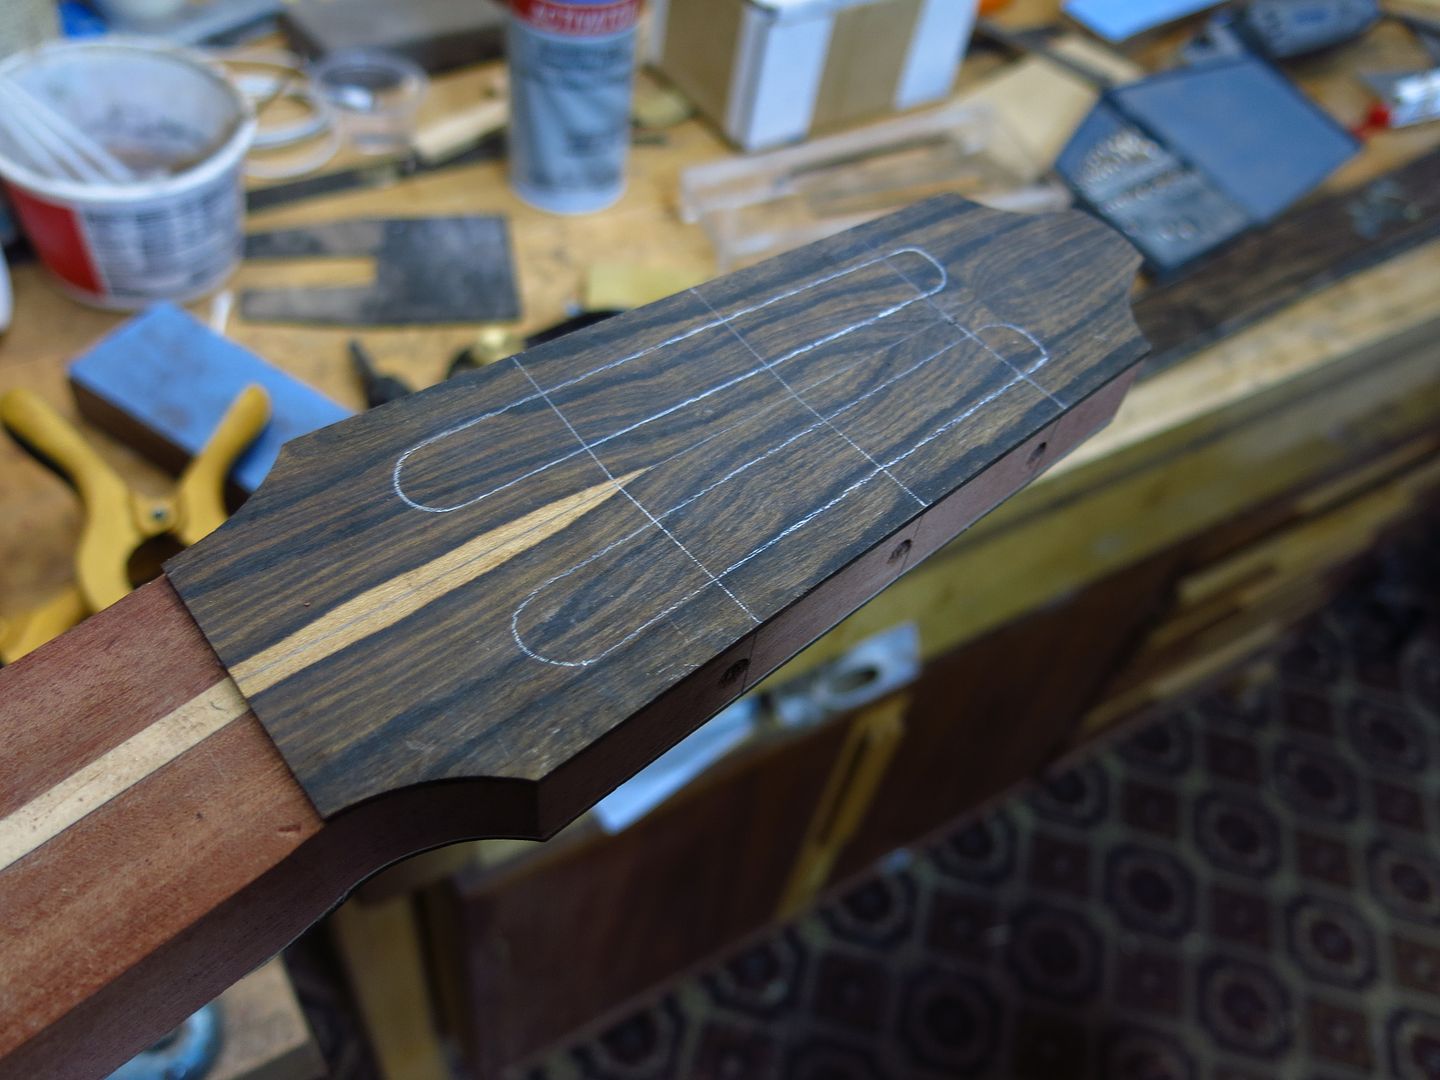 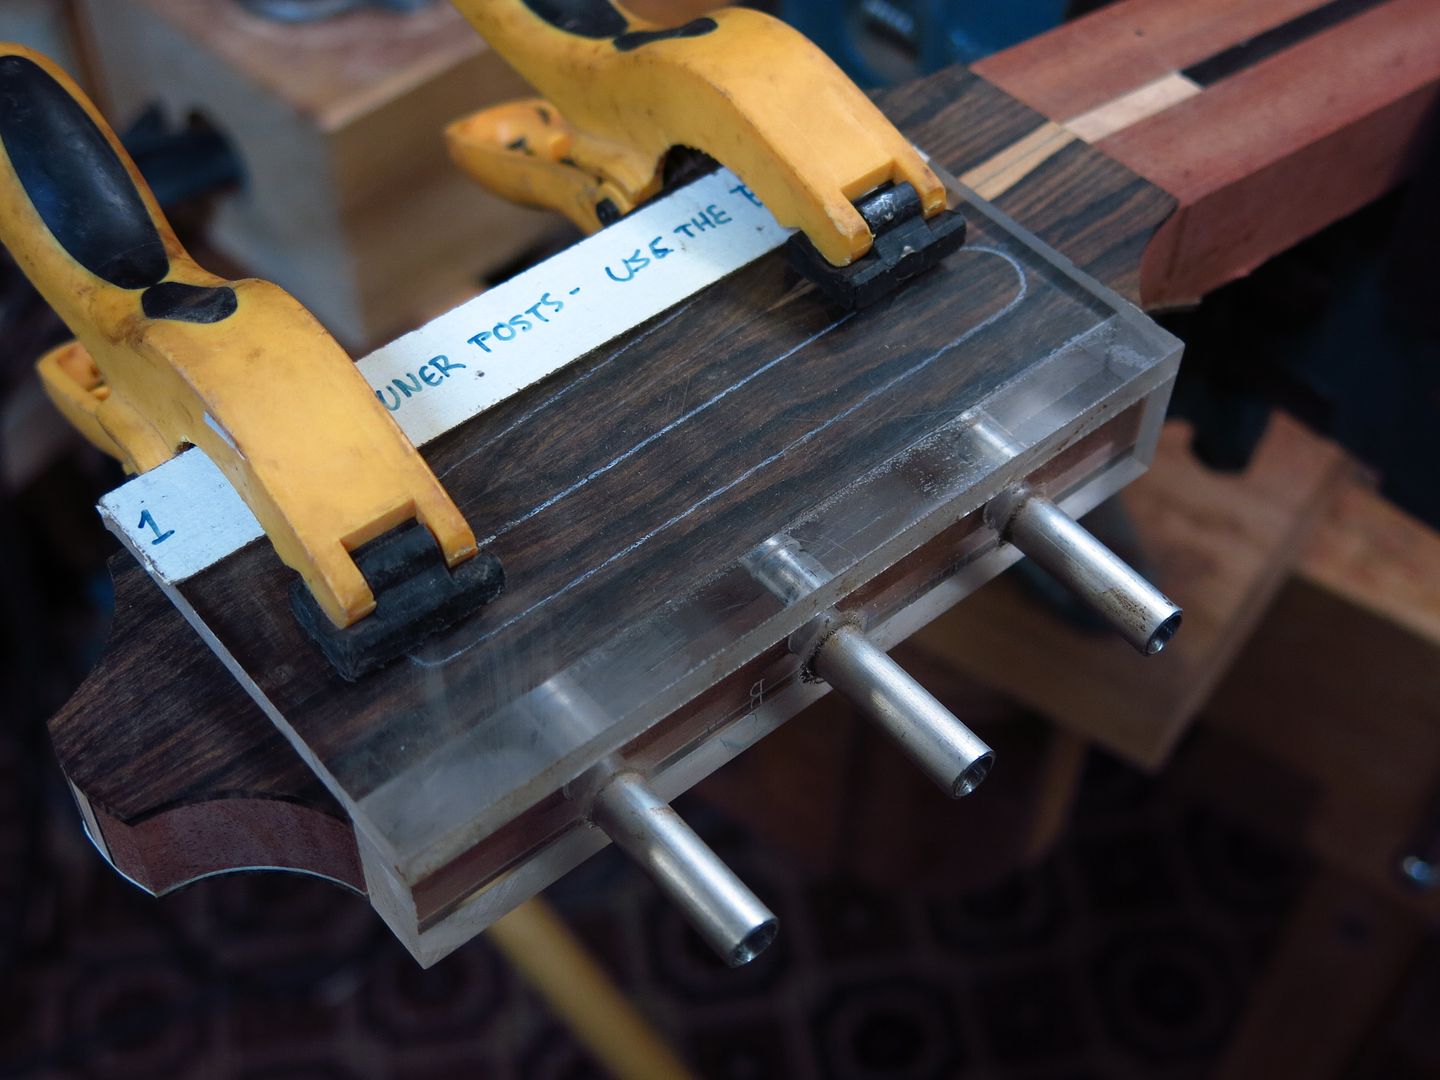 Next, I cut the slots with this shop-made routing jig. I use a 3/4" top-bearing, flush-trim pattern bit, and I need to make two passes at successive depths to get all the way through.  And here ya go- the tricky parts are done! 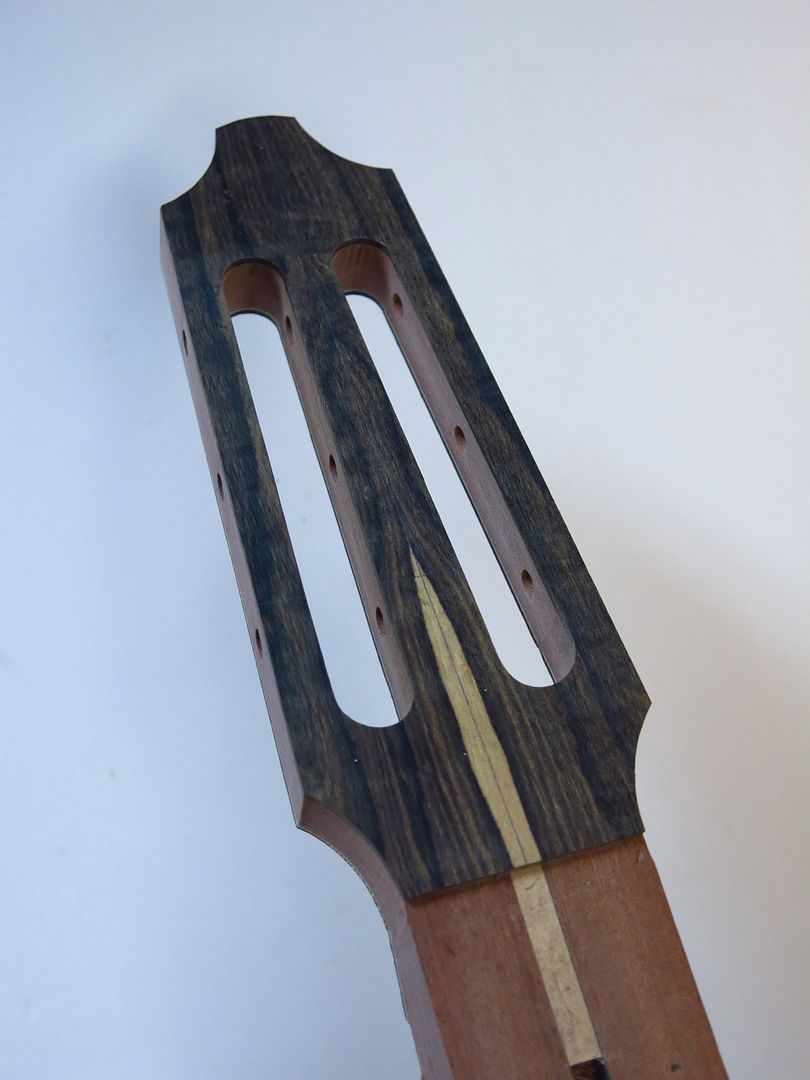 Okay, I'm being summoned to dinner. More soon- thanks for looking!
__________________
Edwinson Last edited by theEdwinson; 03-24-2015 at 09:46 PM. |
|
#59
|
||||
|
||||
|
Steve,
I keep this thread in an open tab on my iPAD, and check it every day for an update. Thanks for the fix...I can go to sleep a contented man tonight, and I'll sleep like a baby.  Beautiful guitar that I look foward to seeing under a finish. |
|
#60
|
||||
|
||||
|
Hey thanks, Joel Wood Knot! I'm doing a slow reveal here. I shot all these pictures- might as well do something with them. ;-}
Back to the neck. I have a system for roughing in the neck shaft to within 1/16" of final thickness, tapering 1/8" thicker from first fret to tenth fret. It saves me a lot of carving time, and it's so easy to carve the neck nice and flat longitudinally, when the shaft is accurately carved to spec. This jig makes that easy. The neck jig is a two-part deal. First, there's the neck holding jig that I clamp into my bench vise for the major carving and shaping. This thing works so well, I think I ought to patent it. I can swivel it any which-way in my Parrot vise, for a good angle to work; nothing is in the way of anything. The neck holding jig will then fit into a cradle, which holds the neck securely for the Saf-T-Planer operation. The cradle is built so it automatically sets the neck shaft to that 1/8" taper. The two parts of this jig have really streamlined my neck making process, and this is now one of my favorite parts of the guitar making enterprise. On days where I'm carving necks, I jump out of bed in the morning, eager to get goin'. Here's the looming Saf-T-Planer, chucked into my drill press. This cutter is used to hog off the fat from the neck blank. Let the woodchips fly! 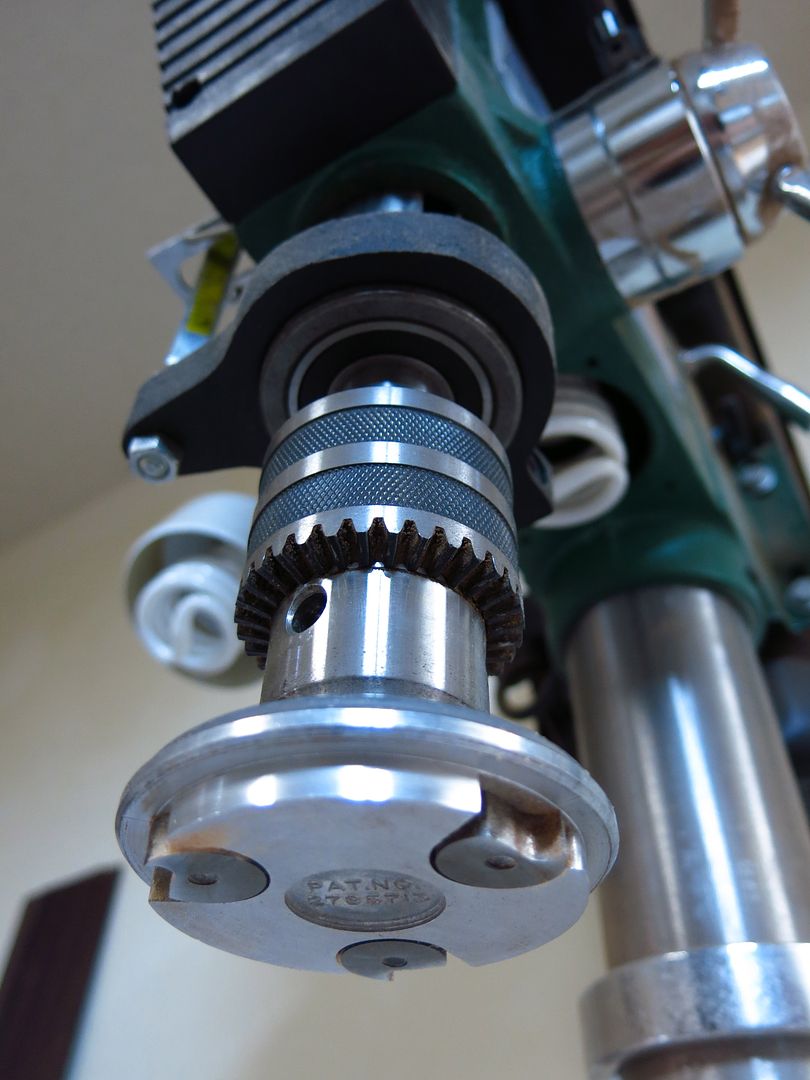 http://www.luthiersupply.com/SlideShow120511/index.html 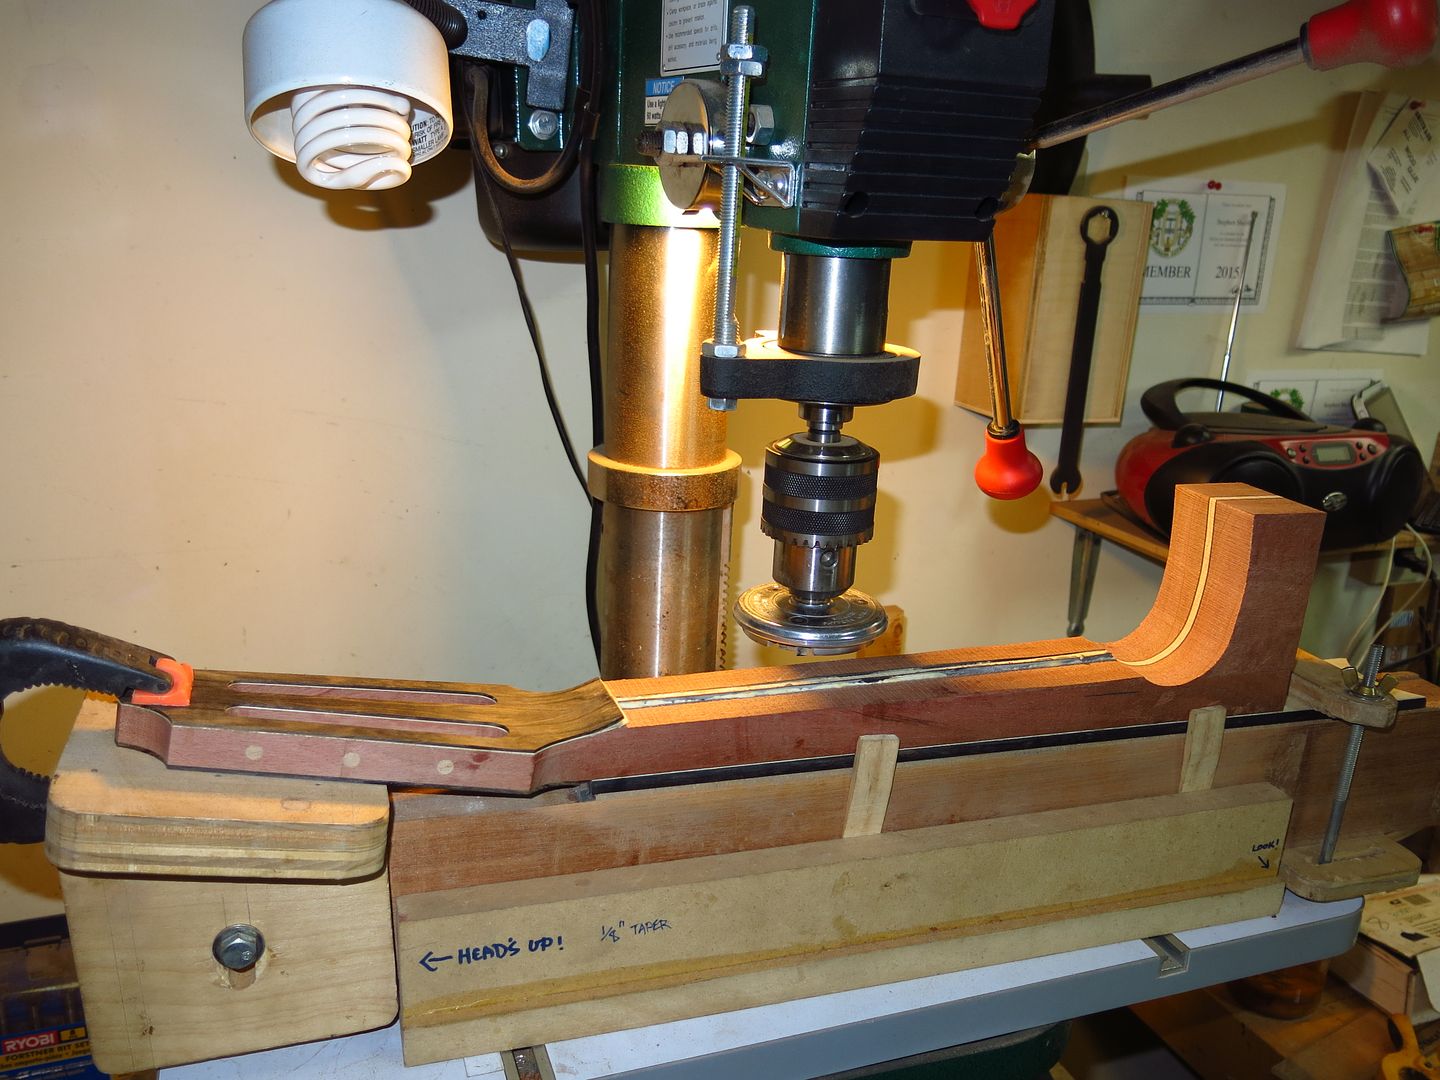 Here's the neck after the Saf-T-Planer hog-off-the-fat session. Basically ready for the hand tools. Spokeshave and cabinet rasps trim off all the remaining fat. 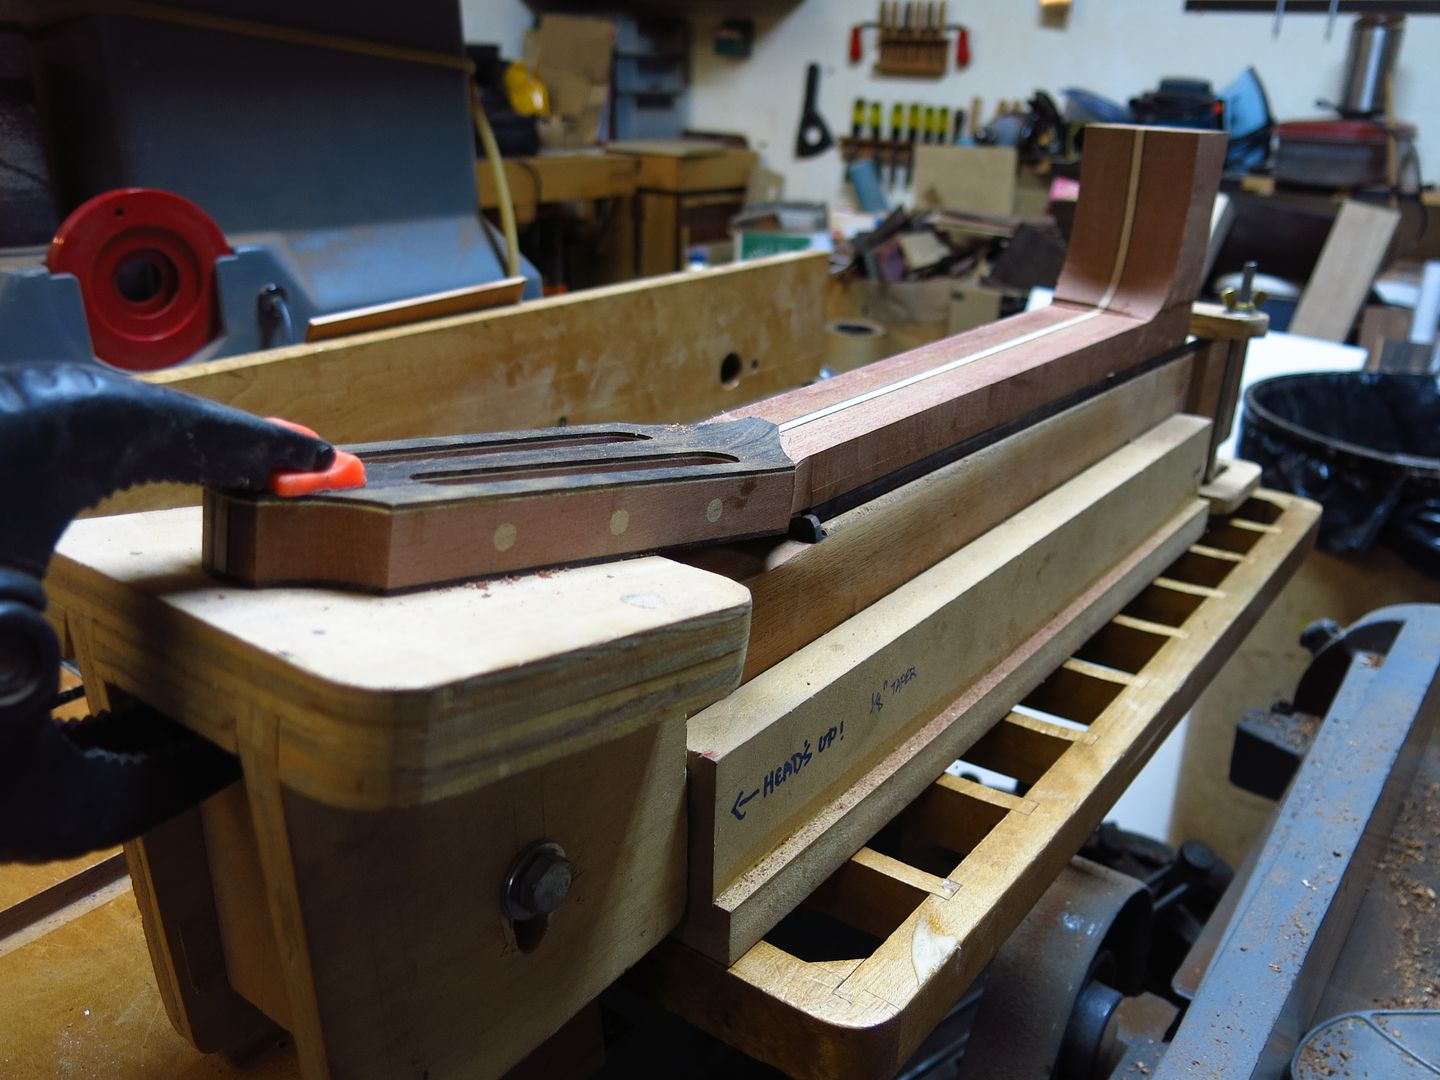 ...And this is a good time to purfle and bind the headstock. I was just thinking earlier- I have only ever made one unbound headstock, out of ninety three guitars so far. The bound headstock is the standard issue around here.   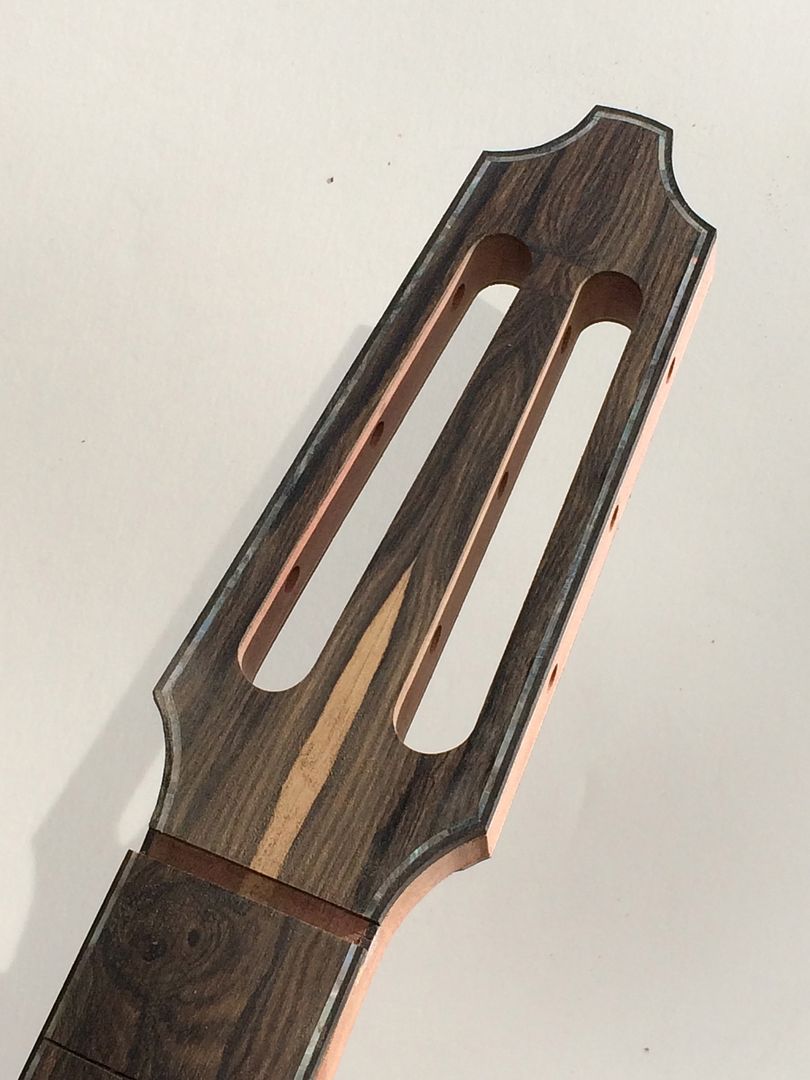 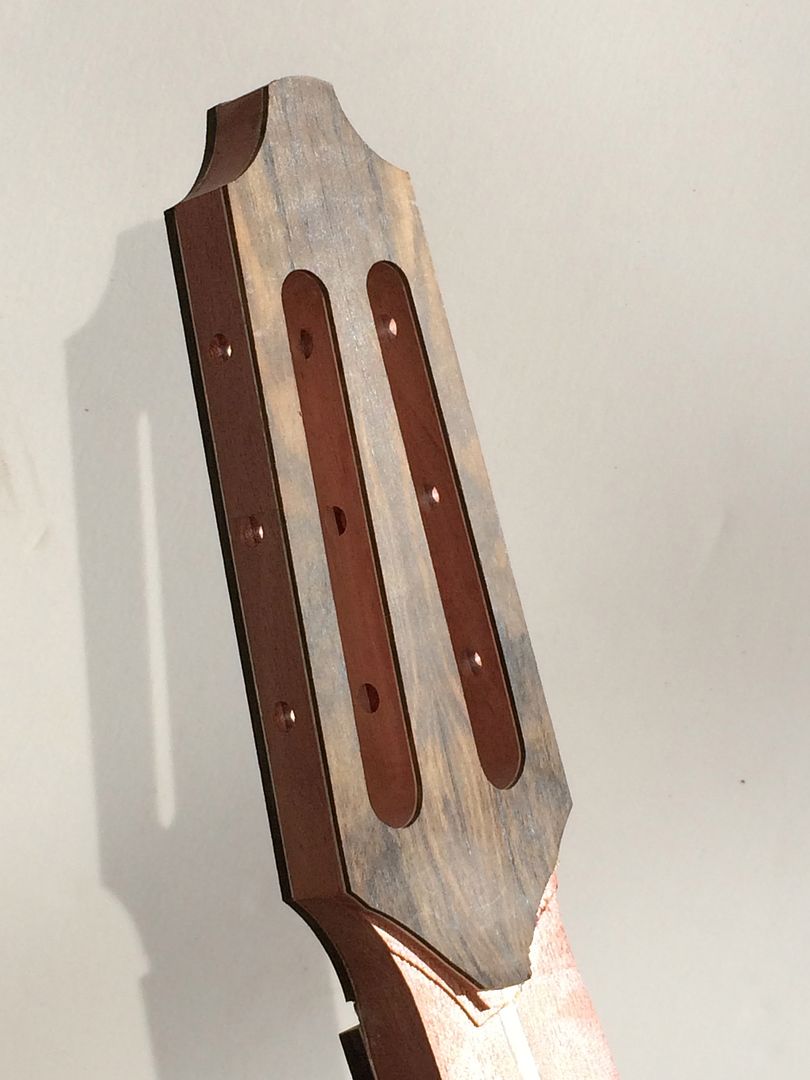 Next, the logo inlay for the headstock. I have a black pearl "E", and it's encircled by a copper ring, .025" thick. The cavity around the "E" will be filled with a mastic of clear epoxy, powdered copper, superfine Blackwood dust, and a red mineral pigment. Here it is before filling in: 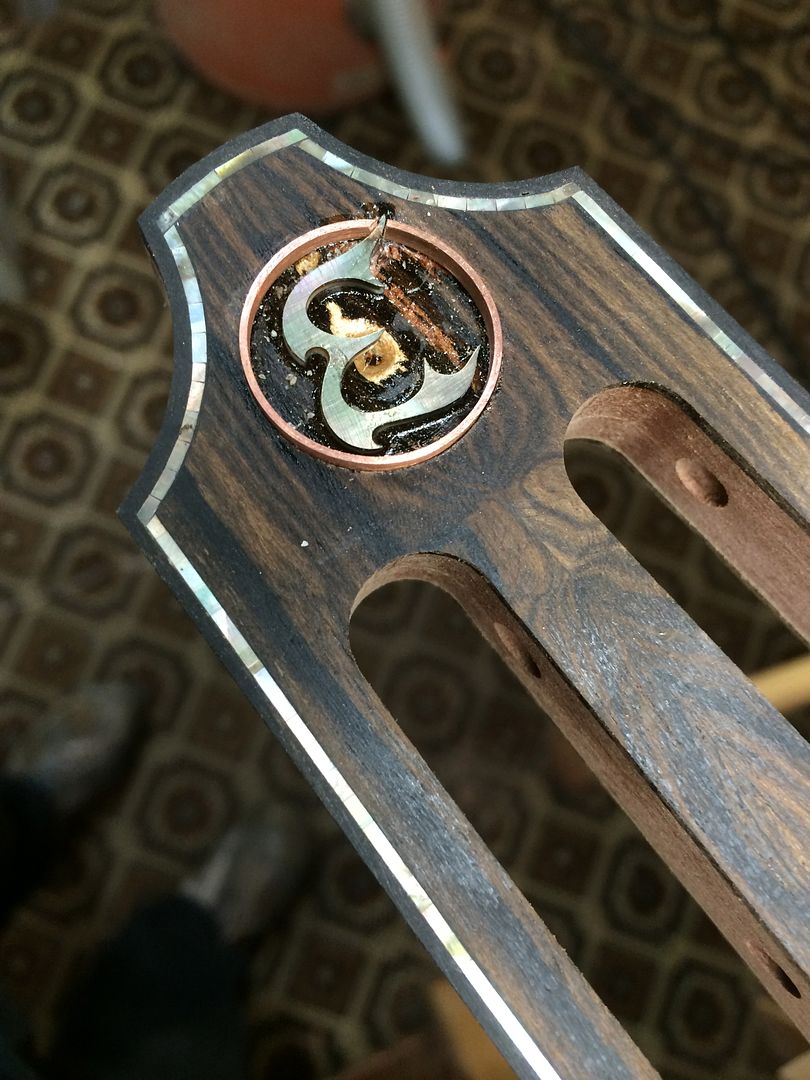 And here's the finished headstock, front view: 
__________________
Edwinson |