The Acoustic Guitar Forum

Go Back   The Acoustic Guitar Forum > General Acoustic Guitar and Amplification Discussion > Build and Repair

Reply
 
Thread Tools
  #1  
Old 03-07-2016, 08:01 AM
Dodo-Lurker Dodo-Lurker is offline
Registered User
 
Join Date: Feb 2016
Location: Finland
Posts: 20
Post Renaissance Martin build

I've wanted to start this build for a while now, but the planning process for this one took a bit longer than usual, because of how rare this guitar is and how little reference material there is (HUGE thanks to Robert Corwin and his site: http://www.vintagemartin.com).

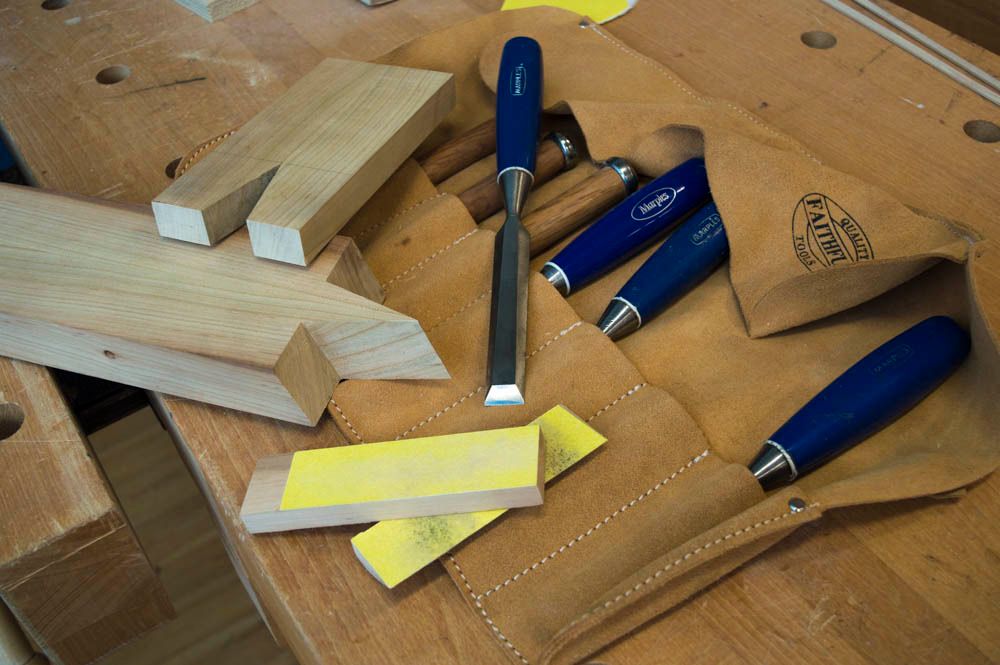
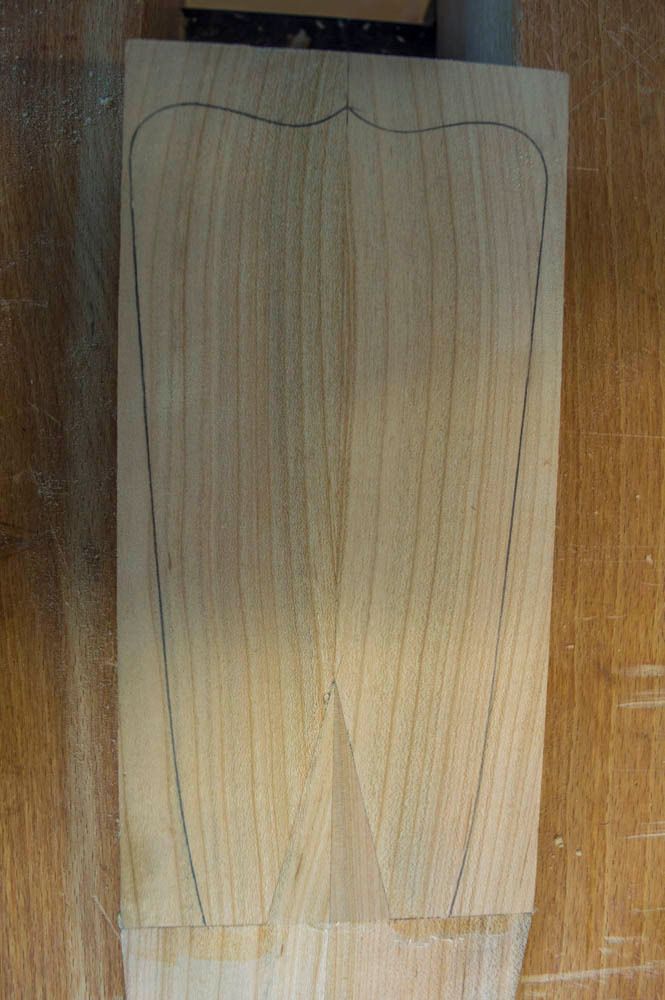
This won't be a 100% accurate copy, mostly because I just can't get that level of detail without inspecting the actual instrument, but also because I can't/don't want to use some of the materials that were used in the original (i.e. Brazilian rosewood and ivory), but the shape, bracing patterns, decorations and the dimensions will all be the same, or as close as I can get them. This is also going to have a slotted headstock with "regular" tuners, instead of the friction tuners that are in the original. I will also try to do this mostly with hand tools, but most of the rough work I'll be doing with power tools.

I have a feeling that this is going to be a slow build, but then again, I think the same thing at the beginning of every build, so we'll see. So far, I've got the plans almost completely drawn and I finished making the mold for the sides. I've also purchased all the wood I'll need for this (spruce top, cherry back and sides and ebony fingerboard, bridge and headstock veneer).

This is my first post on this site, but if you want to see my previous builds, you can view them at TDPRI (http://www.tdpri.com/search/6319/), I'll be posting this same build there as well.
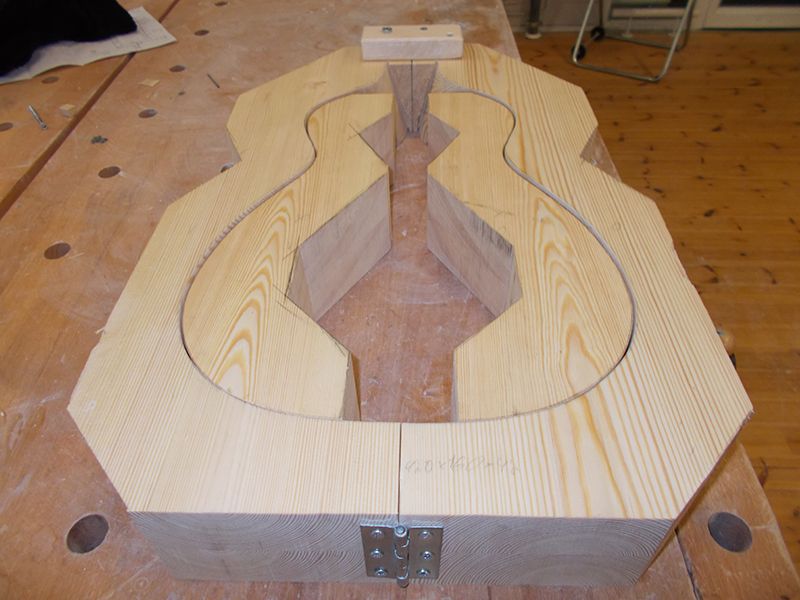
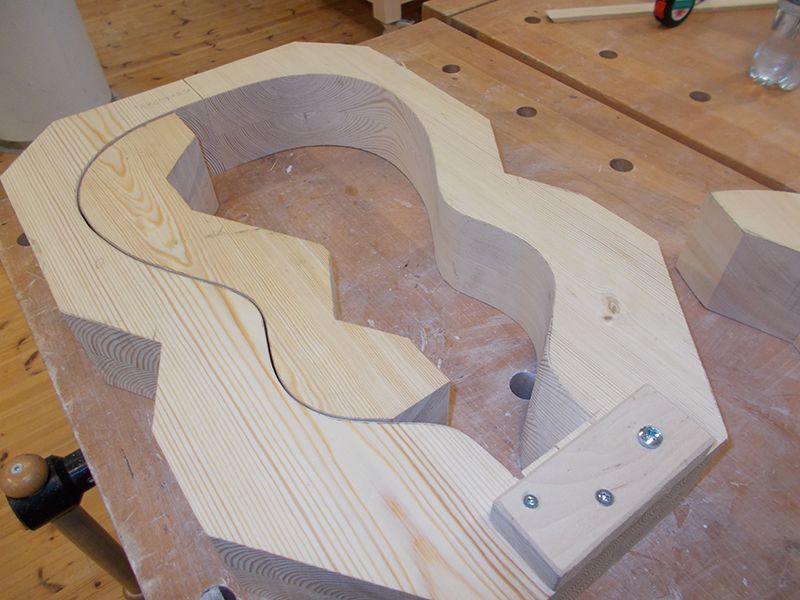
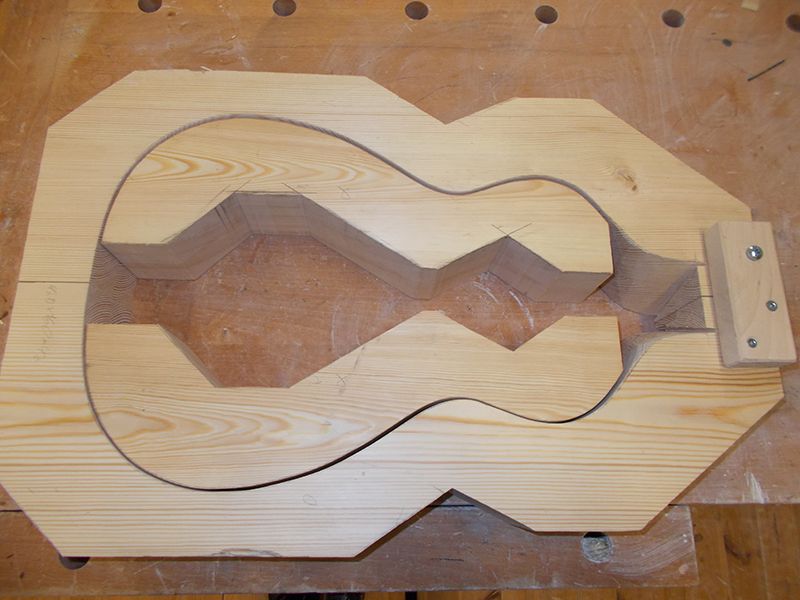


Reply With Quote
  #2  
Old 03-13-2016, 07:44 AM
Dodo-Lurker Dodo-Lurker is offline
Registered User
 
Join Date: Feb 2016
Location: Finland
Posts: 20
Default

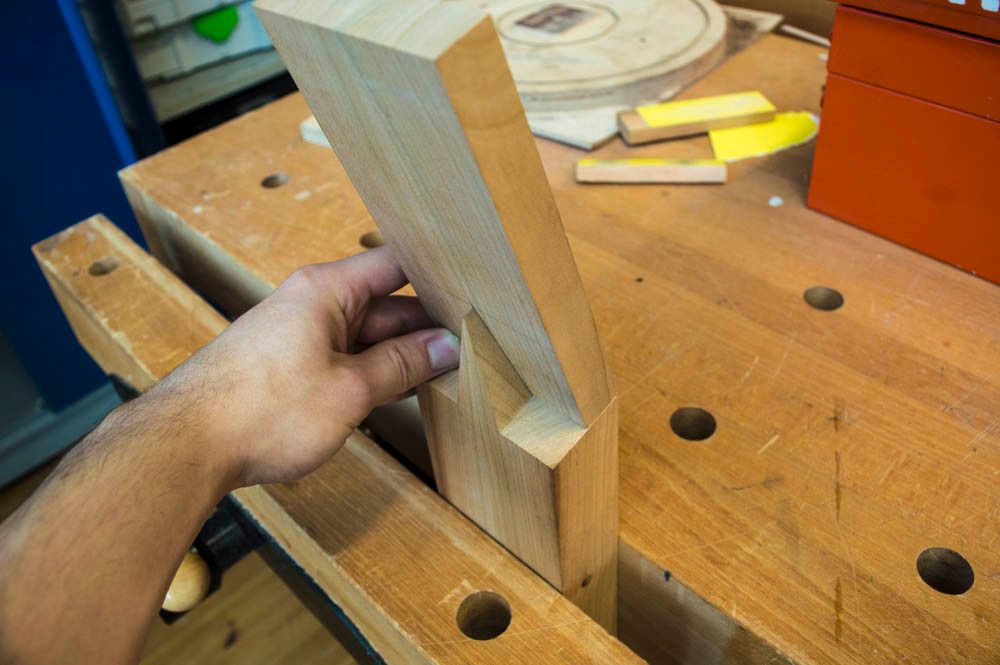
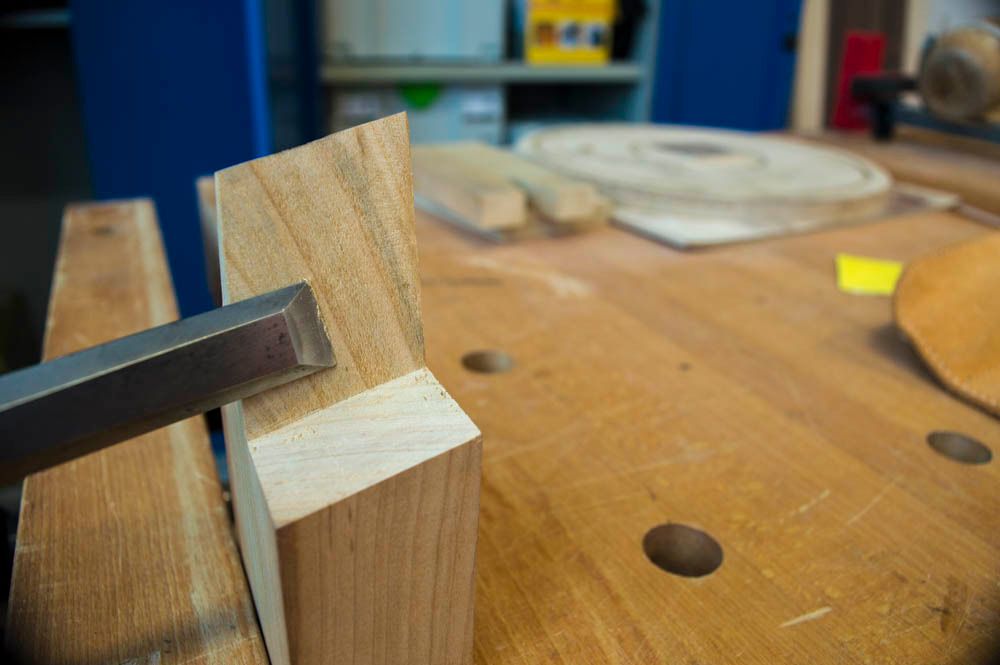
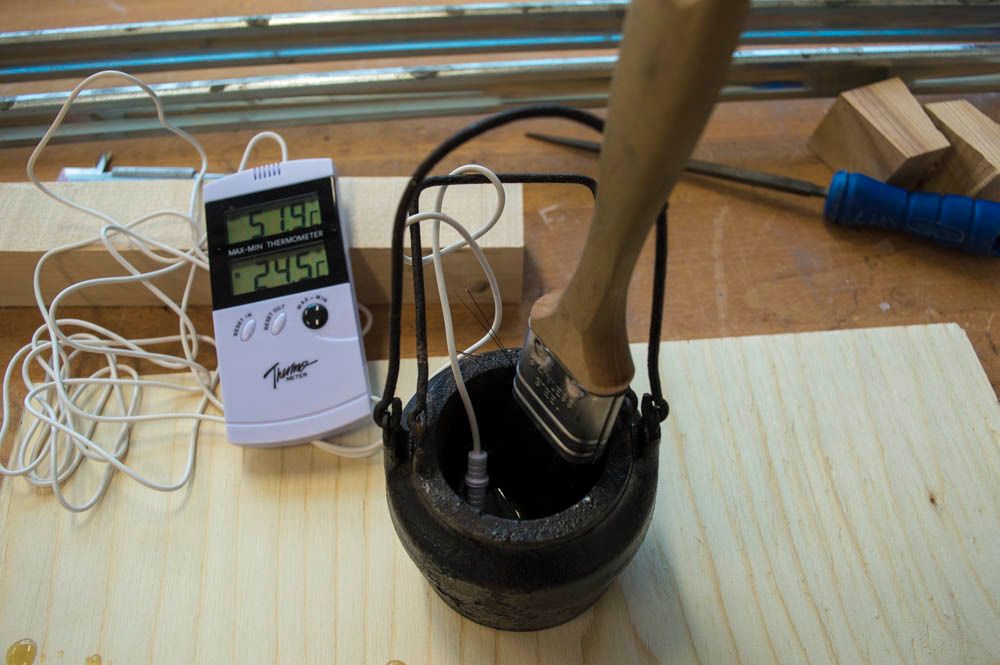
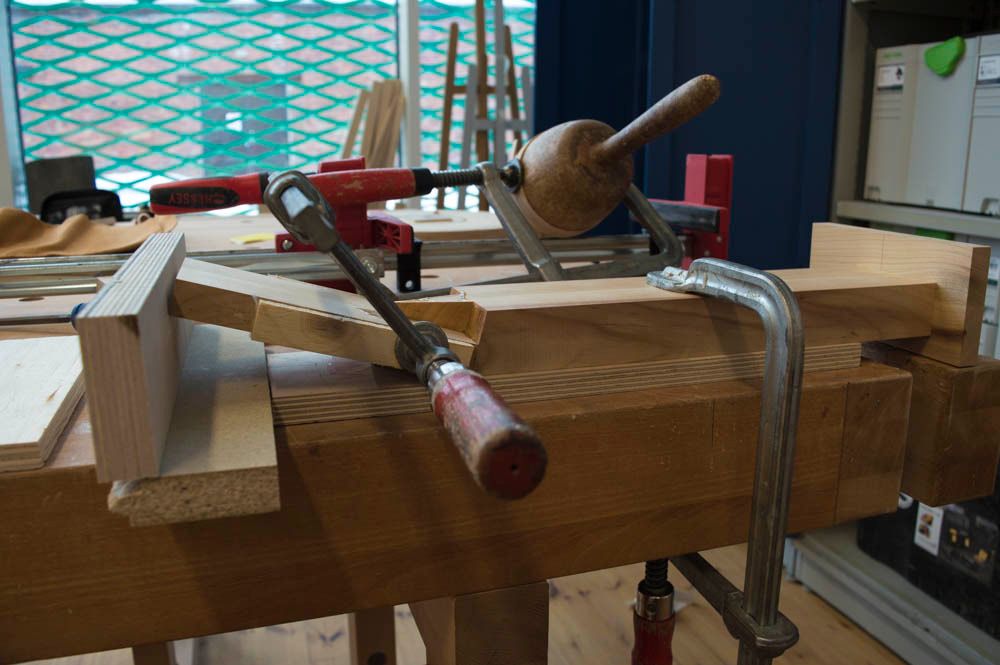
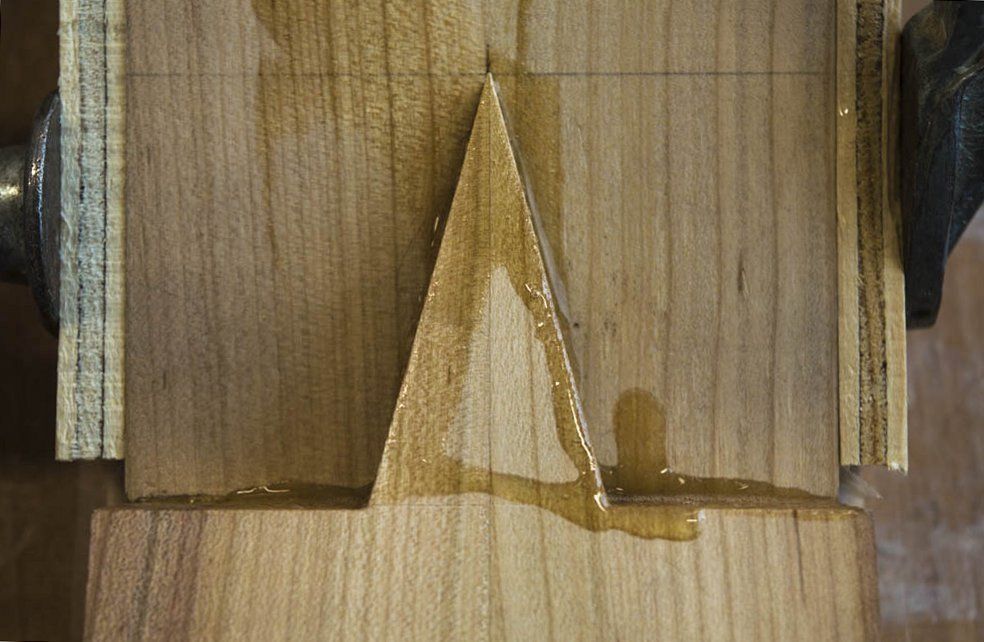
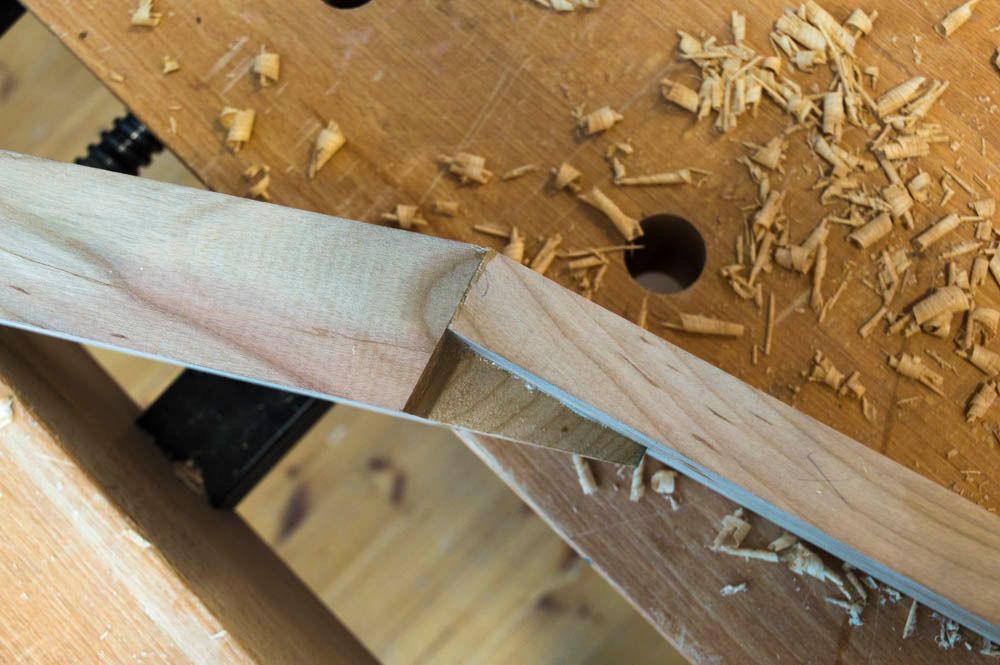
I made the neck out of two pieces (plus the heel at some point), because the cherry I used was flat sawn, so by making the neck out of two pieces, I was able to orient them so that the grain is going upright in the neck. After I had the neck blank all squared up, I made the V-joint that connects the neck and the headstock. After a lot of chisel work and sanding, the joint was ready to be glued. I should mention that all the glue I'll be using in this build will be animal glues, so far only hide glue.


Reply With Quote
  #3  
Old 03-15-2016, 02:01 AM
Dodo-Lurker Dodo-Lurker is offline
Registered User
 
Join Date: Feb 2016
Location: Finland
Posts: 20
Default

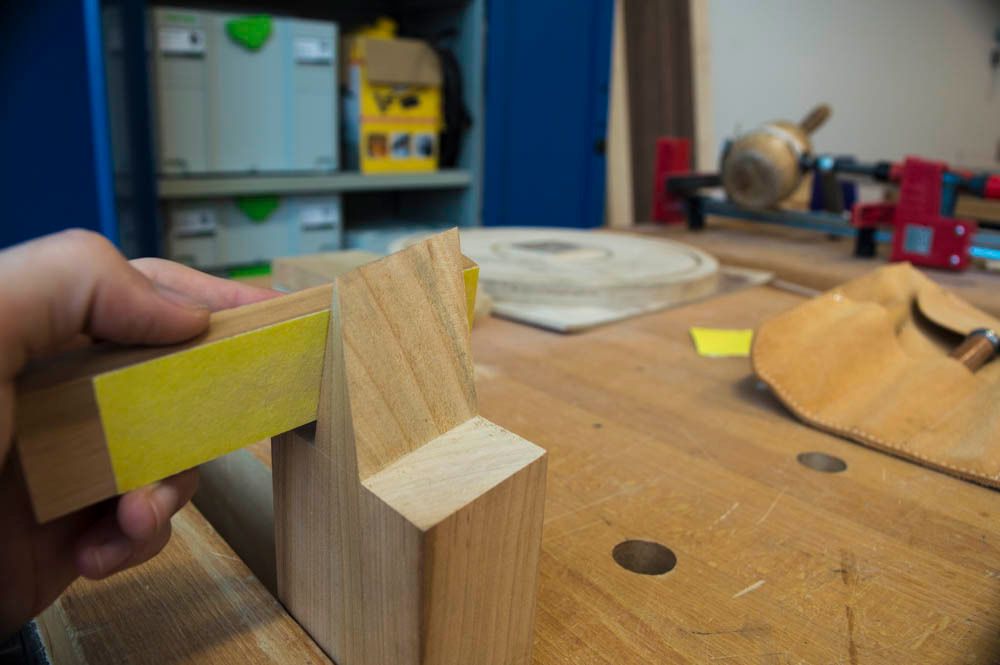
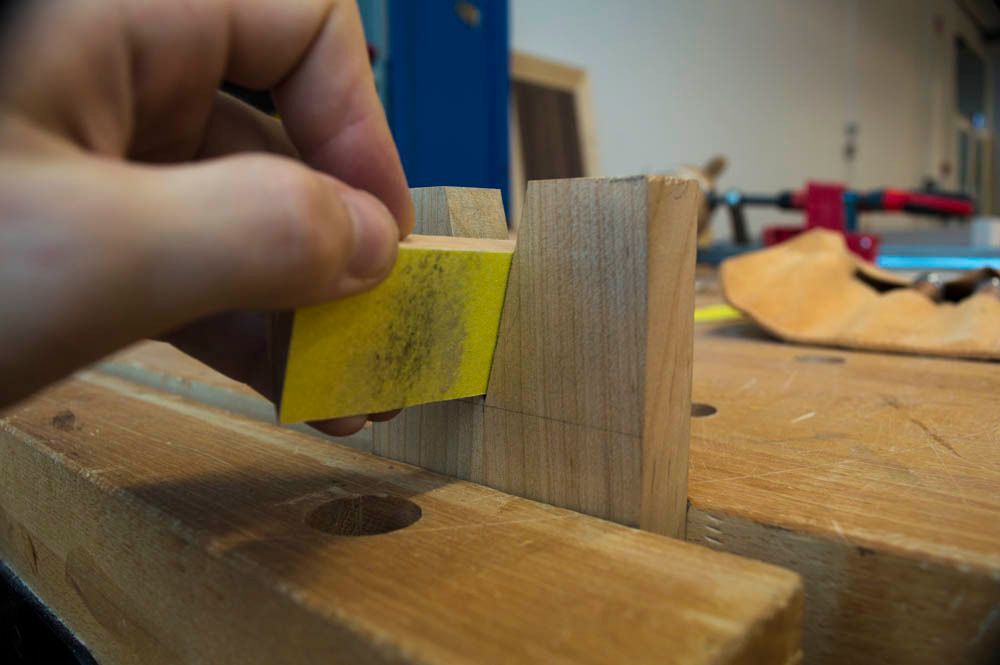
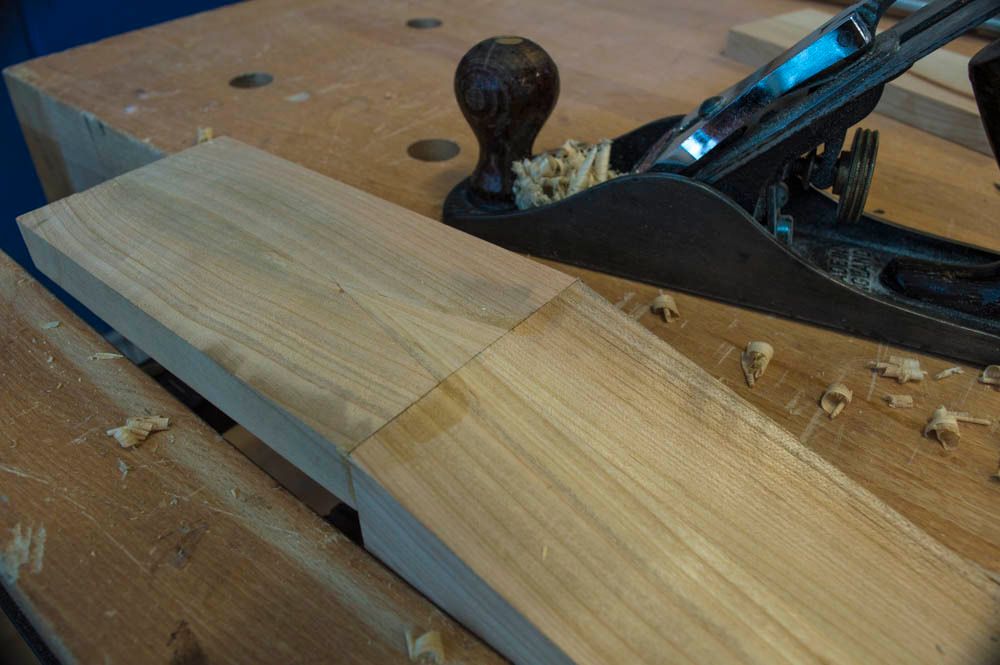
Not much progress today. Planed the upper part of the V-joint level with the headstock, and sanded it smooth.


Reply With Quote
  #4  
Old 03-15-2016, 01:37 PM
arie arie is offline
Registered User
 
Join Date: Jun 2009
Posts: 2,728
Default

interesting..
why did you make the headstock out of two pieces?
Reply With Quote
  #5  
Old 03-15-2016, 05:49 PM
Minexploration Minexploration is offline
Registered User
 
Join Date: Apr 2015
Posts: 60
Default

I checked out your other builds on the teli forum cool stuff. Looking forward to this one.
Reply With Quote
  #6  
Old 03-15-2016, 11:17 PM
Dodo-Lurker Dodo-Lurker is offline
Registered User
 
Join Date: Feb 2016
Location: Finland
Posts: 20
Default

Quote:
Originally Posted by arie View Post
interesting..
why did you make the headstock out of two pieces?
I cut the neck blank at the end to make the headstock, so that the grain would mach up nicely. I also don't think it would've looked that great if the neck was made out of two pieces, but the headstock wasn't.

Quote:
Originally Posted by Minexploration View Post
I checked out your other builds on the teli forum cool stuff. Looking forward to this one.
Thank you!
Reply With Quote
  #7  
Old 03-16-2016, 09:20 AM
arie arie is offline
Registered User
 
Join Date: Jun 2009
Posts: 2,728
Default

ok. what's your opinion of the string tension on the two piece headplate with the glue joint running down the middle?
Reply With Quote
  #8  
Old 03-17-2016, 12:02 AM
Dodo-Lurker Dodo-Lurker is offline
Registered User
 
Join Date: Feb 2016
Location: Finland
Posts: 20
Default

Quote:
Originally Posted by arie View Post
ok. what's your opinion of the string tension on the two piece headplate with the glue joint running down the middle?
This is going to get synthetic gut strings, so the string tension is lower than with steel strings. There's also no real danger of the string tension affecting the glue joint anyways. It will also get an ebony headstock veneer, which will make the joint even stronger.
Reply With Quote
  #9  
Old 03-17-2016, 12:32 PM
murrmac123 murrmac123 is offline
Registered User
 
Join Date: Dec 2008
Location: Edinburgh, bonny Scotland
Posts: 5,197
Default

Quote:
Originally Posted by Dodo-Lurker View Post
It will also get an ebony headstock veneer, which will make the joint even stronger.
and a backstrap as well, perhaps?
Reply With Quote
  #10  
Old 03-18-2016, 08:55 AM
Dodo-Lurker Dodo-Lurker is offline
Registered User
 
Join Date: Feb 2016
Location: Finland
Posts: 20
Default

Quote:
Originally Posted by murrmac123 View Post
and a backstrap as well, perhaps?
Nope, no backstrap on this one.
Reply With Quote
  #11  
Old 03-30-2016, 06:33 AM
Dodo-Lurker Dodo-Lurker is offline
Registered User
 
Join Date: Feb 2016
Location: Finland
Posts: 20
Default

I haven't been able to post any progress lately because I messed up the headstock and had to remove it and make a new one... Oh well, I guess patience really is a virtue with these things.

I shaped the top part of the headstock on the drill press with a sanding spindle, and the rest was done with a spokeshave, chisel and some sanding. That red stripe that you see there isn't very deep (a couple of millimeters), so it's not going to show after the headstock veneer and the binding are glued.
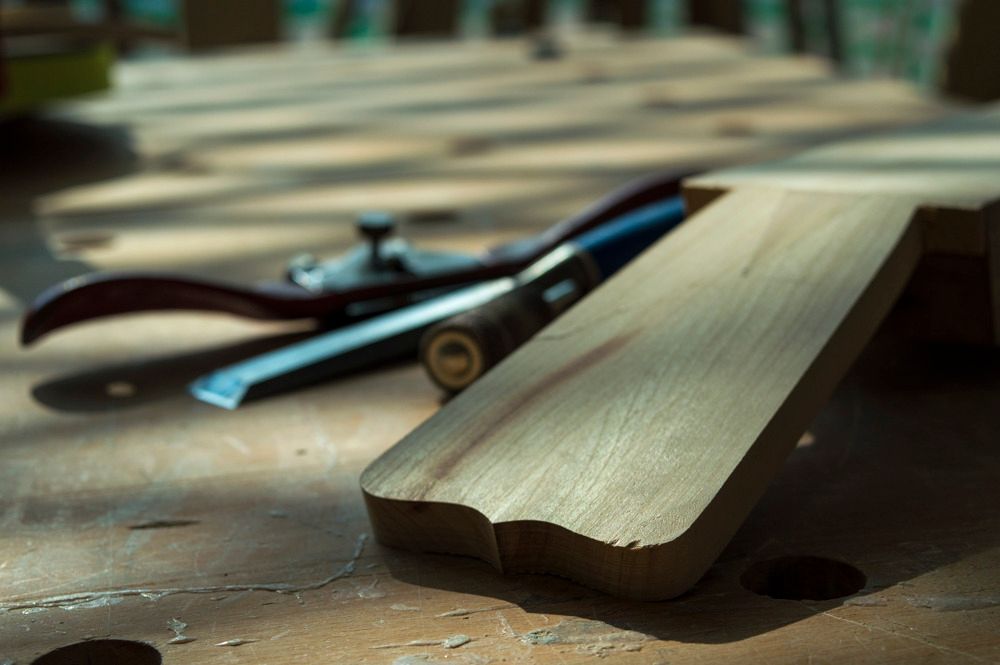


Reply With Quote
  #12  
Old 04-02-2016, 10:47 AM
Dodo-Lurker Dodo-Lurker is offline
Registered User
 
Join Date: Feb 2016
Location: Finland
Posts: 20
Default

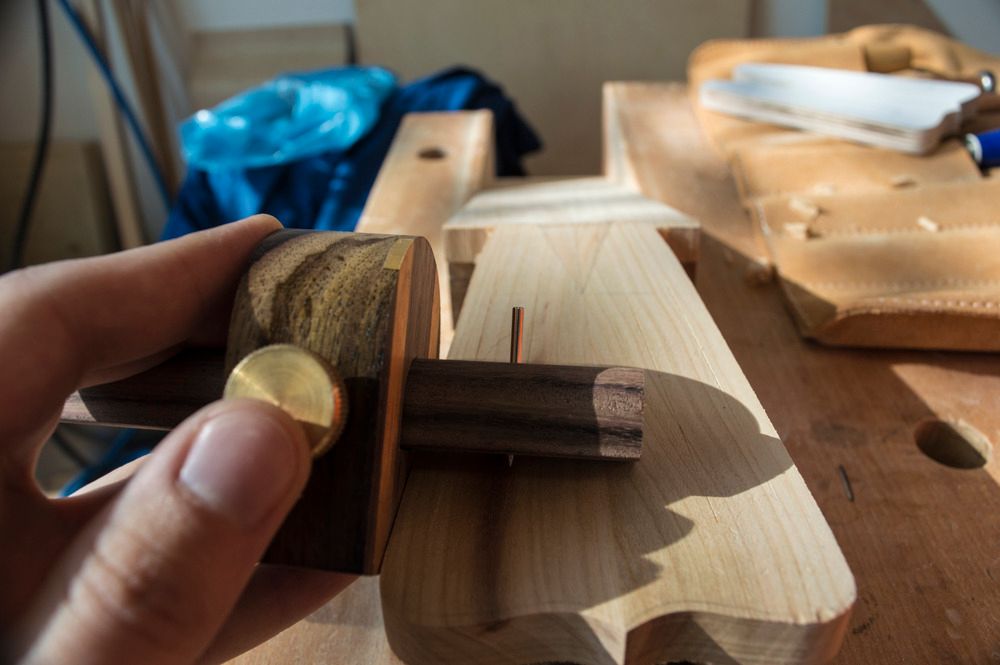
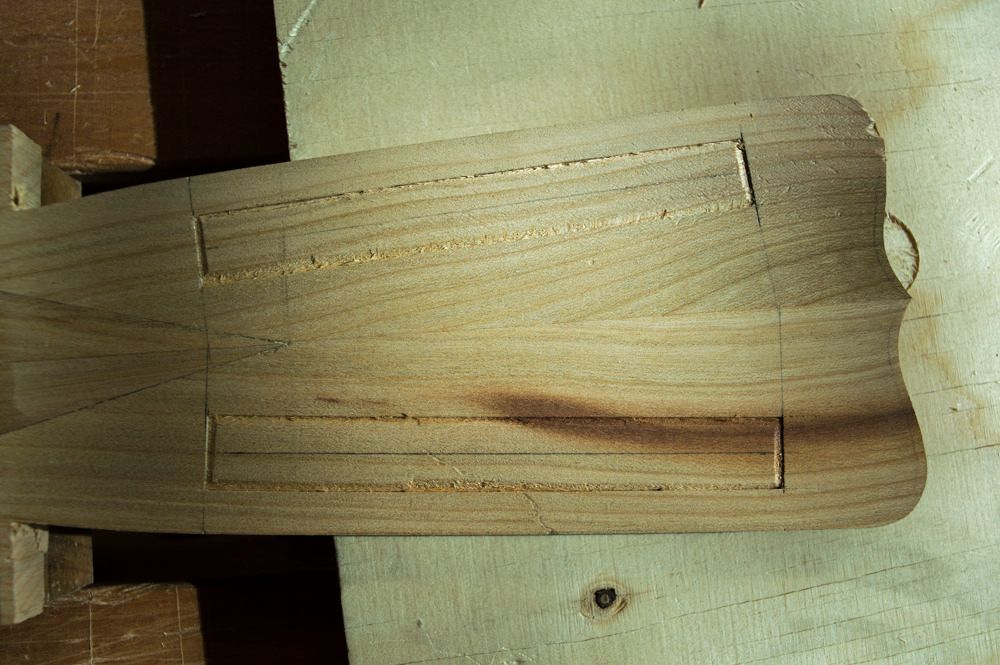
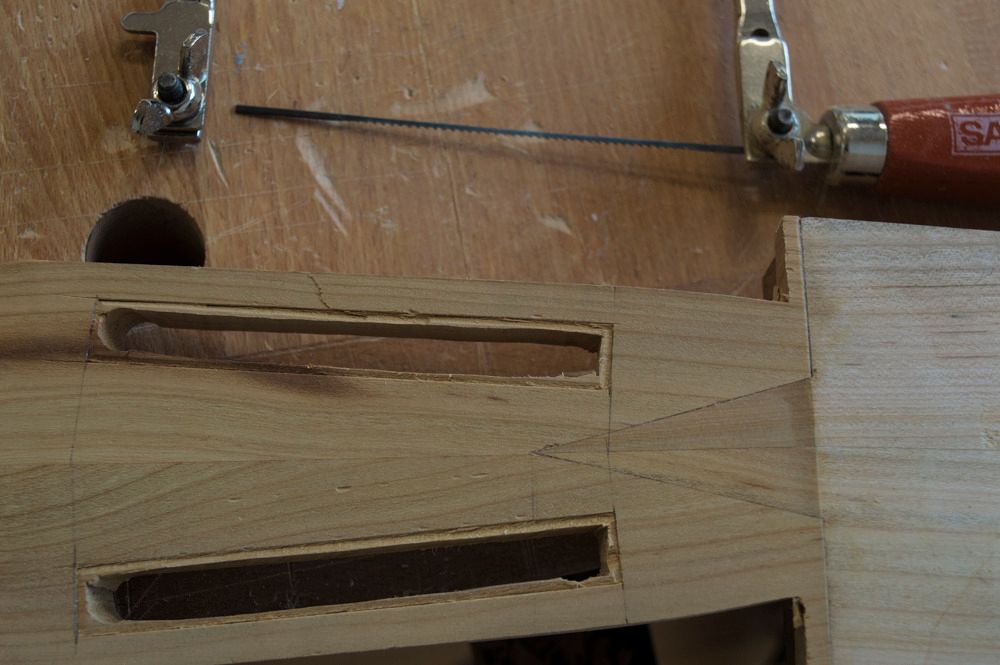
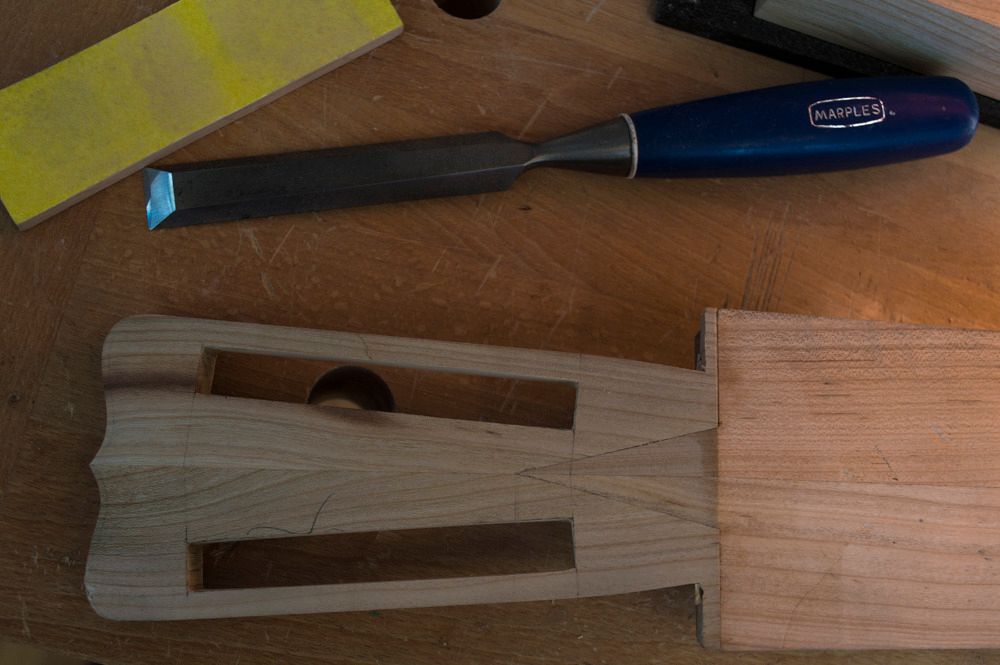
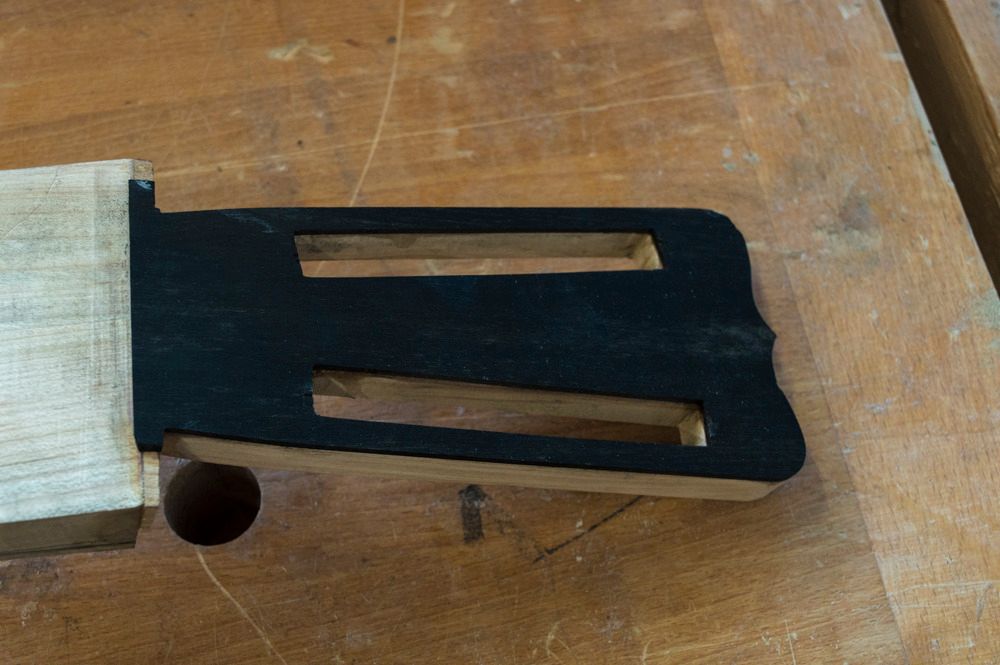
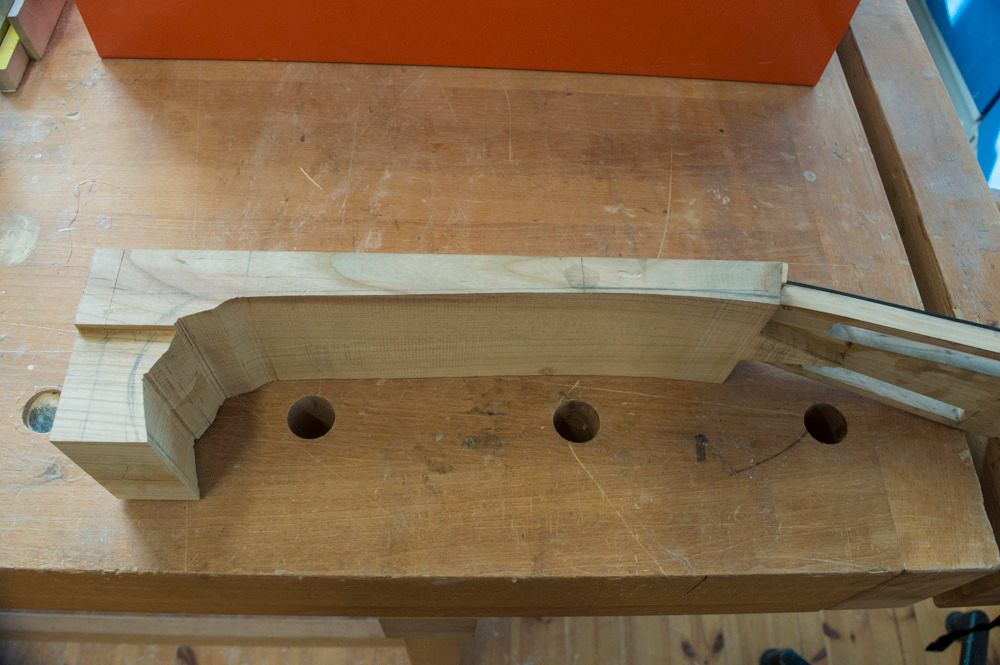
Next I cut out the slots for the tuning machines. Started out by marking the slots with a marking gauge and then cut into those marks with a chisel, so that I was able to maintain the crisp edge. Then sawed off the excess and chiseled to the line (still needs a bit more work). I also glued on the headstock veneer and the heel block.


Reply With Quote
  #13  
Old 04-03-2016, 04:15 PM
BlmJn BlmJn is offline
Registered User
 
Join Date: Feb 2013
Posts: 46
Default

On that era Martin the slots do not have vertical sides. That is what most people over look. The inner and outer faces are convex. This provides a bit more support for the shaft while allowing the upper and lower faces to be slightly narrower. This gives a more delicate and pleasing look to the slots. This is difficult to see in photos and best seen in person.
Reply With Quote
  #14  
Old 04-03-2016, 11:33 PM
Dodo-Lurker Dodo-Lurker is offline
Registered User
 
Join Date: Feb 2016
Location: Finland
Posts: 20
Default

Quote:
Originally Posted by BlmJn View Post
On that era Martin the slots do not have vertical sides. That is what most people over look. The inner and outer faces are convex. This provides a bit more support for the shaft while allowing the upper and lower faces to be slightly narrower. This gives a more delicate and pleasing look to the slots. This is difficult to see in photos and best seen in person.
Did not know that. That's one of the reasons this won't be a 100% accurate build, because I would need to examine the real thing in person, there's only so much you can see by looking at pictures. But then again, the original guitar that this is based on didn't have slots at all, but instead the friction tuners, so that's one part where I'm not going for accuracy.

Last edited by Dodo-Lurker; 04-09-2016 at 08:32 AM.
Reply With Quote
  #15  
Old 04-09-2016, 08:34 AM
Dodo-Lurker Dodo-Lurker is offline
Registered User
 
Join Date: Feb 2016
Location: Finland
Posts: 20
Default

Slow progress...


Last edited by Dodo-Lurker; 04-16-2016 at 02:49 PM.
Reply With Quote
Reply

  The Acoustic Guitar Forum > General Acoustic Guitar and Amplification Discussion > Build and Repair


All times are GMT -6. The time now is 06:12 AM.


Powered by vBulletin® Version 3.8.11
Copyright ©2000 - 2024, vBulletin Solutions Inc.
Copyright ©2000 - 2022, The Acoustic Guitar Forum
vB Ad Management by =RedTyger=