
|
|
#1
 05-24-2015, 06:22 AM
|
|||
|
|||
|
I bought a 2" x 5" x 1/2" thick piece of rough sawn figured beech that I want to resaw into 2" x 5" book matched pieces for a headstock overlay. Resawing them seems straight forward, but how do I get them to final thickness and smooth? They're too small to send through my planer. Any tips?

|
|
#2
05-24-2015, 07:05 AM
|
|||
|
|||
|
Here's where I find my small drum sander invaluable. You have a few options.
Hand planing. The tricky part will be holding it while you plane. But, with a strip thinner then you're thickness acting as a stop, you should be able to use the weight of the plane to hold the pieces down. Planer. You could use double stick tape to attach the thin pieces to and send it through. I would have sacrificial pieces in front and behind so the planer doesn't hit it abruptly and grab, and to avoid any snipe. Sanding. This is what I would do. Befor you re saw, surface the outside surfaces well. Then, re saw and join the book match, being careful to keep the back flat along the join. Then, after cleaning up the glue line on the back, glue it to the headstock. Now, you can use the neck as handle and sand it flat against a stationary sanding surface. My 2💰
__________________
Chris _____ Guild '56 A-50, '57 CE-100, '60 X-150, '62 F-20, '64 Mark II, '65 SF IV, '75 F-112, '75 Mark IVP, '90 Pilot, '93 X-500, '97 Bluesbird Acorn House Guitars  Parlor #1, Butternut Deuce, Rounder, Kulakeiki G&L '93 Legacy Lute '03 Lyn Elder
|
|
#3
05-24-2015, 09:37 AM
|
|||
|
|||
|
As acorn said, a drum sander would be your best bet. And the double stick to a larger board works well too, but I'm not sure about doing that on a planer. It's always seemed to me that the planer would have to much force.
Also, if it's figured wood, you really don't want to plane it. Do you have a good 6" rotary sander? All you really need to do is get it flat enough to glue to the headstock. On the exposed side, it doesn't NEED to be perfectly flat, so you can just power sand it smooth.
|
|
#4
05-24-2015, 11:44 AM
|
|||
|
|||
|
Planer will likely destroy your wood. Without a thickness sander a properly sharpened/set up block plane should do the trick.
__________________
Andersonville Tennessee Clinch River Instruments, White Oak O, 13 fret Nick Lucas, 1937 spec D-18 Martin 000-28 EC Gibson Les Paul Gibson 335 Dot Bunch of Strats Fender B-Bender Tele
|
|
#5
05-24-2015, 01:59 PM
|
|||
|
|||
|
Do you have a good belt sander? If yes, you can make a thickness sanding attachment. Let me know if that is an option, and I can post a photo of mine for your reference.
You COULD install it on the headstock first, then plane, and fine tune by hand. This would allow you to clamp the neck, and plane the headstock, rather than trying to make a thin lamination with a plane. How thin do you intend to make it??
__________________
---- Ned Milburn NSDCC Master Artisan Dartmouth, Nova Scotia
|
|
#7
05-24-2015, 04:17 PM
|
|||
|
|||
|
Quote:
I do have a good belt sander, but never considered it for this since belt sanders tend to be a little hard to control! I'd love to see how your thickness sanding attachment works. I'm hoping to end up with a thickness of about 3/32. The thickness isn't critical. A little over or under won't matter as long as it's consistent.
|
|
#8
05-24-2015, 08:31 PM
|
||||
|
||||
|
I use a 5" cast Aluminum disk sander for thicknessing most everything. I got mine from the old Gilbert Website, but not sure where you can get them now. It's a precision disk with a 1/2" shaft. Works really well. I sand things to about 0.5 mm with no problem.
__________________
Waddy
|
|
#9
05-24-2015, 08:53 PM
|
|||
|
|||
|
Quote:
Do you use it in a drill press?
|
|
#10
05-25-2015, 03:19 AM
|
|||
|
|||
|
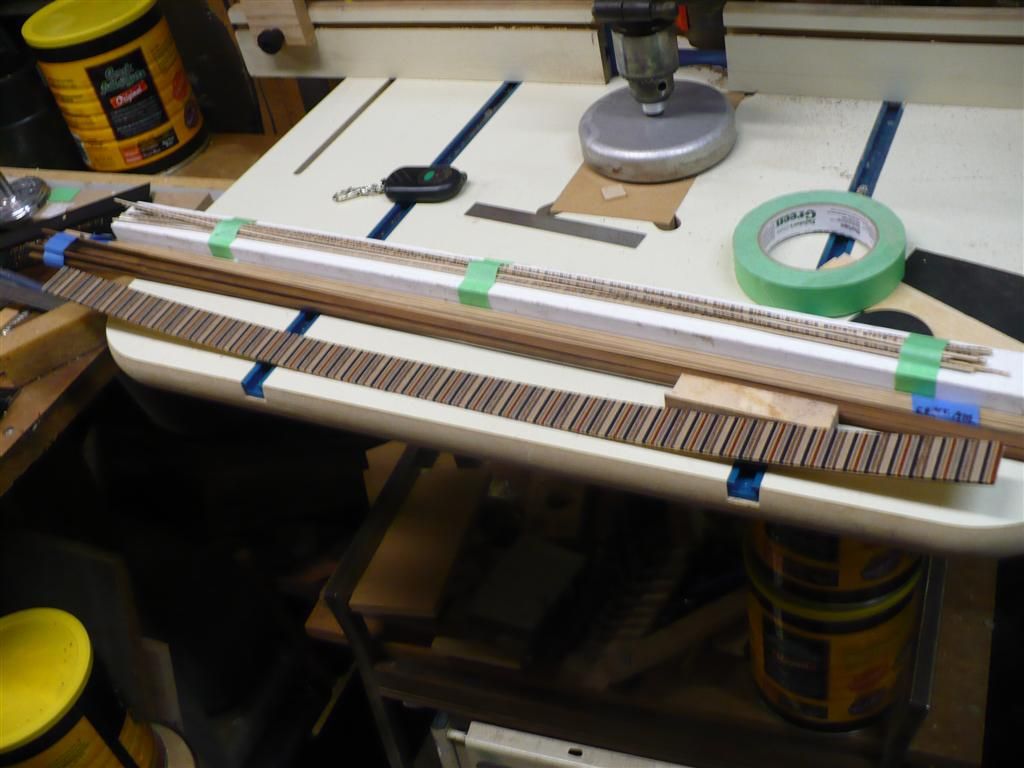
For small items, I use a 3" drum sander in the drill press. A backer block clamped to the table works fine for thicknessing.
I push the wood in between the drum and the block, using a push stick. Feed it against the rotation of the drum.
|
|
#11
05-25-2015, 07:52 AM
|
||||
|
||||
|
Quote:
__________________
Waddy
|
|
#12
05-25-2015, 09:07 AM
|
|||
|
|||
|
Quote:
The trick is: 1) Good paper 2) Good technique. Since the roller for the sander has a crown in the center (it is not "flat" or perfectly cylindrical, it is wider in the middle), you have to give an extra few passes, each pass a bit to the left or right of what was before, in order to get uniform thickness. It isn't in fact much of a chore at all  I still use this sometimes for an initial thinning of blanks because I can take much more off in one pass than on a dedicated thickness sander. Safety issues: DON'T let your hand or cothing or hair get caught between the roller & thicknessing attachment.
__________________
---- Ned Milburn NSDCC Master Artisan Dartmouth, Nova Scotia
|
|
#13
05-25-2015, 09:09 AM
|
|||
|
|||
|
PS - A friend has an attachment similar to what John describes. They are good for doing small pieces, but I wouldn't want to get too aggressive with those because most basic drill presses aren't really designed for putting sideways pressure on their chuck-bearing system. They are made for drilling straight holes.
__________________
---- Ned Milburn NSDCC Master Artisan Dartmouth, Nova Scotia
|
|
#14
05-25-2015, 10:50 AM
|
|||
|
|||
|
Quote:
|
|
#15
05-25-2015, 11:52 AM
|
|||
|
|||
|
Years ago, I bought the "V-Drum" kit version of the sander below. It isn't a thickness planer/sander, but, rather, a surface sander. That is, it doesn't sand to a uniform thickness, just surfaces whatever you run over it. I haven't used it in years and I certainly wouldn't swap my thickness sander for it, but thought it might be of interest to someone here. One interesting aspect of its design is that it requires no dust collection: the dust falls on the desktop below the sander.
Their more recent "commercial" version is shown below. http://stockroomsupply.ca/shop/drum-sanders.html  youtube.com/watch?v=ca2a_IDMkuk
|


