
|
|
#1
 07-18-2017, 09:50 AM
|
|||
|
|||
|
I'm not sure how many of you caught this current issue from my Tasmanian / German spruce build but i've got a damaged purfling issue that I'm struggling to get my head round how exactly I can fix it.
The pictures below will show the issue, a small section right at the end of the piece has been twisted and bent downwards leaving not a clean surface. From some angles its almost un-noticeable, from others it looks terrible, hence it needing the repair. The bwb strip is less than 1mm wide so i can't really get a chisel in there. I don't know how i'd get a japanese saw in there accurately enough (and short enough) to remove just the area i require with that tool. Has anyone had to repair something like this before? Any suggestions as to which way(s) I should go about this would be much appreciated! David 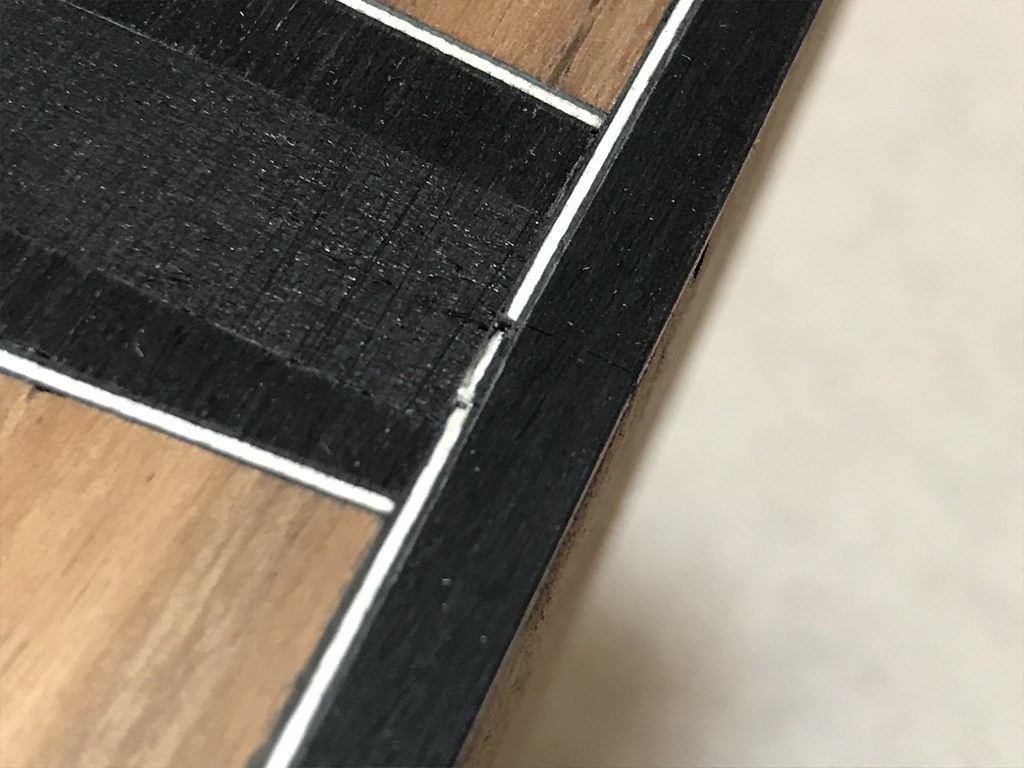 Untitled by David Emm, on Flickr Untitled by David Emm, on Flickr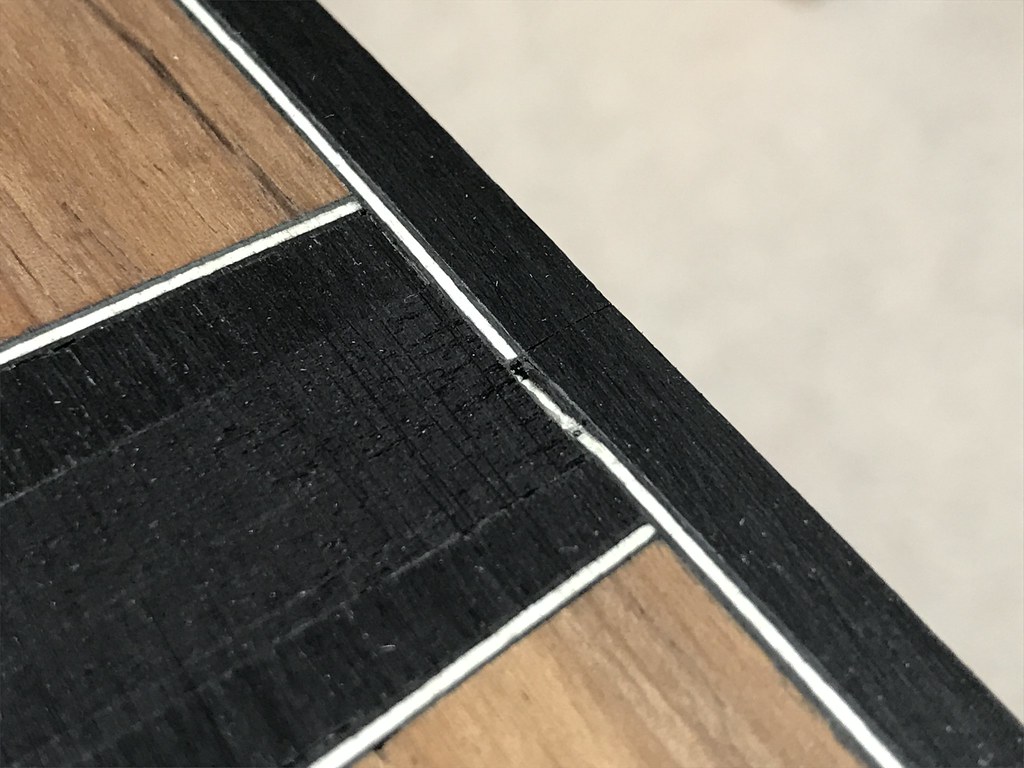 Untitled by David Emm, on Flickr Untitled by David Emm, on Flickr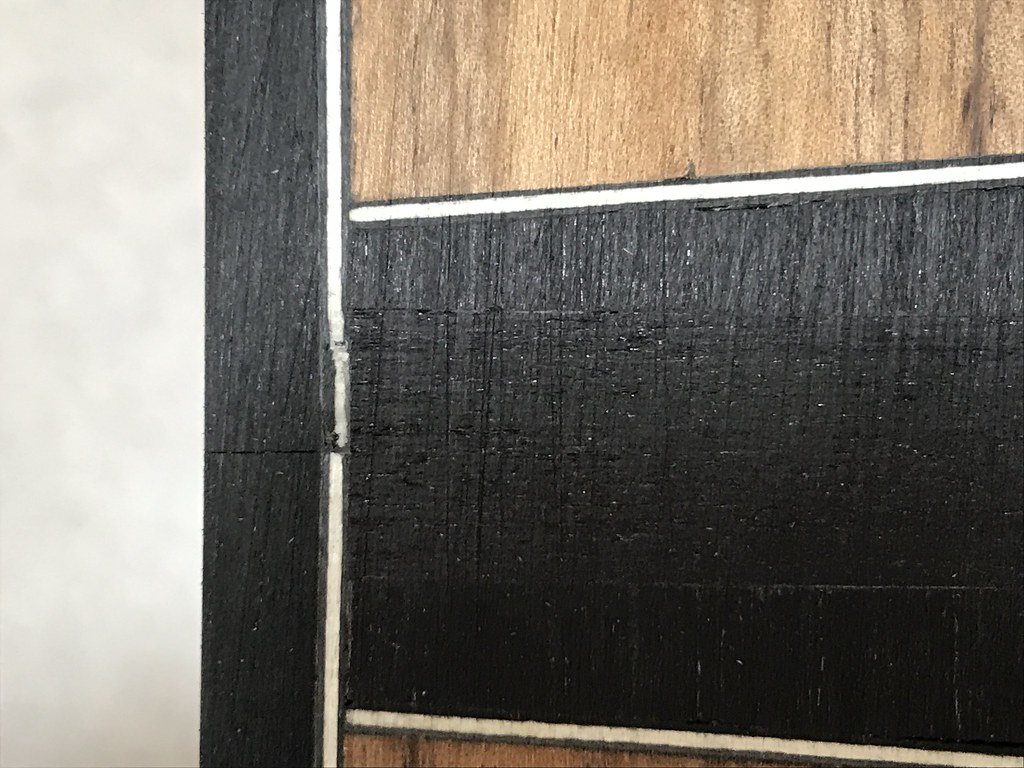 Untitled by David Emm, on Flickr Untitled by David Emm, on Flickr

|
|
#2
07-18-2017, 10:21 AM
|
|||
|
|||
|
Perhaps crack out the clothes iron and release both the binding and the purflings, carefully lift them out and reset them making sure that the purflings is flush or putting some fill behind the purflings to make sure it can't bend inwards again.
|
|
#4
07-18-2017, 12:10 PM
|
|||
|
|||
|
Quote:
__________________
Rodger Knox, PE 1917 Martin 0-28 1956 Gibson J-50 et al
|
|
#5
07-18-2017, 02:11 PM
|
|||
|
|||
|
Quote:
Also handy to have around for cleaning fret slots, since it just happens to be exactly the right width. Although for clearing out the dust after radius sanding, a vacuum cleaner is even faster.
|
|
#6
07-18-2017, 06:55 PM
|
|||
|
|||
|
I have a set of small dogleg chisels that would do that perfectly. That being said I have also made a small chisel out of a small screwdriver. If you are using a phillips just grind it into a chisel. It is hard enough and will hold a decent edge and should work fine for this.
__________________
 THE WORLD IS A BETTER PLACE JUST FOR YOUR SMILE THE WORLD IS A BETTER PLACE JUST FOR YOUR SMILE
|
|
#7
07-18-2017, 11:10 PM
|
|||
|
|||
|
Chisel out, and scarf join in a new piece.
Make a chisel, or here: http://www.leevalley.com/us/wood/pag...14,69873,69875
__________________
"Still a man hears what he wants to hear, and disregards the rest." --Paul Simon
|
|
#8
07-21-2017, 08:44 AM
|
|||
|
|||
|
Here is the result of my repair. It might have been better before.
What i did was cut the damaged section out with a scalpel. I tried to cut a horizontal scarf joint into it, but i couldn't get it right, so I switched to a vertical scarf joint type join and it was looking pretty much invisible until some sawdust from the binding went in the gap and then BAM, its obvious again. it could do with a bit more sanding though. I don't have a lot of motivation to hack it out again at the moment, maybe later on, but for the moment my idea for what to do now is to make a second mark, the same distance way from the centreline on the right and fill that will black sawdust to make it seem deliberate. it definitely looks worse in this close up view but yea. 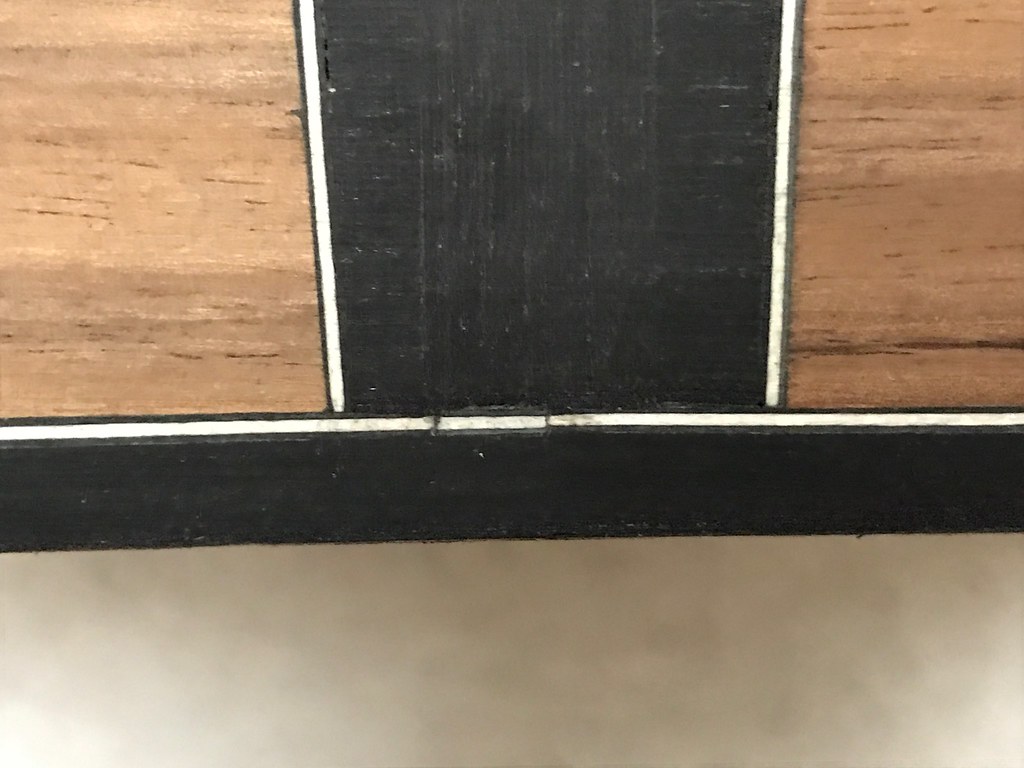 Untitled by David Emm, on Flickr Untitled by David Emm, on Flickr
|
|
#9
07-21-2017, 09:48 AM
|
||||
|
||||
|
Since this appears to be an unfinished guitar, why not simply rebind it?
|
|
#10
07-21-2017, 10:30 AM
|
|||
|
|||
|
Alternatively, chisel (or Dremel -- both nouns used as verbs) out the purfling all along the end of the tail piece and delete the white line that crosses the tail piece.
An ambitious enhancement would then be to inset white bits to "square the corners," but that would create more crevices to trap dark dust.
|
|
#11
07-21-2017, 12:10 PM
|
|||
|
|||
|
Quote:
Quite simply because i'm sure the process of removing the binding will pretty much just destroy the the guitar. Not sure I really have the required skills yet. I don't really want to rout it off, everything i've routed on this guitar has caused more problems then it solved. waaaay to many issues with chip blow outs, etc. the other option would be to iron it all off, that would be the easier yet even scarier option. i've only done that with small areas, doing that for a whole binding is scary. The third option is to just bin the guitar and start again. I might as well, it can't go worse
|
|
#12
07-21-2017, 01:23 PM
|
|||
|
|||
|
I've rerouted off bindings once before because it came out so bad but I would not consider it over that flaw. Heck, honestly, if you just filled that it would not be too bad IMHO.
If you are having issues with tear out and so on then you need to come up with something better. Perhaps a better router bit or overall methods.
|
|
#14
07-21-2017, 04:23 PM
|
|||
|
|||
|
Quote:
I have touched up black and white plastic purfling with acrylic artist colors. If you do it after the stainig/pore filling/sealer, then it will more likely survive until you get a few coats of lacquer on it. It also will survive better if you cut a shallow groove to hold the paint.
|
|
#15
07-21-2017, 04:37 PM
|
|||
|
|||
|
+1 to John's paint idea.
Also could try pressurized air to blow the dust out. If it gets looking nice again that way, drop fill with lacquer or shellac before you continue sanding.
|


