
|
|
#1
 10-04-2014, 07:52 AM
|
|||
|
|||
|
Hey everyone. I've never done a build thread. But I'm creating a new archtop model to debut at the memphis guitar show in 2015 and thought some people might be interested in seeing the process. I'm calling the model the "Steel City" because I'm newly relocated to PIttsburgh, PA and I see this guitar as being a real "working man's" guitar.
The goal here is to create an hand made archtop guitar that has the same standard of tone, playability and craftsmanship as my more expensive model but to package it in a more minimalistic an simplified aesthetic design, and all around cut costs so that I am able to offer the instrument at a more accessible price point. I solicited some design input on a thread in the archtop section of acoustic guitar forum to see what people would like out of a guitar like this and after a month of designing I'm now happy to have started building this new model. What you will see here is the process of two instruments. One is a spec full bodied, acoustic version. The other is a commissioned thin line with an inset pickup. you can see more at http://stuartdayguitars.tumblr.com/ or my website at http://stuartdayguitars.com or find me on facebook at stuartdayguitars like I said, I've never photo/documented the entirety of a build before… hope you enjoy.  Back #1 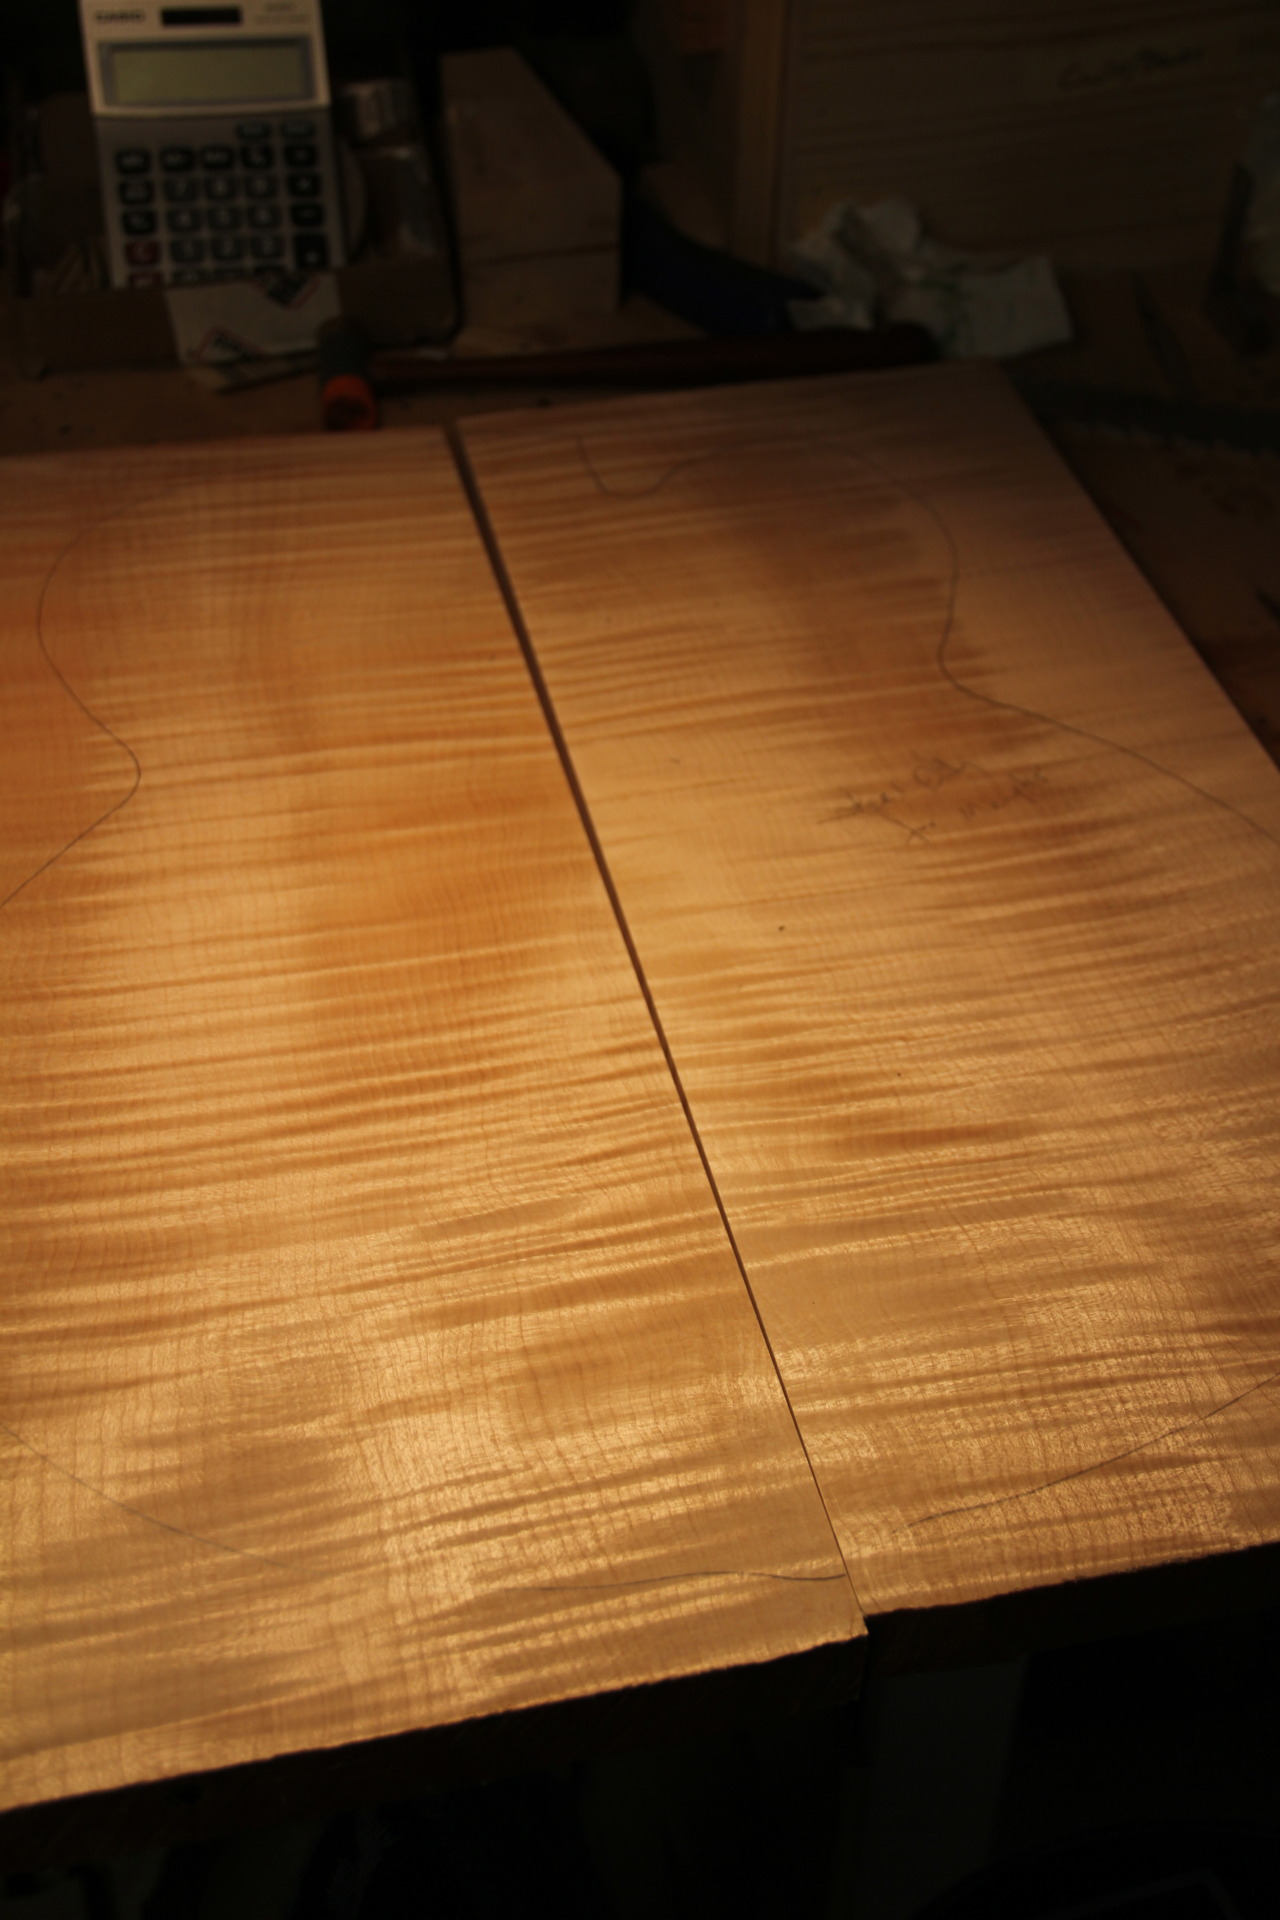 Back #2 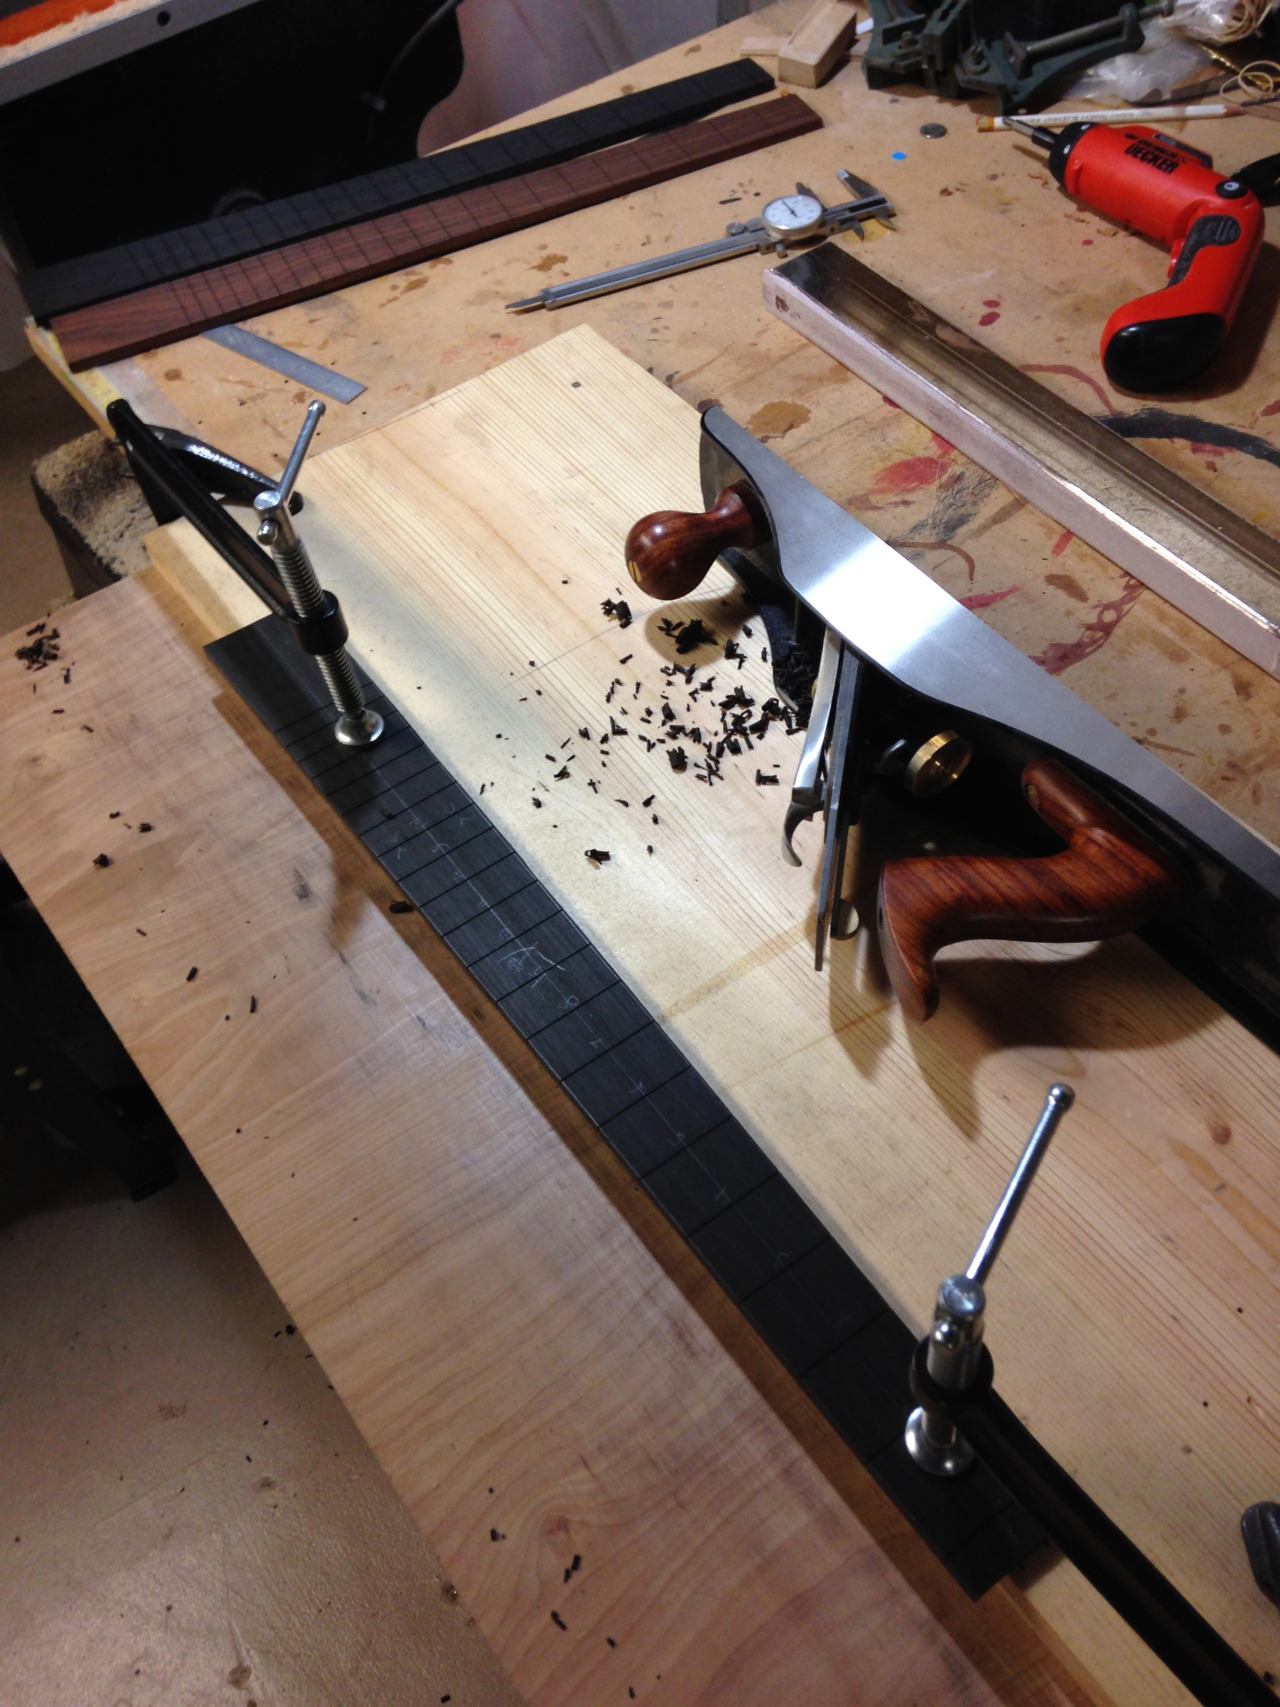 Hand-planing the taper into the fretboards 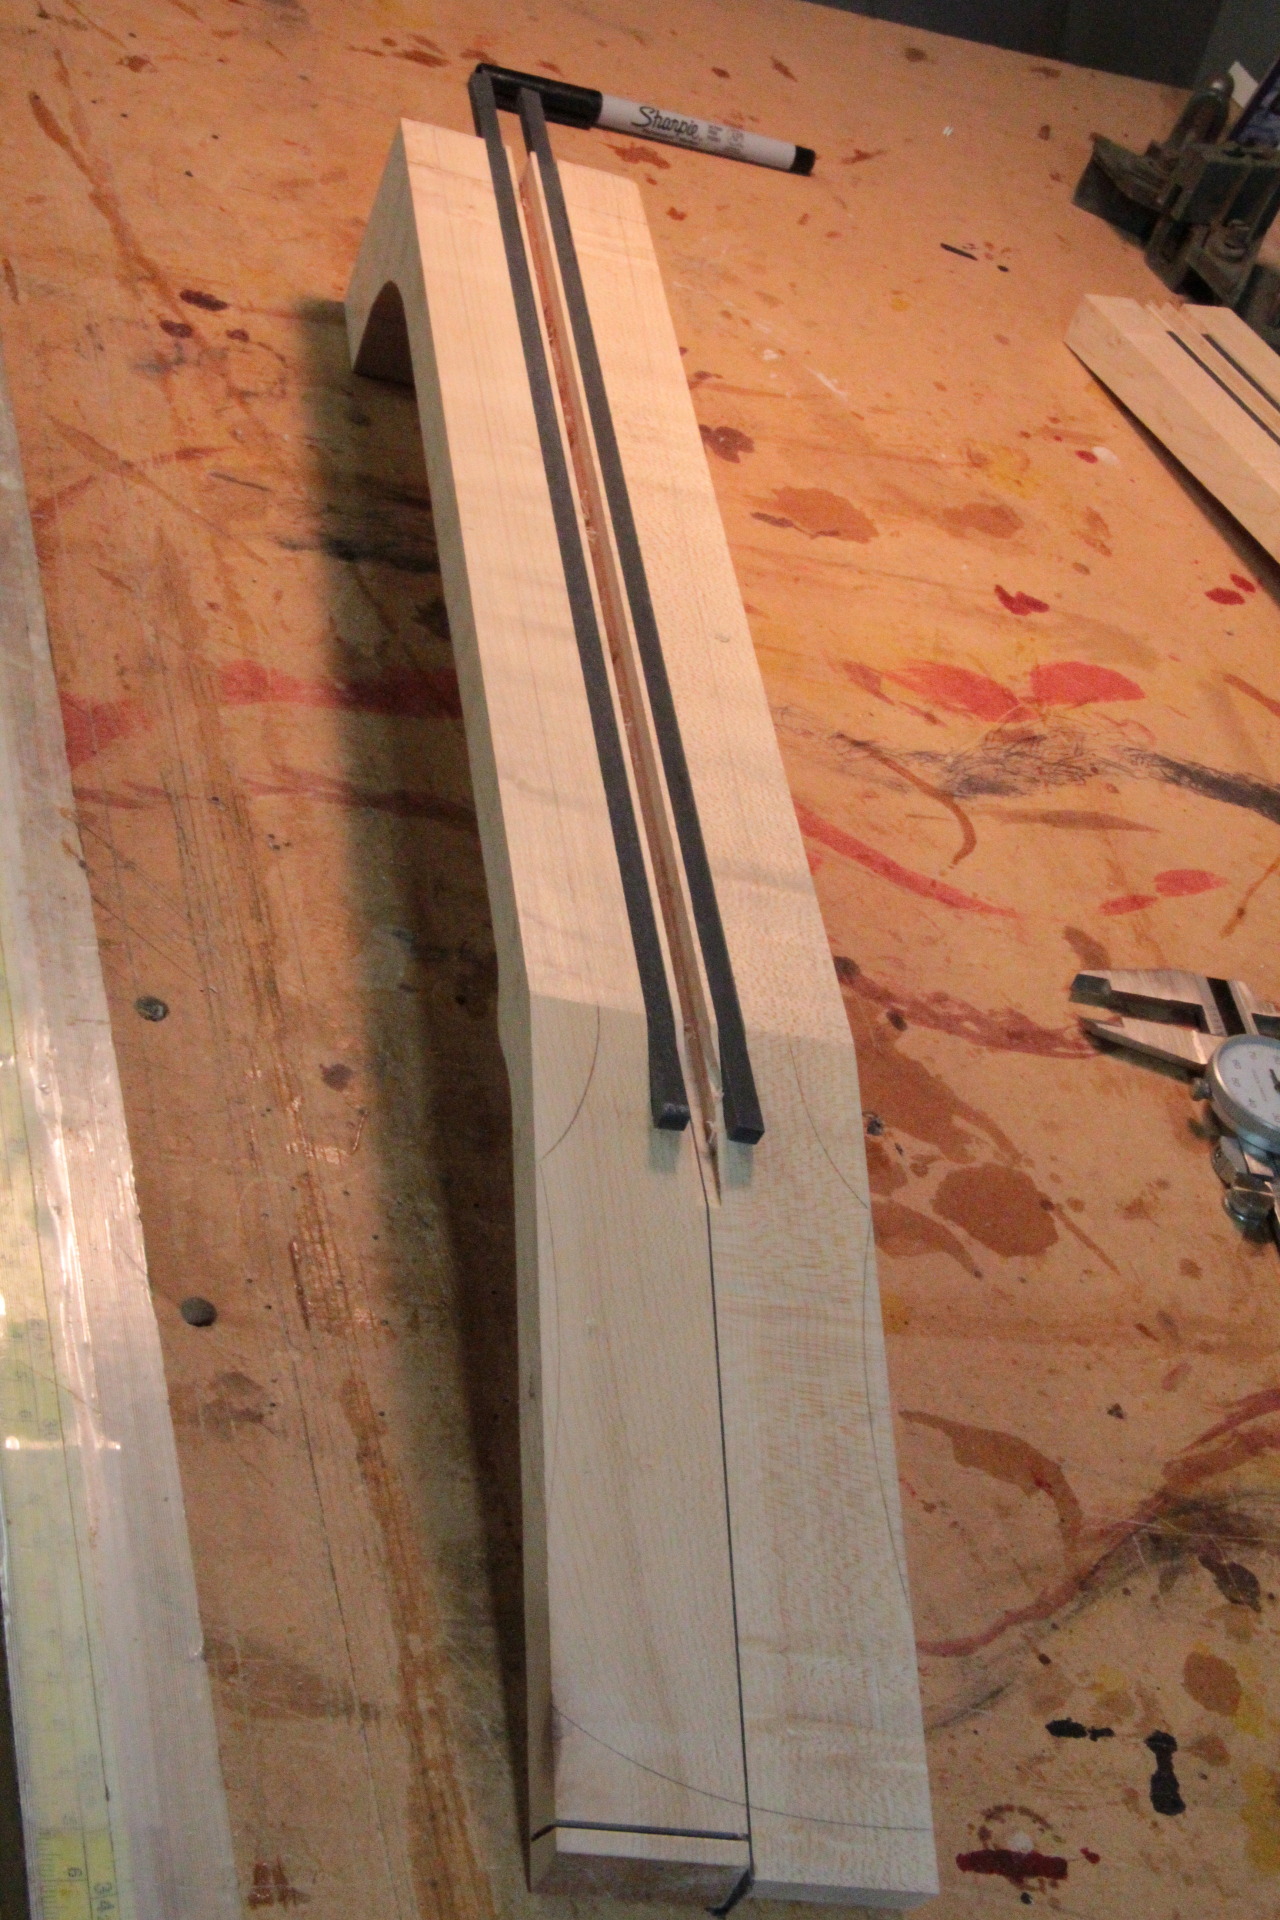 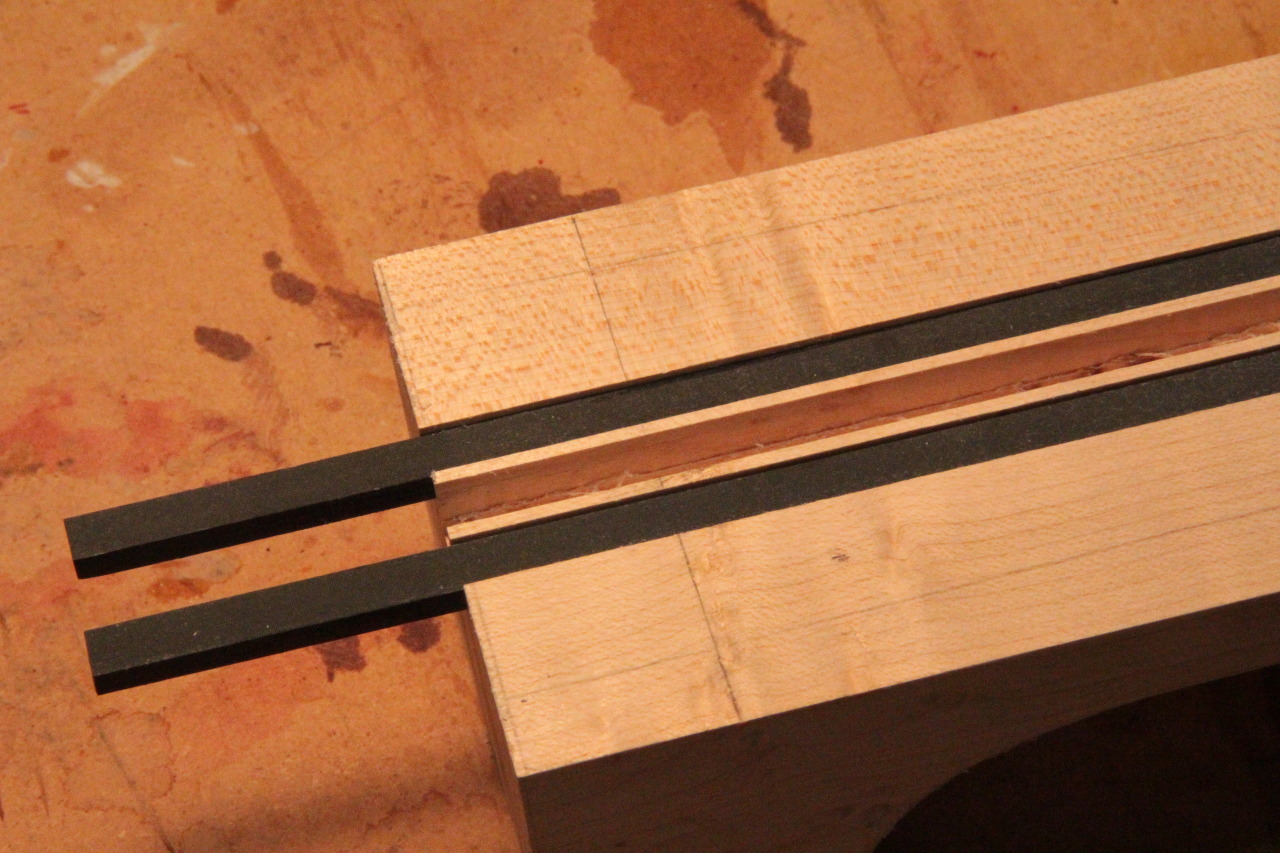 All of my necks are a double action truss add and two carbon fiber rod construction 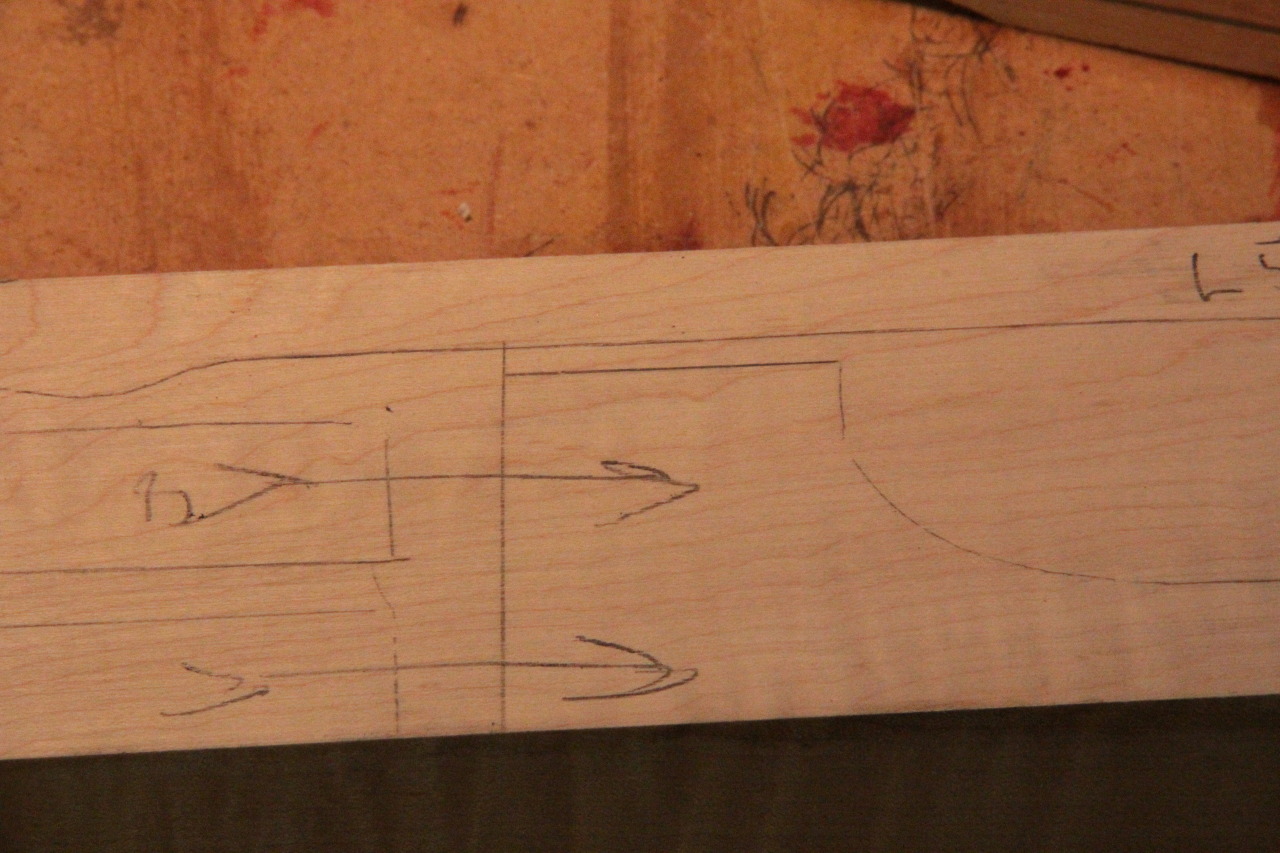 Archtop necks have a lot of parts. So I carefully mark each part before I cut it out of the blank so I know what the grain direction and orientation is. If you get this wrong you end up with mismatched chatoyancy when you get finish on 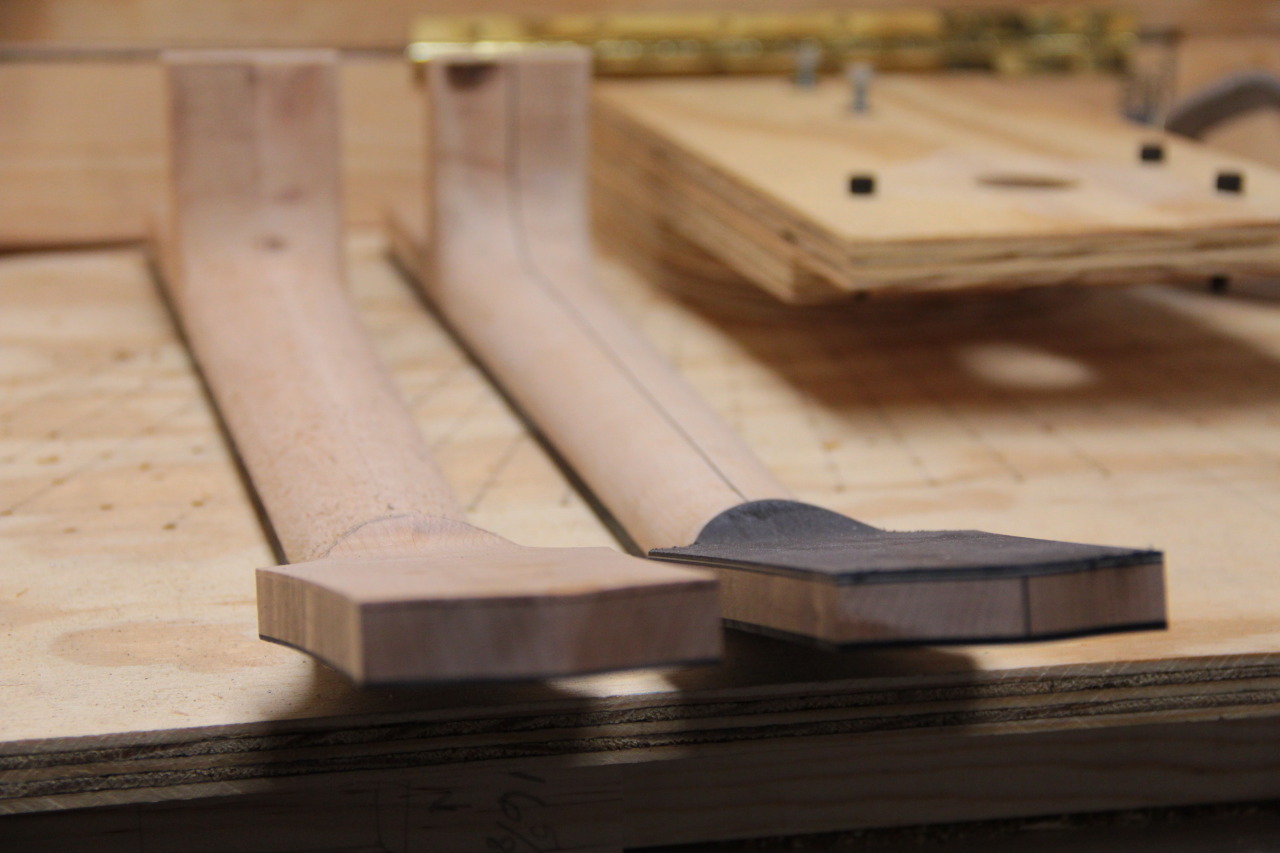  valute and back lamination detail. Last edited by StuartDay; 10-04-2014 at 08:21 AM. 
|
|
#2
10-04-2014, 08:12 AM
|
|||
|
|||
|
Hello Stuart,
Like the pics but the link to tumblr doesn't work, it requires a login. Would like to see some more pictures. Always great to see Archtop build threads, they seem to be a little under represented! (nice clean work on the neck btw)
|
|
#3
10-04-2014, 08:18 AM
|
|||
|
|||
|
Hi there,
Thank you very much. Sorry about the link. I'm new to tumbler and think I accidentally copied my dashboard link instead. try this http://stuartdayguitars.tumblr.com/ you can also see a lot more of my work if you have facebook at stuartdayguitars or my website stuartdayguitars.com
|
|
#4
10-08-2014, 07:24 PM
|
|||
|
|||
|
Updates to the archtop builds for memphis.
Joined up the backs then was able to start working on the head-plate inlays while some lacquer on some other instruments cured. The next few weeks I'll be working on getting two parlor guitars out the door so the archtops will be sidelined until then. So heres where we stand with them so far. 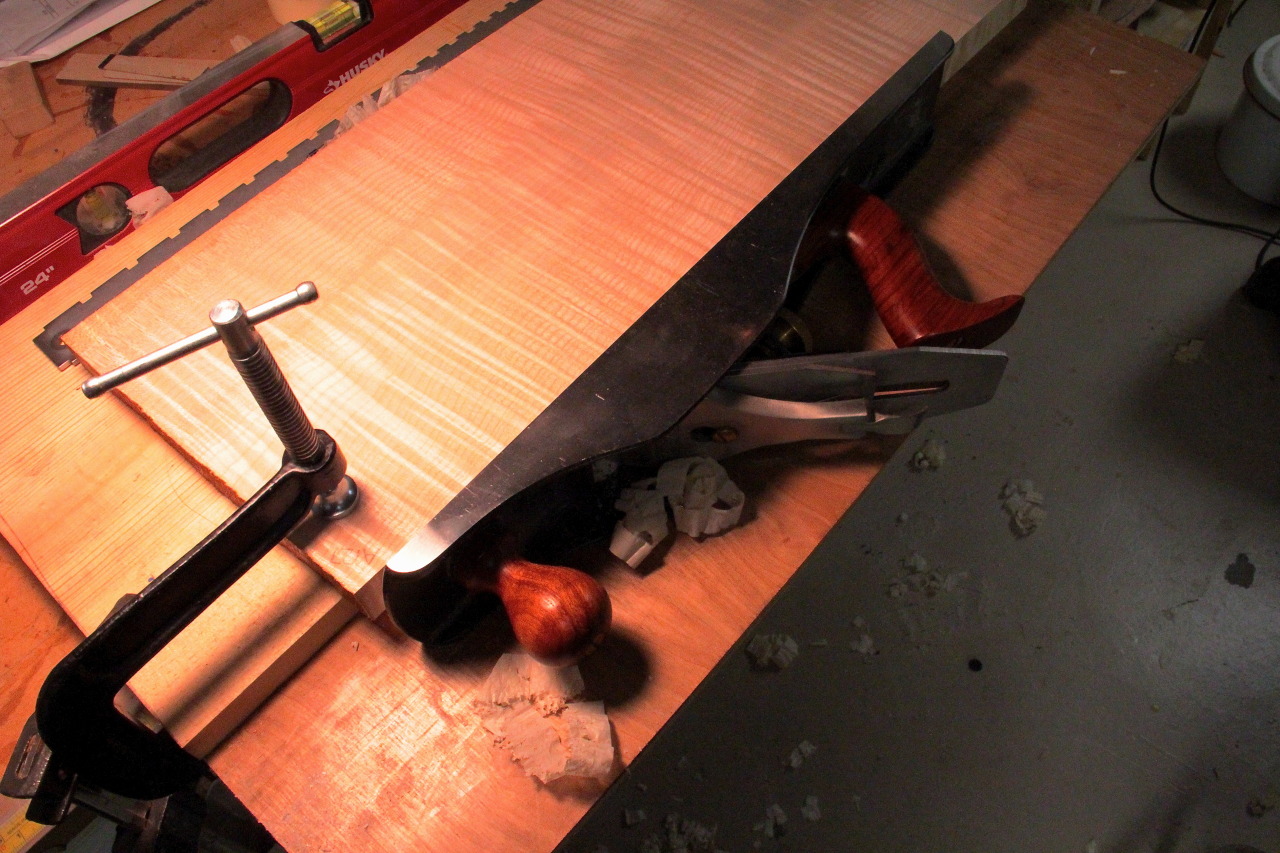 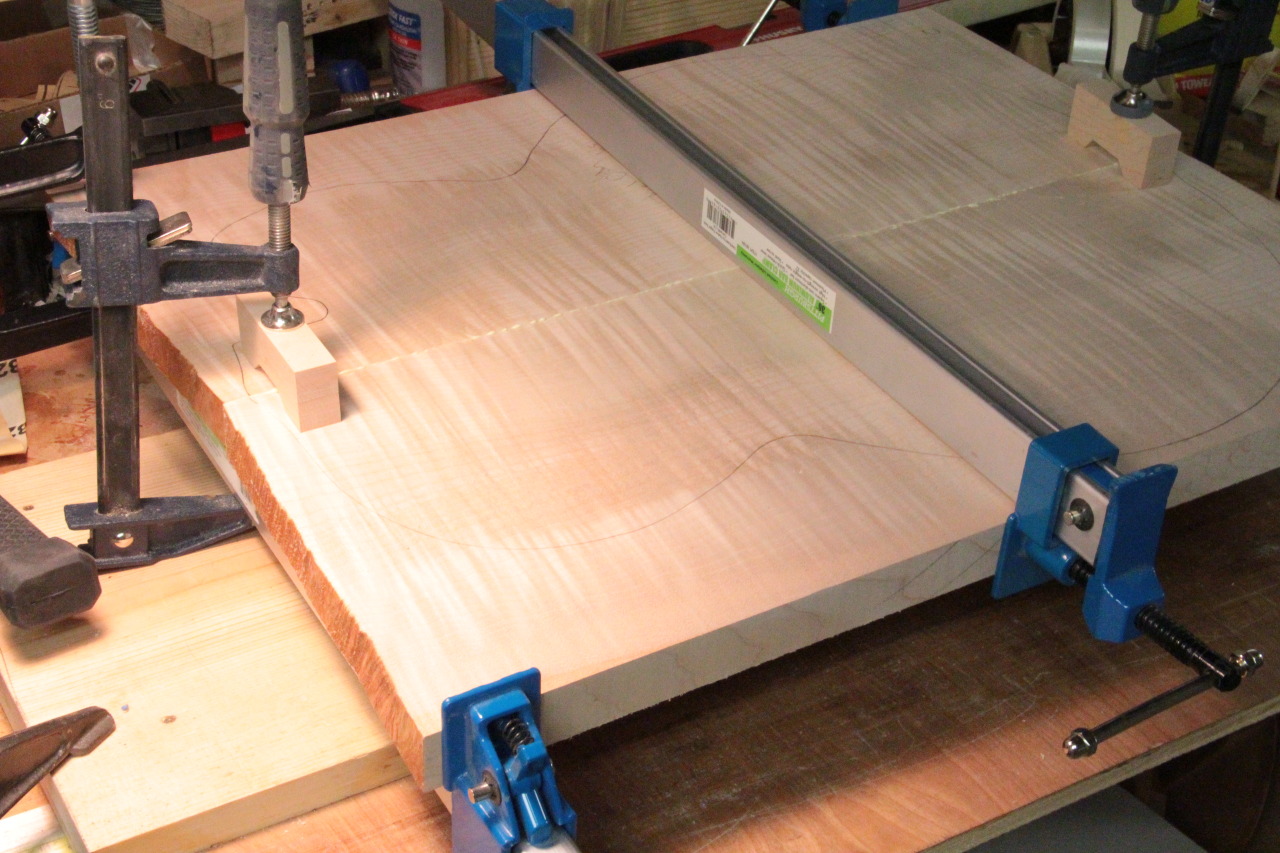 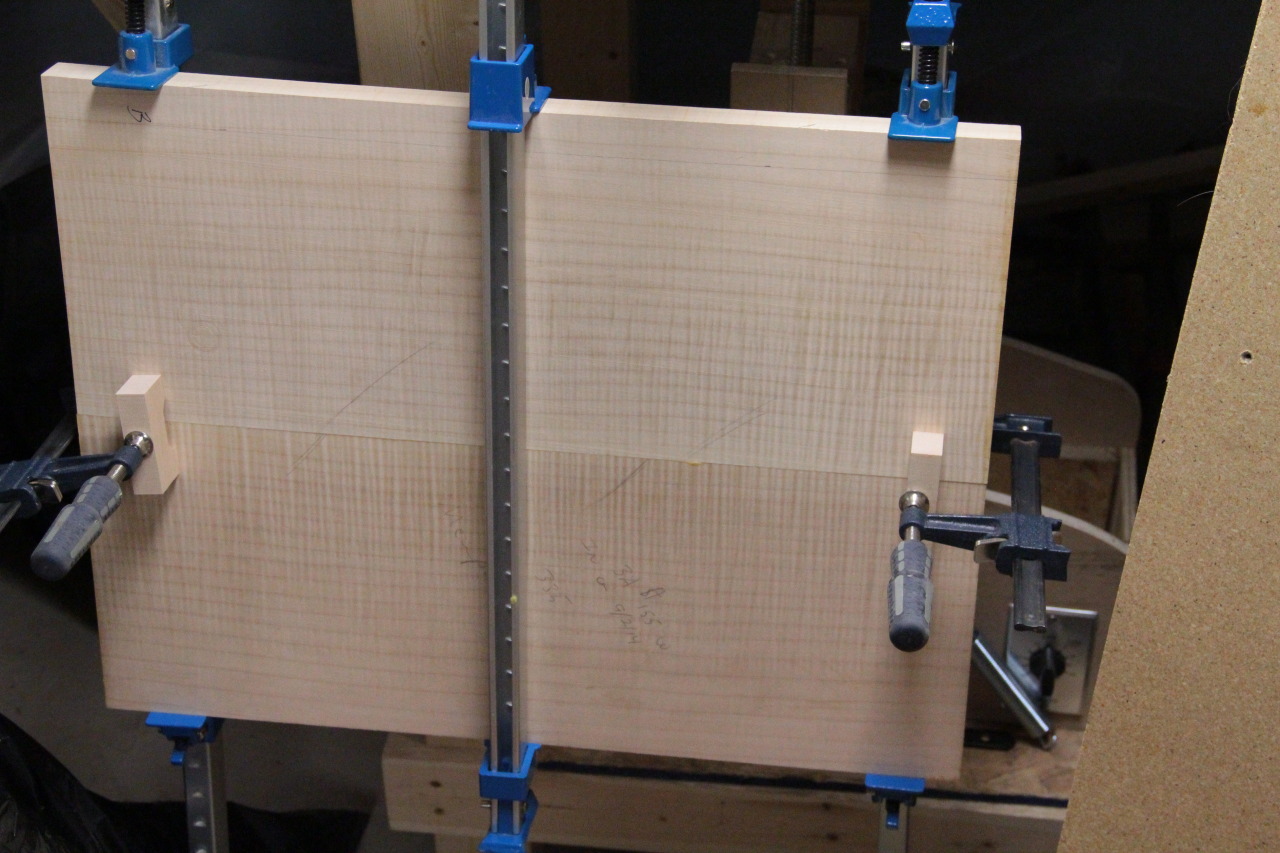 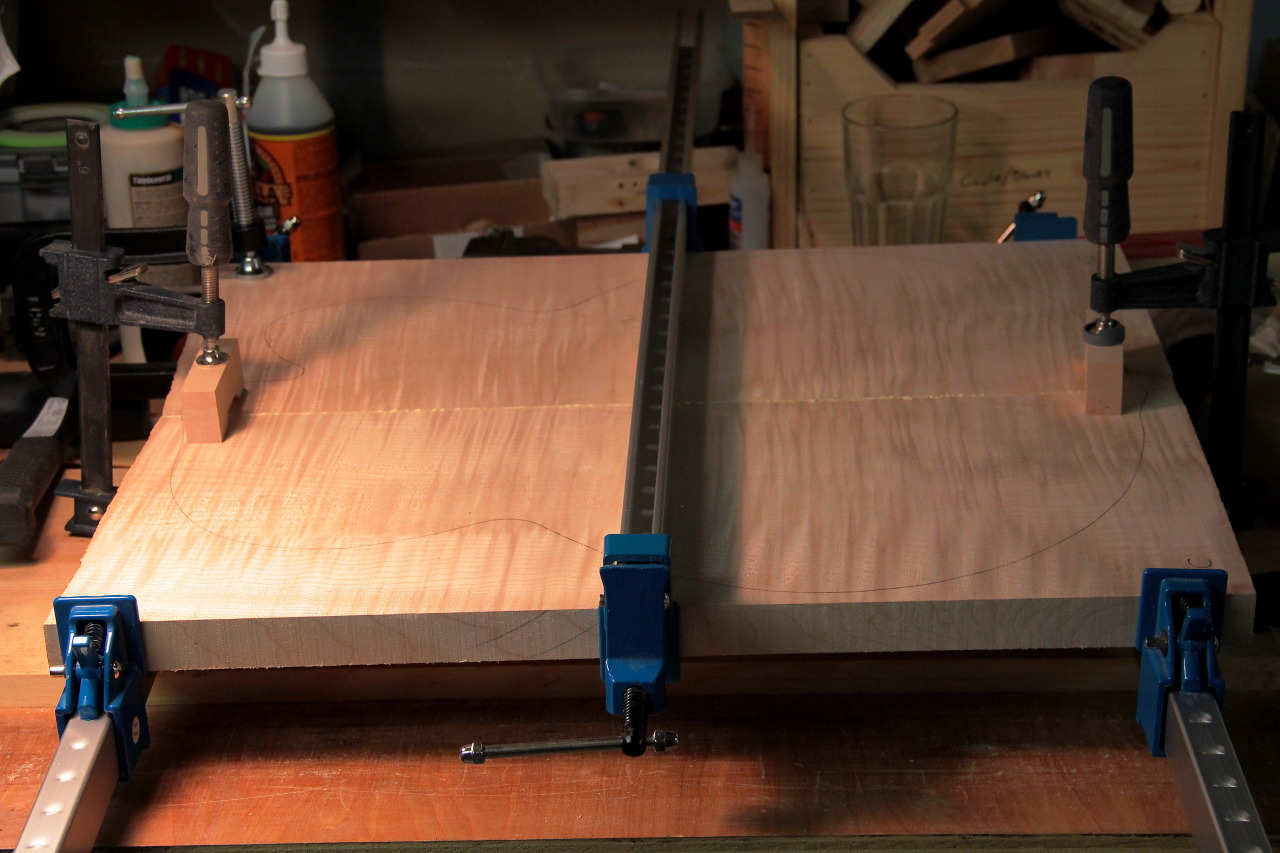 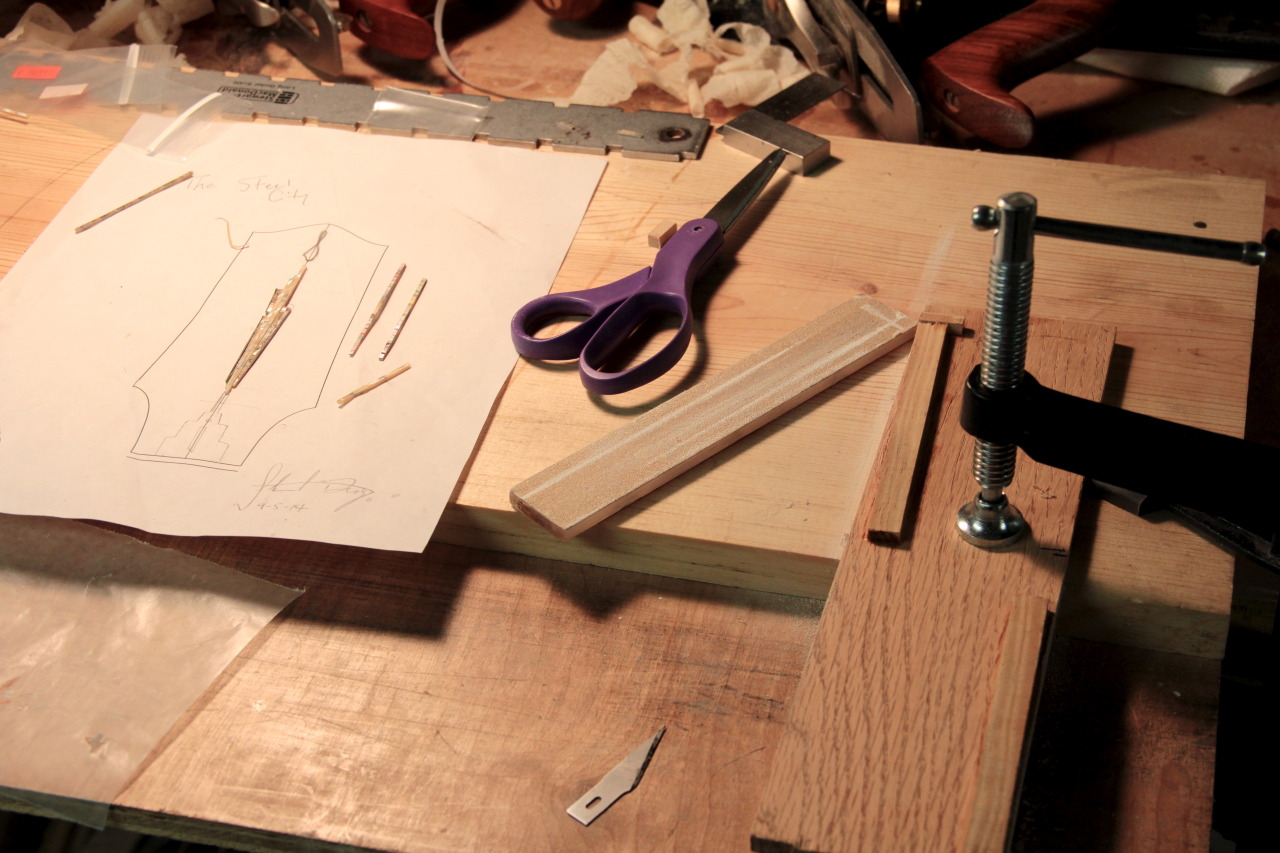 This inlay is inspired by the art deco architecture in Pittsburgh. Thought it was fitting for a model named the "steel city"  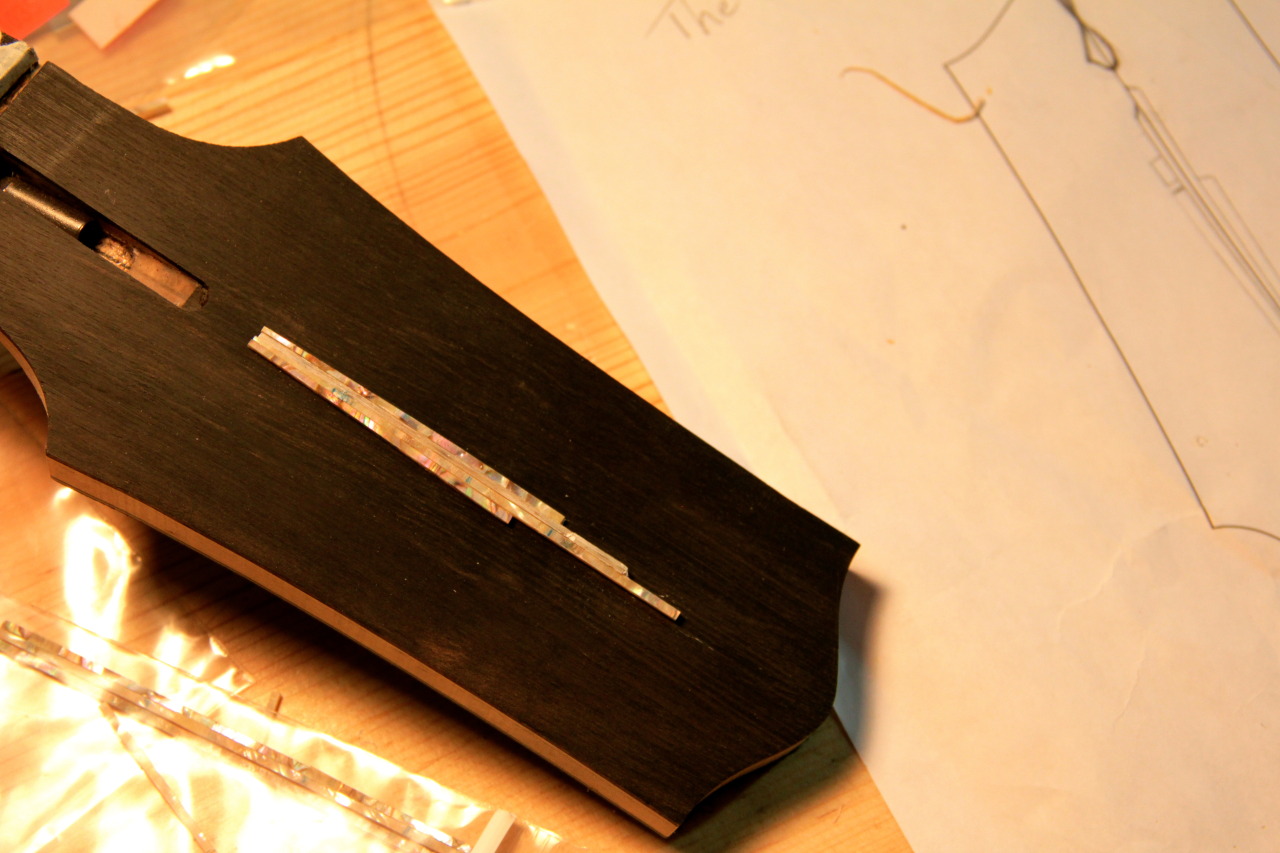
|
|
#6
10-15-2014, 10:25 PM
|
|||
|
|||
|
That headstock inlay is so beautiful that the rest of
the guitar (almost) doesn't matter. I'm looking forward to seeing these beauties take shape. Thanks for sharing your work.
__________________
-kb __________________ 2010 Roberts Minstrel 1931 Martin C-2
|
|
#7
10-16-2014, 05:31 PM
|
|||
|
|||
|
Love the Art Deco styling on the Headstock, to me Art Deco and Archtop's are synonymous. This is looking very nice.
__________________
https://www.facebook.com/pages/The-T...56266954411686 http://www.reverbnation.com/jayhowlett http://www.jayhowlett.com Guitars: I'm really happy to have a few nice ones.
|
|
#8
10-16-2014, 06:00 PM
|
|||
|
|||
|
Quote:
Thank you so much, I appreciate it. I'm excited for this one to take shape as well. Cheers!
|
|
#9
10-16-2014, 06:01 PM
|
|||
|
|||
|
Quote:
Yea this model is certainly a big nod to the great new york/east coast archtop makers who have incorporated the art deco themes so well into their guitars. My other model isn't art deco at all and I'm really having fun with this one. thanks again, stay tuned cheers
|
|
#10
11-13-2014, 08:02 PM
|
|||
|
|||
|
Well, I had some other guitars and repairs to wrap up which forced me to sideline these guitars for a few weeks. But I tied up pretty much all those lose ends and I was able to get back to it this week.
This will bring you all up to speed. I'm transitions into a laminated side structure from now on as my standard method. I've wanted to do it for a long time I just didn't have the opportunity to invest in new molds and take the time. But since this is a new model which required all new jigs and fixtures I felt it was a good opportunity. So this picture is a normal side which I've split into 2 book-matched pieces, one will be the outer visible layer and the other will be the layer on the inside of the guitar, with a core material in-between.  Here is my side bender in action. I just built this thing and am pretty excited about it. Up until this point I've done all my bending by hand which is nice and romantic but this thing allows me to get a lot more done. 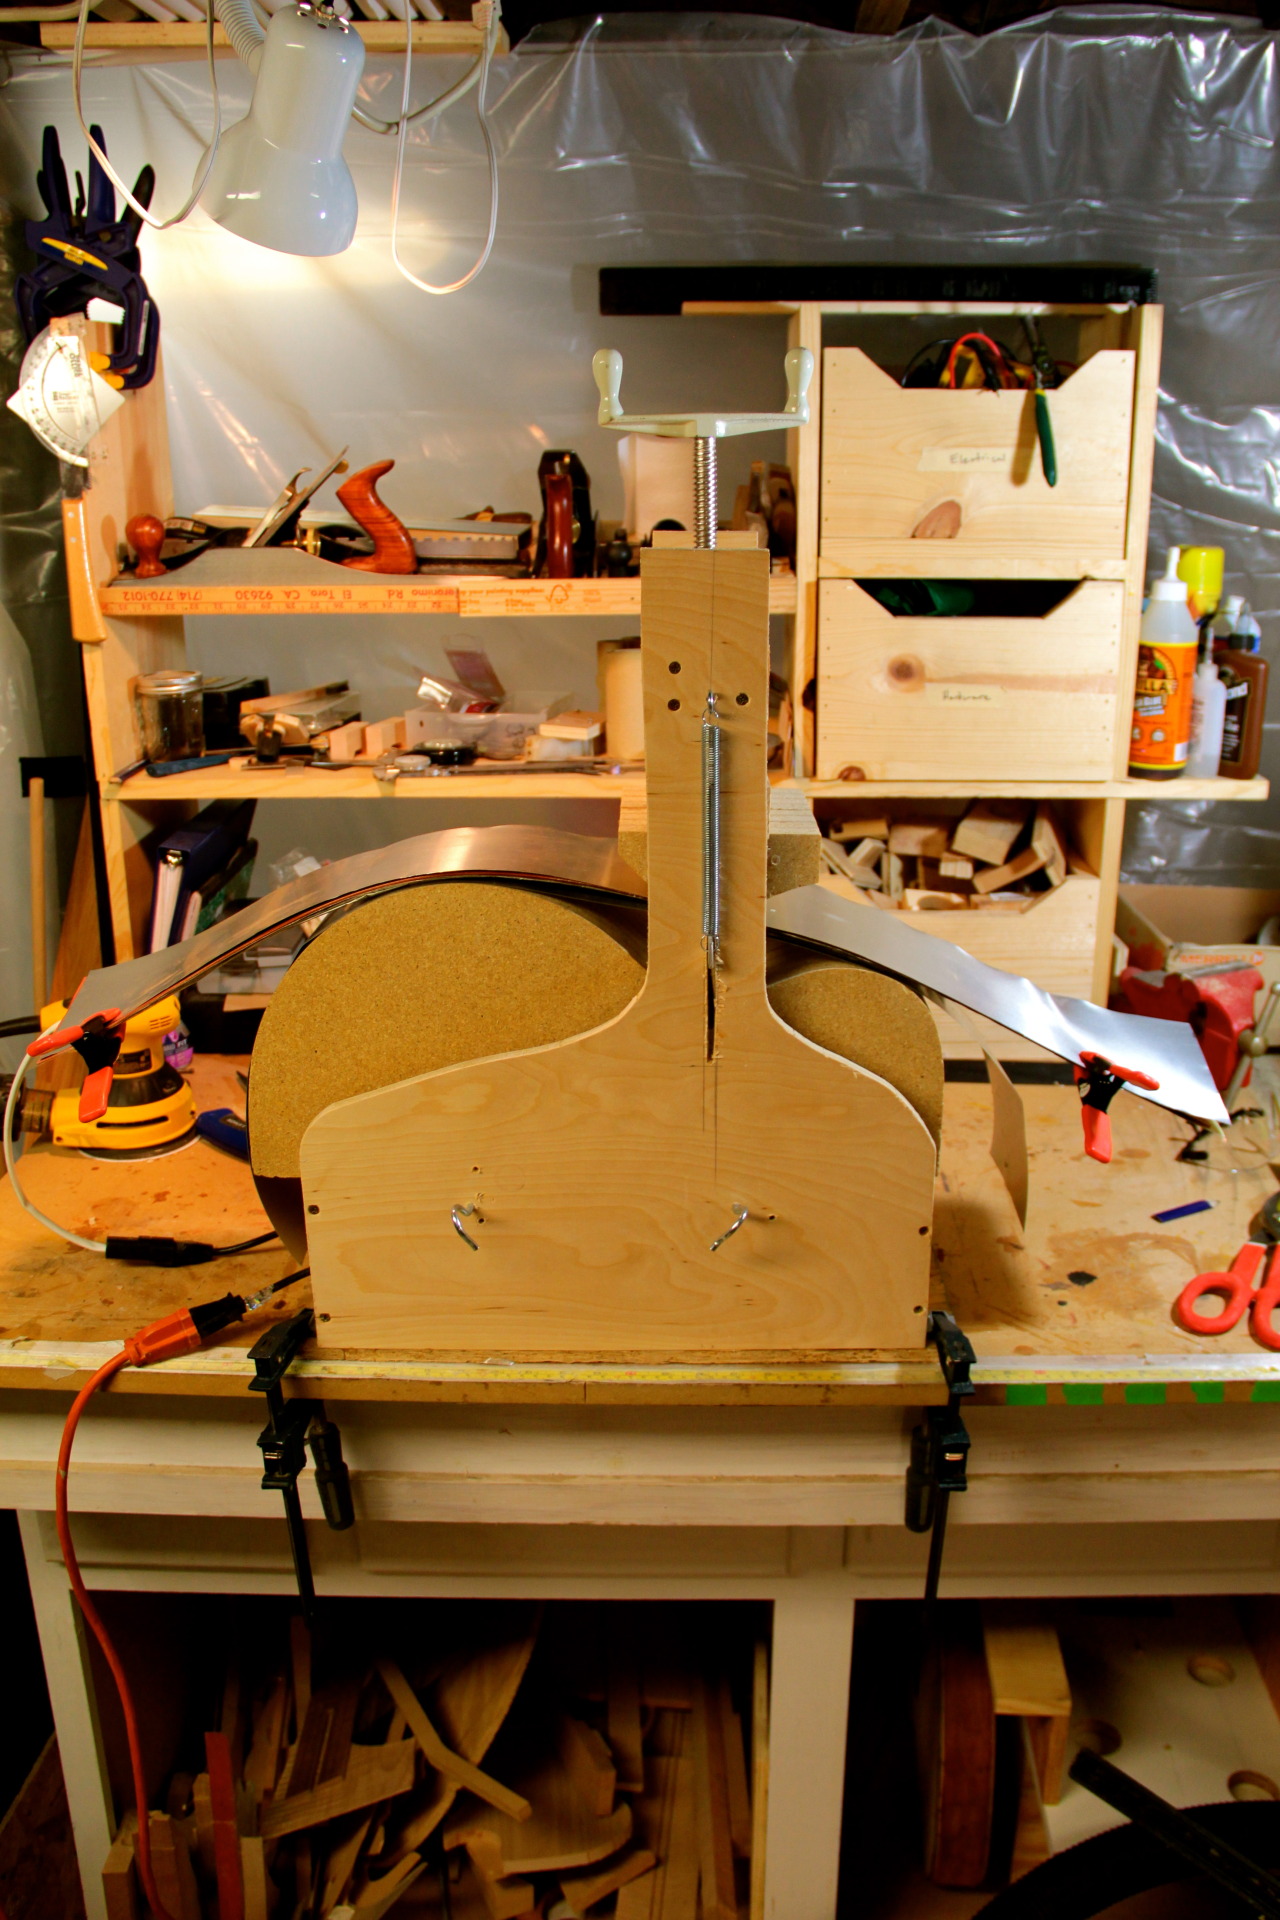 Here is the final lamination. This is three layers of maple. It was my first attempt and I wanted to try it this way to see if I liked doing it at all. Now that I'm certain I like the method, next I will sourcing some long grain cedar or maybe doug fir to use as the core material.  measuring the butt joints at the bout and upper shoulder in the mold after lamination 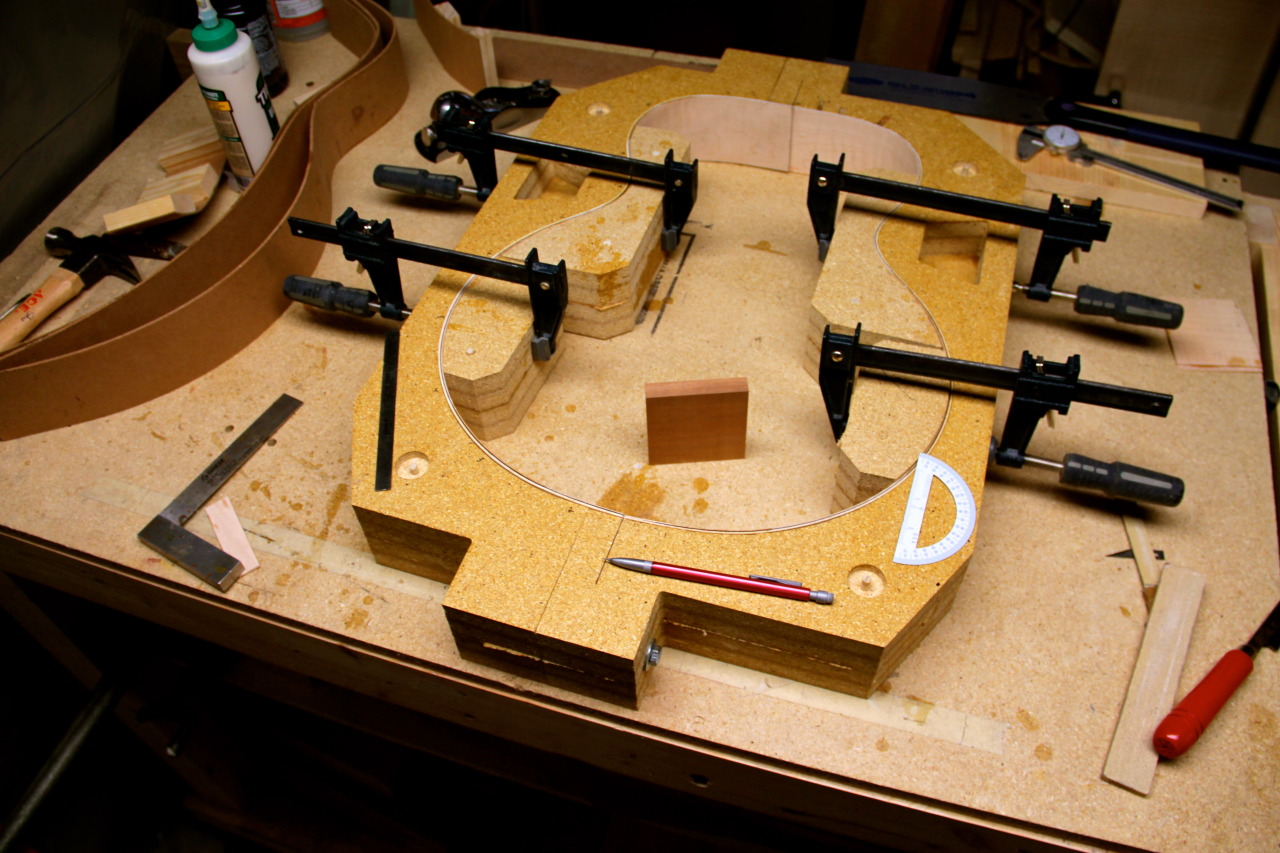 Laminating my head and end blocks 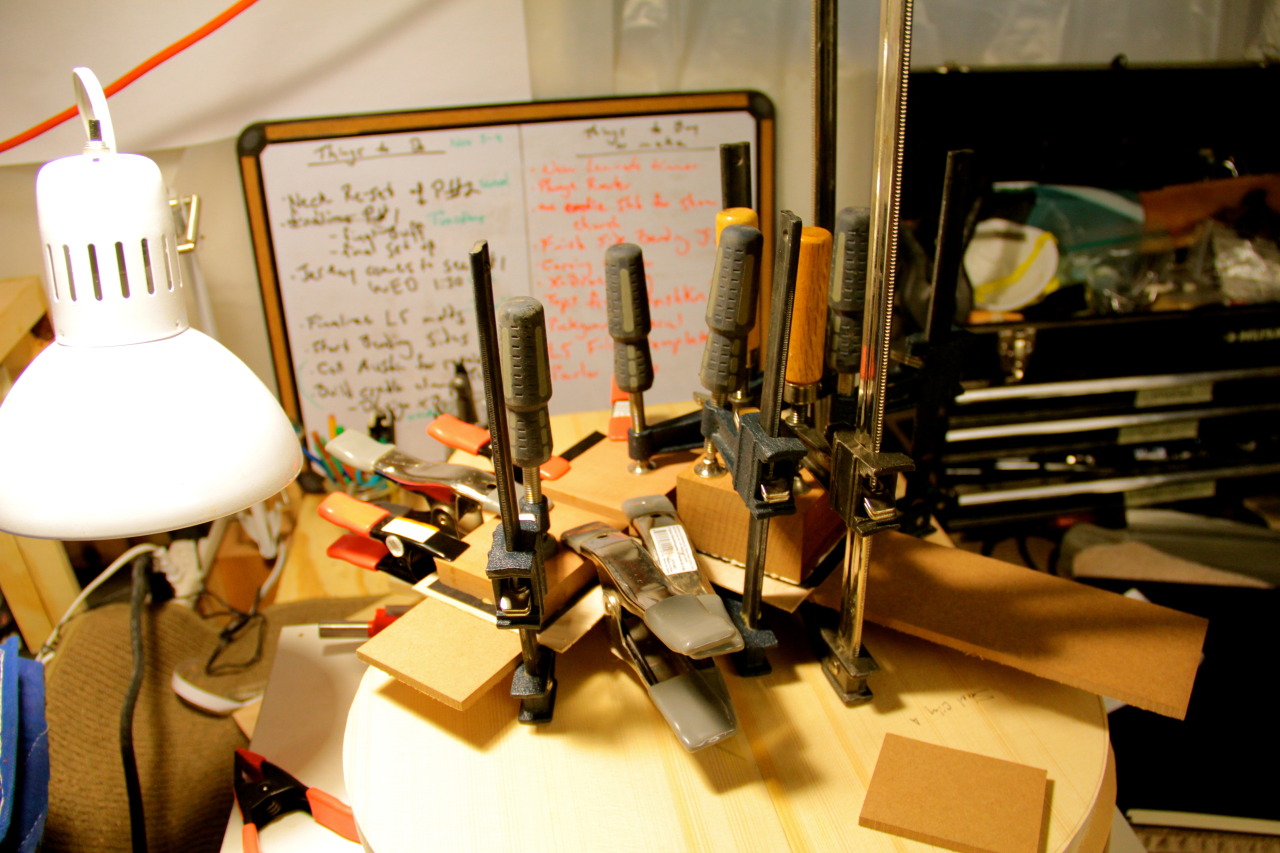 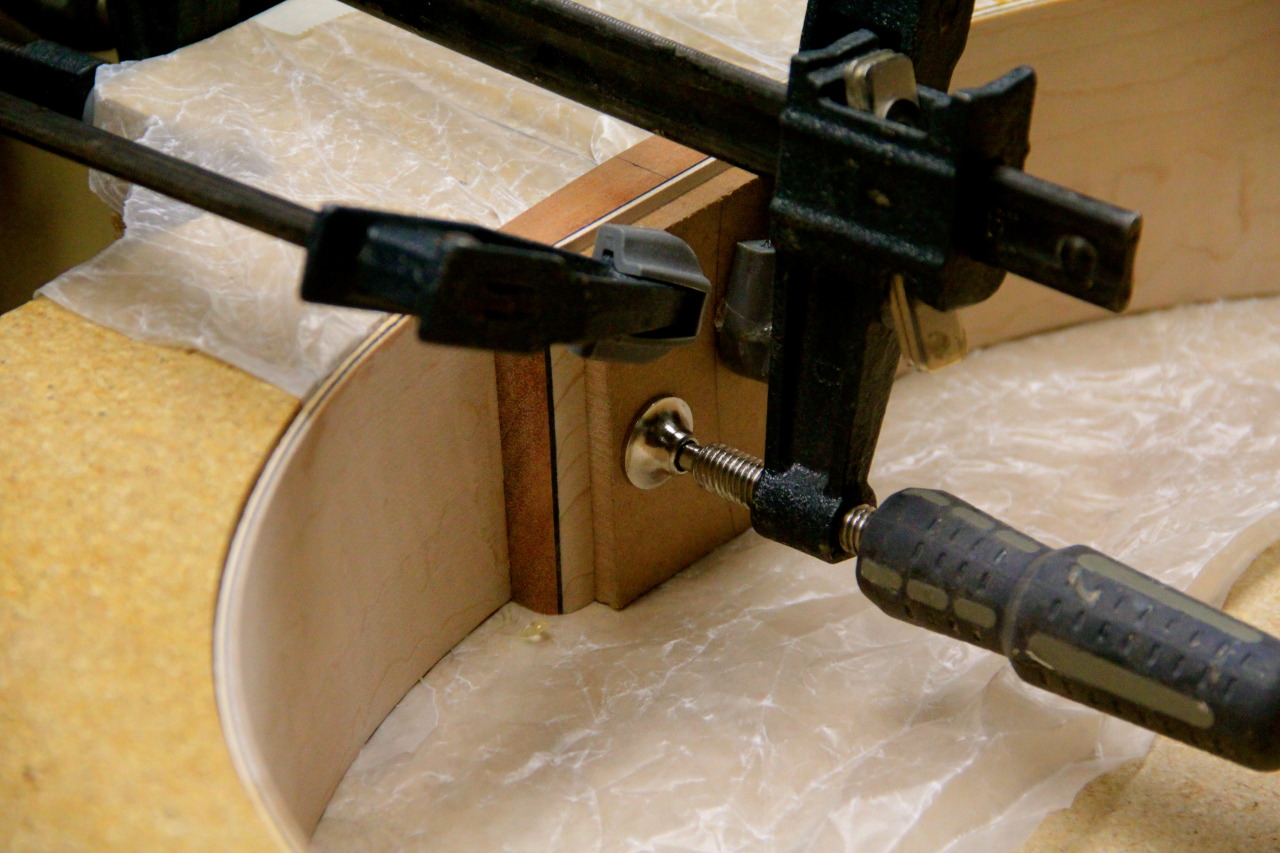 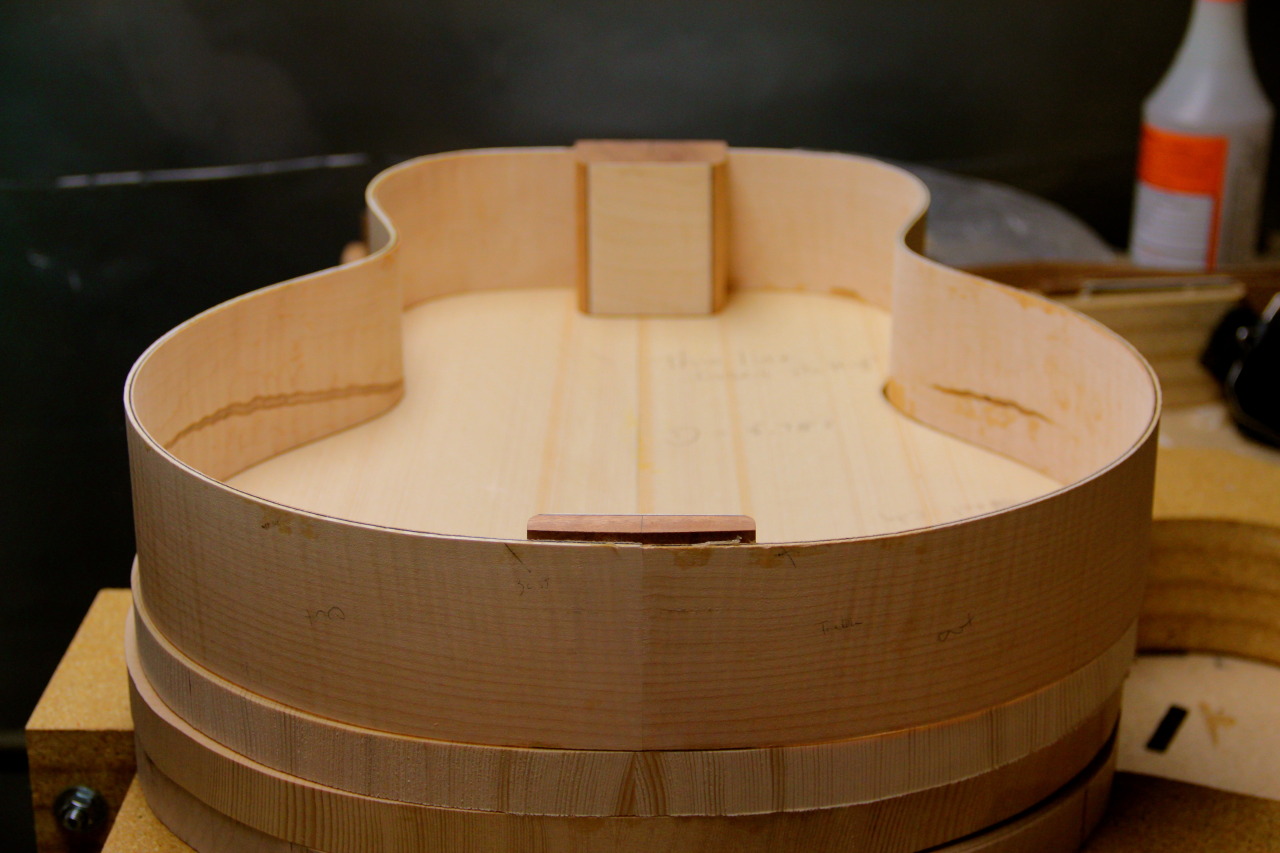 laminating the end/head block looks nice but it also adds strength to the block allowing me to decrease the footprint and use less mahogany which is more environmentally and community friendly since Mahogany is becoming more scarce. 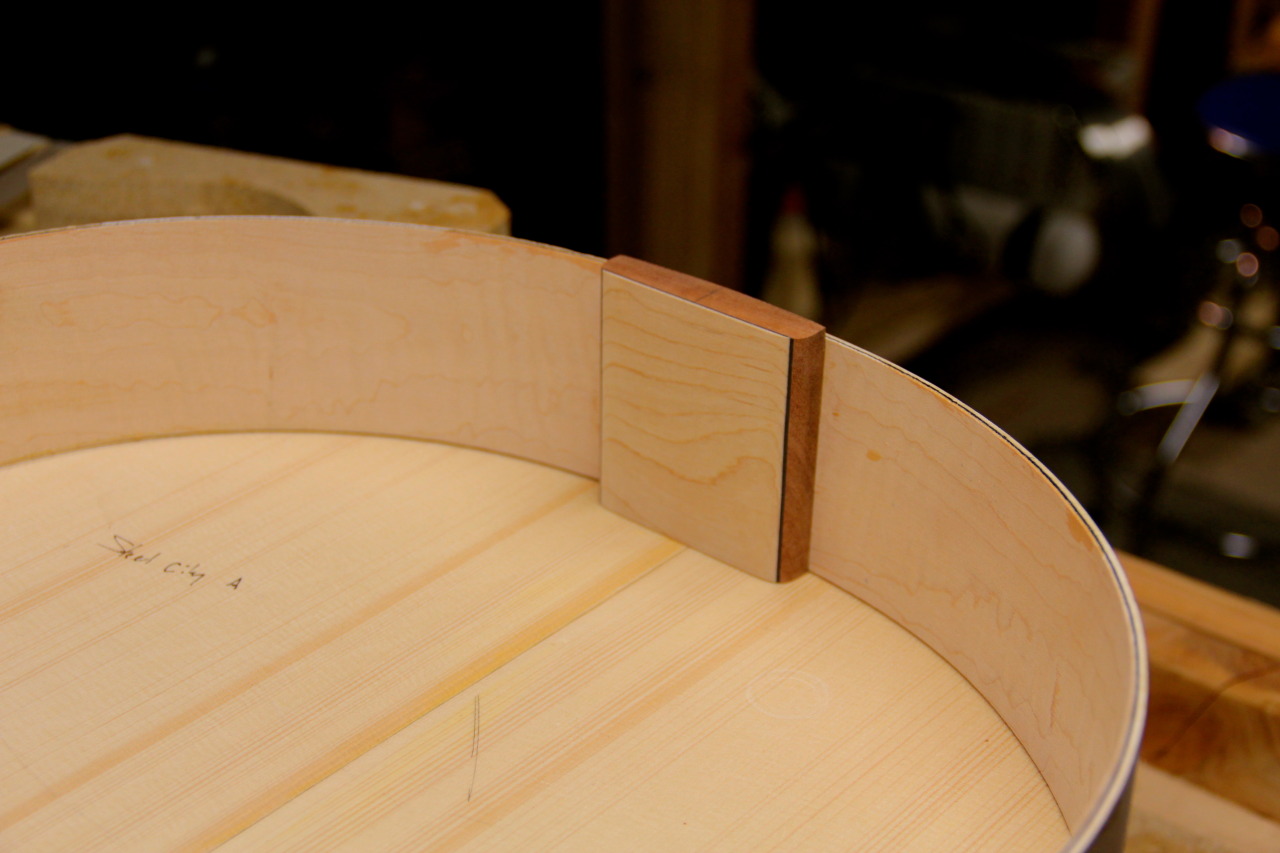 after gluing up and rough cutting the tops and backs, I flatten the interior side so that I can begin carving. You will see why I need to have the interior perfectly flat a little later on when I begin carving and post those photos. 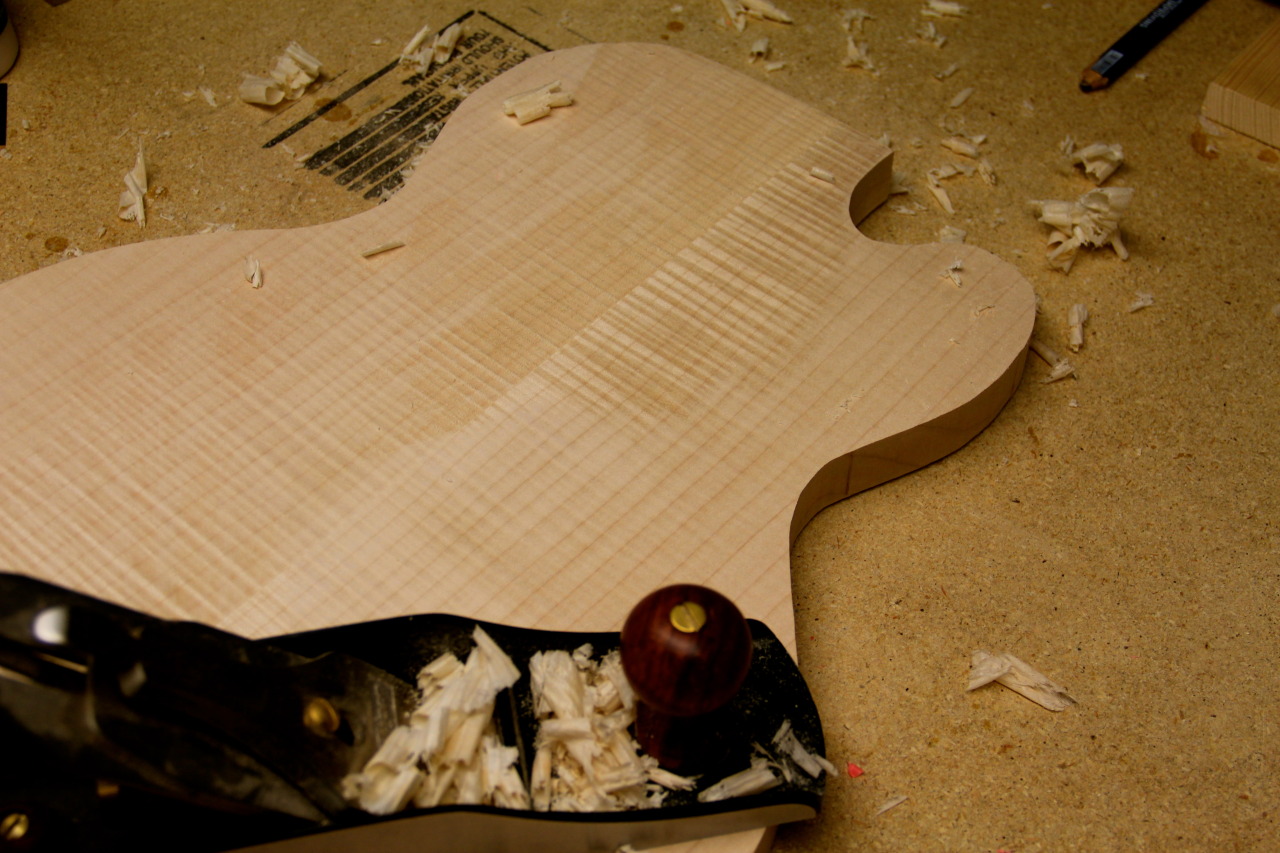 tos and backs ready to rock 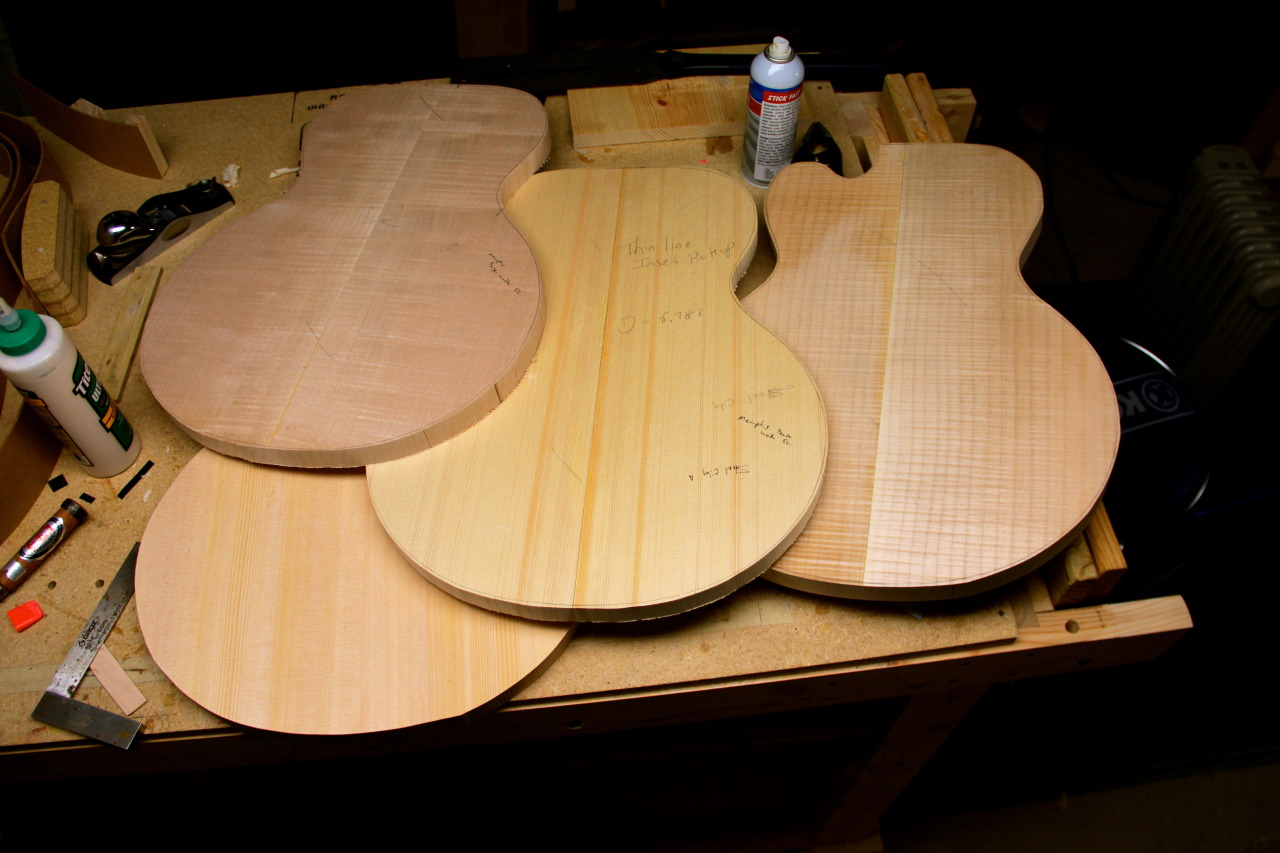 well thats it. You're all caught up. I have to finish one more repair before diving into the carving. But next week is going to be a fun week to watch. I'll try to post regularly throughout the carving process of these. Cheers
|
|
#11
11-14-2014, 04:31 AM
|
|||
|
|||
|
Fantastic work! I love seeing archtop builds! I look forward to seeing more.
|
|
#13
11-17-2014, 05:01 PM
|
|||
|
|||
|
Well, not sure these pictures will be particularly interesting. But I said I'd update as I went.
Spent the first half of the day finishing flattening the interior of all the tops and backs. 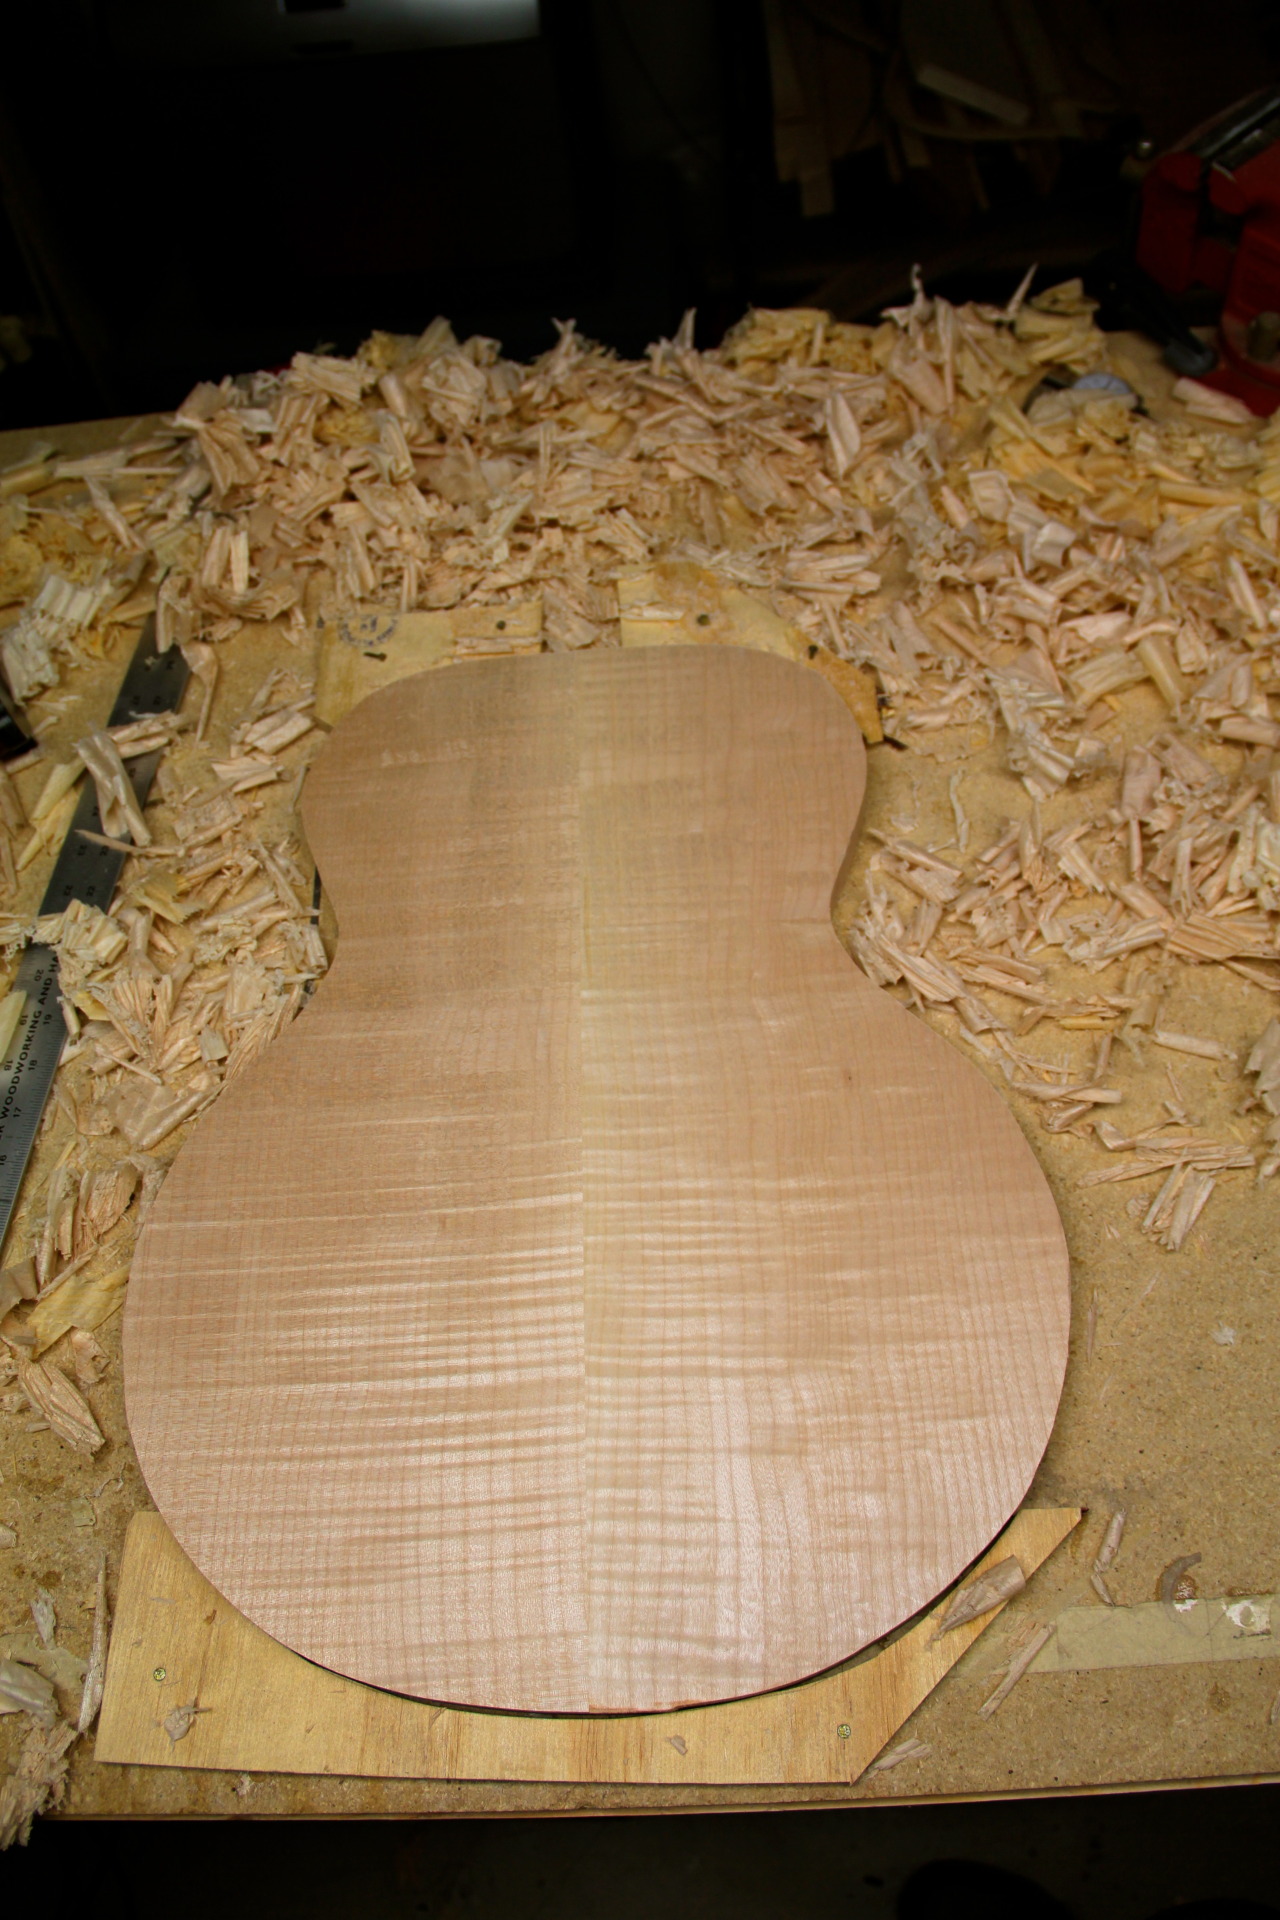 Had a trash-bag full of planer ribbons after that. Good news was I could skip the gym. Here is the flat interior of the sitka top. 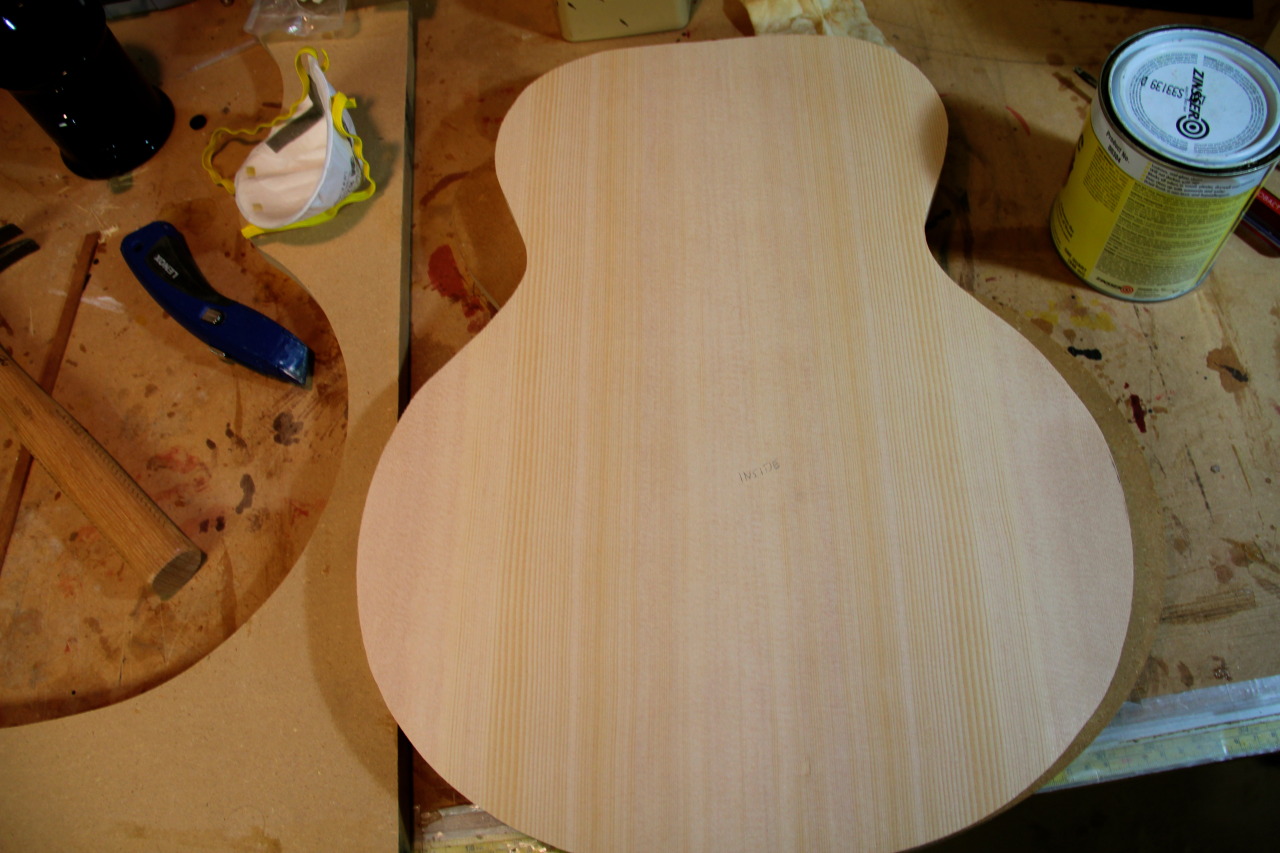 The tops and backs need to be flat because the next step is to rout a ledge around the perimeter of each piece. Here is the maple back for the cutaway with inset pickup. 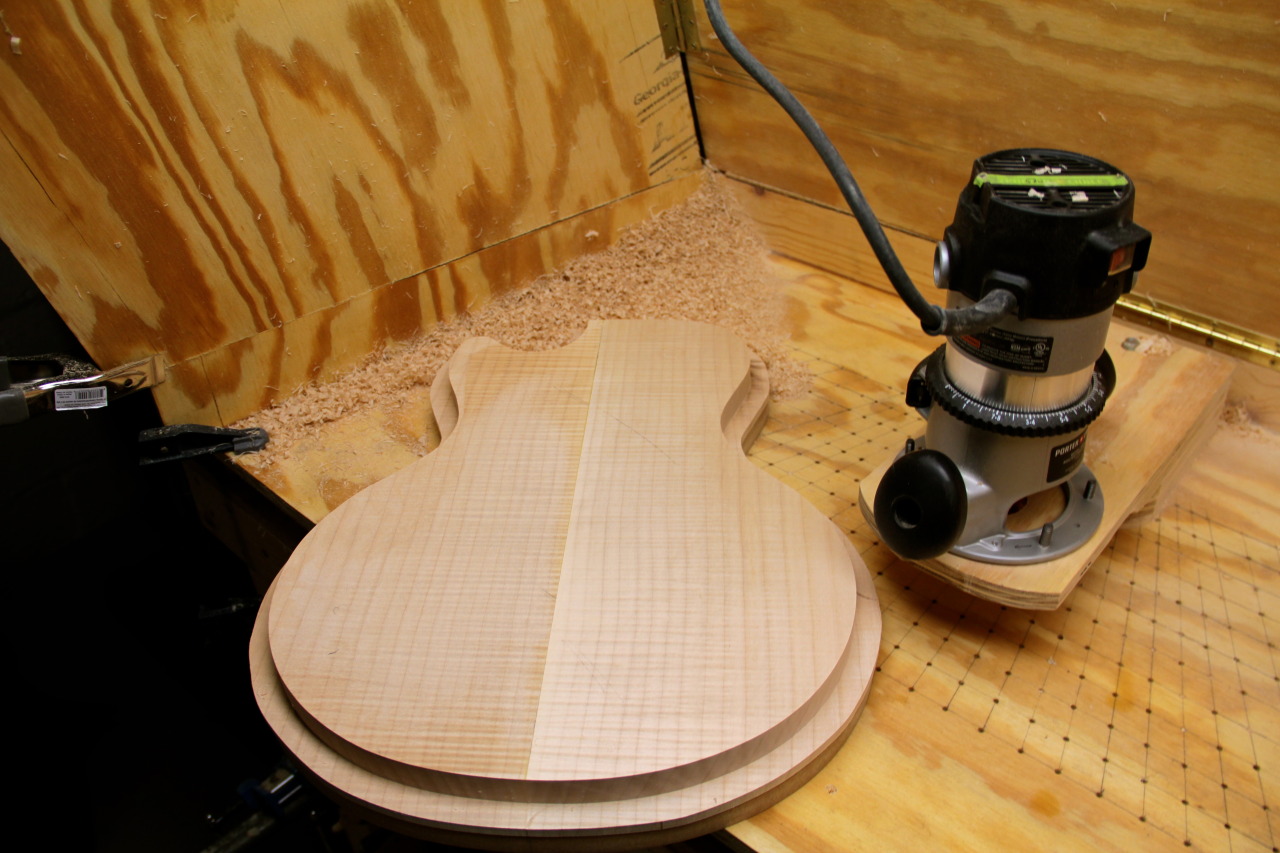 The back for the full bodied spec 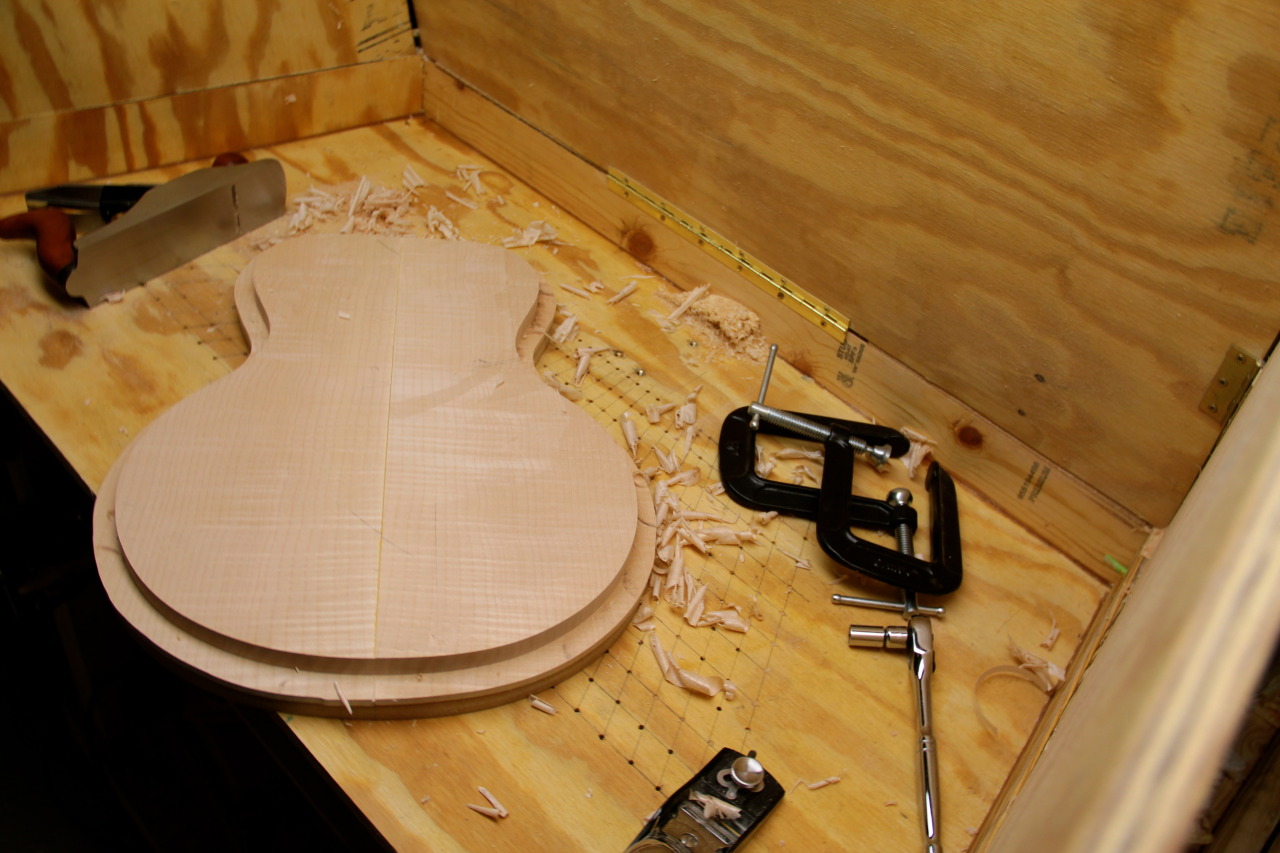 Engleman top with cutaway for inset pickup  and sitka full bodied top 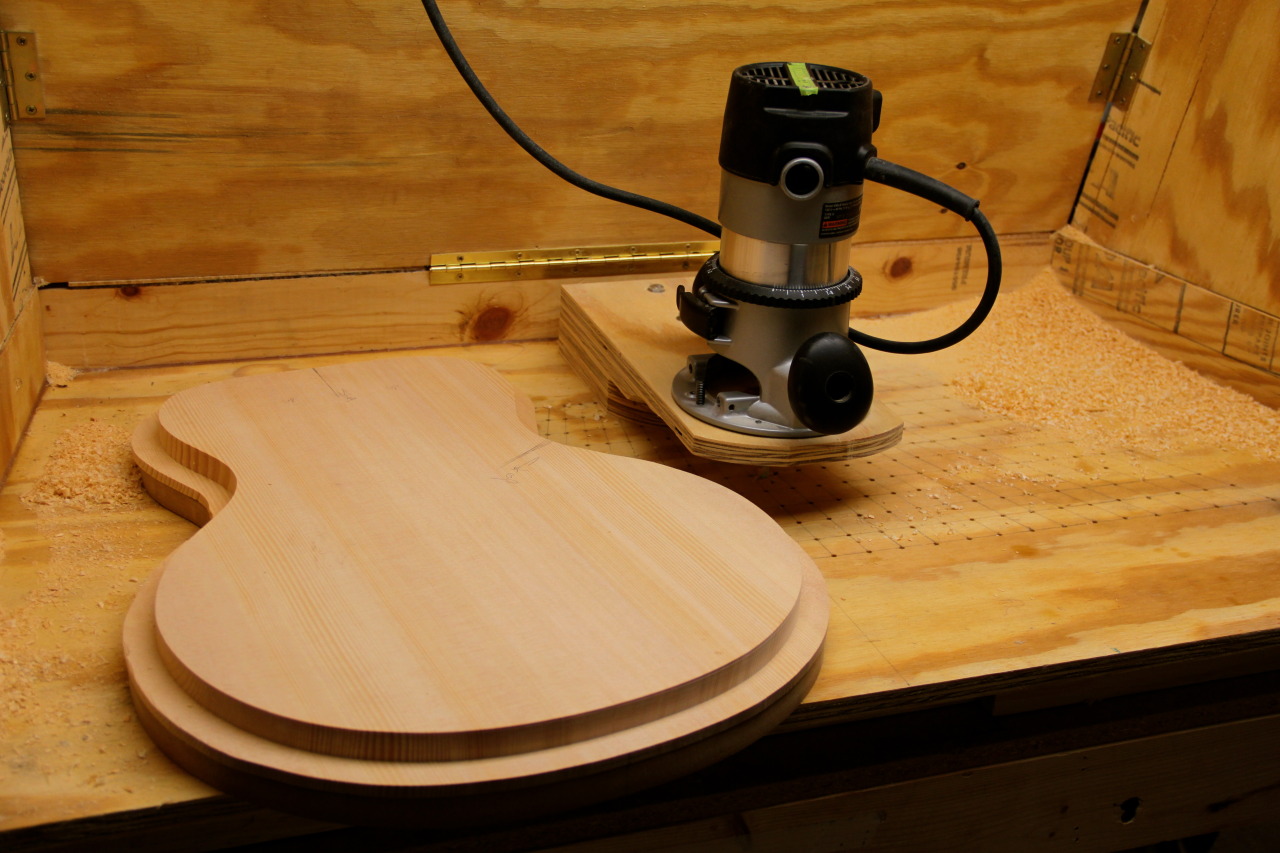 Here is an interesting visualization of the different structure of the two tops 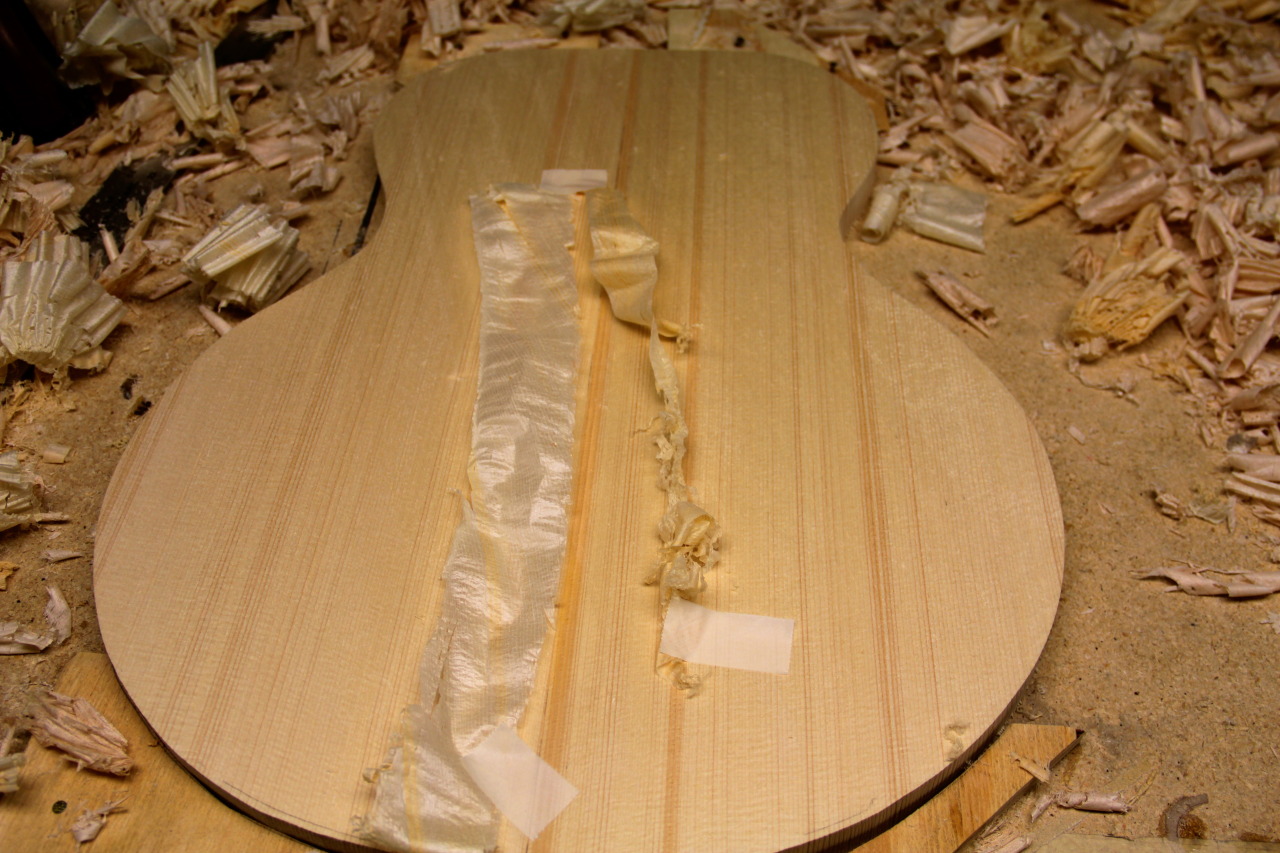 So this tells me some things about the wood. The left is from the engelmann, the right is from the sitka. If I was building a flat top I'd interpret this very differently because I'd be mostly interested in the longitudinal structure and density. But since I'm carving down into the tops my thinking changes a bit. The combination of the consistency and longitudinal grain holding up on the engelmann on the left, with its crinkly tissue paper sound, tells me I can expect this guitar to be slightly more springy under string tension, to dampen a bit more of the high end, and to be a little more mellow. All typical characteristics of engelmann but I thought the visual aid was a good way to see it. prior to this I already knew the different densities of each piece, because I run all my top wood through a few material data tests when I receive them. So given all this, the decision was to make the engelmann the top for a more electric, thiner bodied guitar with an inset pickup and the sitka top the full bodied acoustic guitar with floating pickup. Alright, thats all for now. I'll start carving tomorrow or wed. Hope you all enjoy. Cheers
|
|
#14
11-18-2014, 09:00 PM
|
|||
|
|||
|
Spent the day doing the rough carving of the tops and backs.
I use a chainsaw wheel on an angle grinder to remove 80% of the waste material. I then collect the shavings in a bag to be recycled. This method was taught to me by Tom Ribbecke and it's how we carved all our guitars while I was working with Tom. It allows me to carve at an obviously faster pace while also retaining the tactile experience of carving which is extremely important with archtops. The tactile nature of carving provides me with a lot of information about the wood. This is the problem with CNC machines when it comes to archtop guitars. It removes the ability to read the wood as you carve. I have to take a day off now because my dust collection needs a part and the next stage is very dusty. But from here, I will remove the chainsaw wheel and begin smoothing and shaping with abrasive discs. Once I have about 5% left I will switch to hand planes and scrapers. Then we move to the interior carve. 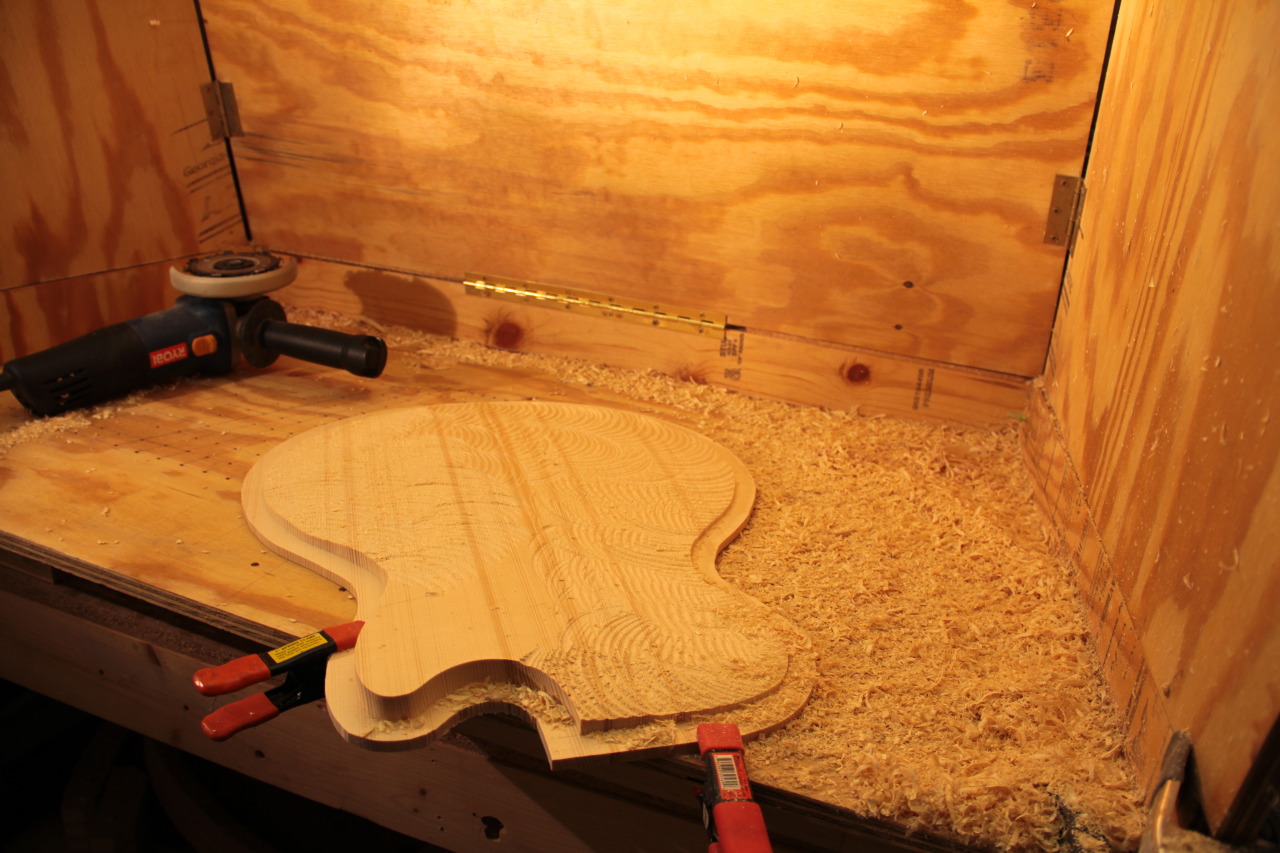 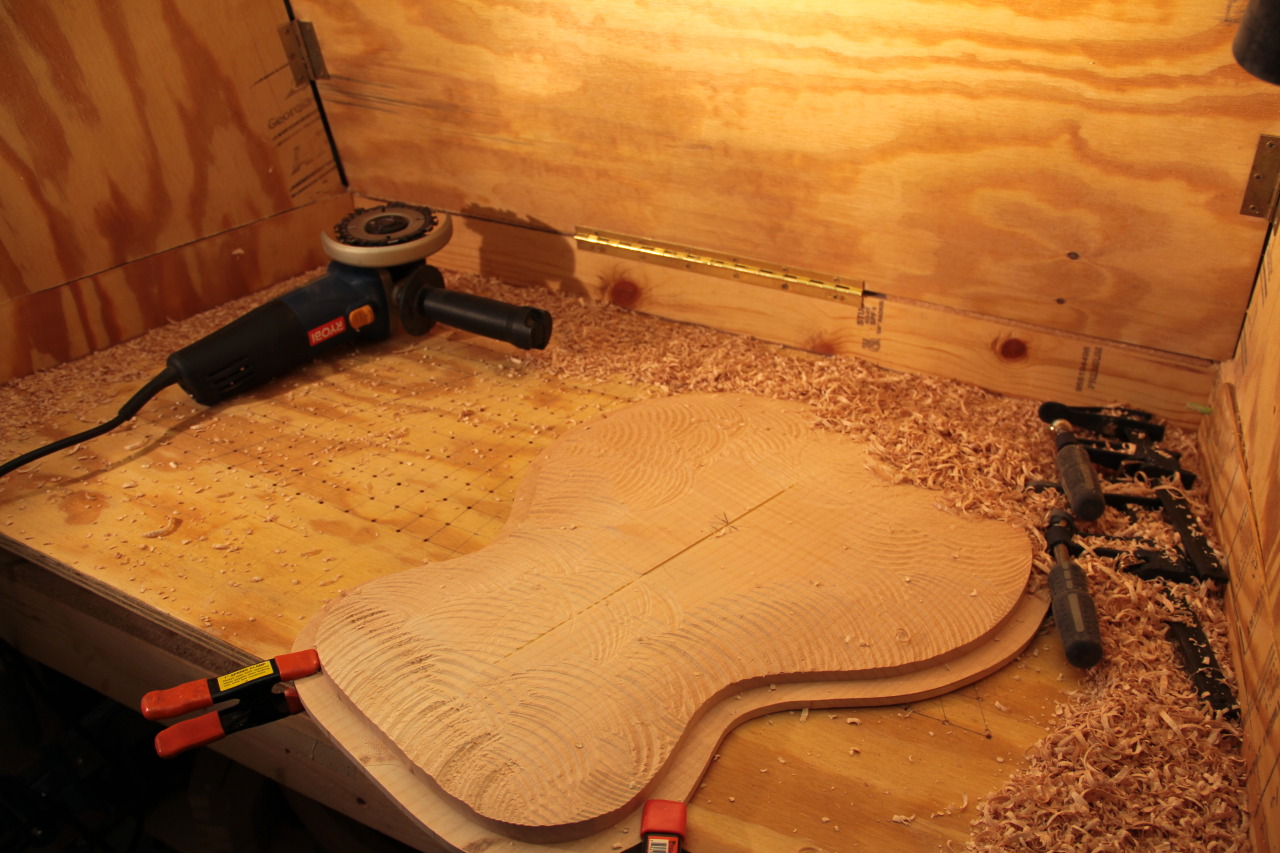 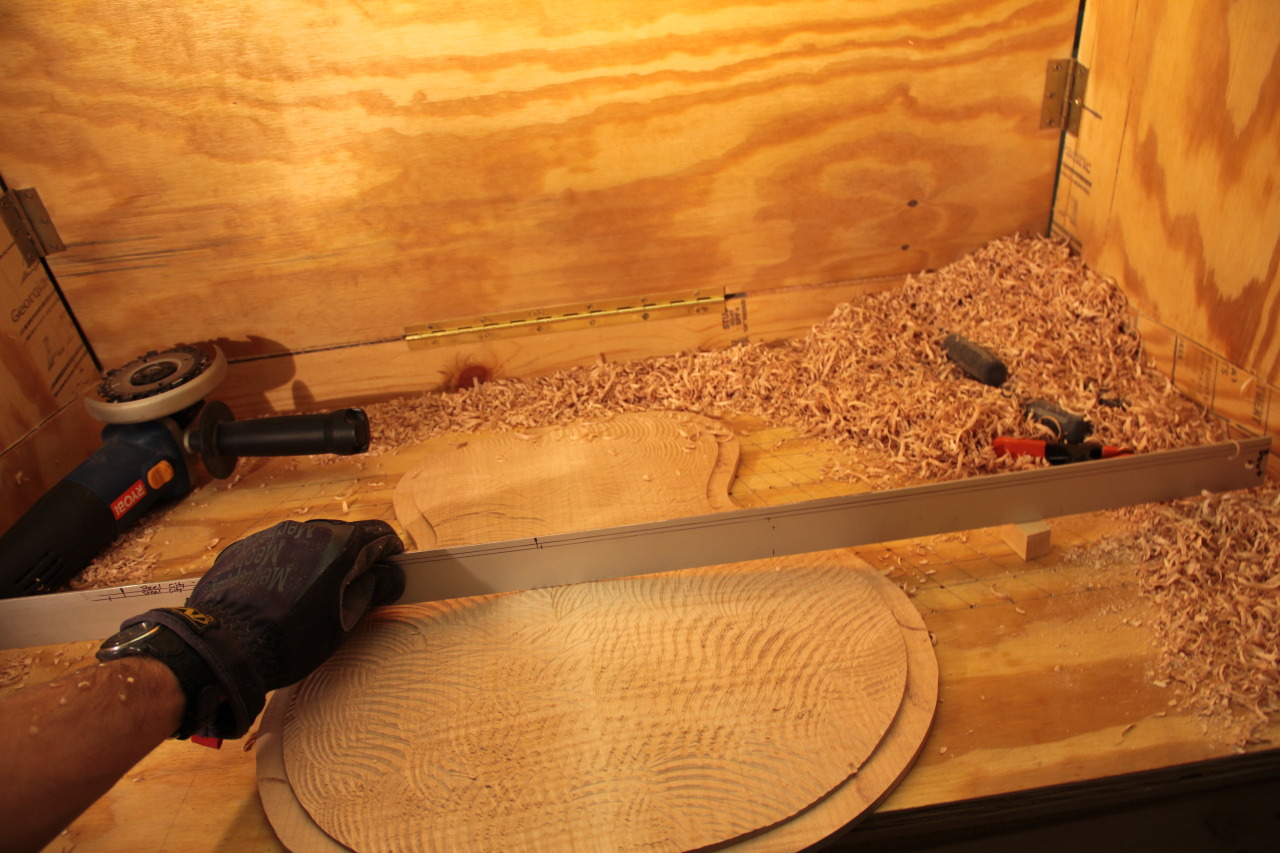 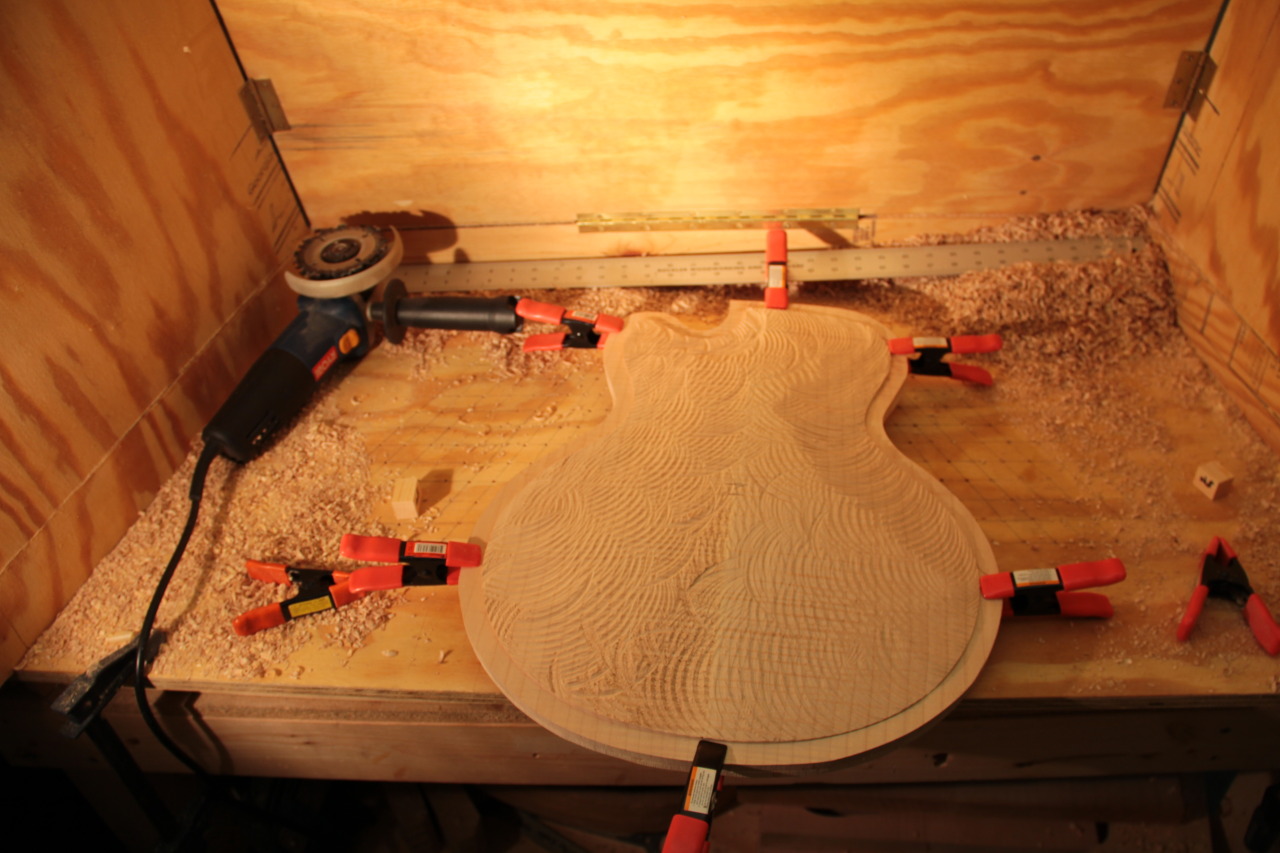 In this photo I've drawn out some lines to give you a visualization of what I'm seeing in my minds eye when I carve a cutaway top. The tricky bit is transitioning the concave scoop shapes on the top side of the cutaway with the more convex shape of the rest of the shoulder. I dont take this area down as far with the chainsaw I shape most of it with a finer abrasive disc which allows me to get into tight areas with surprising dexterity.  Disclaimer - This carving method is dangerous. For any guitar makers that are seeing this and thinking they'd like to try it I'd have to strongly discourage that. I studied under a master luthier who used this method for years. So I feel very comfortable with it. But bad things can happen very quickly with this chainsaw tool. Last edited by StuartDay; 11-18-2014 at 09:08 PM.
|
|
#15
11-19-2014, 04:32 AM
|
|||
|
|||
|
Stuart, the build looks fantastic. Your chainsaw disc carving method is very neat. One of the very first guitars I built was an LP and I used an angle grinder with a 40 grit wheel to do most of the carving. Since I've been building archtops lately I might try out the angle grinder method again.
|


 Thanks for posting.