
 |
|
#16
|
|||
|
|||
|
|
|
#17
|
|||
|
|||
|
The siides have the linings glued on, and the back is fit and glued.
[IMG] 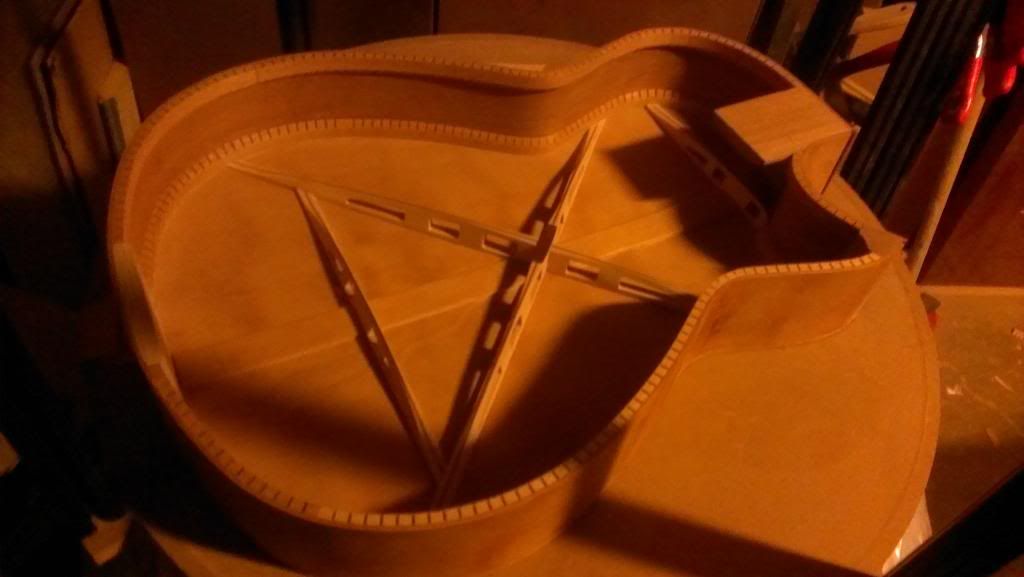 [/IMG] [/IMG]And a pic of the back. It's hard to tell here, but I actually reverse-tapered the body. It's slightly thinner at the lower bout than the upper bout. I did this to add extra comfort while standing, instead of doing an arm bevel. [IMG] 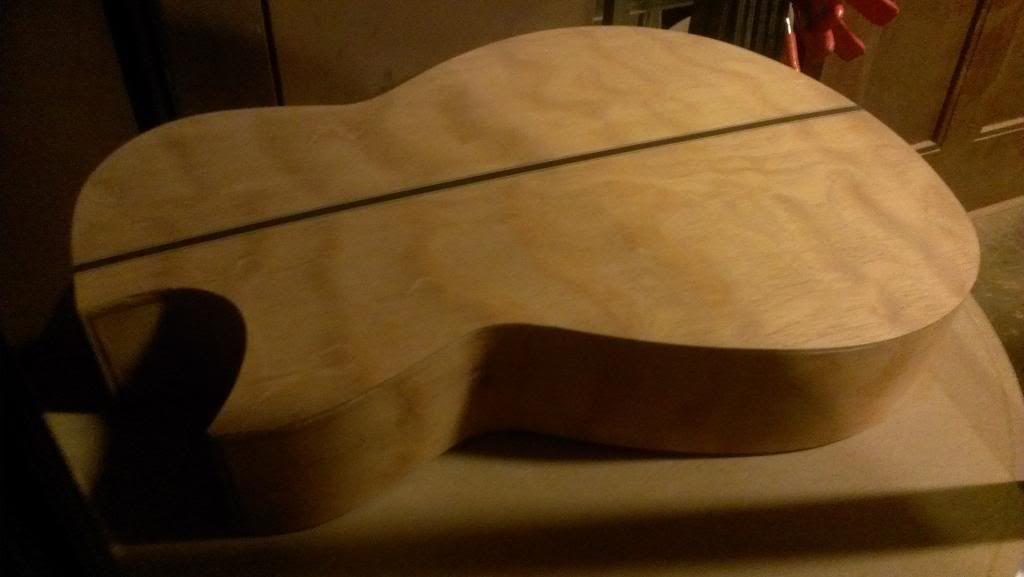 [/IMG] [/IMG]I glue the transverse brace into the back and side assembly rather than to the soundboard. I find this easier. I also laminated the transverse brace, and it does taper to fit into the linings. The lamination makes it plenty strong, though I leave the ends a lot thicker than the other braces, almost 5/16" at the ends. Also I can clamp it tight to the neck heel extension. [IMG] 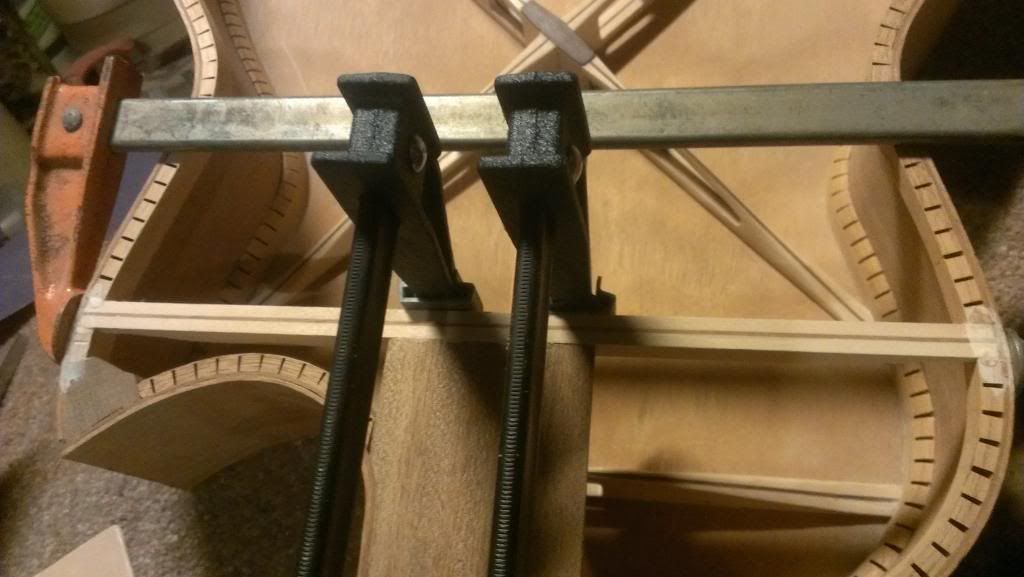 [/IMG] [/IMG]Next up: Gluing the top to the back and side assembly, routing binding channels and installing binding, making the neck and bridge. I originally had an ebony board slated for this but I screwed it up, so I will be using Honduras rosewood. I will also be using it for the bridge. The neck will be flame maple with ebony and maple stringers, to match the backstripe. I will veneer the headstock with dropoffs from the back and sides. I also have some Schertler tuners for this guitar, in black. Bridge and nut will be bone. I have some spare bridge pins that match the color of the bone well enough. |
|
#18
|
|||
|
|||
|
In a rare case of complete BS - I switched cell phone providers, and was able to transfer my contacts via my Google account. Great, except I traded in my phone and the memory got wiped, including my pics. So I'll have some update pics soon.
I was happy with the binding. For some reason I had a brain fart and routed off the ends of the end graft and cutaway binding where I wanted to miter the pruflings. I ended up "returning" the purfling on the end graft and cutaway binding into itself, which gave me a look I like. The miters are OK but not perfect; I think I need to start wearing glasses! The neck had been built and installed. In a nod to the Spanish guitar builders of yore, I glue my bridge on before finishing, so I can string the guitar up and do a little "fine tuning" of the top. I do this before I put the headstock veneers on, so if I don't like the tuner placement I can tweak it a little. I build as I go, so there are no plans other than the body mold and fretboard layout. I "tilted" everything on the headstock to match the angle of the nut. I didn't want fret markers nor side dots nor inlays. For the fretboard, I put my frets on the fretboard first before gluing down to the neck. I used jumbo fretwire for this one, as I like the feel better. For finish, I'm using lacquer. I also use lacquer to "pore fill" in this case since the pores aren't too bad, and I like the look better. I cut the lacquer down with xylene so it dries slower and just push it into the wood with a rag. I should have some pics tomorrow of what I have so far. Pretty excited to get this done, and it shouuldn't be too long... |
|
#19
|
|||
|
|||
|
Enjoying the pictures so far.
Looking forward to seeing it completed. |
|
#20
|
|||
|
|||
|
Thanks! So am I!
|
|
#21
|
|||
|
|||
|
Shame about the phone and loss of pics Louie, keep them coming though as it is interesting to watch and hear what you have to say on it. I am curious about the top brace height at its max height if you don't mind giving out measurements.
Jim |
|
#22
|
|||
|
|||
|
Quote:
For my "conventional" braces I size them to 3/4" height. On this guitar, it's about 27/32" or about 3/32" taller than standard. I was able to taper them more radically than my "regular" bracing; they almost come to a sharp point. I spent my post-assembly tuning thinning the braces a little bit more toward the lining. I feel like I can take more out of the pockets; it's amazing how stiff they are considering they're actually lighter than my regular bracing. Overall the guitar is not the lightest I built, though it's not heavy; I haven't weighed it yet. The double sides and maple neck I feel contributue to the weight. The body however is very resonant and responsivel I really can't believe the amount of sustain I get. Yet it's got some amazing volume. I use 11s and 12s, but on the first stringing I put an old set of 11s I keep in the "shop" for such tasks. I will put the 12s on for final assembly as I hope to explore more open tunings. Bringiing the guitar into work for a little show-and-tell with a couple friends, so I'll take some pics there. My basement is a disaster zone right now! |
|
#23
|
|||
|
|||
|
OK got some pics. The new phone cam kind of sucks, but at least you can see some pics.
Here's a shot of the guitar: [IMG] 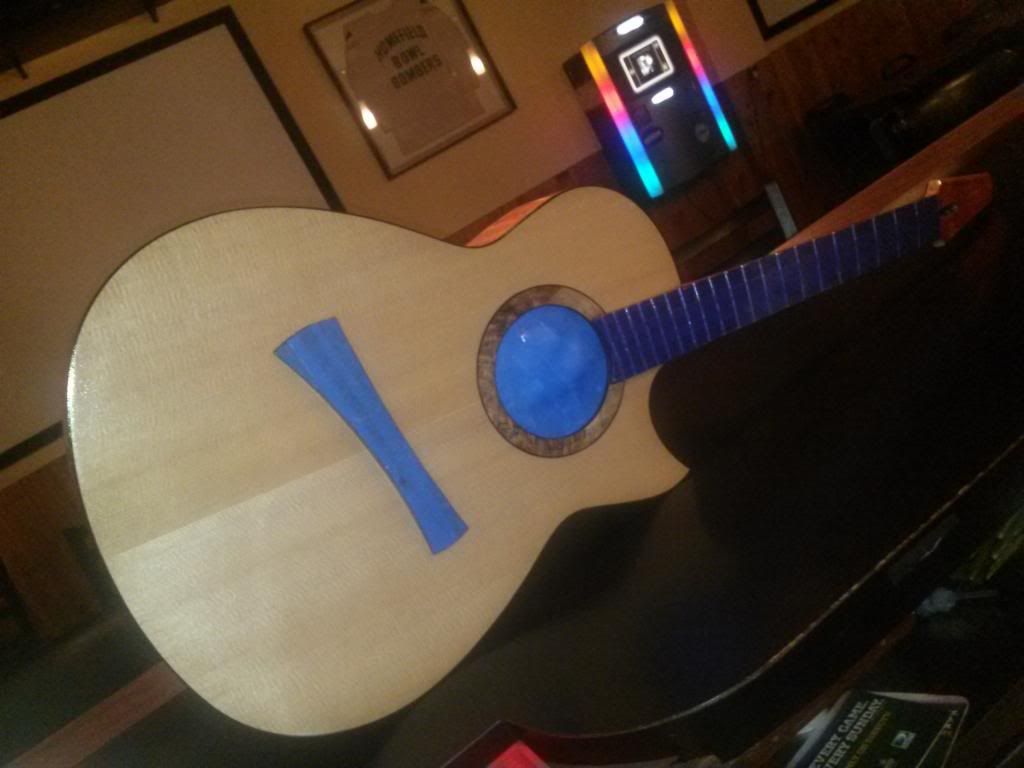 [/IMG] [/IMG]View of the top: [IMG] 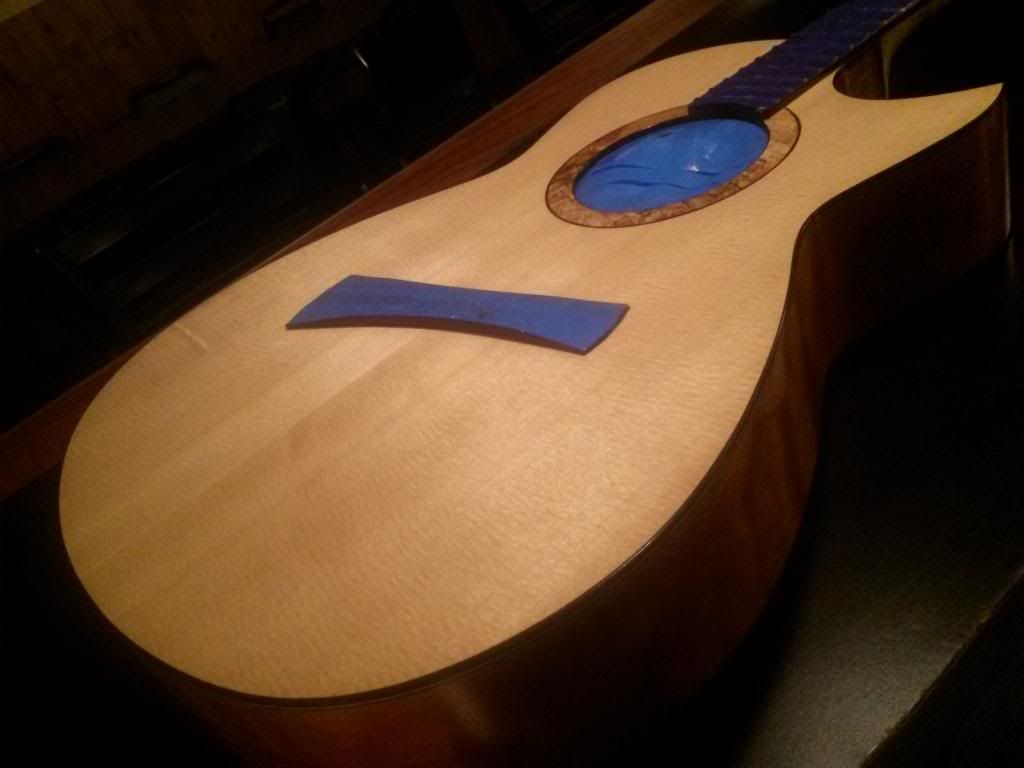 [/IMG] [/IMG]Close-up of the Sitka top. Some really nice silking; the top shimmers in person: [IMG] 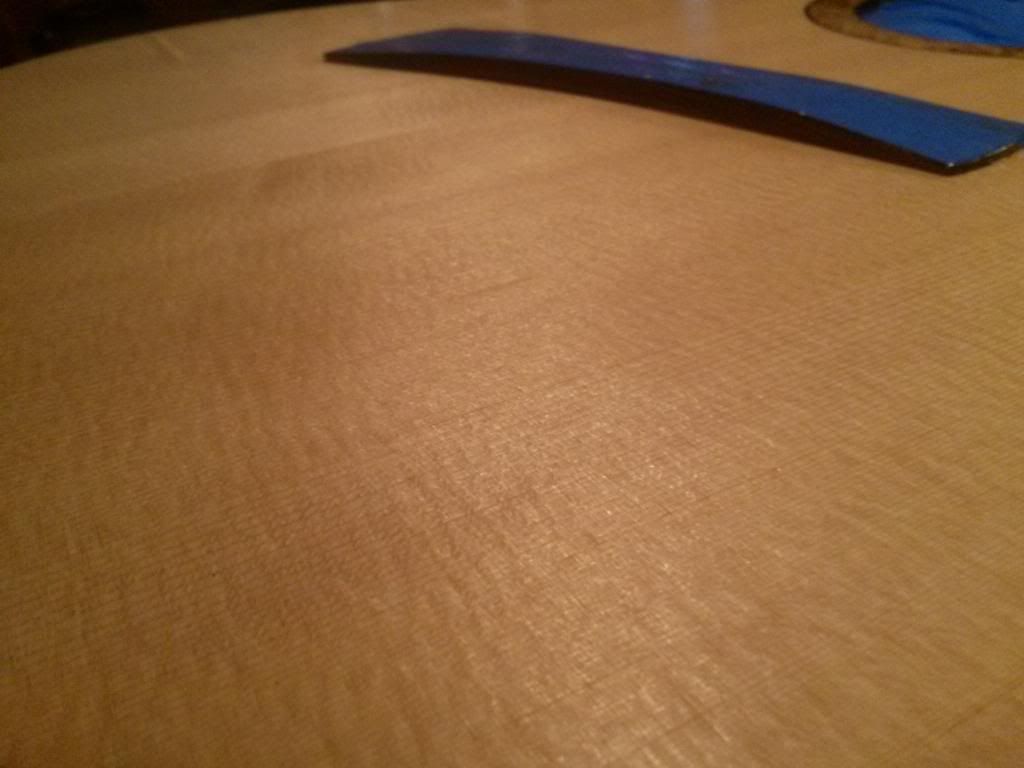 [/IMG] [/IMG]A view of the spalted maple rosette. Note the banding on the inside of the soundhole, which covers the soundole reinforcement. In actuality the top is less than half that thickness. [IMG] 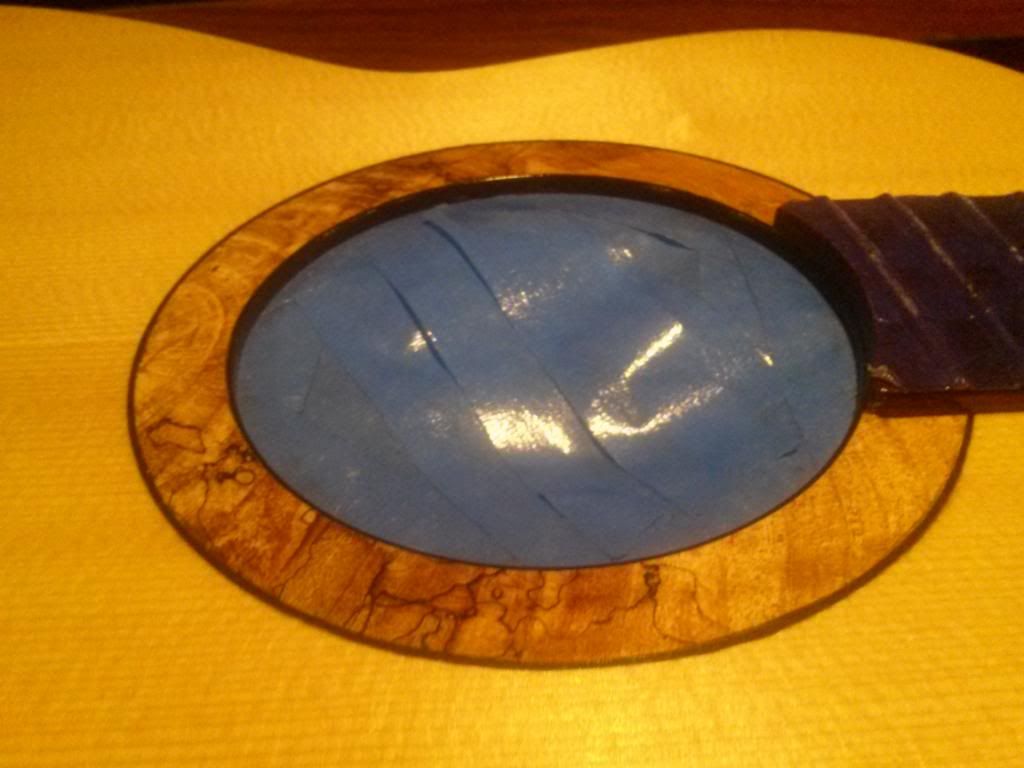 [/IMG] [/IMG]
|
|
#24
|
|||
|
|||
|
Here's my current, simplified, compact headstock design. I wanted to modify my previous headstock design to reflect the angle of the nut but was not happy. i just simply beveled the edges with my small hand plane:
[IMG] 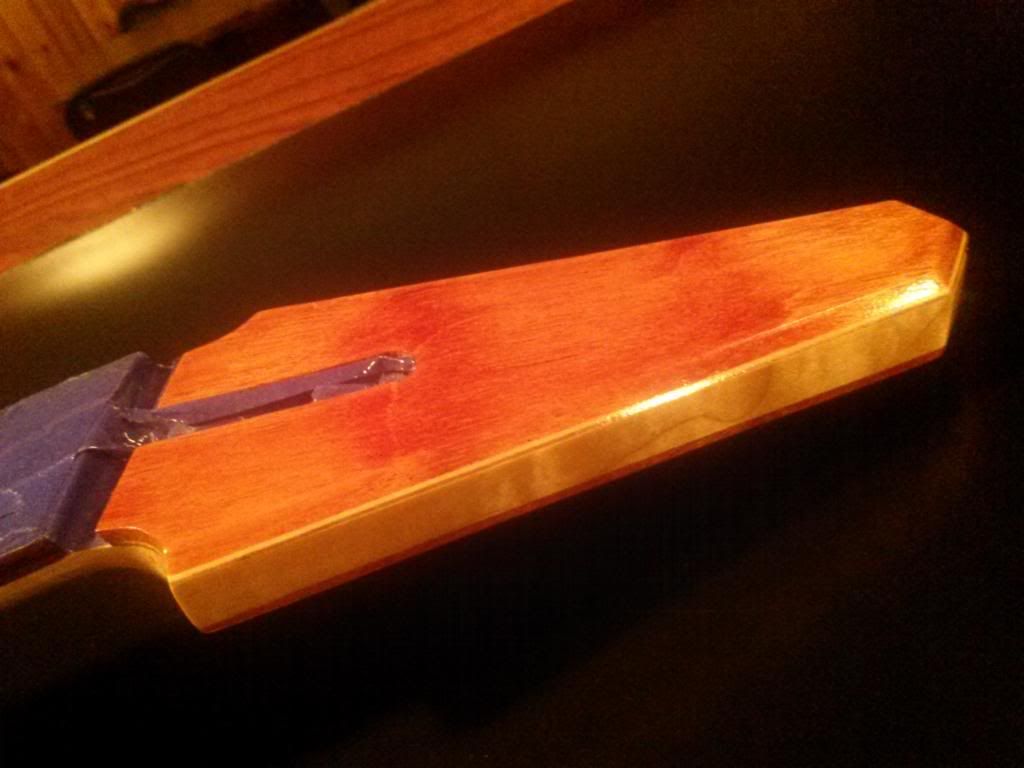 [/IMG] [/IMG]View of the back. Hard to tell here, but the backstrip purfling returns on itself, rather than into the edge purfling. I thought this worked out well. The miters can be better, and I need to bite the bullet and start wearing glasses (and get better lighting in the shop!) [IMG] 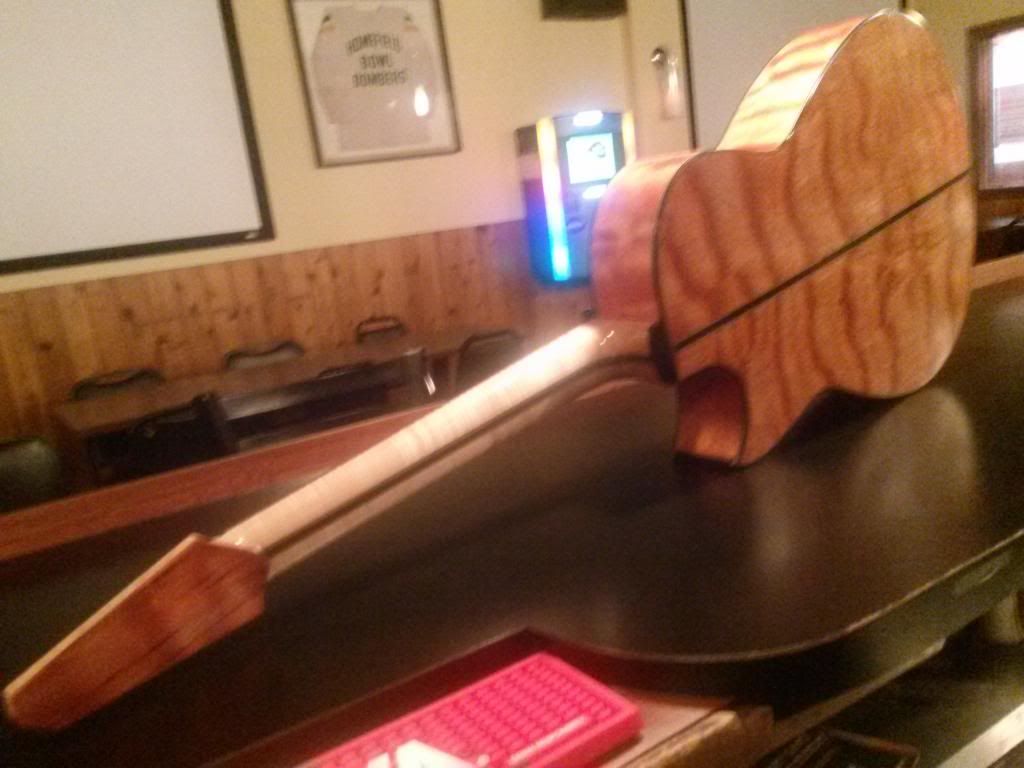 [/IMG] [/IMG]Close-up of the back. This cam kind of washes out the color; it's actually a lot richer in person. The figuring has a nice shimmering 3D effect. [IMG] 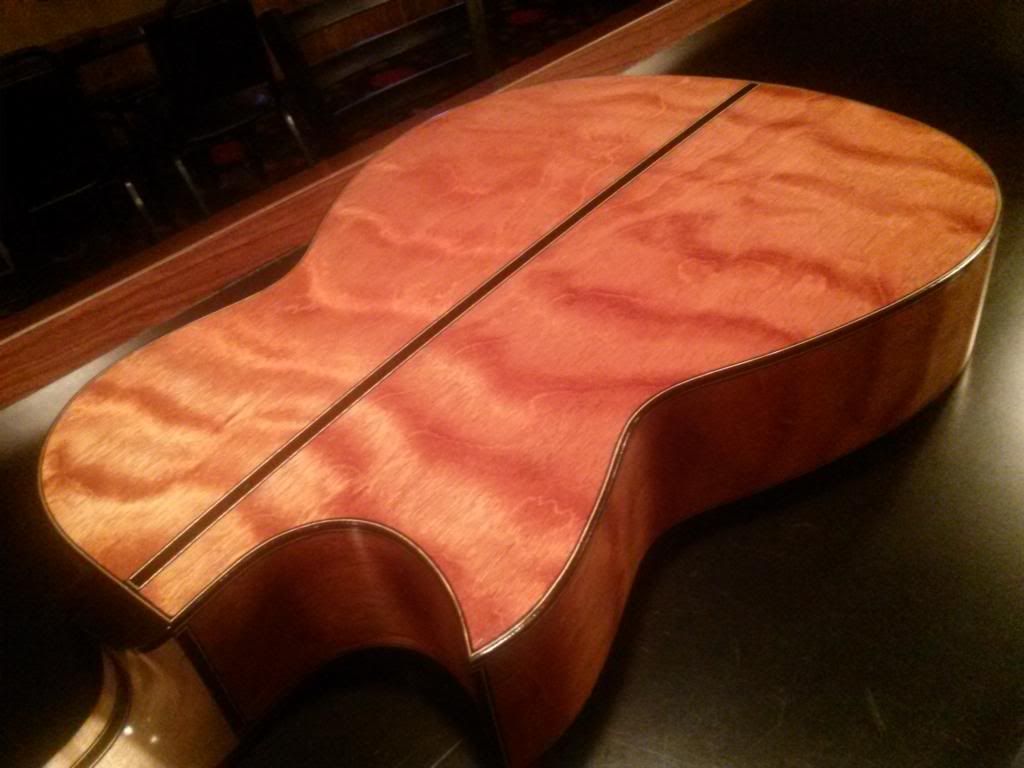 [/IMG] [/IMG]A view of the cutaway binding. To continue the theme, I returned the cutaway purfling into itself as well. This proved to be pretty difficult, as the pieces are very small, and the pads of my fingers, not so! I used CA glue to set them in place, and a CA "flood" to get to any imperfections. Oddly, these miters came out better than the backstripe. Also, there's a softer curve on the heel carve on this side, to facilitate comfort; we do a few acoustic jams and I want to still be able to play solos on some 'acoustified" rock stuff! [IMG] 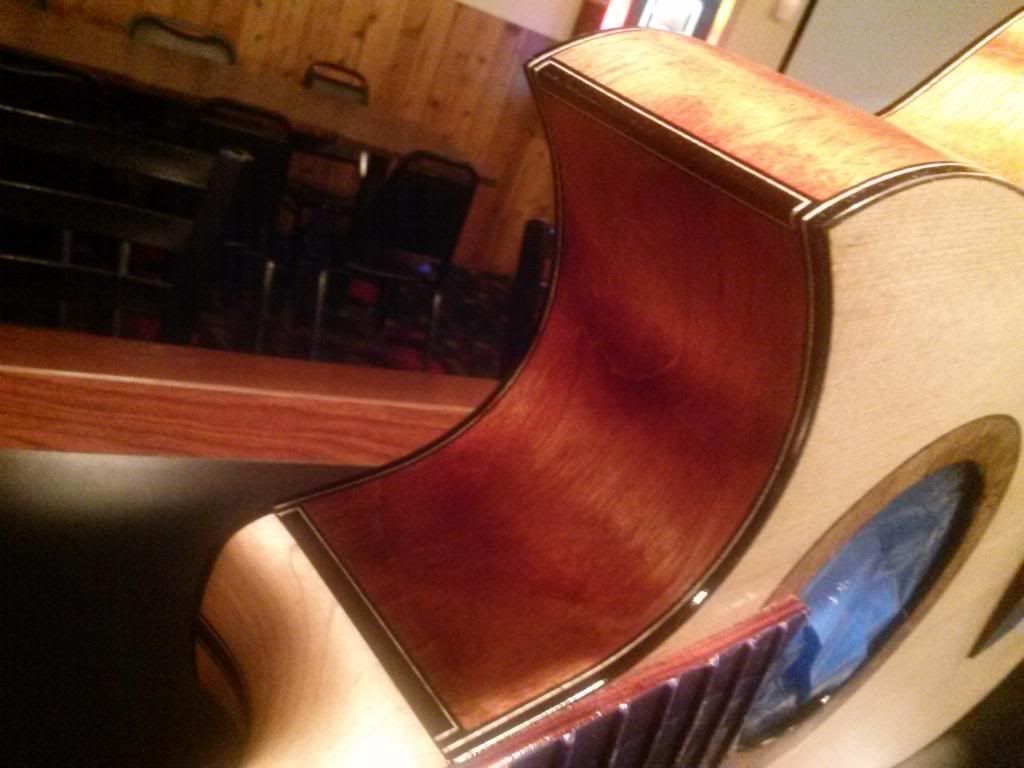 [/IMG] [/IMG]I will be cutting this finish down flat and put my fiinal coats on. It then will be a waiting game for the finish to cure; I wait at least a week, usually more. Thanks to everyone for checking this out. Hope to have this wrapped up soon. In the mean time, I have some other projects completed and will post some pics soon. |
|
#25
|
|||
|
|||
|
|
|
#26
|
|||
|
|||
|
It's amazing what you can do with rejected pieces of wood. Very beautiful wood work there. Thank you for sharing these pictures.
|
|
#27
|
|||
|
|||
|
Thank you! Normally I'd try to sand these imperfections out, but I had already thinned these plates close to thickness, and was a bit careless handling them. I'm usually nonchalant in the shop but lately have been guarding my work a bit more carefully!
|
|
#28
|
|||
|
|||
|
I've never seen braces like these before. Can you please explain where the idea came from, how you build them and what is the advantage? Thanks, Danny Gray
|
|
#29
|
|||
|
|||
|
Quote:
There is precedent for laminated bracing, namely early Larson guitars. McPherson guitars also use laminated bracing on their tops, as well as the over-under bracing (though i use it only on the secondary x brace). Kevin Ryan has what he calls EO - engineered openings - in his top braces. These openings are a bit more radical than his, however. I was fascinated by model airplane building as a kid, and the braces kind of resemble the ribs of an airplane wing. And that's an application where strength to weight ratio is critical. At the same time, I didn't want to just make the lightest braces possible; I could have used a ligher core wood, but my thinking is that I'd lose some headroom if I just made them needllessly lighter. So I guess it's a combination of a few influences. I used a thin, less than .070" piece of flatsawn rosewood, and sandwiched it between two pieices of quartered Sitka. This gives the braces multi-directional strength. They start out at 5/16" at the base and taper to almost nothing. I CNC the pockets out, then assemble and shape the brace roughly before gluing to the top and back. The center is hard enough that I can use my go-bars directly on them without denting them. I should add that a double-x bracing is not unique, though I consider it a form of lattice bracing. I got the idea I believe from Alan Carruth,,, Last edited by LouieAtienza; 04-29-2014 at 11:09 AM. |
|
#30
|
|||
|
|||
|
I have the finish coats on. I'm abandoning my usual lacquer finish and moving to a 2-part automotive clearcoat that is spray consistancy after mixing, and ready to wet-sand in 24 hours. Since one of my yearly gigs is an outdoor acoustic jam/festival I think this will give me some added protection and peace of mind (and better with the beer spills.)
I've never measured the final thickness but I only need one thin first coat, and a flash coat after 10-15 minutes. I have done a couple electric bodies with this finish but this is the first acoustic. It is crystal clear, and does give a beautiful 3D look without looking plasticky. It is also rock-hard, and I had let some dry in a container a while back, and needed a hammer and screwdriver to smash through it! I had also roughed out the nut and saddle beforehand. I ordered the wrong tuners and got slot-head tuners, so I will save them for another project, and use some Gotoh open-gear tuners I have on hand. I also am thinking of adding a passive pickup, and wondering if anyone has suggestions. I was thinking a dual system, with piezo and mic, but honestly this is one area I'm not all too familiar with. |