
|
|
#1
 11-18-2017, 02:37 PM
|
|||
|
|||
|
So I stumble upon a long-lost USB jump drive that just happened to have some archived photos of a few builds. Thought it would be fun to share this. This build was originally done around the fall of 2010, only a little more than a month after my mother's passing. The guitar had moved along to it's current owner since.
This guitar was actually a "challenge" build in the ol' MIMF; maybe some of the folks here may remember. Anyways, I remember Gibson came out with a custom nylon-string LP where the bridge was actually carved into the top. Always liked the clean look of that, but thought it would be cool to make an LP-type guitar that was nylon string, but had a stop-tail as well. This was a conundrum, as I wanted a fully carved top plate. I start off with this template, which is a copy of a OO template I made for another challenge guitar (which had since imploded after a fall): [IMG] 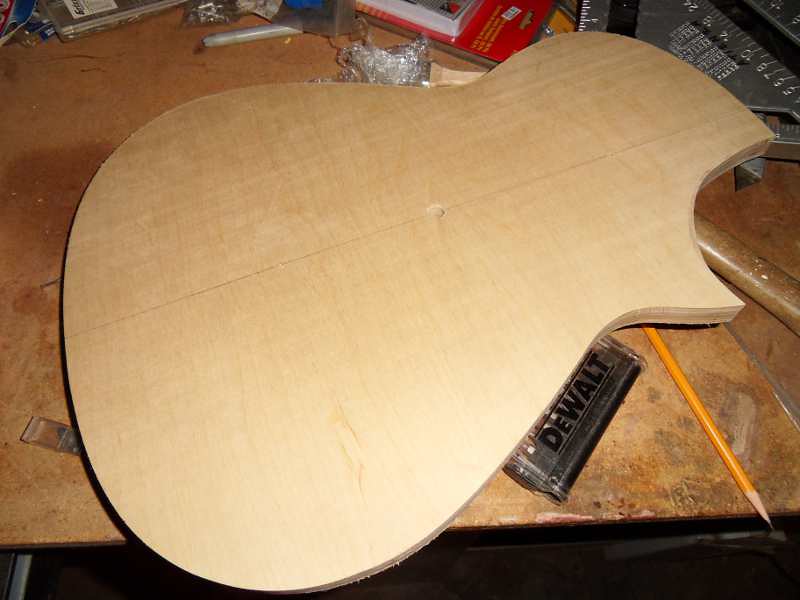 007-Template After by Louie Atienza, on Flickr[/IMG] 007-Template After by Louie Atienza, on Flickr[/IMG]The top would be made of this cedar, which believe it or not, was a "save" from a decking job I did about 5 years prior. Had some cool discoloration, but was decently quartered: [IMG] 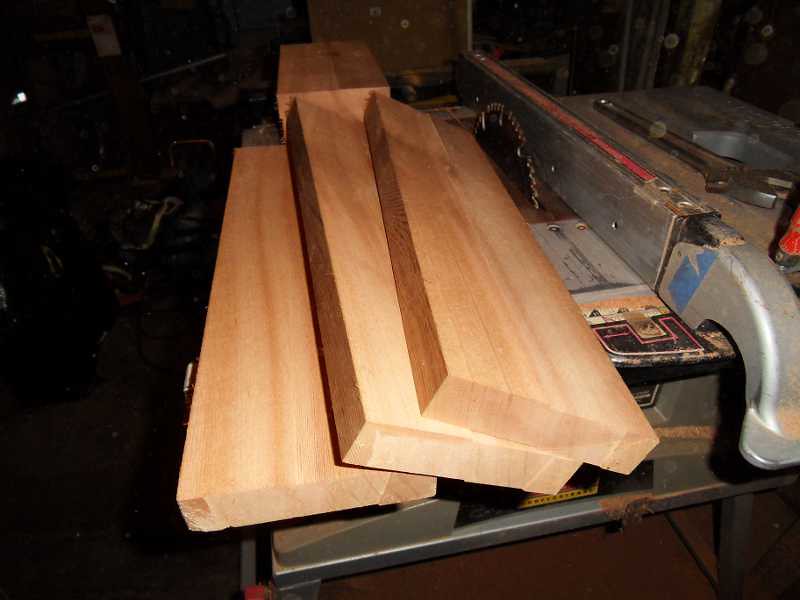 008-Resaw Top by Louie Atienza, on Flickr[/IMG] 008-Resaw Top by Louie Atienza, on Flickr[/IMG]Being it was a 6X6 post it needed to be glued up out of 4 pieces: [IMG] 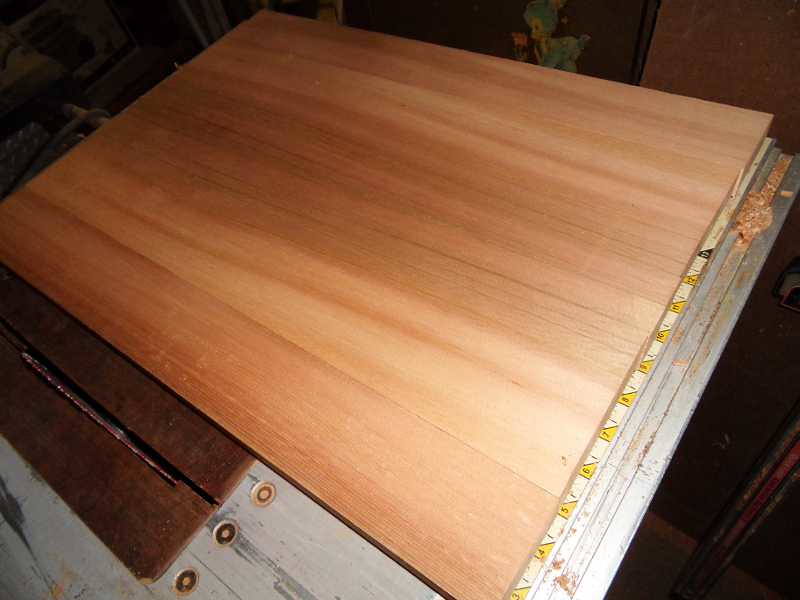 011-Bookmatch Sort Of by Louie Atienza, on Flickr[/IMG] 011-Bookmatch Sort Of by Louie Atienza, on Flickr[/IMG]I also fell into a lot of this crazy Philippine mahogany, and made a few LP bodies from it later. I actually had some resawn a year ago by Chris Ensor, but only succeeded in bending one pair of sides. Alas there is no more, save for some drop-offs. [IMG]  013-Back Blank by Louie Atienza, on Flickr[/IMG] 013-Back Blank by Louie Atienza, on Flickr[/IMG]Routing the top shape out using the template as a guide: [IMG] 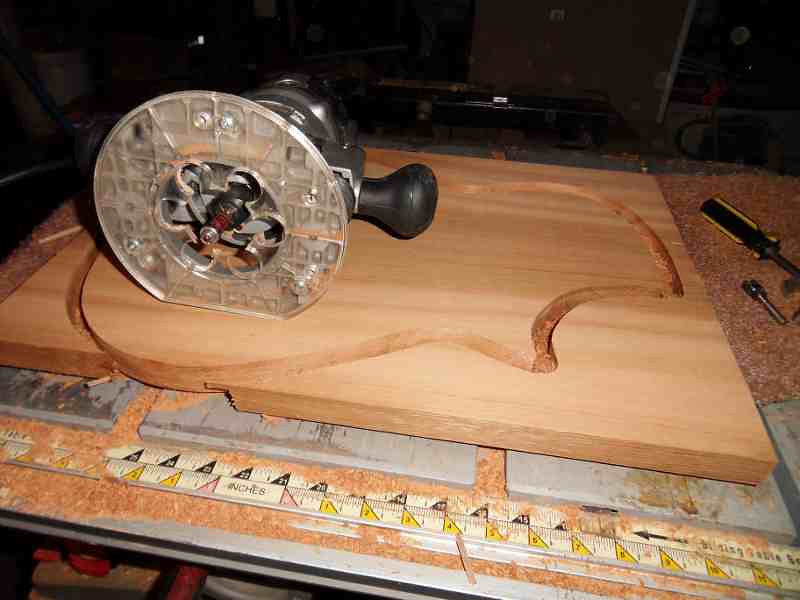 015-Top Route by Louie Atienza, on Flickr[/IMG] 015-Top Route by Louie Atienza, on Flickr[/IMG]
Last edited by LouieAtienza; 11-18-2017 at 02:46 PM. 
|
|
#2
11-18-2017, 02:56 PM
|
|||
|
|||
|
So although I had my CNC up and running, my self-imposed challenged was to devise a jig that would do what I call a "proportional" arch on the top, without having to use an already carved template and pantograph. This was the jig I devised, and will carve an arch on a body of almost any shape, without prior templating.
[IMG] 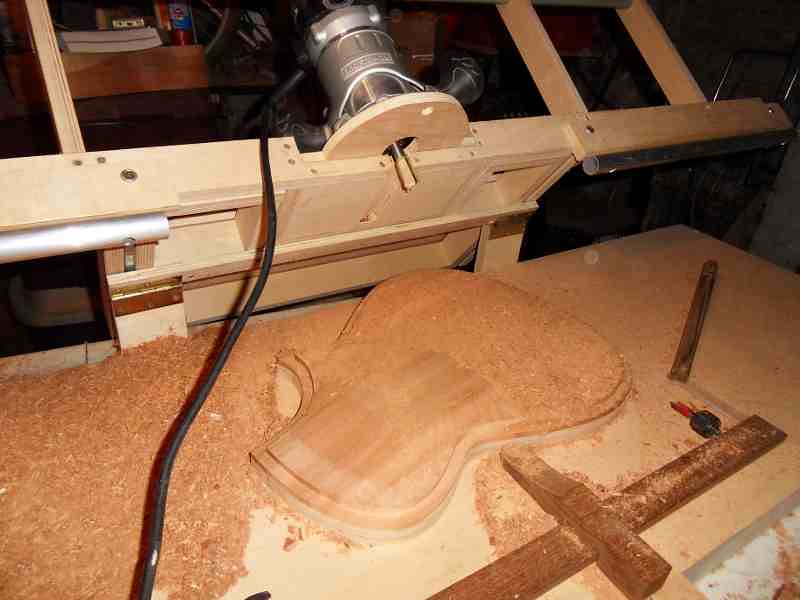 016-Top Rough Pass 1 by Louie Atienza, on Flickr[/IMG] 016-Top Rough Pass 1 by Louie Atienza, on Flickr[/IMG]Some folks at the MIMF were a bit concerned about my prior "hazardous" carving techniques. This was far more safer, and the roughing consumed about 15 minutes or so of relatively easy work. [IMG] 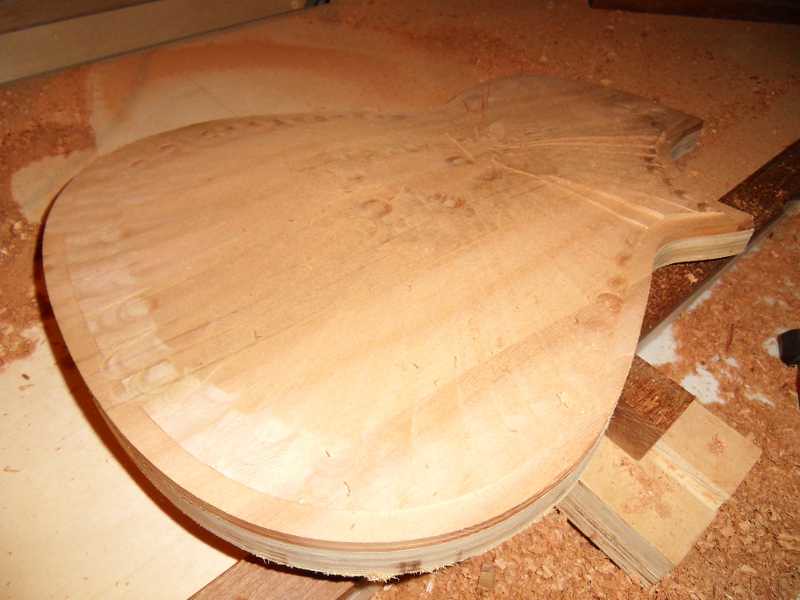 017-Top Rough Pass 2 by Louie Atienza, on Flickr[/IMG] 017-Top Rough Pass 2 by Louie Atienza, on Flickr[/IMG] [IMG] 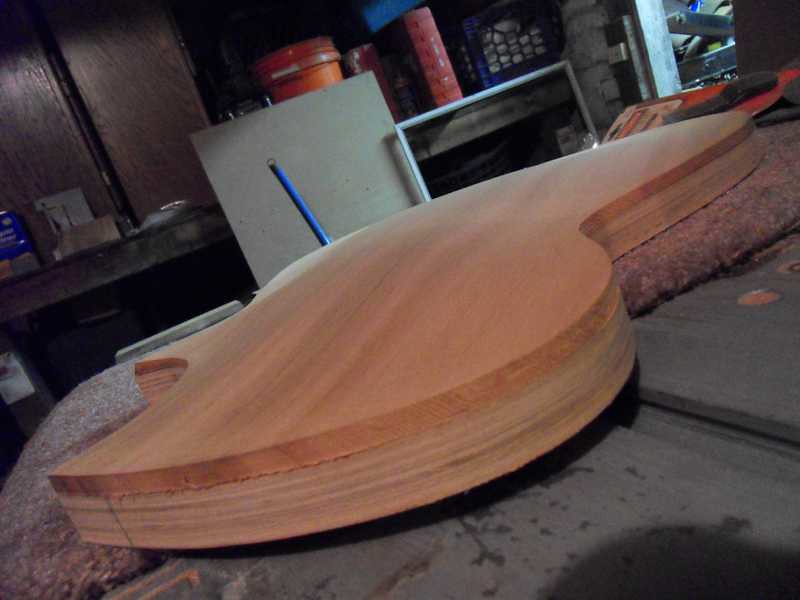 018-Top Cleaned 1 by Louie Atienza, on Flickr[/IMG] 018-Top Cleaned 1 by Louie Atienza, on Flickr[/IMG]The back was glued up and cut to shape: [IMG] 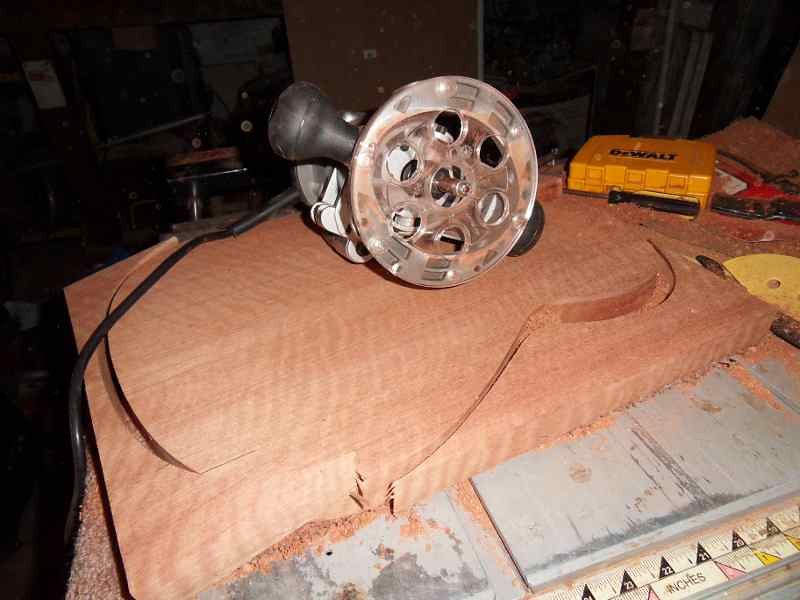 021-Back Cutout by Louie Atienza, on Flickr[/IMG] 021-Back Cutout by Louie Atienza, on Flickr[/IMG]And the template for the "hollowing out was made: [IMG] 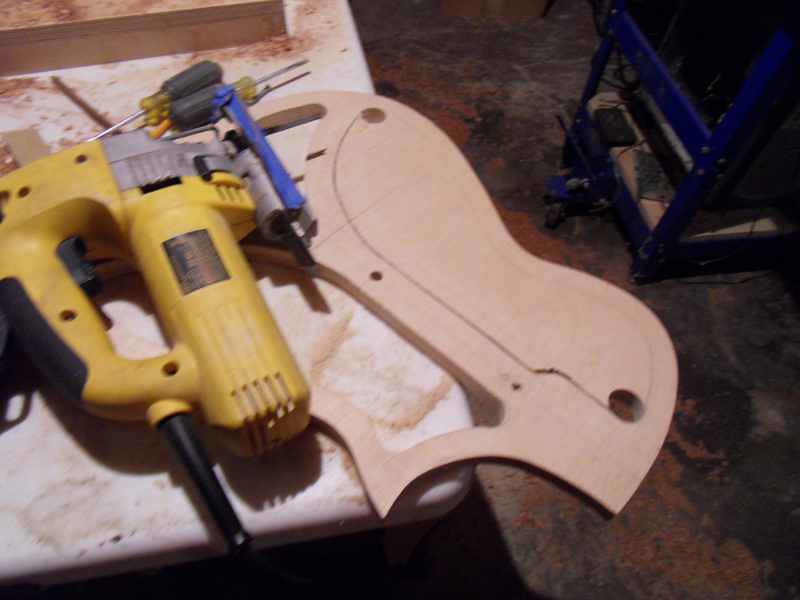 023-Chamber Template 2 by Louie Atienza, on Flickr[/IMG] 023-Chamber Template 2 by Louie Atienza, on Flickr[/IMG]Leading to the not-too-fun task of hogging out: [IMG] 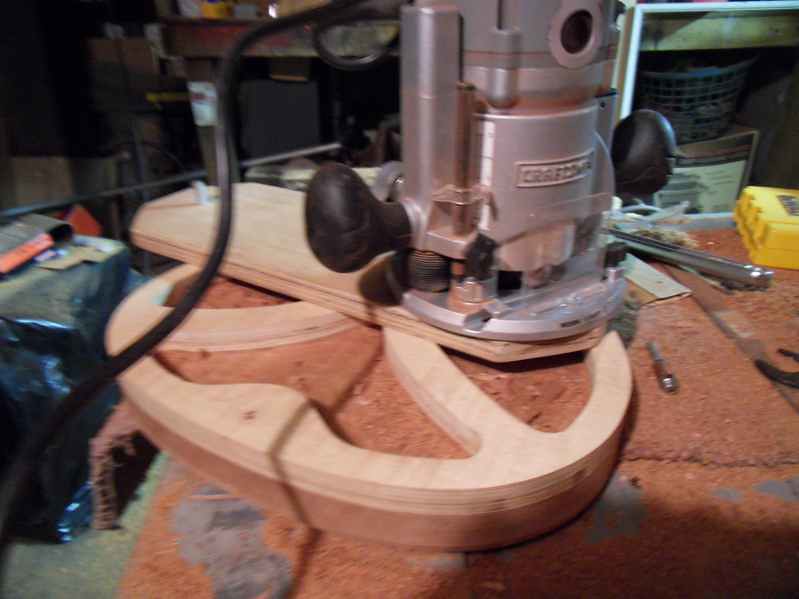 025-Chamber Route 1 by Louie Atienza, on Flickr[/IMG] 025-Chamber Route 1 by Louie Atienza, on Flickr[/IMG][IMG]  026-Chamber Route Done by Louie Atienza, on Flickr[/IMG] 026-Chamber Route Done by Louie Atienza, on Flickr[/IMG]So far: [IMG] 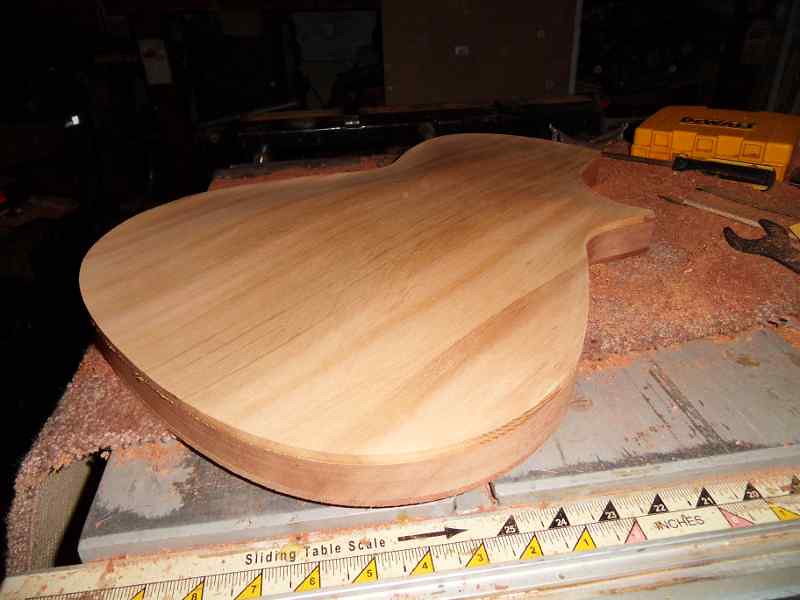 027-Mockup 1 by Louie Atienza, on Flickr[/IMG] 027-Mockup 1 by Louie Atienza, on Flickr[/IMG]
|
|
#3
11-18-2017, 03:02 PM
|
|||
|
|||
|
Neck billet glued up from more Philippine mahogany, padauk, and maple:
[IMG] 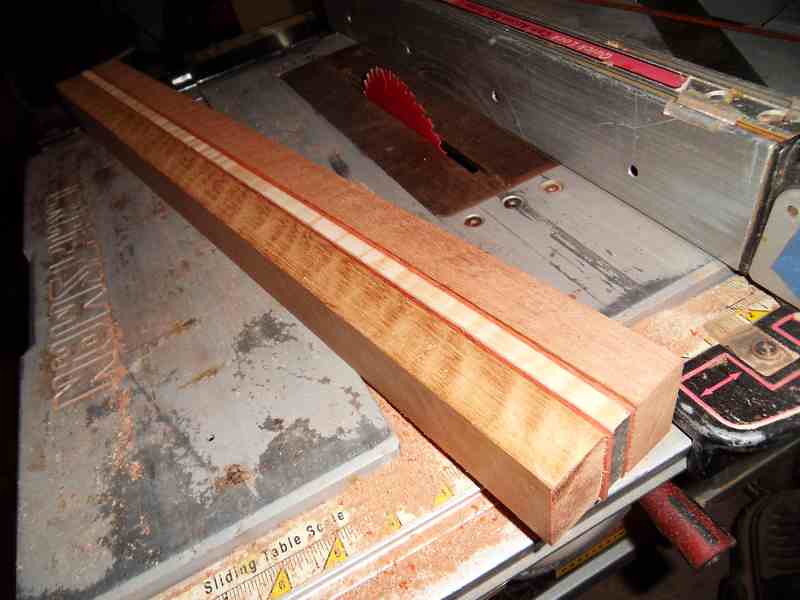 032-Neck Mockup by Louie Atienza, on Flickr[/IMG] 032-Neck Mockup by Louie Atienza, on Flickr[/IMG]A chunk of phenolic (arborite) that I use mainly for electric guitar fretboards: [IMG]  034-Fretboard Blank by Louie Atienza, on Flickr[/IMG] 034-Fretboard Blank by Louie Atienza, on Flickr[/IMG][IMG] 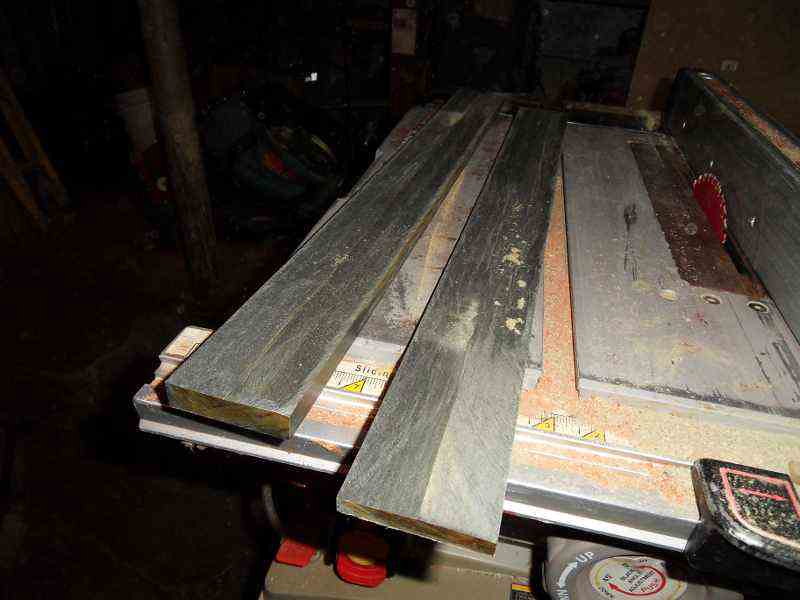 035-Fretboark Blank Cut by Louie Atienza, on Flickr[/IMG] 035-Fretboark Blank Cut by Louie Atienza, on Flickr[/IMG][IMG] 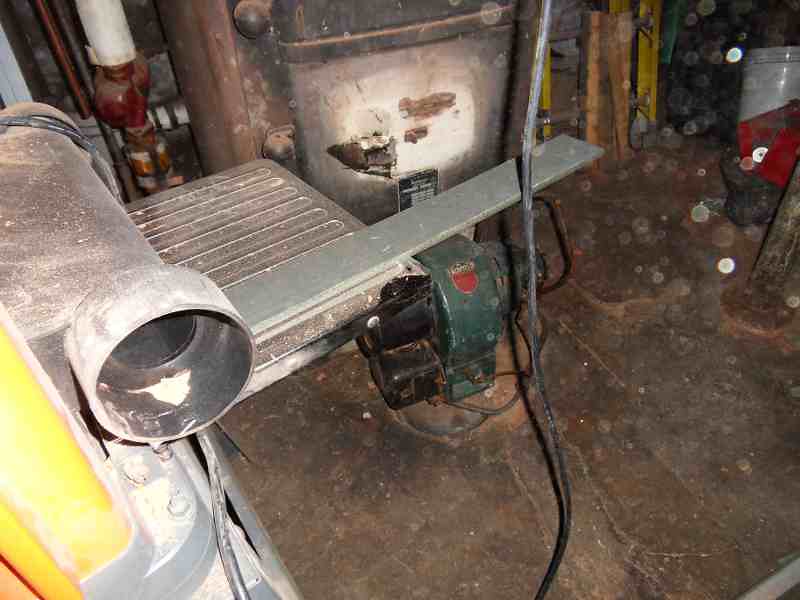 036-Fretboard Planing by Louie Atienza, on Flickr[/IMG] 036-Fretboard Planing by Louie Atienza, on Flickr[/IMG][IMG] 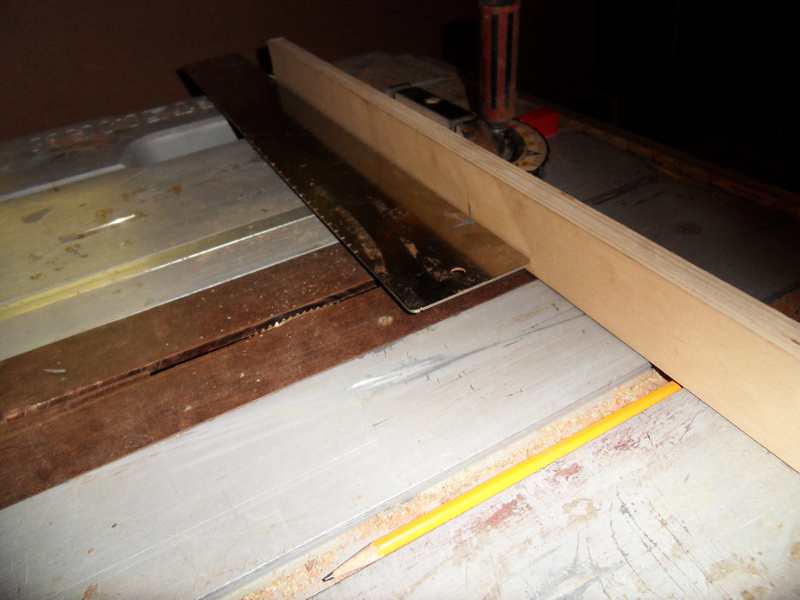 038-Fretboard Slots by Louie Atienza, on Flickr[/IMG] 038-Fretboard Slots by Louie Atienza, on Flickr[/IMG]Then brought onto my fretboard radiusing jig: [IMG]  039-Fretboard Radius 1 by Louie Atienza, on Flickr[/IMG] 039-Fretboard Radius 1 by Louie Atienza, on Flickr[/IMG][IMG]  040-Fretboard Radius 2 by Louie Atienza, on Flickr[/IMG] 040-Fretboard Radius 2 by Louie Atienza, on Flickr[/IMG][IMG]  042-Fretboard Radius 4 by Louie Atienza, on Flickr[/IMG] 042-Fretboard Radius 4 by Louie Atienza, on Flickr[/IMG]
|
|
#4
11-18-2017, 03:12 PM
|
|||
|
|||
|
Fretboard glued with epoxy to neck billet, which has ears added to the headstock, and getting flushed on belt sander:
[IMG] 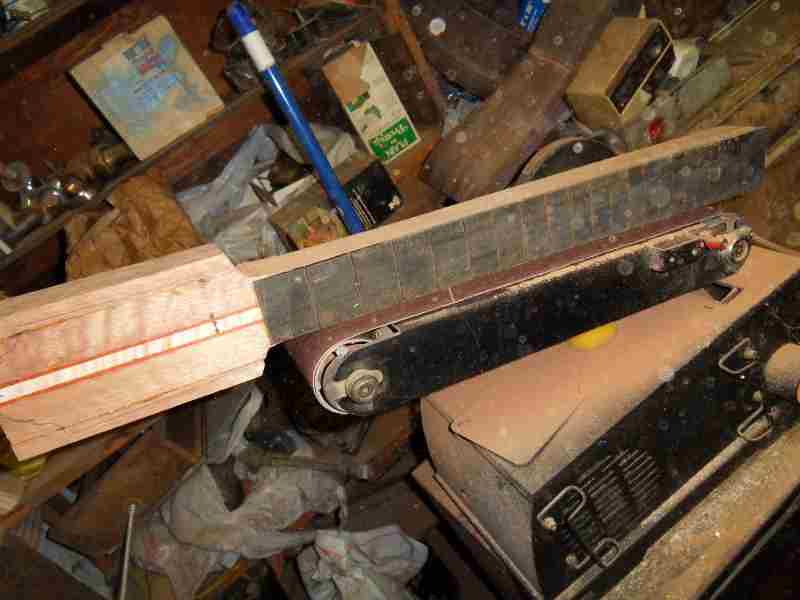 055-Neck Sand Side by Louie Atienza, on Flickr[/IMG] 055-Neck Sand Side by Louie Atienza, on Flickr[/IMG]The laborious task of removing the mill marks from the fretboard: [IMG]  057-Fretboard Sand 2 by Louie Atienza, on Flickr[/IMG] 057-Fretboard Sand 2 by Louie Atienza, on Flickr[/IMG]Phenolic looks really nice all polished up: [IMG] 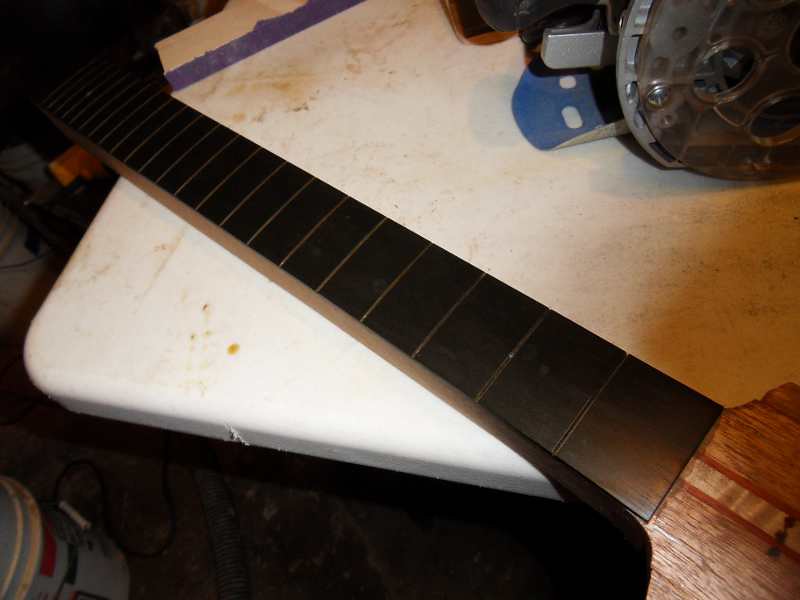 058-Fretboard Sand 3 by Louie Atienza, on Flickr[/IMG] 058-Fretboard Sand 3 by Louie Atienza, on Flickr[/IMG][IMG] 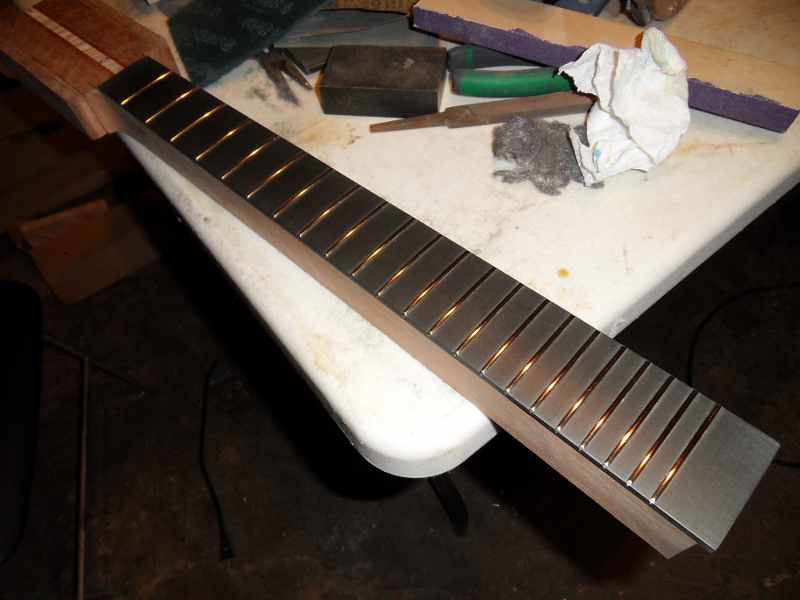 063-Fretting 5 by Louie Atienza, on Flickr[/IMG] 063-Fretting 5 by Louie Atienza, on Flickr[/IMG]When you don't have a bandsaw you have to resort to caveman tactics: [IMG] 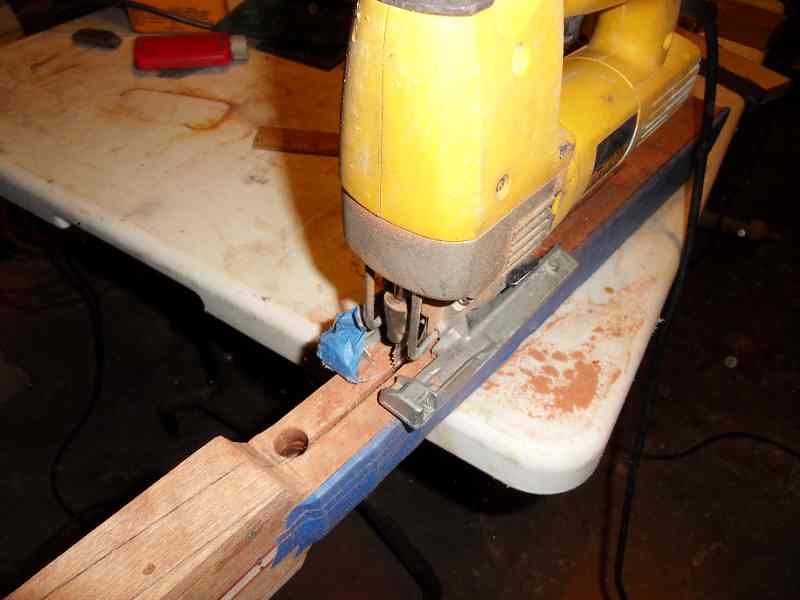 070-Cutting Taper by Louie Atienza, on Flickr[/IMG] 070-Cutting Taper by Louie Atienza, on Flickr[/IMG]Rough-shaping the neck using aforementioned jigsaw, rasps, and sandpaper: [IMG] 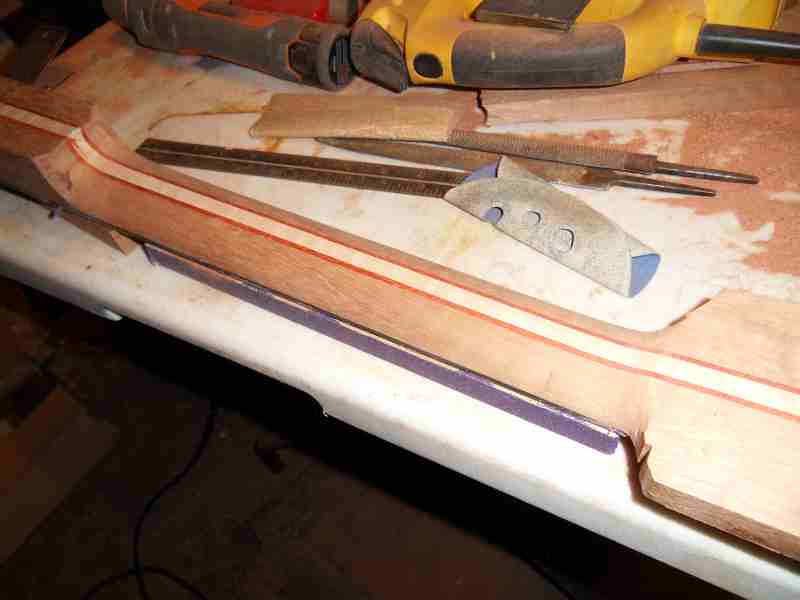 075-Neck Shaping Done by Louie Atienza, on Flickr[/IMG] 075-Neck Shaping Done by Louie Atienza, on Flickr[/IMG]The arched top is hollowed out using a Forstner bit on the drill press. A roll of tape underneath serves as a guide: [IMG] 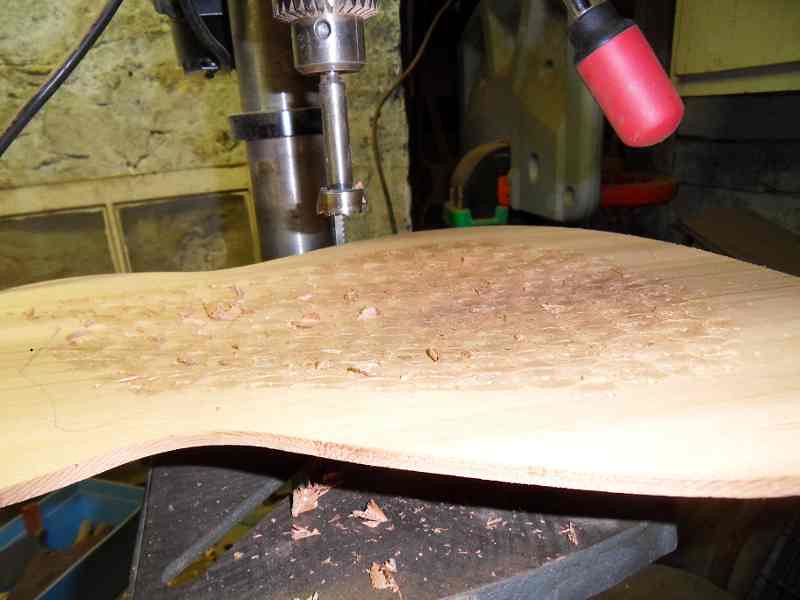 077-Top Rough Done by Louie Atienza, on Flickr[/IMG] 077-Top Rough Done by Louie Atienza, on Flickr[/IMG]Scraped, sanded, and almost ready: [IMG]  079-Top Done by Louie Atienza, on Flickr[/IMG] 079-Top Done by Louie Atienza, on Flickr[/IMG]
|
|
#5
11-18-2017, 03:19 PM
|
|||
|
|||
|
Spalted maple gifted to me by fellow MIMFer:
[IMG] 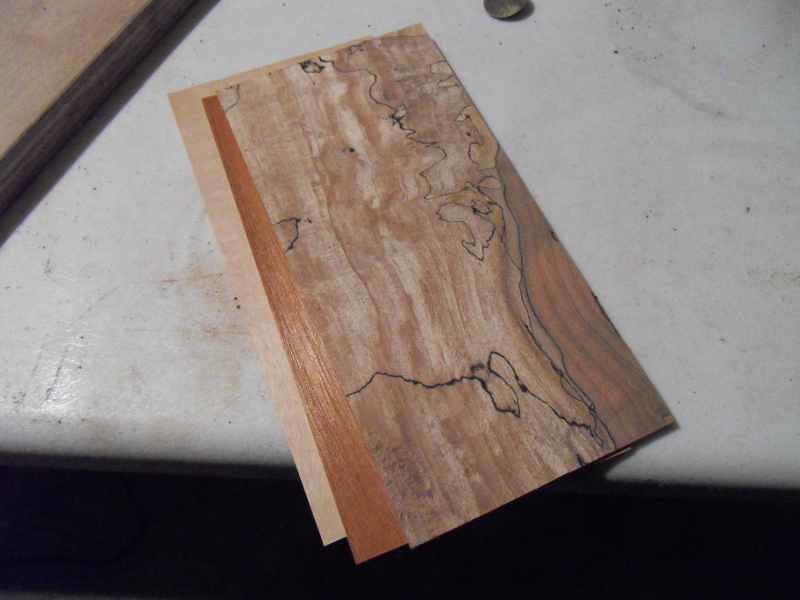 081-Headstock Veneer 1 by Louie Atienza, on Flickr[/IMG] 081-Headstock Veneer 1 by Louie Atienza, on Flickr[/IMG][IMG] 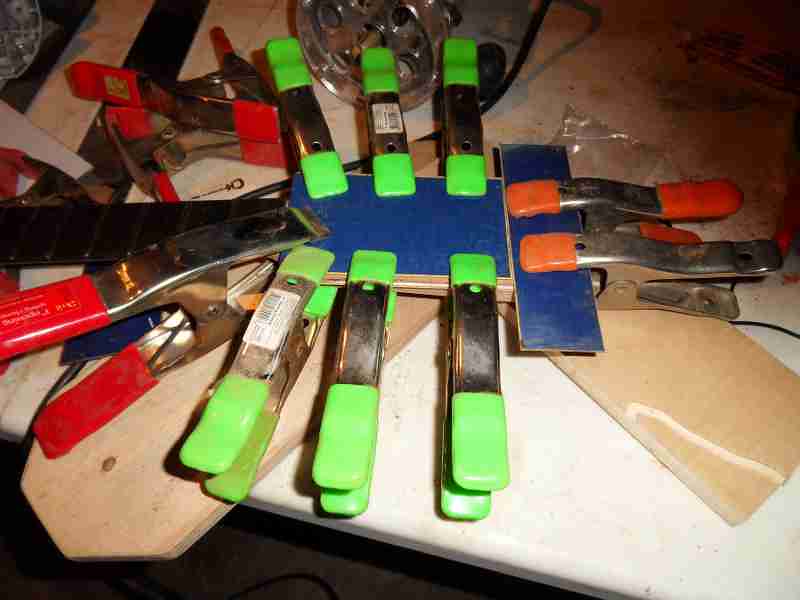 082-Headstock Veneer 2 by Louie Atienza, on Flickr[/IMG] 082-Headstock Veneer 2 by Louie Atienza, on Flickr[/IMG]The back "braces" are shaped, along with the two "bosses" that will be used for the pins for the "floating" stop-tail: [IMG] 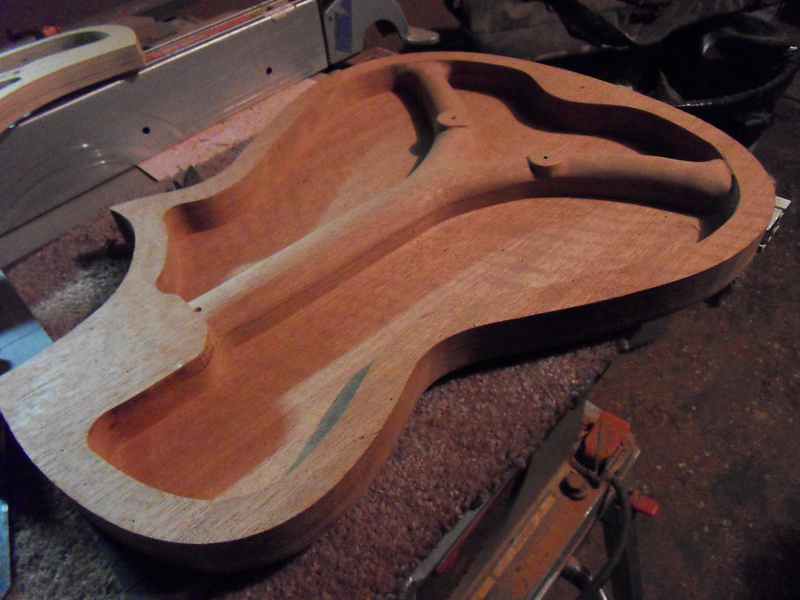 084-Bracing Carve 1 by Louie Atienza, on Flickr[/IMG] 084-Bracing Carve 1 by Louie Atienza, on Flickr[/IMG]And the corresponding holes on the top: [IMG] 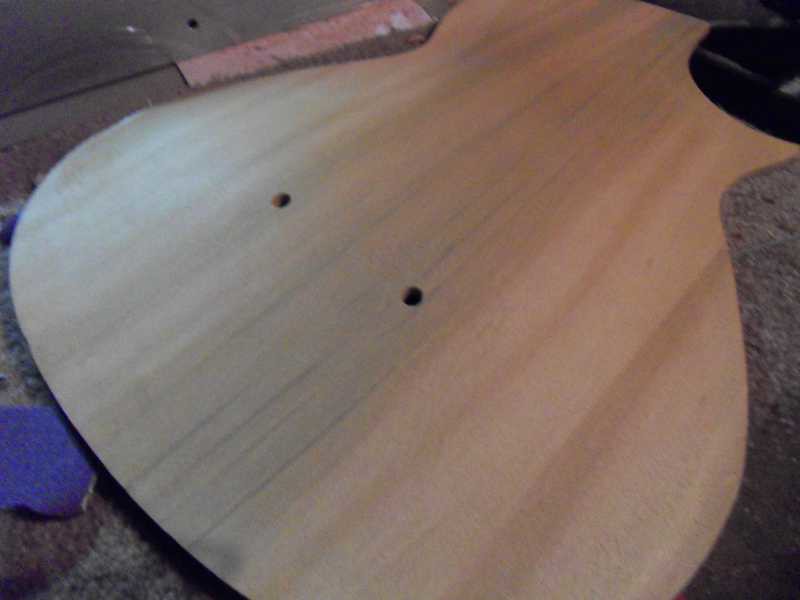 087a-Top Drill 2 by Louie Atienza, on Flickr[/IMG] 087a-Top Drill 2 by Louie Atienza, on Flickr[/IMG]Headstock rough shaped: [IMG]  095-Headstock Shape by Louie Atienza, on Flickr[/IMG] 095-Headstock Shape by Louie Atienza, on Flickr[/IMG][IMG]  103-Headstock Bevel Done by Louie Atienza, on Flickr[/IMG] 103-Headstock Bevel Done by Louie Atienza, on Flickr[/IMG]Binding: [IMG] 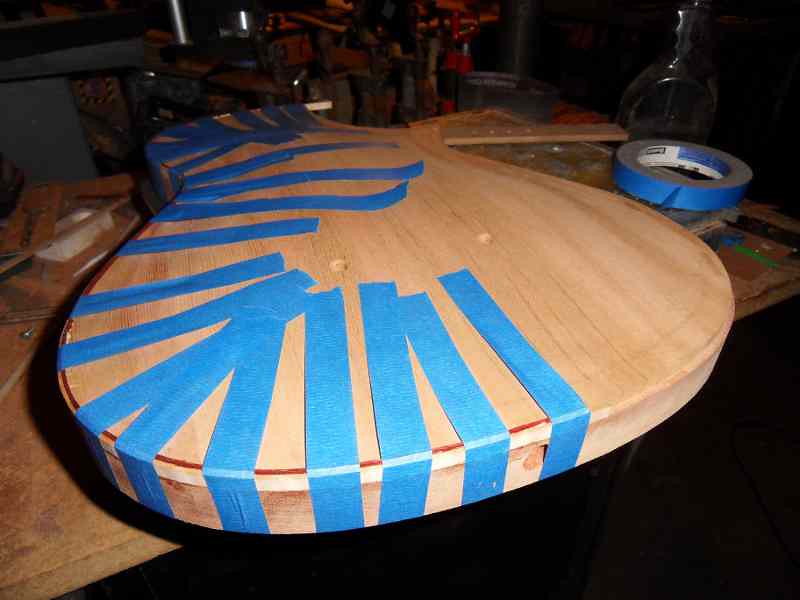 101-Binding Glue Up by Louie Atienza, on Flickr[/IMG] 101-Binding Glue Up by Louie Atienza, on Flickr[/IMG][IMG]  106-Binding Top Bout Done by Louie Atienza, on Flickr[/IMG] 106-Binding Top Bout Done by Louie Atienza, on Flickr[/IMG]
|
|
#6
11-18-2017, 03:25 PM
|
|||
|
|||
|
The tenon is shaped onto the neck heel:
[IMG] 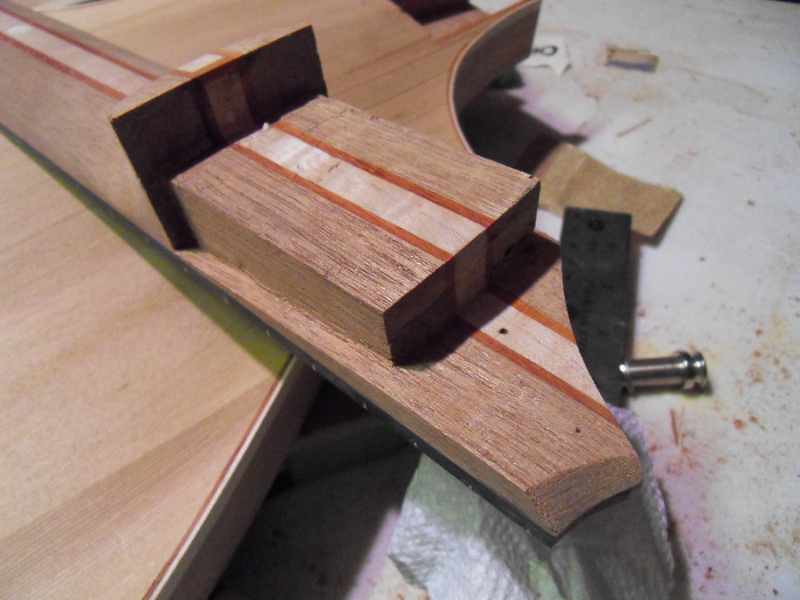 112-Neck Tenon Cut by Louie Atienza, on Flickr[/IMG] 112-Neck Tenon Cut by Louie Atienza, on Flickr[/IMG]Was afraid the neck pocket wall at the cutaway would be too frail so I reinforced it with padauk. The neck wood under the fretboard was also shaped to the top. Having a continuous neck piece all the way through ensures me of no hump: [IMG] 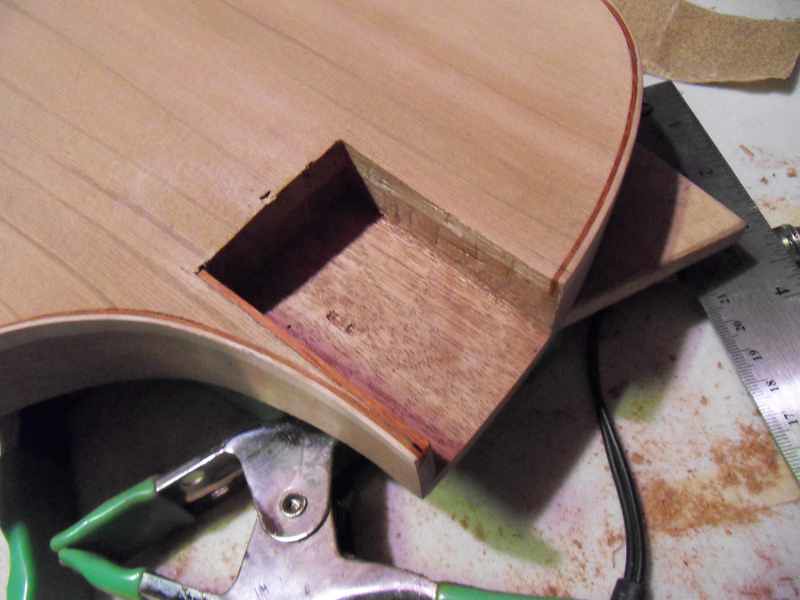 113-Body Tenon Cut by Louie Atienza, on Flickr[/IMG] 113-Body Tenon Cut by Louie Atienza, on Flickr[/IMG][IMG] 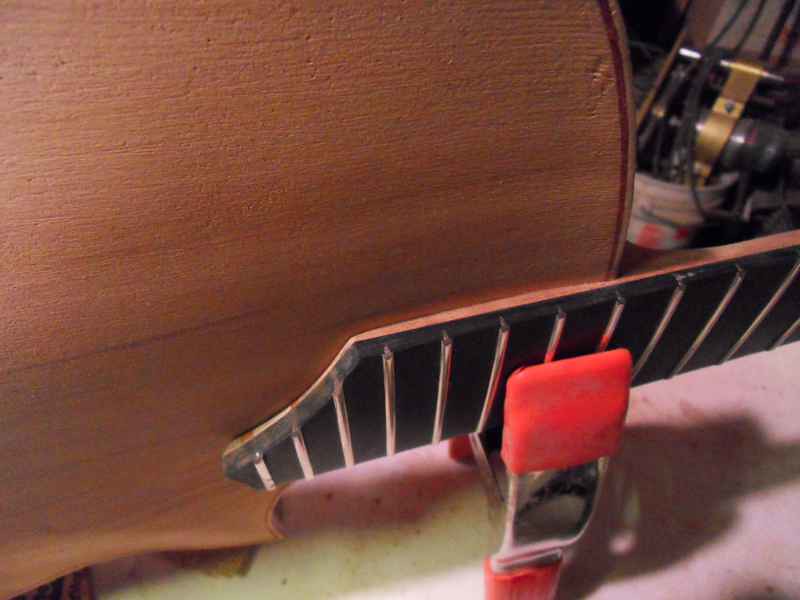 114-Neck Joint Detail 1 by Louie Atienza, on Flickr[/IMG] 114-Neck Joint Detail 1 by Louie Atienza, on Flickr[/IMG]Finishing the headstock: [IMG] 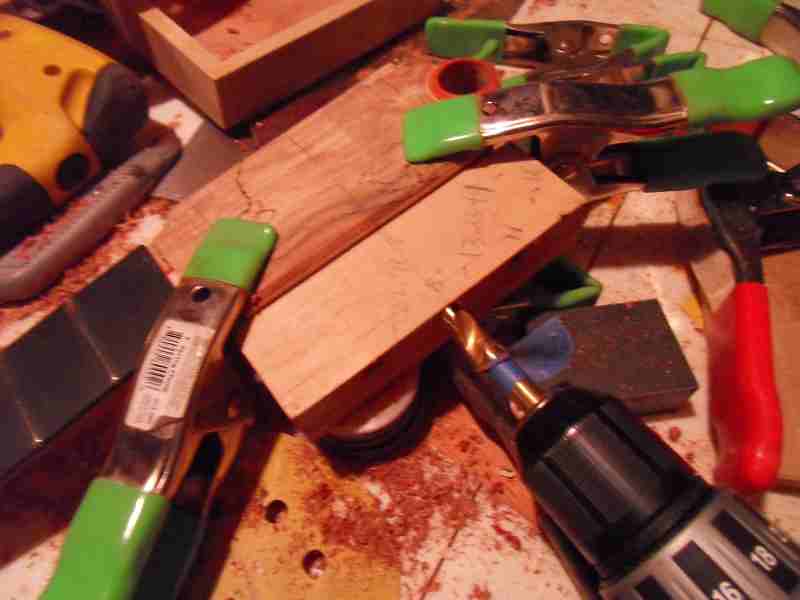 116-Tuner Holes 1 by Louie Atienza, on Flickr[/IMG] 116-Tuner Holes 1 by Louie Atienza, on Flickr[/IMG][IMG]  117-Tuner Holes 2 by Louie Atienza, on Flickr[/IMG] 117-Tuner Holes 2 by Louie Atienza, on Flickr[/IMG][IMG] 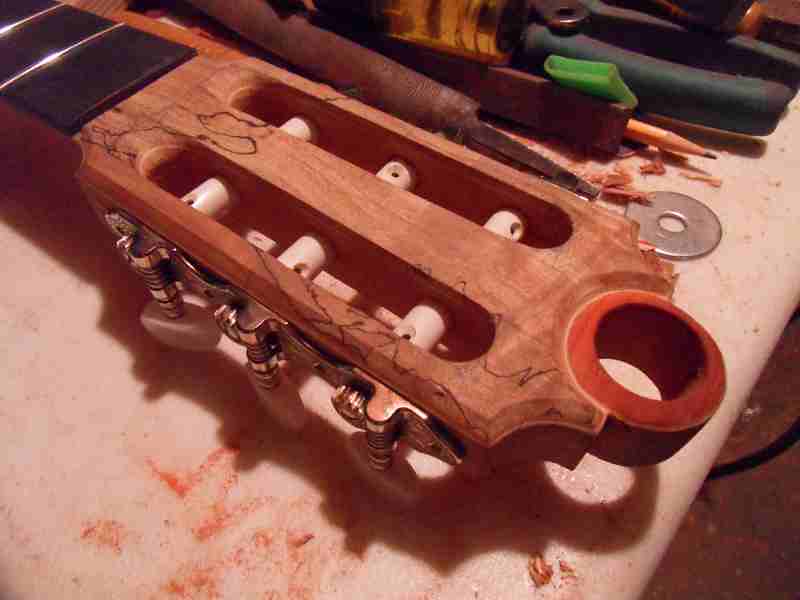 118-Tuner Holes 4 by Louie Atienza, on Flickr[/IMG] 118-Tuner Holes 4 by Louie Atienza, on Flickr[/IMG]
|
|
#7
11-18-2017, 03:32 PM
|
|||
|
|||
|
Bridge and stop tail carved from padauk:
[IMG] 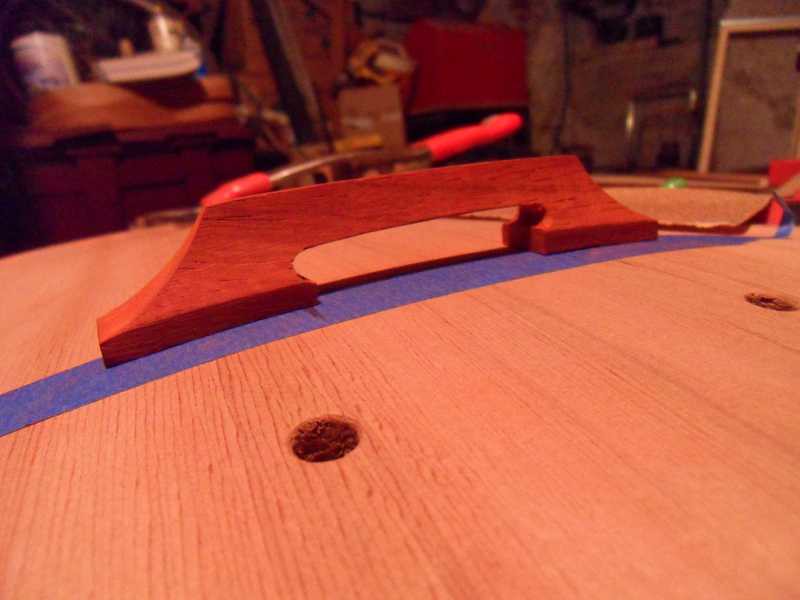 121-Bridge Carved by Louie Atienza, on Flickr[/IMG] 121-Bridge Carved by Louie Atienza, on Flickr[/IMG][IMG]  122-Tailpiece Drilling by Louie Atienza, on Flickr[/IMG] 122-Tailpiece Drilling by Louie Atienza, on Flickr[/IMG][IMG]  123-Tailpiece and Bridge Finished by Louie Atienza, on Flickr[/IMG] 123-Tailpiece and Bridge Finished by Louie Atienza, on Flickr[/IMG]The guitar's first coat of finish: [IMG] 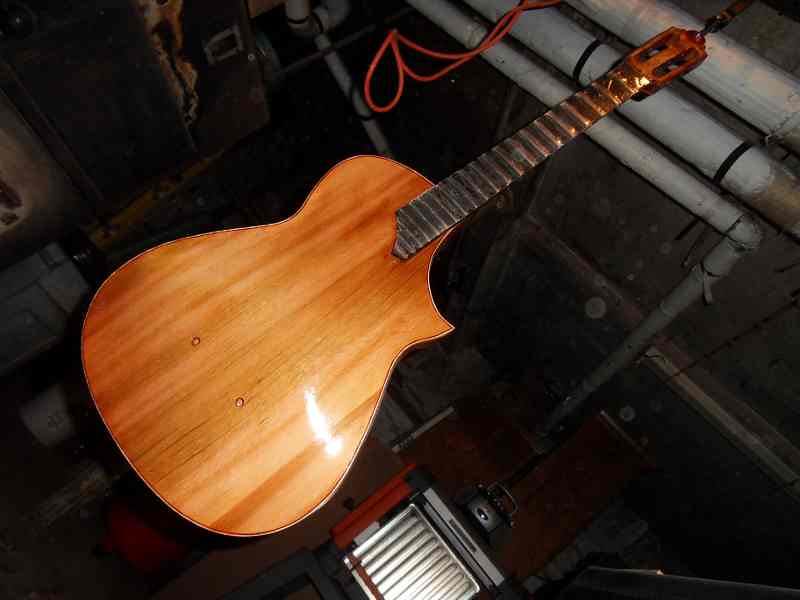 125-Front Preview by Louie Atienza, on Flickr[/IMG] 125-Front Preview by Louie Atienza, on Flickr[/IMG][IMG] 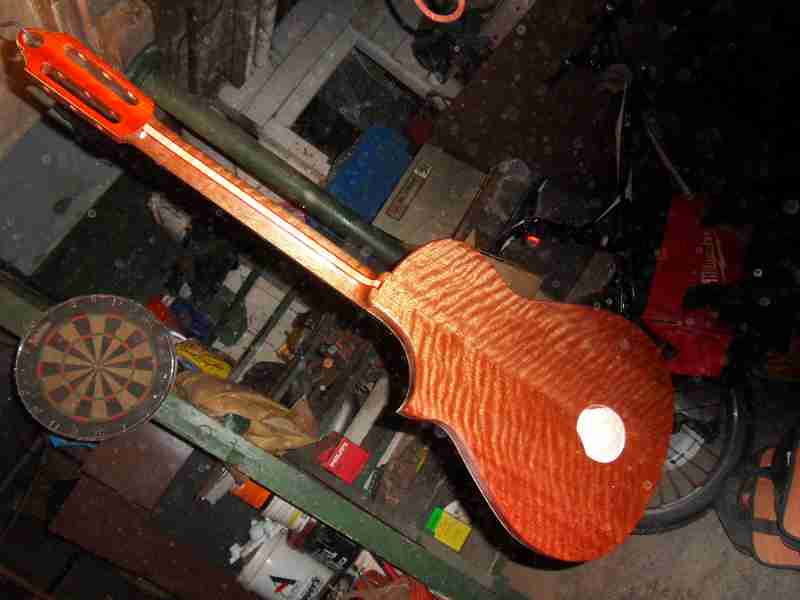 126-Back Preview by Louie Atienza, on Flickr[/IMG] 126-Back Preview by Louie Atienza, on Flickr[/IMG]More spalted maple which would become the back plate: [IMG] 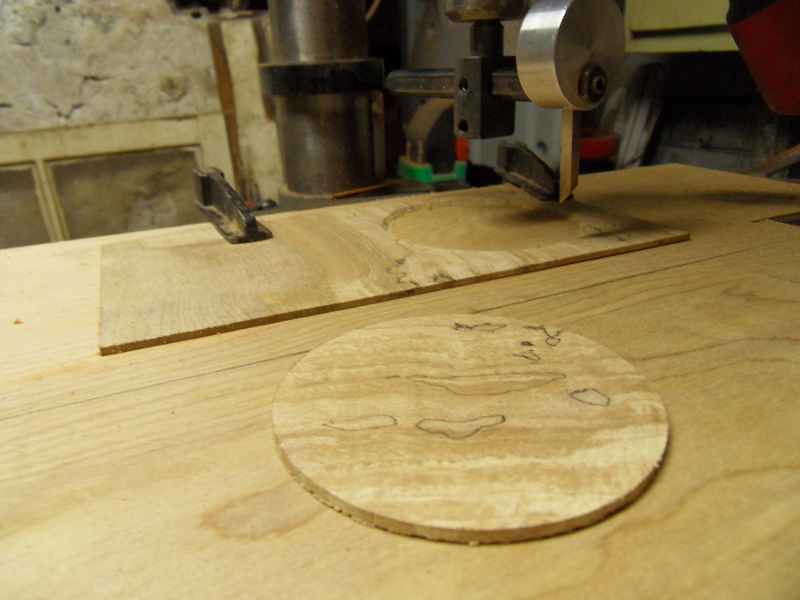 127-Back Plate by Louie Atienza, on Flickr[/IMG] 127-Back Plate by Louie Atienza, on Flickr[/IMG]And the finished guitar: [IMG] 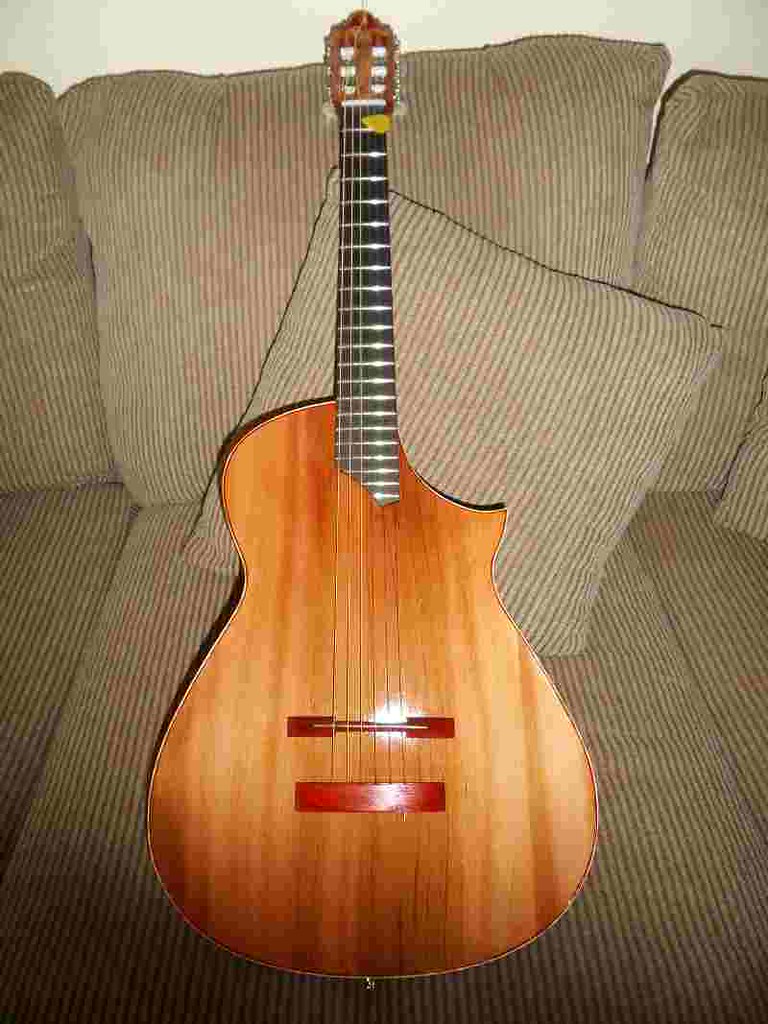 131-Front-1 by Louie Atienza, on Flickr[/IMG] 131-Front-1 by Louie Atienza, on Flickr[/IMG][IMG]  132-Headstock-1 by Louie Atienza, on Flickr[/IMG] 132-Headstock-1 by Louie Atienza, on Flickr[/IMG][IMG] 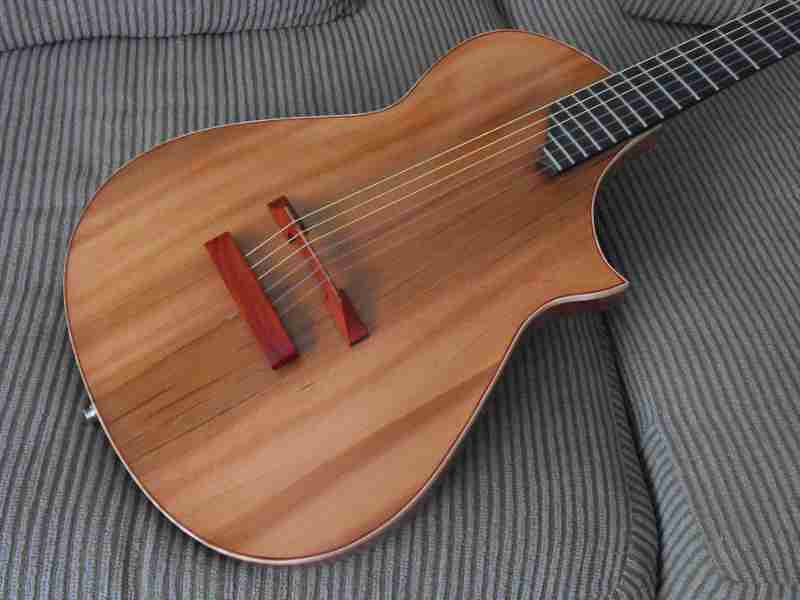 133-Top-1 by Louie Atienza, on Flickr[/IMG] 133-Top-1 by Louie Atienza, on Flickr[/IMG]Detail of how the stop tail works. Originally I used flat head screws, but they ended up bending from the string pull. I eventually turned to posts from drill rod. [IMG] 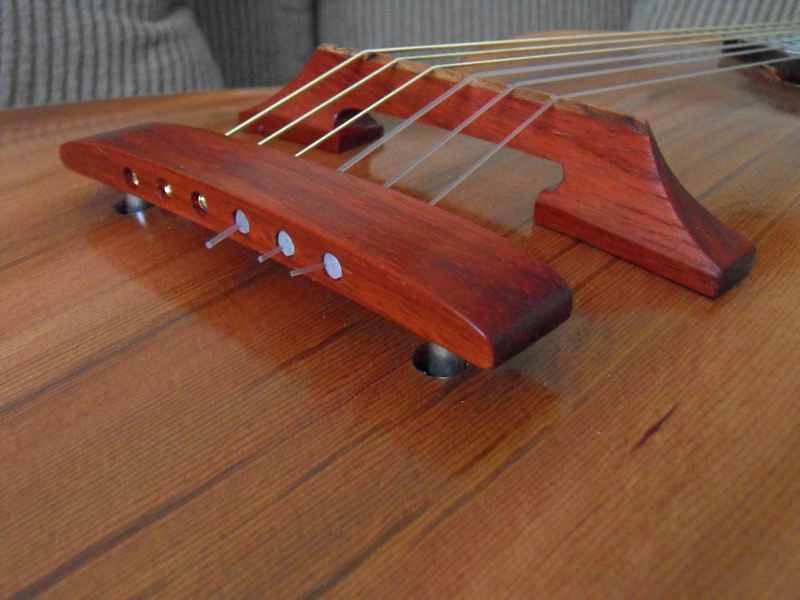 134-Bridge Detail by Louie Atienza, on Flickr[/IMG] 134-Bridge Detail by Louie Atienza, on Flickr[/IMG]
|
|
#9
11-18-2017, 06:02 PM
|
|||
|
|||
|
Quote:
|
|
#10
11-18-2017, 06:09 PM
|
|||
|
|||
|
Of course as I go to look for something else I find the track. Please excuse the "rough" playing...
|


