
|
|
#16
 07-27-2014, 10:21 PM
|
|||
|
|||
|
Quote:
<congrats on the anniversary!> 
__________________
'10 Wechter 5712c - Fishman Rare Earth '13 Jaffrey #26 - Malaysian Blackwood! '21 Gretsch 5622 '22 Furch Red Pure G-LR - Barbera Soloist ST-300 Mini + DIY mic preamp 
|
|
#17
07-27-2014, 10:24 PM
|
|||
|
|||
|
Quote:

|
|
#18
07-28-2014, 03:07 AM
|
|||
|
|||
|
Got the pure mini installed tonight, this was actually the easiest and smoothest pure mini install I've done to date. I've done this install about 10 times now, and I finally feel super comfortable about it.
 Once lesson learned is that you can't install the Lyric before the pure mini as it gets in the way of the jig. So I pulled the Lyric off, good thing it's only double-stick tape. Replaced the tape and put it back on. Next step is to start pulling the pots off the circuit board.
|
|
#19
07-28-2014, 06:00 AM
|
|||
|
|||
|
Quote:
__________________
'10 Wechter 5712c - Fishman Rare Earth '13 Jaffrey #26 - Malaysian Blackwood! '21 Gretsch 5622 '22 Furch Red Pure G-LR - Barbera Soloist ST-300 Mini + DIY mic preamp
|
|
#20
07-28-2014, 06:05 AM
|
|||
|
|||
|
The two main bolt holes through the neck block don't look like Taylor perfection. Is this common??? Jon
__________________
jf45ir Free DIY Acoustic Guitar IR Generator .wav file, 30 seconds, pickup left, mic right, open position strumming best...send to direct email below I'll send you 100/0, 75/25, 50/50 & 0/100 IR/Bypass IRs IR Demo, read the description too: https://youtu.be/SELEE4yugjE My duo's website and my email... [email protected] Jon Fields
|
|
#21
07-28-2014, 06:11 AM
|
|||
|
|||
|
Quote:
|
|
#22
07-28-2014, 03:43 PM
|
|||
|
|||
|
Joe,
You are starting with the 9V version of the ES. Any thoughts on doing something similar to the AA version? I'd like to know how to do a K&K / Lyric upgrade to an ES 1.1, and still use the 3 pots on the side. Ryan
__________________
'10 Wechter 5712c - Fishman Rare Earth '13 Jaffrey #26 - Malaysian Blackwood! '21 Gretsch 5622 '22 Furch Red Pure G-LR - Barbera Soloist ST-300 Mini + DIY mic preamp
|
|
#23
07-28-2014, 05:35 PM
|
|||
|
|||
|
Quote:
 Comparing this to my 9V picture: 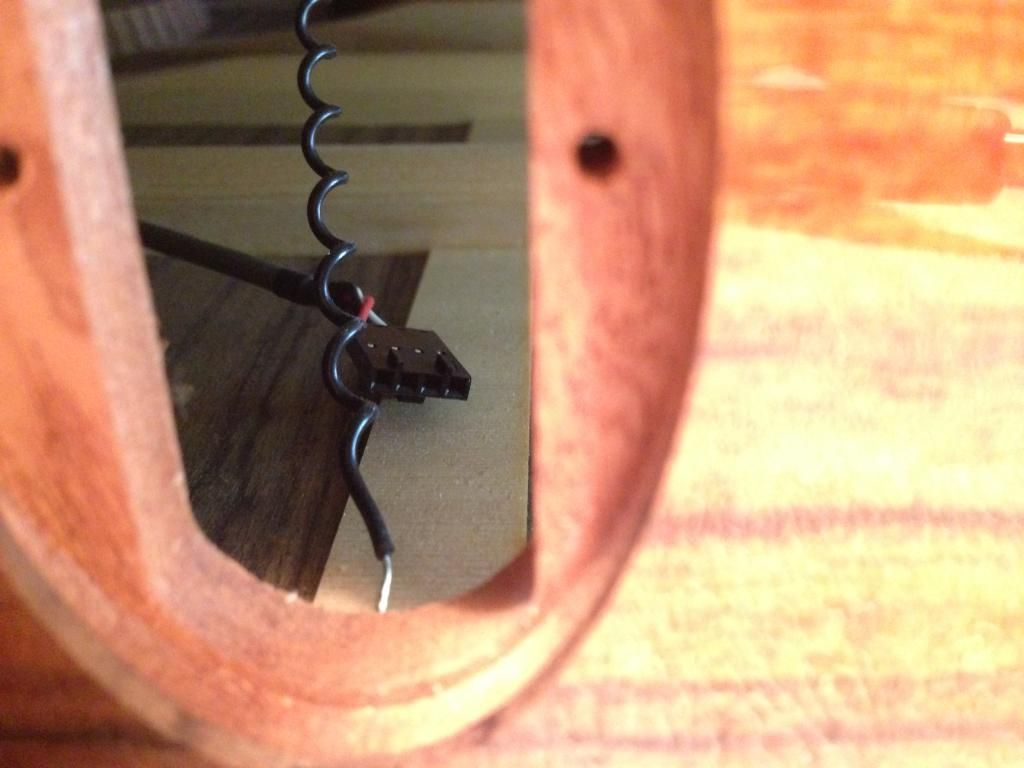 ...you could easily widen the thru-routing cavity for the battery housing with a wood file or rasp. If you have a router it would be easier, but it's not necessary IMO. I'd have to do some fitting to accurately say, but you might have to fill the old pilot holes for the mounting screws and relocate them, but that's a pretty simple task as well using a small dowel and wood glue. Ultimately, if Taylor can do it, it's possible. Personally, I hate the sound of the ES, but absolutely love the ingenuity of Taylor's endblock assembly. For a gigging musician, changing the battery of an ES is a 10-second task. I'd start will calling TruPlug and picking their brain on the differences between the cavities between the two versions. They would give you the best info.
|
|
#24
07-28-2014, 06:15 PM
|
|||
|
|||
|
One more thing, you can get the 9V endblock assembly here:
http://www.dannyd.com/taylor-guitar-...v-battery-box/
|
|
#25
07-29-2014, 08:05 AM
|
|||
|
|||
|
Quote:
It's still not clear to me how you are using the 3 pots. Your previous thread says you made your own pots... are you doing the same thing here? The original 3 pots are removed?
__________________
'10 Wechter 5712c - Fishman Rare Earth '13 Jaffrey #26 - Malaysian Blackwood! '21 Gretsch 5622 '22 Furch Red Pure G-LR - Barbera Soloist ST-300 Mini + DIY mic preamp
|
|
#26
07-30-2014, 03:48 AM
|
|||
|
|||
|
Quote:
|
|
#27
07-30-2014, 03:55 AM
|
|||
|
|||
|
I've started to do the soldering work in preparation of the pots arriving in the mail. Here I unsoldered the battery tray as I'll be using the ES battery housing.
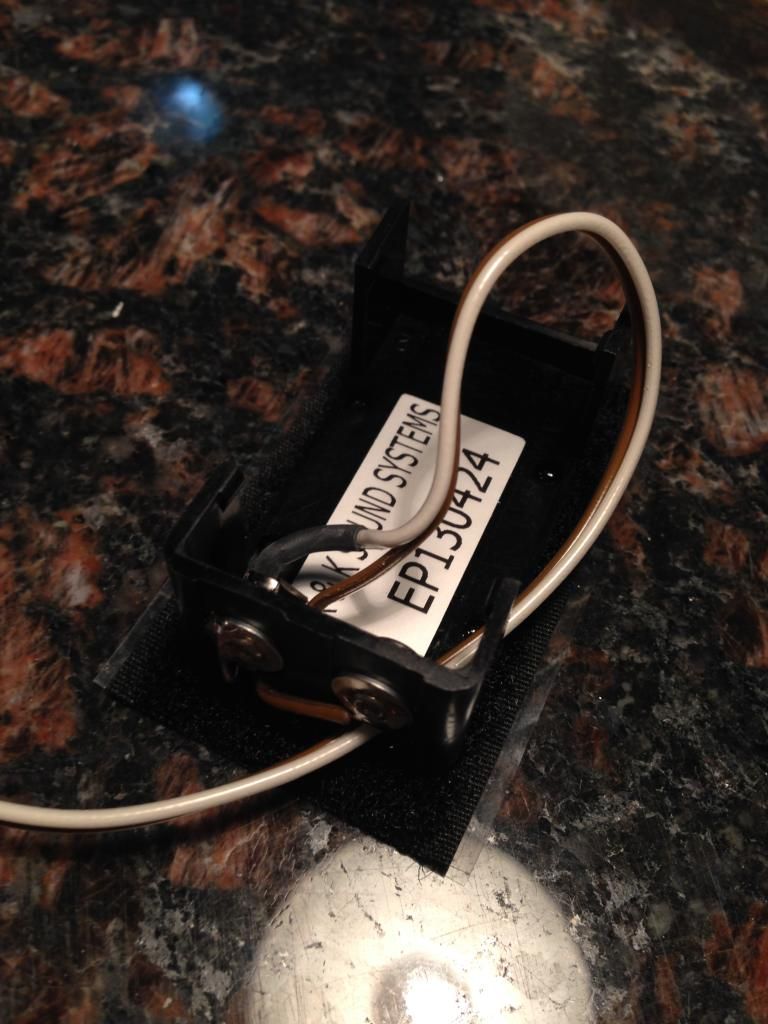 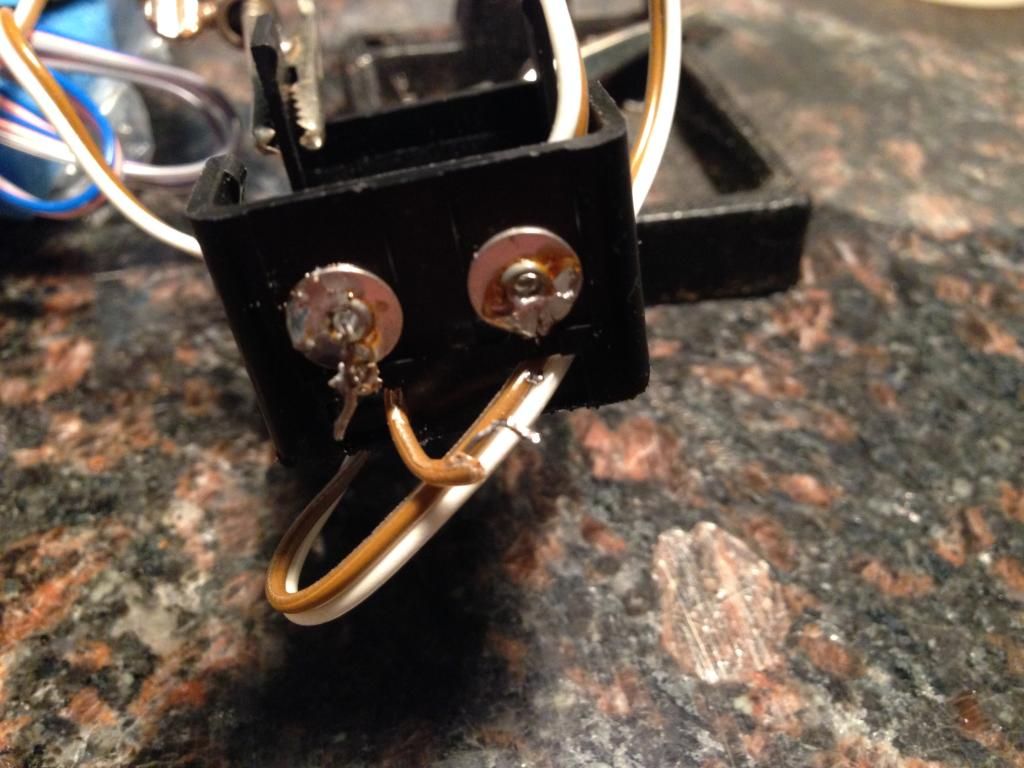 I accidentally ripped off this capacitor, but no worries, just solder it back together. 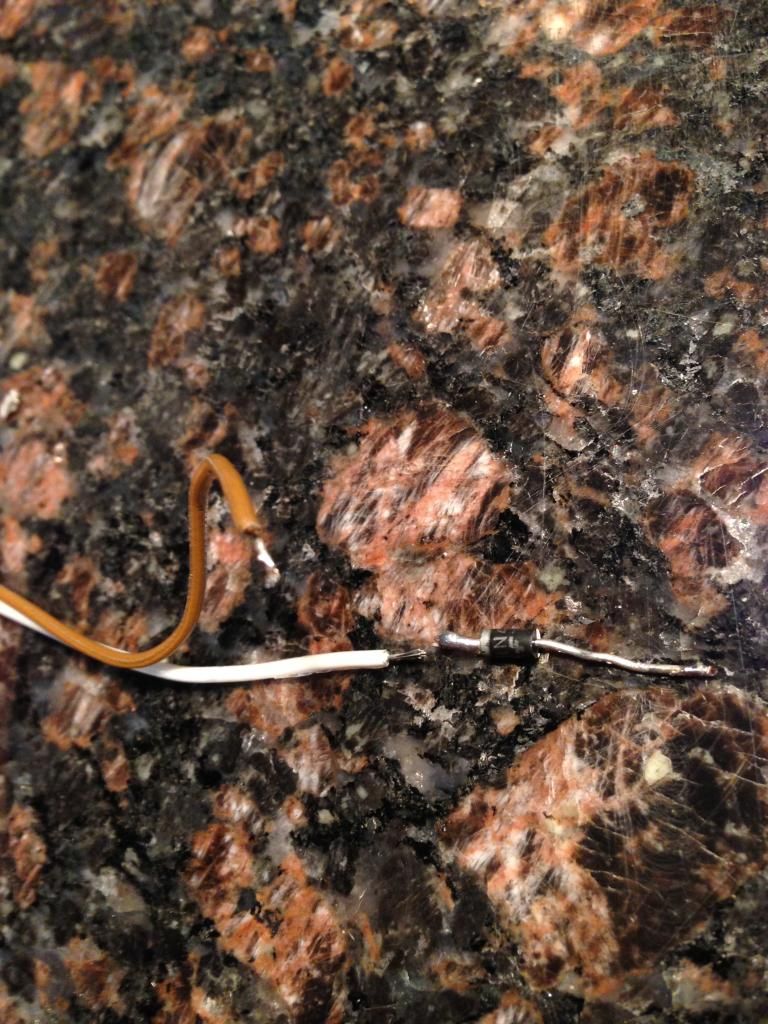 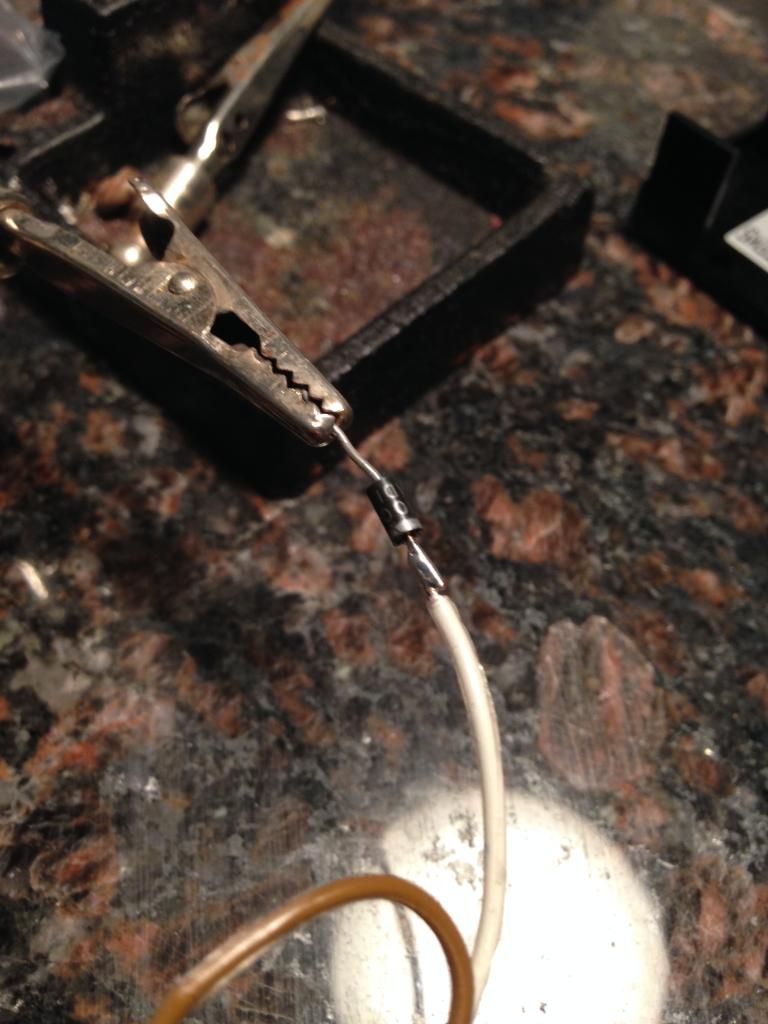
|
|
#28
07-30-2014, 03:57 AM
|
|||
|
|||
|
One thing good to note is that both the Lyric and the Ultra preamps have a TRSS jack (4-terminals). The second sleeve is used as the switch to close the circuit and power on the preamp. When you insert a normal TRS or TS jack, it shorts the second sleeve to the ground/sleeve and closes the circuit.

|
|
#29
07-30-2014, 04:03 AM
|
|||
|
|||
|
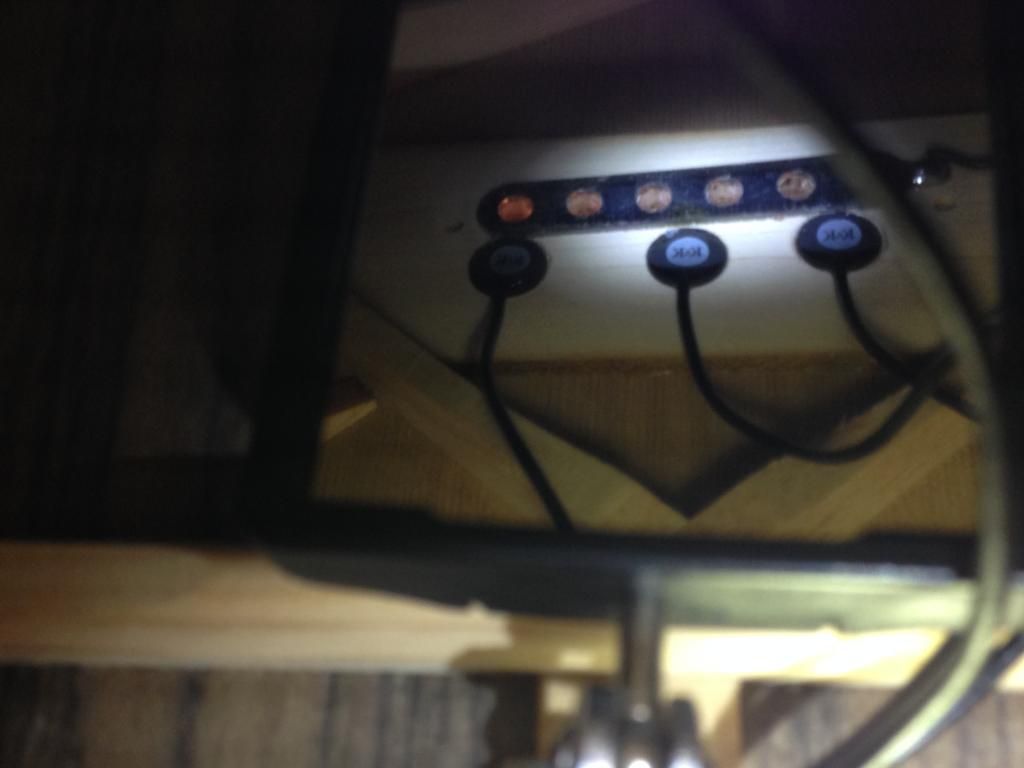
Now onto the steps to pull the screwdriver pots off the circuit board. Exactly like my previous thread and the 114ce, I'll be replacing these with leads and surface mount pots that will be placed in the 3 Taylor ES holes in the upper bout.
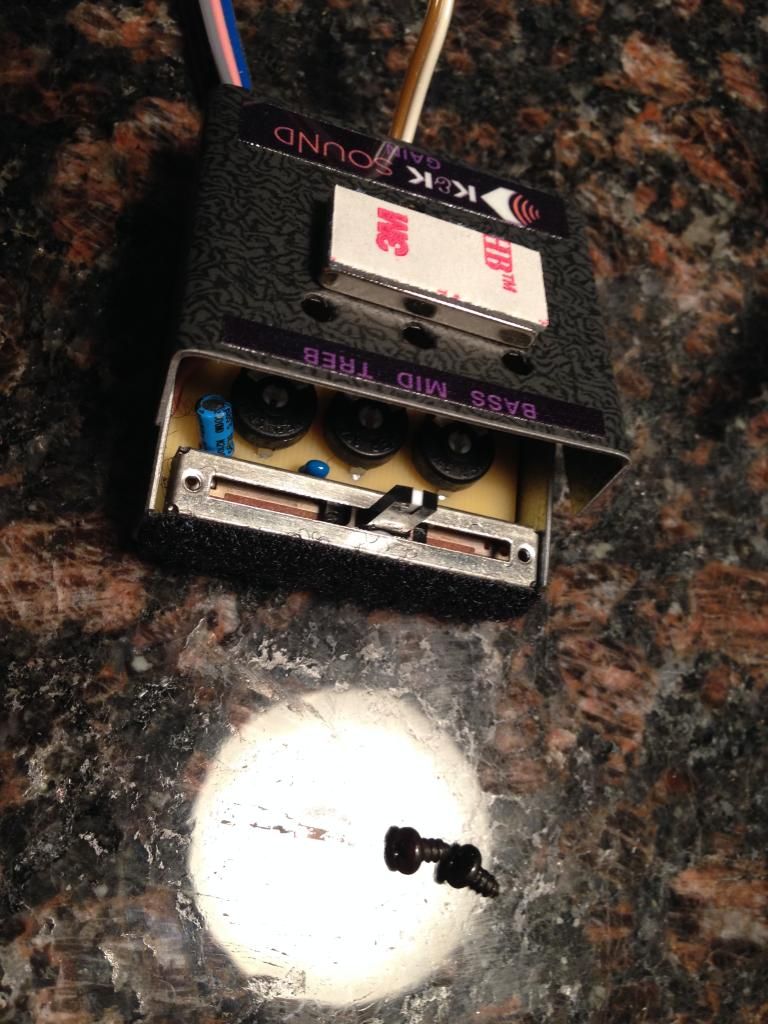 I first us a desoldering pump to remove the excess solder from the pot terminals. 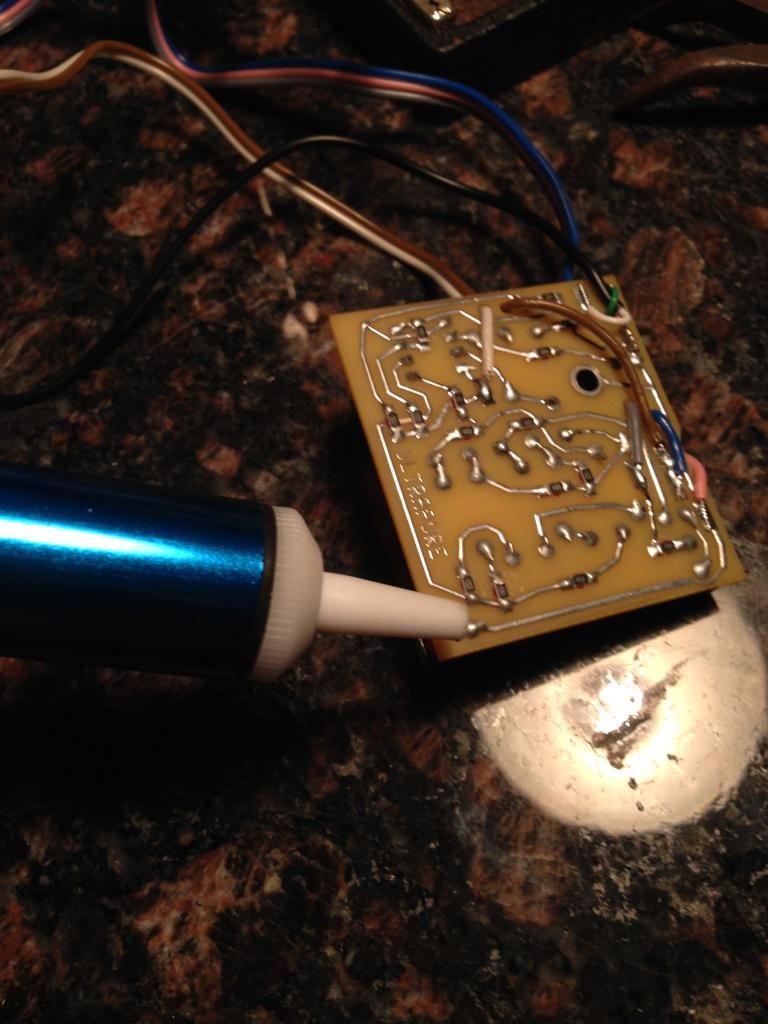 You can see there's no more excess solder on the terminal point in the corner closes to the camera in this photo. But, the pot terminals are bent over to lock it in place. 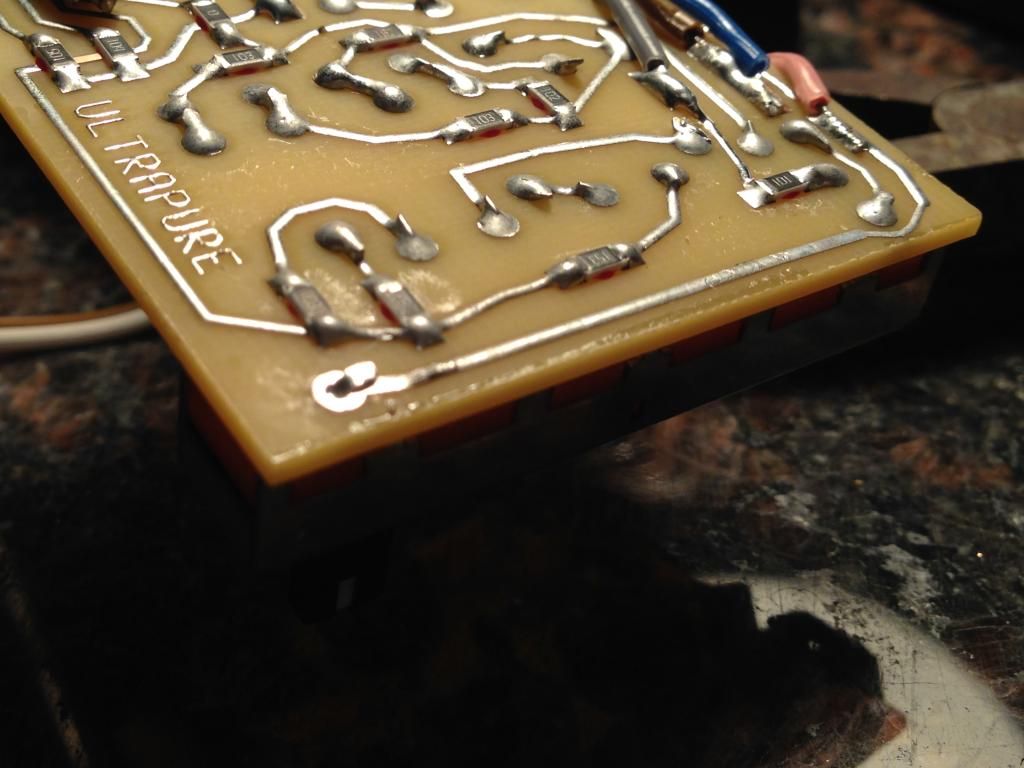 You have to heat it up to melt any solder, then use a small flathead screwdriver to stand it up. 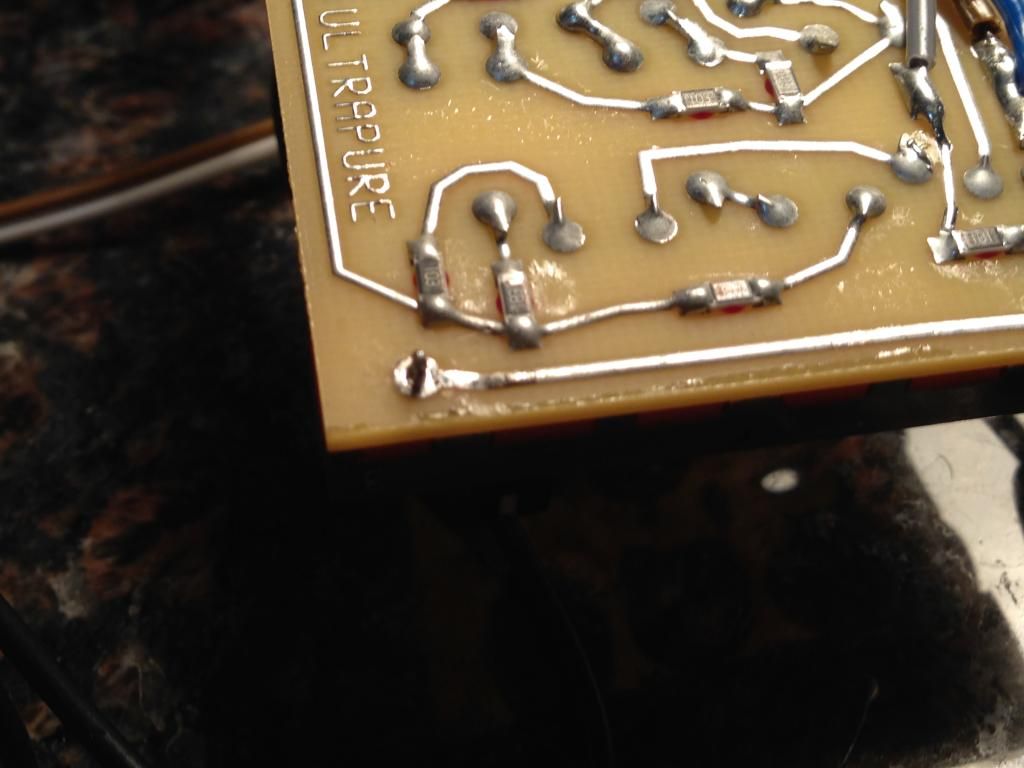 Once all 3 points are straightened up, heat the circuit board points and gently pull them off. 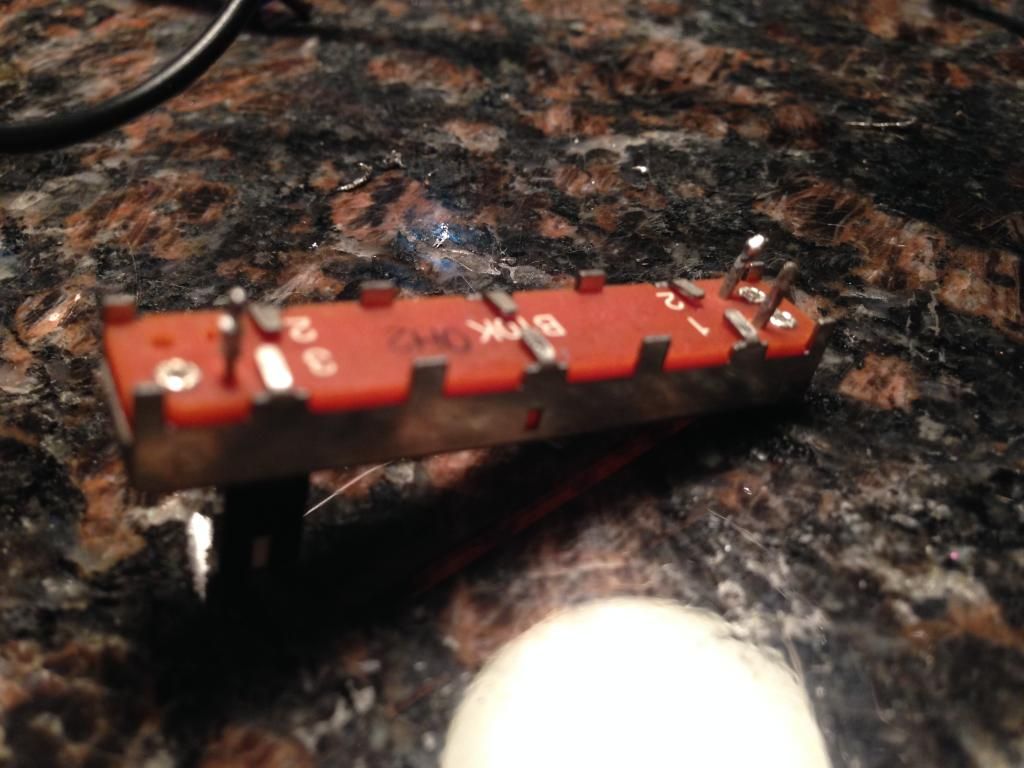 Here's a shot of the circuit board with the 3 vacant points from the volume slider pot. 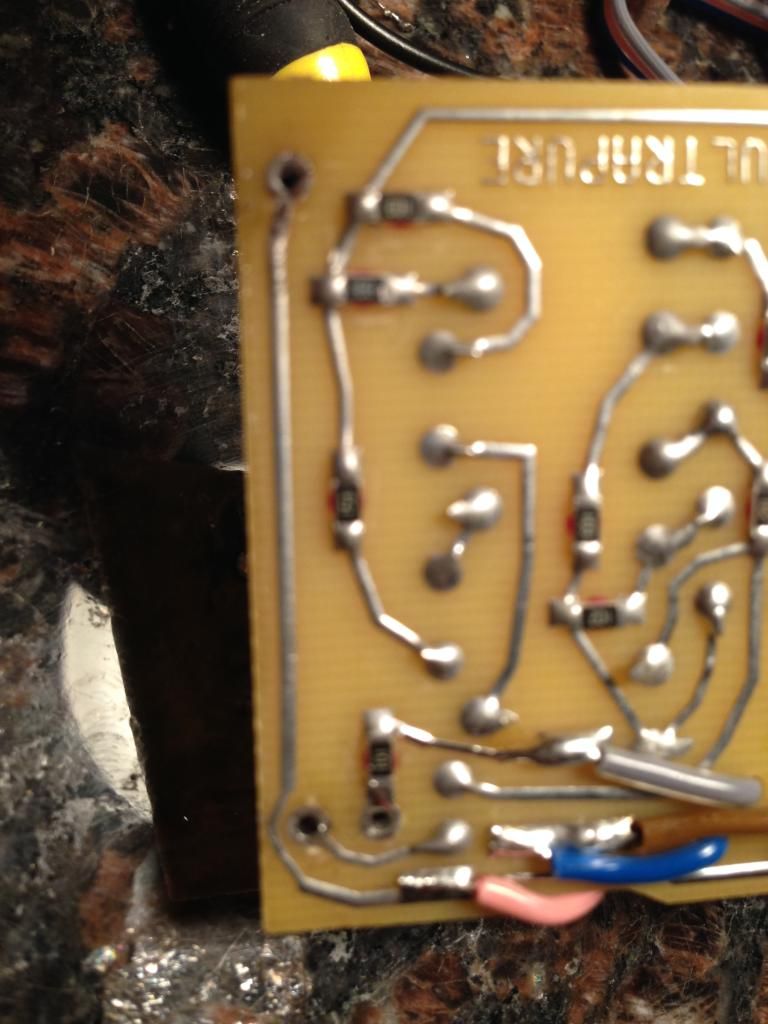
Last edited by joeguam; 08-07-2014 at 10:55 PM.
|
|
#30
07-30-2014, 04:09 AM
|
|||
|
|||
|
Here's are the slider, bass, mid and treble pots all removed.
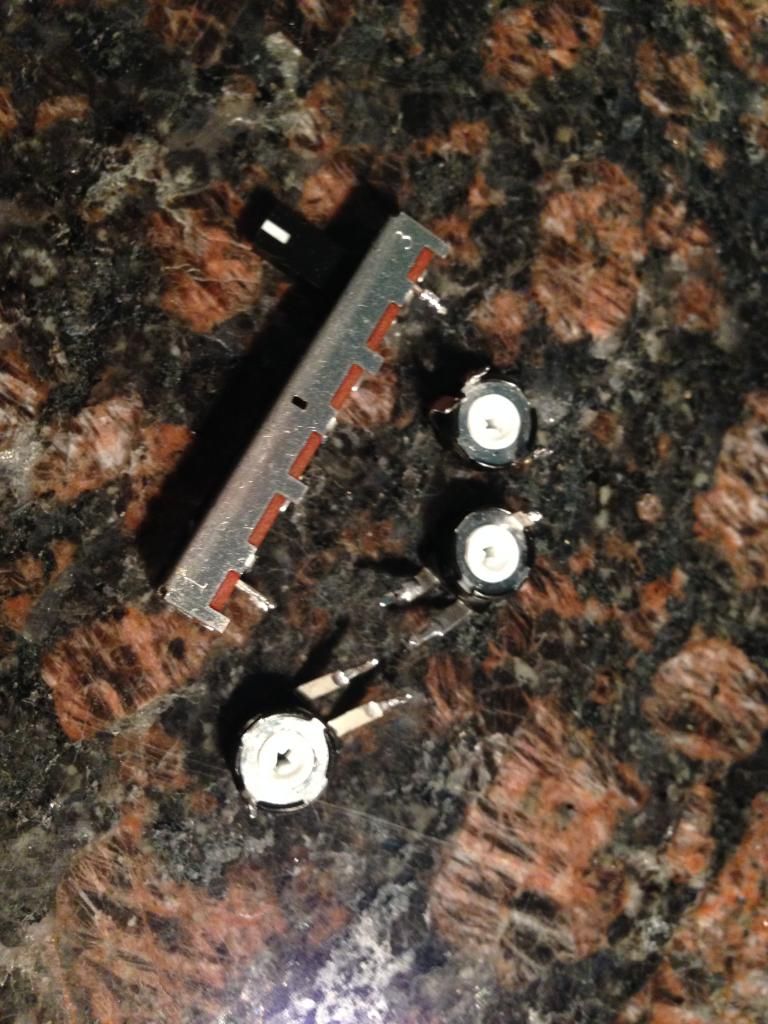 To prepare the leads, I used spare 18-gauge speaker wire. I use a drill motor to twist 3 of them together for each pot, then some heat shrink at both ends to keep them together. 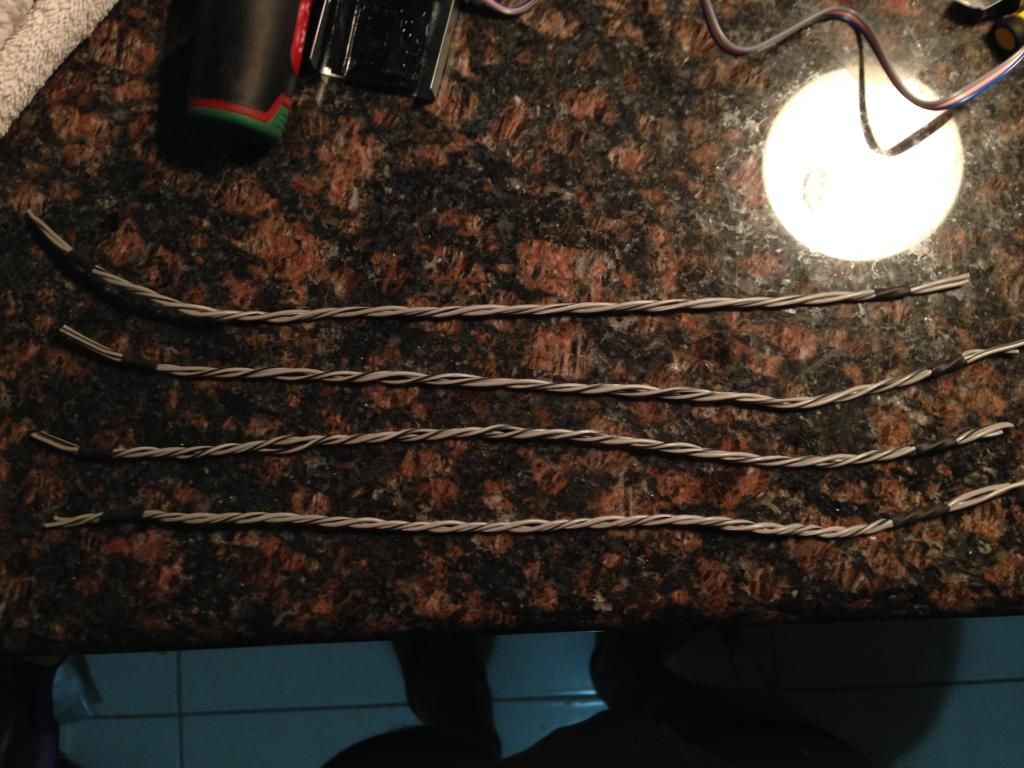 Neatly tin each end.  Solder them all back into place correctly. You'll just need to heat the circuit board terminal point, then feed the lead through.  Bend each of the leads in the same direction as the pots were bent. 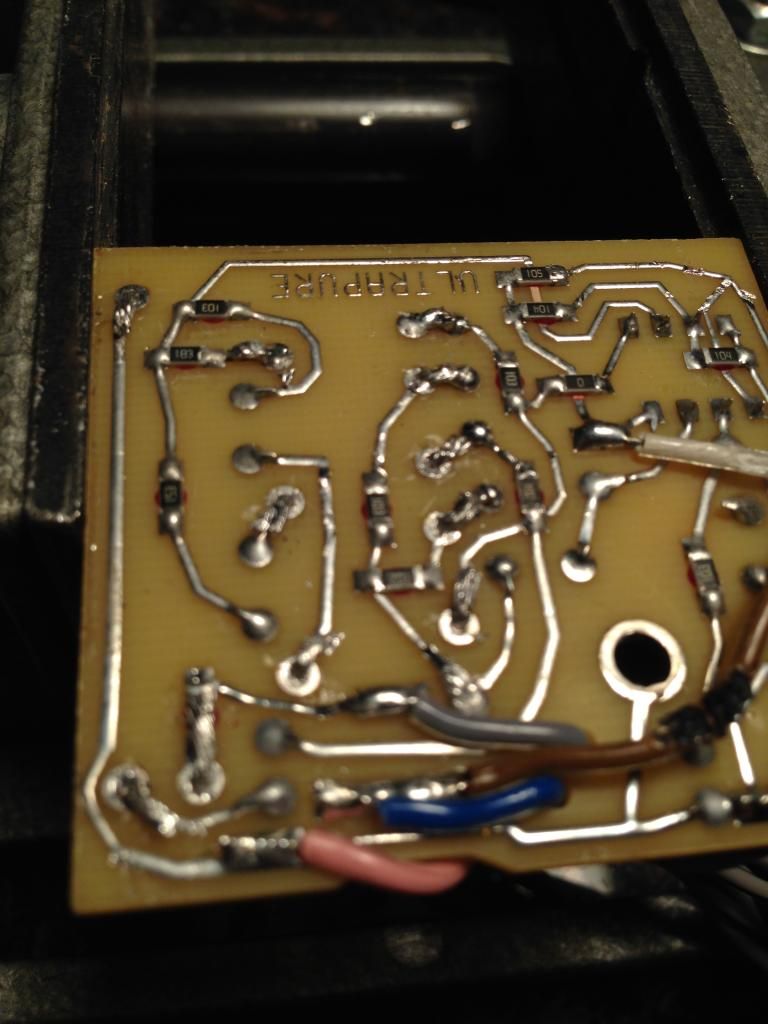 Secure it all with a bit of extra solder. 
|


