
|
|
#16
 06-21-2013, 06:04 PM
|
|||
|
|||
|
Murray, you doing a great job on this one and have some really nice looking wood. I'm gonna keep watching like everyone else. Bet it's gonna come out nice.
Bob 
|
|
#17
06-21-2013, 09:47 PM
|
|||
|
|||
|
Thanks Bob, I was just admiring your build, love the back and sides set and the paper white Englemann!
More pics... Really nice maple bindings with BWB purflings already attached. Technology!  The ledges on the top went more or less as planned but the back ledges left a few things to be desired. I use a tilt base laminate trimmer with the Stew Mac bearing kit and cutter. I tried to find an appropriate angle to match the difference between the two blocks but didn't quite nail it. In the end I had to do a little more scraping than I would have liked but the end result was unnoticeable to the untrained eye. This was my first build using wood binding. The first day of the rest of my life. 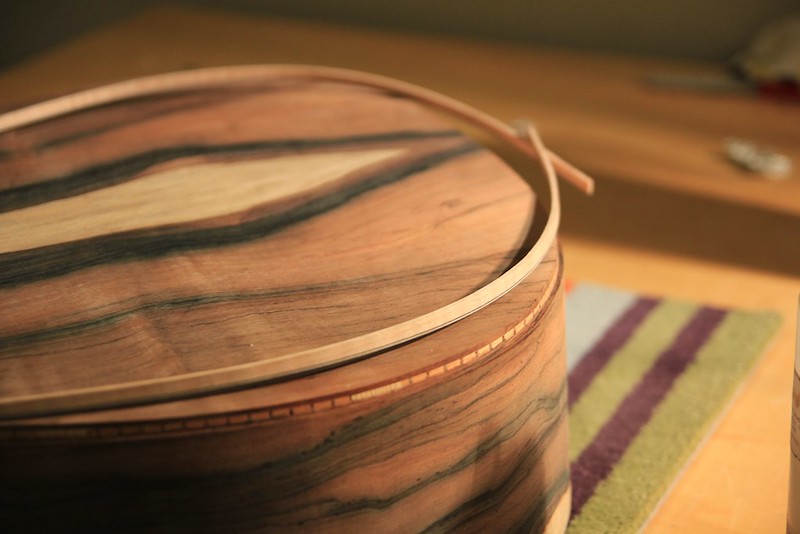 On an unrelated note, I sawed my fret slots using the stew mac jig and a nowhere near sharp enough saw for this ebony. Also making my first bound fret board. 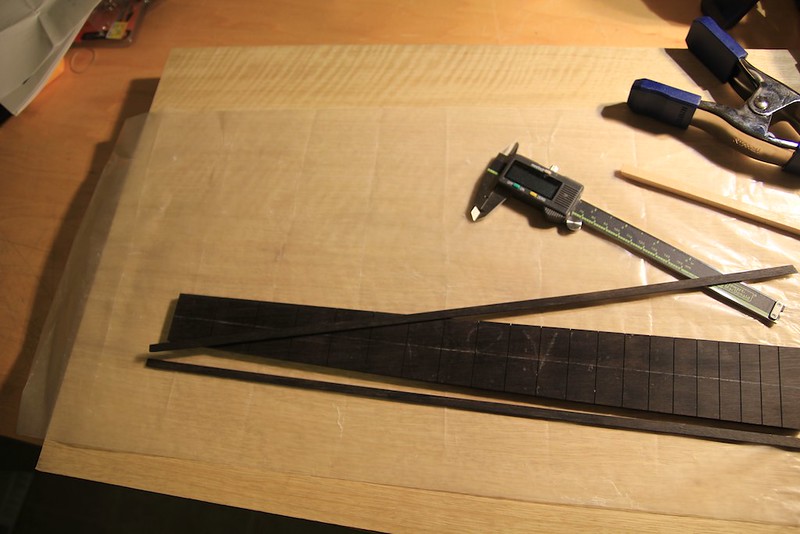 Went a little light on the glue out of fear of getting it in the fret slots. Lesson learned. Glue got in the slots and I had some small gaps. Next time more glue. The end result was again not noticeable as I filled any gaps with sawdust/CA. That piece of wood is a Limba body blank with some sweet beeswing figure down the center that turns into a bit of curl on the edges.  Jumping back a bit... I notched slots in the X for the finger braces and tonebars. 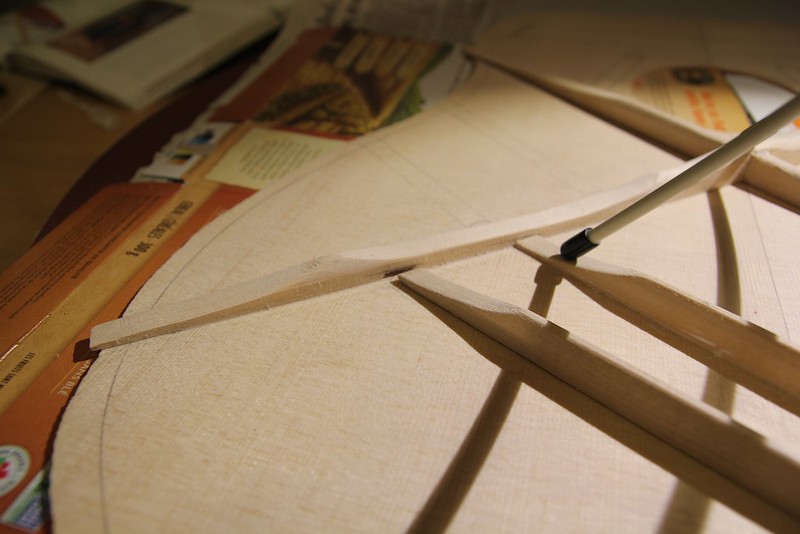 I don't have any pics of when the binding went on scaping it clean. As I recall my wife hijacked my camera for a video project. She did help me as my extra set of hands for the binding installation. That's some high stress times - trying to get the binding on and taped up before the glue sets up. I find the LMI white glue that I use sets up real fast, which is a plus and a minus some times. All in all it went on well and looks great, which you'll see soon in the finished pics.
|
|
#18
06-21-2013, 10:02 PM
|
|||
|
|||
|
I agree 100% about the binding being stressful. Almost as stressful as cutting the binding slots. Did you find the maple with the bwb on it or do it yourself. That's something I hope to be able to do. That bwb around the side looks so good.
You know, it would be cool if someone would sell slits of teflon or something like it that was just as wide as the fret slots. Then you could glue away and not worry about it.
|
|
#19
06-22-2013, 02:58 PM
|
|||
|
|||
|
Quote:
I did see one of the custom shop threads where a builder had some plastic that he jammed in to the fret slots to block the glue and also the sawdust when he radiused the board. Maybe next time I'll try and dig into it more.
|
|
#20
06-22-2013, 03:12 PM
|
|||
|
|||
|
Today's photos are headstock inlay. This is the 3rd similar style of this logo that I've done. It gets a little easier every time and the results are starting to look cleaner. I use a jewelers saw and clean it up with some small files. The 2nd version of this inlay was black MOP with gold MOP background that looked great but it was a lot of work getting all the peices to match up nice so I'm now trying to inlay it straight into the wood.
I started with this figured MOP blank. 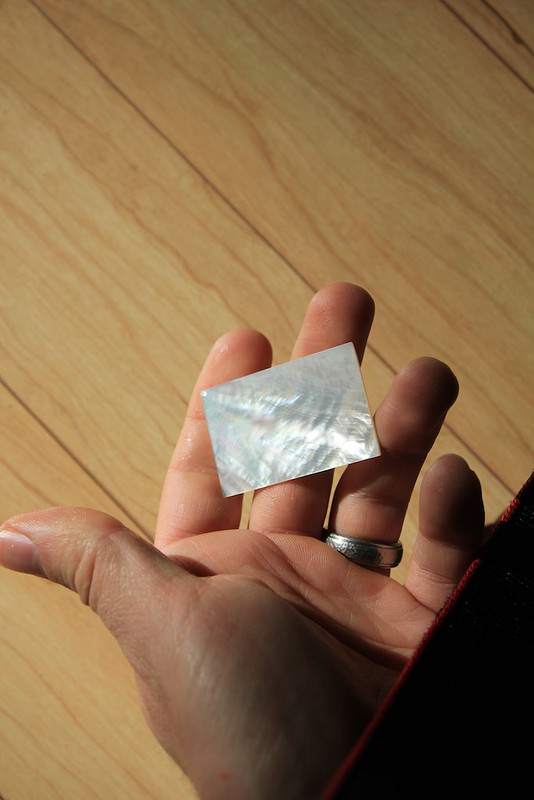 I superglue my design on to the pearl and drill access holes. I saw the inside bits first. 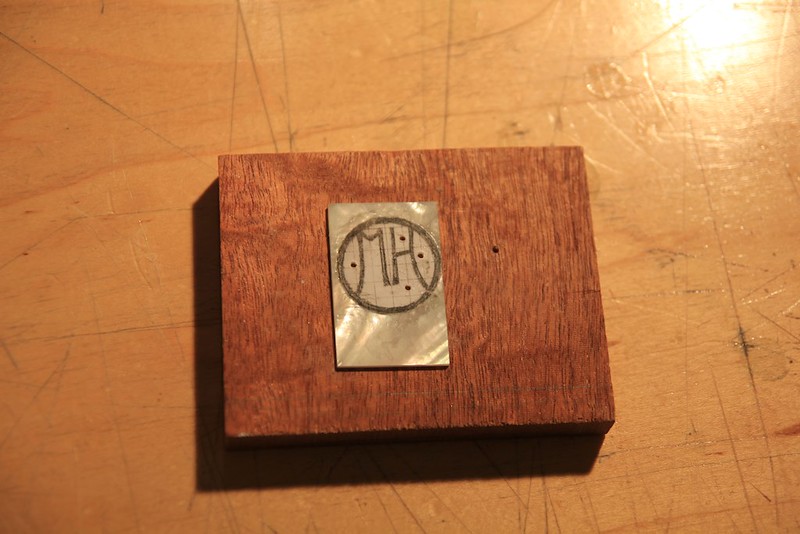 Lightly glued the inlay on top of the headstock veneer (BRW with a thin maple veneer underneeth). I had already rough shaped the headstock and drilled tuner holes at this point. I went with a Martin style headstock. I am still working on my own esthetic. My next build is a more customized Koa/Cedar OM that will have my own headstock shape. 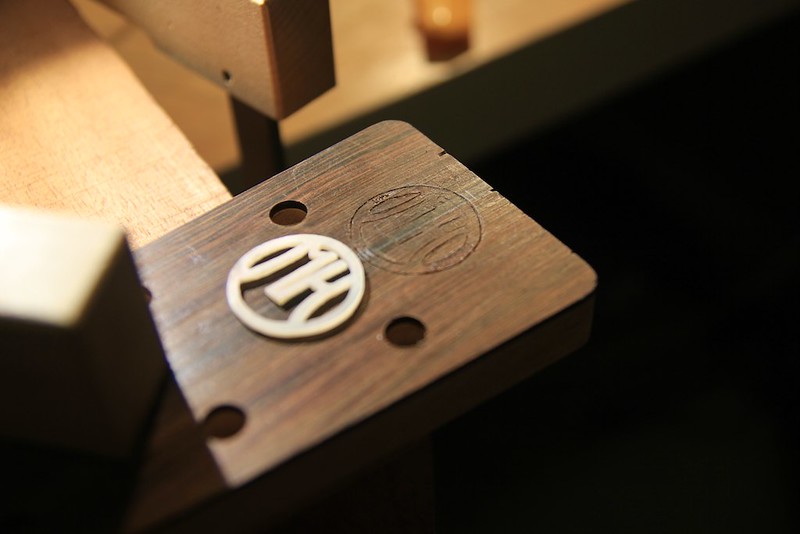 Fast forward to after the inlay is in and I have pore filler (zpoxy) on the headstock. 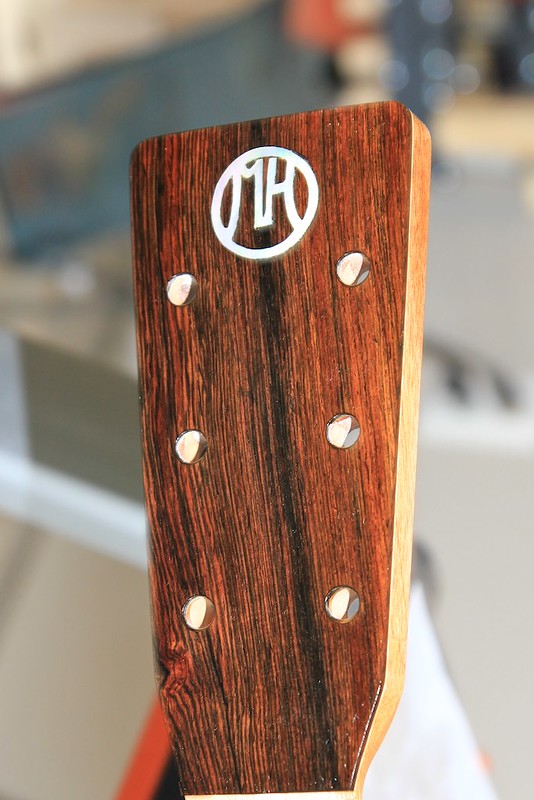
|
|
#21
06-24-2013, 08:45 PM
|
|||
|
|||
|
Here are some more shots. My bridge pins showed up today so I'm on the home stretch.
Diamond inlays, first time using anything other than circles. I took my time and lined them up really well. 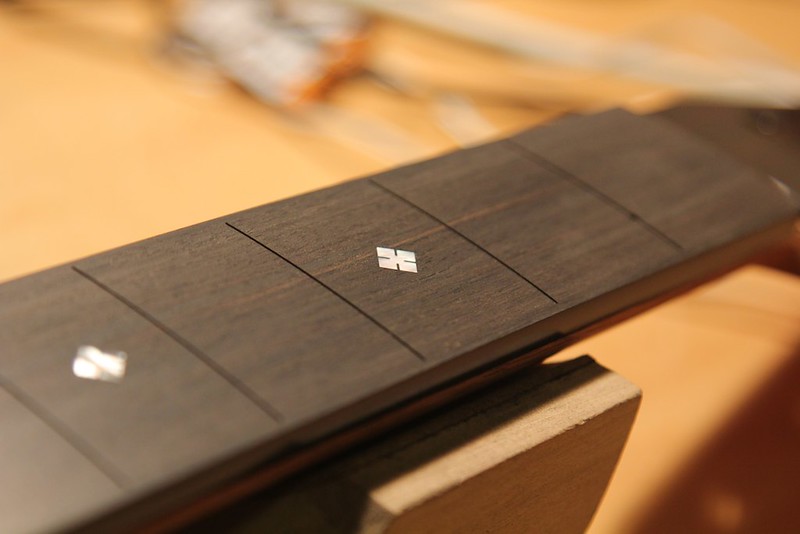 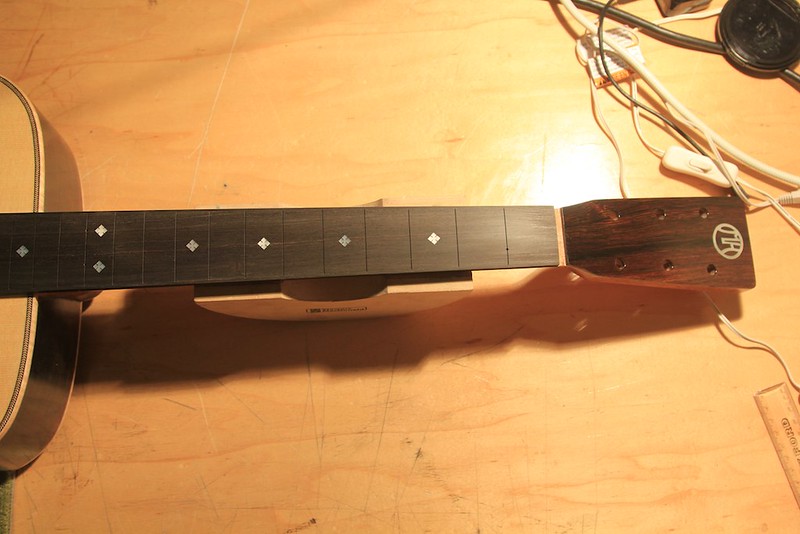 12th fret markers have been a constant challenge for me. These were no difference. The bit drifted on me a bit but I was able to enlarge the hole and move the marker a bit so it came out pretty well aligned. French polish on the neck looks good and feels great too. These photos are a bit out of sequence, I finished the guitar, then dressed the fingerboard, I'll put some glamour shots of the finished body up soon. 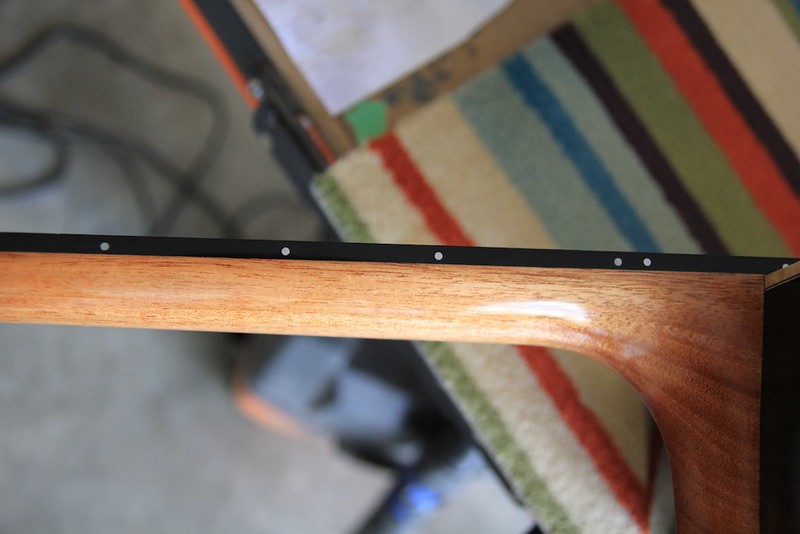
|
|
#22
06-27-2013, 07:04 PM
|
|||
|
|||
|
Here are some shots of the body during french polishing. I had already level sanded at this point and put another coat on to bring the depth back to the finish. I'm extremely pleased with how the guitar has turned out esthetically. The back and sides are beautiful under finish and the top is quite nice as well. The subtle bear claw figure in the soundboard is a nice touch. At some angles it looks like perfect straight sitka and at other angles it's very much a figured top.
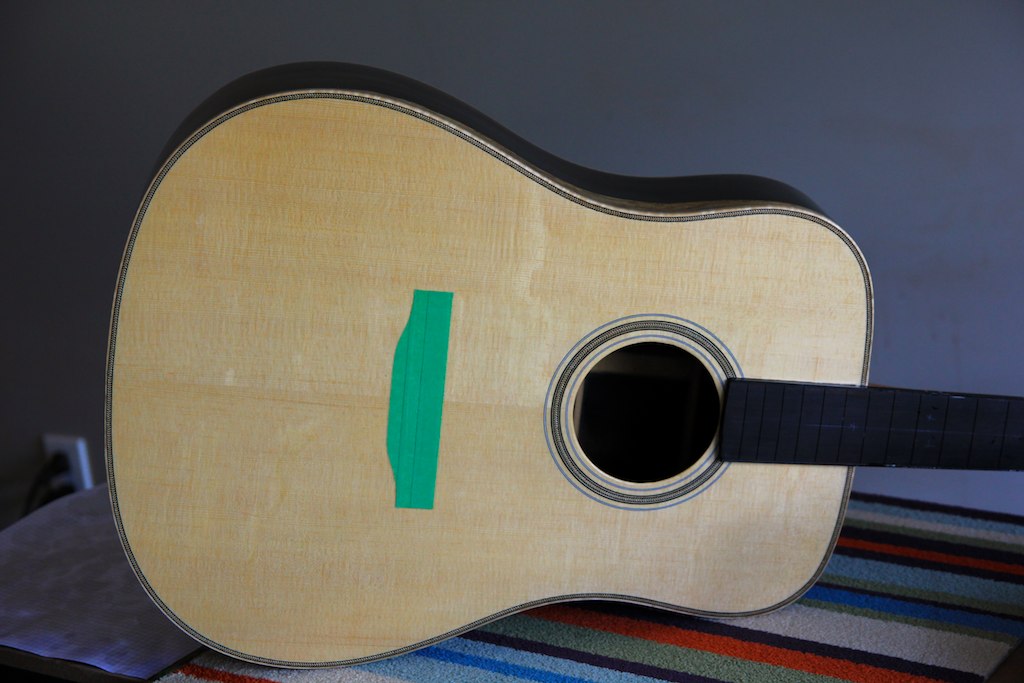 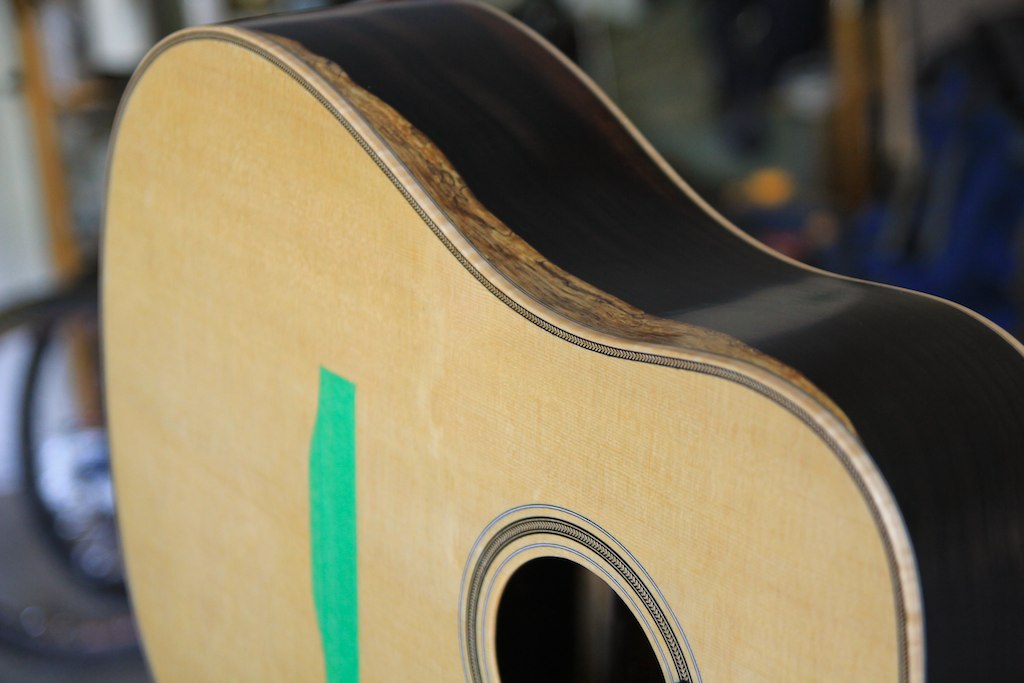 Flash on in this shot... It's less red in real life. 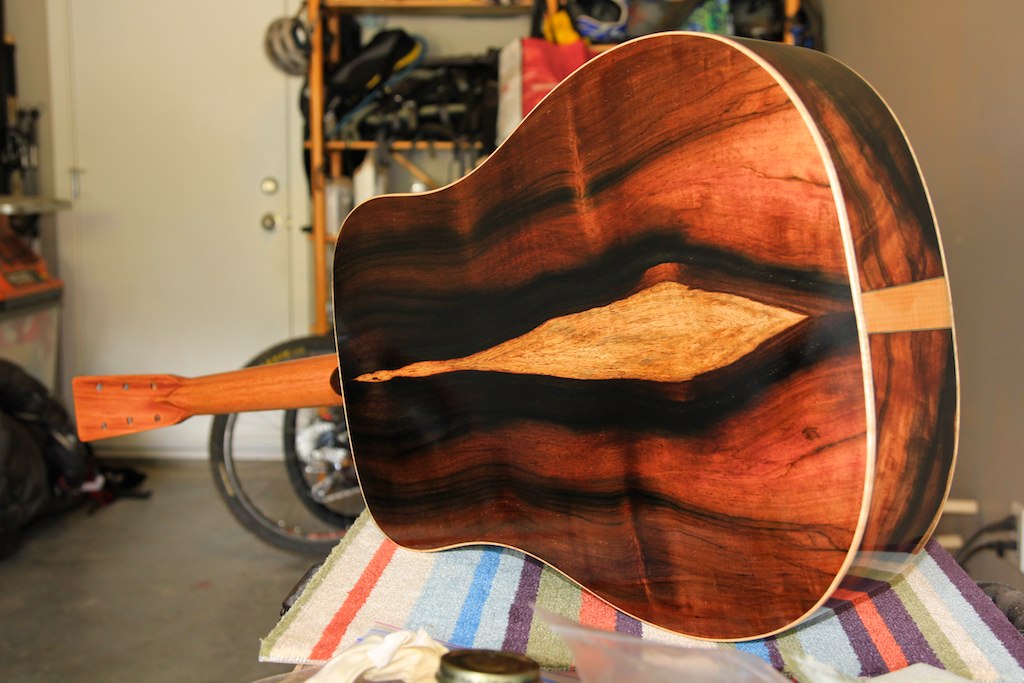 This is more representative of the actual colour... 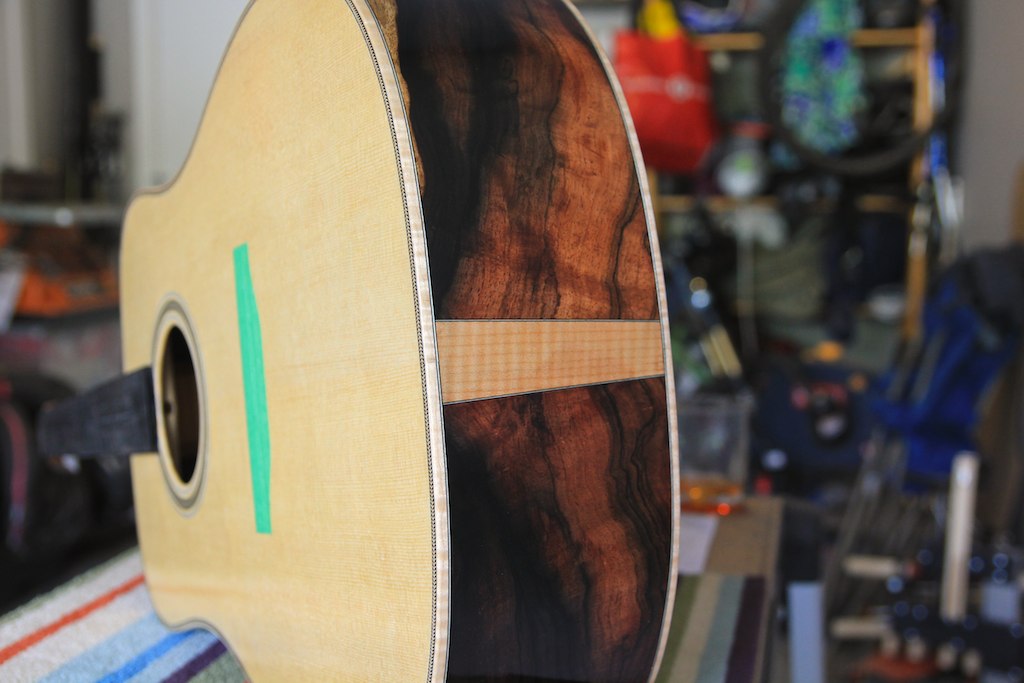 Super thin finish! 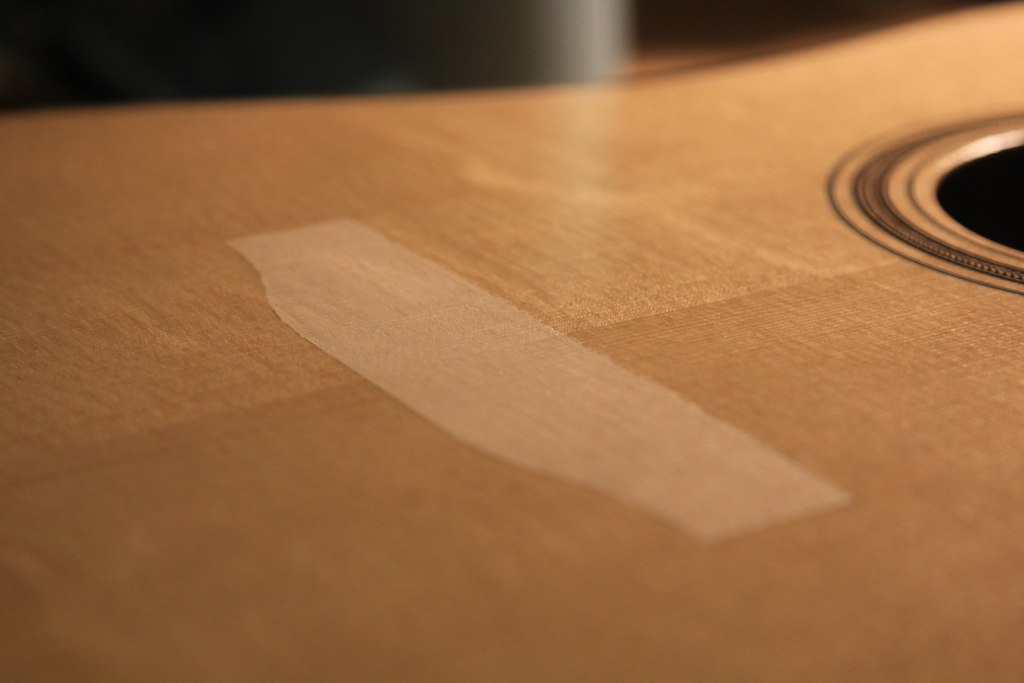 Sorry about the shallow depth of field in all my photos, not enough light in the man cave... Silking! 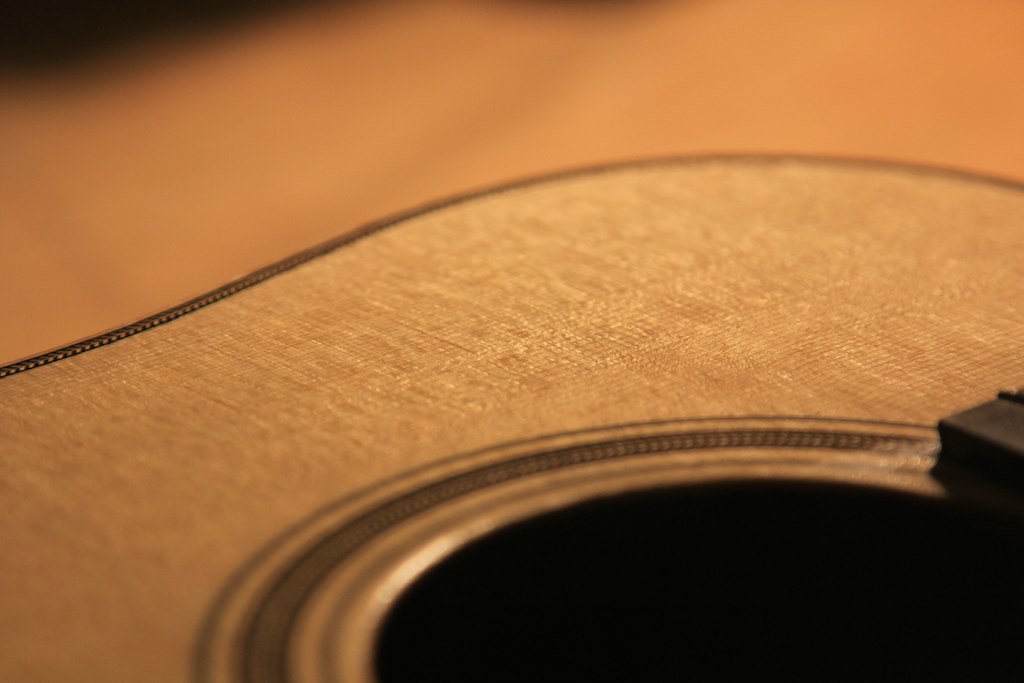
|
|
#23
06-27-2013, 09:24 PM
|
|||
|
|||
|
Silking! Yes indeed. The first picture in the last post showed some fantastic silking on the top. And the bearclaw does look like it's kind of in and out. It's really looking good, Murray.
Job well done. When do you think you'll string it up?
|
|
#24
06-28-2013, 07:25 PM
|
|||
|
|||
|
Looks like it is coming along nicely.

__________________
Kī hōʻalu and 'ukulele soul
|
|
#25
06-29-2013, 02:18 PM
|
|||
|
|||
|
Thanks guys, very much on the home stretch. The bridge is now on and the fretwork is done. Working on saddle and nut this weekend (long weekend in Canada!). Should be strung up by Monday!
|
|
#26
07-10-2013, 08:41 PM
|
|||
|
|||
|
The guitar is now more or less finished. I am going to do a new nut eventually as I am unpleased with the string spacing on the bass side of the strings. I also can't seem to find the pickguard I purchased for it, so that will have to wait.
Last Wednesday I was contacted by some friends who were getting married on Sunday. I was asked to play them down the aisle. It was an honour to be sure (one I could have used a few more days to prepare for). I snapped into action and got the nut and saddle finished and played the crap out of the guitar for a few days to try break it in. Interestingly enough, it was a strange repeat of my first build, which I finished the week before I played another couple of friends down the aisle in November! It was a rewarding way to introduce my guitar into the world and I received many compliments from the wedding guests. I have asked the wedding photographer (a good friend) if she has any shots of me playing it which I will be posting here when they come my way. To tied you over her is a shot of the buffed out back that people seem so fond of. 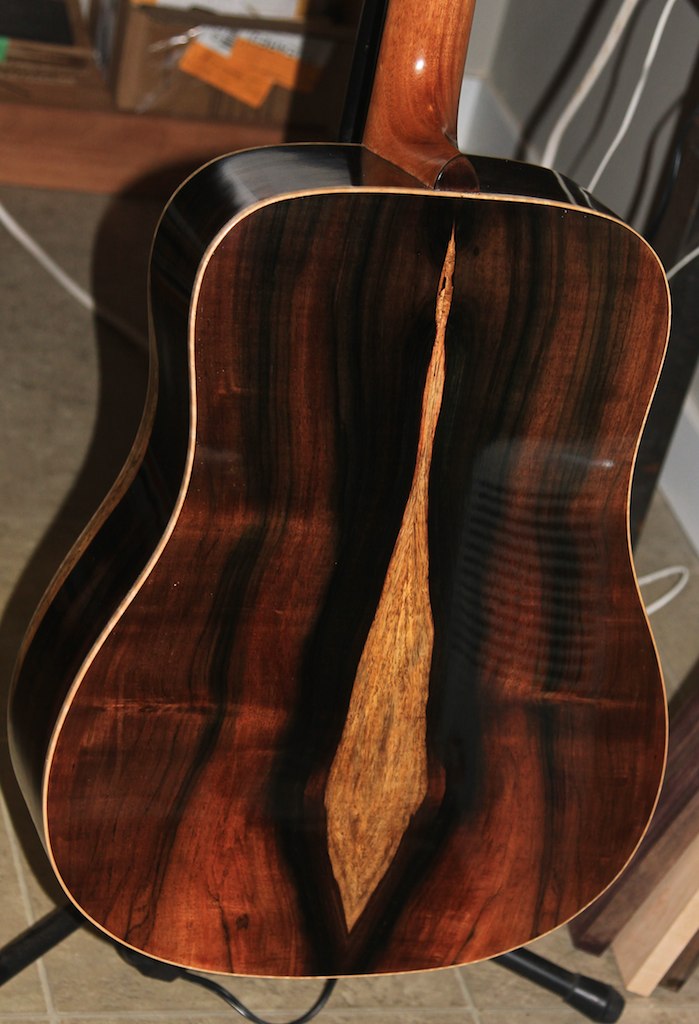 I'll post an audio clip when I'm back from vacation late in July, it should be warming up nicely by then.
|
|
#27
07-11-2013, 12:39 PM
|
|||
|
|||
|
Can't wait to hear it. I assume you like the sound maybe just a bit?
Looks really nice, Murray. Congratulations on your endeavor. Bob
|
|
#28
07-16-2013, 07:06 AM
|
|||
|
|||
|
Sweet, I want it! Very nicely done indeed.
Scott
|


