
Apparently, the O'Parlor Project has more in common with it RenOvation cousin than I thought; including a tendency to migrate to the back-burner when life gets in the way. (As it has on both ends of the continent recently.) But after a couple of months, I can pass along some pretty substantial updates.
Before doing that though, I have to say that Dan operates at a levels well above my fighting weight. As he mentioned way back when, he is going to make a mold from the parlor bowl for a future project. But I have to admit, it doesn't take him long to lose me in what seems to be a much more diffiuclt process than it sounded at first. 
What follows are his latest posts:
It's been a while since my last update, hasn't it? Two months to be exact.
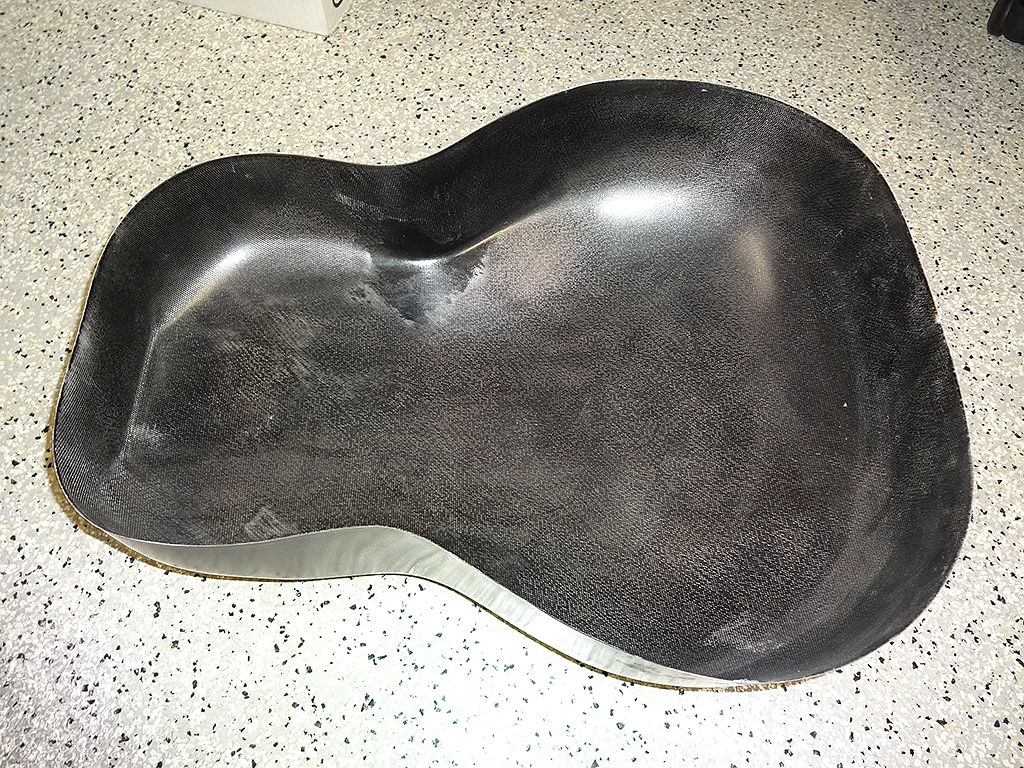
The time has come to prepare the bowl for splashing a mold from it. Normally, a male plug would be made from wood, or some other material which could be attached to a parting plate. Since this is a finished piece there's no way to attach the bowl to the parting plate.
It's been a while since my last update, hasn't it? Two months to be exact.
The time has come to prepare the bowl for splashing a mold from it. Normally, a male plug would be made from wood, or some other material which could be attached to a parting plate. Since this is a finished piece there's no way to attach the bowl to the parting plate.
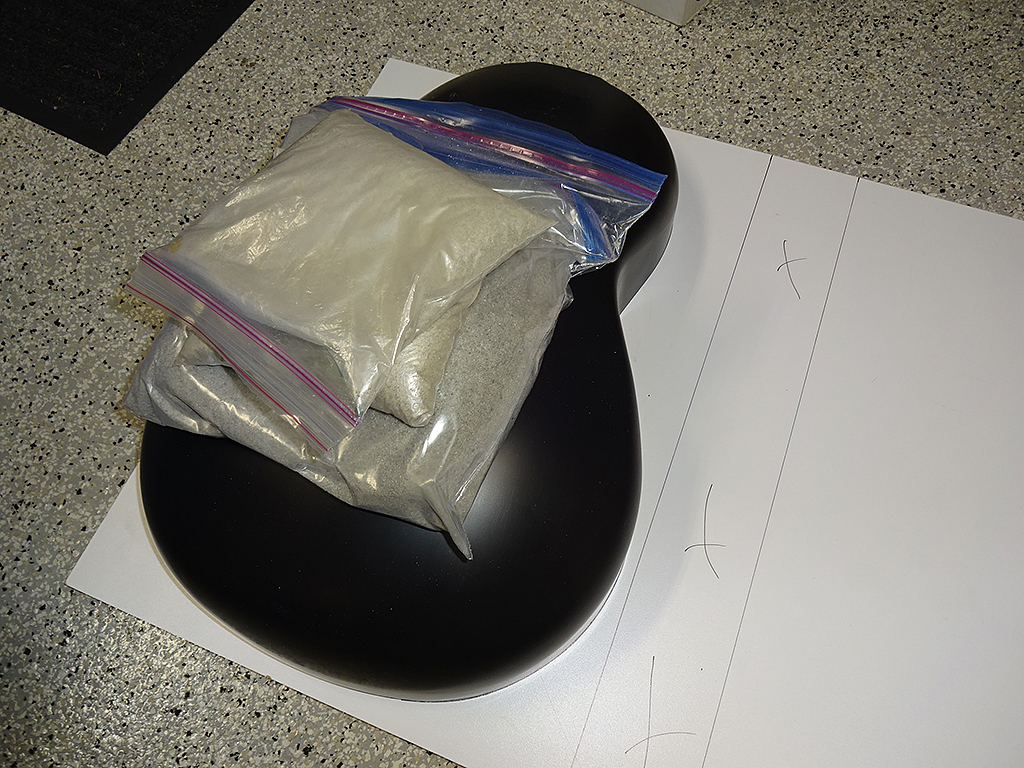
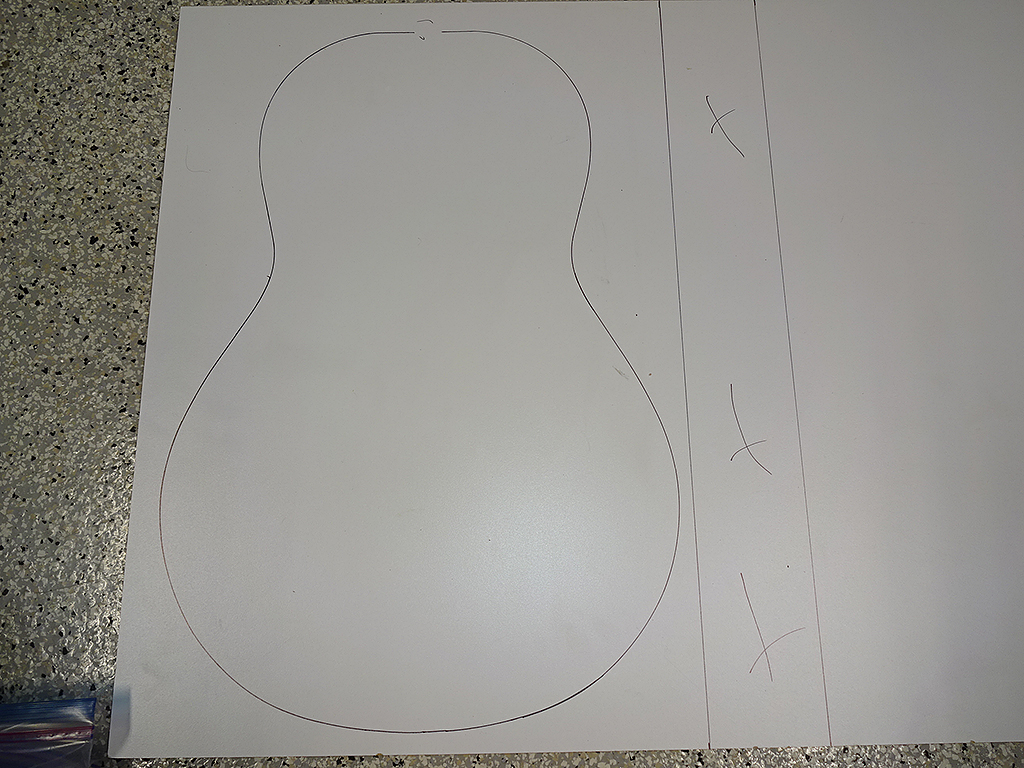
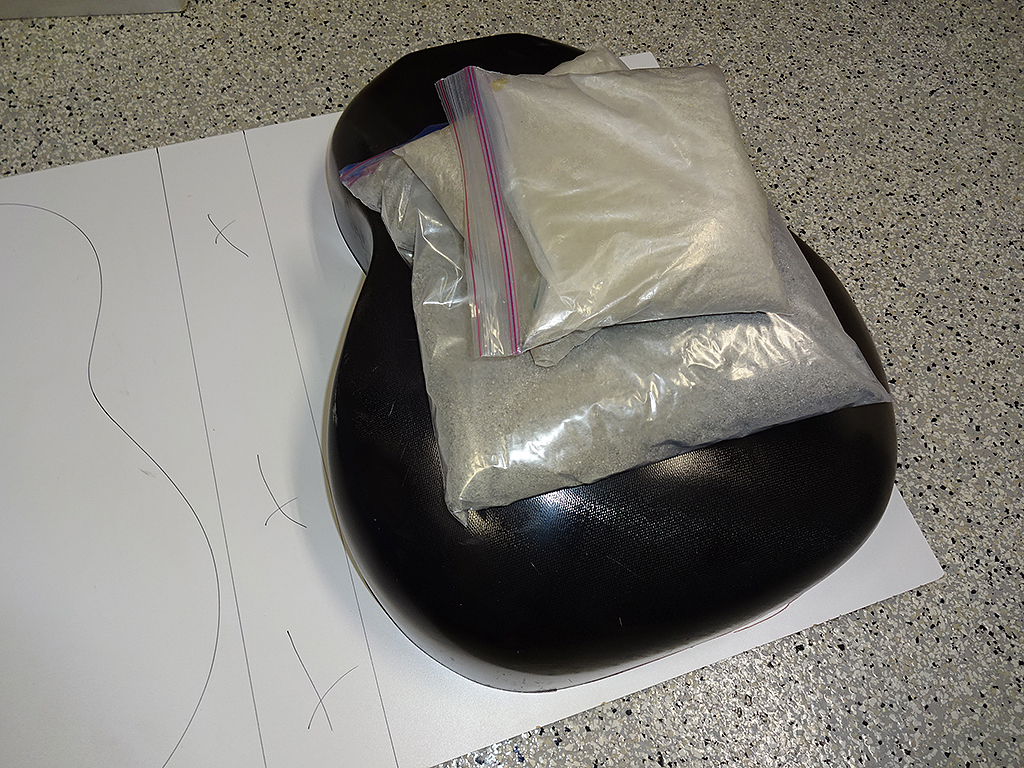
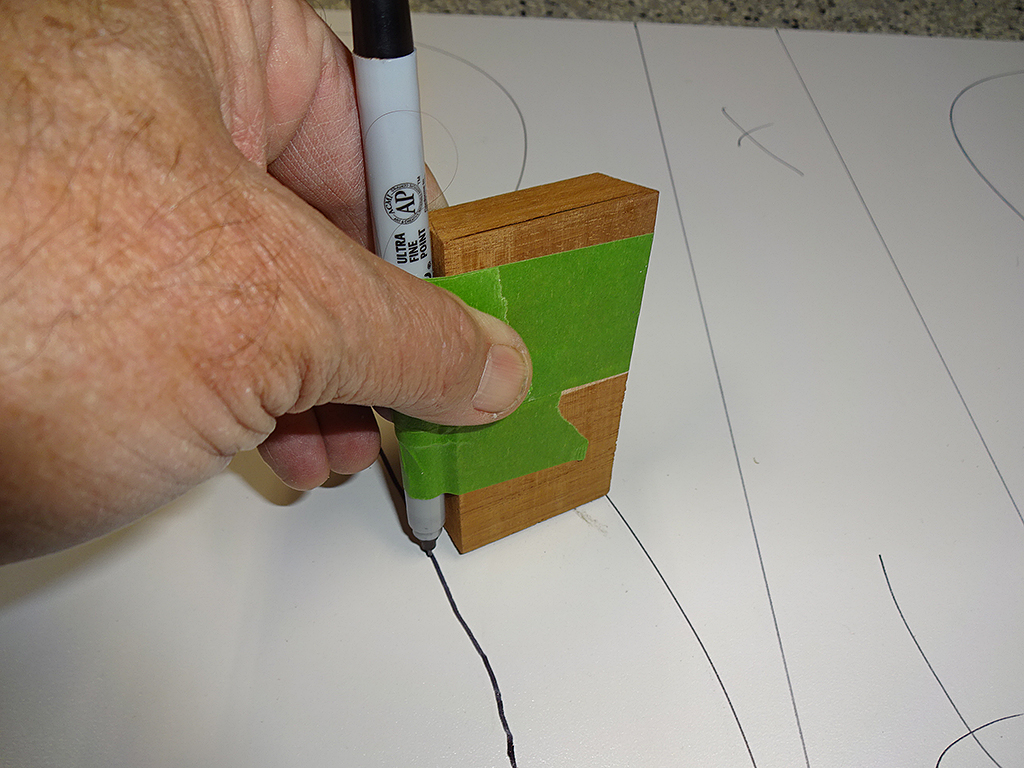
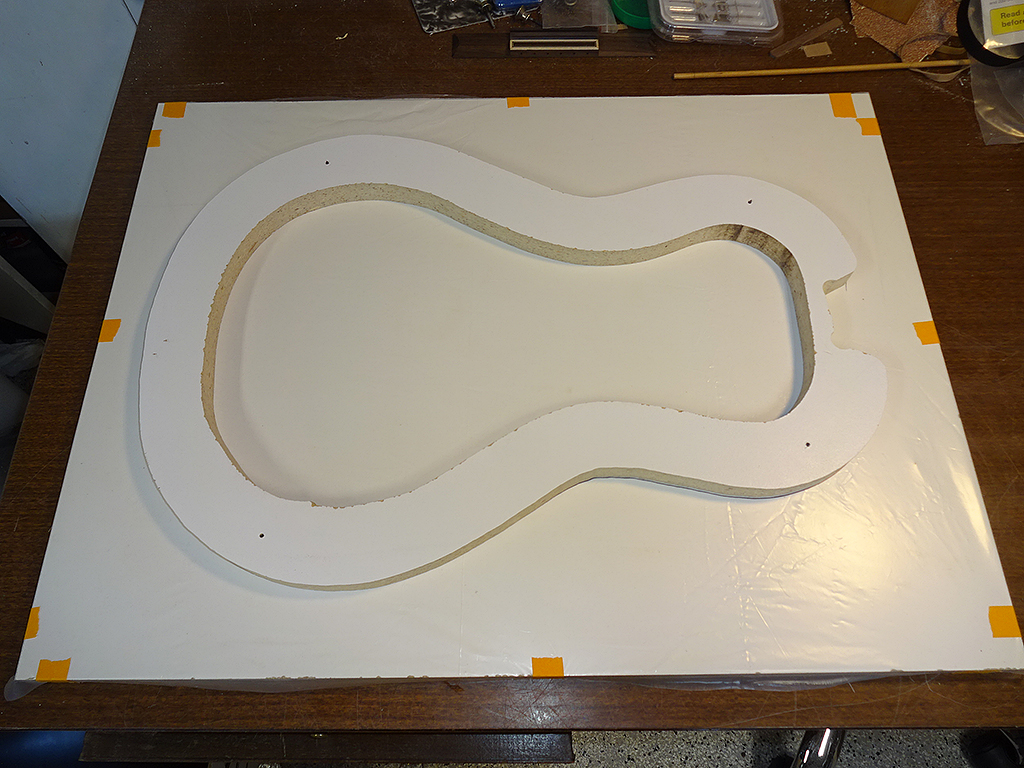
So, I'm going to cut an insert that can be temporarily attached to the inside of the bowl. The first step is to trace the outline of the bowl onto 3/4" MDF. I'm using MDF that has a plastic laminated surface which is smoother than bare wood.
Way back when I bought my 1619, TJR included a bare bowl in the deal. I figured that as long as I was going through the process to splash parlor bowl, it wouldn't be too much work to splash a mold off this bowl, as well.
Tracing the outline of the deep bowl.

The 3/4" MDF is really heavy, which would make the finished mold too cumbersome to work with. So, I decided to cut out the inside. The side benefit is that the bowls will eventually need to be separated from the inserts and the parting plates, so cutting out the center will give me something to grab onto when the time comes.
I taped a marker to a piece of scrap wood so I could draw parallel lines to the outline.
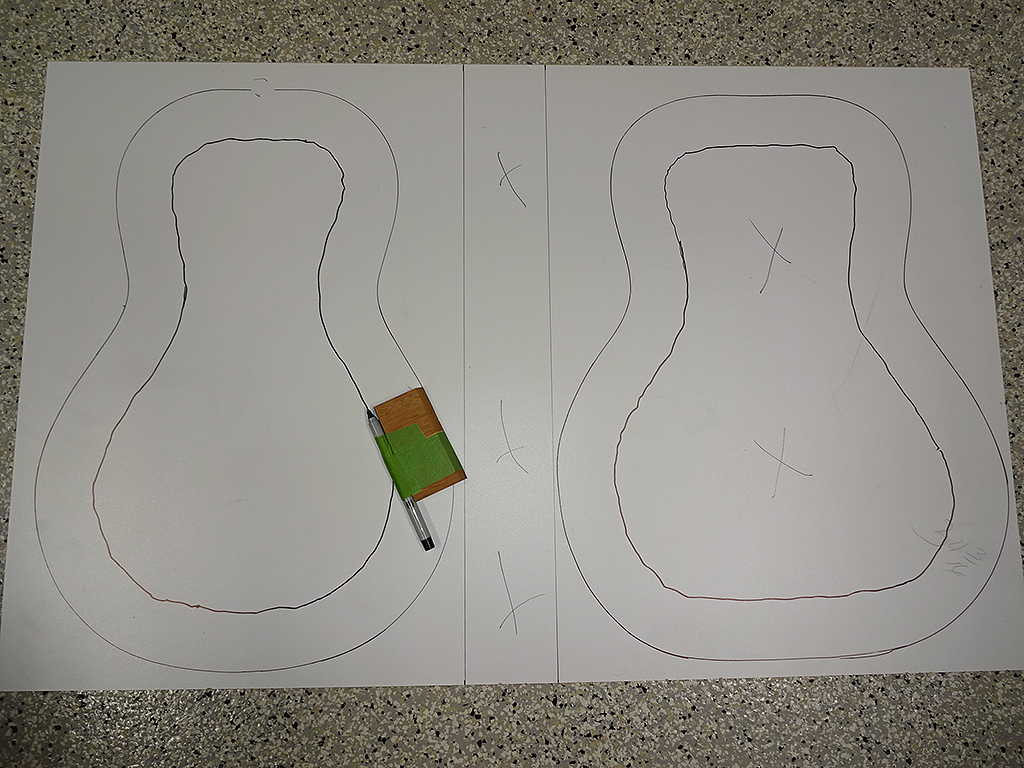
Both inserts are ready to cut.
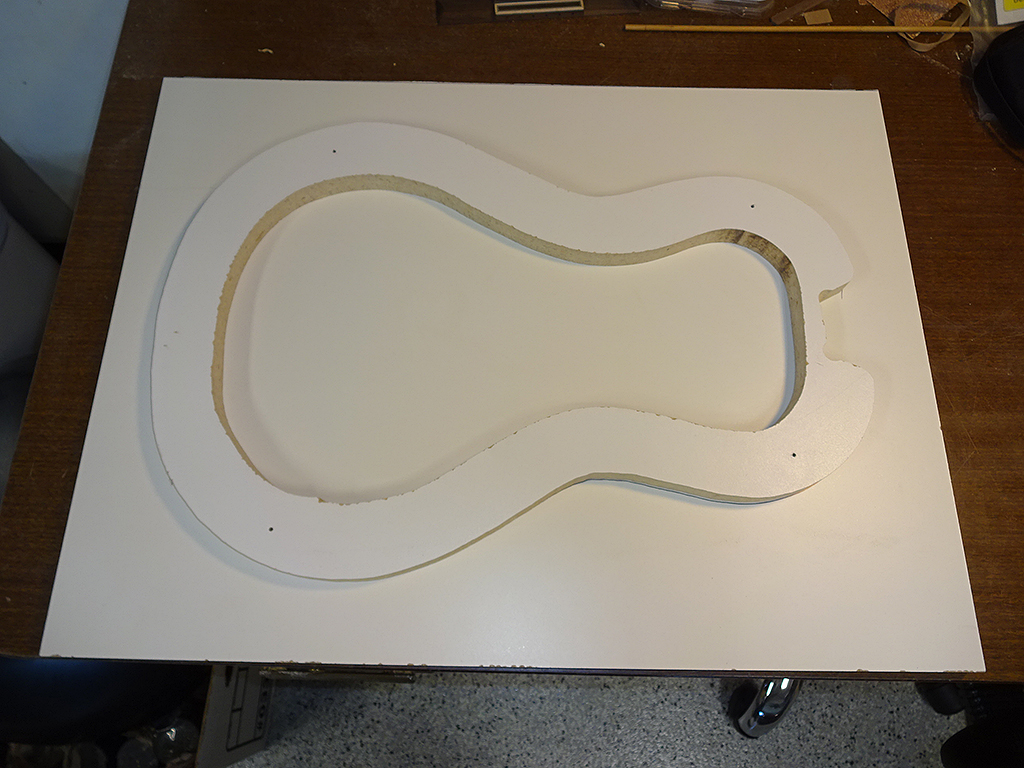
Parlor insert is cut out and ready to attach to the bowl.
http://savagelight.com/ofc/patch/parlor/DSC08485.JPG
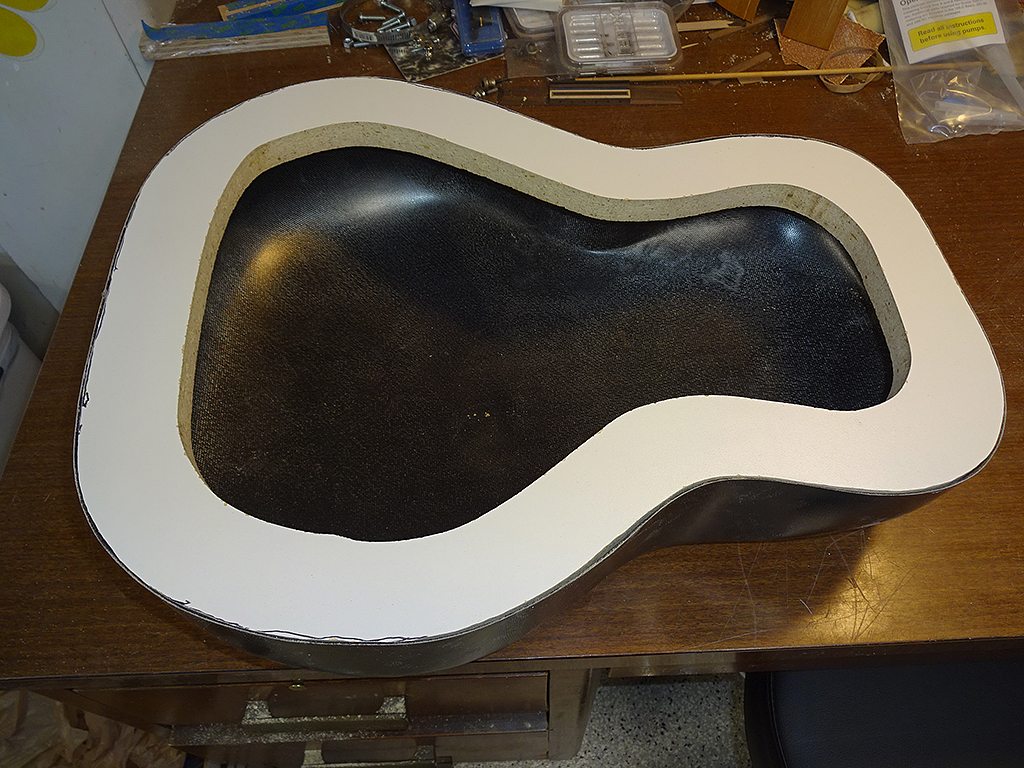
Insert is fitted to to the parlor bowl.

Insert is fitted to the deep bowl.
Parlor insert is temporarily attached to the parting plate with screws.
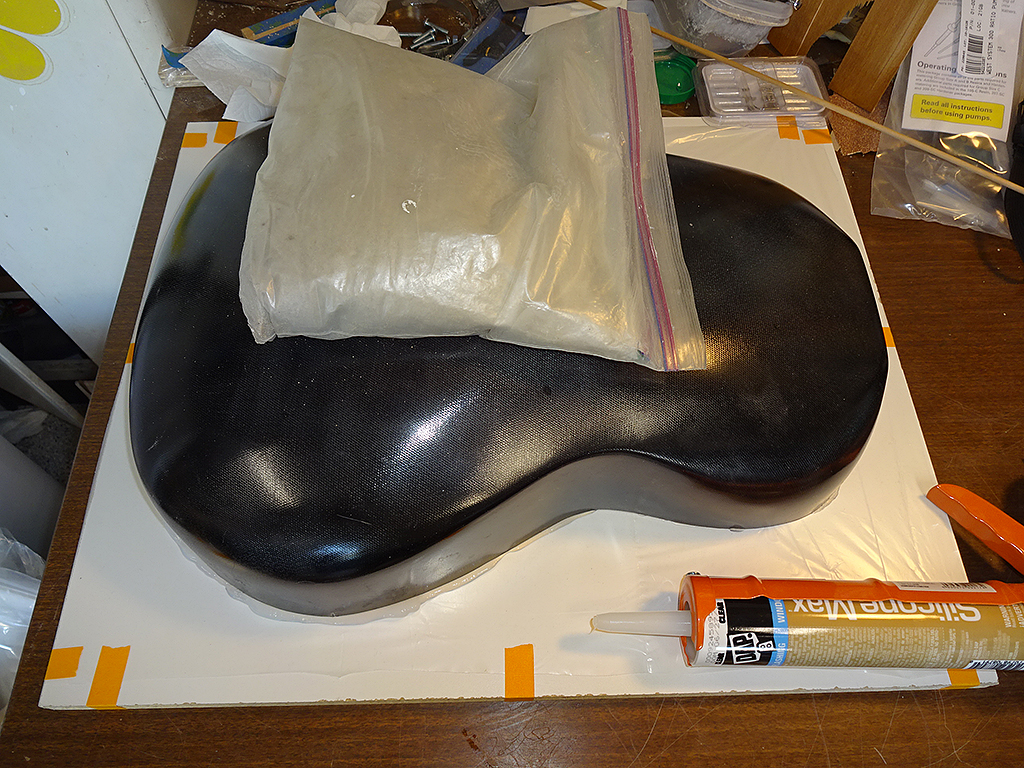
Because I want the insert to remain attached to the bowl, but not to the parting plate, I taped a layer of visqueen to the parting plate, then re-attached the insert. I did the same thing to the deep bowl.
I ran a large bead of silicone around the insert(s), then pushed the bowl(s) onto the insert(s) so the top(s) were flush with the parting plate(s), then thew a sandbag(s) onto the bowl(s) to hold them in place while the silicone dries. I'll let the silicone dry for 24 hours, then pull the bowl(s) off the parting plate(s).
__________________
Well, it looks like one of those desiderata days.....
MY OVATIONS
Spruce: Patriot #76, 1768-7LTD, 1122, 6774, 1779 USA, 1657-Adi
Redwood: 2001-X, 1537-X, 1713-X, FD14-X, Dan Savage 5743-X
Koa: 2078LXF, 1768-X, 1997-X
12-string: 1755, 1615-X Walnut
Exotic tops: 1768-XWF (Bubinga), 1987-M (Mahogany), Adamas 1681-X (Q. Maple)
Others: MM-68-7LTD Mandolin, MM-868-X Mandocello
|