Got the back binding on, decided I should put the 'simpler' side on first and if it went well to do the top side too.
As per the rest of this build, it didn't exactly go to plan.
As such i've only put that one side on. I may put the other side on tomorrow, its a tricker job with 3 lines of top purfling that i'm not sure how i'm going to get good mitres on. I'm not sure if I should glue them all together and then bend them, bend them one at a time and then glue them together and install, or install them individually.
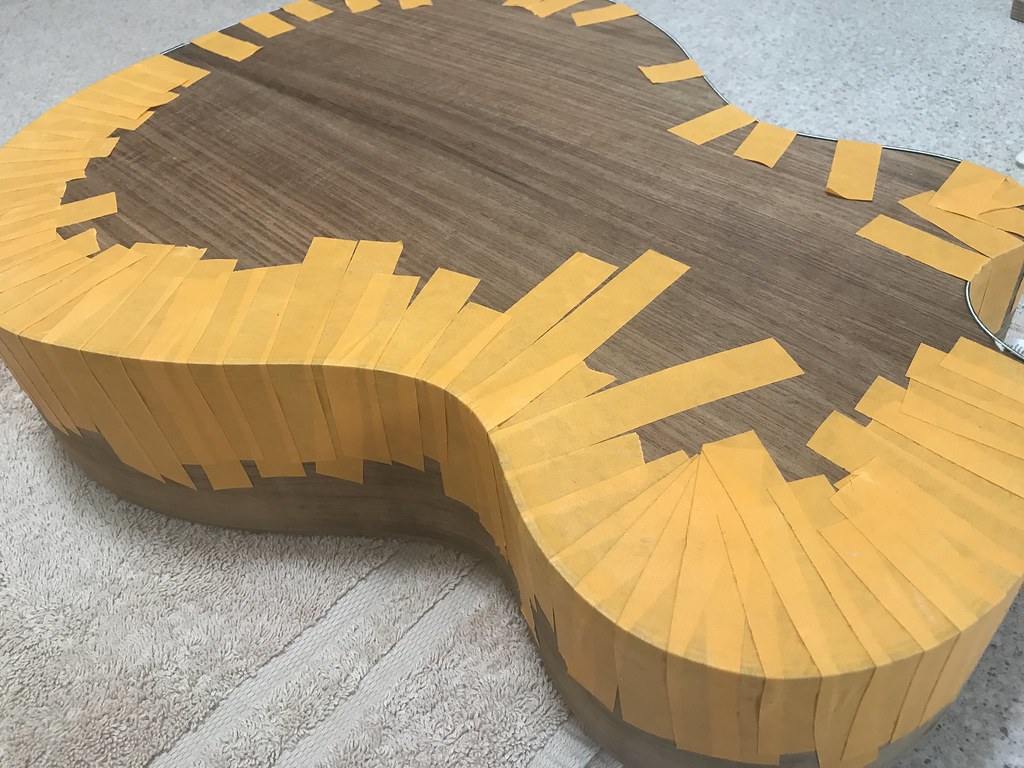
As for my actual install I went for the "tape mummification" method. It seems to do its job ok but its slow.
I also glued on with Titebond. i'm wondering if I should have used CA glue. Dry fit the binding with gaps in the tape, then wick CA glue in, once thats dry remove the tape and CA glue those gaps too.
The titebond tacked up pretty quickly because obviously the binding is pretty thin so the amount of glue in there isn't a lot and by the time i've taped from one end to the other, i had to add more glue.
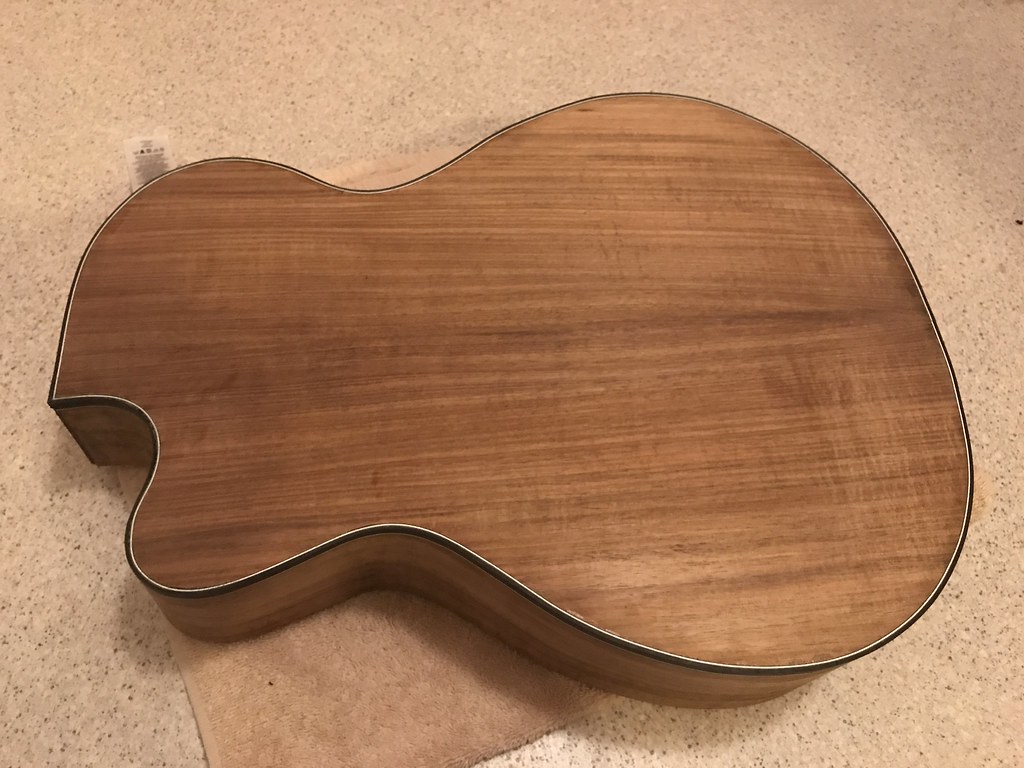
The non-cutaway side seems to have come out 95% good. the tail end, the lower bout, the waist and the upper bout all came out fine, but the corner right by the neck block/the cutaway, didnt seem to fit square, theres a noticeable twist in the binding. i hope it will come out ok in the end, but I may have to do some filling/modifications in that area.
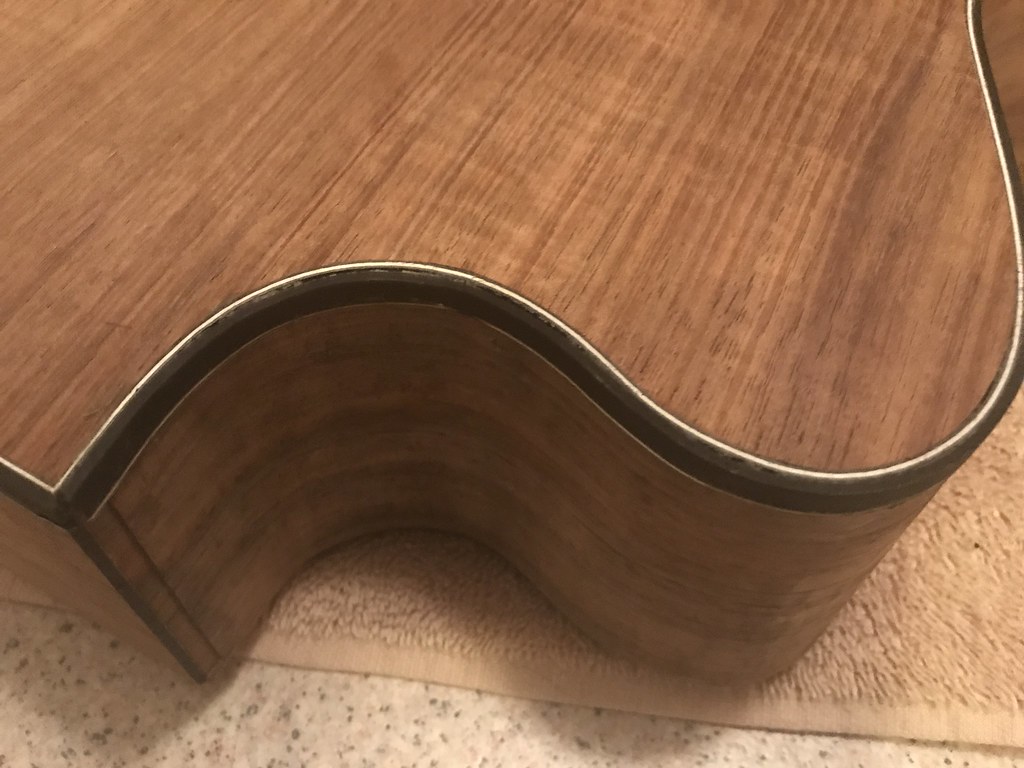
The cutaway side is noticeable worse, especially the actual cutaway. The top purfling line seemed to fit perfect, but even though in my 'dry fit' i was happy with the fit, when I took the tape off after the gluing i found a nice large gap. Did the glue swell? or the moisture in the glue swell/twist/kink the binding leaving the gap?
I can't decide if I should route this off and re-make and re-do the binding, or just fill the gap with CA glue/Glu-boost/something similar and rocklite sawdust.
Taping the binding in place
 Untitled
 by
David Emm, on Flickr
what the binding looks like from the back
 Untitled
 by
David Emm, on Flickr
Cutaway binding gaps
 Untitled
 by
David Emm, on Flickr
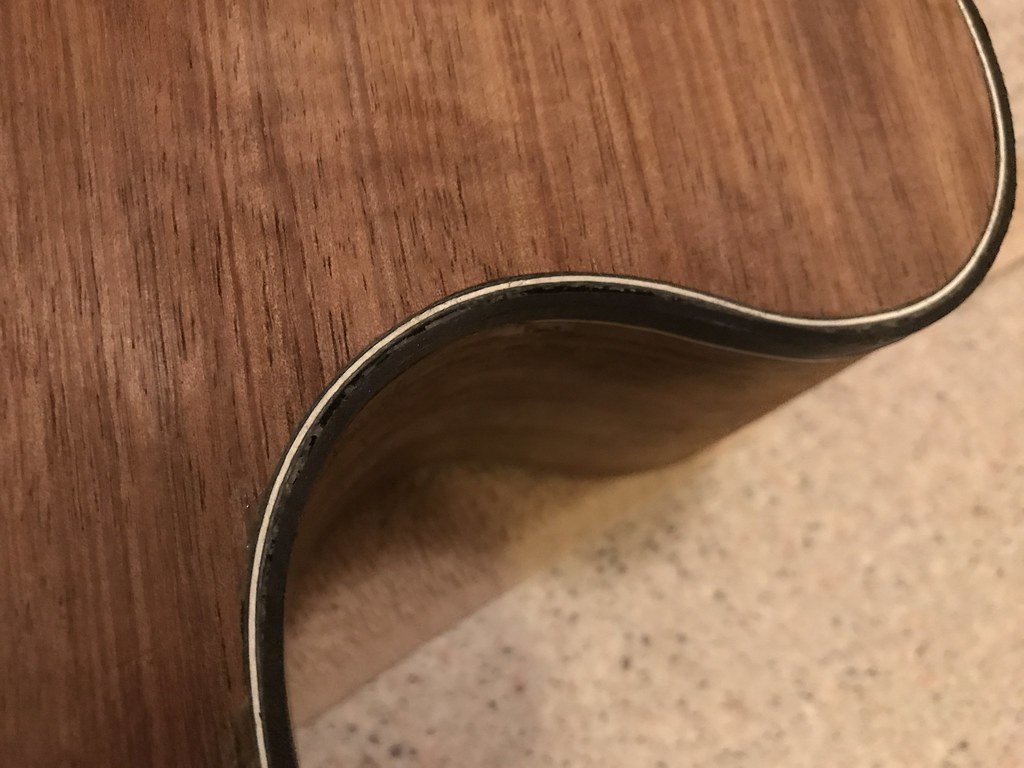
another view of the gap between the binding and the purfling
 Untitled
 by
David Emm, on Flickr